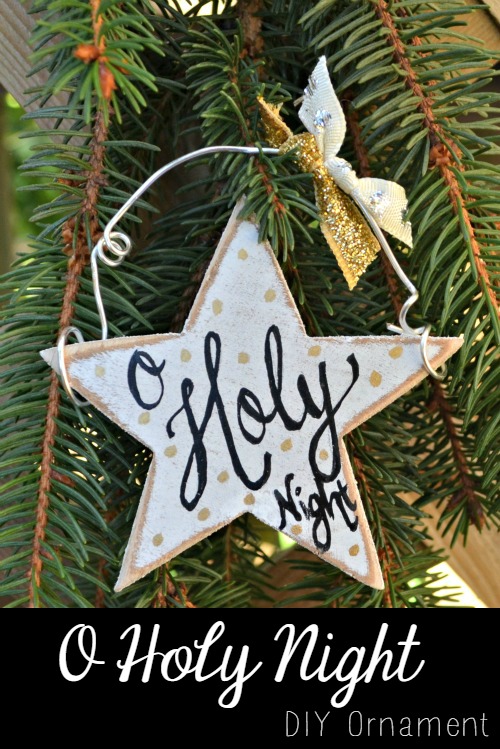
O Holy Night Handmade Ornament
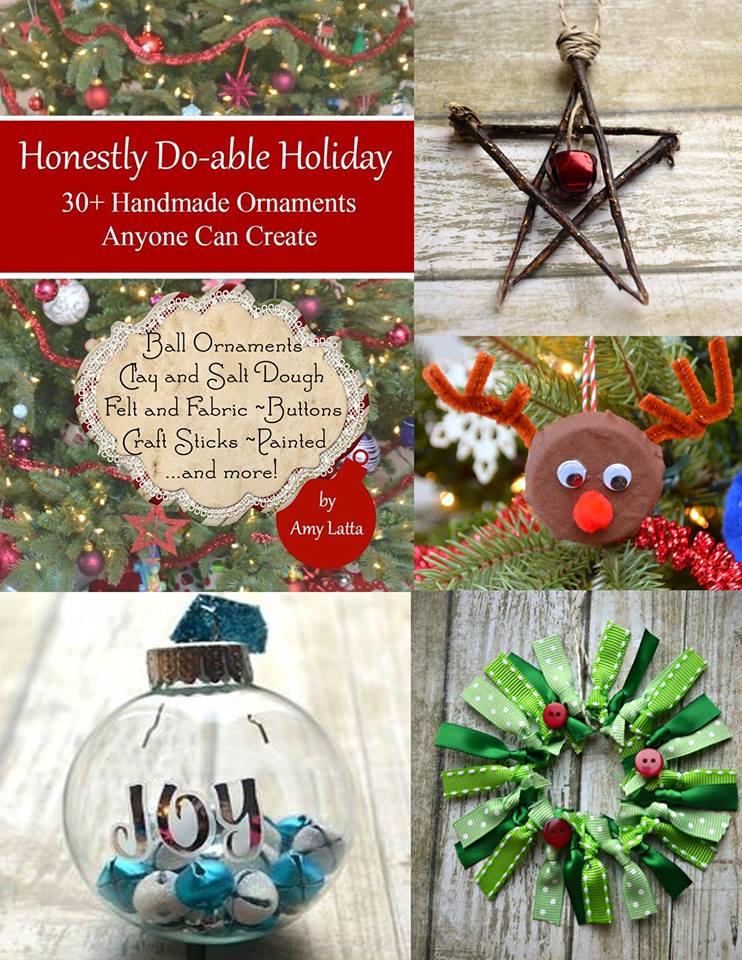
Friends, I know it’s only October, but for a blogger that means it’s time to start thinking about Christmas! It’s my job to stay ahead of the game so that I’ve got lots of inspiration here ready and waiting for you when you start your own holiday crafting. One of my favorite things to create is ornaments…so much so, in fact, that I recently released an e-book called Honestly Do-able Holiday: 30+ Handmade Ornaments Anyone Can Create. There are so many possibilities and you don’t need special skills or tools to be able to create something fantastic! So, naturally, I jumped at the opportunity to be part of a 31 Days of Handmade Ornaments Blog Hop when I was invited by some blogging friends of mine.
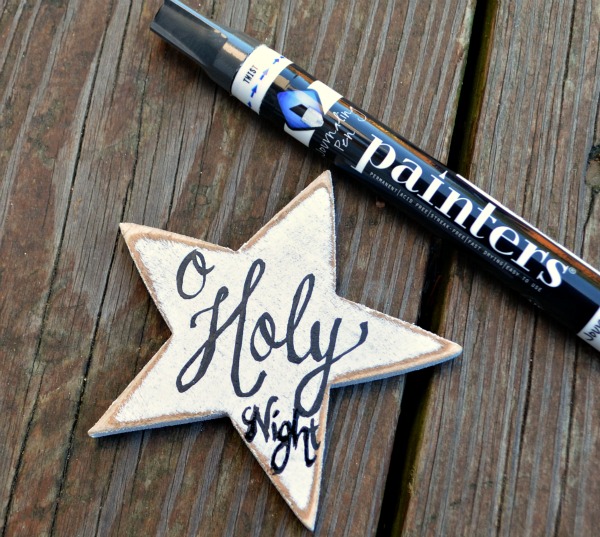
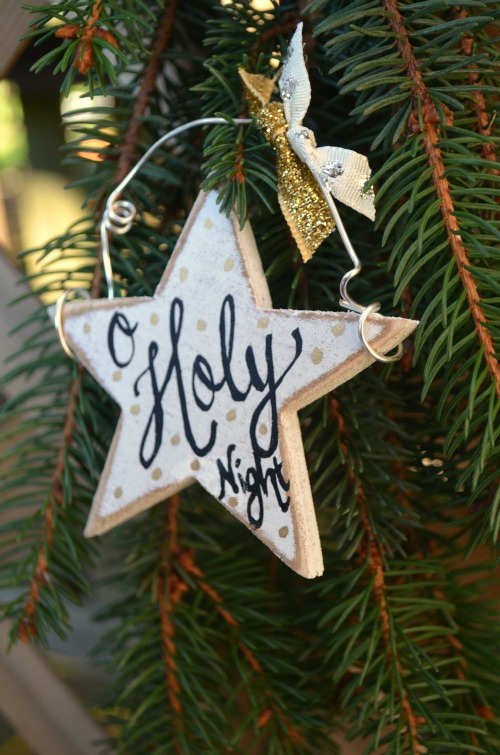
Here is what I came up with…based on my favorite Christmas song, “O Holy Night.”
Materials:
Wooden star
Pencil
Elmer’s Painters black paint marker
Krylon Gold Leafing Pen
20 gauge wire
Ribbon
Scissors
Needle nose pliers and wire cutters
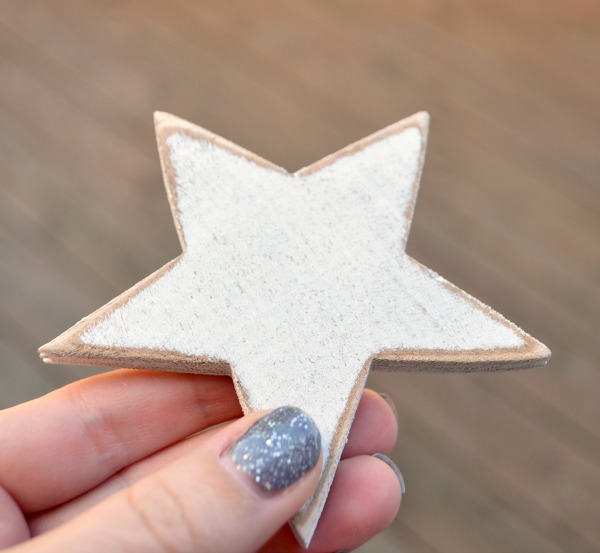
Here is a look at the star I started with. I got it at Michaels for less than a dollar, and it was already painted and distressed. {I found it in the aisle where they have wooden shutters, signs, arrows, etc.} If you can only find an unfinished wooden star, you’ll want to start by applying some white chalk paint then sanding the edges to get an aged look.
Step 1: Paint your words.
First, I used a pencil to lightly sketch out my lettering. Then, I went over it using my Painters journaling pen. You can use any words you like for your ornament, and if you’re not confident in your lettering abilities, you can even use a stencil for this step.
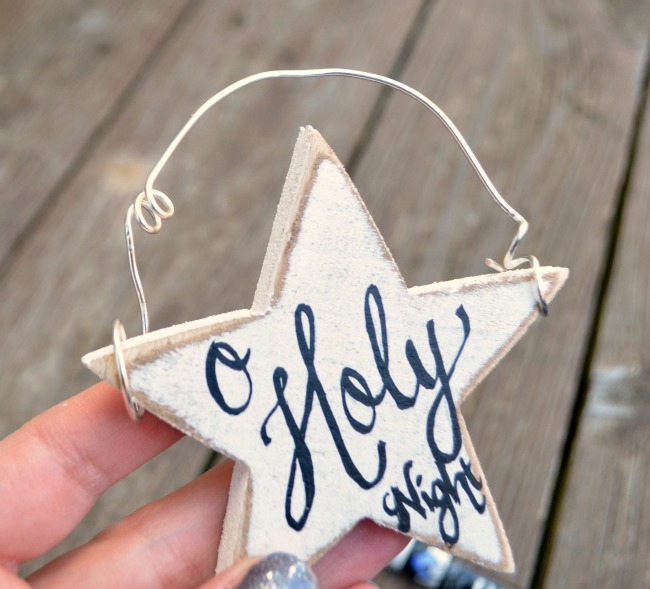
Step 2: Add a wire hanger.
Take a piece of 20 gauge wire and wrap the end around one of the star’s horizontal points. Shape the wire in a semicircle to form the hanger, then wrap it around the opposite point. Cut off the excess. If you want to make it extra fancy, wrap the wire around a pencil or your finger a few times to form decorative loops before attaching it to the other side.
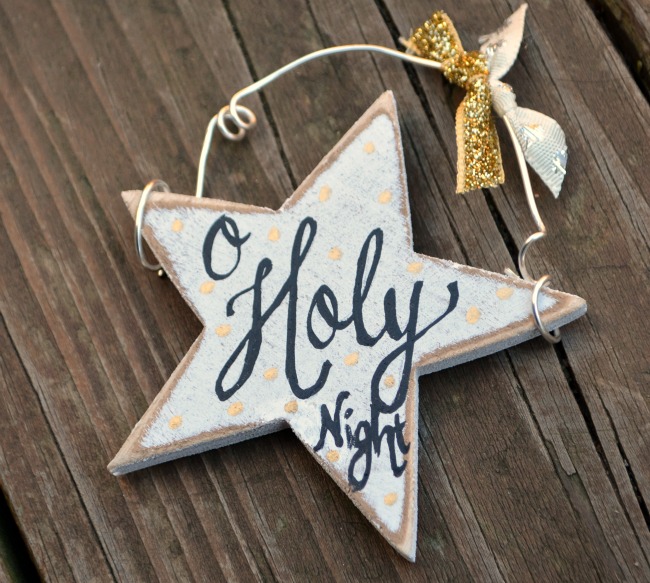
Step 3: Add coordinating ribbon.
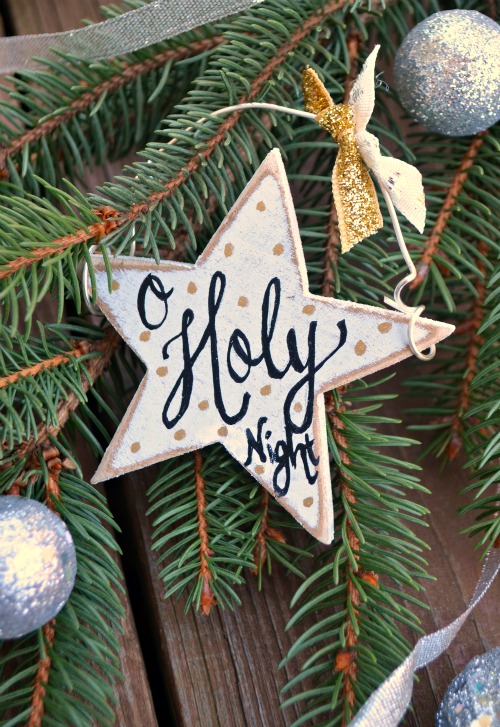
I tied two pieces of ribbon by tying each one to my wire; a glittery gold and one with silver polka dots. You can also use any color you like to make your ornament coordinate with the rest of your holiday decor.

Step 4: Create gold polka dots!
I used my Krylon Gold Leafing Pen to make tiny polka dots all over the surface of my star as a finishing touch. While I was at it, I also used a bit of white chalk paint to touch up the “N” in “Night” because I didn’t like the way it looked originally.
That’s all there is to it…easy peasy! Now your ornament is ready to display.
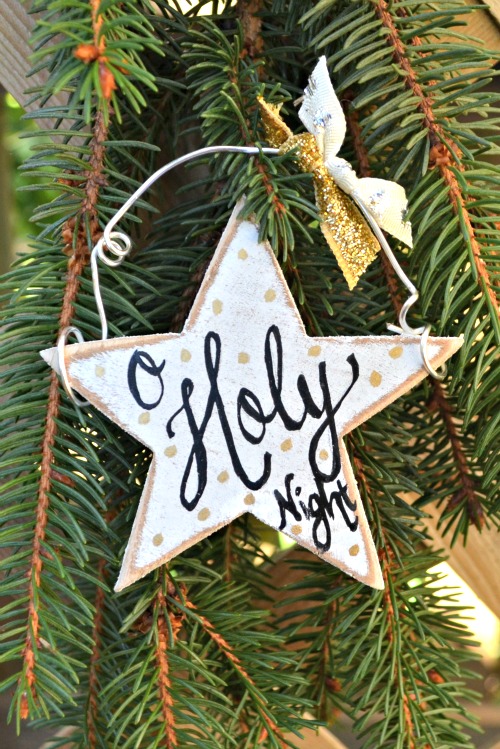
I don’t know about you, but I love quick, affordable, and easy projects like this one. These would make great holiday gifts too, and would look adorable tied onto your wrapped packages. You can completely customize them too, with your choice of words or names and different colors. What do you think? Is this something you might create for your own Christmas tree?
As I mentioned, I’m one of 31 bloggers who are teaming up to share handmade ornament ideas with you this month and get you inspired for your holiday crafting.
Here are all 31 Bloggers in order of their appearance over the 31 Days.
Yesterday on Tuesday
The Silly Pearl
Cupcakes and Crinoline
Celebrating Everyday Life
AnExtraordinaryDay
All Things Heart and Home
Petticoat Junktion
Sew a Fine Seam
Creative Crochet Workshop
Shabby Art Boutique
Morena’s Corner
From My Front Porch To Yours
Pet Scribbles
Sweet Pea
Dukes and Duchesses
Simply Kelly Designs
Town and Country Living
One Artsy Mama
The Crafting Nook
Our Southern Home
StoneGable
Love of Home
Lovely Etc.
Remodelando la Casa
504 Main
Knick of Time
Refresh Restyle
The Cottage Market
My Uncommon Slice of Suburbia
Heathered Nest
Sum of their Stories
Be sure to check out the other gorgeous ornaments in this hop!
Want even more ornament ideas? Be sure to download my e-book!

Just lovely! One of my favorite Christmas songs!
Love the ornament!!
I love stars for Christmas! They inspire me to think of the true meaning of our celebration. And your star is just that… a celebration. I LOVE it! Now if I could just letter like you… 😉
Thanks so much for being a part of our 31 Days of Handmade Ornament blog hop!
Beautiful! Love it, I’ve been practicing the handwriting script, yours looks awesome!
Debbie
This is a beautiful ornament Amy! I feel like it captures the spirit of the song. I love that you found the star already distressed. I will have to go look in that aisle for holiday ideas. Thanks for sharing!
Beautiful ornament and it features one of my very favorite Christmas hymns. I’m going to look for the star that you used the next time that I am at Michael’s.
Love, love, LOVE it!
what a perfect thing to do with those ornaments at the craft store! This would be fun to do on a craft night with the girls! xo
Oh that is gorgeous! They could be personalised with peoples favourite Christmassy quote or song, with their name on the back as a gift tag/ornament for them to keep.
I love the little extra twirl you gave the wire – adds a little something extra!
These are so lovely! Pinned!
So cute – and that is my favorite Christmas song 🙂
Truly! Love it, I’ve been practicing the handwriting script, yours looks awesome!