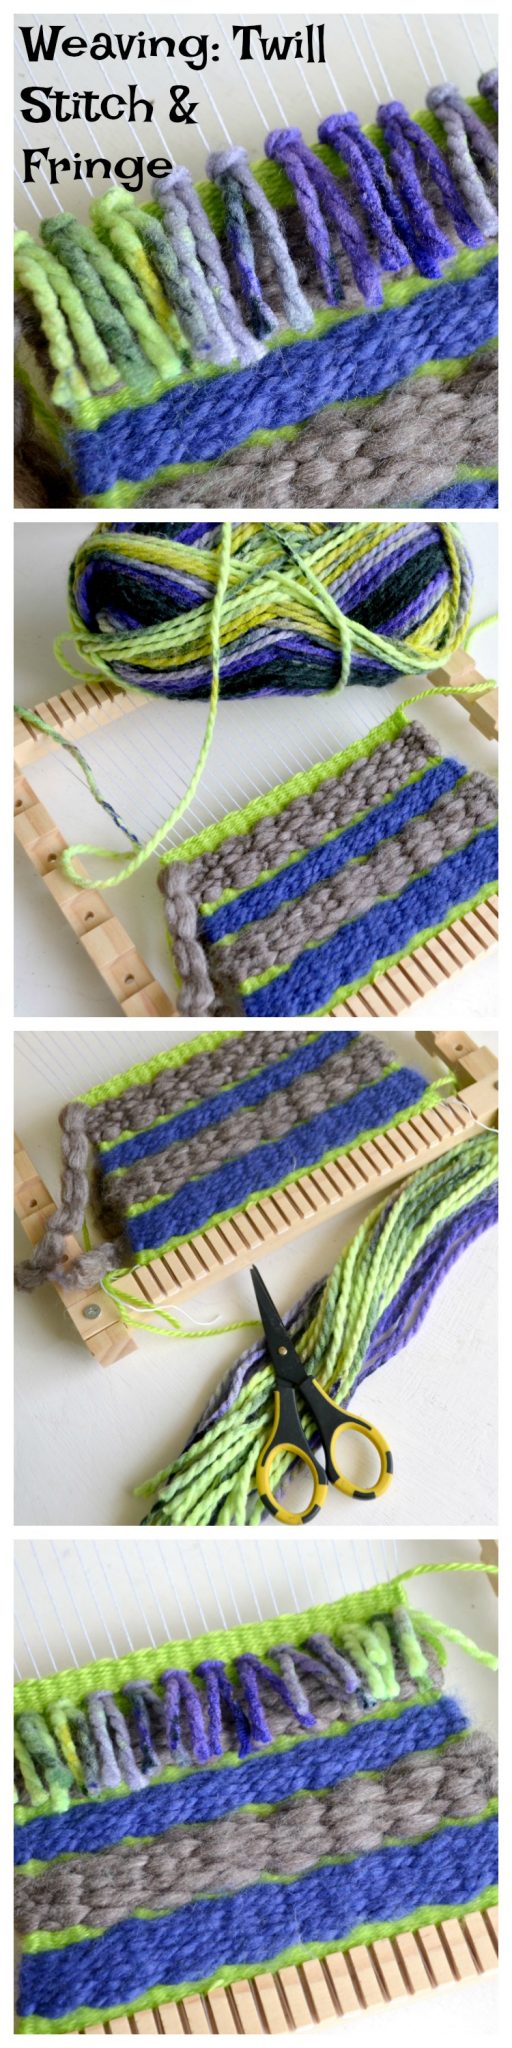
Basic Weaving: Twill Stitch & Fringe
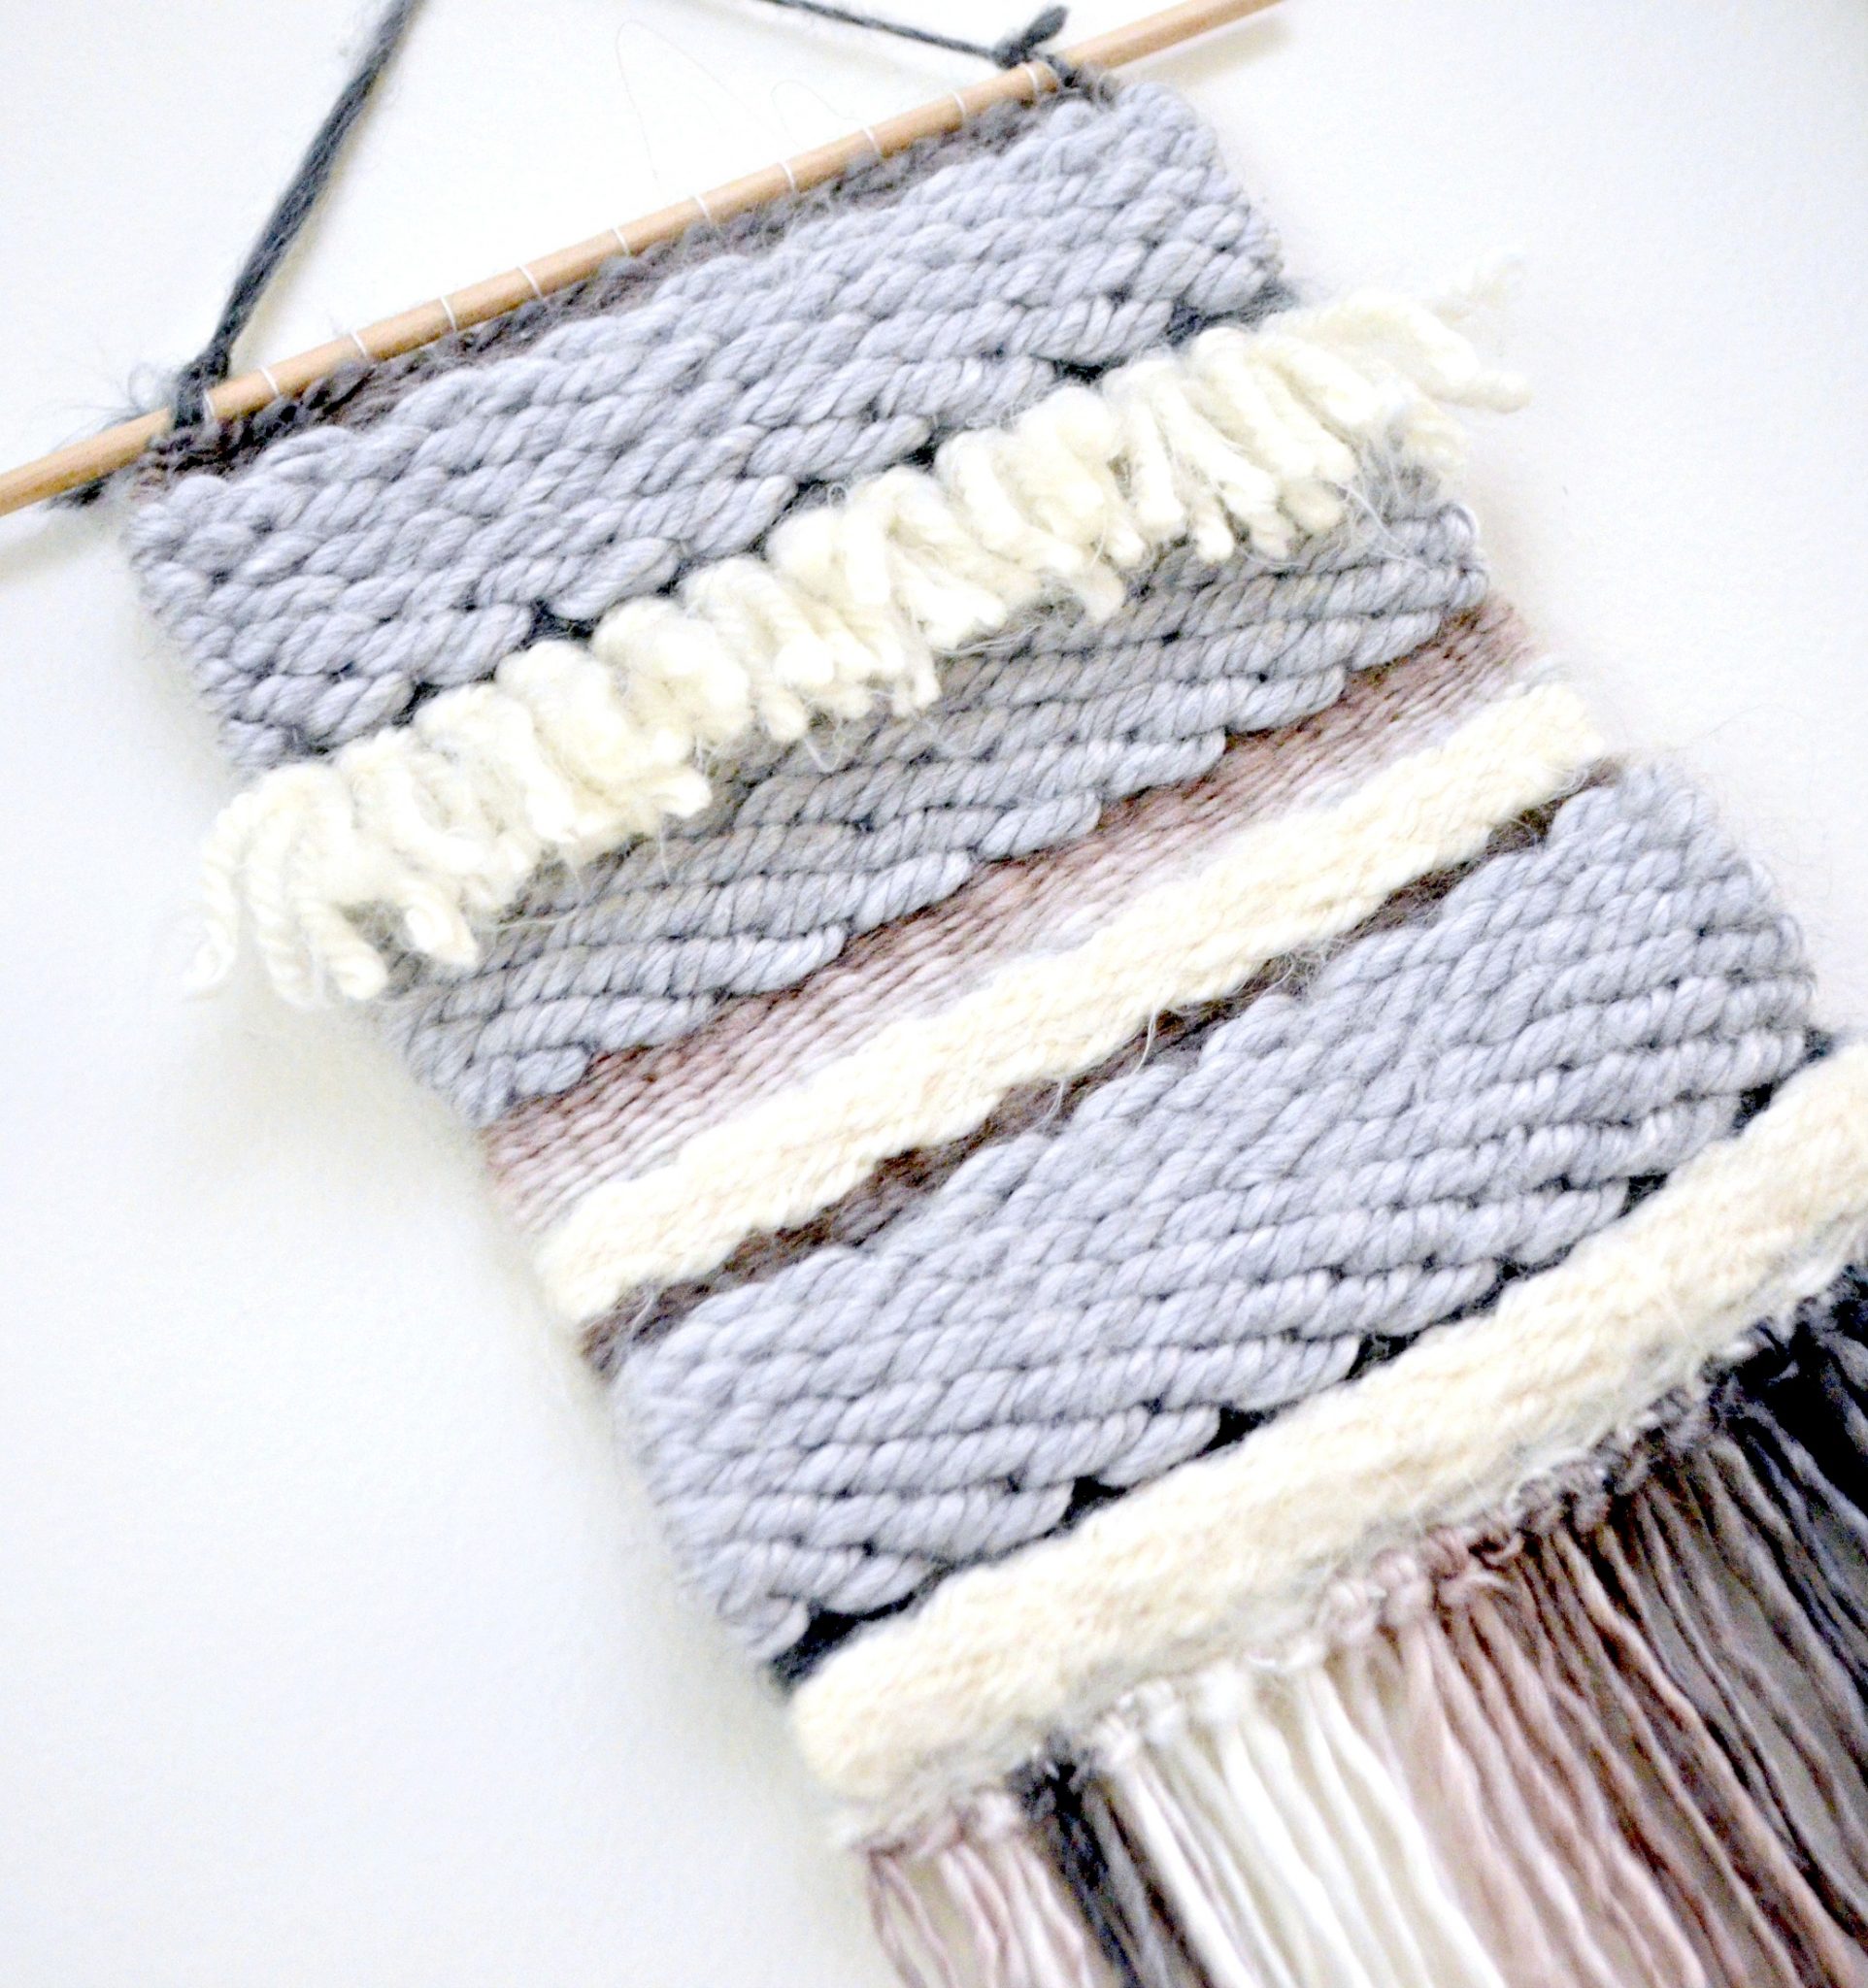
Hey, friends! Last week, I shared with you about one of my new favorite ways to craft; weaving with the new Bucilla Adjustable Loom. As I shared earlier, I didn’t anticipate loving it, but it turns out that I totally do! I find the weaving itself to be incredibly relaxing, and I’m also excited by all the patterns and possibilities. You can do the same exact thing using different yarns and get a completely unique result, and you can play around with alternating different types of stitches too. This is a great way to add some texture and softness to your home decor without spending a small fortune!
In the previous post, I shared everything you need to know to get started, including assembling and stringing the loom, as well as the basic Plain Stitch. Today, we’re going to talk about how to do two other kinds of stitches that you can use to create variety in your projects.
You’ll need:
10″ Loom Starter Kit {affiliate link}: Contains 10″ loom and hardware, cotton warping string, acrylic yarn, wooden comb, and plastic needle
Scissors
There is also a 16″ loom available as well if you prefer to make larger projects instead!
You can use any kind of yarn you like to create your wall hanging, but I recommend choosing yarn with a variety of colors, textures, and sizes. This will add visual interest to your project, because each type of yarn will have its own unique appearance when you weave it.
The Twill Stitch
This is a variation on the Plain Stitch, which you’ll recall is a simple “under, over, under, over,” pattern. Instead of alternating on every string, though, the Twill Stitch has a “1-2” pattern. You’ll start by going under the first warp string on the left, then you’ll go over the next two. Continue by going under one, over two, under one, over two, until you reach the end. When you get to the right side of the warp strings, you’ll find that you end by going under one and over just one, the final string.
Pull your yarn through the strings, leaving a 3″ tail on the left side, which will get tucked in later. You should have something that looks like the image below. Initially, you’ll be able to clearly see the strings you went under, but don’t worry, as you add rows and the yarn is beat down, those strings won’t be visible anymore.
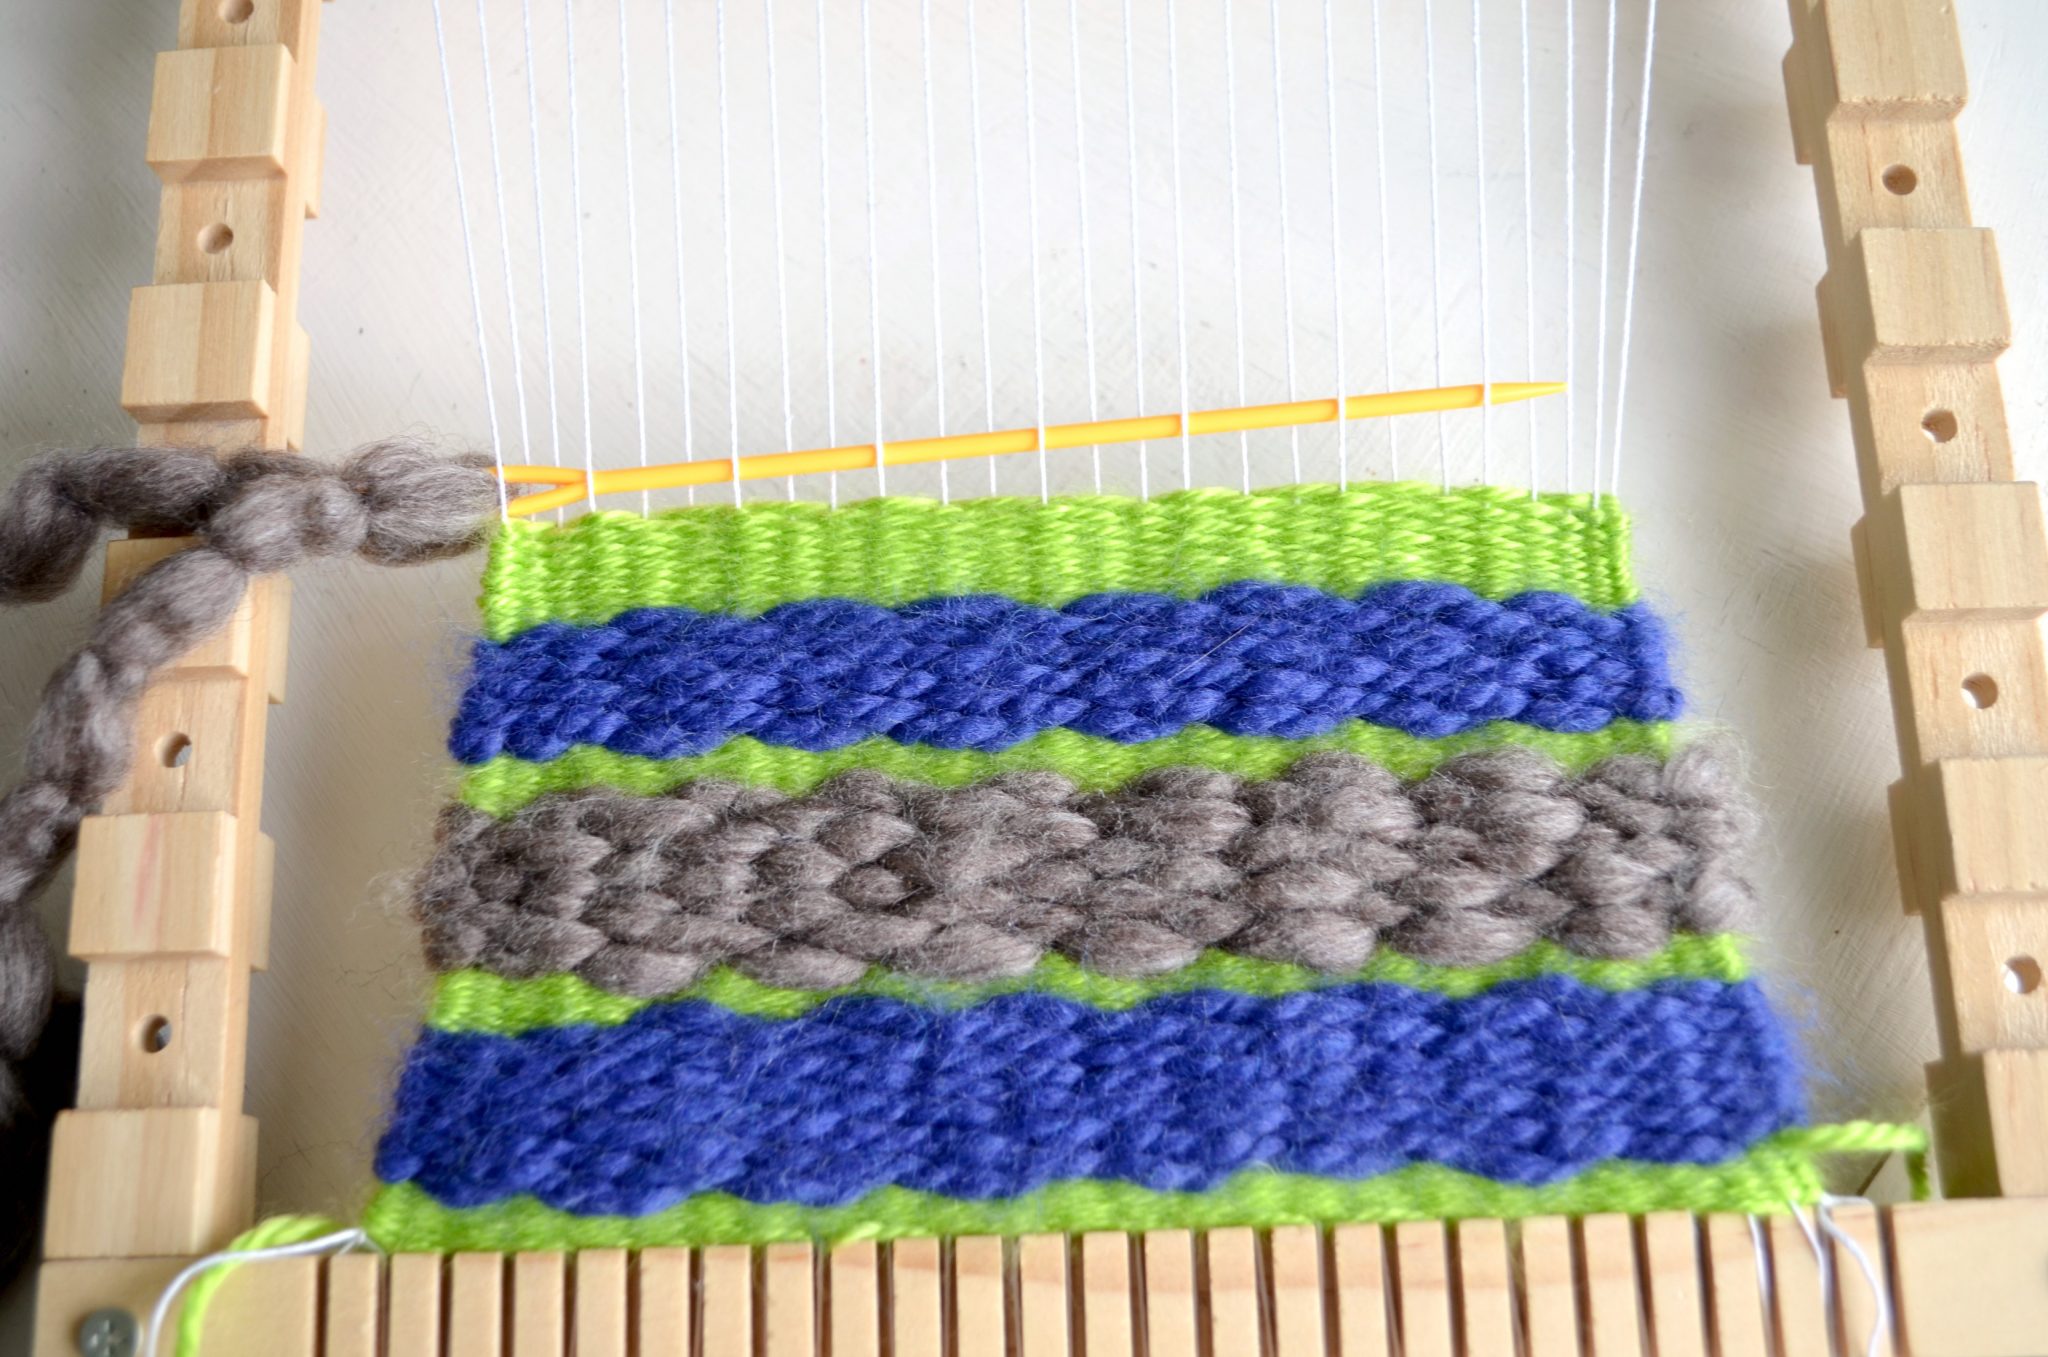
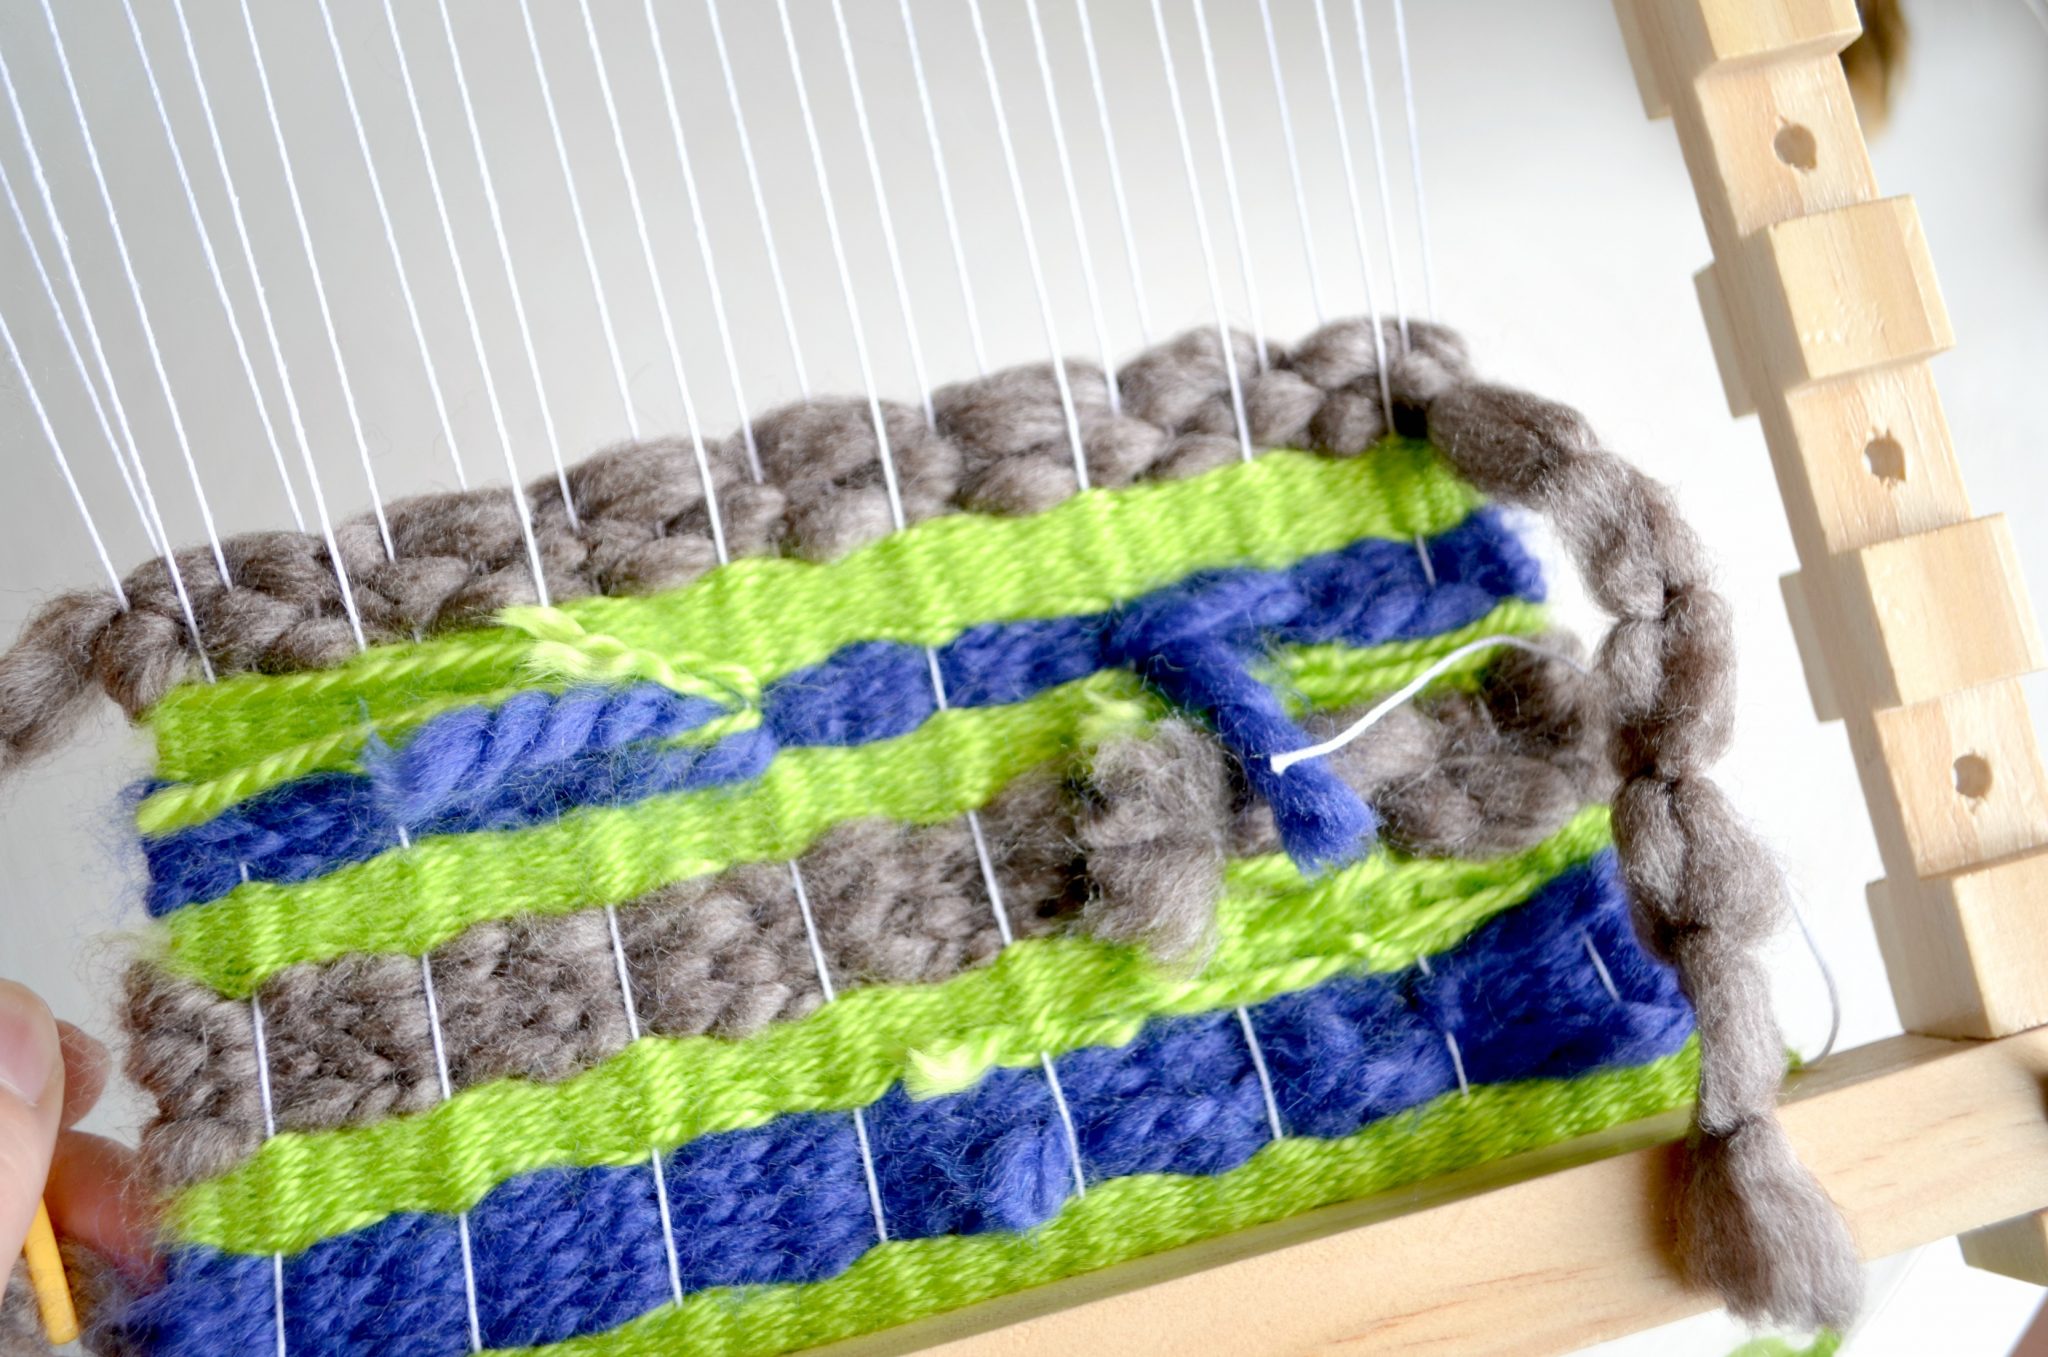
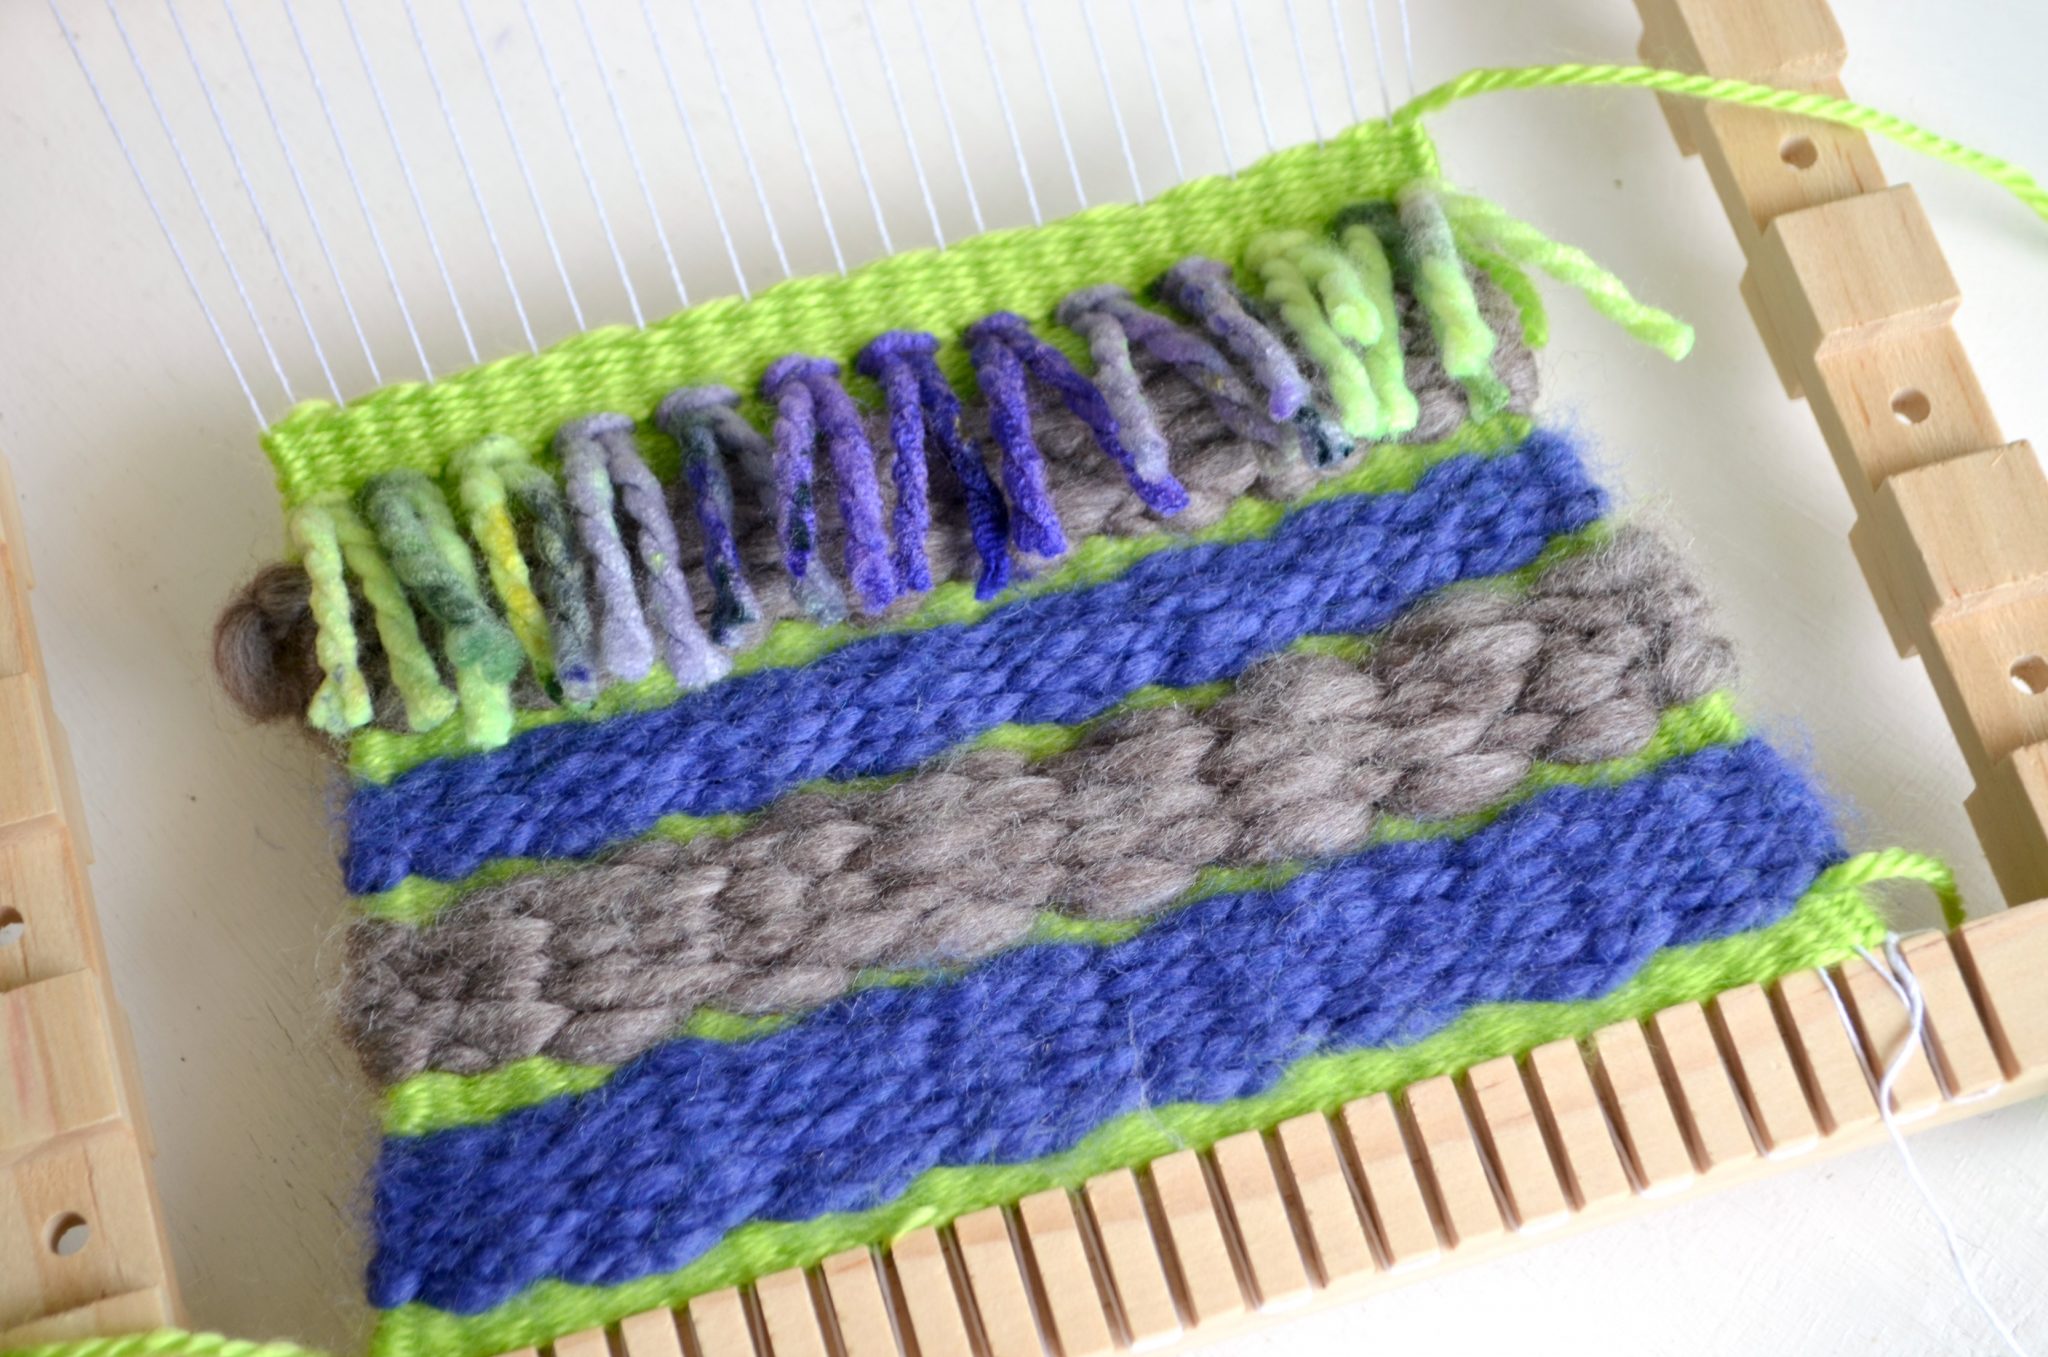
To continue, you’ll simply repeat the pattern, this time coming from right to left. Start by going under that right-most string, then over two, under one, over two, until you reach the left side again. Because you are going under different strings this time, you will get an effect that looks like stacking bricks, as seen below.
Here’s a look at the back of the project. When doing the twill stitch, there will be certain strings you never go under, which means you’ll have some visible vertical lines on the back. This is a sign you’re doing it right!
Continue repeating this “1-2” pattern until you’ve used up the piece of yarn you cut. Remember to leave another 3″ length of string hanging at the end. This stitch tends to go faster than the plain stitch, because you’re jumping over more strings at once. I like to do it with thicker yarn, which also means it tends to take up more space than the same amount of thinner string would.
Fringe
One of my favorite ways to add texture to a woven piece is by using one or more rows of fringe! Little Crafter, my 8 year old son, chose these colored yarns for his wall hanging and specifically wanted this variegated skein to be used for a row of fringe. Here’s how simple it is to create.
Step 1:
First, you need to begin with at least a few rows of Plain Stitch. This serves to anchor your fringe and helps hold it in place. I had just finished my grey Twill Stitch, so I went back to the green and did a few rows of Plain Stitch. This will be mostly covered by the fringe, so you won’t see it in your finished design.

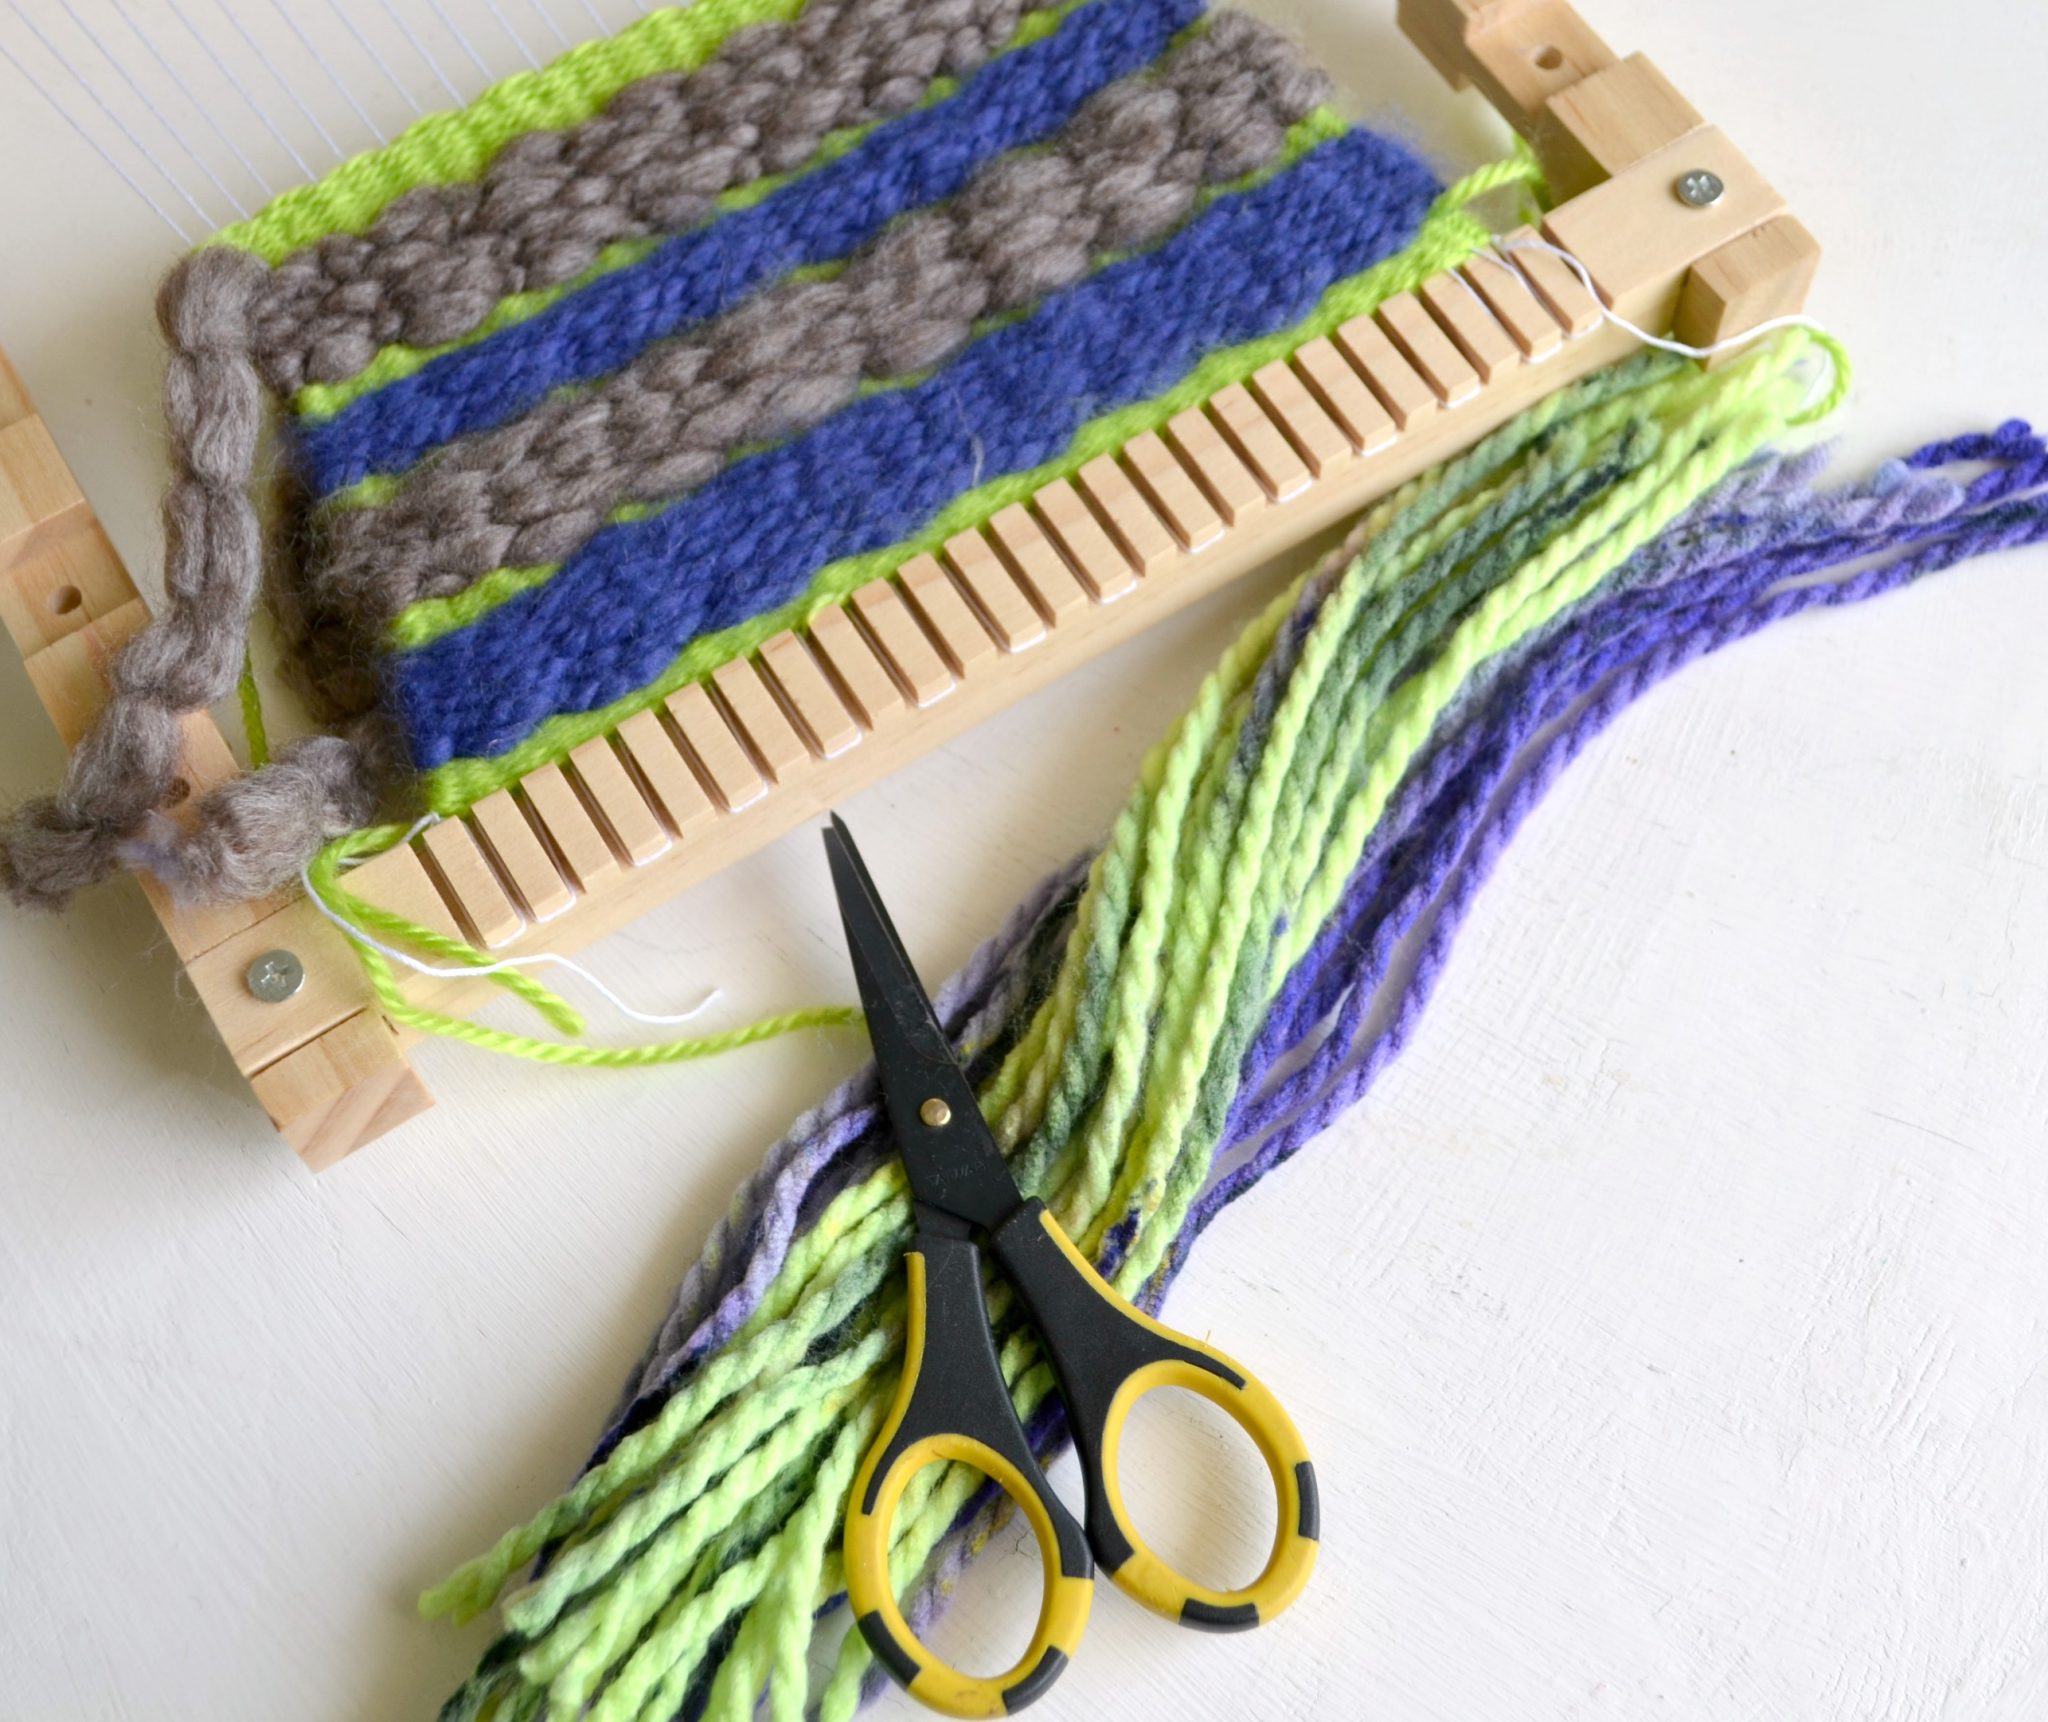
Step 2:
Next, cut your yarn into pieces that are longer than you want your fringe to be. I usually make mine about 5 or 6″ long. This gives you plenty to work with, then you can easily trim it to whatever length you like. Working with fringe is kind of like cutting your bangs…you can always trim it shorter, but once it’s cut, you’re stuck.
You will need 13 pieces of string to go all the way across your loom one time.
Step 3:
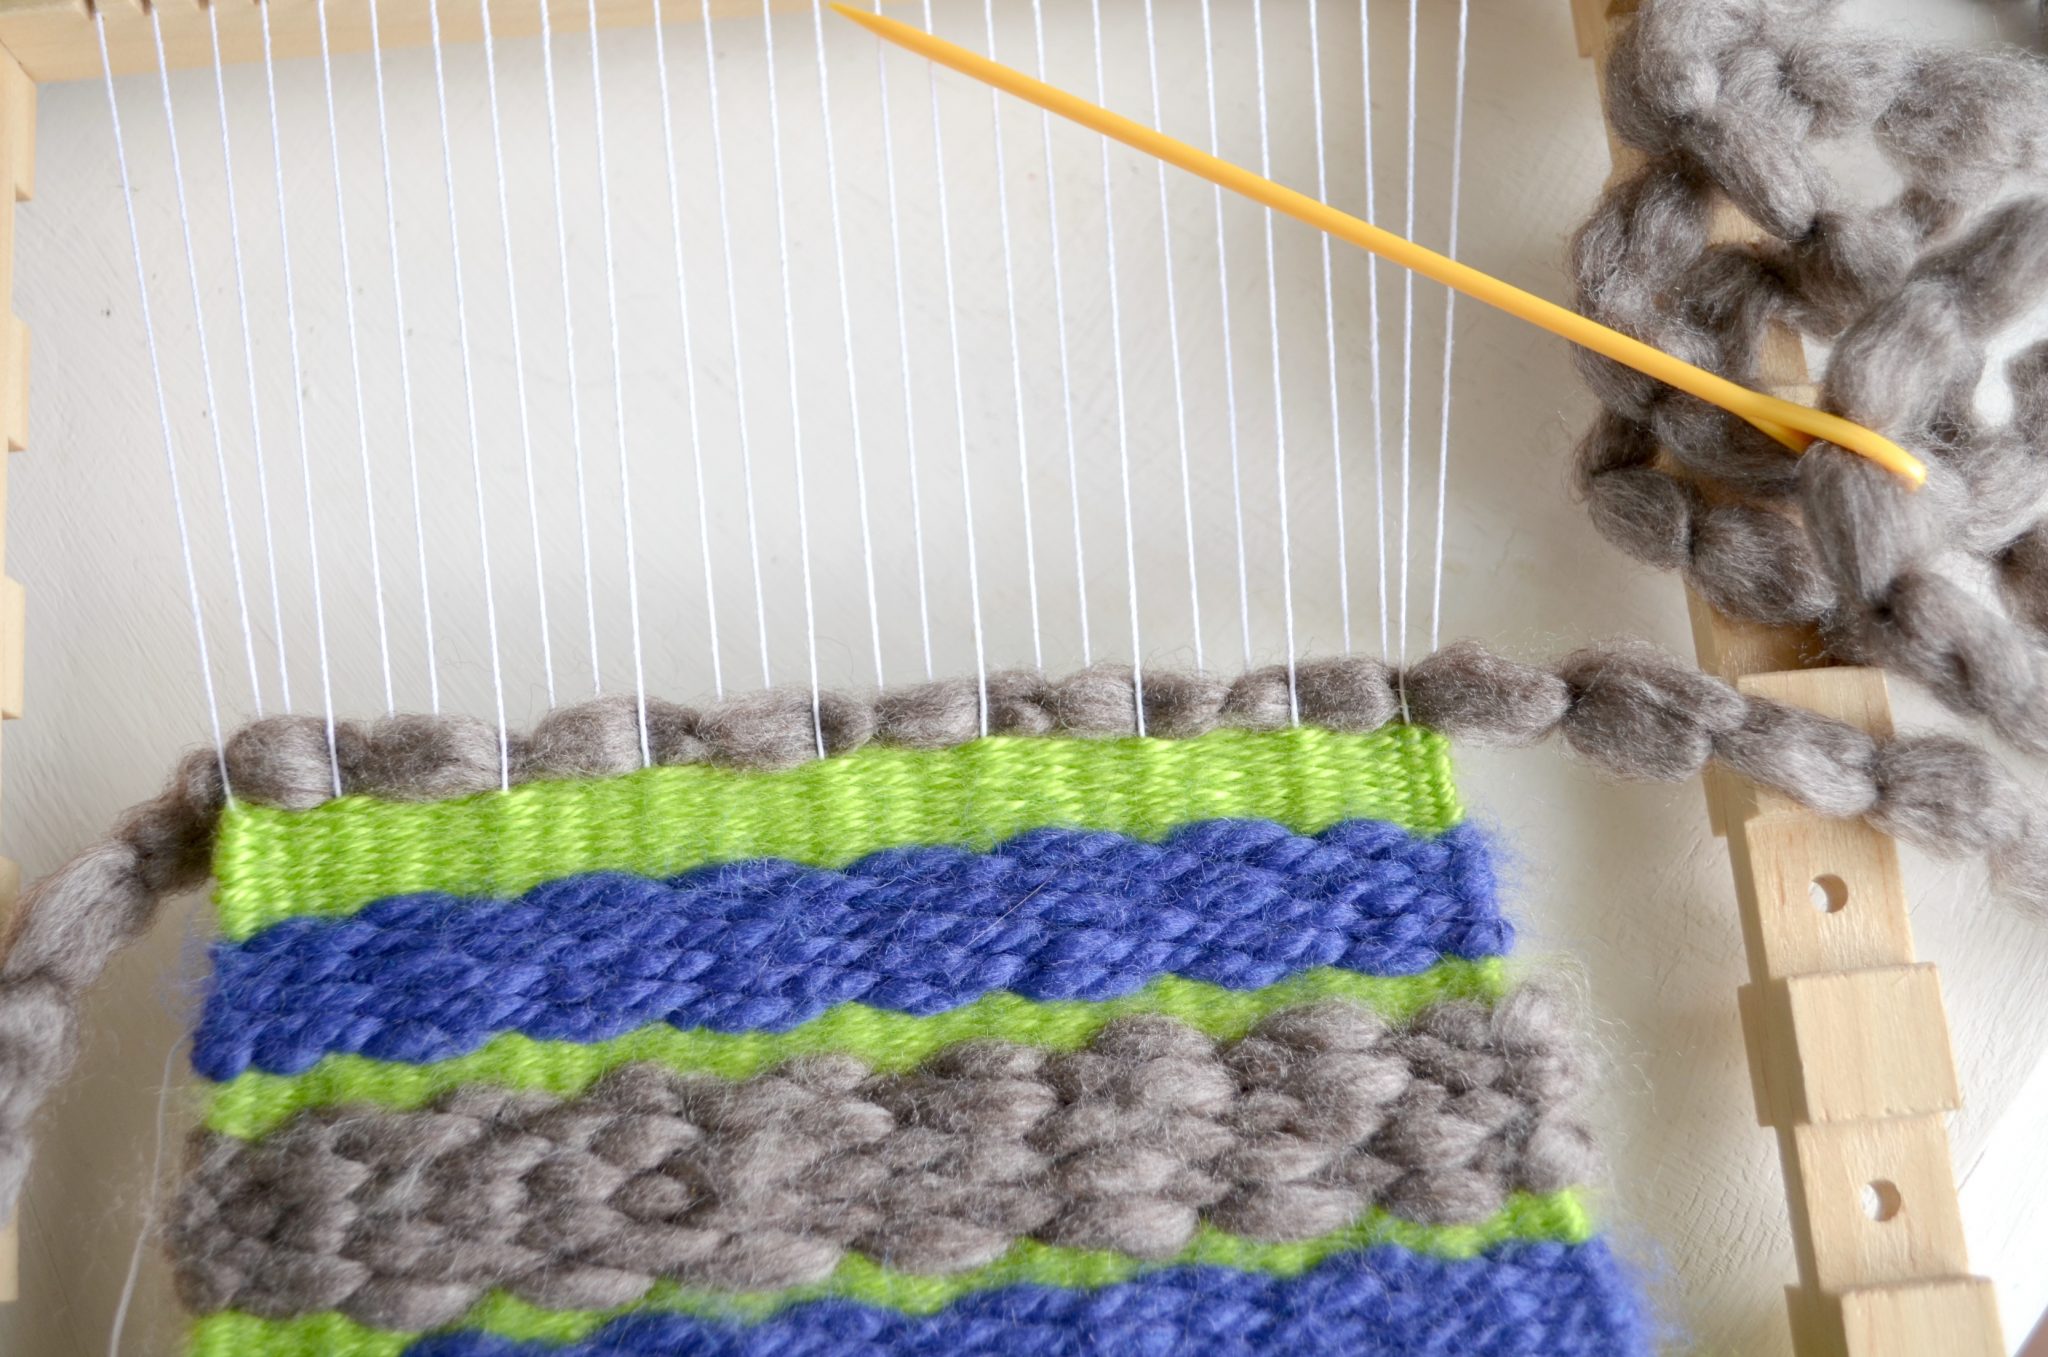
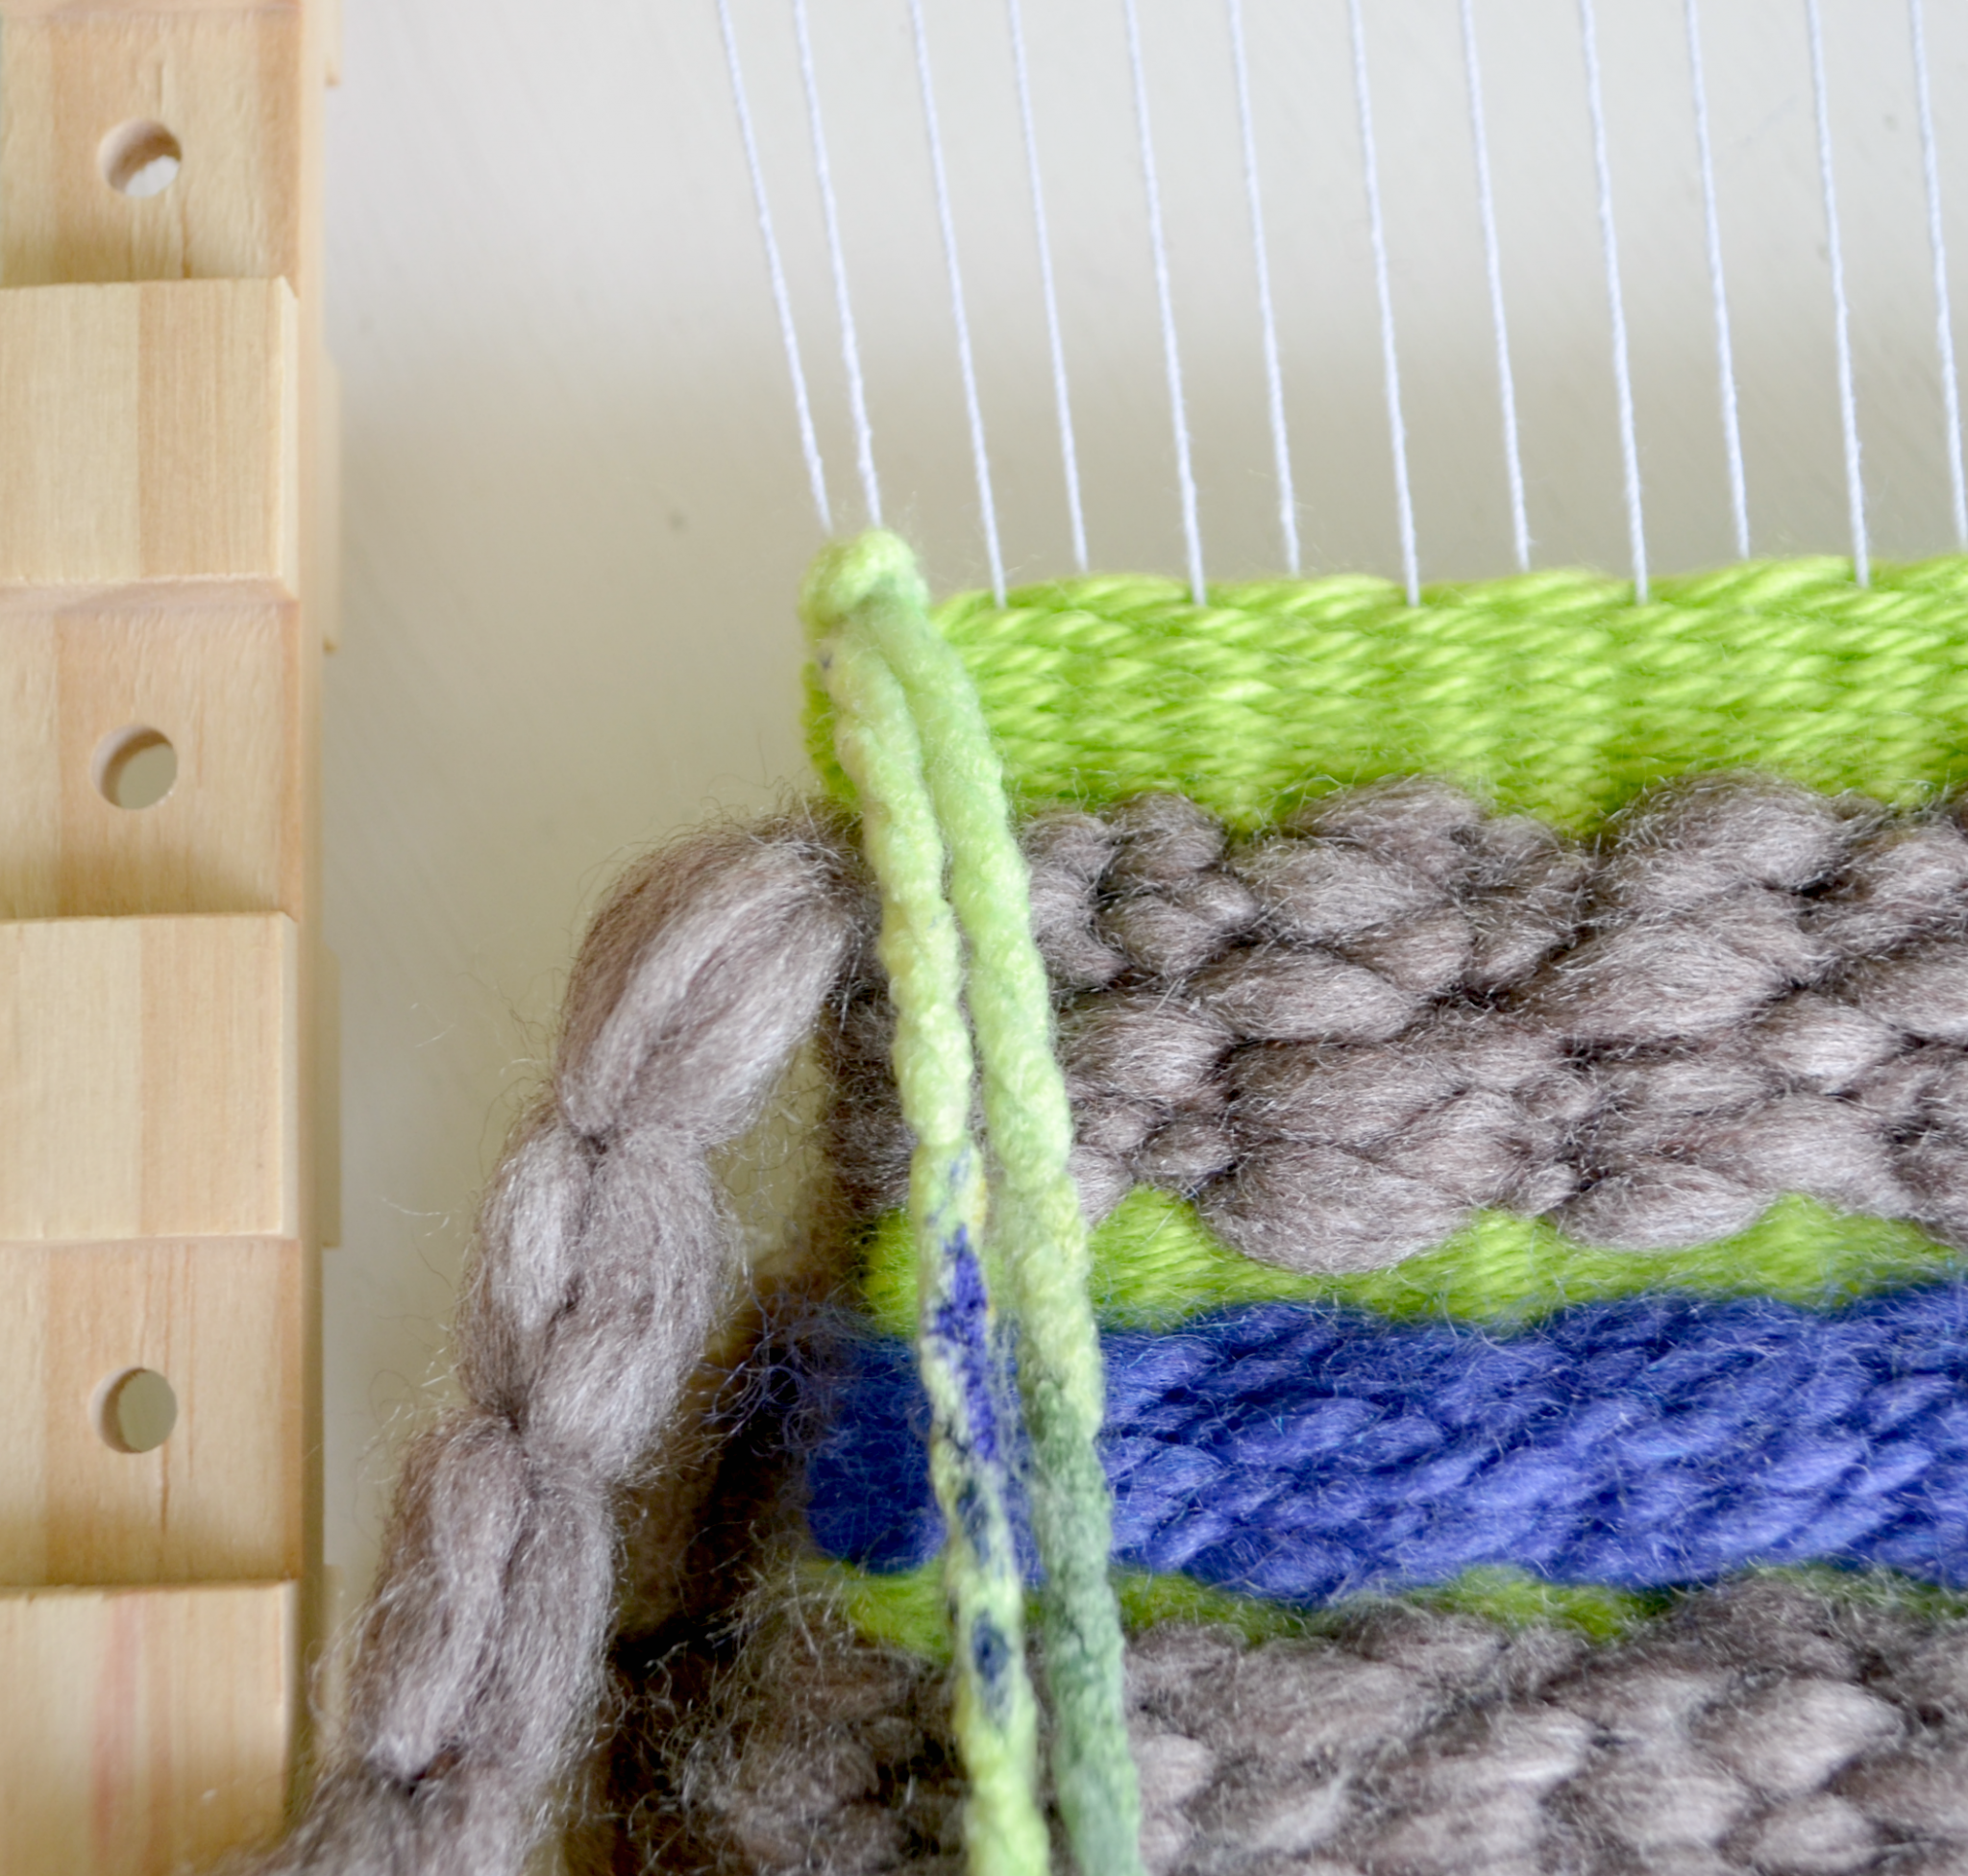
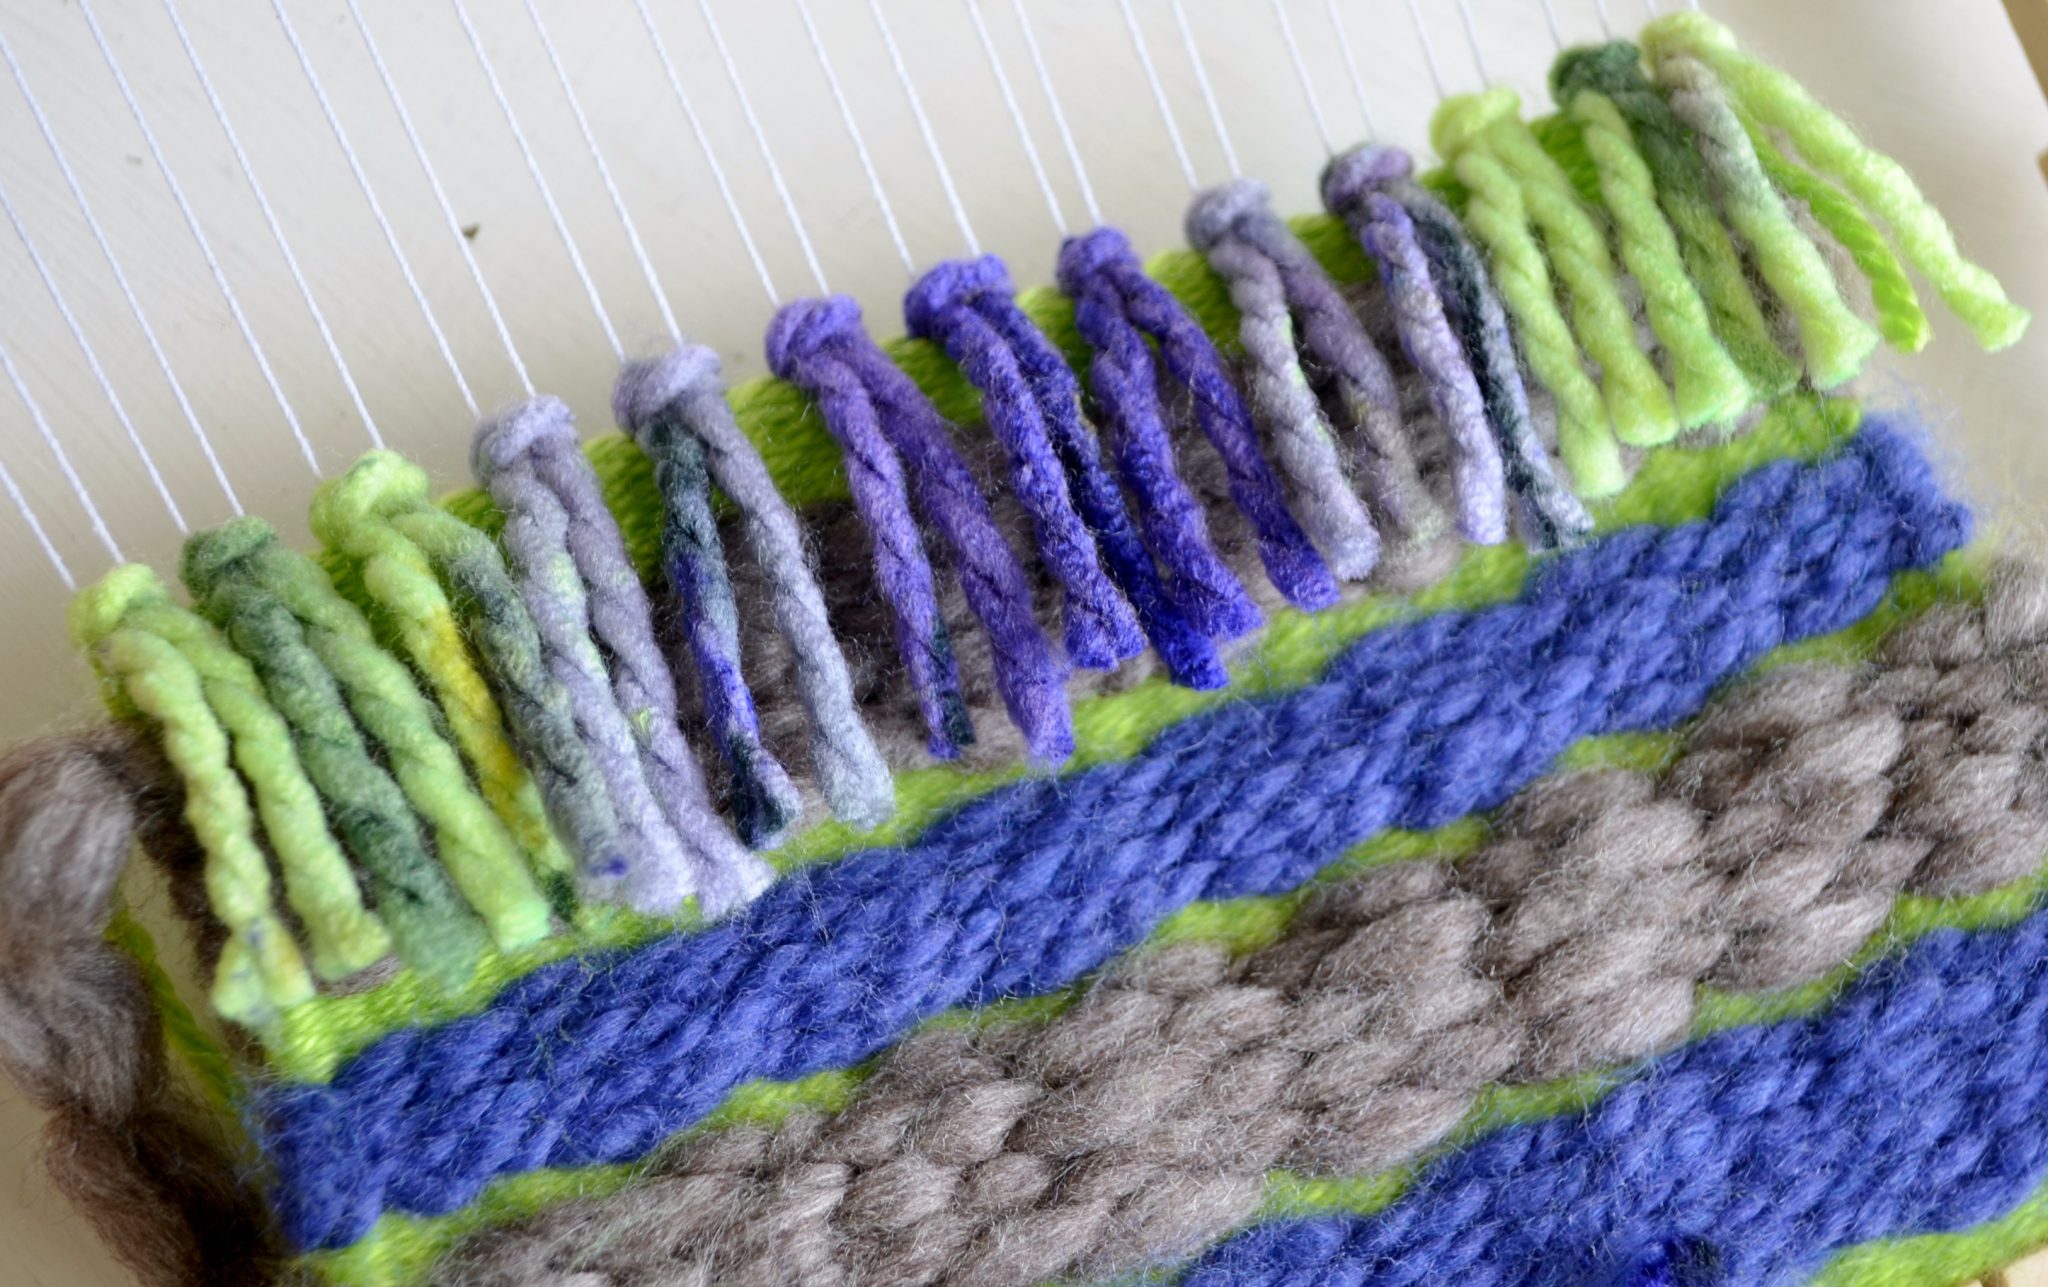
Take one piece of yarn and lay it on top of two warp strings. Feed each end of the yarn around the back and up through the space in between those two strings as shown below. See how both ends are coming up from the back through the same area, while the top part loops around?

Step 4:
Now, grab the two ends of the yarn and gently pull. This will form a little knot.
Step 5:
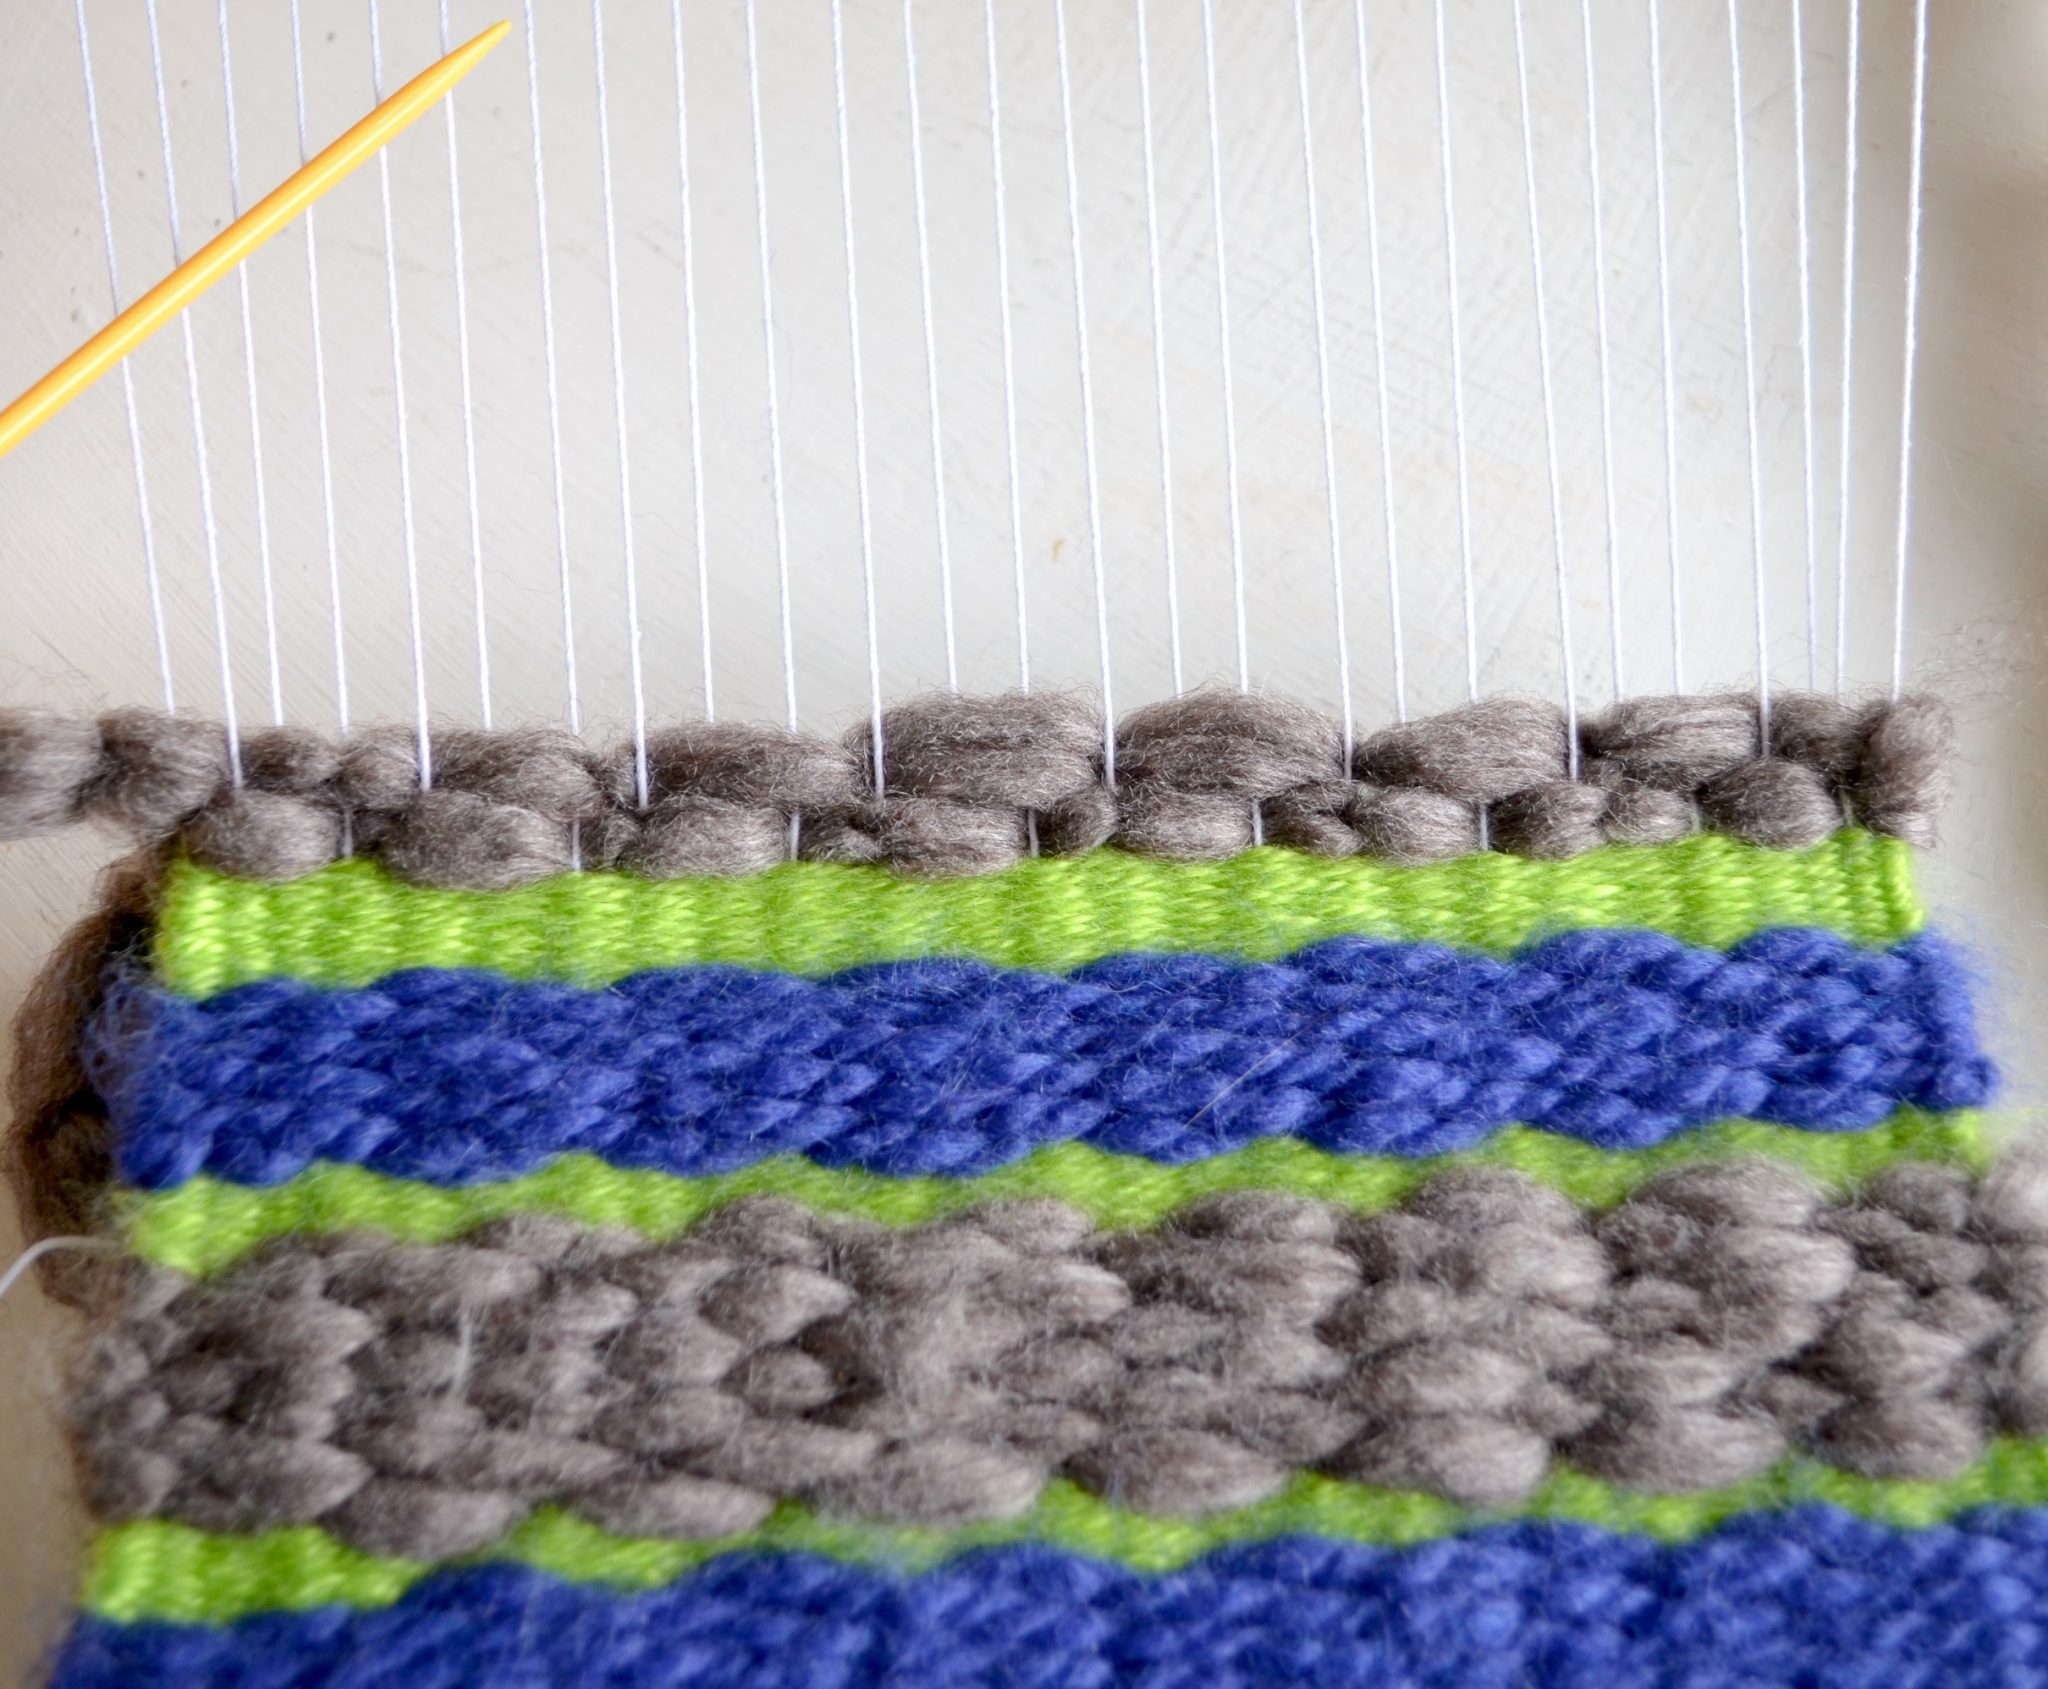
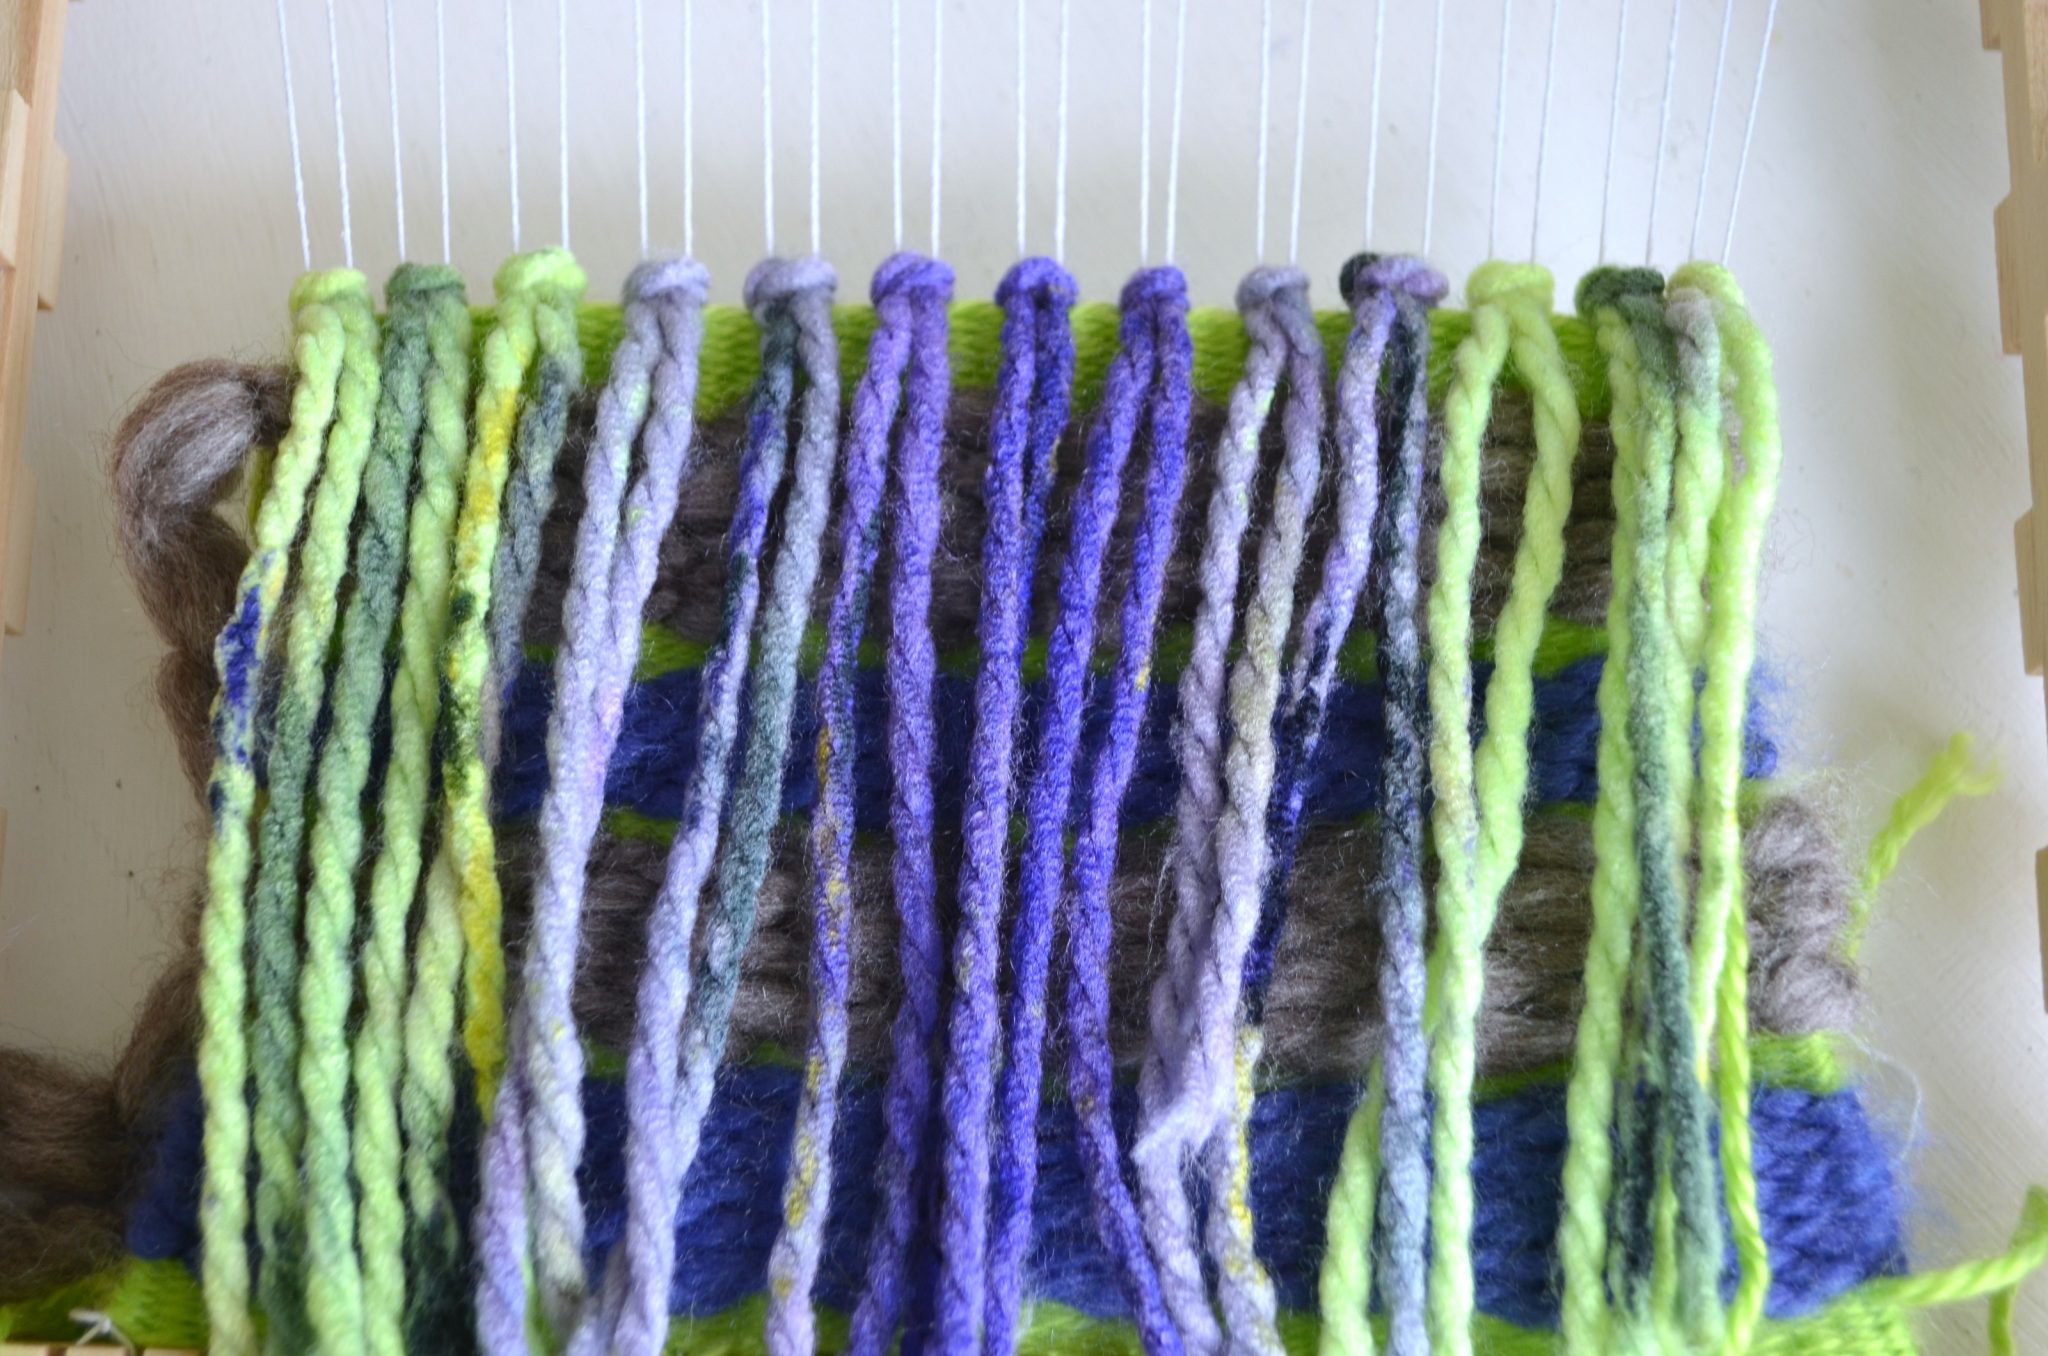
Repeat this same technique as you go across the loom from left to right. Every two warp strings will have a knot and two pieces of yarn coming through the center of them. You will have 13 knots and 26 pieces of fringe when you’re finished.
Step 6:
Once your fringe is added, you get to decide how long you want it to be. Use your scissors to trim the ends as evenly as you can, but remember, part of the beauty of handmade items is their imperfection. If the ends were perfectly straight and even, it would look machine made and would lose that gorgeous artisan touch.
Step 7:
Finally, you’ll finish off the same way you started by adding a few rows of Plain Stitch to anchor the fringe from the top. I went back to my green once again for this step.
From here, you’ll continue to alternate your stitches and yarns, creating whatever pattern you like!
In the final post in this little weaving series, we’ll look at how to do the finishing stitch, how to place the project on a hanger, and how you can add fringe to the bottom after your weaving is completed. Be sure to come back and see the finished project and how to complete your own!

it won’t show me the final video on how to finish the weaving…….