Advent Crate
Thanks to Crates and Pallet for sponsoring today’s post; all opinions are honestly my own.
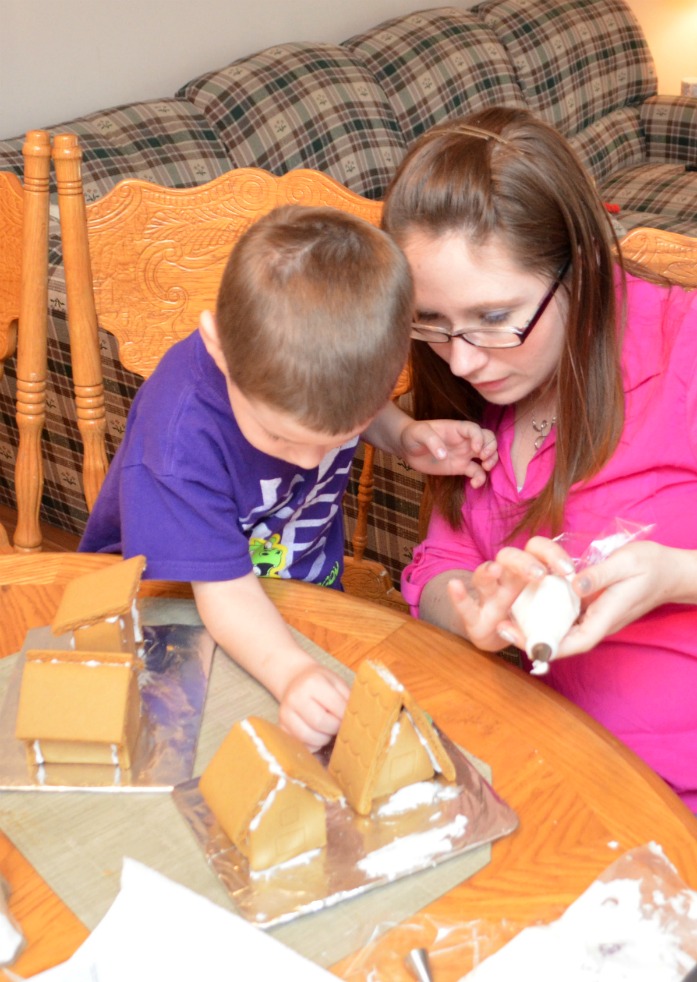
Does your family have special ways to count down the days until Christmas? Here in the Artsy House, we love celebrating the Advent season {December 1-24} and spending extra-special time together getting ready for our favorite holiday! Even before Little Crafter was born, hubby and I would spend time coming up with a fun activity to do each day. Some of our activities are simple, like driving around to look at Christmas lights, wrapping gifts, or even just kissing under the mistletoe. Others are more involved, like baking cookies, making a gingerbread house, and creating a gumdrop wreath.
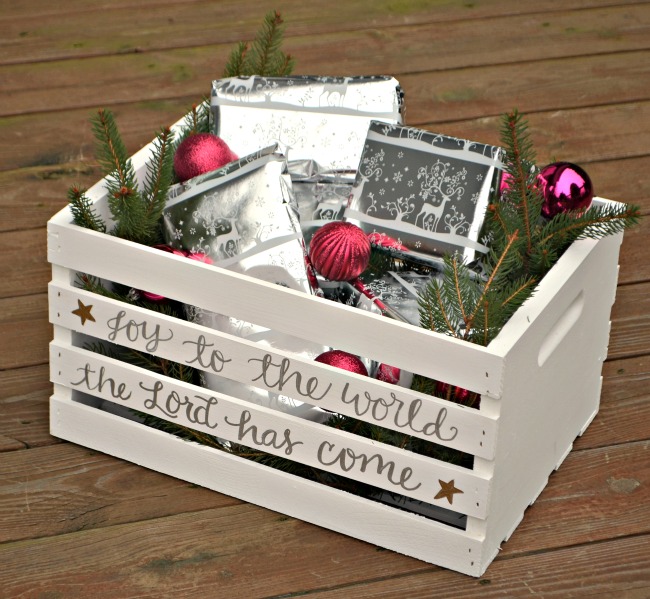
This year, I thought it would be fun to have a little gift for LC to unwrap each day to introduce the daily activity…for example, a book we can read together, a kit for the gingerbread house, or a new cookie cutter and a jar of sprinkles for cookie baking day. I wanted to make sure that the gifts were set apart, though, and not confused with any of the other gifts I might wrap and place under the tree. I thought a great way to do that would be to create a special Advent Crate just for those 24 little items. Here’s how I made it, and you can too!
Materials:
Crates and Pallet Large Wood Crate
Gold and Silver Paint Markers
White Chalky Finish Paint
Paintbrush
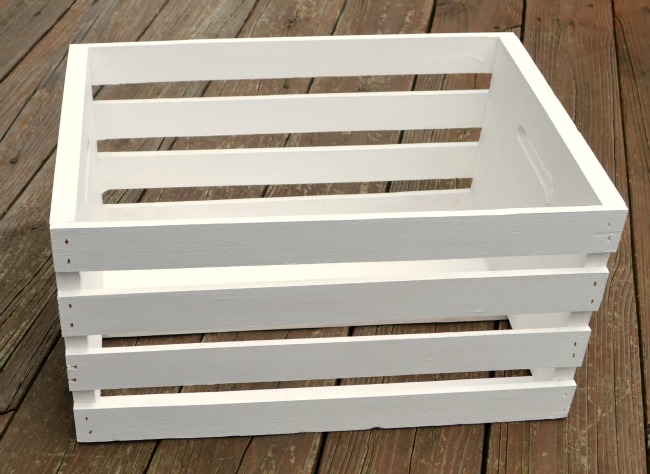
Step 1: Paint your crate.
I gave the entire crate two coats of white chalky finish paint, letting it dry completely in between. For once, I decided not to do any distressing because I liked the clean look of the solid white paint and thought it would look better with the metallic accents. Make sure the crate is totally dry before moving on to the lettering step.
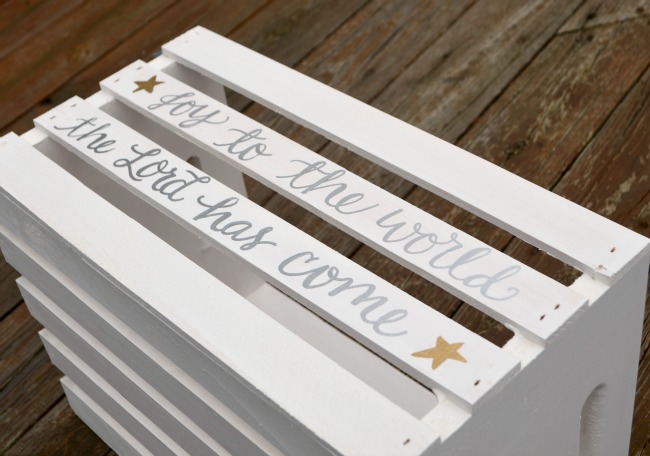
Step 2: Add your message!
As many of you know, I’ve been learning and practicing the art of hand lettering lately {ok, I admit, I’m obsessed…}.
So, I free-handed my design using a silver Elmer’s Painters marker and then accented it with two gold stars. It’s really much easier than it looks; check out my Basic Hand Lettering tutorial to learn how! Or, you can always use stencils, vinyl, or stickers to get a similar effect instead.
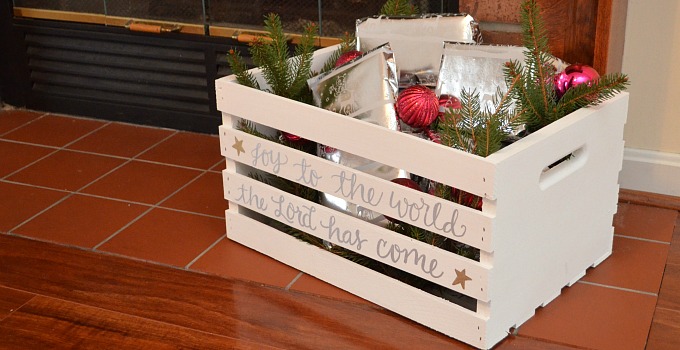
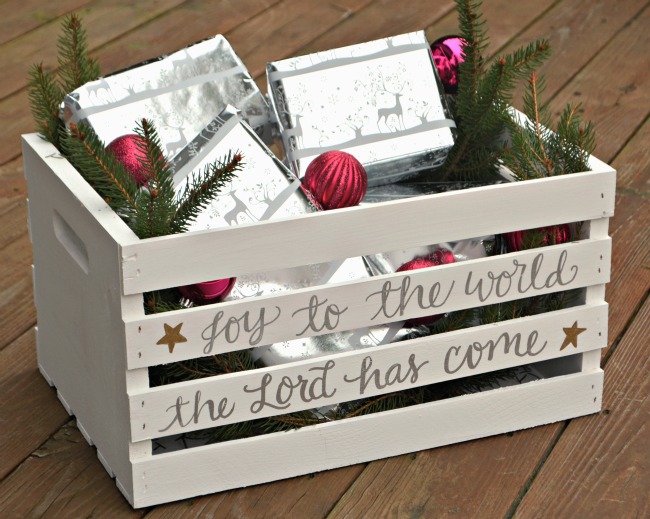
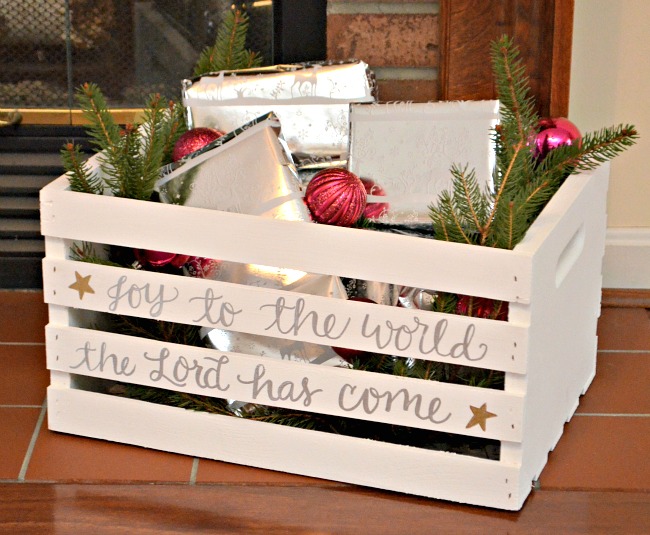
That’s all there is to creating the crate itself! If you’d like to seal your design with a coat of wax, you certainly can. Since I’m planning on using ours indoors and it shouldn’t get much abuse, I didn’t think it was necessary. All that’s left to do is fill it with your Advent Activity gifts! Since I’m on a total metallics kick this season, I went for silver wrapping paper. I also made my crate look extra festive by adding some live greenery {artificial works too!} and colorful ornaments.
What do you think? Before you go, Crates and Pallet wants you to have a chance to make your own project, so they’re giving away a $50 gift card to Home Depot, where you can find their products like the Large Crate I used. To enter, just use the Rafflecopter widget below; good luck!
P.S. My crate happens to be in a special contest over at RYOBI Nation, so if you’re so inclined to vote for it, hop on over and click the “vote now” button!

This is such a neat idea! I love the idea of a “gift” each day. The crate turned out beautifully, too.
Thanks so much, Meredith!
That is so cute! Love the writing on the crate also! Very nice!
I love the crate idea…and gifts for each day’s project…
LC will love that…
I need a crate for my potpourri visitor gifts. AND I LOVE that your give away is Home Depot
I love the crate! Our Advent celebrations are pretty lame – I need to work on it!
love!
The Advent calendar and setting up the little wooden nativity from my childhood!
So special!
Absolutely GORGEOUS!!!!!!!!!
Watching the kiddos open presents
I love going to the Cincinnati Zoo’s Festival of Lights with my boys! I also love baking cookies with the boys too!
Making sugar cookies!
My favorite holiday tradition is stockings on Christmas Eve. I’m not entirely sure how it started but its something we have done since around the time we got married. It was different than what I grew up with Santa filling the stockings so I am not sure how we will do that if we have kids. Its fun because its usually just a small little thing and it provides a little sense of happiness before we go to bed.
Also, that crate is cute and I am trying to figure out if I have a reason to use a similar one in our decorations.
Doing White Elephant gifts. I love how crazy they get 🙂
Such a fun idea! A favorite tradition of mine is Christmas stockings. It’s one I have done since I was a child with my parents and now my husband and I continue the tradition. Also reading the story of Christmas with the family on Christmas Eve always holds a special place in my heart.
Love that! We do stockings too. 🙂
Such a cute idea!
Thank you!
I just love the activities of advent. We try to do candy calendars, activity calendars and also service ones too! LOVE you crate!
My favorite holiday tradition is decorating the tree with the kids!
What a great idea and I love your crate to keep the packages in. Thank you for the opportunity to win a gift card. Cathy
My favorite holiday tradition is our tree decorating party. My grands come over – we bake some cookies, decorated the tree then have the cookies and some hot cocoa while watching the Polar Express. Even though they are in high school and college we still have to have our little party each year – it’s a time when we bond and enjoy being together. Cathy
LOVE this! My favorite holiday tradition is looking at holiday lights with my kiddos!
My favorite holiday tradition is decorating the tree with the whole family! I also love going to see the live nativity scene that our church has every year.
Such a cute idea! I know my whole family would have fun with it!
We have an ornament tree with ornaments from all of our family travels that I love putting up each year.
our advent calendar!
I love making Santa Cookies and playing BINGO Chrismtas Eve!
My favorite tradition is decorating the tree. We use mostly personalized ornaments so it is fun to look at them each year and be reminded of the story behind them!
Church on Christmas eve!
My favorite tradition is making new ornaments every year. I love this cute idea and the crate turned out so cute. Your handwriting is beautiful!
Favorite holiday tradition is always having christmas eve over my aunts house and opening and exchanging gifts with everyone. We always stay up until midnight or neat it to open gifts too.
11pm Christmas Eve candlelight service
My favorite Christmas tradition is making tamales!
I would have to say caroling is our favorite
My favorite Tradition is Christmas eve! All the family comes over for a buffet style meal of sandwiches and chips and all of the Christmas cookies that we have been baking. We then let the kid open their Christmas eve boxes and watch Christmas movies and drink hot chocolate until everyone falls asleep around the Christmas tree. It really is just a fun and special time when the whole family gets to just be with each other.
I love it! I love the colors and the saying. 🙂
Midnight Mass
I love that we have breakfast with santa every year.
We do a baking day and bake a bunch of goodies and then we take them to neighbors and friends. Lots of fun for the whole family.
great idea
I love putting up the tree with my family. We make a fun day of it with lots of Christmas music and yummy snacks.
Spending time with my kids and playing games.
Christmas eve jammies is my fave.
We love to string popcorn for the Christmas tree.
My favorite tradition is have breakfast with my family on Christmas morning!
Did you sand the crate down before painting?
love what you did here!
Beautiful work
Nope! But you certainly could. Thank you!