Yes, YOU Can Quilt!
Over the years, I’ve tried just about every type of art and craft project. From making jewelry to painting and even building furniture, I’ve done it. But my response to folks who would ask, “is there anything you don’t do?” has always been, “quilting.” For some reason, that just seemed a little too intimidating. I had a list of reasons why I couldn’t or wouldn’t give it a try…that is, until last month when I visited Quilt Town, USA.
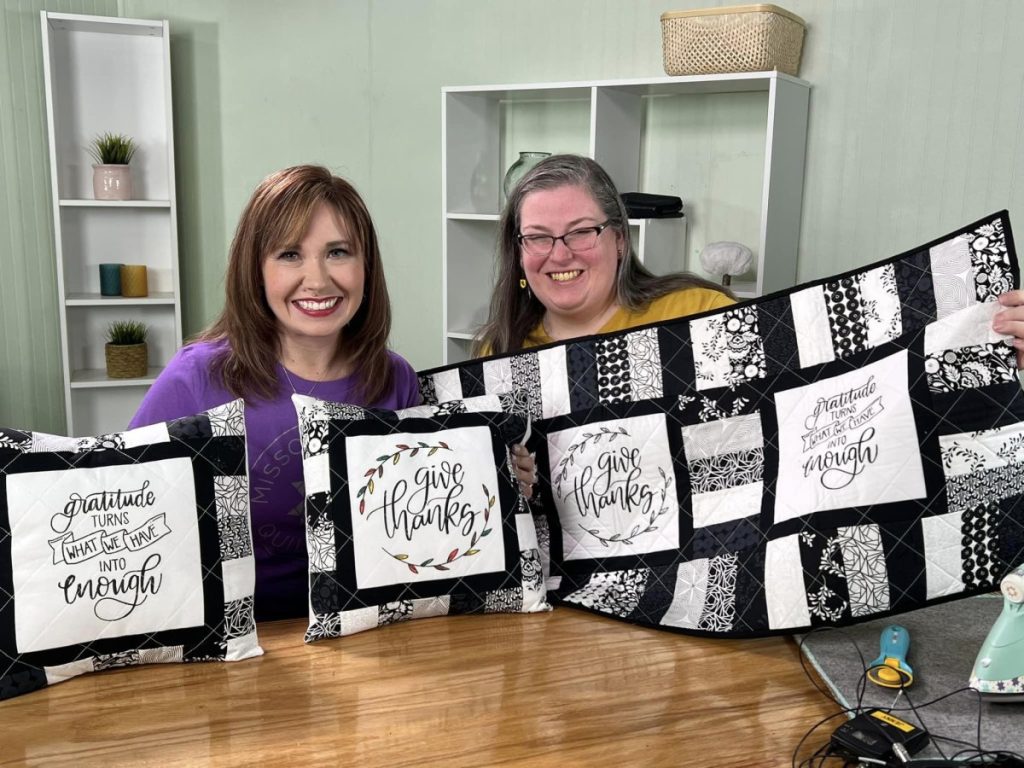
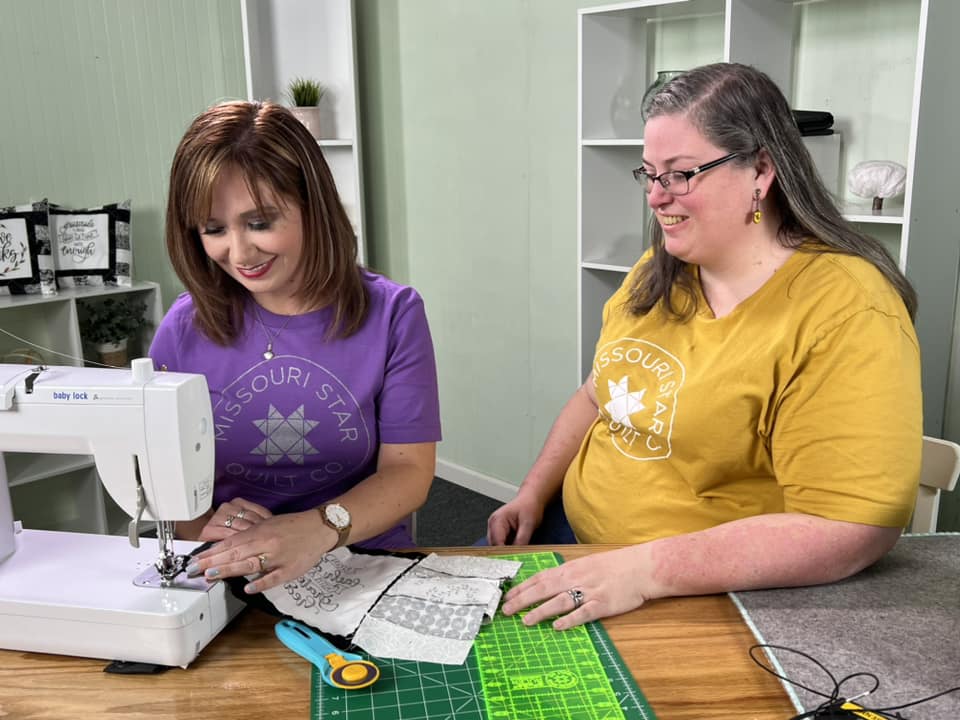
September 20-23, the folks at Missouri Star Quilt Company brought me in for their birthday bash celebration to teach quilters how to hand letter using their fabric markers. But that wasn’t all. In return for learning lettering, they promised to teach ME how to quilt. I was skeptical. I thought it would be an epic fail. But, the result was just the opposite. Instead, I learned that I really can quilt! Not only that, I came home energized and ready to dive in and create all kinds of projects I never thought I could make. I have fallen in love with this new art form, and I can’t believe it took me this long to discover. Today, I want to look at that list of objections I had, in case those same things are keeping you from giving quilting a try.
Obstacle #1: A quilt is a HUGE project!
This is, of course, true. However, quilting doesn’t necessarily mean making a full sized quilt! There are tons of much smaller projects you can create instead: coasters, pillows, table runners, mini-quilts, bags, and more. You can start with these and eventually work your way up to a quilt…or stick with the small projects forever! There’s no rule that you must make an actual quilt to enjoy the hobby. If you’ve been following me for any length of time, you know that my favorite projects are quick, cheap, and easy. I’ve found that I can make a coaster in under an hour, a simple pillow in an afternoon, and a table runner in two or three days.

Obstacle #2: I hate math!
I’m an artist, not an accountant, and for good reason! I wasn’t looking to take up a hobby that was going to force me to do math and figure out what size pieces I needed to create a design. Here’s the good news…you don’t have to! That’s why patterns exist. There are TONS of patterns out there…there are free ones online (check Pinterest!) and in books from the library, and there are also inexpensive physical and digital ones you can purchase. The magical pattern writers have already done the math for you. All you have to do is follow the instructions. They’ll tell you exactly how many pieces to cut of each color and size. They’ll even tell you how much fabric to buy and walk you through each part of the process. Whew! The only major math-ing you need to do is if you create a pattern of your own.
Obstacle #3: I hate cutting!
The thought of sitting there and cutting a bunch of squares, triangles, and strips by hand didn’t sound like any fun at all. I hate cutting with scissors, and I worried that my own inability to cut a straight line would mess everything up. If the pieces are wrong, nothing lines up, and the whole project is a hot mess, right? Are you ready for the good news? There are tools and even precut fabrics to help with this!
THE RIGHT TOOLS
First, get yourself three basic tools: a rotary cutter, a self-healing cutting mat, and a quilting ruler. You would not believe how much easier this makes the whole process! My ruler is 15″ by 5,” but they also come in smaller sizes, squares, and more. The cutting mat also comes in a variety of sizes; you can start small and then upgrade to a larger mat later if you find that you want to make bigger projects.
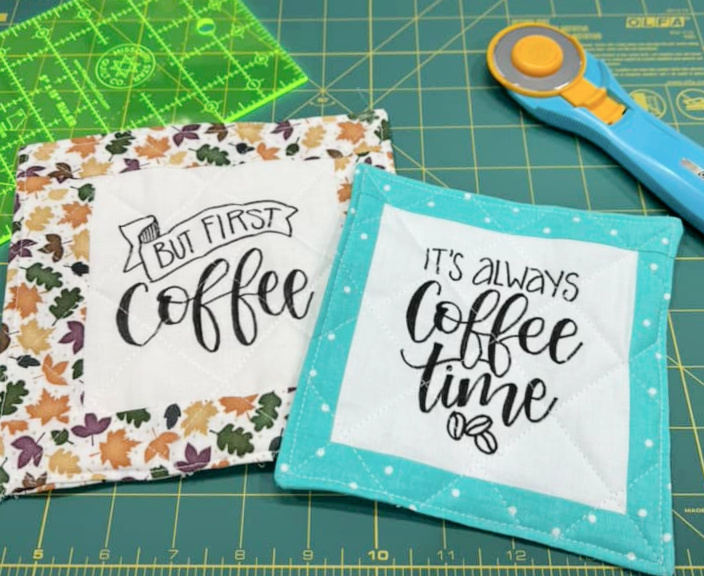
For crisp, straight cuts, just put your fabric on the mat, use the ruler to line up and measure your fabric, then run the cutter right along the edge of the ruler like a pizza cutter. No more scissors! No more messy edges!
PRE-CUT FABRICS
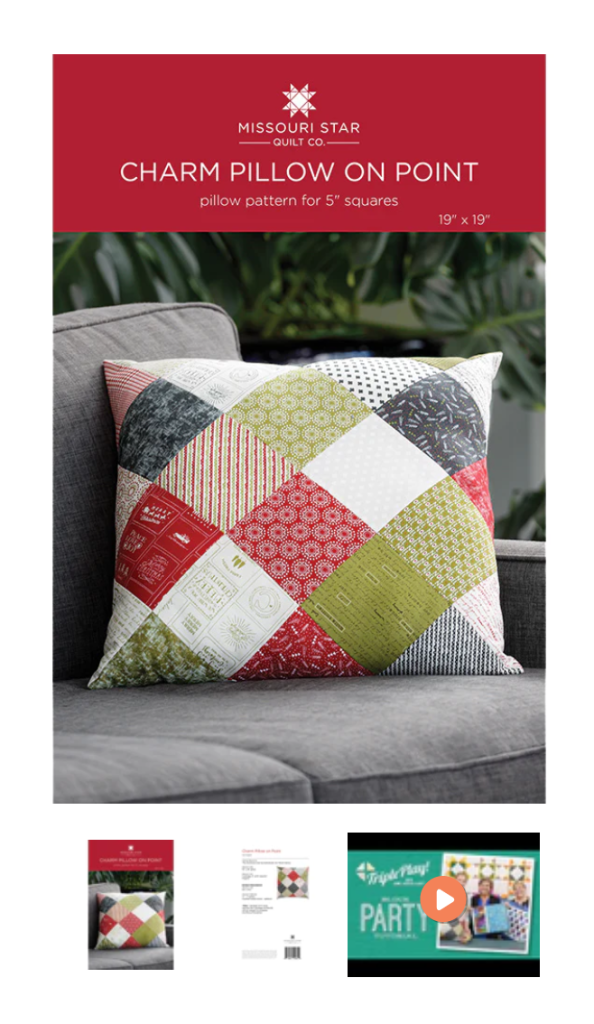
Another fabulous invention for those of us who don’t enjoy cutting is precut fabrics! You can get mini charm packs (2.5″ squares), charm packs/stackers (5″ squares), jelly rolls/rolie polies (2.5″ strips), and layer cakes/stackers (10″ squares) that have already been cut for you and are ready to use. Please and thank you! One thing I’ve noticed is that these particular measurements are very, very common ones found in quilting patterns. Some patterns are even specifically designed to use nothing but a charm pack. Yes, you’ll pay a bit more for the convenience of pre-cut fabrics, but I personally think it’s totally worth it to not have to do all the cutting myself.
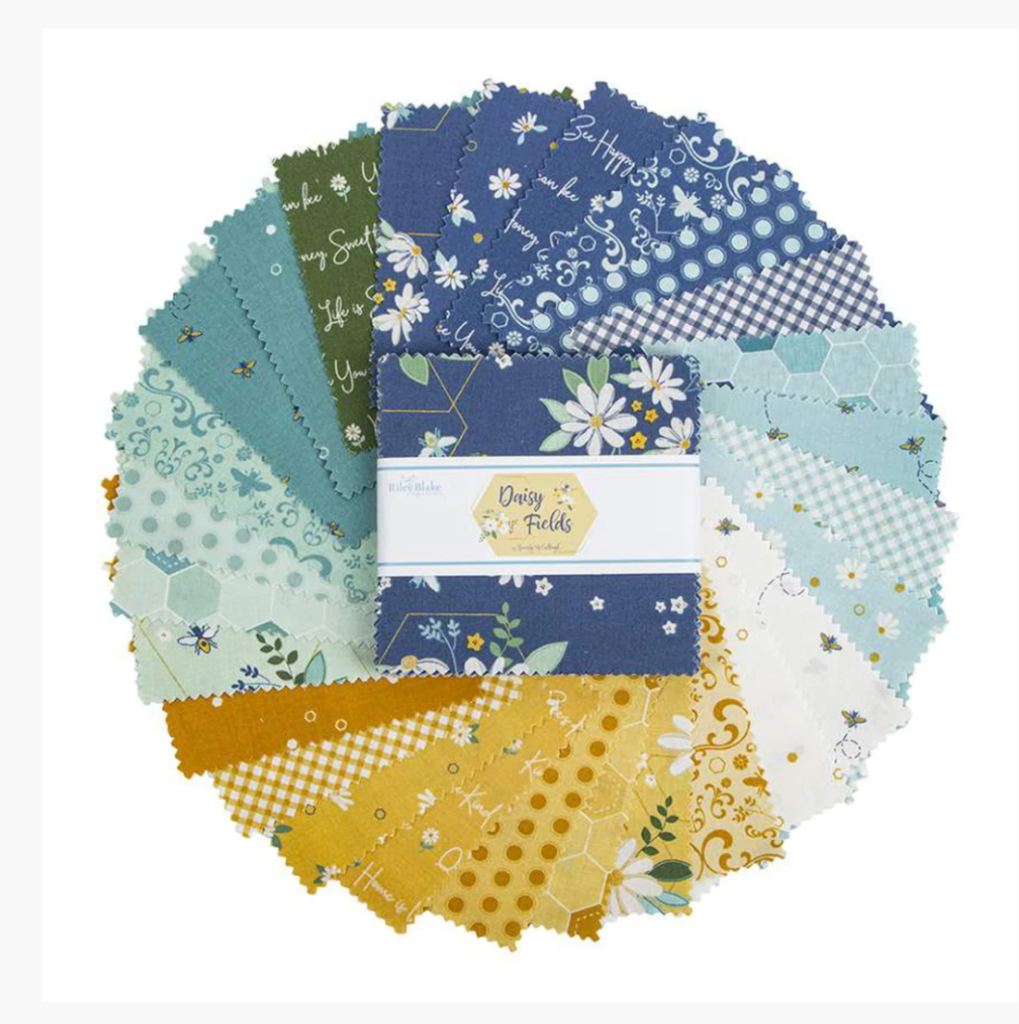
The other bonus is that these packs typically contain a variety of fabrics that have been designed to coordinate with each other, so you don’t have to do the work of picking a bunch of different solids and prints that you like together. The charm pack you see below is called Daisy Fields, and it’s designed by my friend Bev of Flamingo Toes for Riley Blake Fabrics. See how wonderfully all the colors and prints complement each other?
THE CRICUT
The other option for those of us who don’t love cutting is to make use of a Cricut or other electronic cutting machine. The Cricut Maker 3 is easily able to cut fabric in whatever size and shape you want. Just place your fabric on a fabric grip machine mat, and use the Design Space app to tell the machine what you want to cut.
Obstacle #4: I don’t have a fancy/expensive sewing machine.
You don’t need one. I don’t have one either. I have a very standard, basic machine and it’s doing just fine. Yes, there are plenty of nice machines out there with more bells and whistles (like the fabulous one pictured below that I got to use at MSQC), but they’re really not necessary, especially when you’re just starting out. I’ve quilted coasters, pillows, table runners, and a mini quilt on my existing machine. For actual full sized quilt projects, no matter what machine you have, you’ll most likely want to have the quilting done by a long arm machine anyway at a local sewing shop or through a company like MSQC. As you catch the quilting bug, you may very well decide you want to upgrade, but whatever you have on hand will work at the moment to get you started!
Obstacle #5: I don’t have a bunch of tools/supplies.
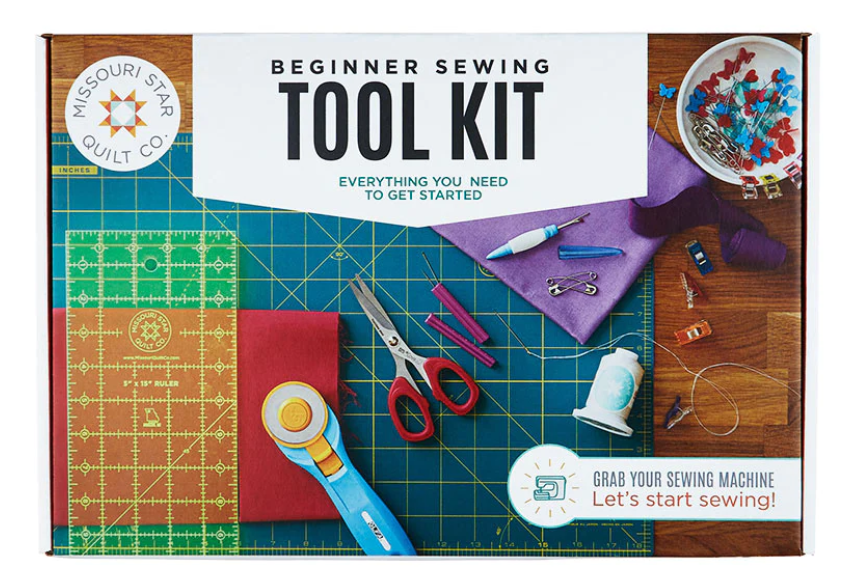
All you really need to get started is fabric, a sewing machine, and the basic things found in this Beginner Sewing Tool Kit: a rotary cutter, a mat, a ruler, pins, a seam ripper, thread, scissors, and quilting clips. If, like me, you already know how to sew, you probably have some of these things and can individually buy the ones you still need.
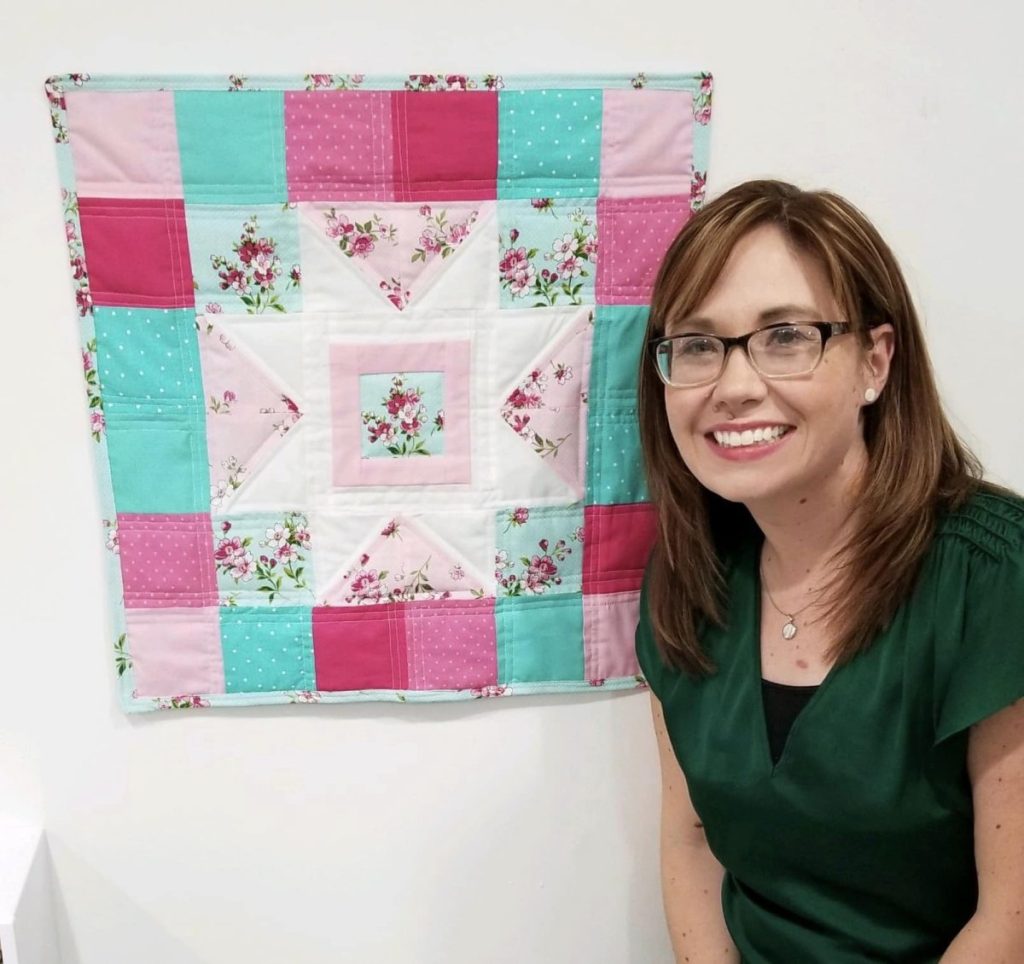
See? All of those things aren’t really such big obstacles after all. I’d love to invite you to join me on my own beginner quilting journey and give this hobby a try. It’s actually been a lot of fun, and I’ve made some things I’m really proud of, like my first mini-quilt (using this free pattern) and a holiday table runner I can’t wait to use.
As you’re getting started, if you need to purchase supplies and/or fabric, I have some good news. I asked my friends at Missouri Star, and they kindly created a special friends and family discount code just for us! If you make a purchase at missouriquiltco.com, just use the code amylatta15 to get 15% off your order. This code doesn’t expire and can be used any time you buy.
I’m going to be sharing some basic tutorials for quilting techniques here on the blog, as well as some patterns I’ve come up with for simple projects anyone can create. I hope you’ll craft along. As always, don’t forget to share your project photos in the Amy Latta & Friends Facebook Group so we can all be inspired. I can’t wait to see what you create.

One Comment