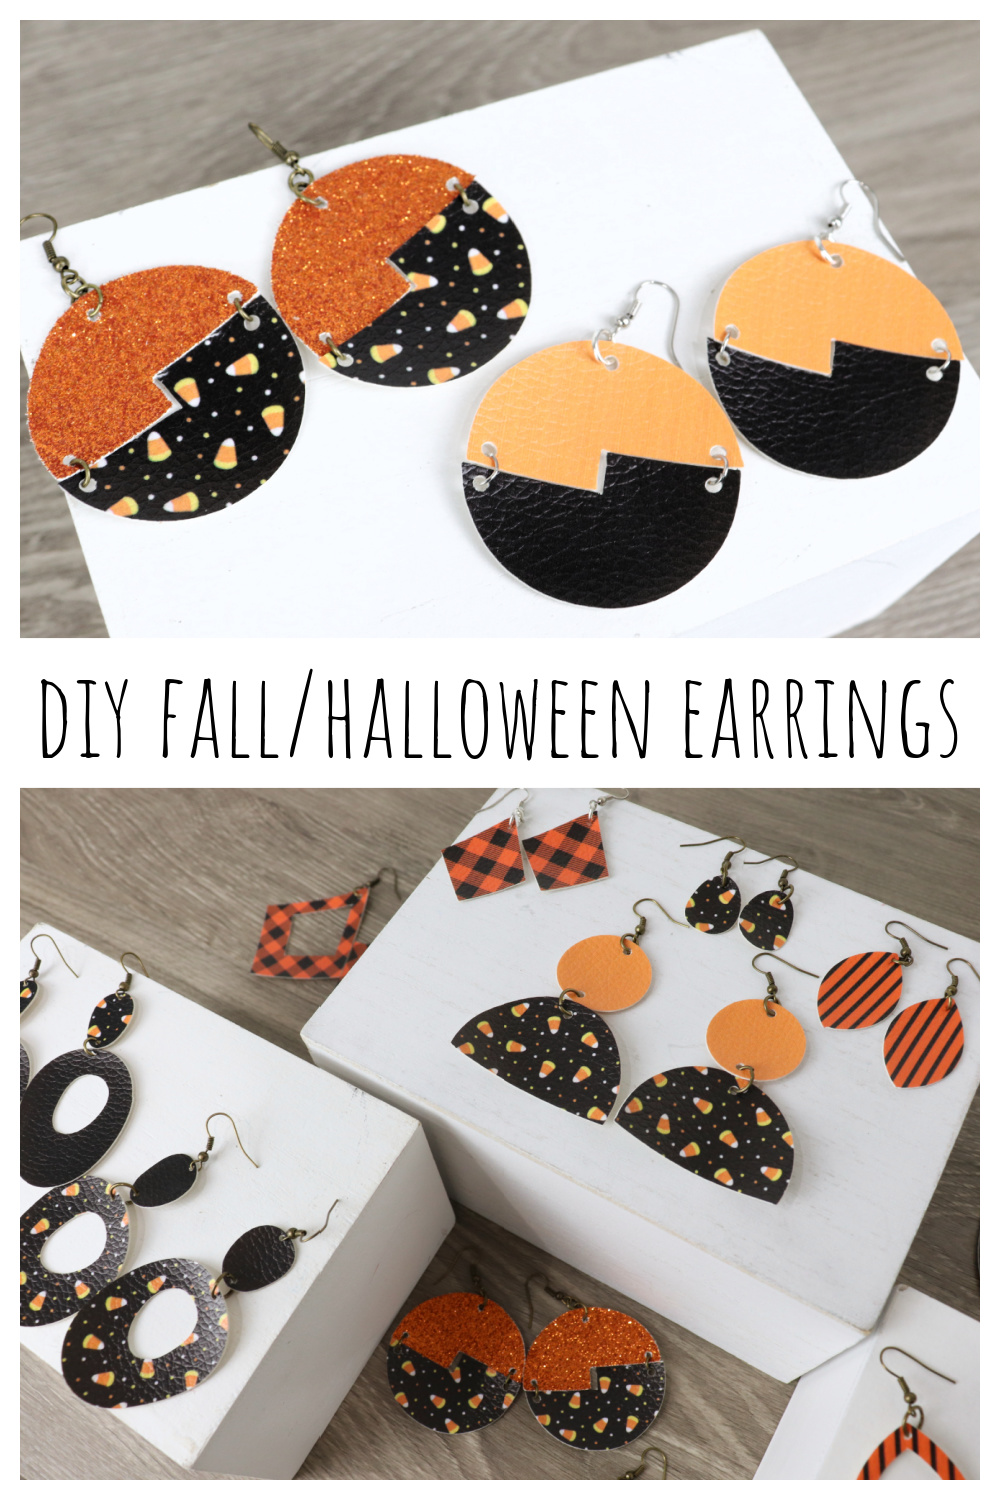
DIY Fall and Halloween Earrings
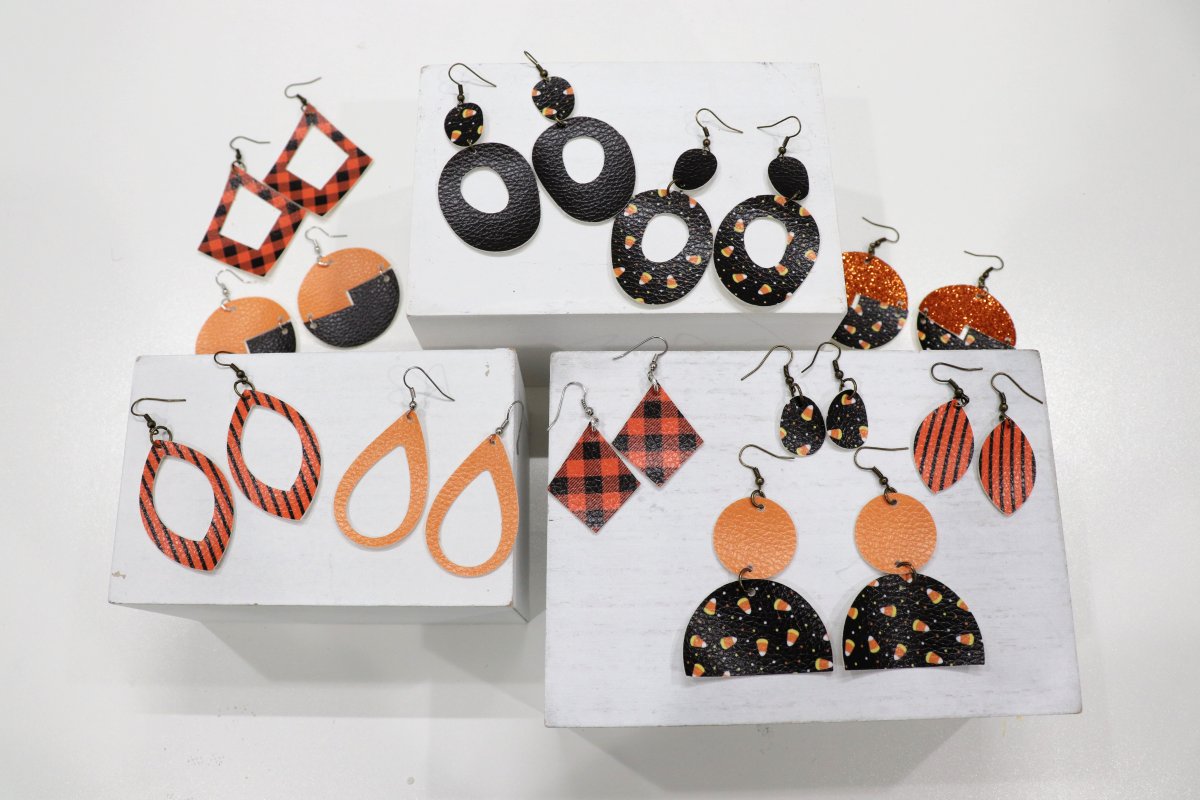
It’s always fun to accessorize for different seasons and holidays. With fall in the air, it’s the perfect time to create seasonal and Halloween earrings! These are simple to make, and the faux leather makes them both lightweight and stylish. Here’s how to create your own.
You’ll need:
Faux leather (I used this pack of 12 Halloween themed sheets)
Cricut cutting machine (or scissors and small hole punch)
*Note for non-Cricut/electronic cutting machine owners: You can make this project too! Just print out some shapes, like circles, teardrops, etc. and use them as patterns. Trace them on the back of the faux leather and use scissors to cut them out by hand. Use a small hole punch or an ice pick to make a tiny hole at the top of each shape for inserting the jewelry hardware.
Step 1: In the Design Space app, search the available images for earring shapes you like, and add them to your canvas.
A quick search of “earrings” should give you all kinds of choices, and you can choose your favorites. Here is a list of the specific images I used for mine in case you want to search for any of them in particular.
#M3D1C07CE (small circle-ish with large open circle-ish)
#M3DD1A34D (open diamonds)
#M3E077B90 (layered teardrops)
#M3E086A7F (pointed open teardrops)
#M3E5C54F3 (simple open teardrops)
#M3E5C5AD9 (pointed open teardrops)
#M3EBC2950 (double open teardrops)
#M3EBC25CF (triple open teardrops)
#M3ED4422ED (triple open circles)
#M3ED43C64 (large circle with two halves)
#M3ED458BF (small circle and half circle)
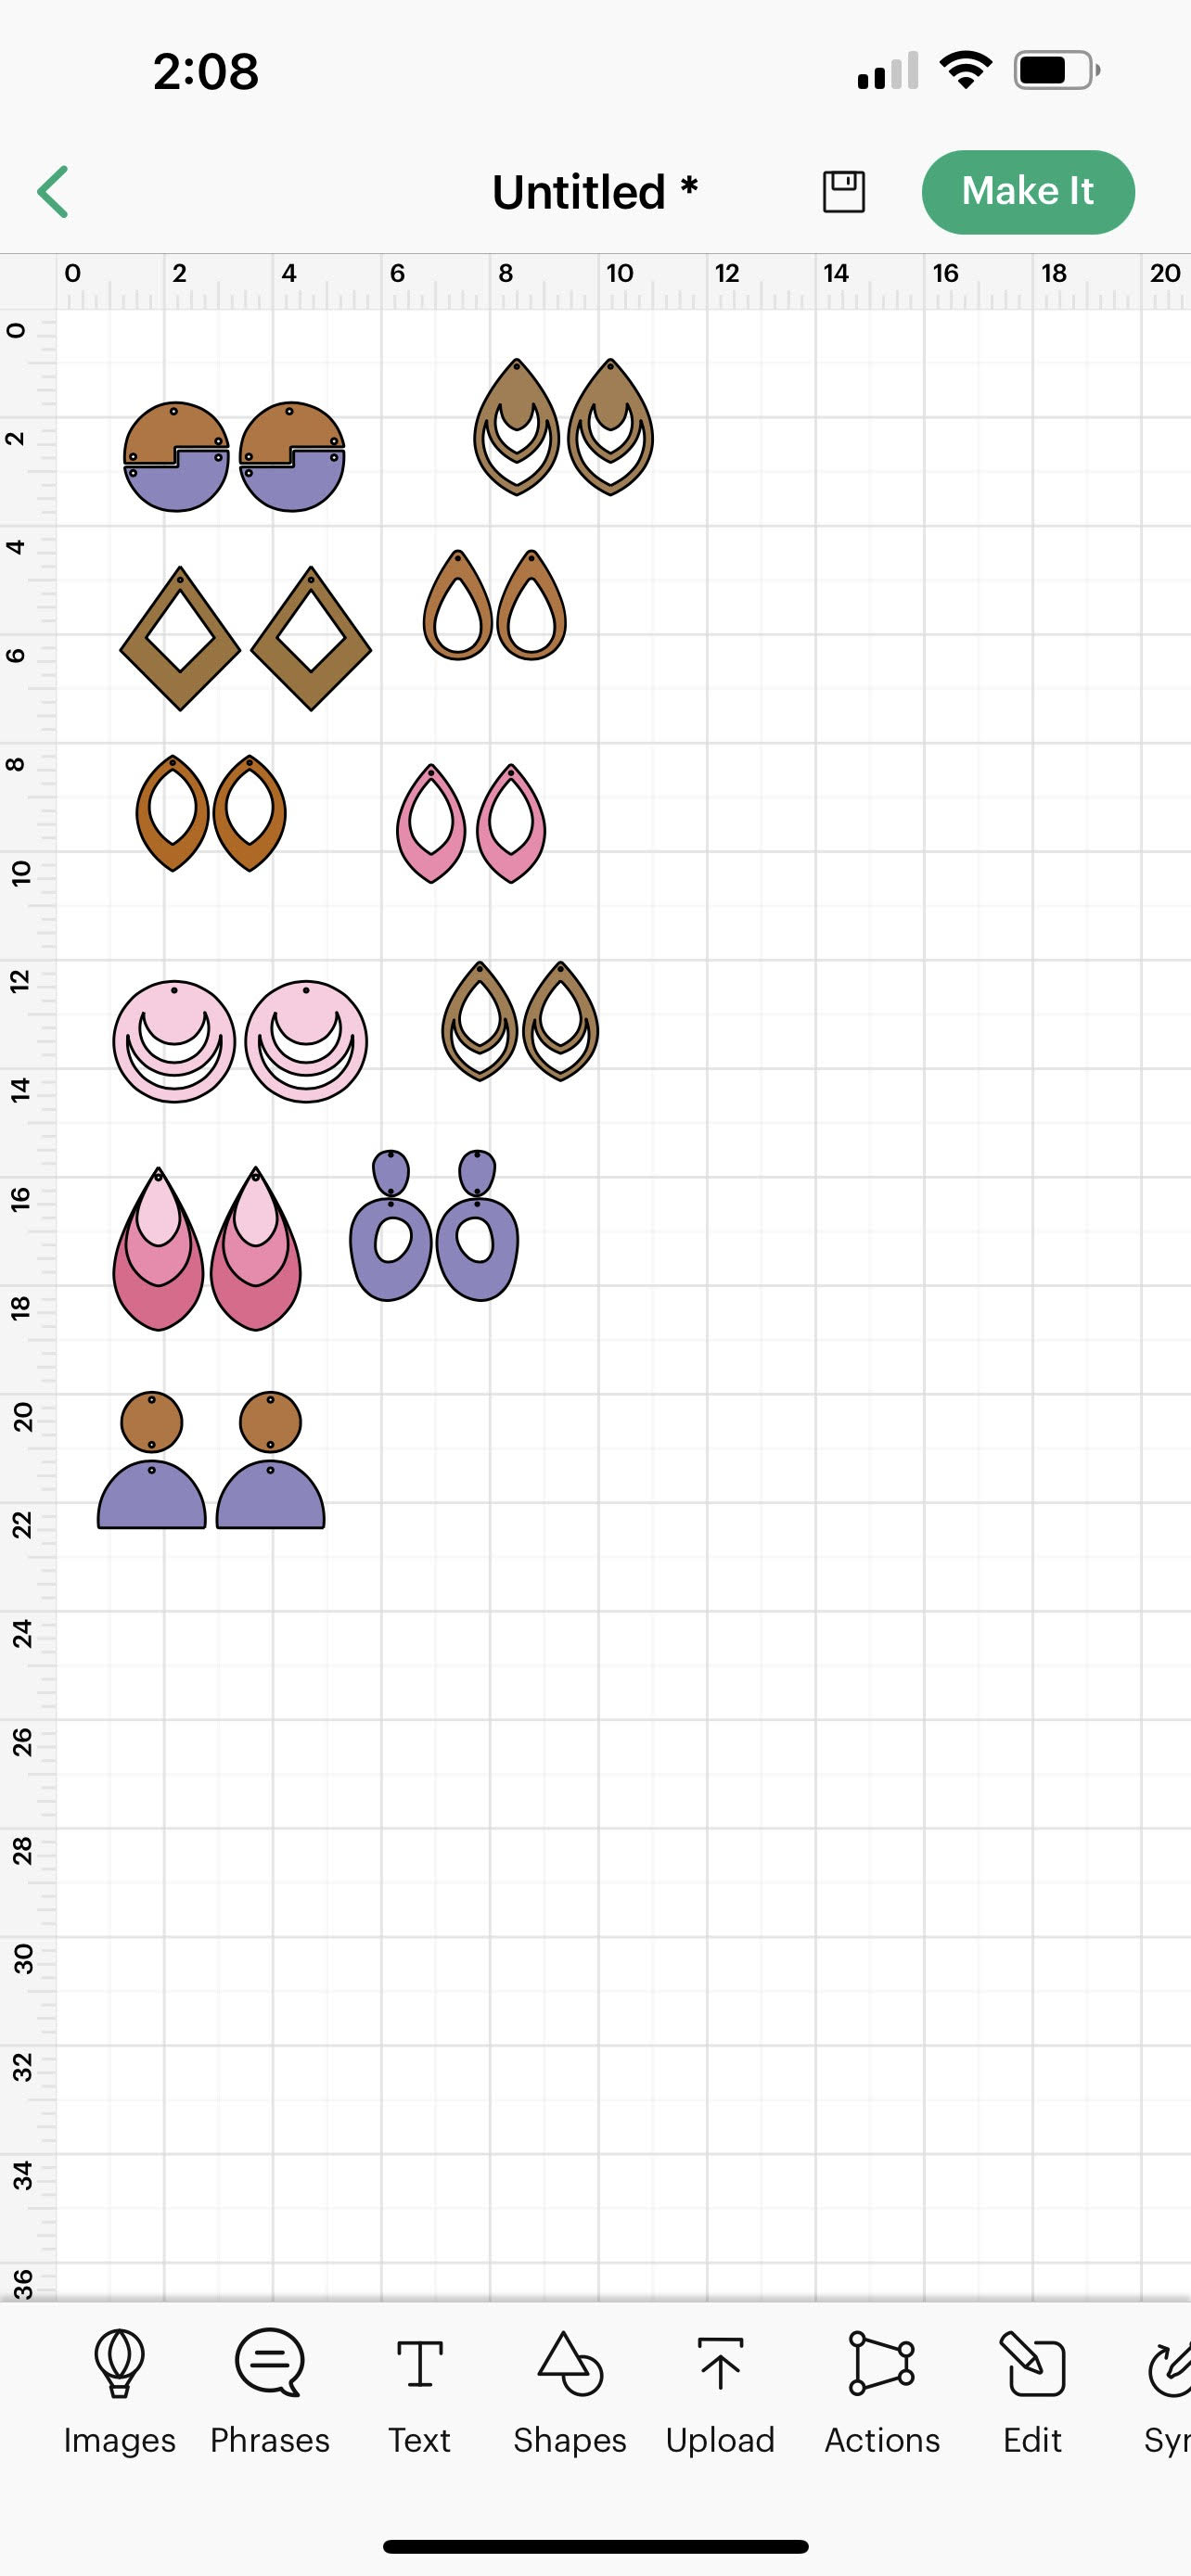
Once they are on your canvas, resize them in any way you like. I personally tend to wear smaller earrings, so I shrunk some of the 3″-3.5″ ones to be 2″ or less.
Step 2: Decide what color(s) you want each pair of earrings to be and set the material color accordingly.
This will organize your cuts into mats based on the different colors of faux leather you’re using. For example, figure out all the earrings and parts of earrings that you want to be black, then select each of those images and set the material color to black. Repeat for orange, and so on. It’s ok if you choose a material color you aren’t actually using to color code in the app (for example, I used brown to represent an black and orange polka dot faux leather). The key is just to code them so that the shapes you want out of the same color will cut on the same mat.
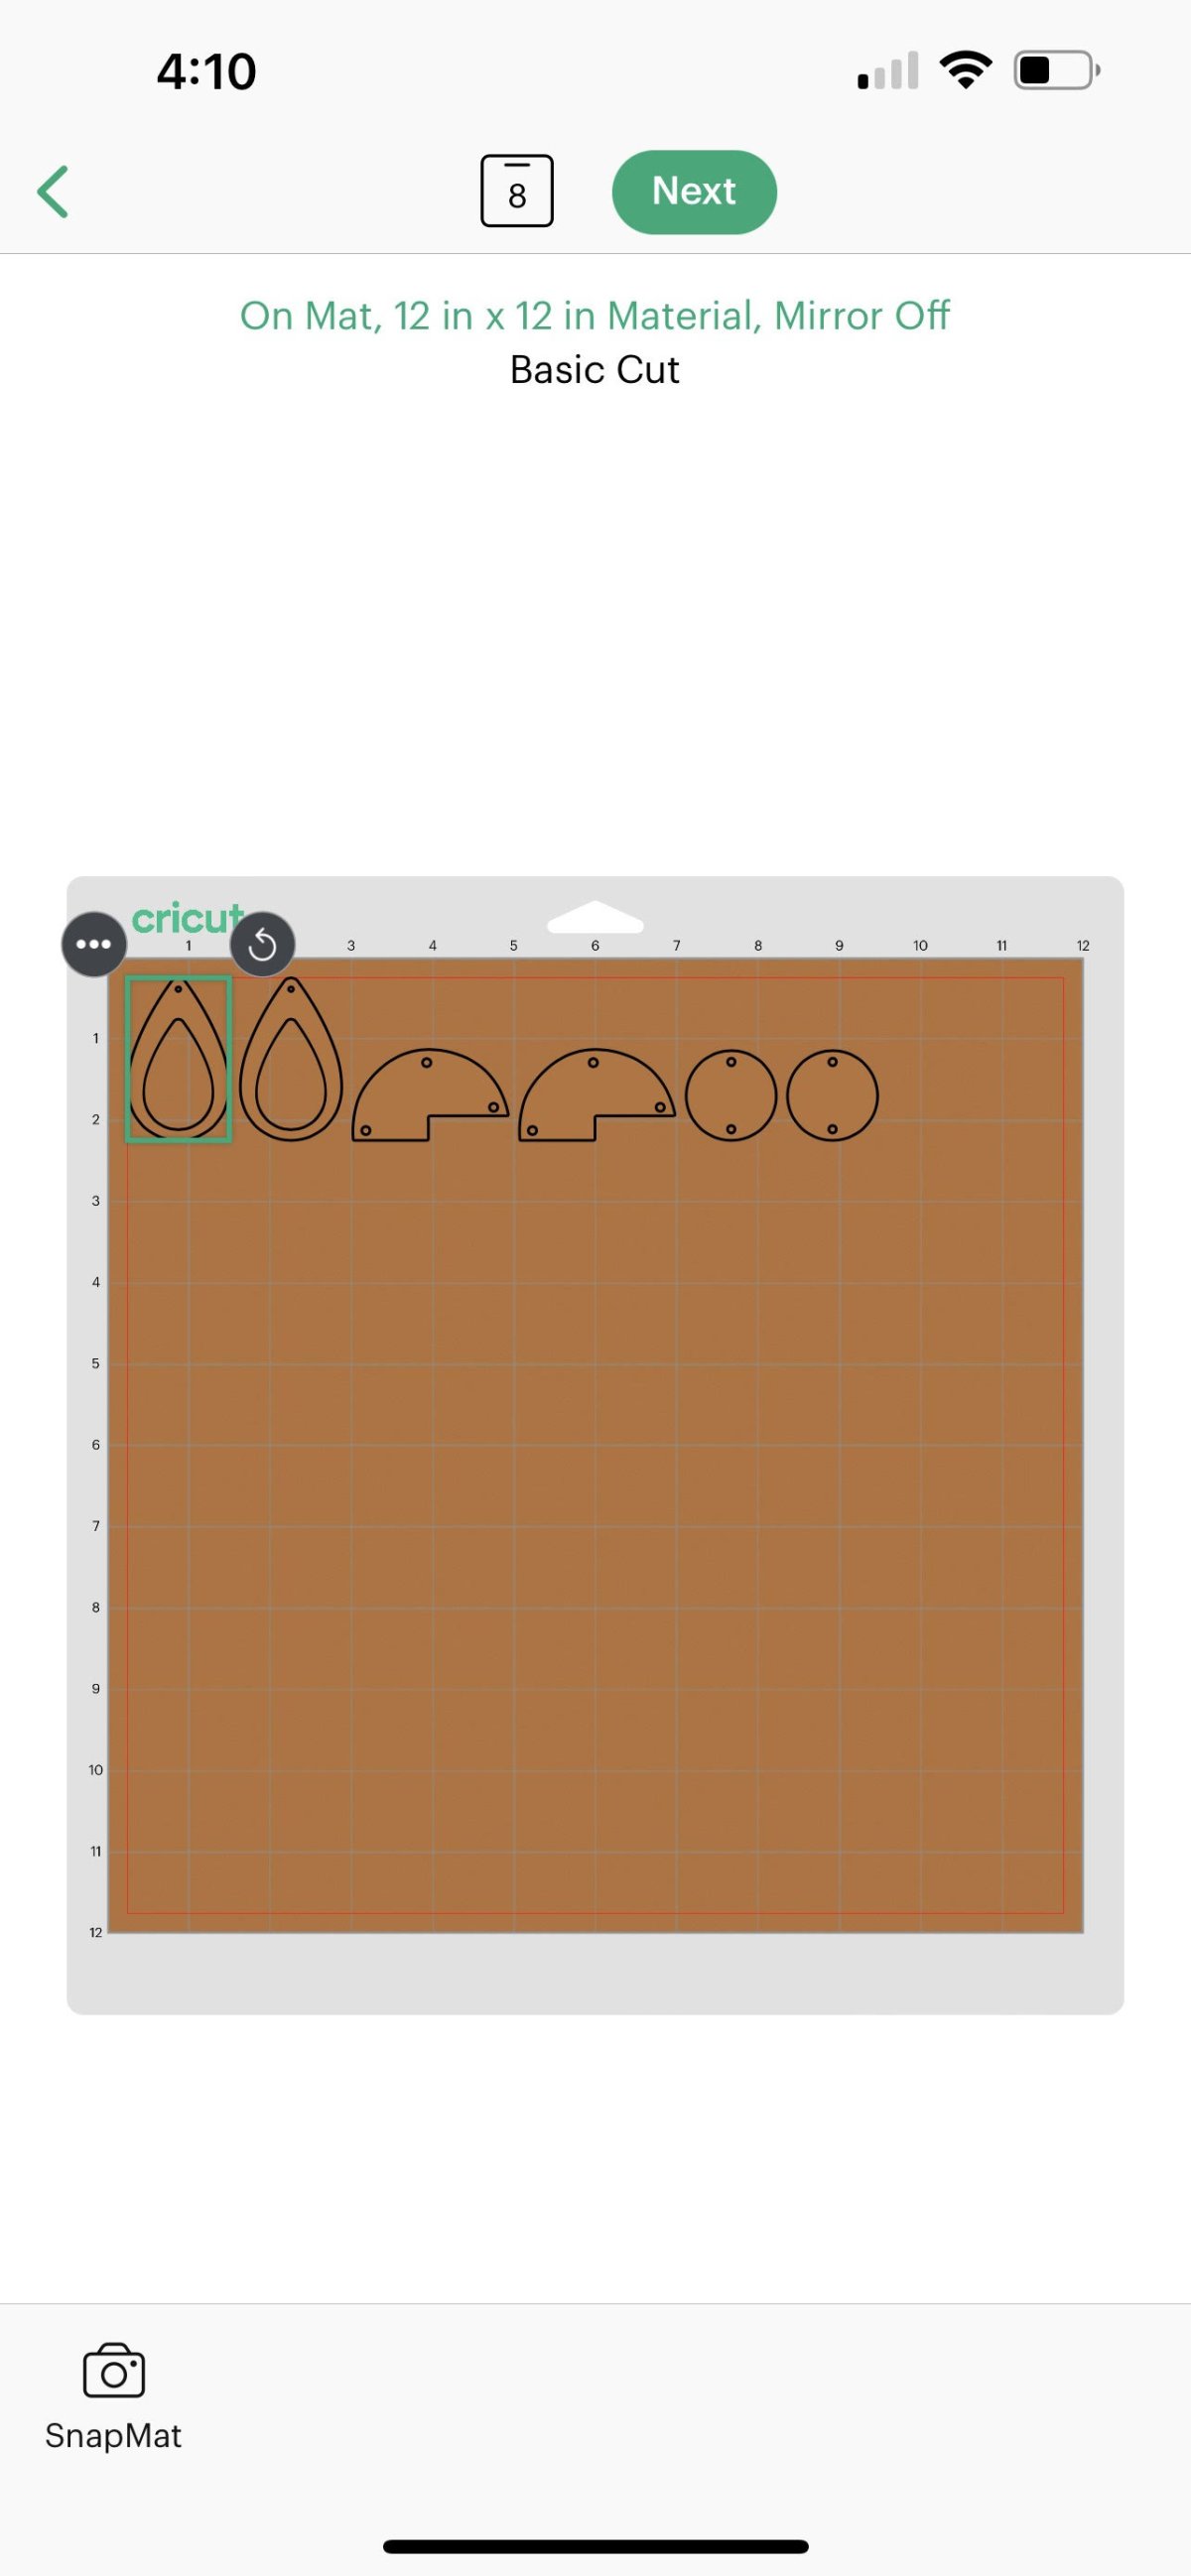
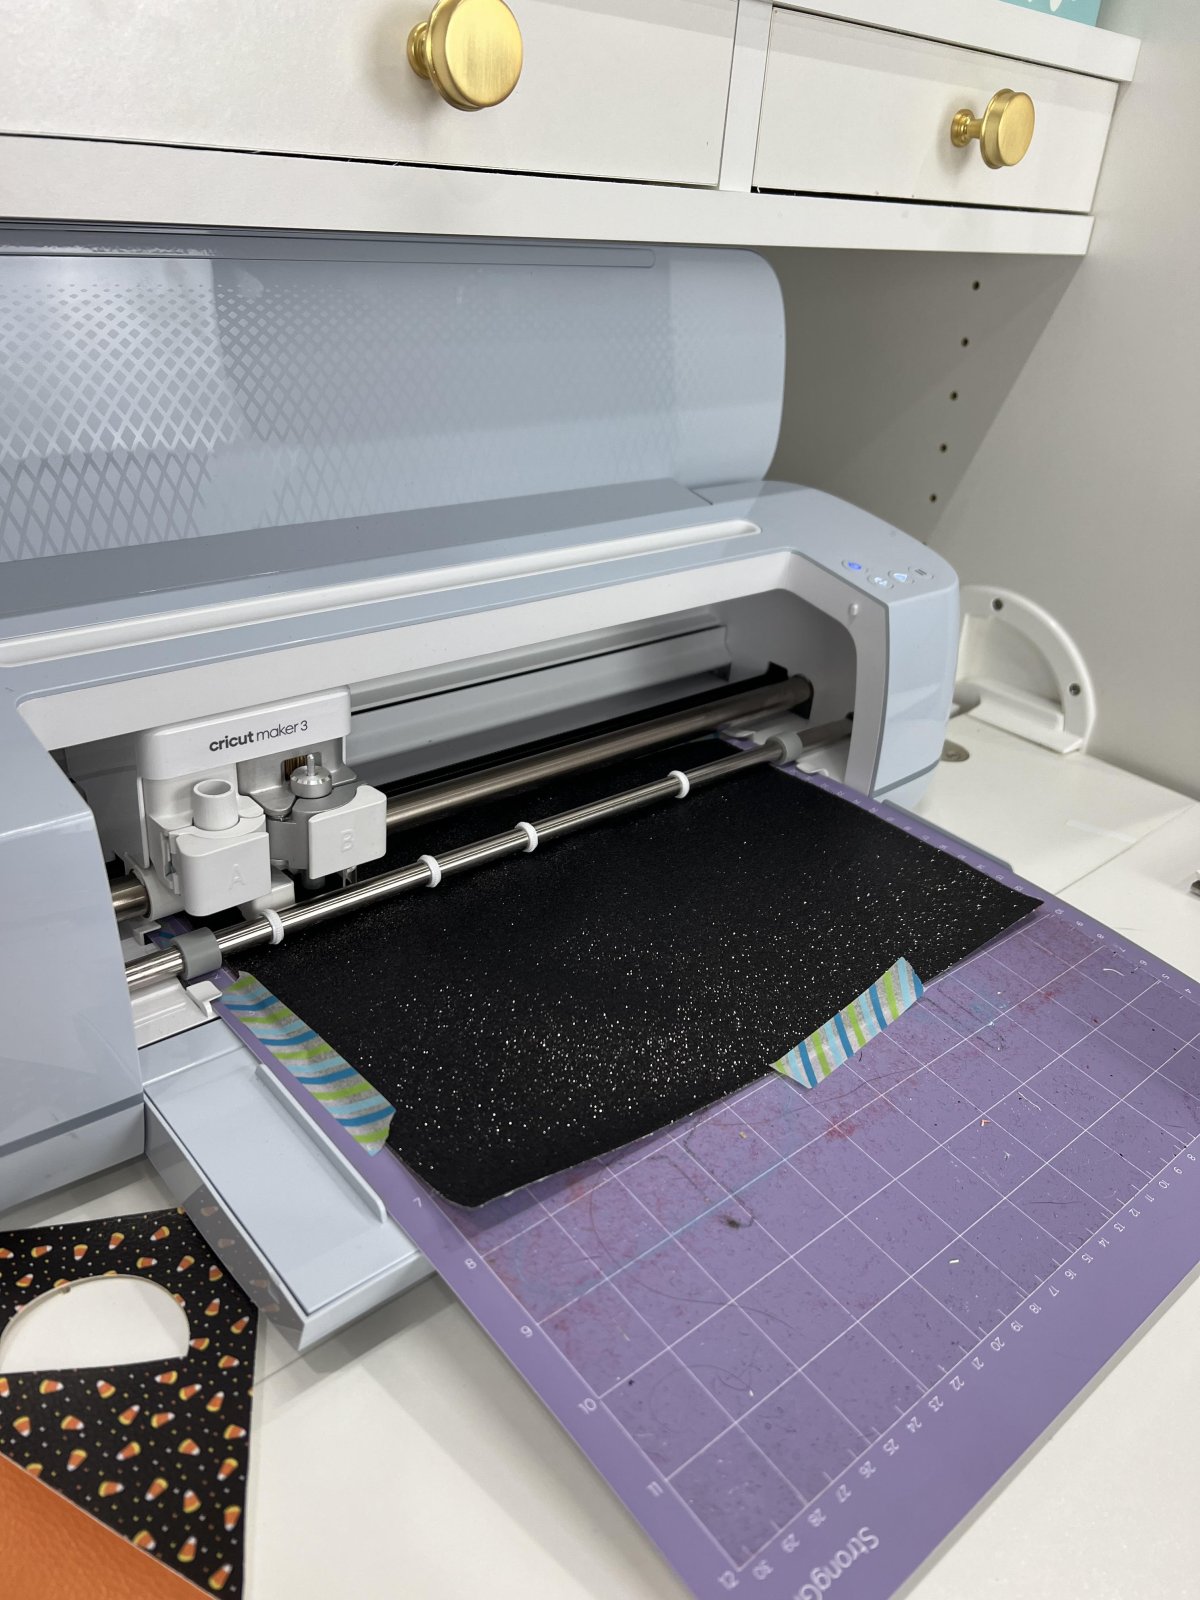
Step 3: Follow the prompts in Design Space to send the images to the Cricut.
Once you’re ready to cut, choose, “Make it” and the app will prompt you to load each mat one at a time. Place your faux leather onto a strong grip cutting mat (I secured mine with some tape just for extra hold). Load it into the machine and follow the prompts to press the “go button” and let the Cricut work its magic.
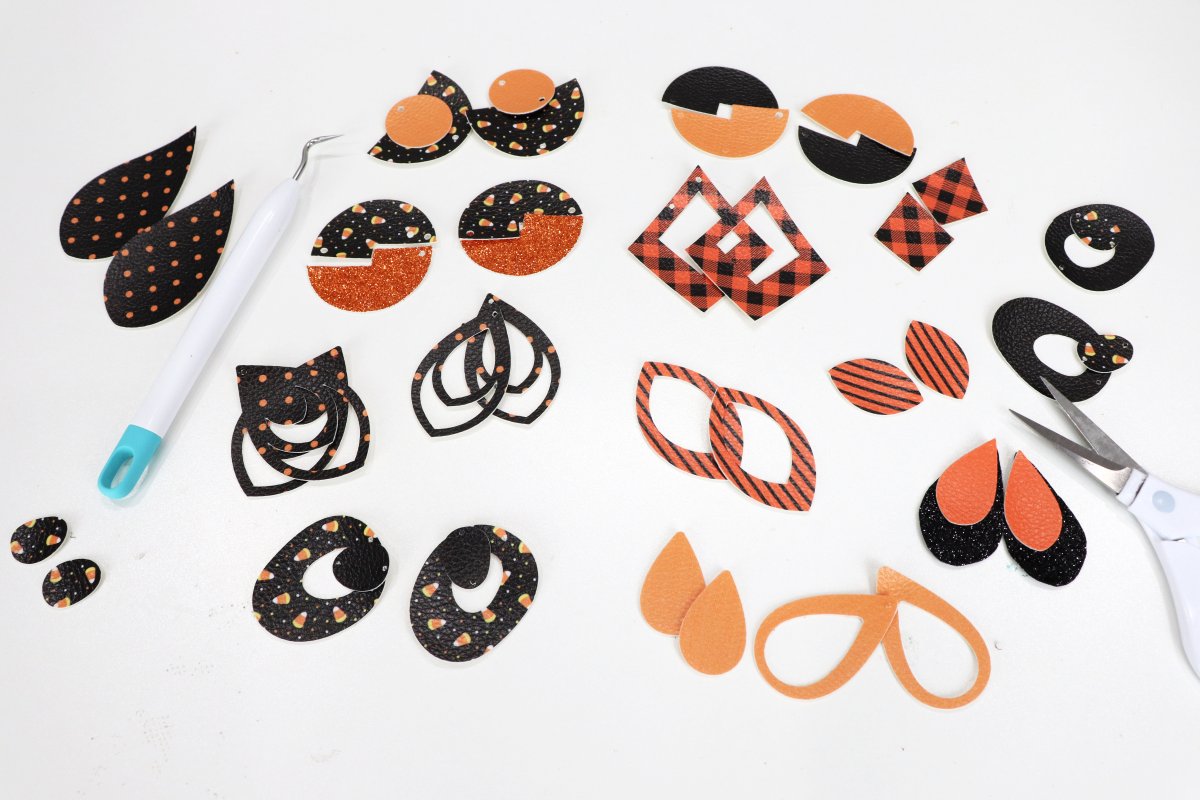
Step 4: Sort your cut pieces into earring pairs.
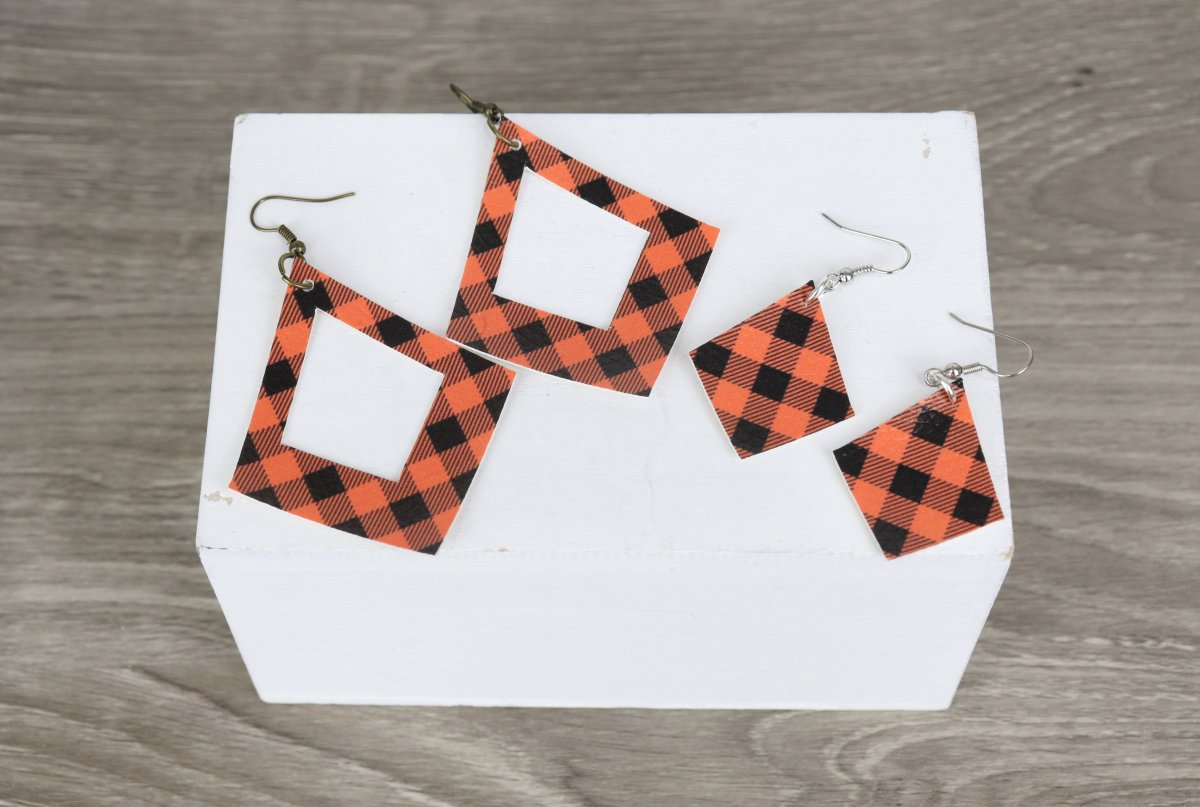
During this step, I noticed that the pieces that were cut out of some of the open shapes, like the diamonds and teardrops would actually make cute earrings on their own. So, I punched holes in the top of those shapes too! Bonus…two pairs of earrings from one cut!
Step 4: If your earrings are made of separate pieces, link them together with jump rings.
When working with jump rings, hold a pair of pliers in each hand and gently twist the ring apart at the opening. Then, twist it back to close.
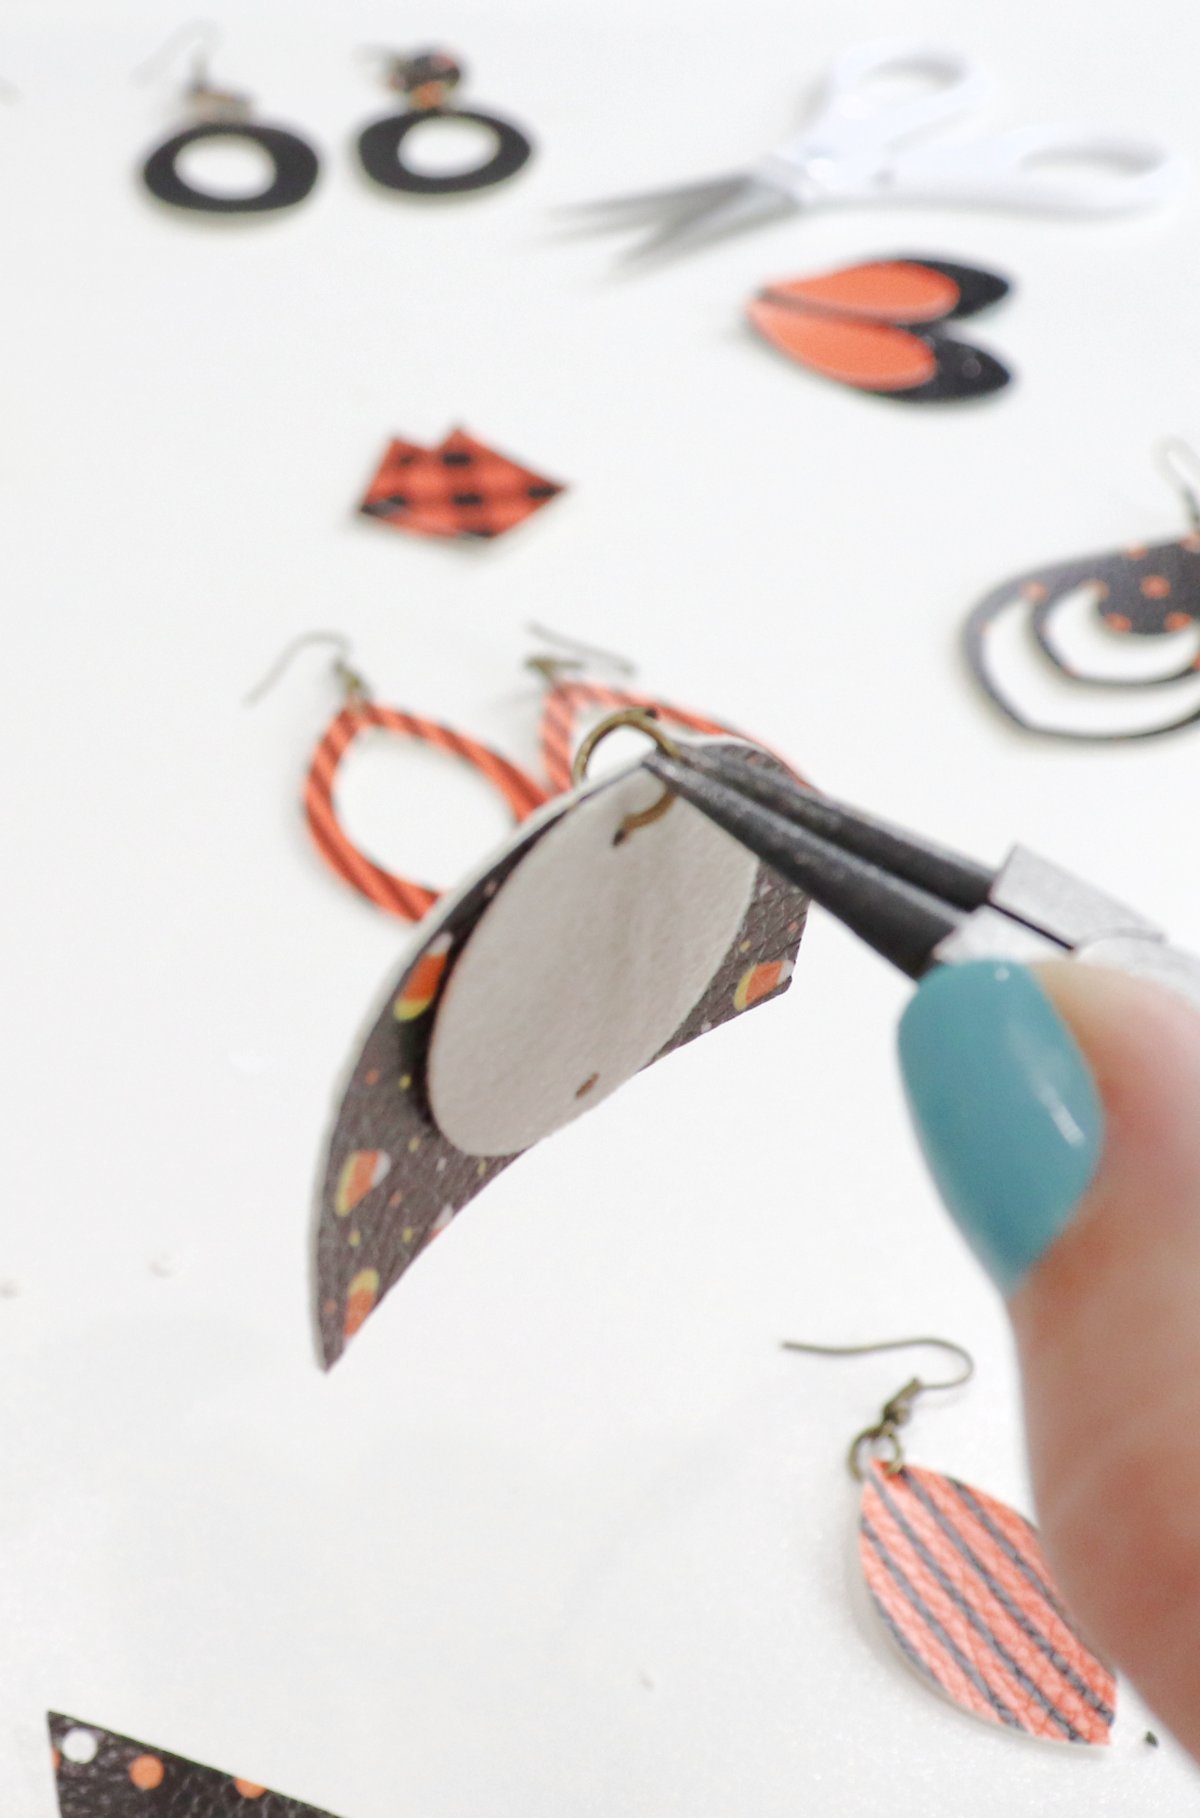
Step 5: Add jump rings and ear wires.
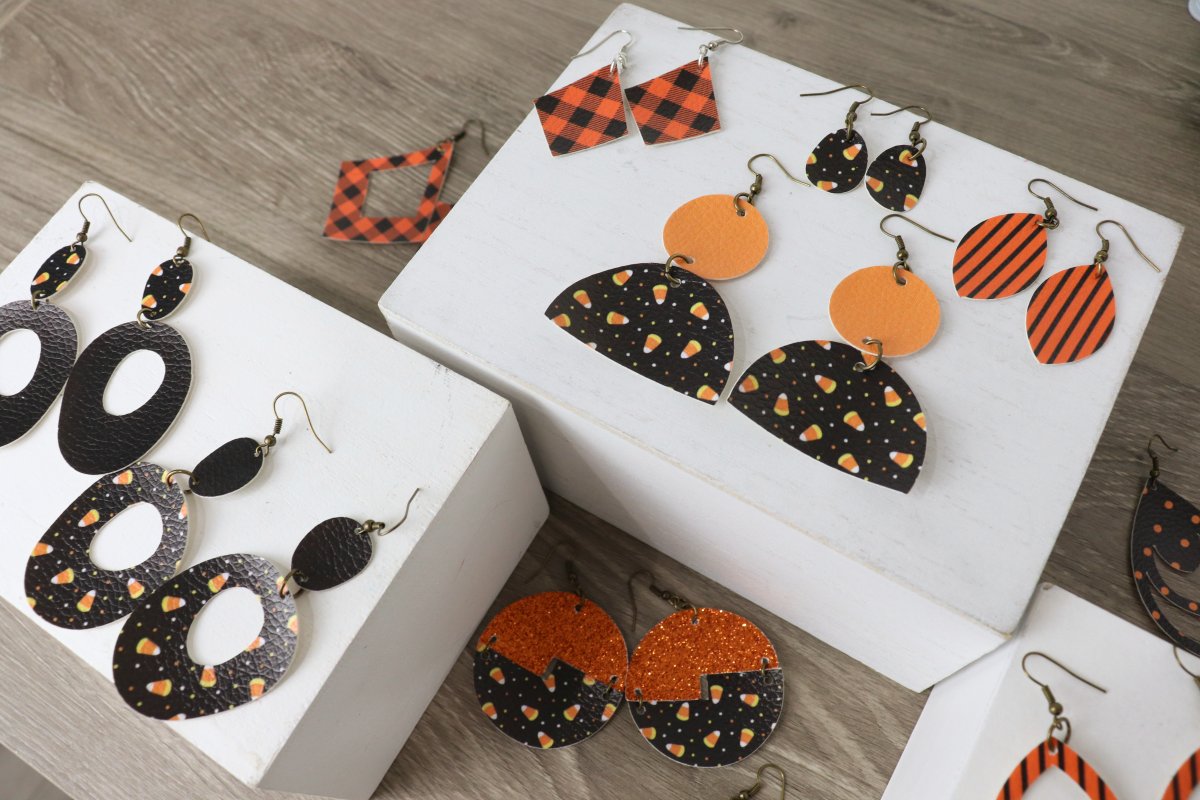
You can use any color metal hardware you like. I had silver, gold, and antique gold, so I used different metals for different pairs. Here are some closeups of what I made.
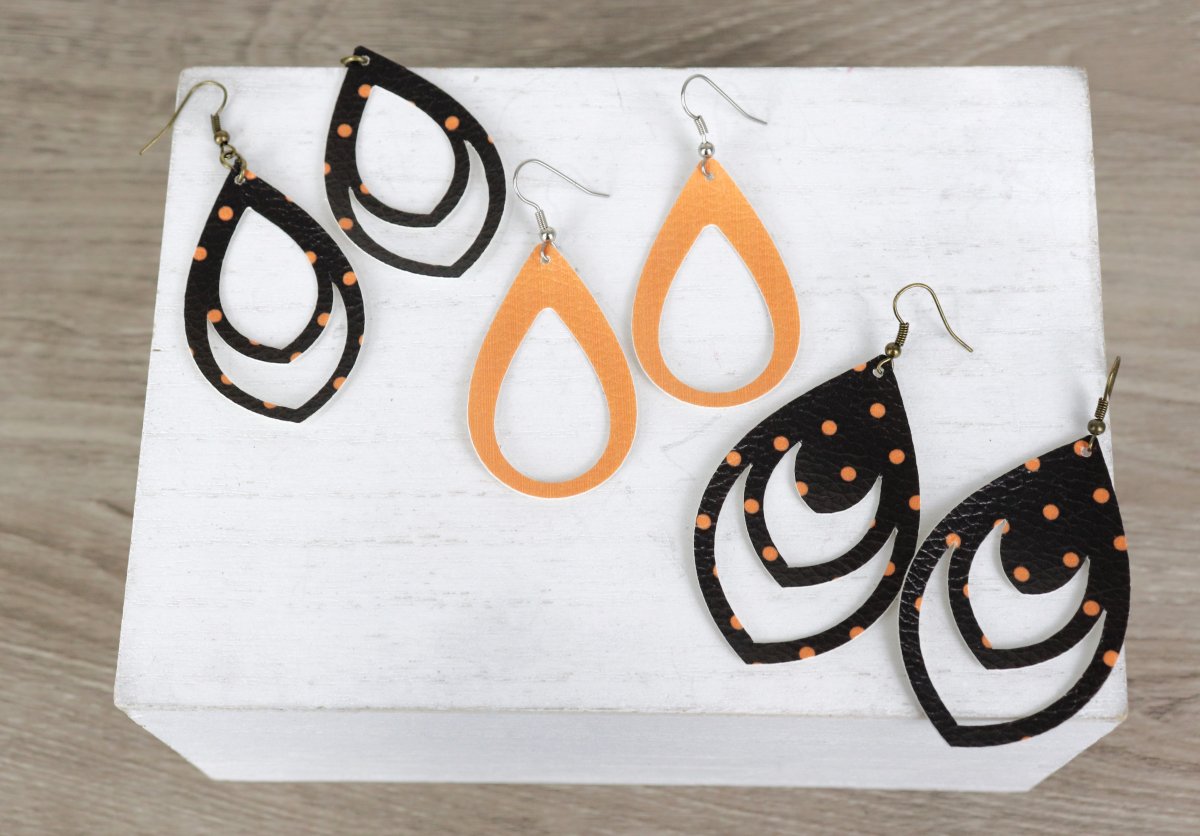
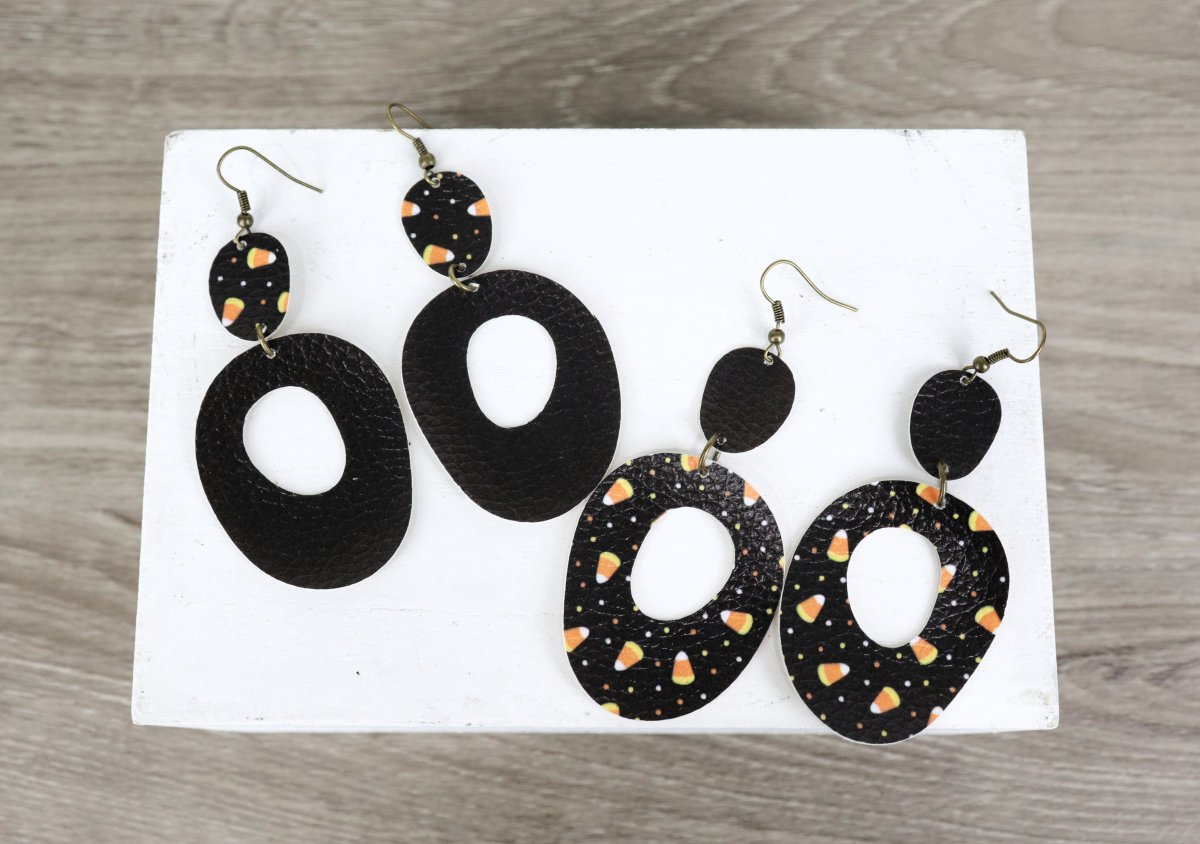
This is one of the sets where I got two pairs of earrings from one cut. Honestly, I tend to wear smaller earrings, so I’ll probably wear the bonus pair more often!
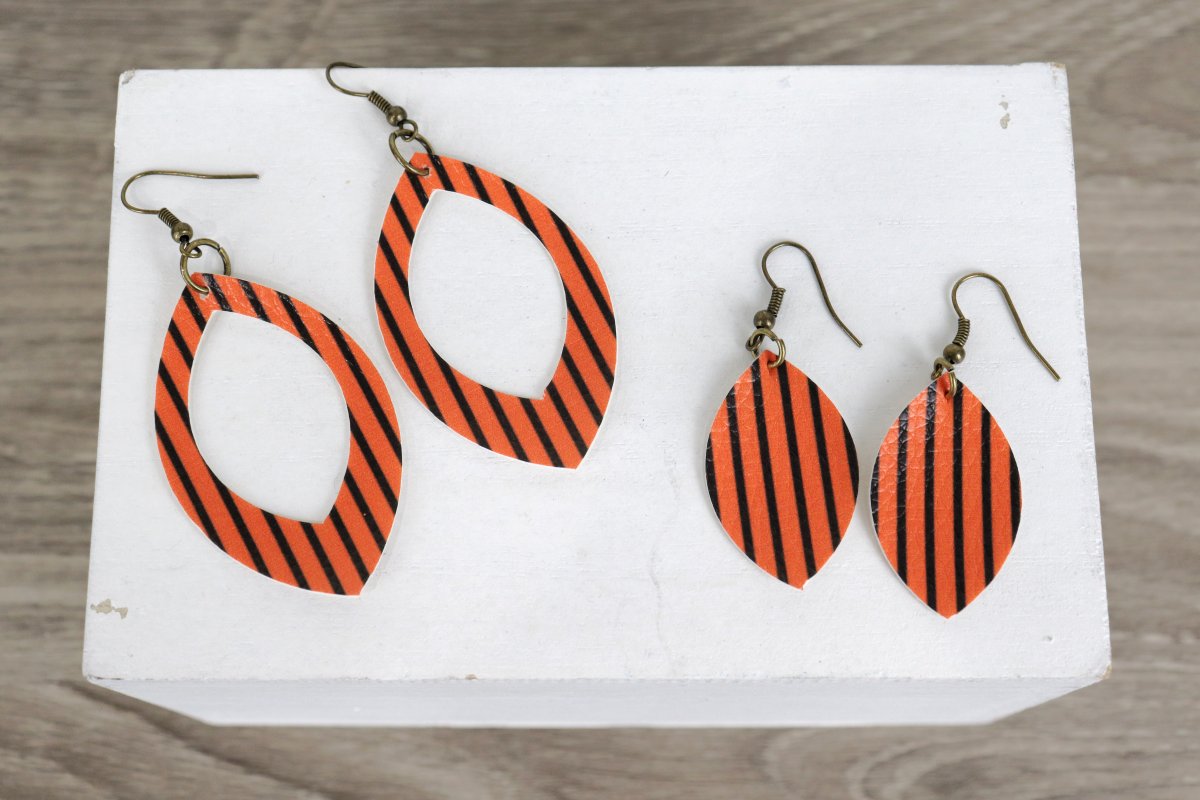
I love the look of the striped faux leather for this set. Once again, the shapes cut from the center made a cute pair too.
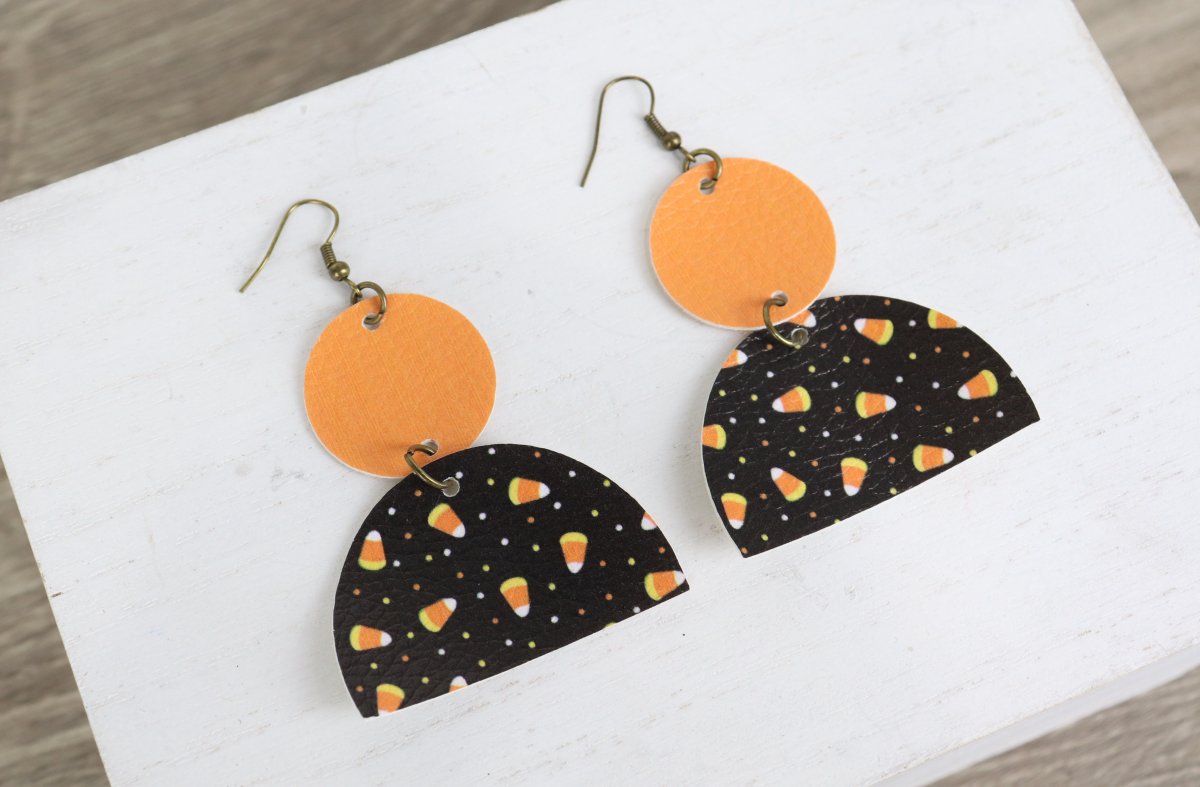
I love the shapes in these fun pairs. The original file has both pieces cut from the same color, and I wasn’t able to change that, so I cut two pair; one from black, and one from the candy corn, then switched out the top pieces so they were made of two different leathers.
Here’s another fun two-piece pair!
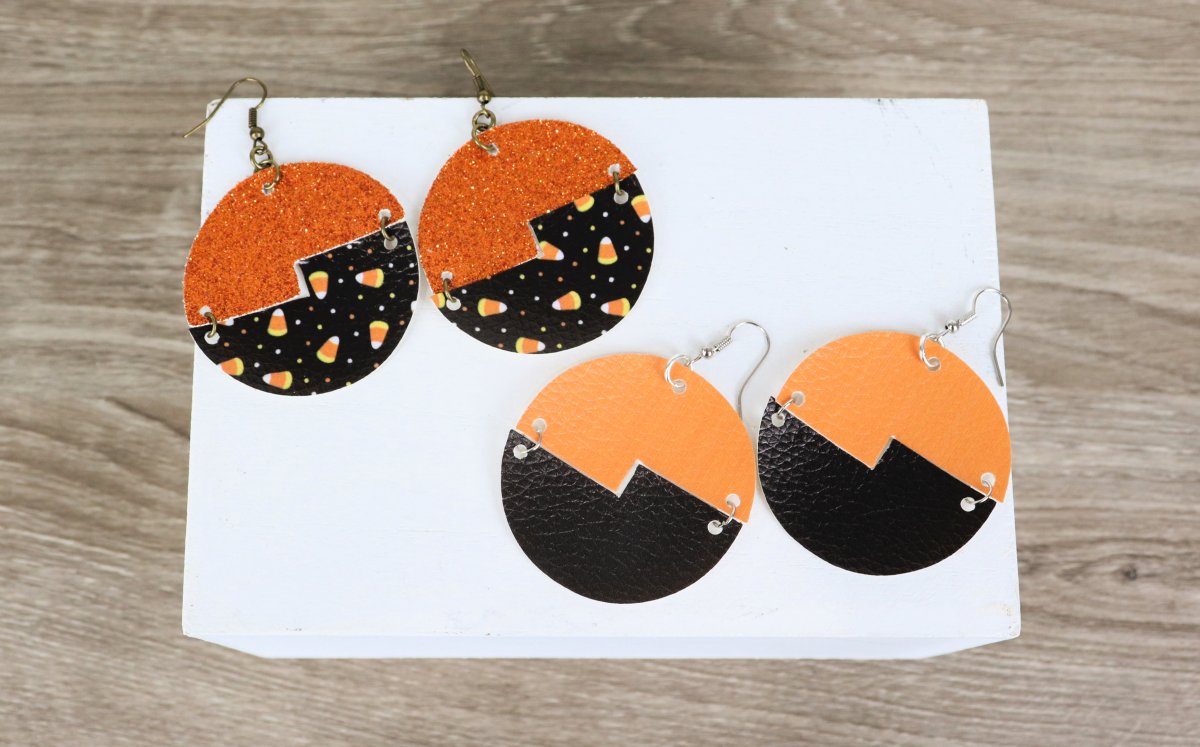
These were a lot of fun to create. They require two small jump rings to attach the top and bottom halves. I love seeing how the same shapes can look so different depending on the leather you choose.
These were so quick and simple to make; I spent a little bit of time one afternoon and ended up with literally a dozen new pairs of festive earrings for fall and Halloween! You can easily customize them for other seasons and holidays too, just by choosing other patterns/colors of faux leather. Which ones are your favorites pairs?
If you try making your own Halloween earrings, I’d love to see what you create! Be sure you’re part of the Amy Latta & Friends group on Facebook so you can share all your latest project photos and we can all be inspired. Happy crafting!
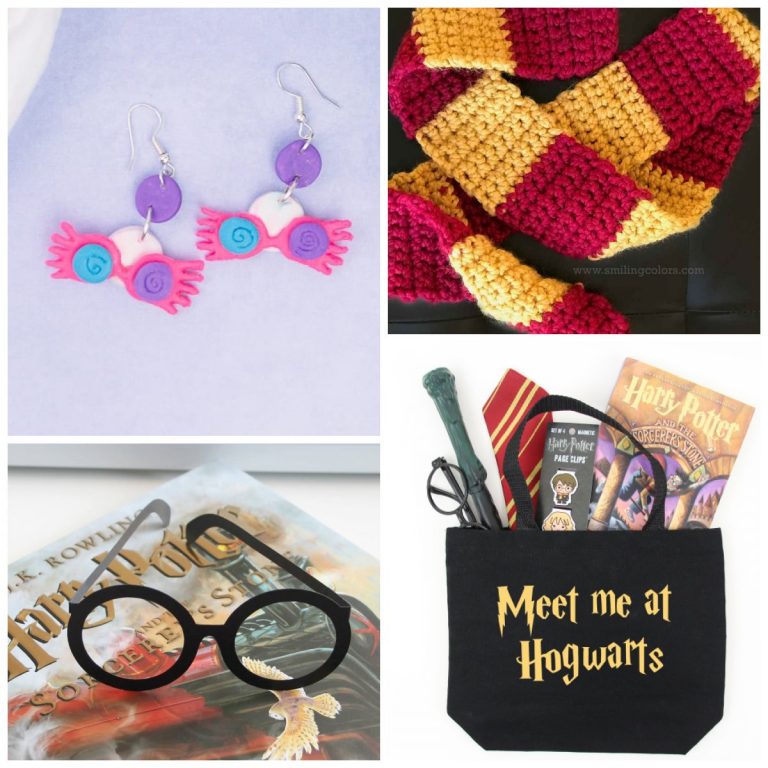
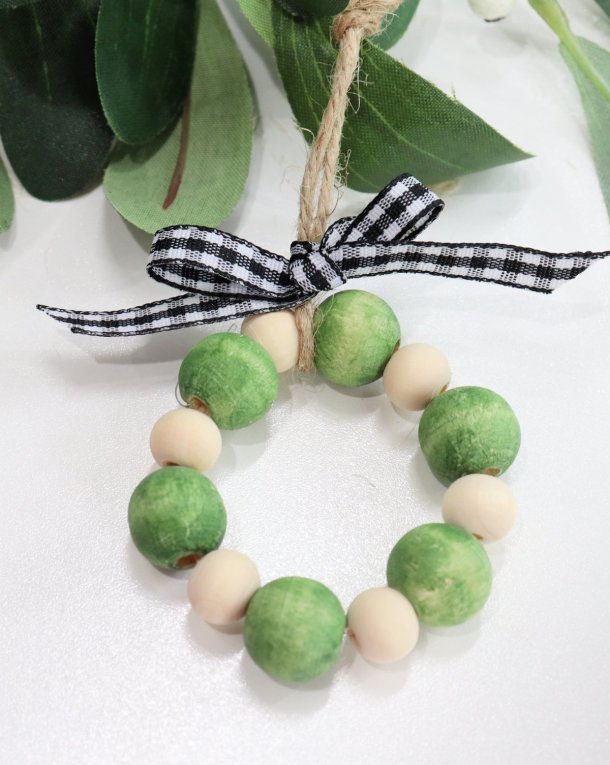
PS. Check out these other fun fall and Halloween projects!


These DIY Fall and Halloween earrings are absolutely adorable! Perfect projects for adding a festive touch to the season. Thanks for the inspiration!