Masterpiece by Numbers Nutcrackers
The holidays are my favorite time to decorate our home, and I especially love it when I can add unique handmade decor to the mix. This year, I’m excited to display a hand-painted Nutcracker figurine that I created with a little help from Masterpiece by Numbers. You may remember that MBN is my go-to company for gorgeous paint by number projects on canvas. I have painted more of those than I can count, both from their regular collection and several custom pieces made from my original photos. This holiday season, they are branching out off the canvas with three-dimensional Nutcracker figure kits.
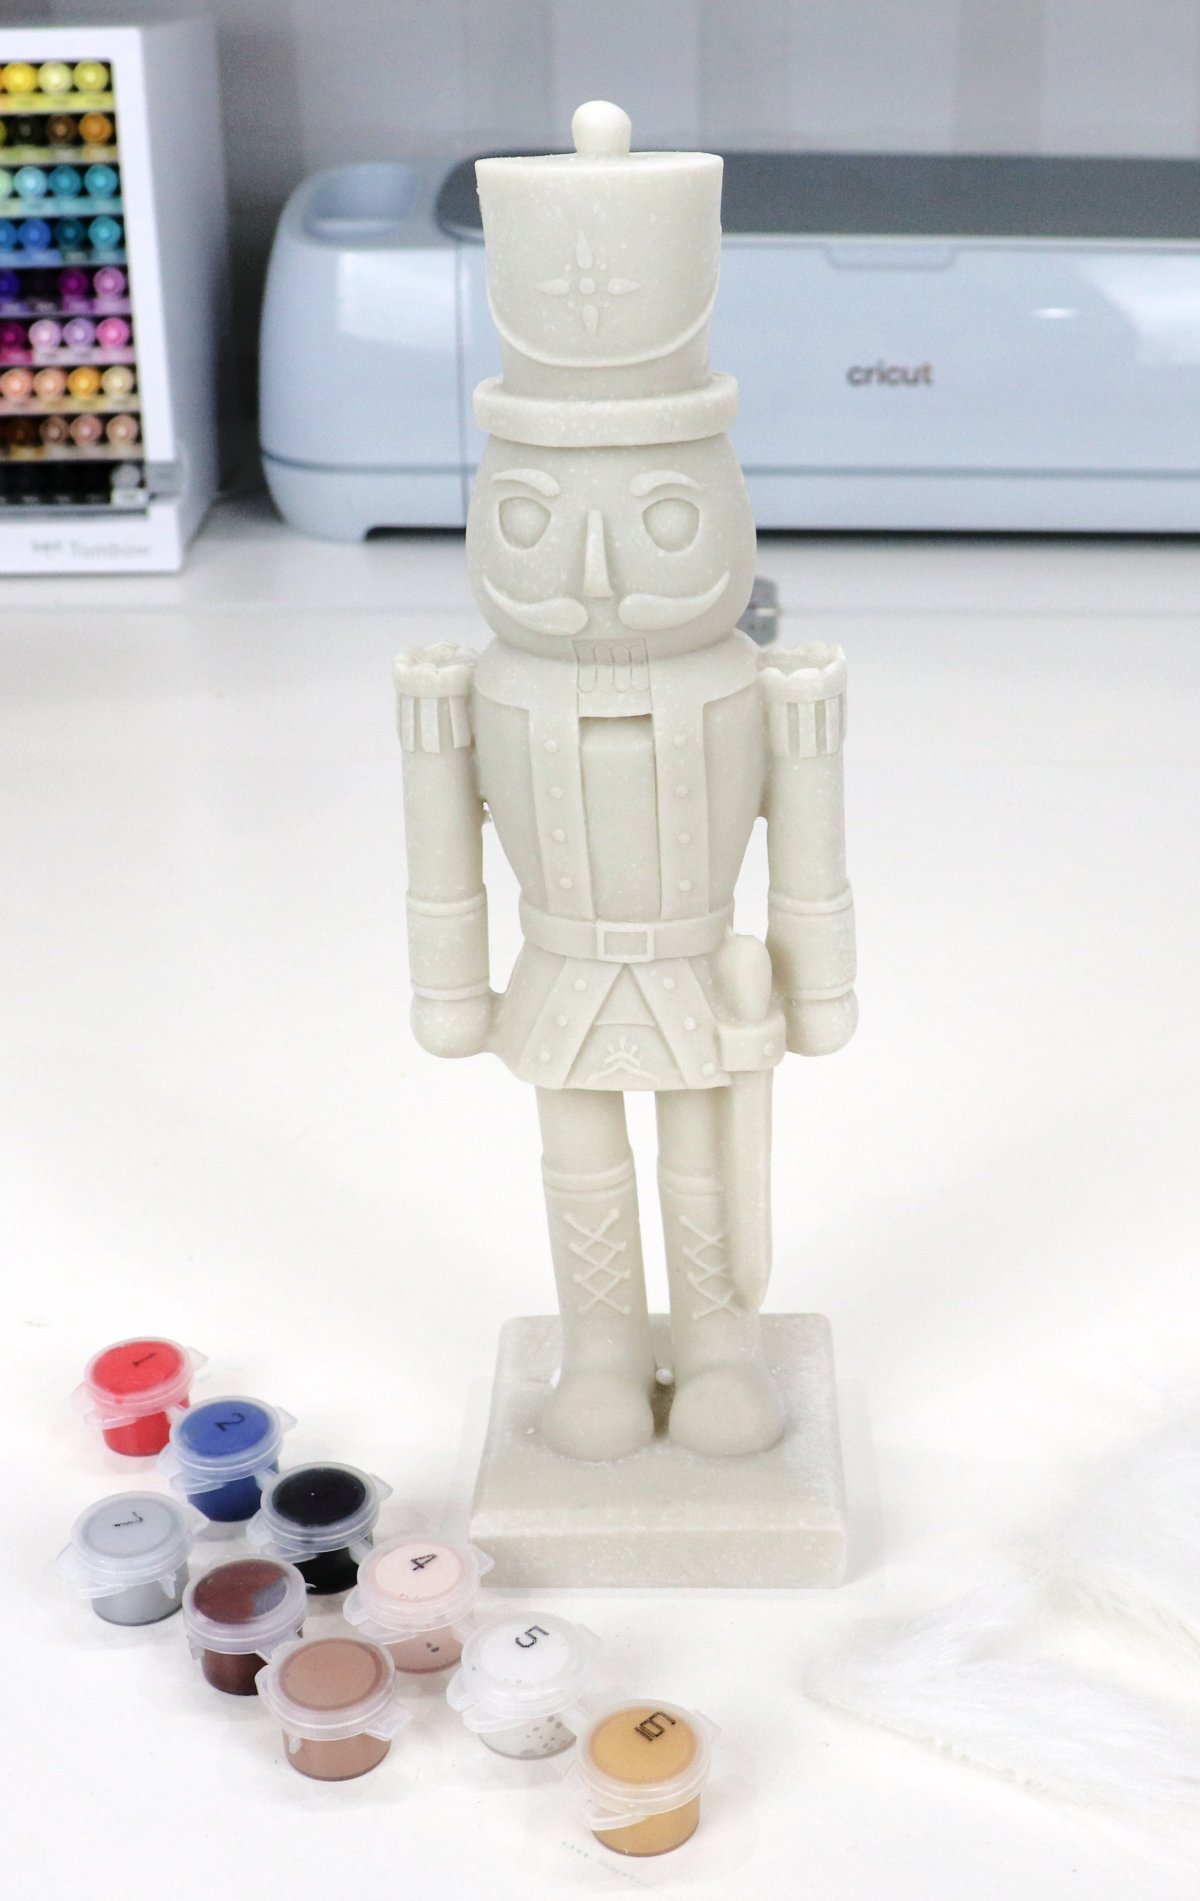
Each kit contains:
- Detailed, handcrafted Nutcracker made from durable composite materials, 10″ in height
- Acrylic paint set
- 2 premium MBN paint brushes
- Hair and beard
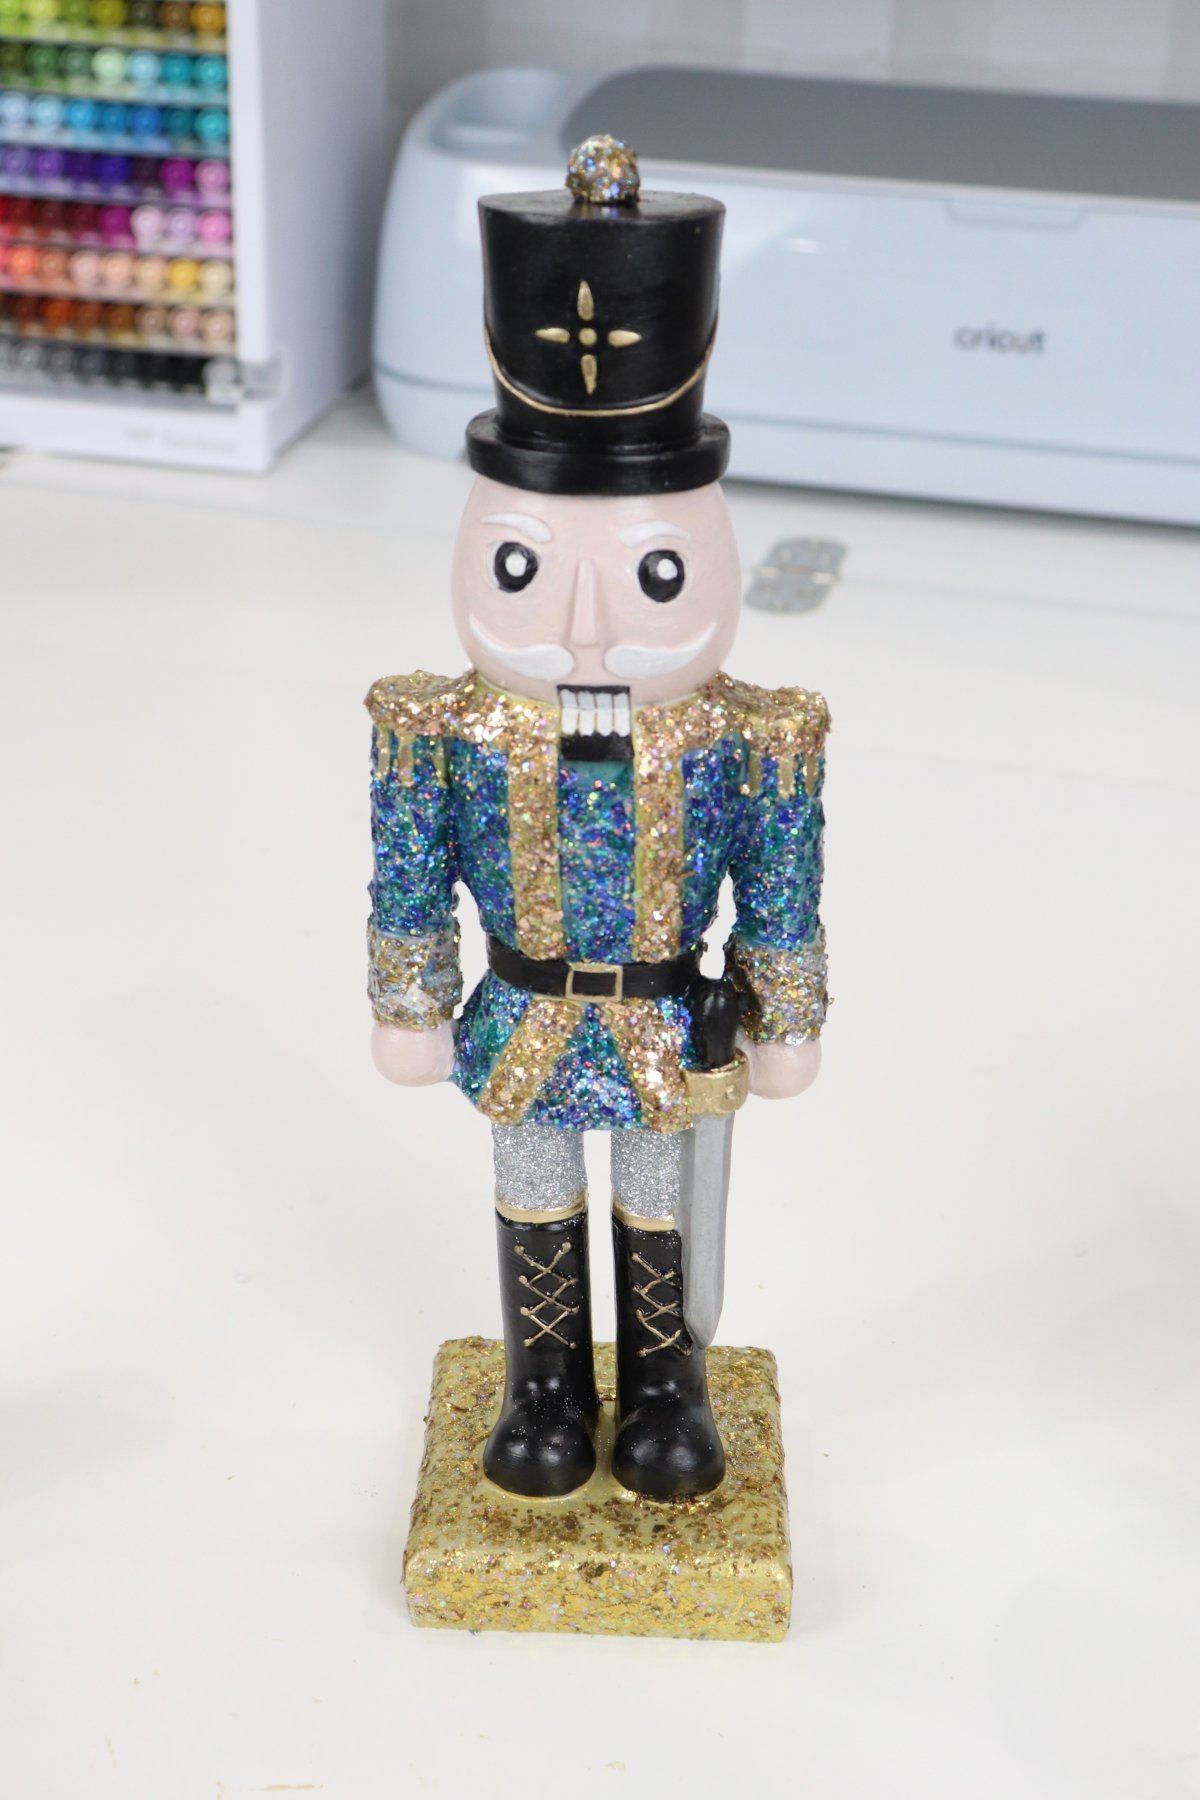
You can choose from the Officer (which is what I painted), the King, and the Soldier. The paints are numbered so that you can request more of a particular color, if necessary, but there is no specific guide for painting. There are suggestions and ideas on the website that you can follow, or you can use your creativity and choose any color scheme you like, as I did.
In addition to the paints provided in the kit, you can supplement with any other acrylic paints you have, along with extras like glitter, paint pens, and more. For my particular version of the Nutcracker, I used the provided paints 3, 4, 5, and 7, along with these supplies from my collection:
FolkArt Brushed Metal paint – Brushed Gold
FolkArt Color Shift paint – Aqua
FolkArt Glitterific – Unicorn, Tropical, Rose Gold, and Gold
Fine Silver Glitter
DecoColor Gold Paint Pen
Here’s how I painted my figure:
Step 1: Give all parts a base coat of color.
I knew that much of my figure was going to be covered in glitter, so I didn’t worry too much if a color went slightly into the wrong area. Even if you aren’t going to use glitter, you can always go back with a fine detail brush to make touchups, so don’t stress out about perfection! You can see that some colors, like the black, only required one coat, while others needed several coats of paint to become opaque.
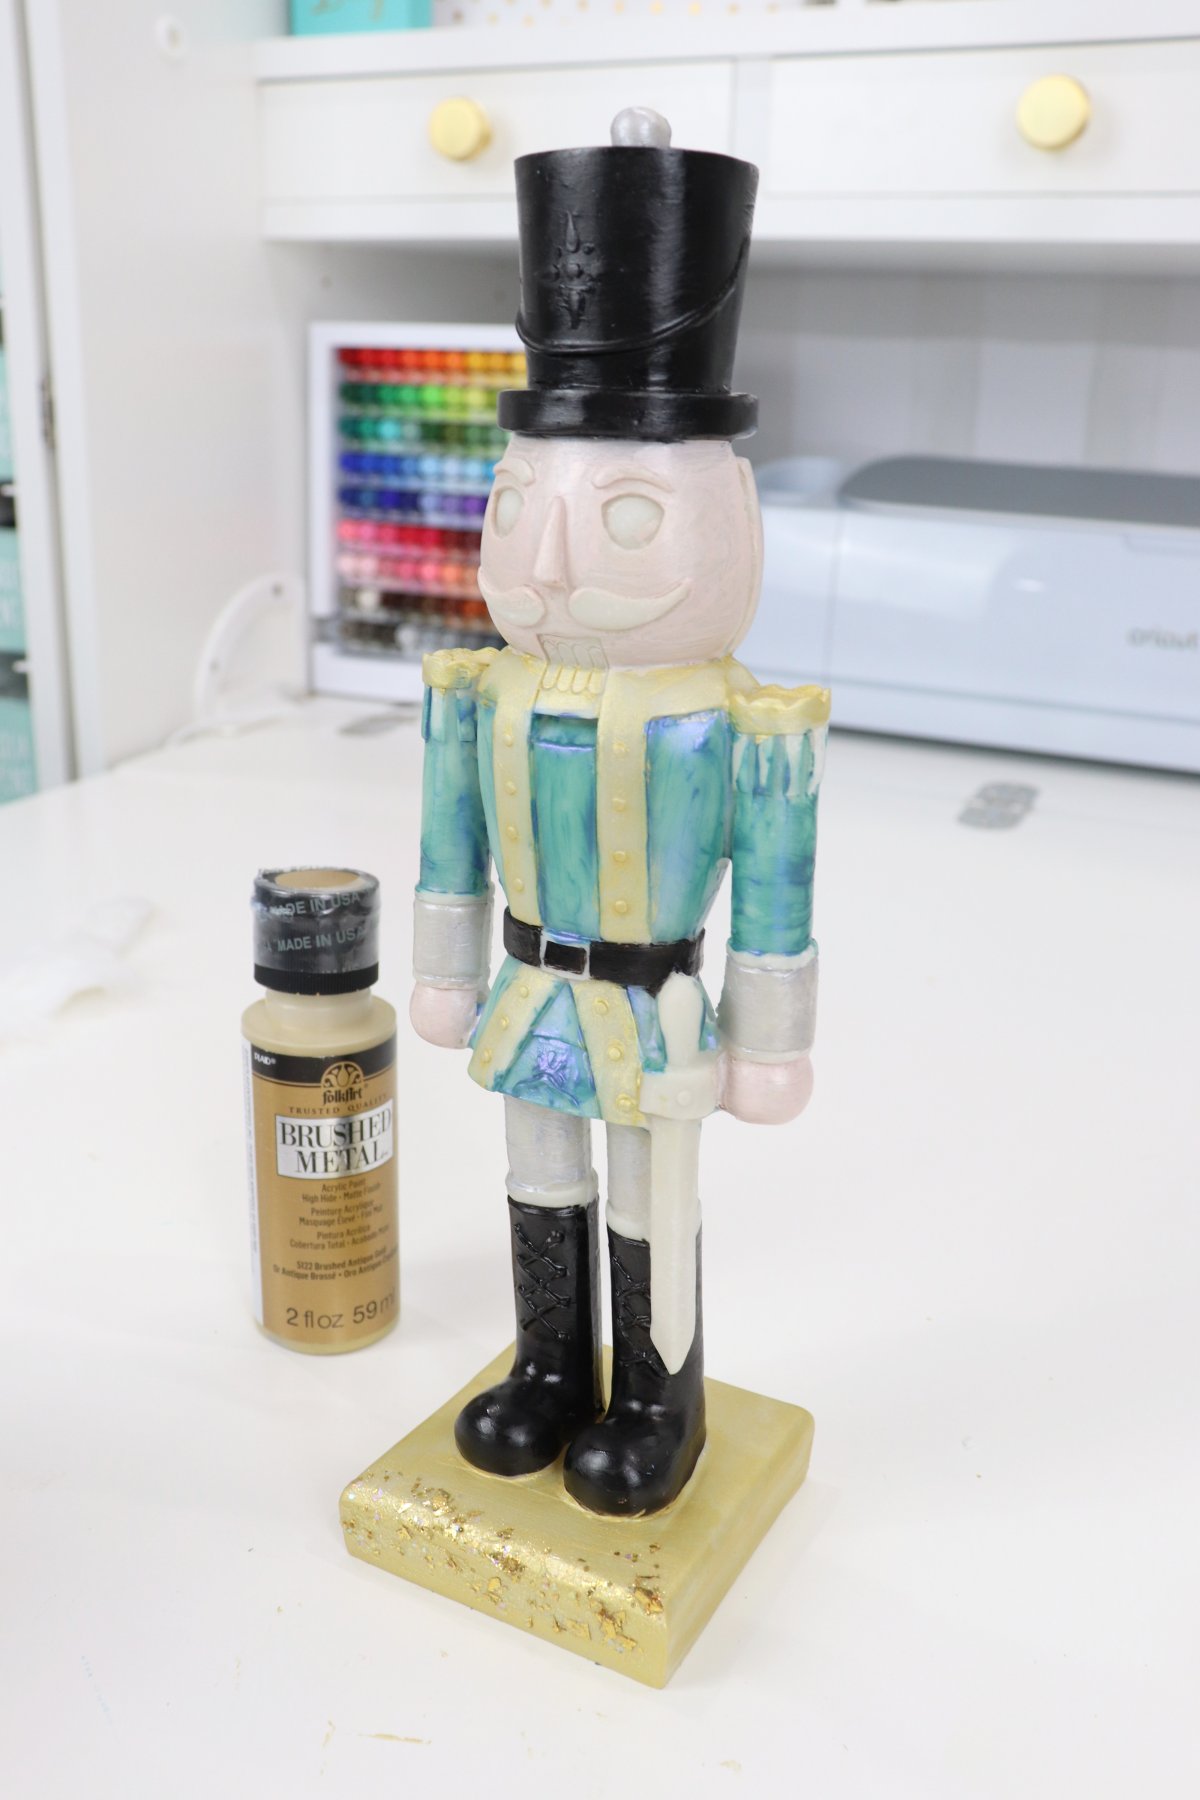
My favorite part is that there’s no wrong way to paint him; you can use whatever colors you like for any part of the figure.
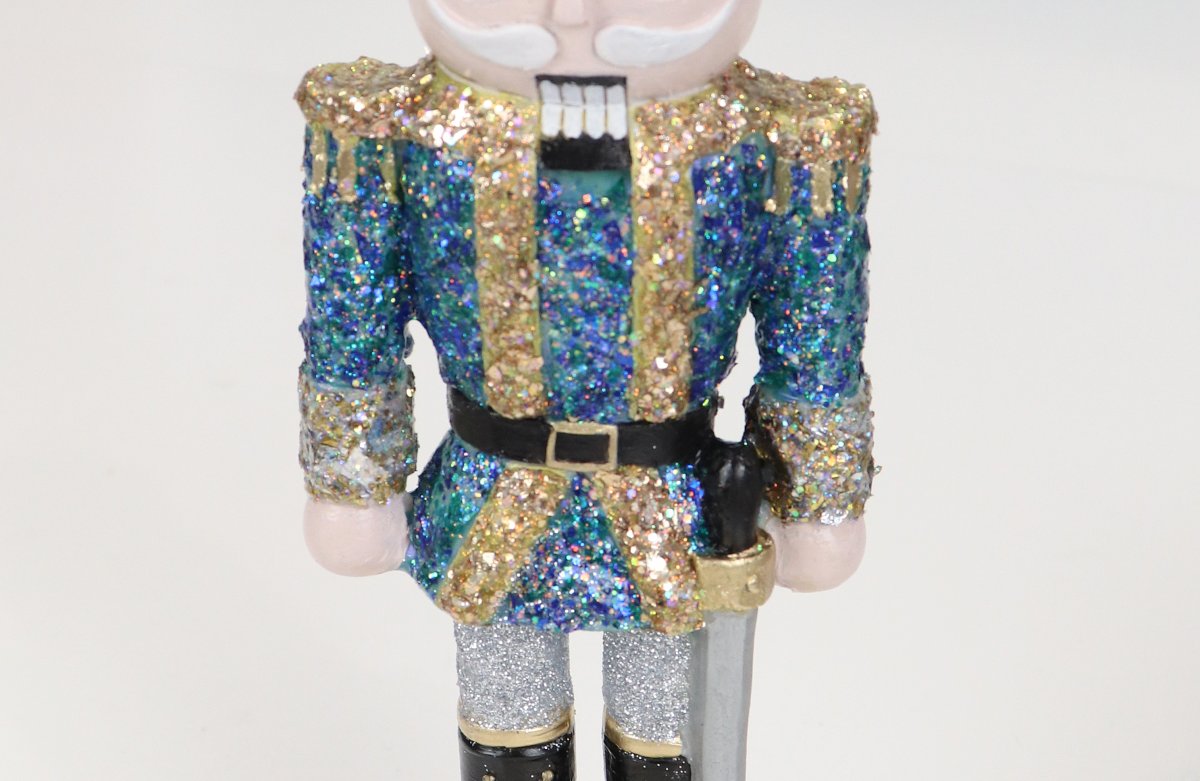
Step 2: Add Glitterific.
Unlike regular glitter, Glitterific is composed of assorted sizes and shapes of glitter pieces suspended in a clear acrylic base. For a light sparkle, you can paint a thin coat, but if you want full coverage like what you see on my Nutcracker, you really need to glob it on. Load you brush with a big dollop, then push it around into position until the area is fully covered. Repeat until the whole area is glittered.
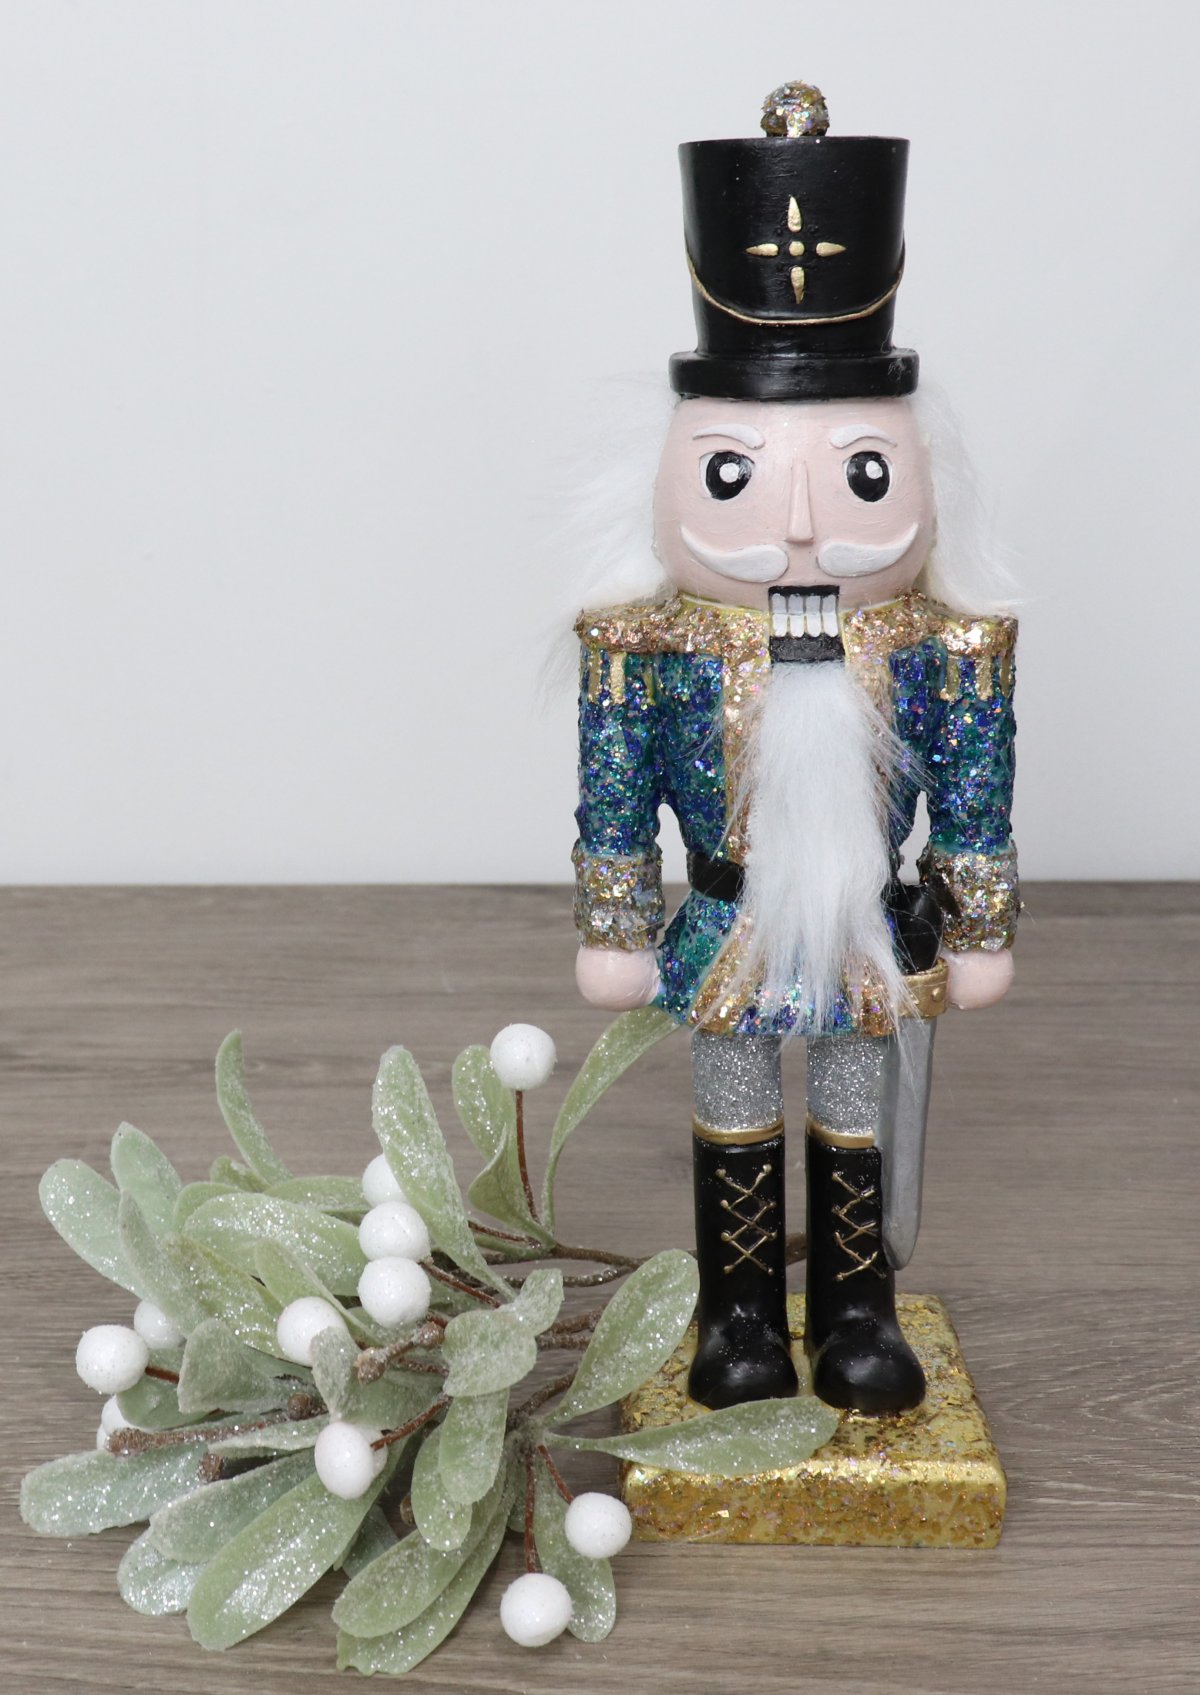
I used this for the blue coat (Aqua), the cuffs (Unicorn), the gold trim (Rose Gold), the top of the hat (Unicorn), and the base (Gold). I chose to use mixed metals because my other holiday decor features lots of glittery metallics, so he will fit right in.
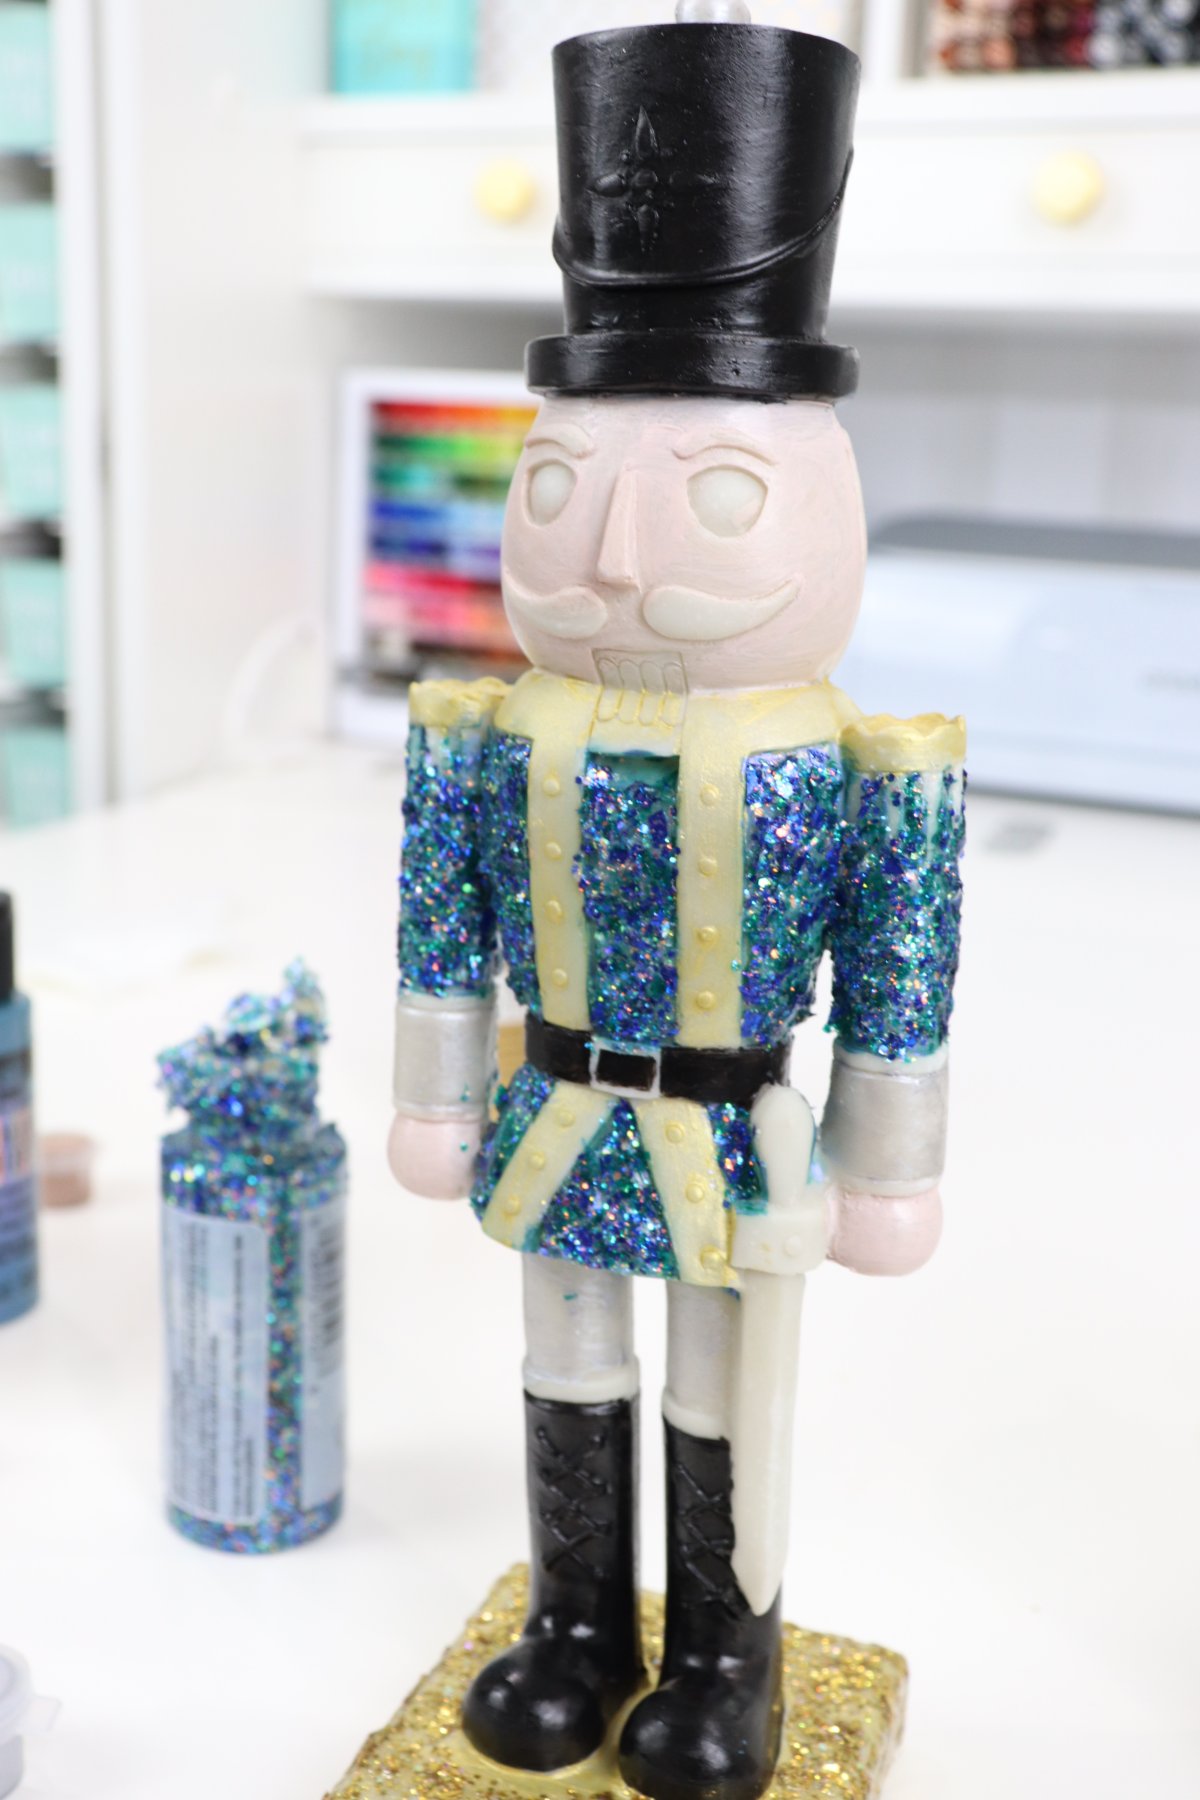
If you don’t have (or want to use) Glitterific, you can apply some sparkle with a traditional method. Just use a brush to apply a thin layer of glue to the figure, then sprinkle loose glitter on top. I didn’t have any silver Glitterific, so I used this method of the pants, applying a very fine silver glitter. Although I did it out of necessity, I’m actually glad it worked out that way, because I like the contrast of the coarse glitter in the coat and the fine glitter on the pants.
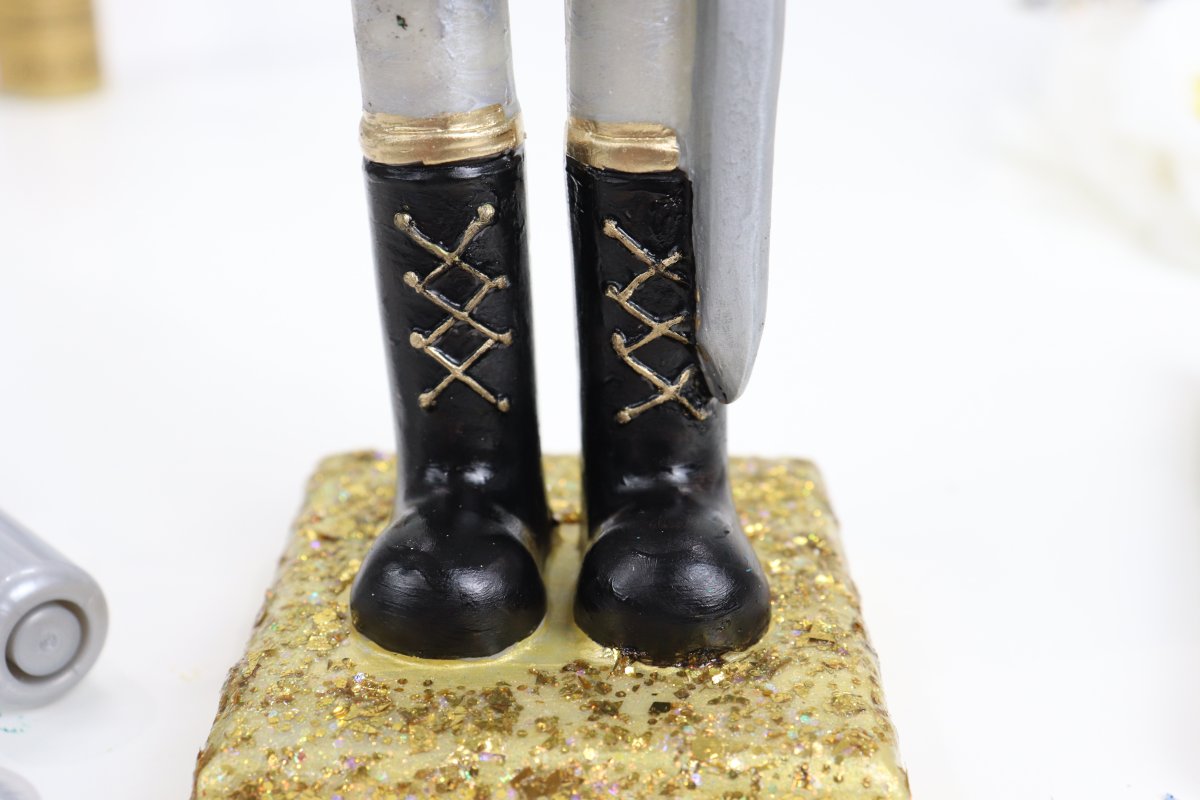
Step 3: Add details with a fine tip paint pen.
I used a metallic gold paint pen for the buckle, the tops and laces of the boots, the fringe on the shoulders of the jacket, and the detailing on the hat. This allowed me to be precise and neat. You can also do this with a very fine tip paintbrush, but I find the pen the easiest to control.
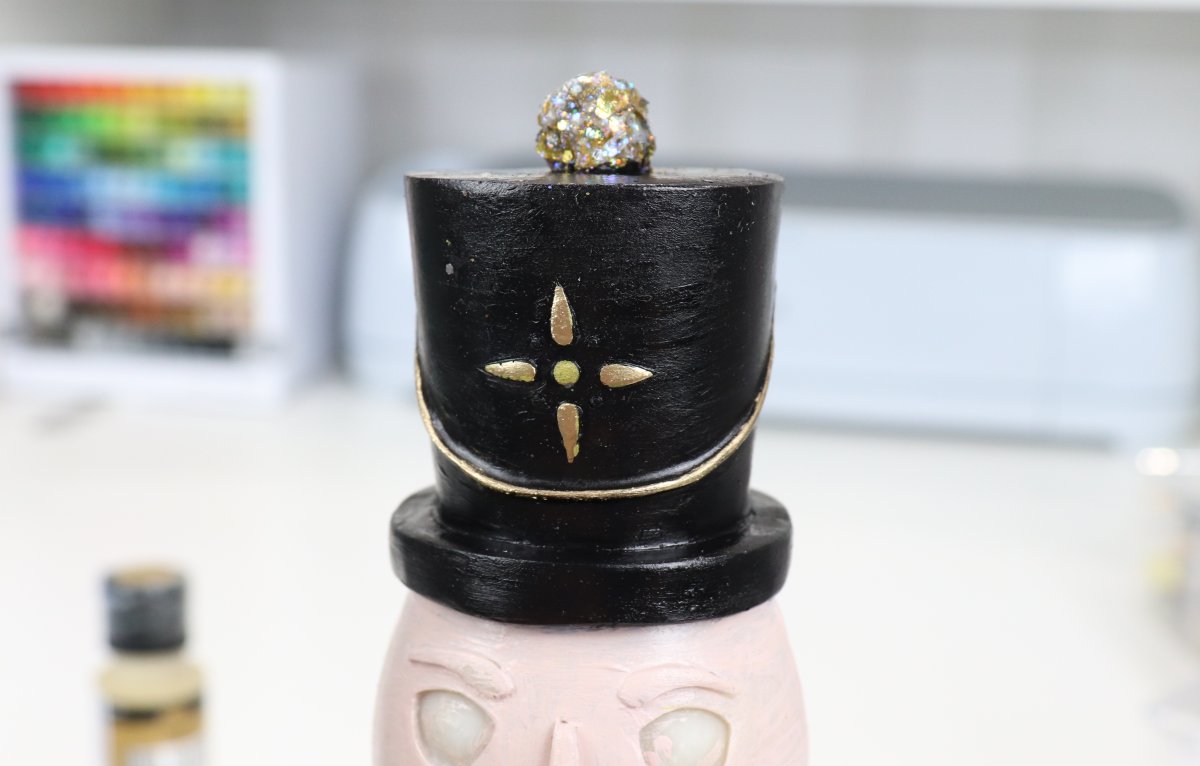
The raised texture of these detail areas on the figure makes it easy to highlight them without getting color on other parts where you don’t want it to go.
I also used white paint pen for the eyebrows, mustache, and teeth, and black paint pen for the mouth areas around and between the teeth.
Once all the painting and glittering is complete, let your figure dry. If you use Glitterific like I did, you’ll want to give it a full 24 hours. While everyone paints and works at a different rate, I personally was able to finish up to this point while my husband watched a football game…about three hours of work.
Step 4: Add hair and beard.
The kit provides the pieces for the hair and beard, and the figure has grooved slots where you attach them. I started with the beard, which needed just a bit of trimming to fit well in the slot below the mouth. I applied a thin line of hot glue and pushed it into the groove. Then, I started on one side of the head, applying glue and tucking the hair piece into the slot. I wrapped the piece around the back of the head, tucking it under the hat, and finished by gluing the other side (after a bit of a trim) into the remaining groove.
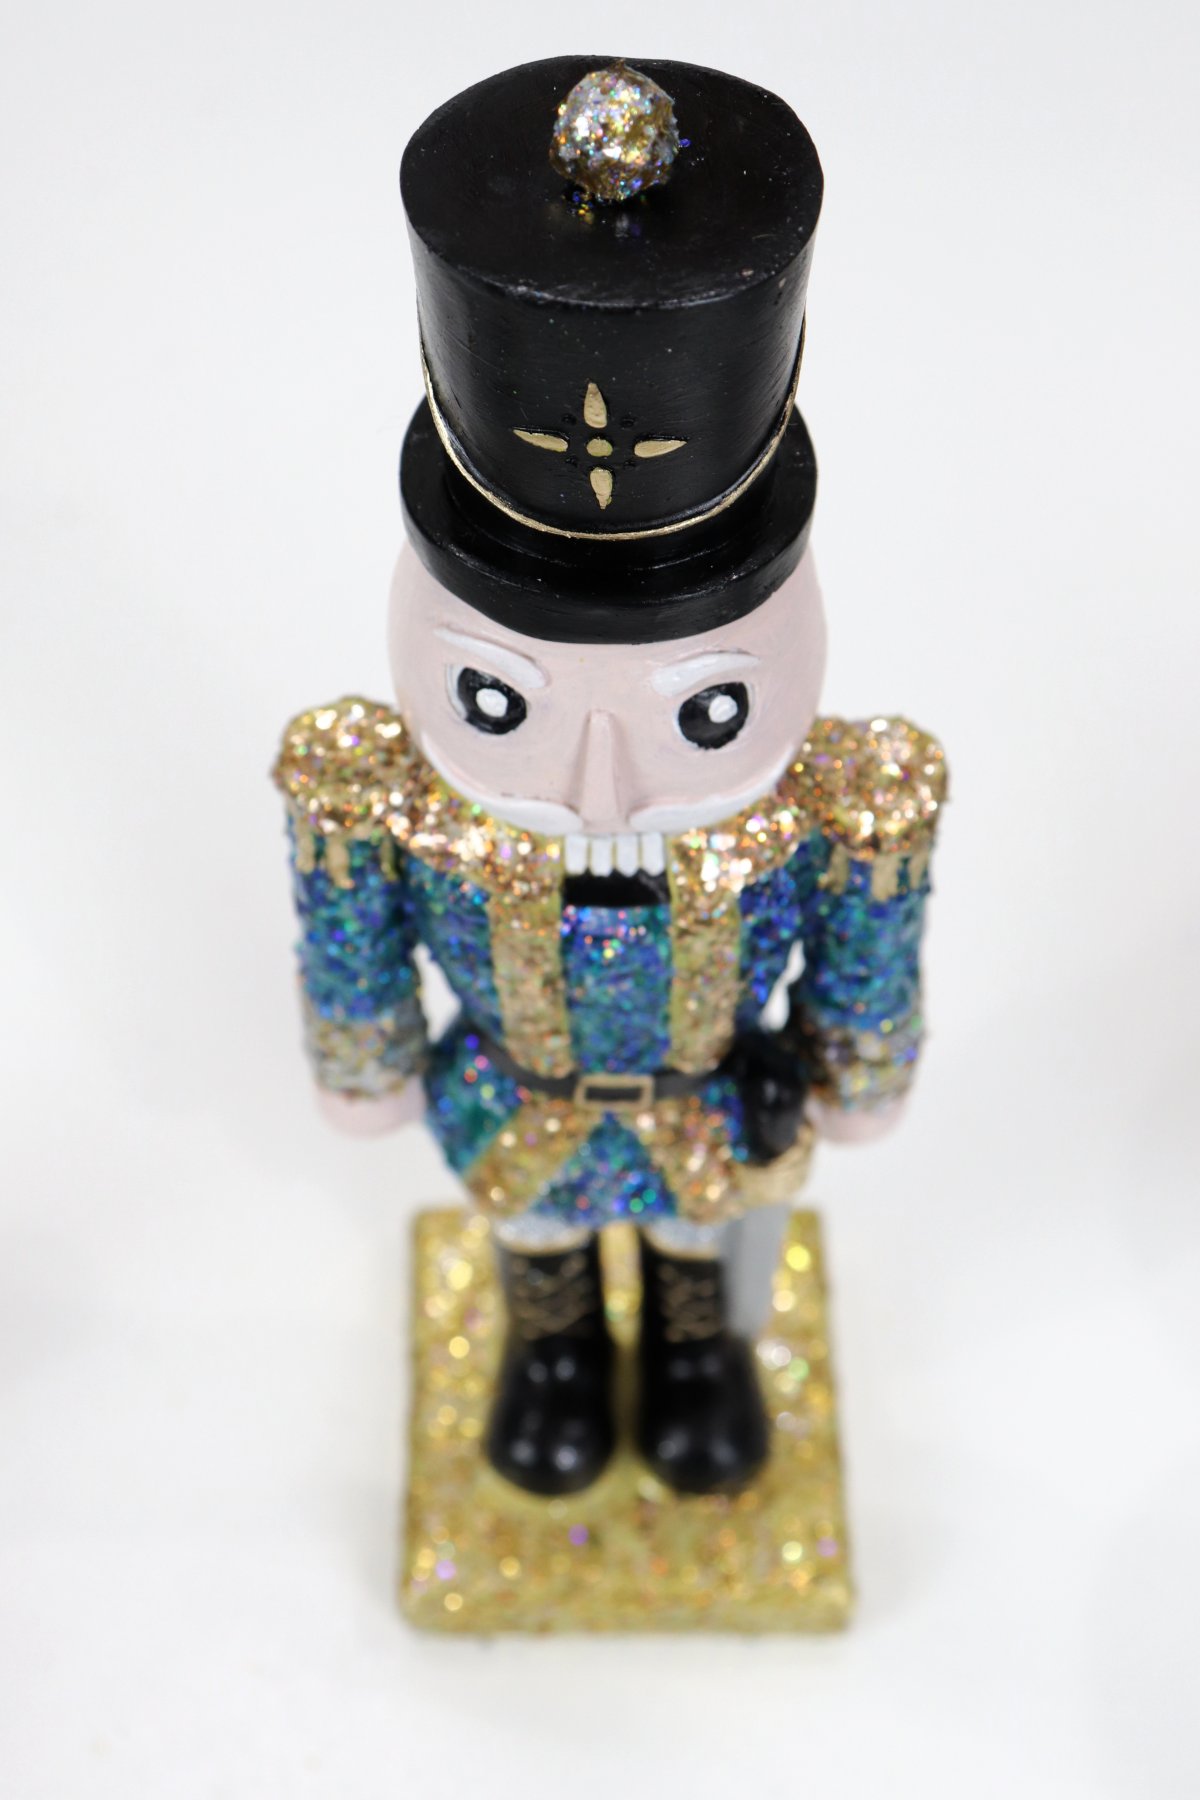
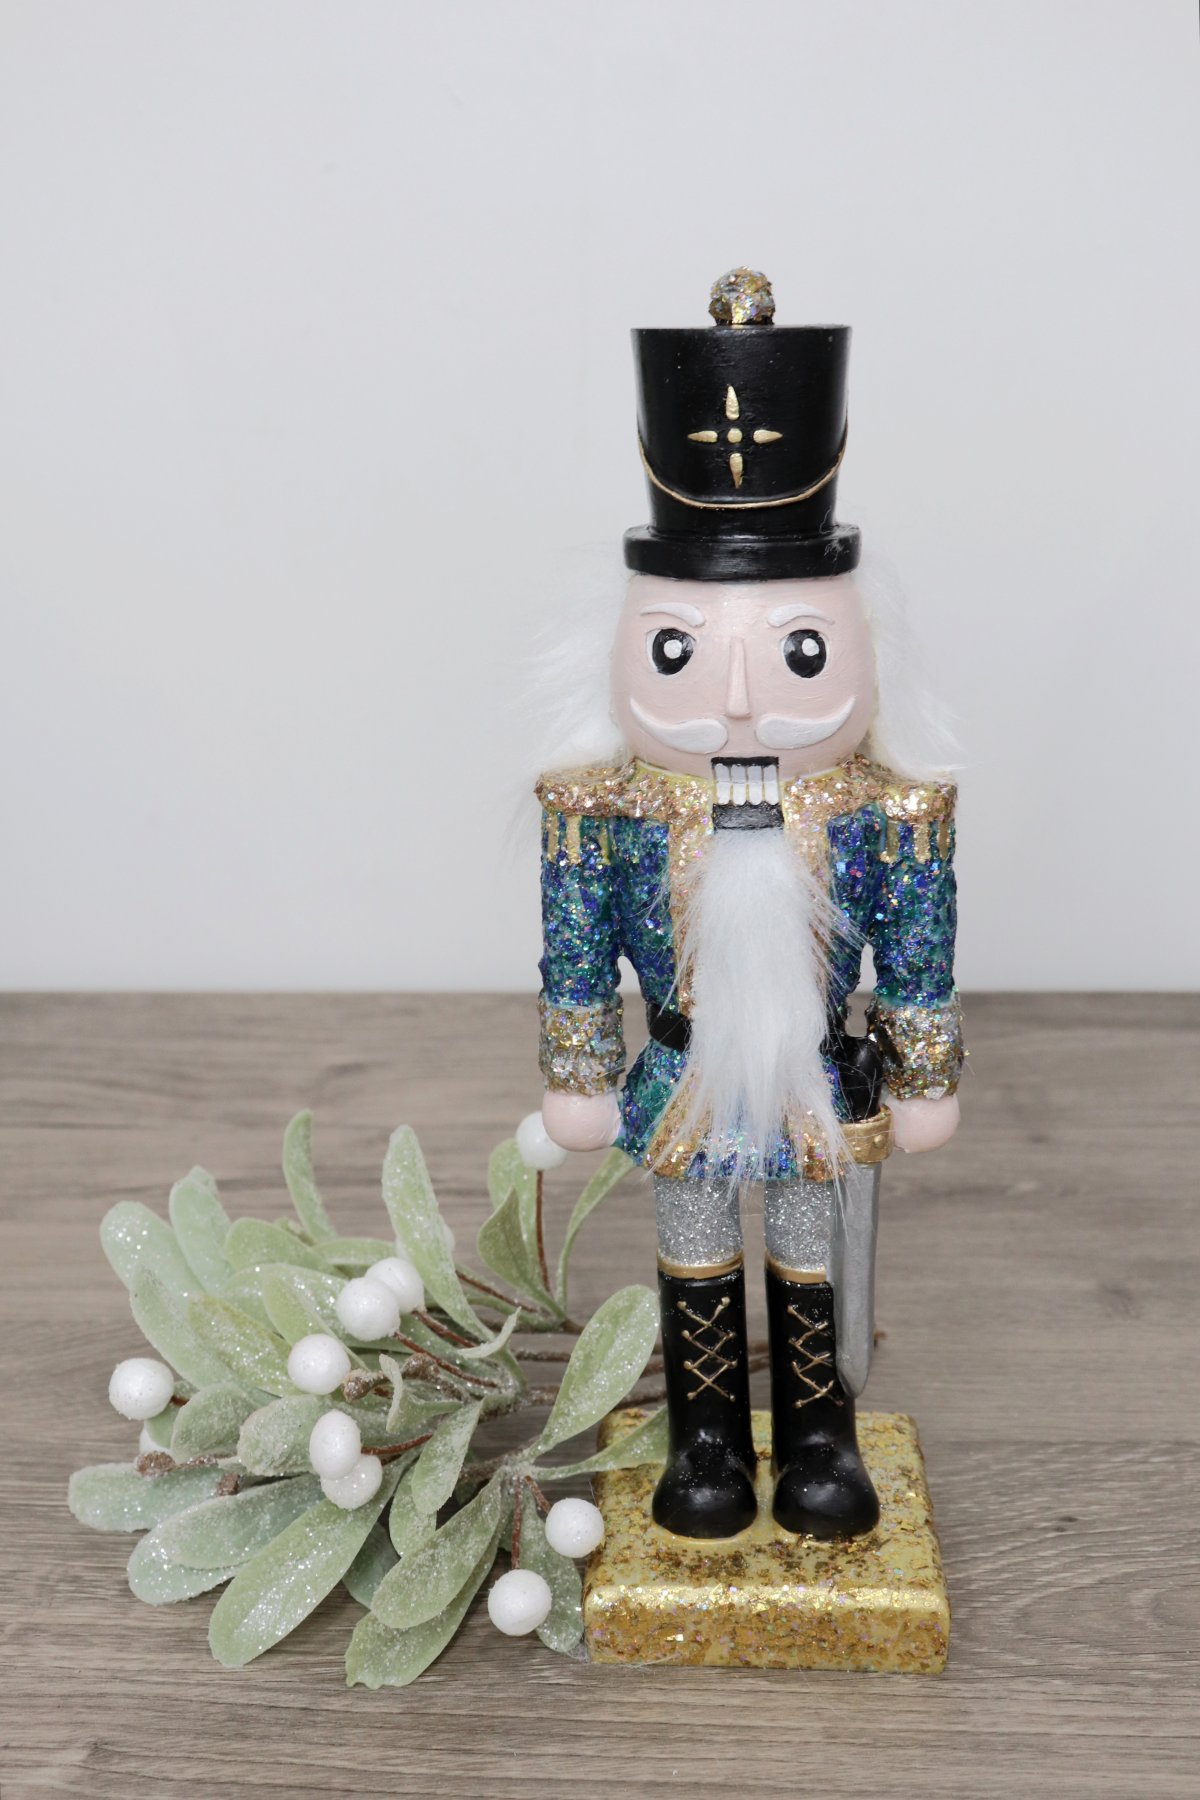
Once the hair is attached, all that’s left to do is gift or display your figure!
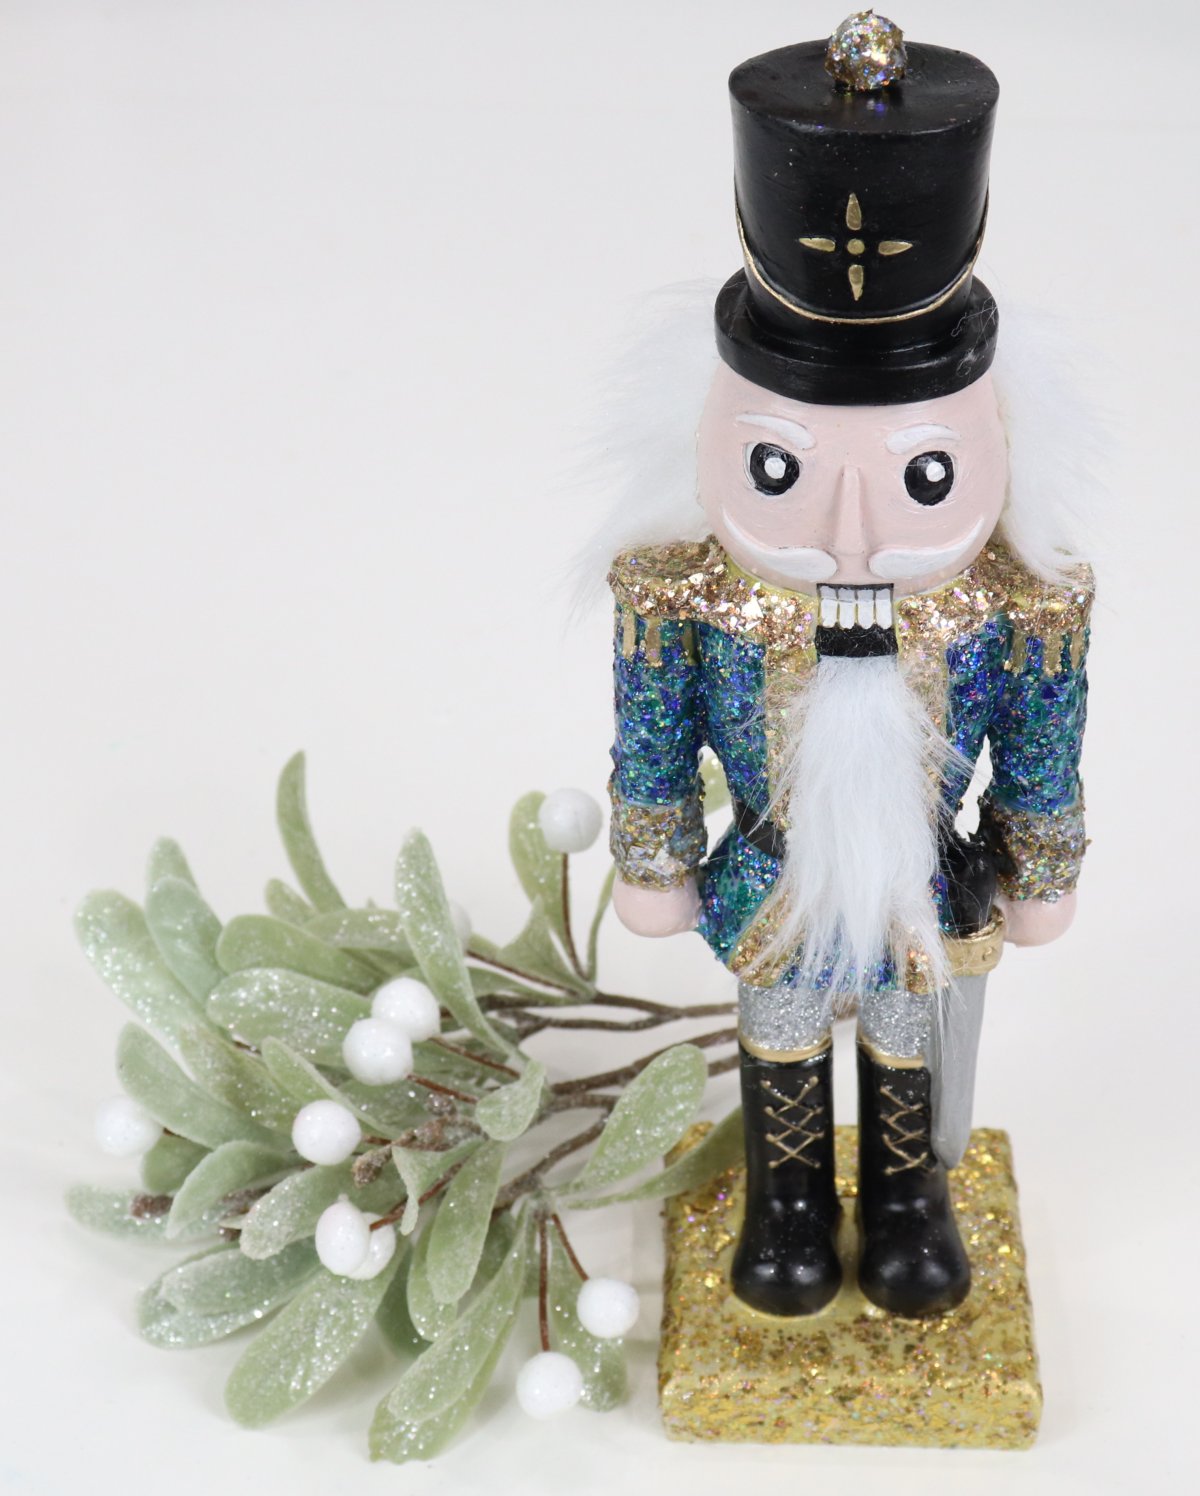
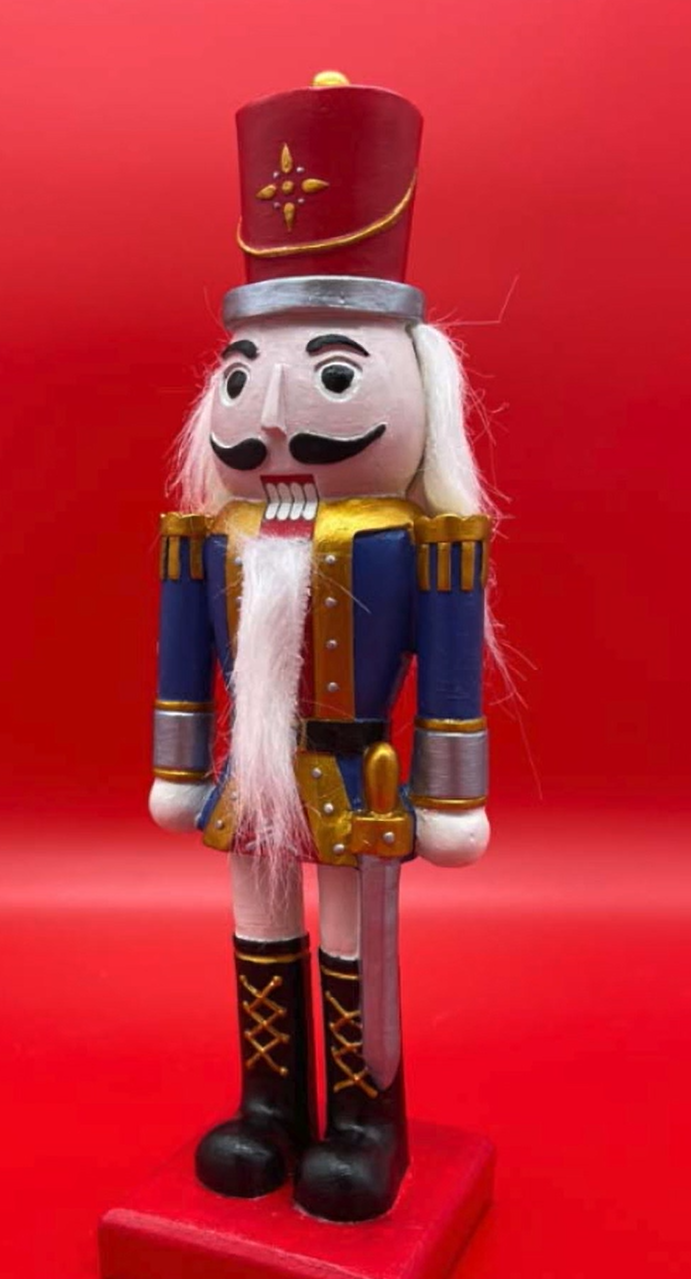
I absolutely love the way my Nutcracker turned out and how he will coordinate with the rest of my holiday decor. If you happen to be more of a traditionalist, here’s a peek at the suggestion on the Masterpiece by Numbers website for another way you can paint him. I think it’s really fun how they look like two completely different figures!
If you or someone you love enjoys Nutcrackers for the holidays, make sure to check out these fabulous kits at Masterpiece by Numbers so you can paint your own! Use the code AMY15 at checkout to get a special discount on your order.
If you paint one, I’d love to see how yours turns out! Make sure you’re part of the Amy Latta & Friends Facebook Group so you can share all of your holiday project photos and we can inspire each other. See you there!
Also, make sure to check out these other holiday decor projects for fall and winter!