
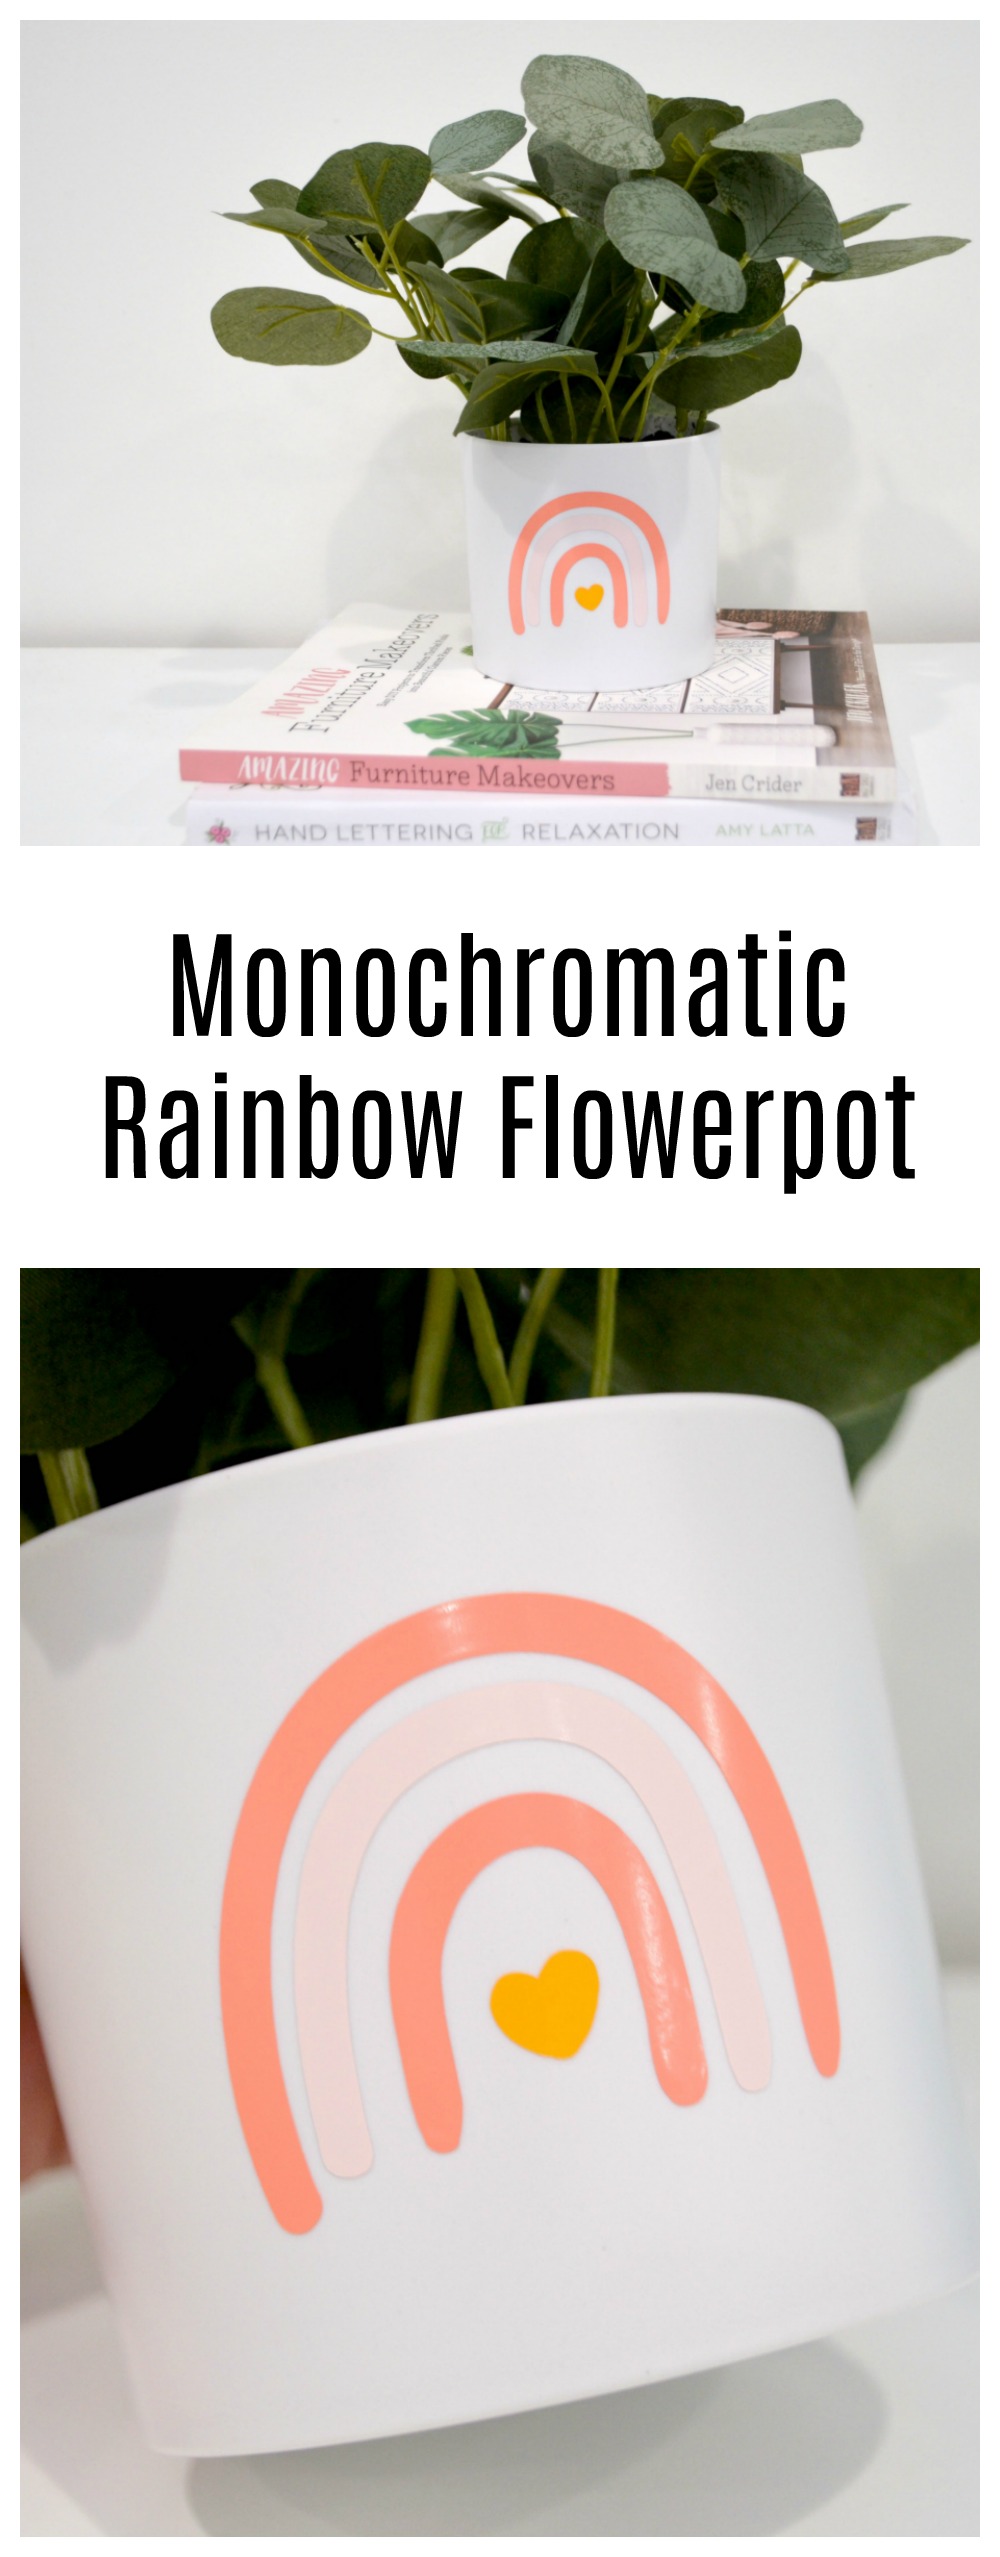
DIY Monochromatic Rainbow Flowerpot with Cricut Joy
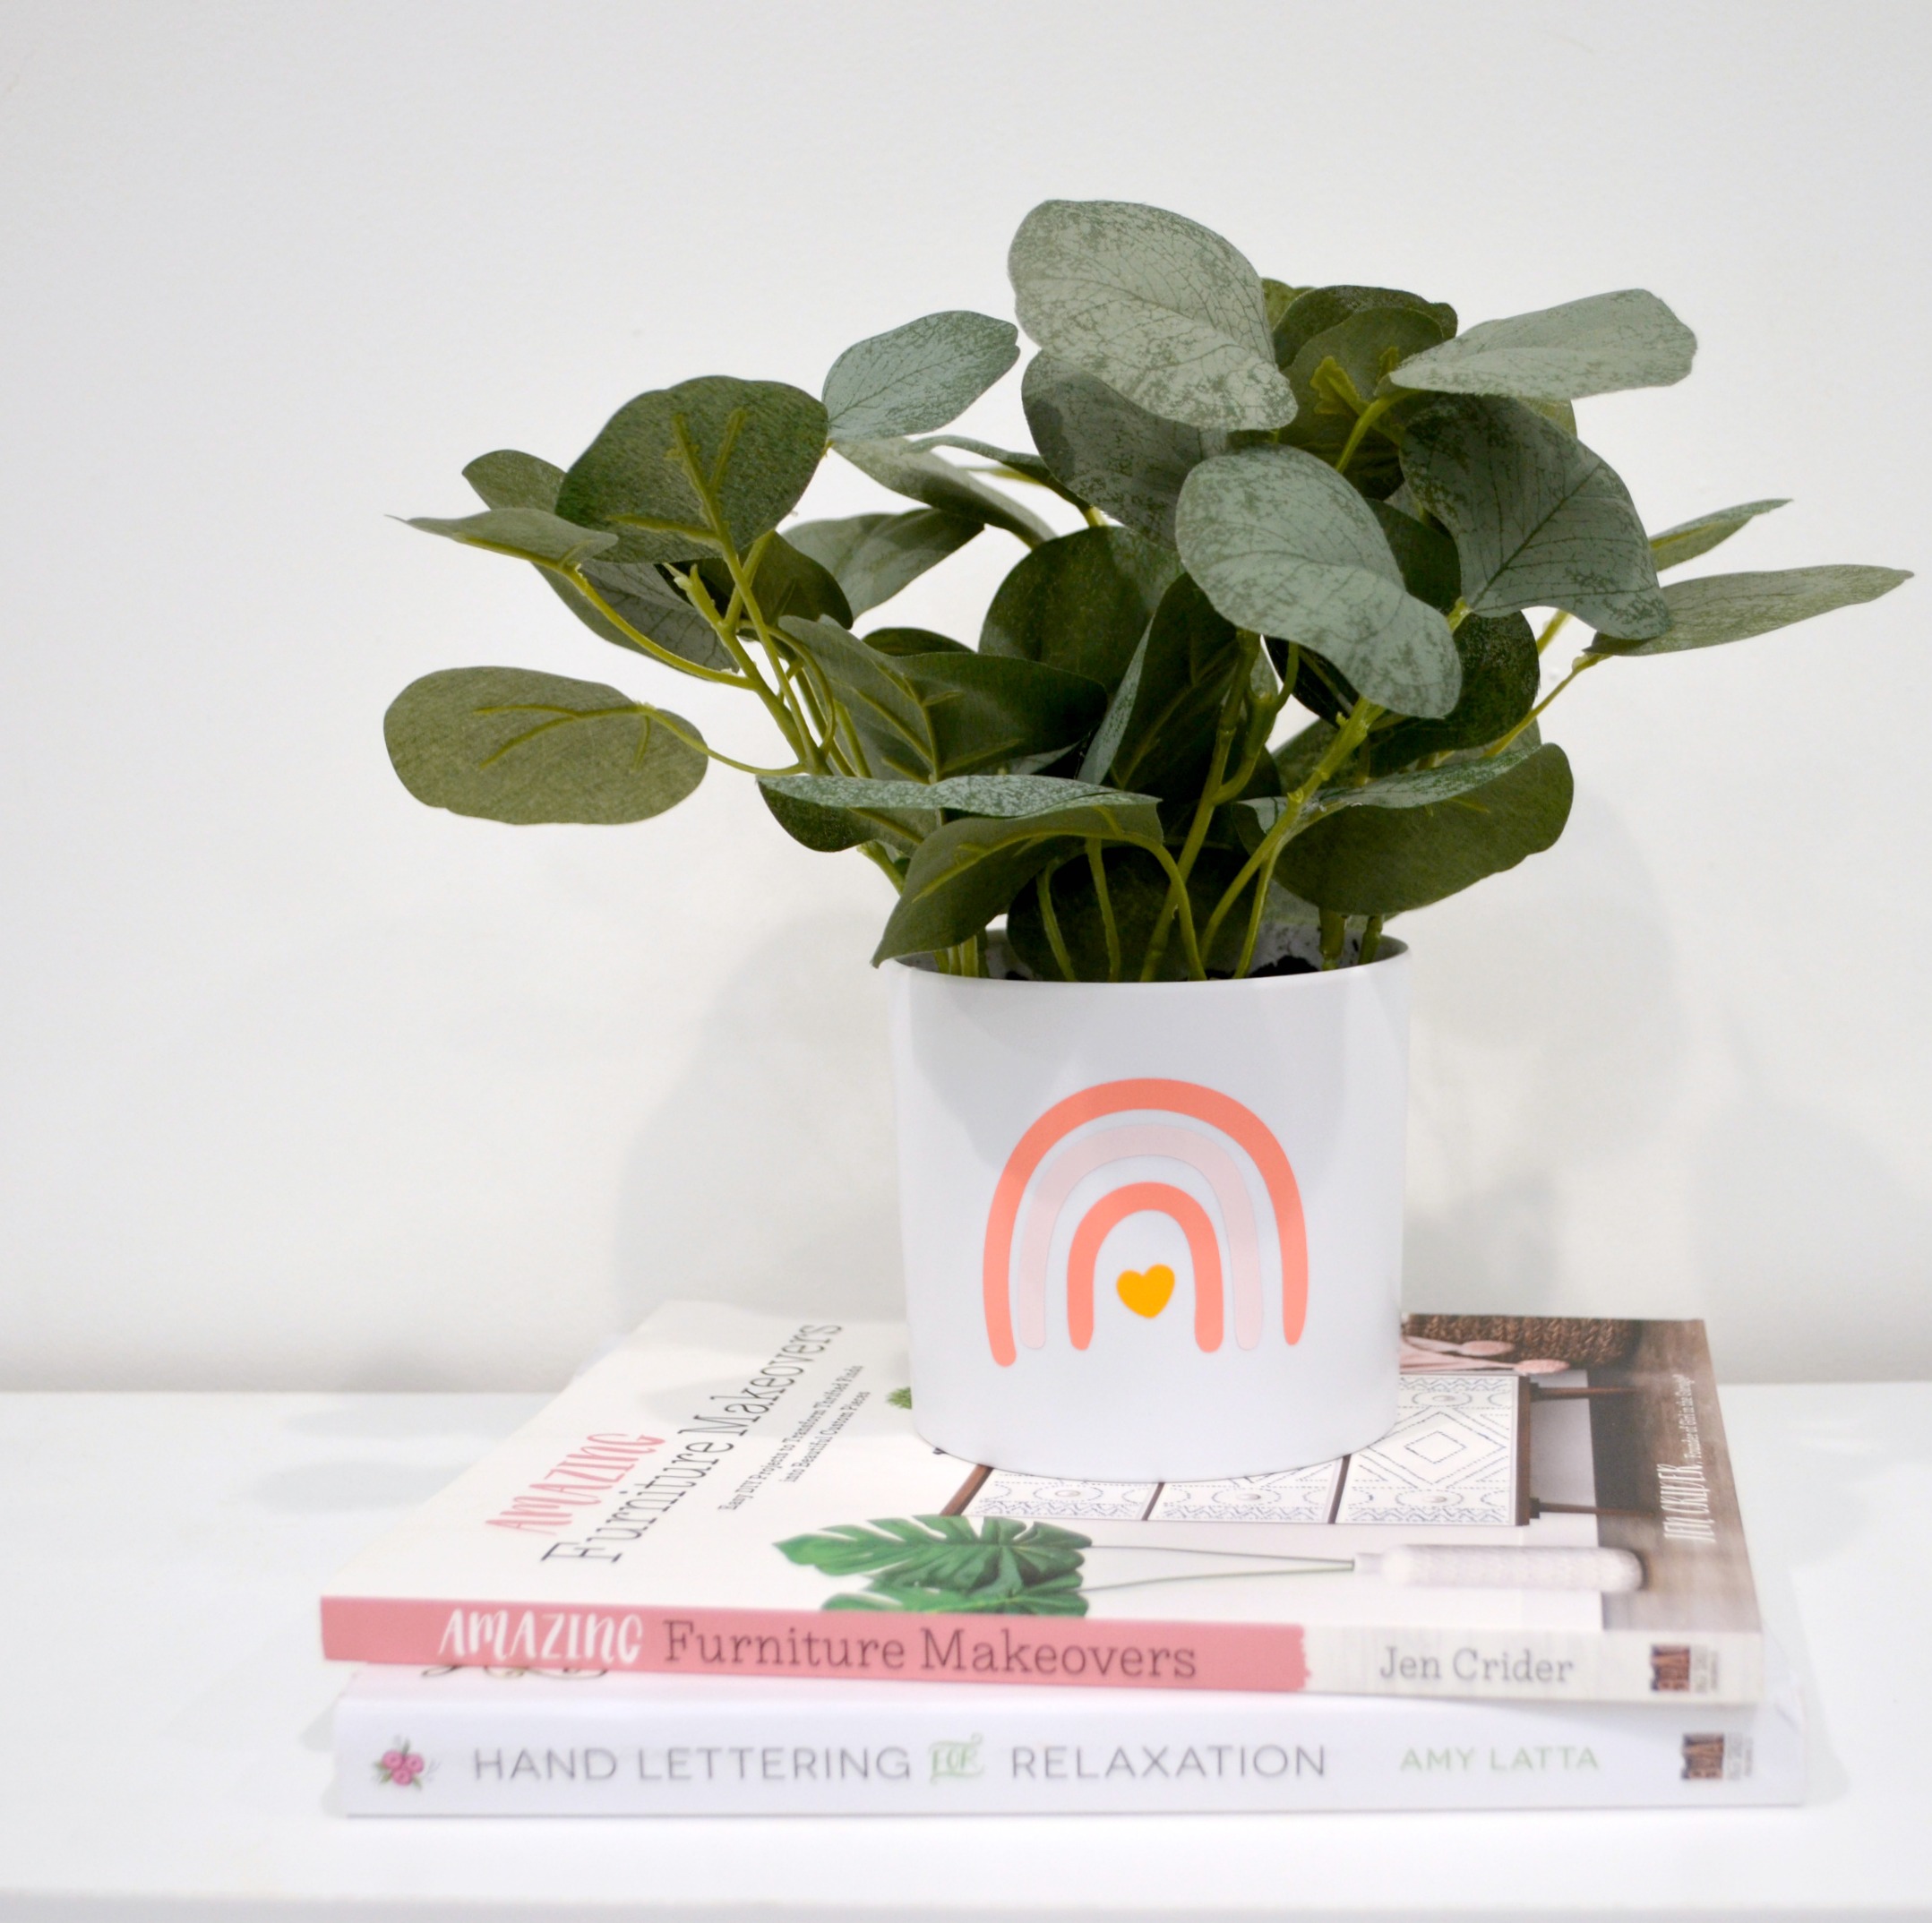
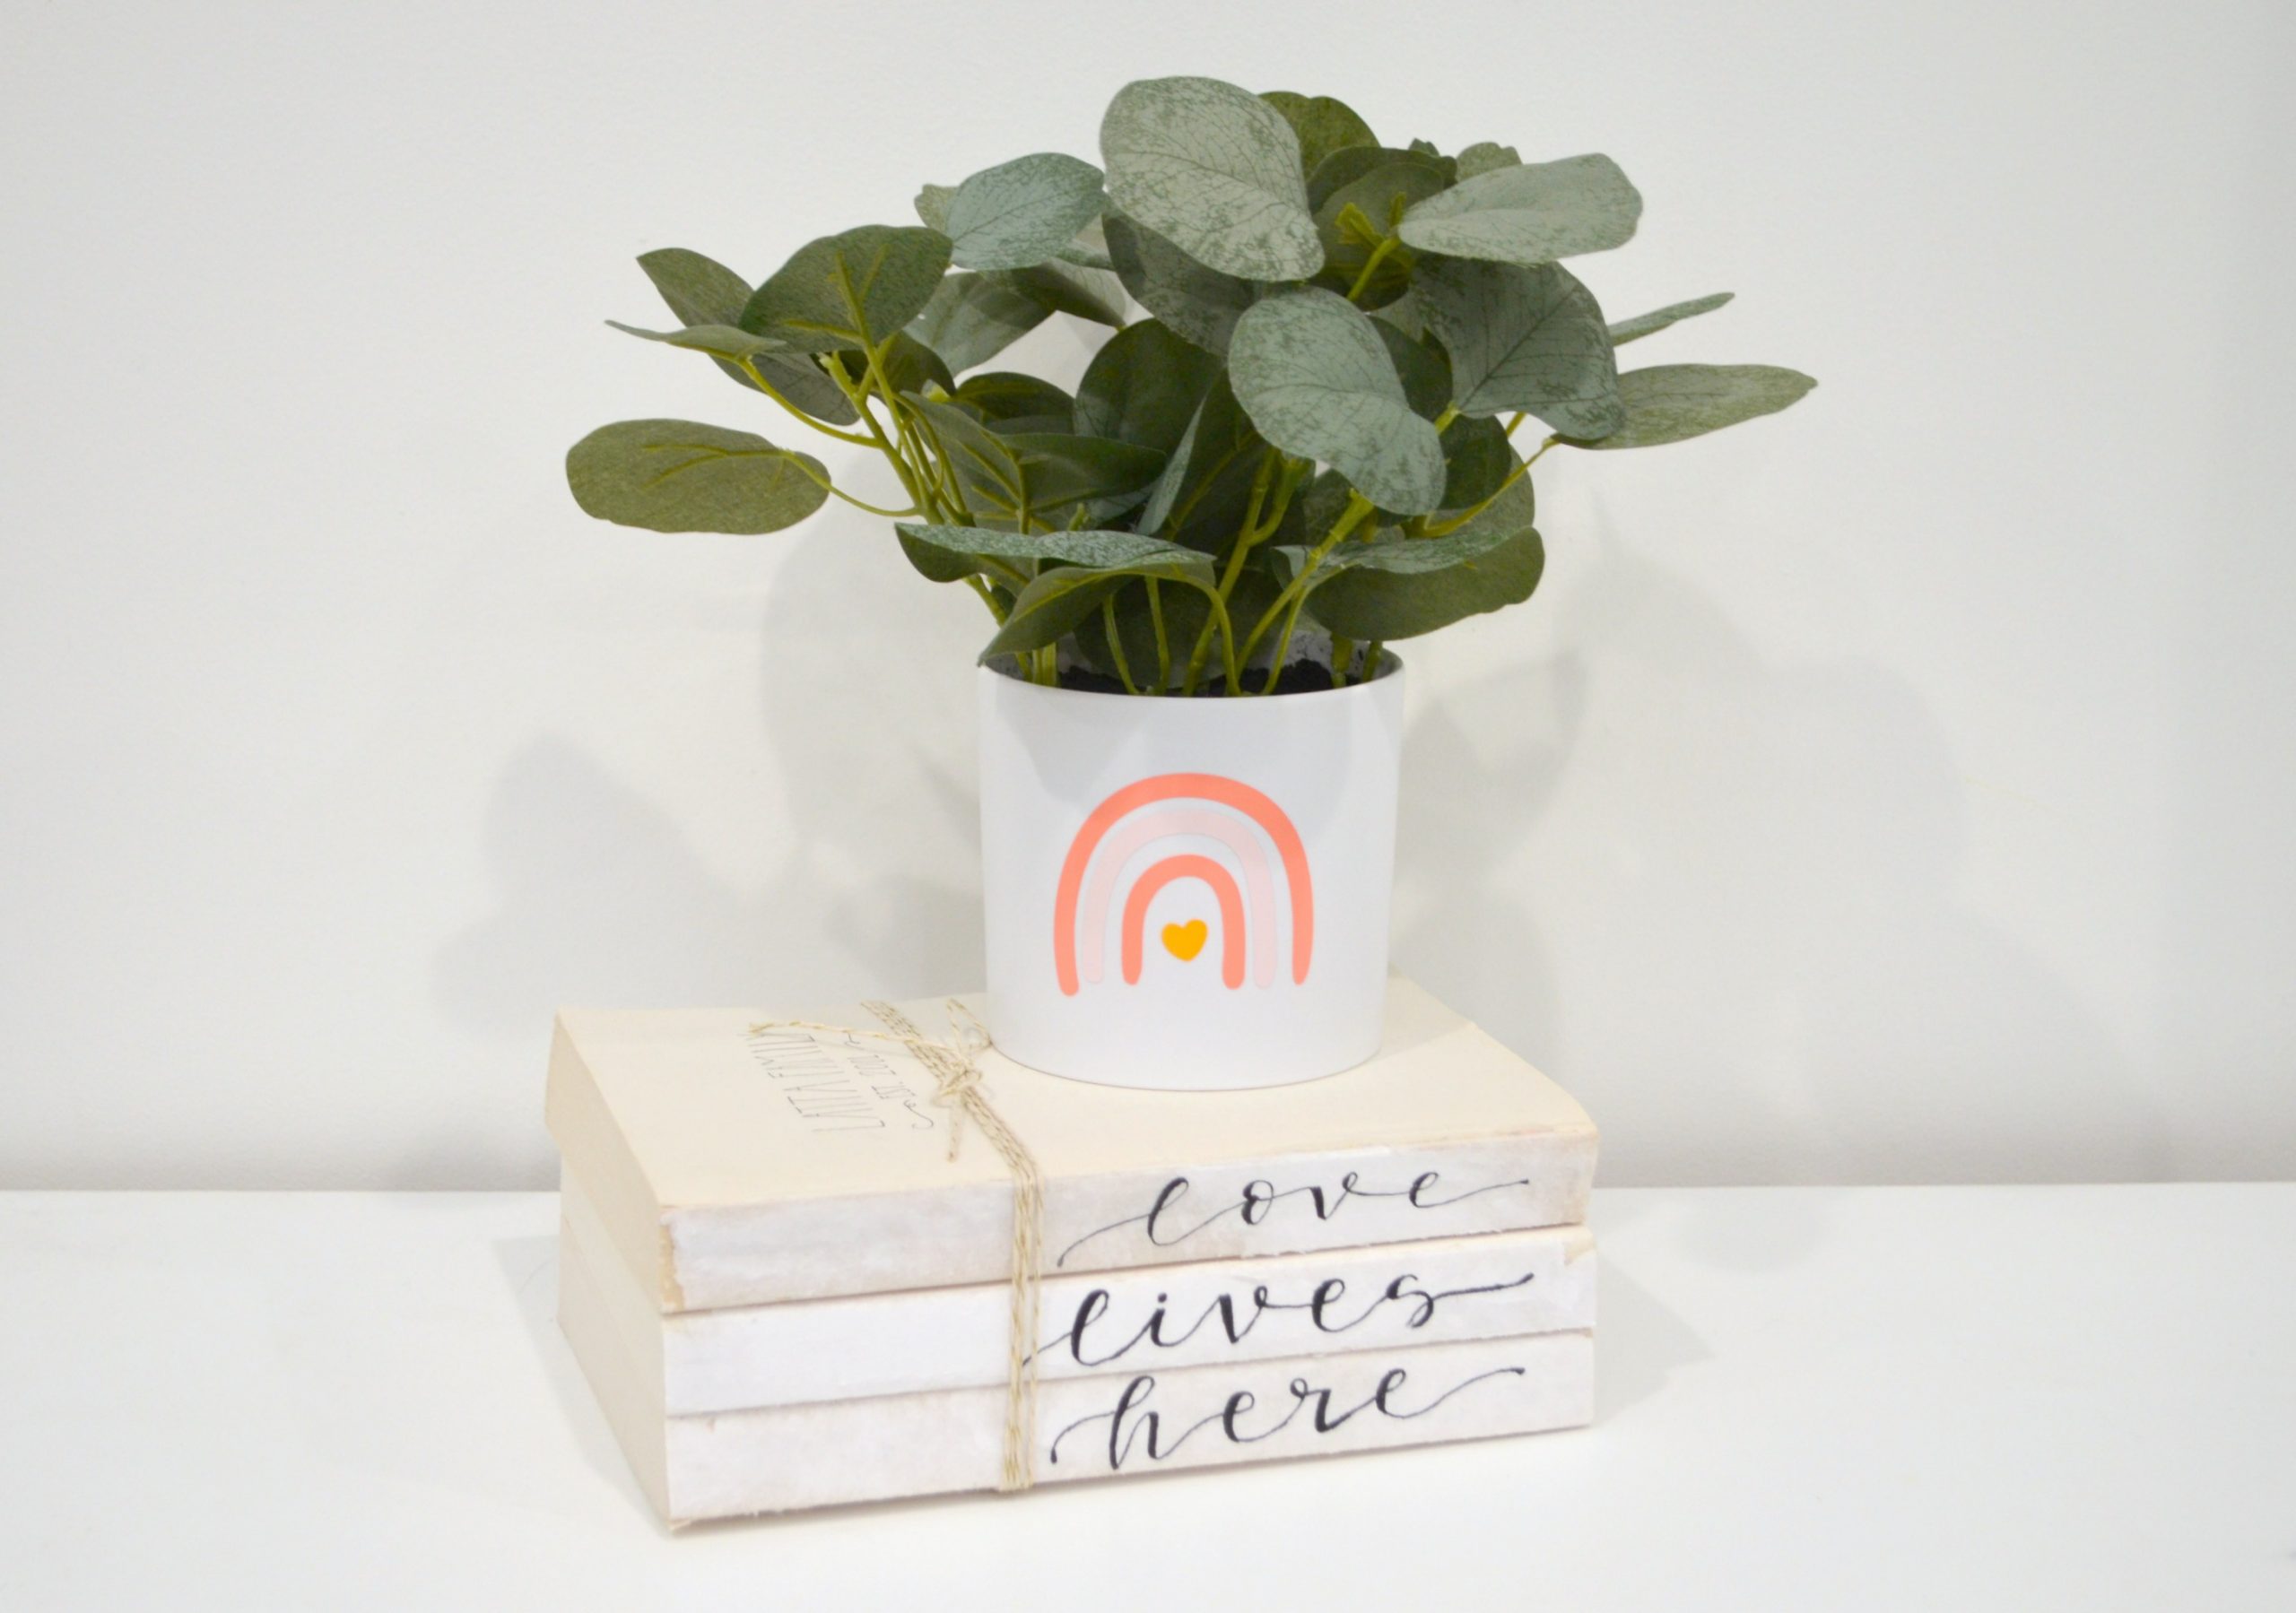
One of my favorite kinds of home decor is a cheerful plant and flowerpot. There’s something about flowers and greenery that brings life into the house, even if you have a black thumb like me and have to stick with faux plants! This week, I found the cutest little (fake) plant at Target for just $5, but the blank white flowerpot needed a little something. I decided to personalize it by using my Cricut Joy to add a monochromatic rainbow. Rainbows are a universal symbol of hope and promises for the future, which I think we call could use a little more of right now! Here’s how I made it, and you can too!
You’ll Need:
(the following are affiliate links, meaning if you make a purchase, you help support my business at no cost to you!)
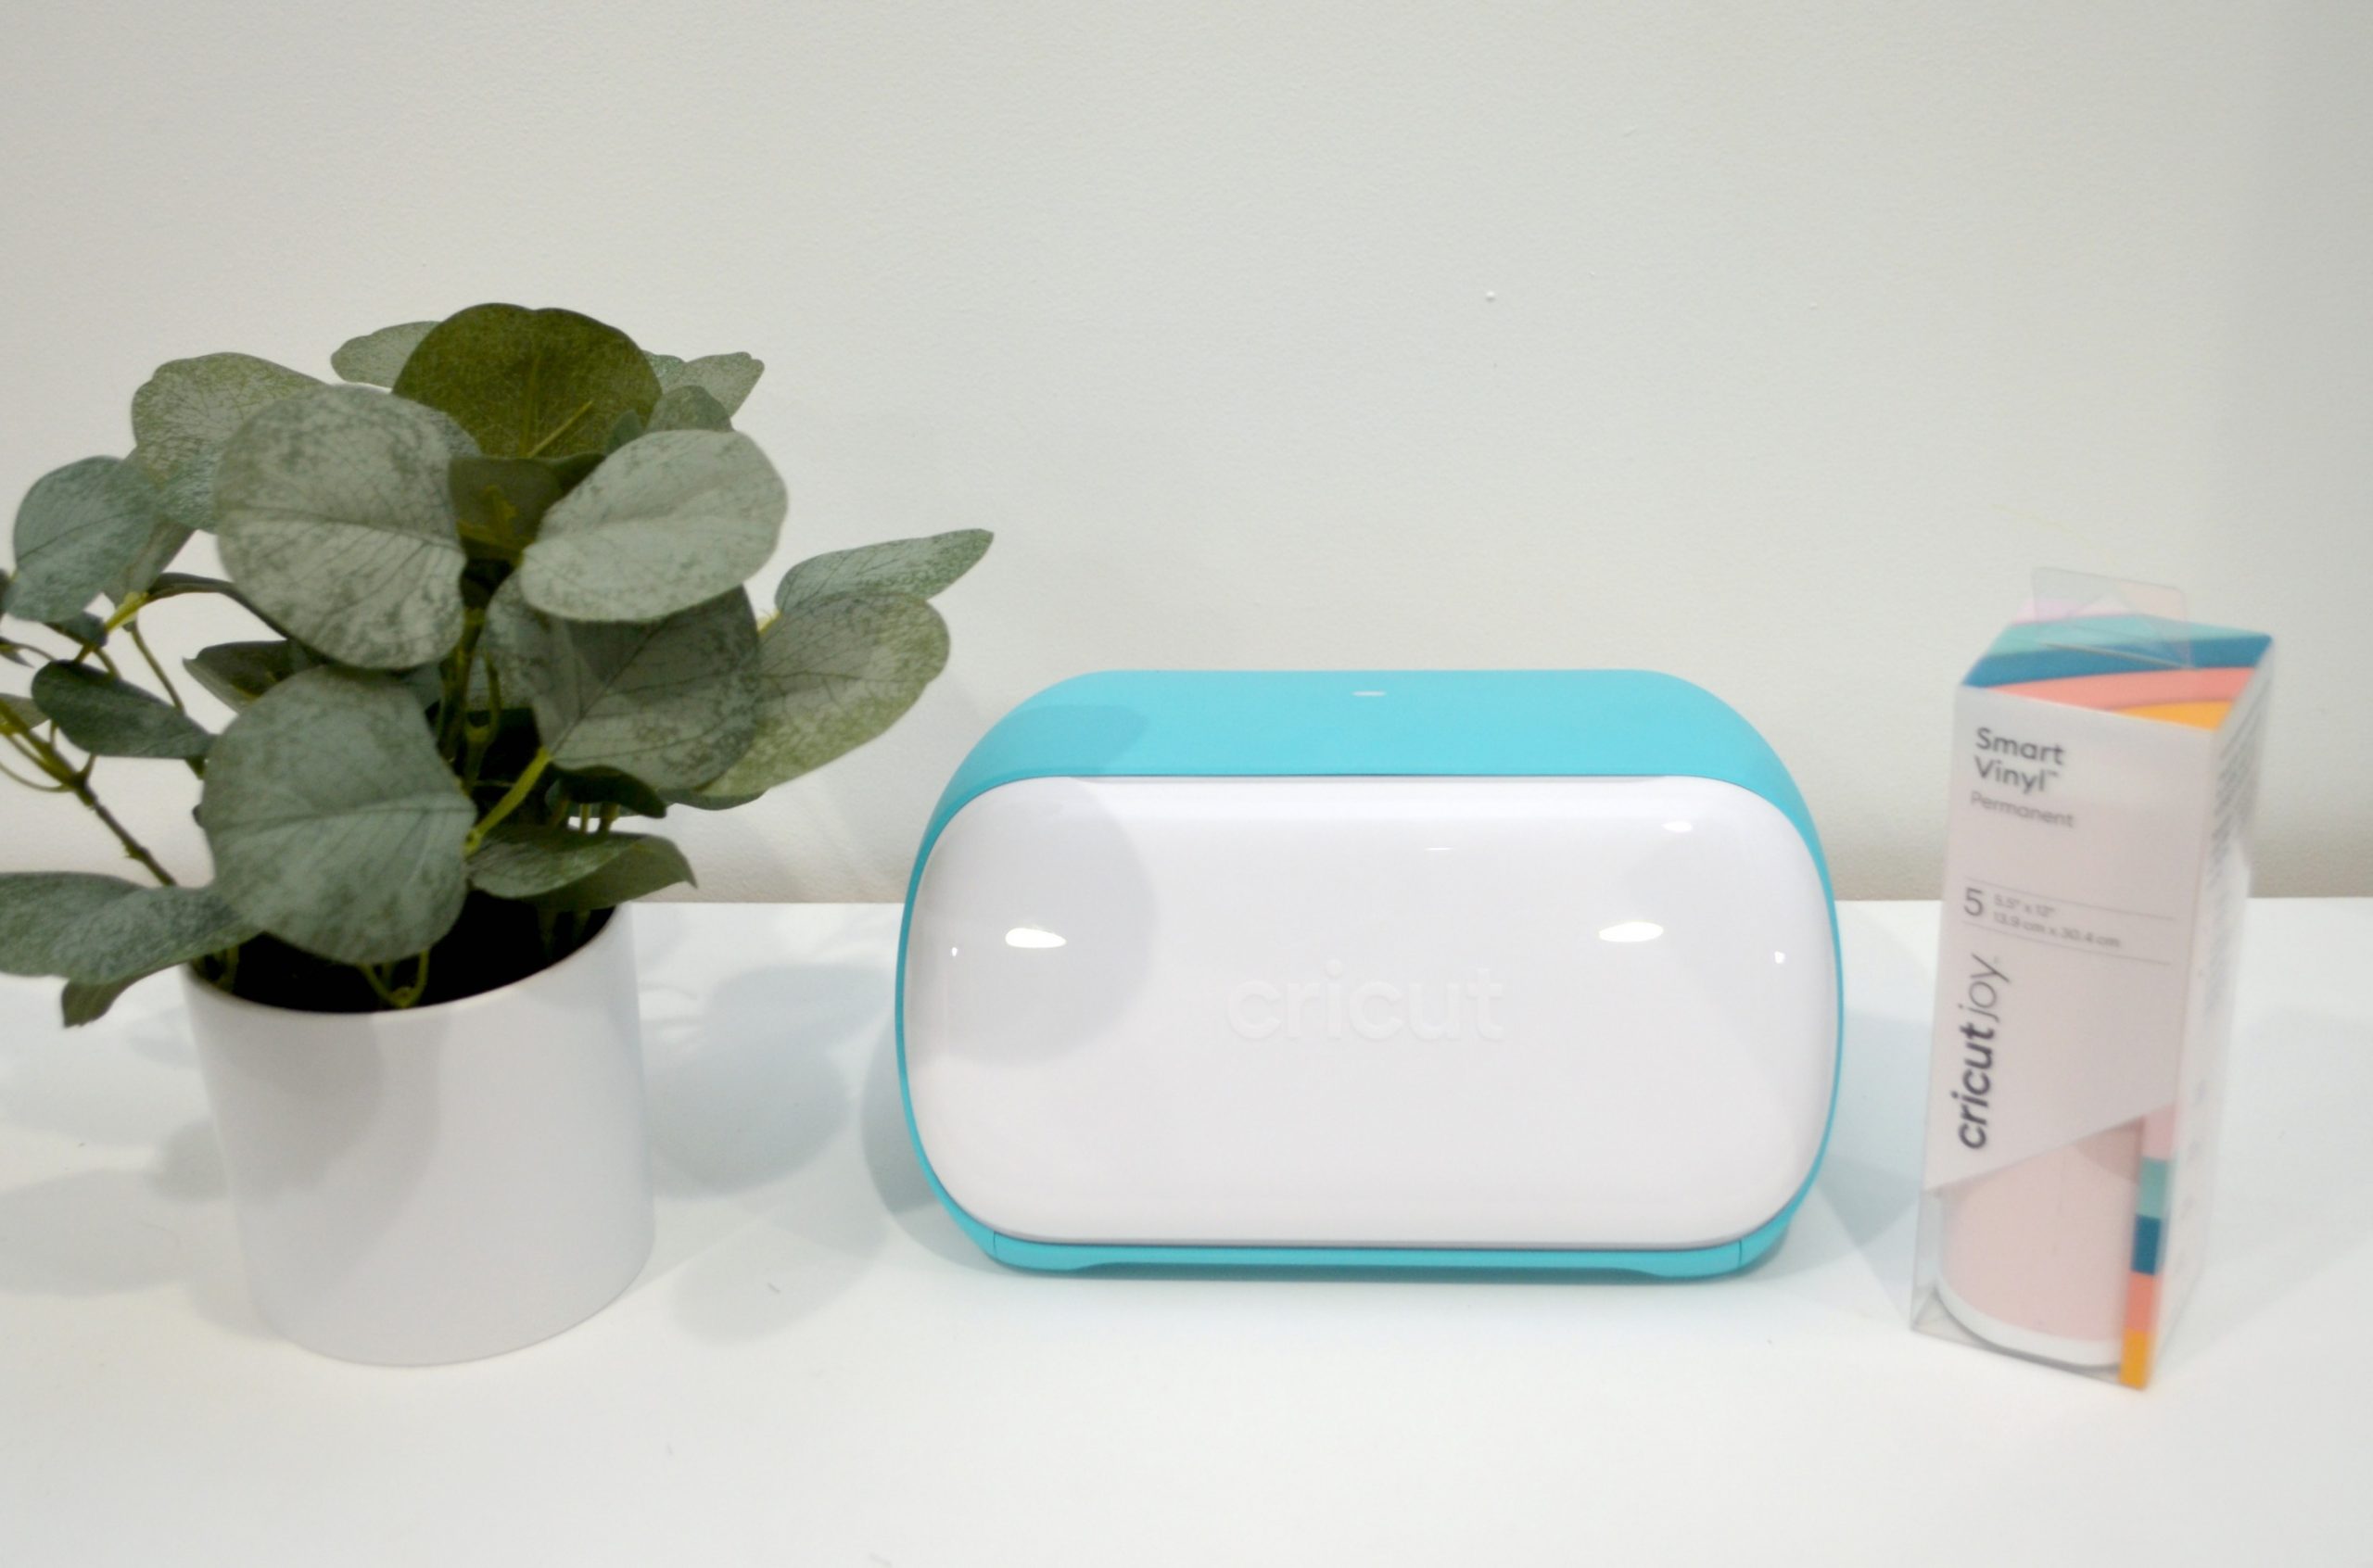
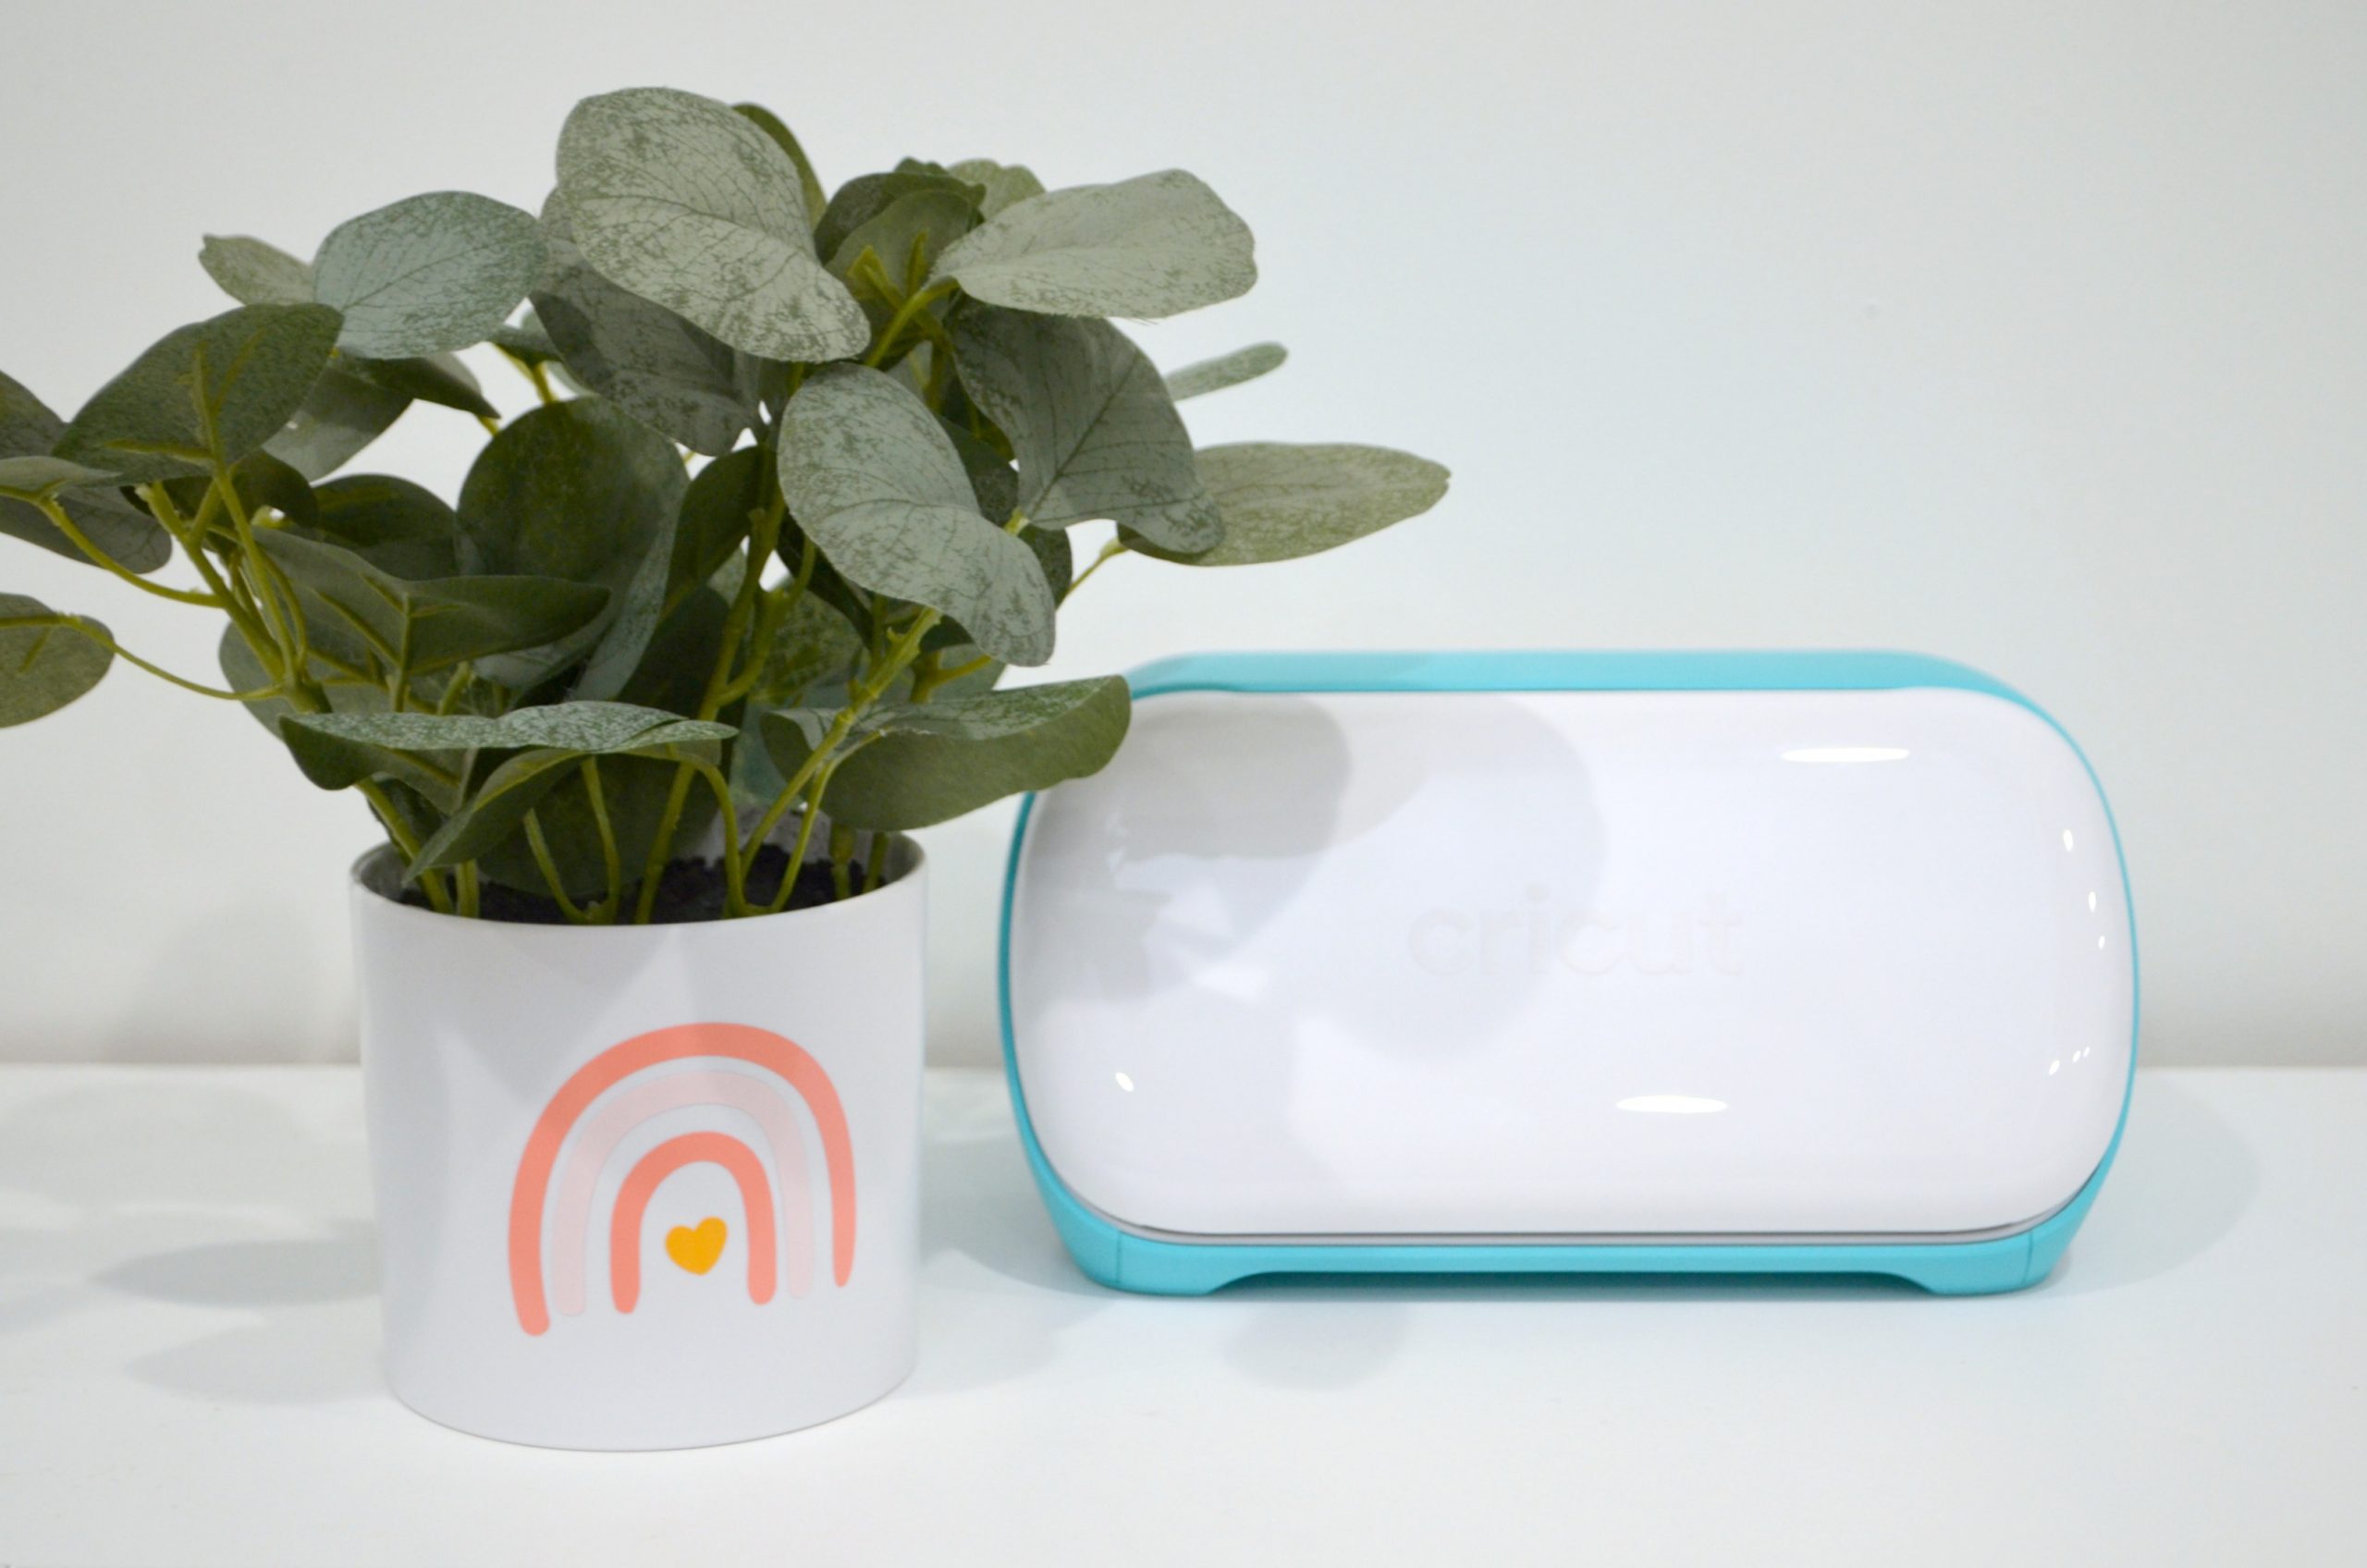
Cricut Joy cutting machine
Cricut Joy Smart Vinyl Sampler: Beachside
White plastic or ceramic flowerpot
Cricut Joy Strong Grip Transfer Tape
Scissors
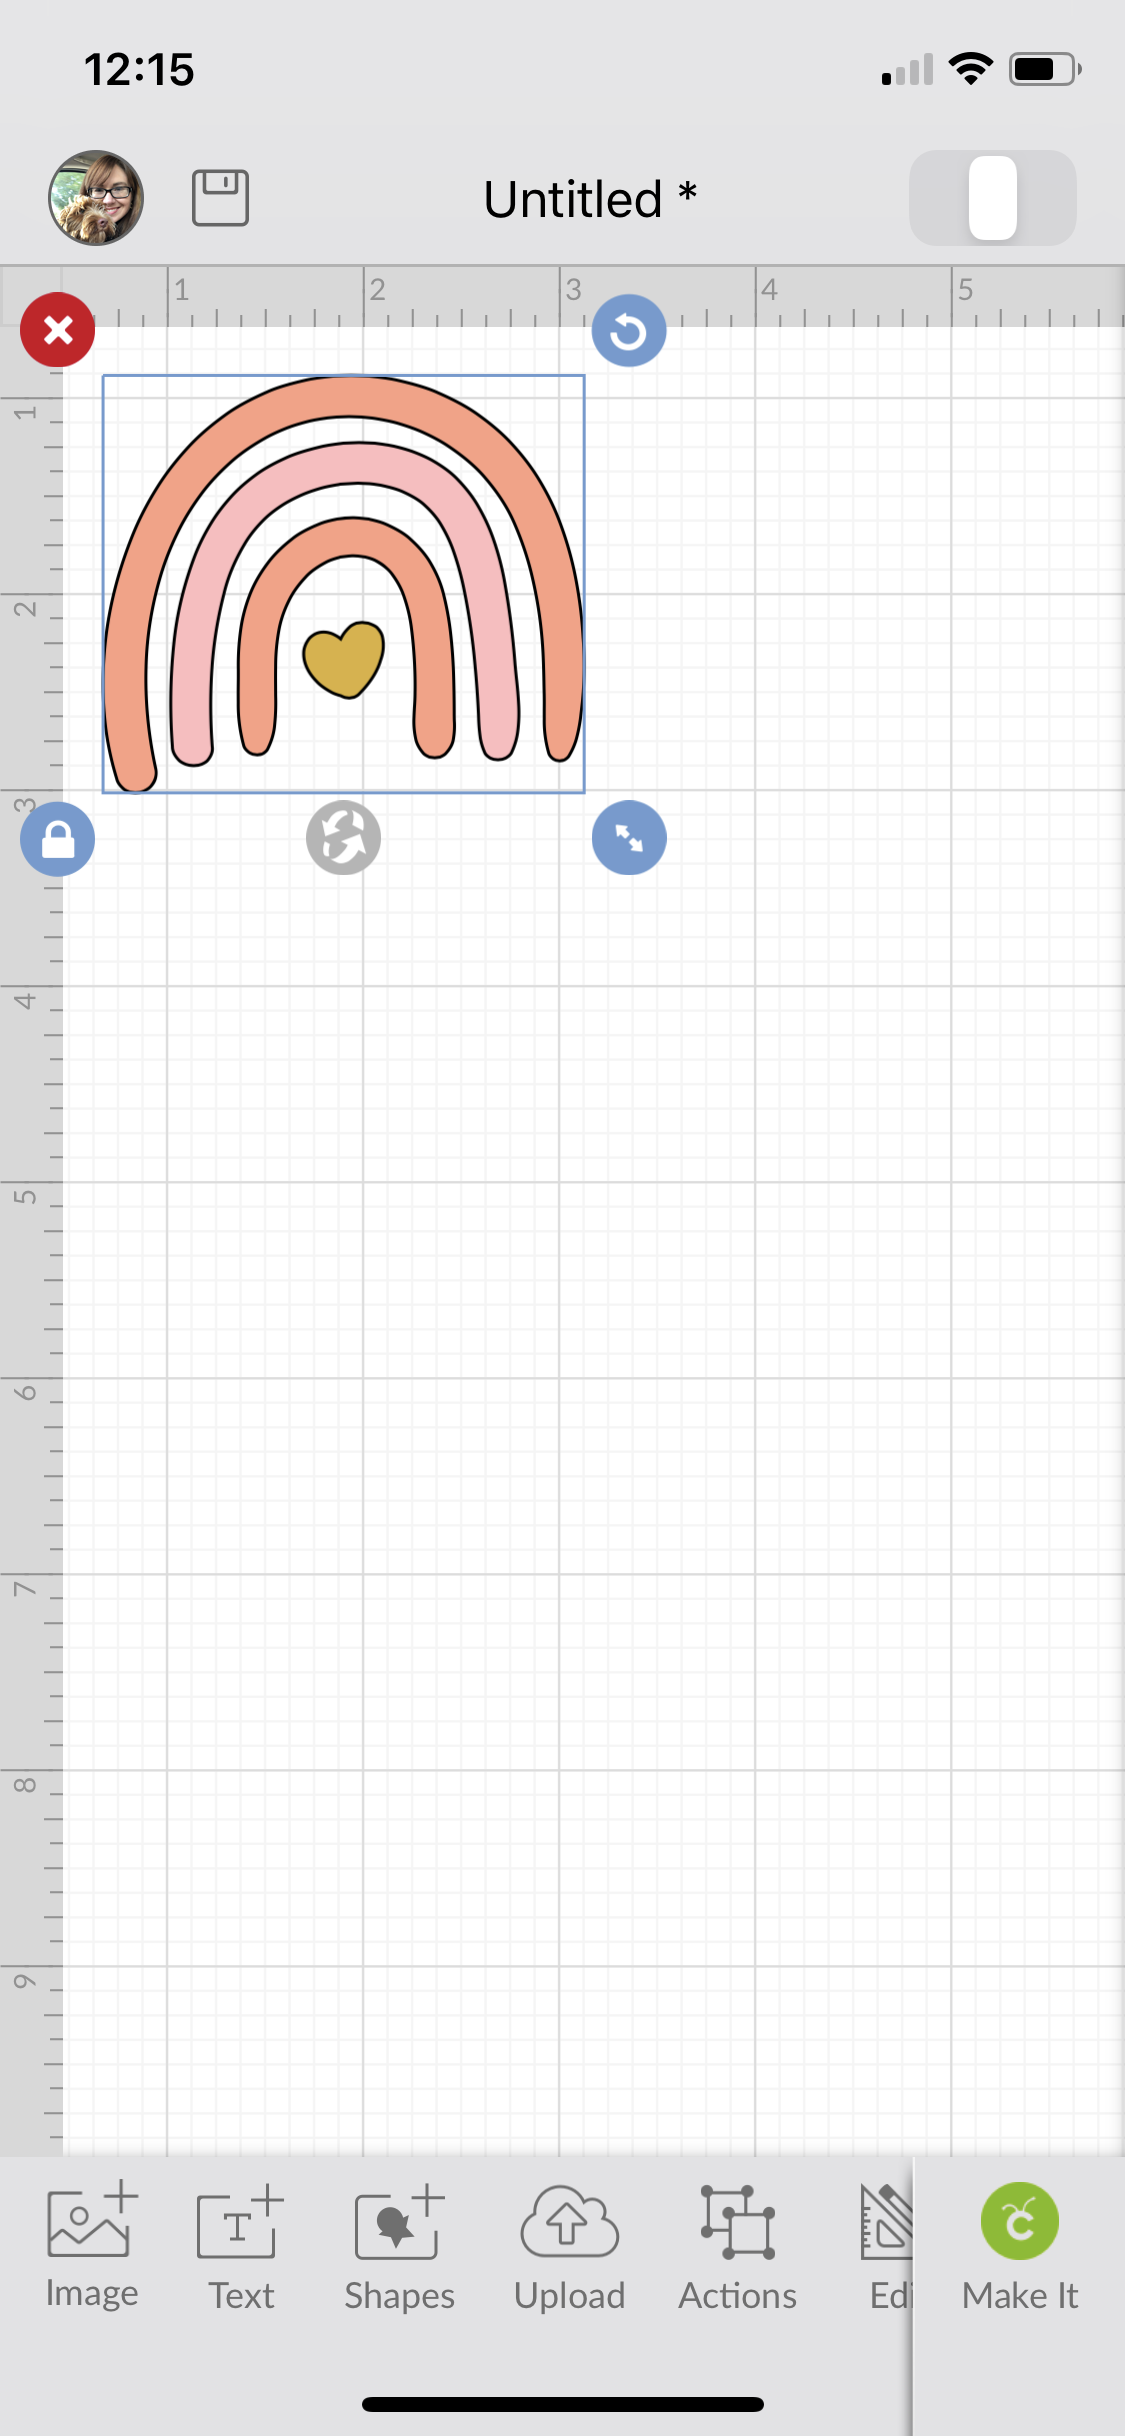
Step 1: Choose your favorite image or phrase in Cricut Design Space.
Mine is from the Cricut Design Library: Rainbow With Heart #M144644A4. Once you insert the image into your canvas, you’ll need to resize it so that it fits your flowerpot. My ideal width was 2.5,” but yours may be different depending on the pot you choose.
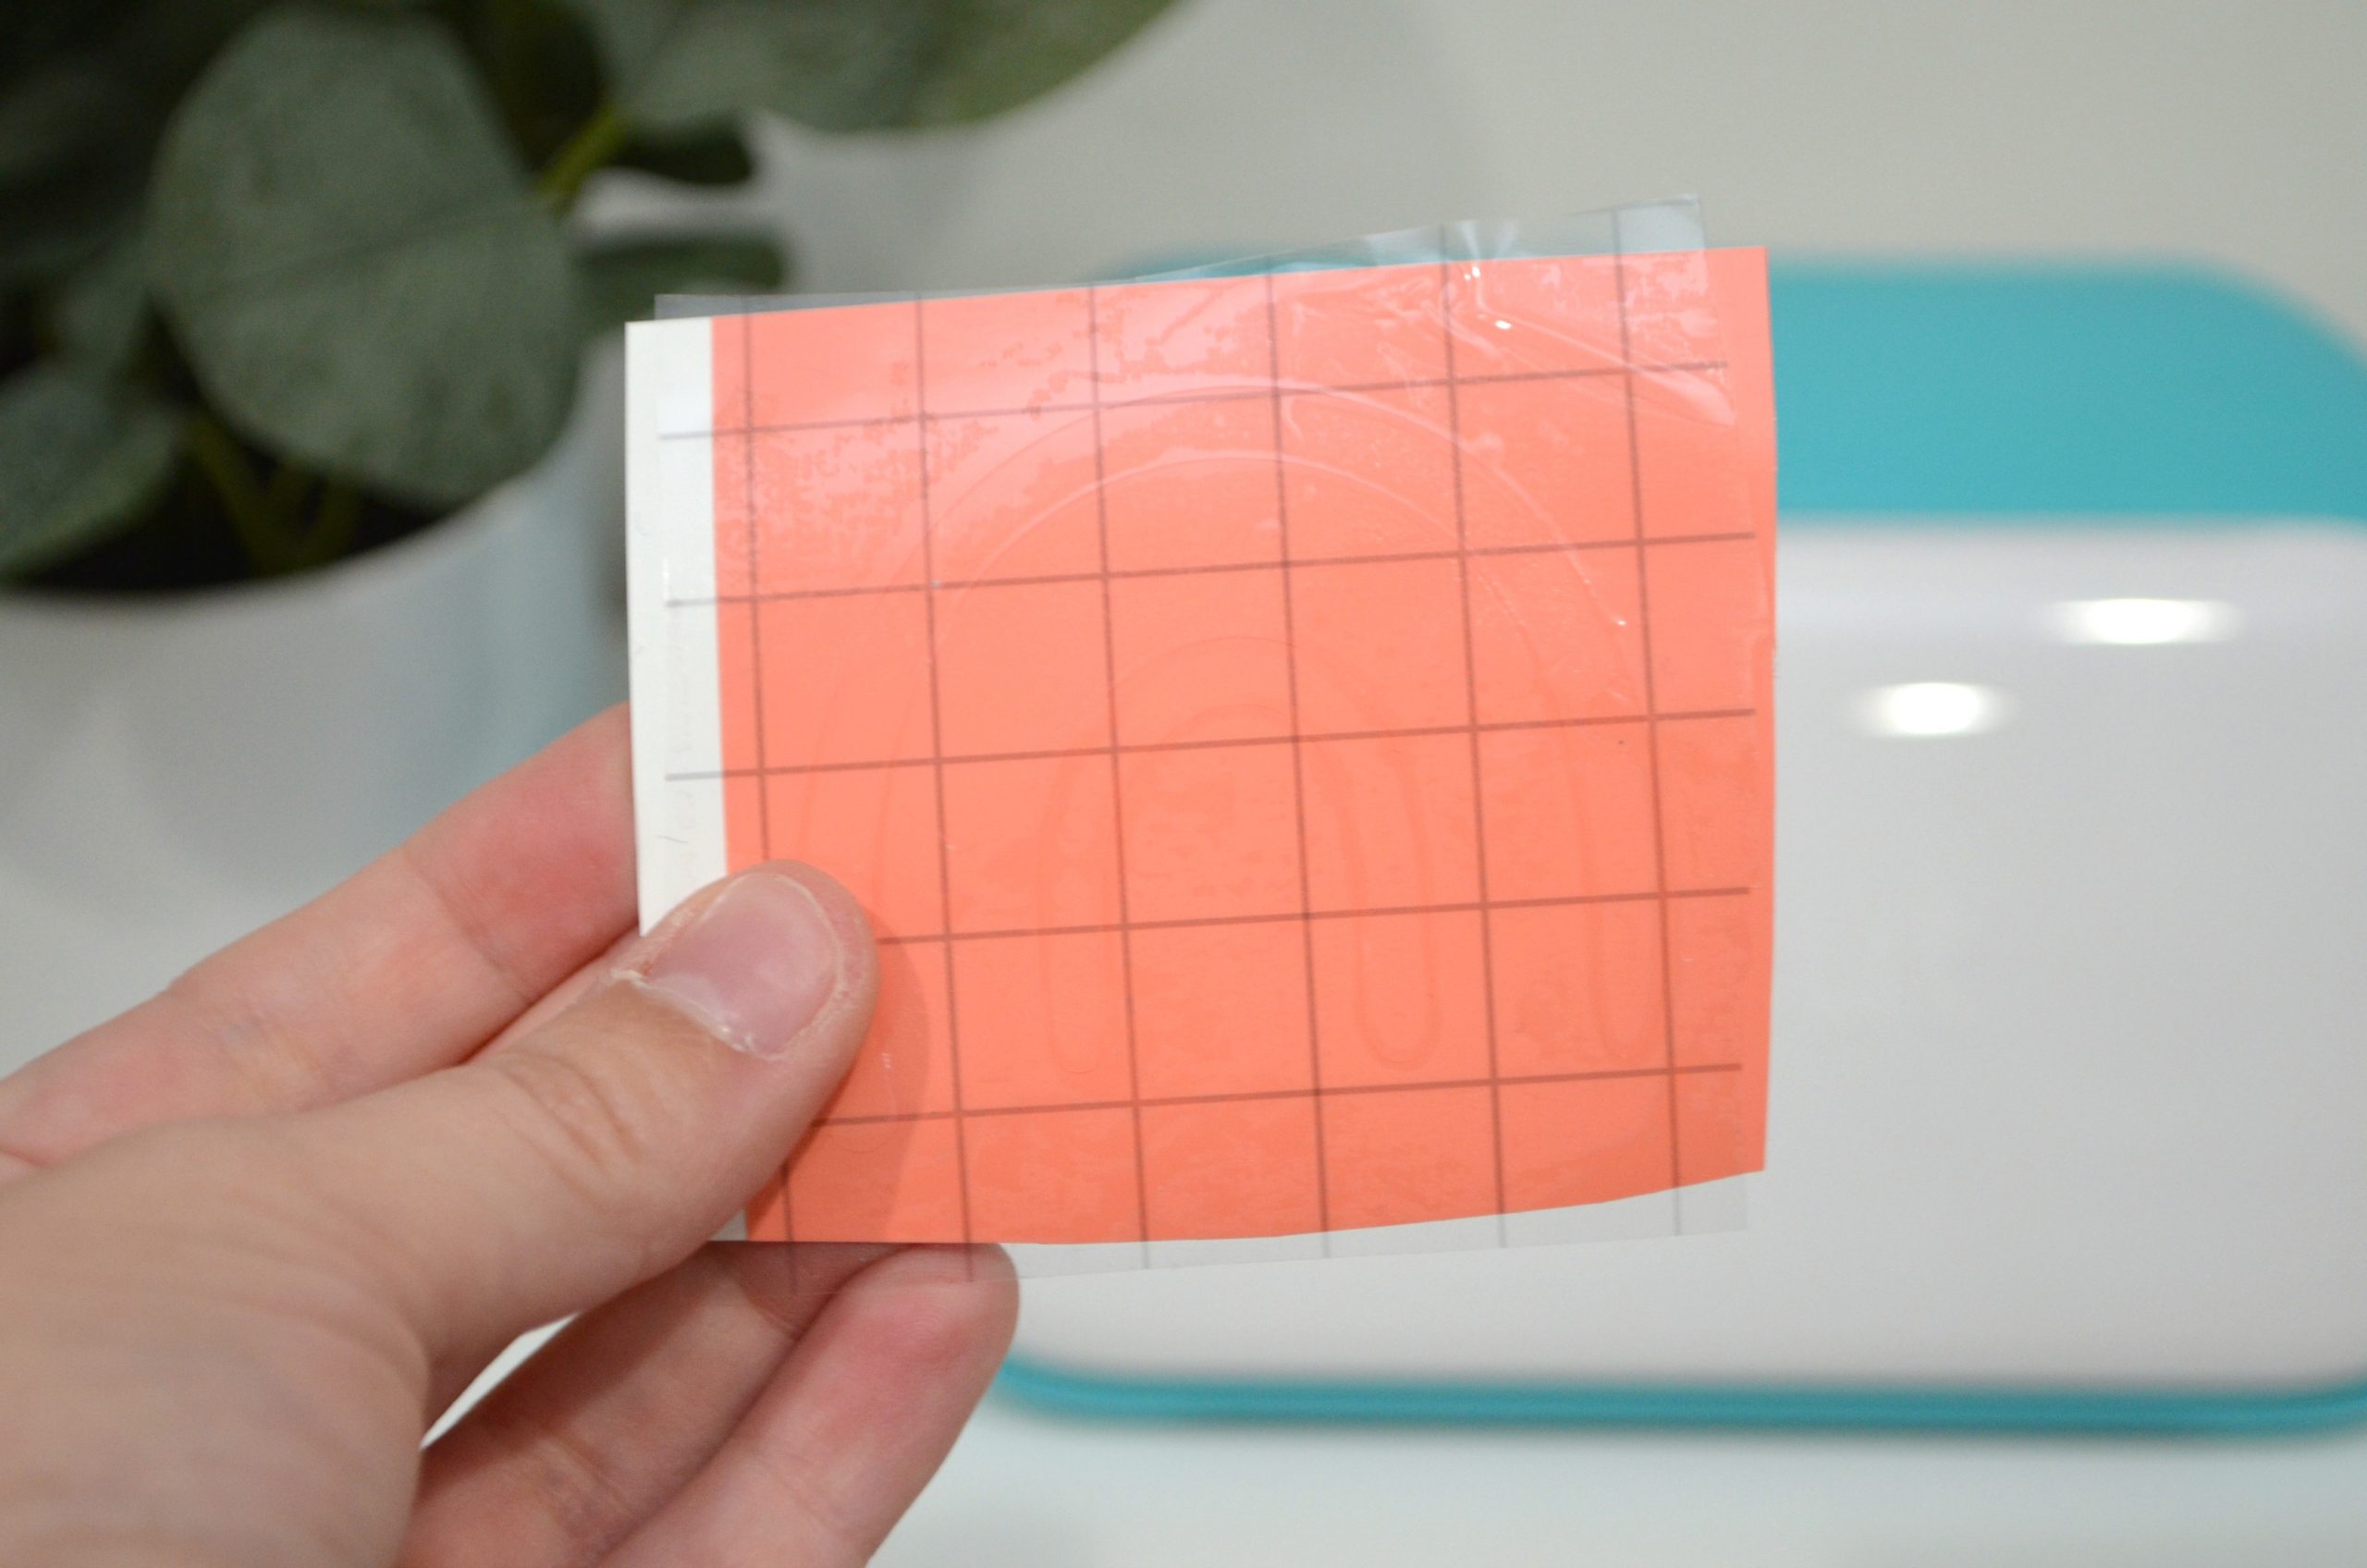
Step 2: Send the design to the Cricut Joy and cut it from Smart Vinyl.
In the Design Space app, you’ll be prompted to choose your material and load the Smart Vinyl into the machine. My image is composed of three different colors of vinyl; coral, light pink, and yellow, so the app prompted me each time to load the next color until the whole cut was finished. My favorite thing about using Smart Vinyl is that it doesn’t require you to use a cutting mat; just load it into the Cricut Joy as is, and the machine will work its magic.
Step 3: Apply Transfer Tape on top of your cut design.
I started with the coral, which was my top and bottom rainbow arcs. Using transfer tape allowed me to keep the original spacing and positioning of the arcs in relation to each other. Remove the backing from the transfer tape and press the clear, sticky side onto your cut vinyl. As you peel it back off, you’ll be left with just your image stuck to the tape.
Step 4: Press the transfer tape and vinyl onto your pot.
Rub firmly, then peel the tape back off and the vinyl will be adhered to the surface of the flowerpot.

Step 5: Repeat until all parts of your design are on the pot.
I placed my pink stripe in between the two coral ones, then finished by adding the small heart in the center.

It’s that simple! I think the finished flowerpot is so cheerful and full of hope, don’t you? It makes me smile every time I see it. Of course, you can use any design or phrase you want on your own flowerpot to make it totally unique.
What do you think? How would you use the Cricut Joy to personalize your own DIY flowerpots? I’d love to see what you create. Be sure to stop by the Amy Latta & Friends Facebook group and share photos of your latest projects so we can all be inspired!
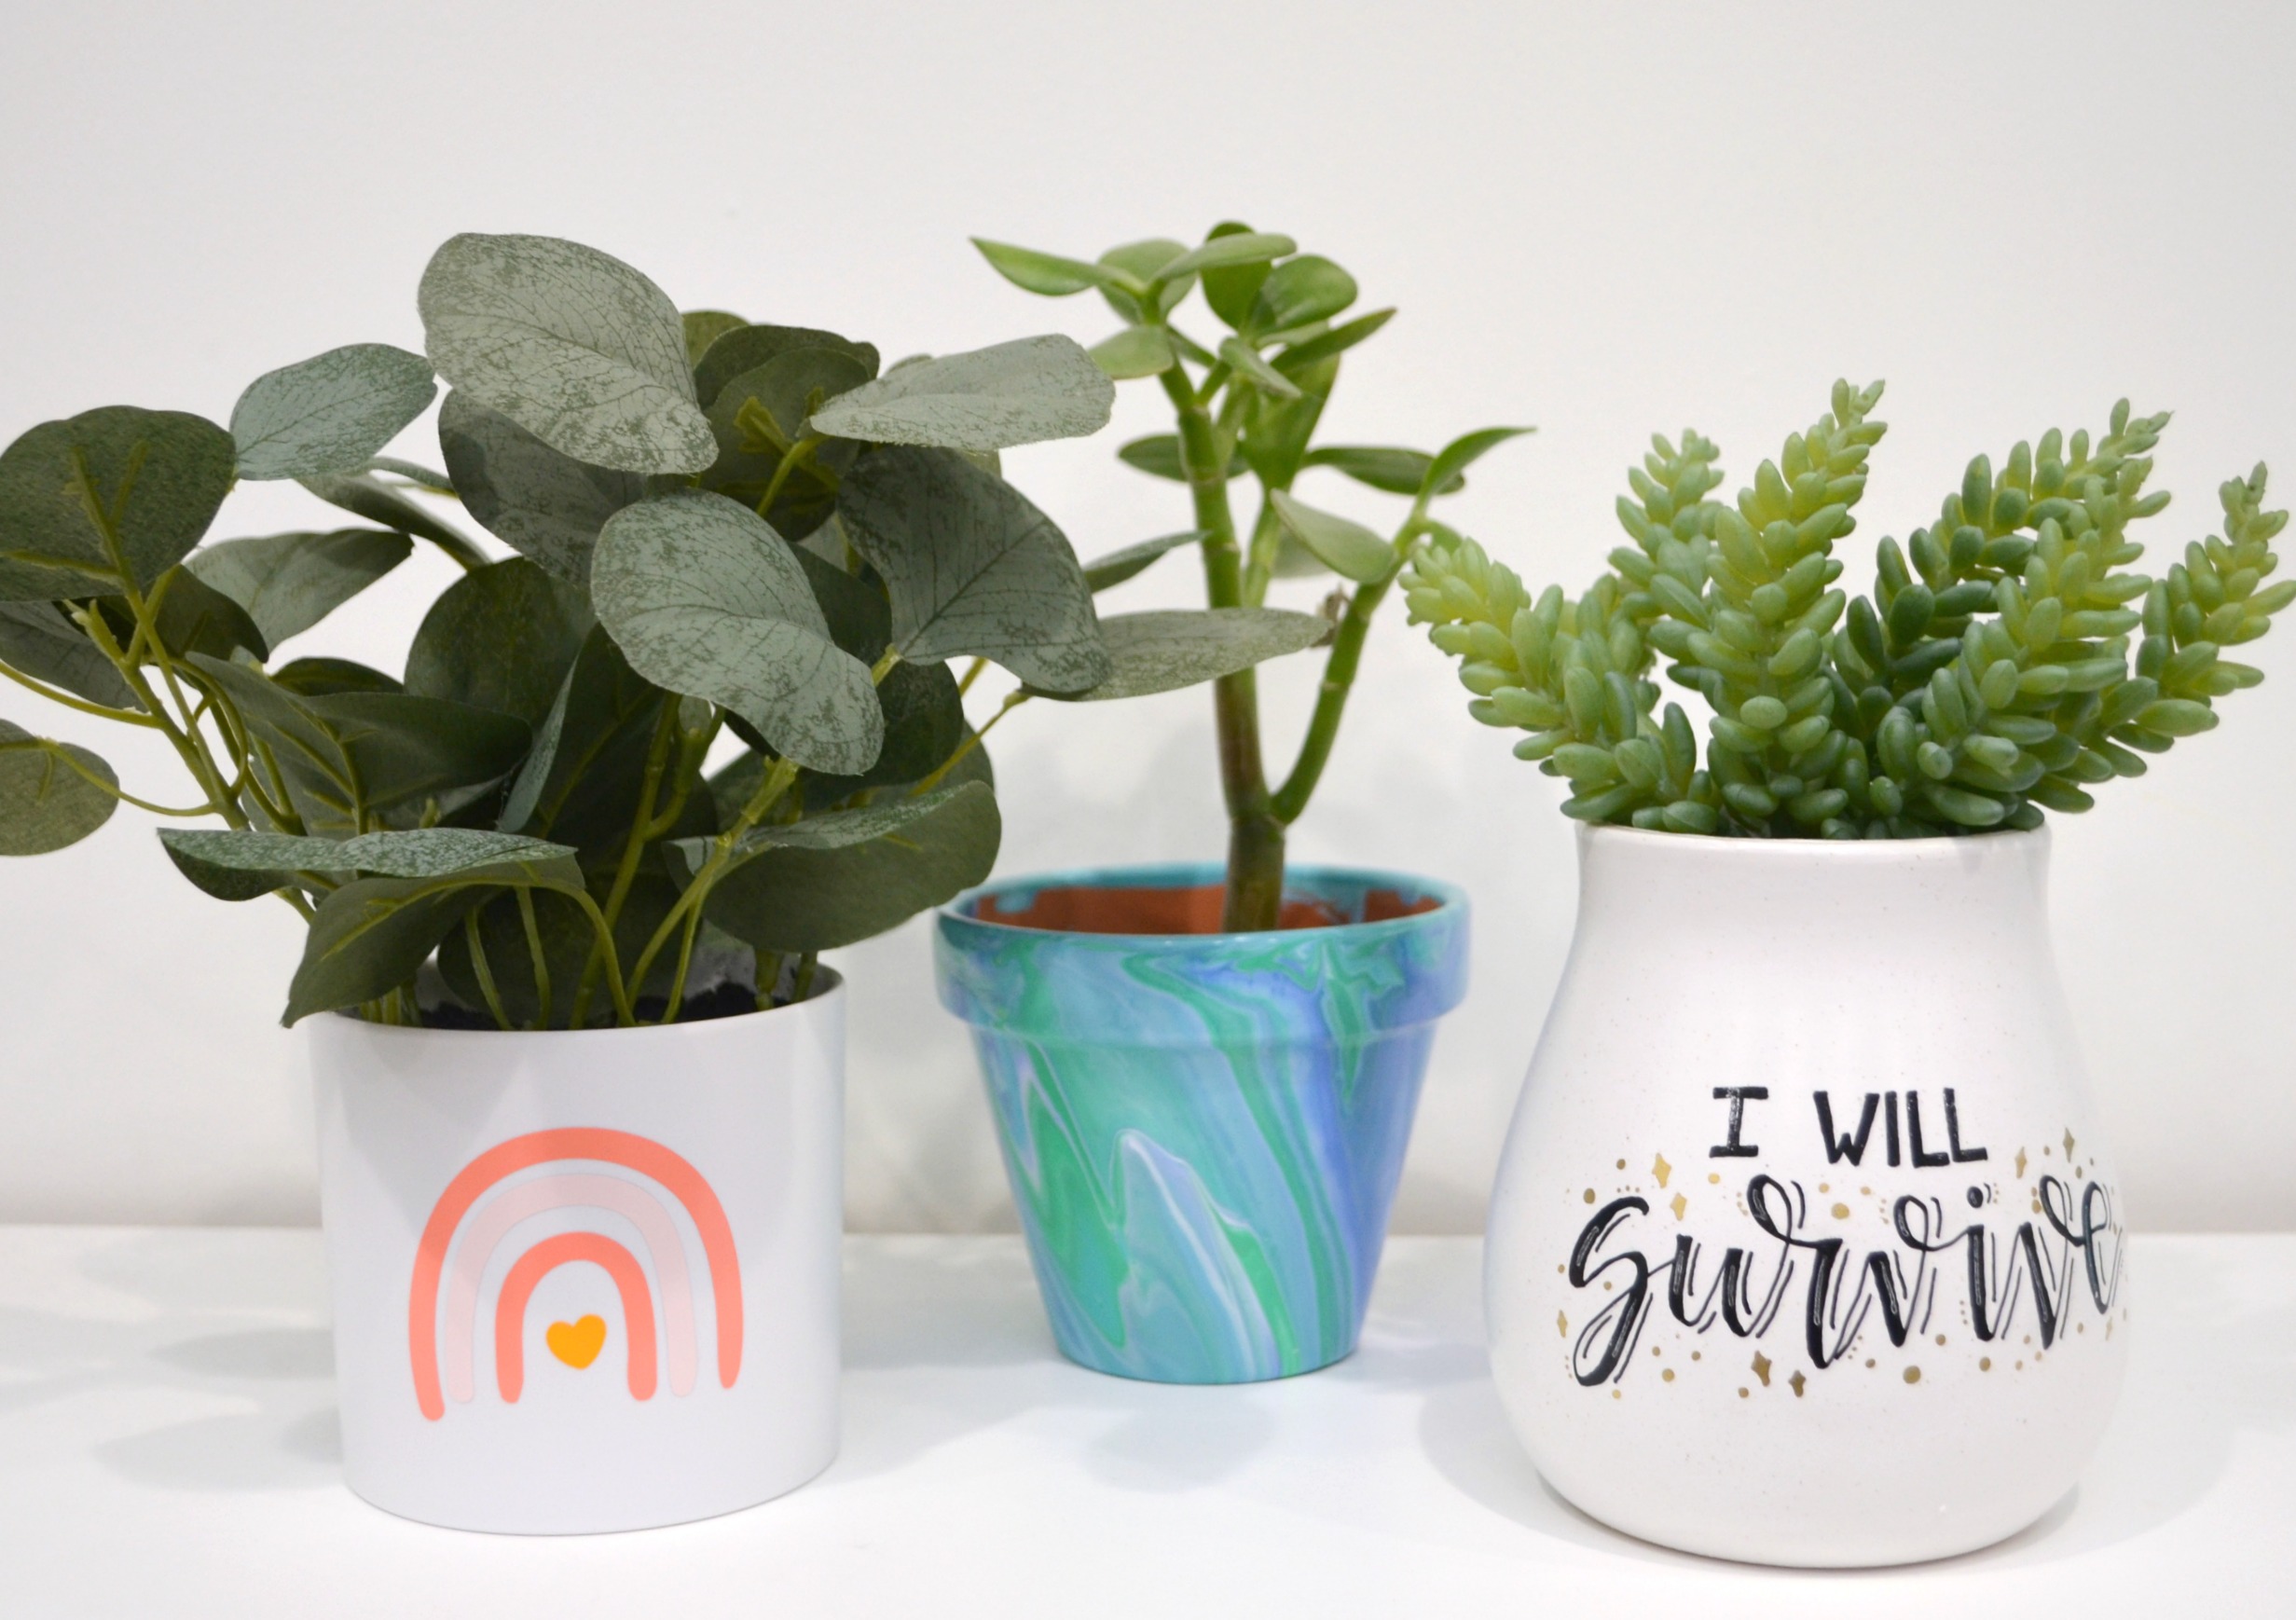
Here are a few other flowerpot ideas to check out too, using different techniques, like hand lettering and marbling. Take a look:
Marbled Flowerpots
Hand Lettered Punny Pots
Don’t forget to Pin this project for later and share with a friend!


2 Comments