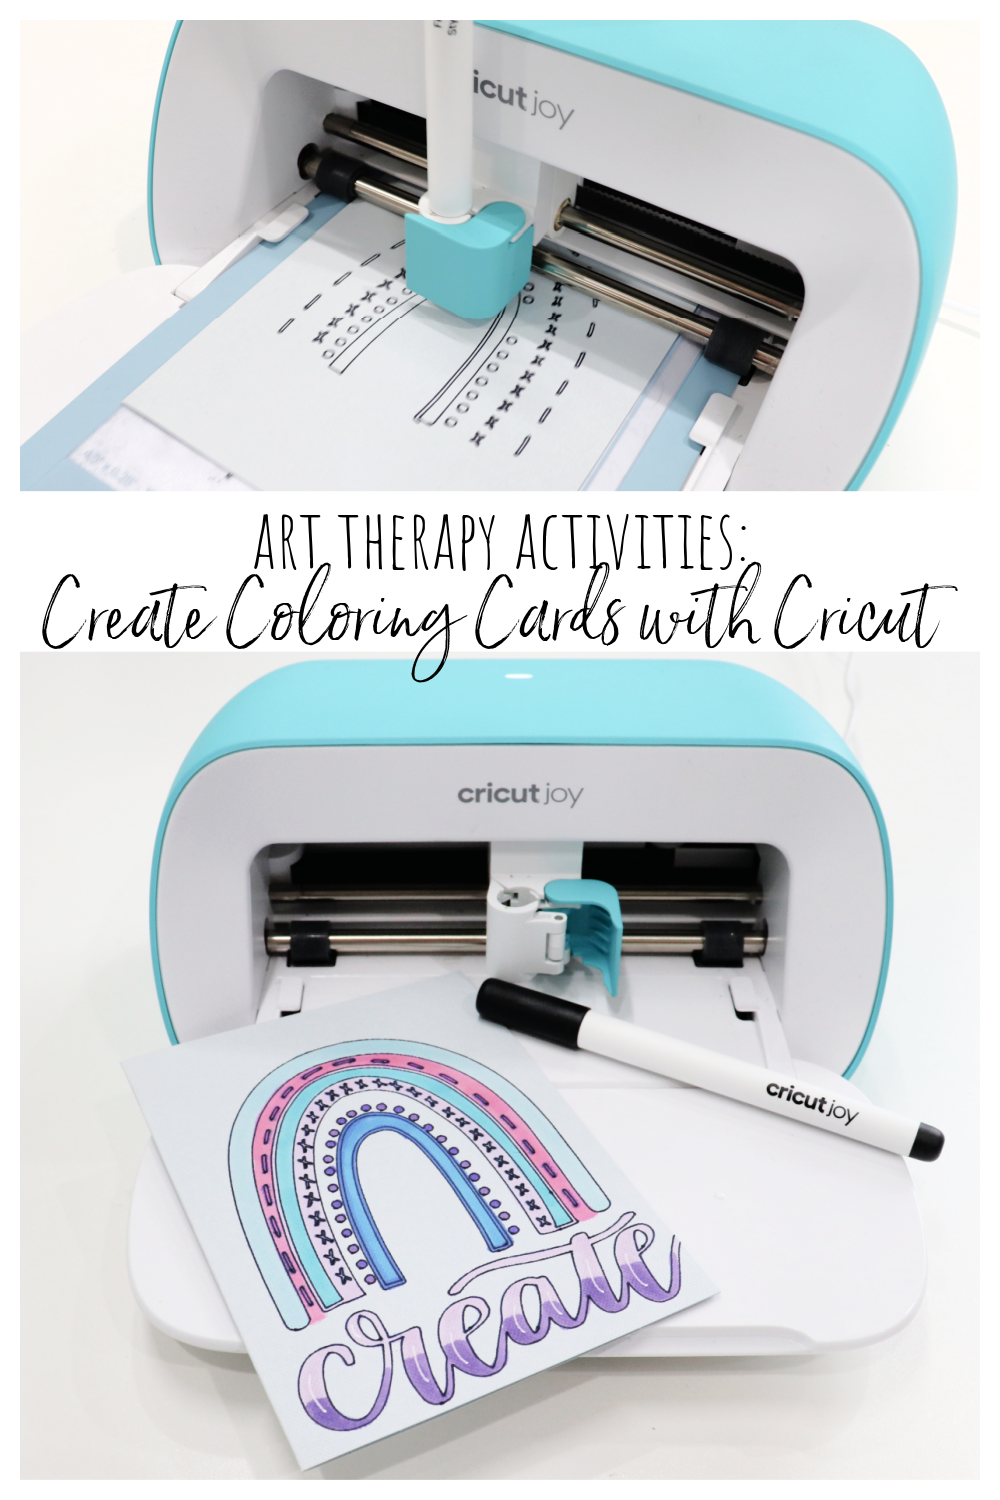
Art Therapy Activities: Create a Coloring Card with Cricut
Thanks to Cricut for sponsoring today’s post; all opinions are my own.
Did you know that creating is great for our mental and emotional well-being? As a matter of fact, Art Therapy is a concept based on the idea that creative expression can foster healing, promote relaxation, and help us handle the things life throws our way. Today, I want to share a fun project that I think is a great form of art therapy (or just plain fun)! It has four different artistic components: drawing, watching, coloring, and writing/giving. Join we as we learn to create a coloring card!
The idea behind this project is that first, we will draw and/or letter a design…I chose a boho rainbow. Then, we’ll send it to the Cricut app and let the machine draw it in the form of a coloring page on the front of a blank card. Next, we’ll color the design, and finally, we’ll write inside the card and share it with a friend! Ready? Let’s get started!

You’ll need:
Cricut Joy (or Explore Air 2/Maker)
Cutting Mat (I used the Cricut Joy Card Mat)
Cricut Joy Insert Card (or cardstock cut to 8.5 x 5.5″ and folded in half)
Cricut Joy Fine Point Pen, Black
Design Space software
Markers
Your digitized drawing (or mine)
Step 1: Create a drawing and upload it to Cricut Design Space. (or use my rainbow and skip to step 3!)
The easiest way to do this is by creating your art in a digital program like the Procreate app. This way, you can save it as a PNG file and it’s very simple to upload into Design Space. However, pen and paper drawings can work too. Just photograph or scan your design, then upload the file. You will have to do a bit of additional editing like removing the white background, but it’s totally do-able! As you draw, keep in mind that anything solid black (for example, the top stripe of my rainbow) will actually end up as an outlined open space when we change the Cricut’s action from cutting to drawing in the next step. That means the solid black areas will really be open spaces for you to color in with markers. The same is true for lettering. Solid colored lettering will actually end up as just the outline of a word you can fill with color. Feel free to check out my Boho Rainbow post for tips on how to draw those.
If this part of the process seems intimidating or isn’t your favorite thing to do, feel free to use my pre-drawn rainbow art. I’ve already converted it and saved it as a public project in Design Space, so all you have to do is head to this link, then skip to step 3.
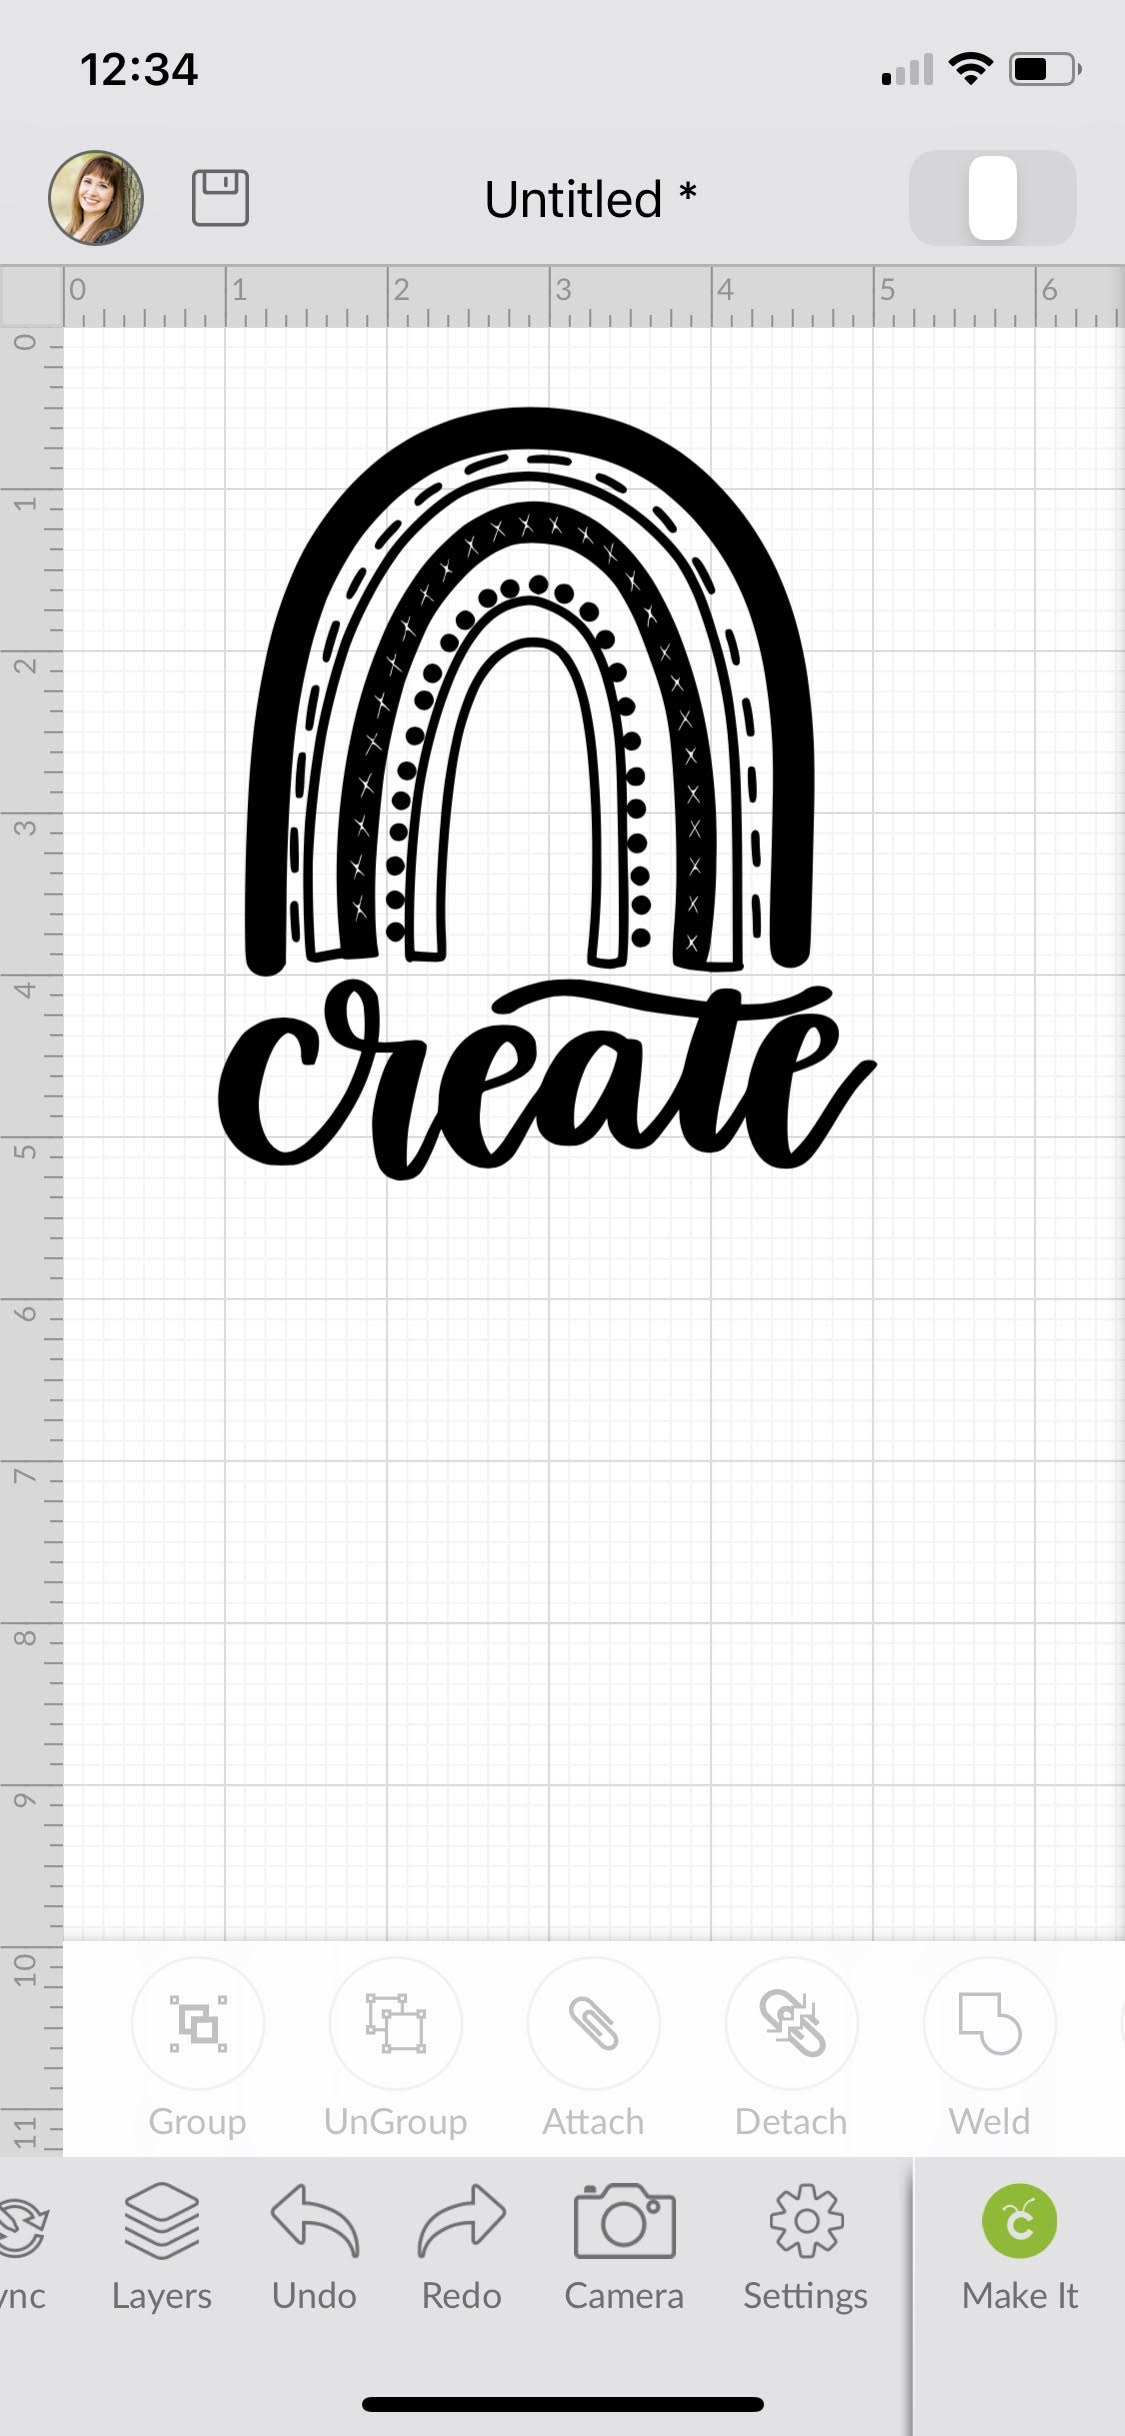
Step 2: Change the Linetype of your design from Cut to Draw.
Choose “edit” in your menu, then select “draw.”
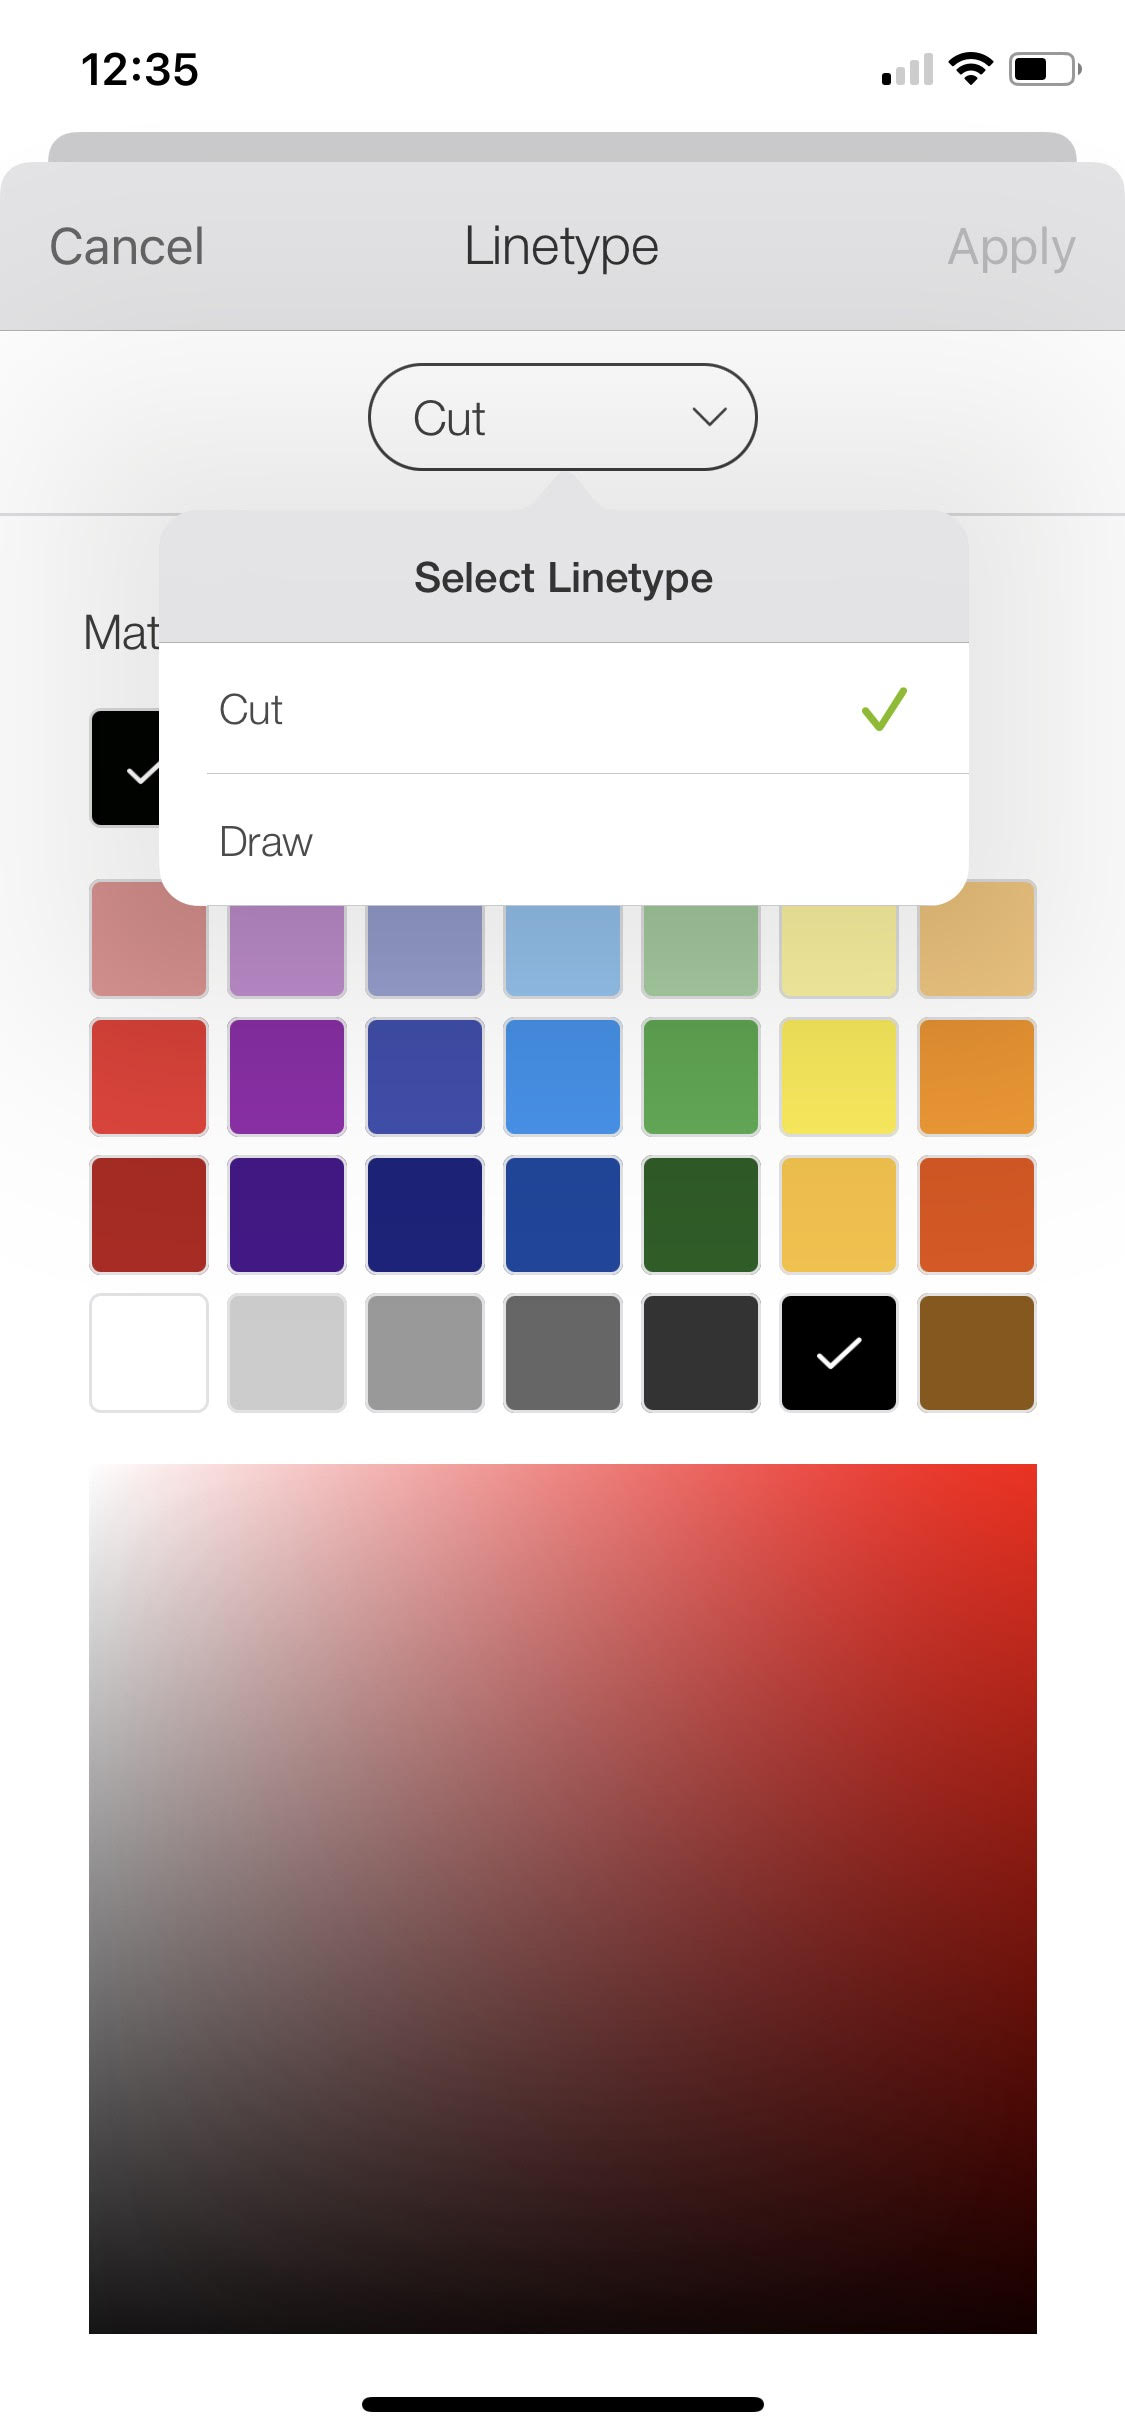
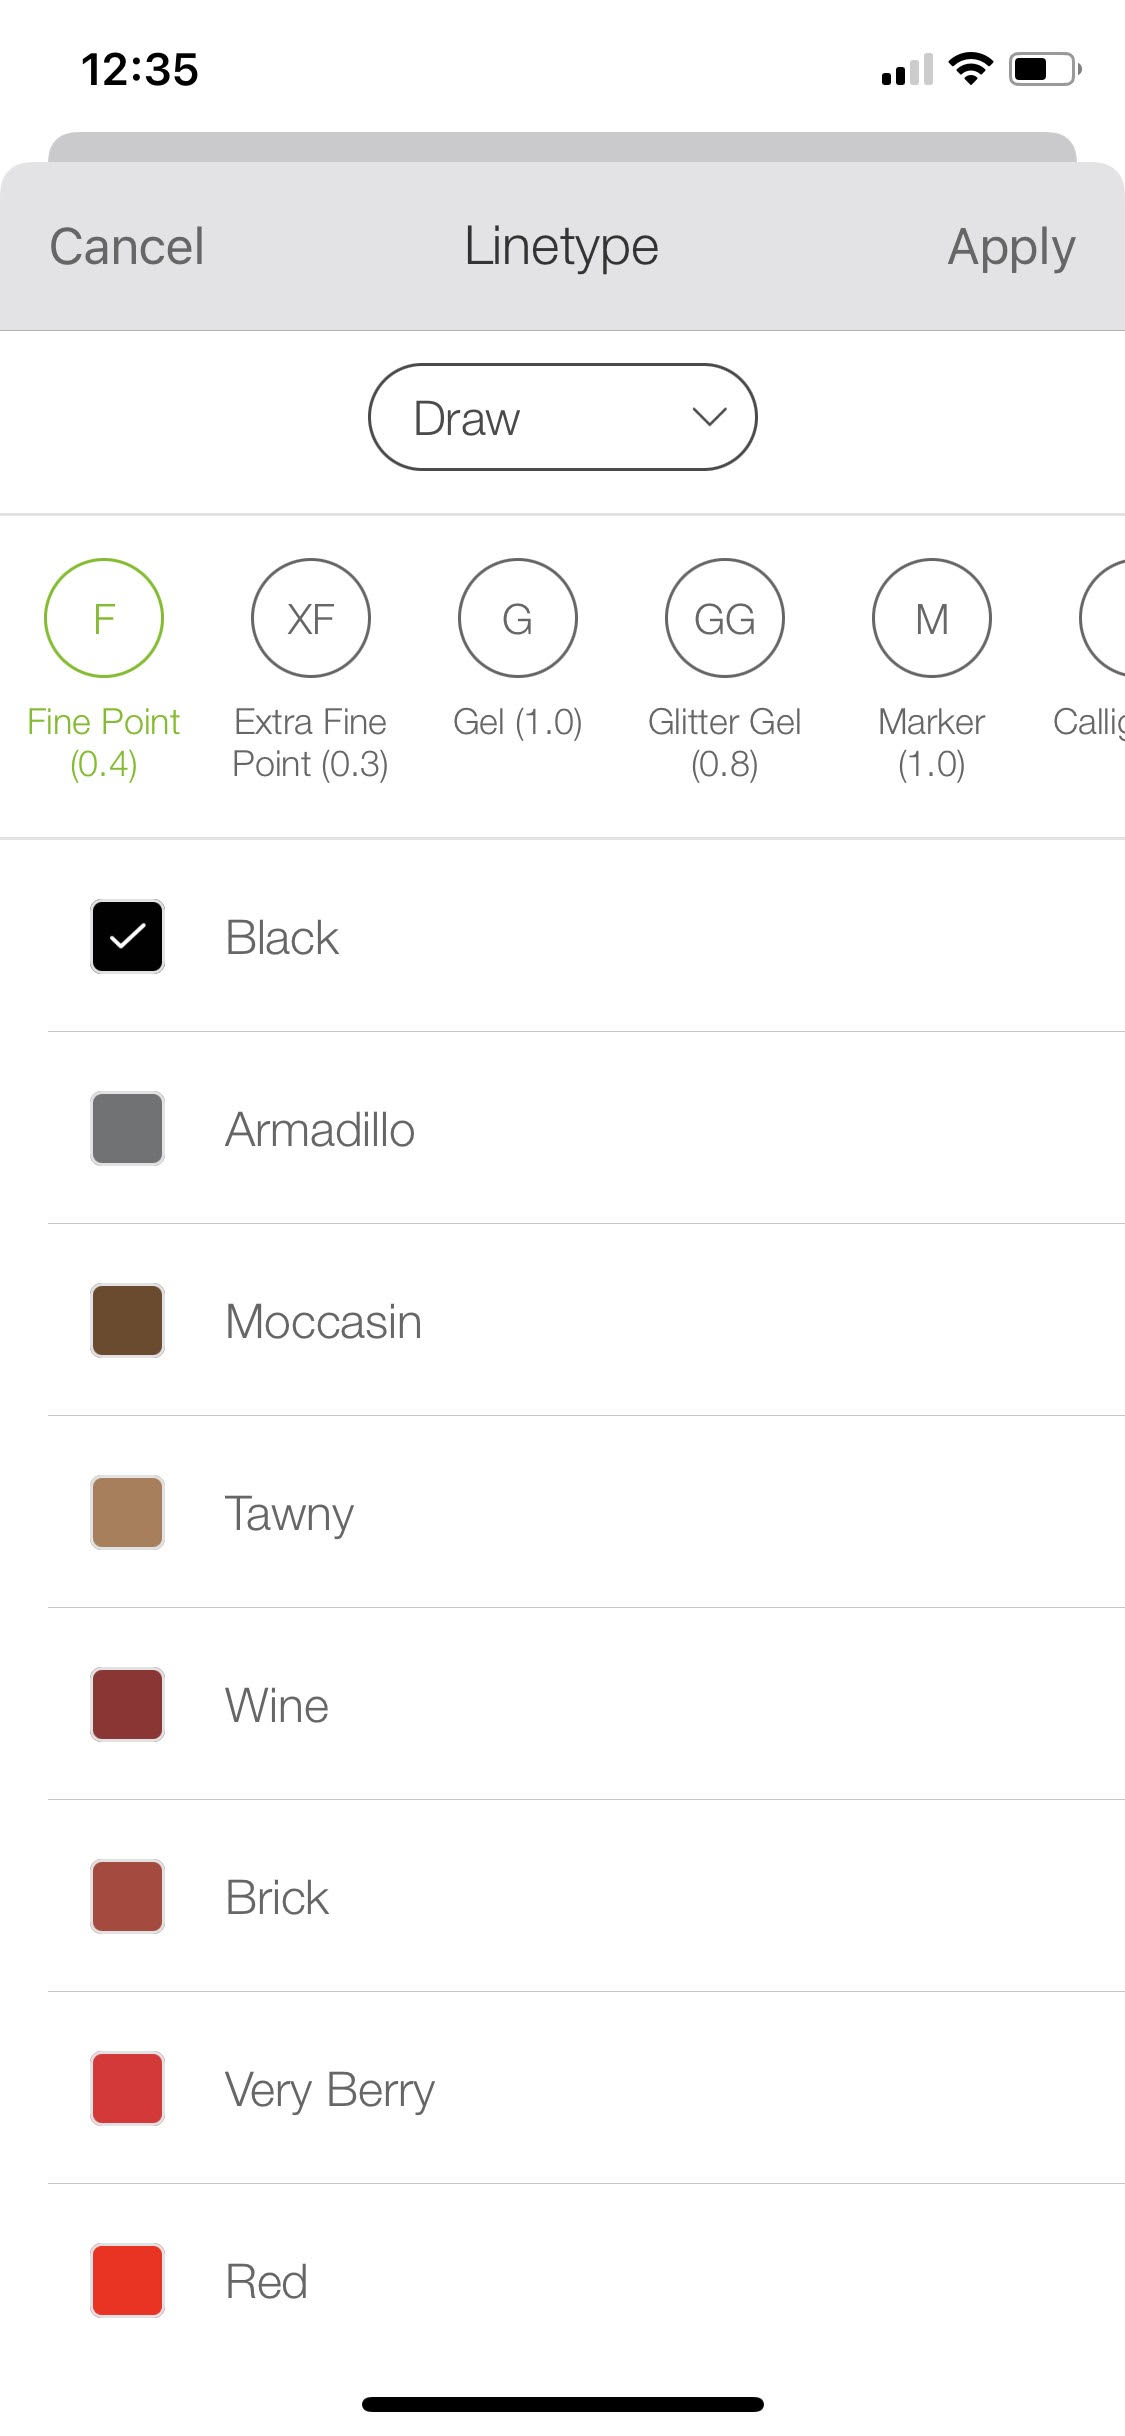
As soon as you make this change, the software will prompt you to choose a drawing tool. I used the Cricut Joy black fine point marker for my project, but if you prefer to use something else, you can set this to whichever kind and color of the Cricut markers you want to use.
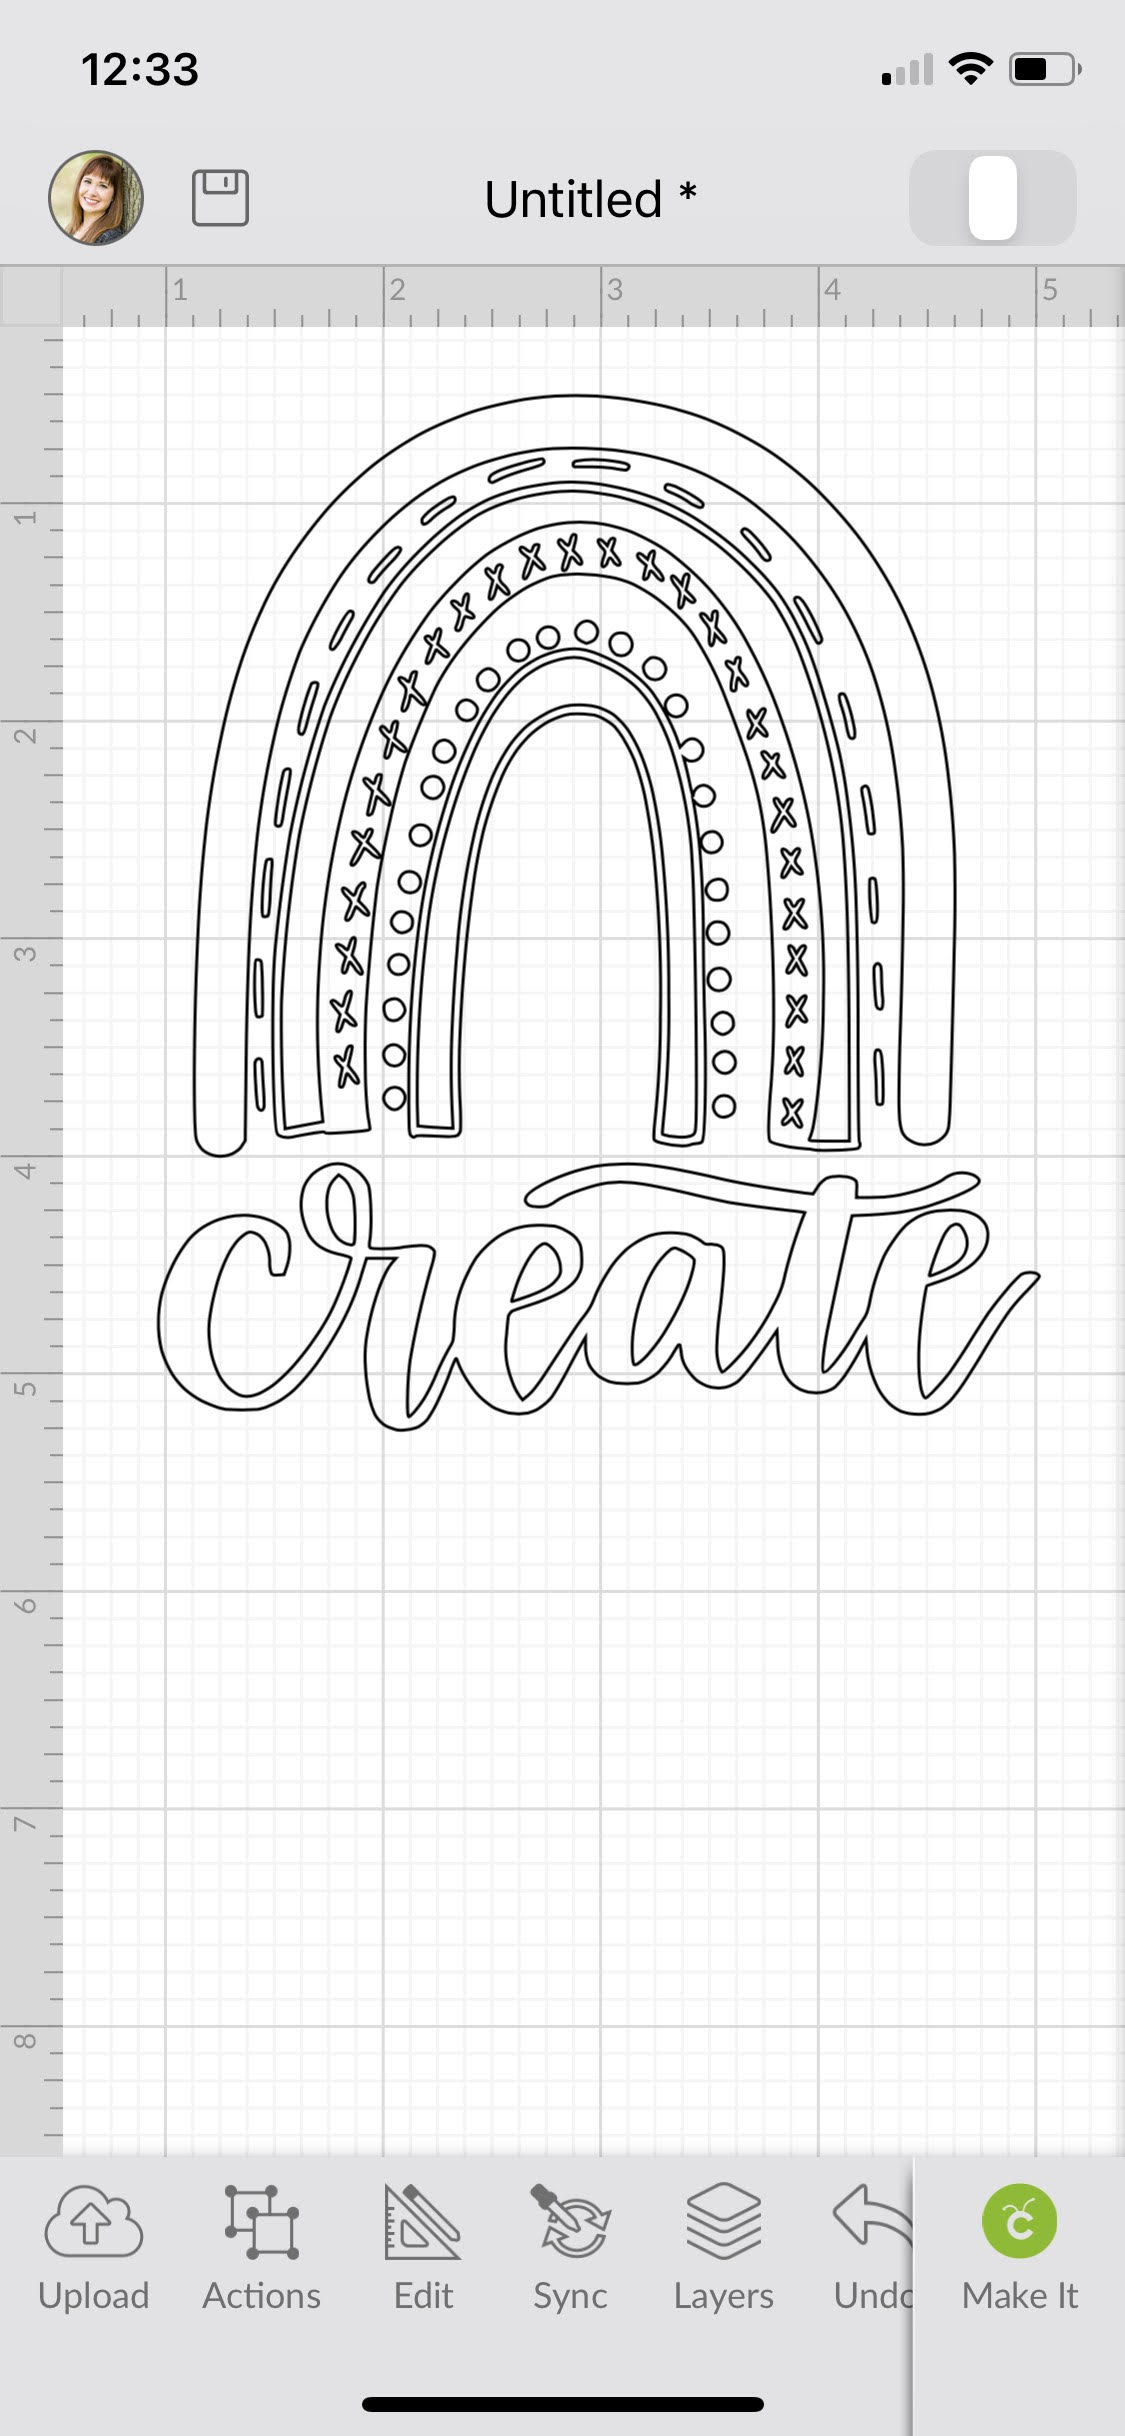
When you go back to your canvas, you’ll see that the software has converted your file. The design will draw exactly as it appears on this screen, so make sure you’re happy with what you see. Then, size it to fit the front of a card. Your image should be a little smaller than 4.25×5.5.”
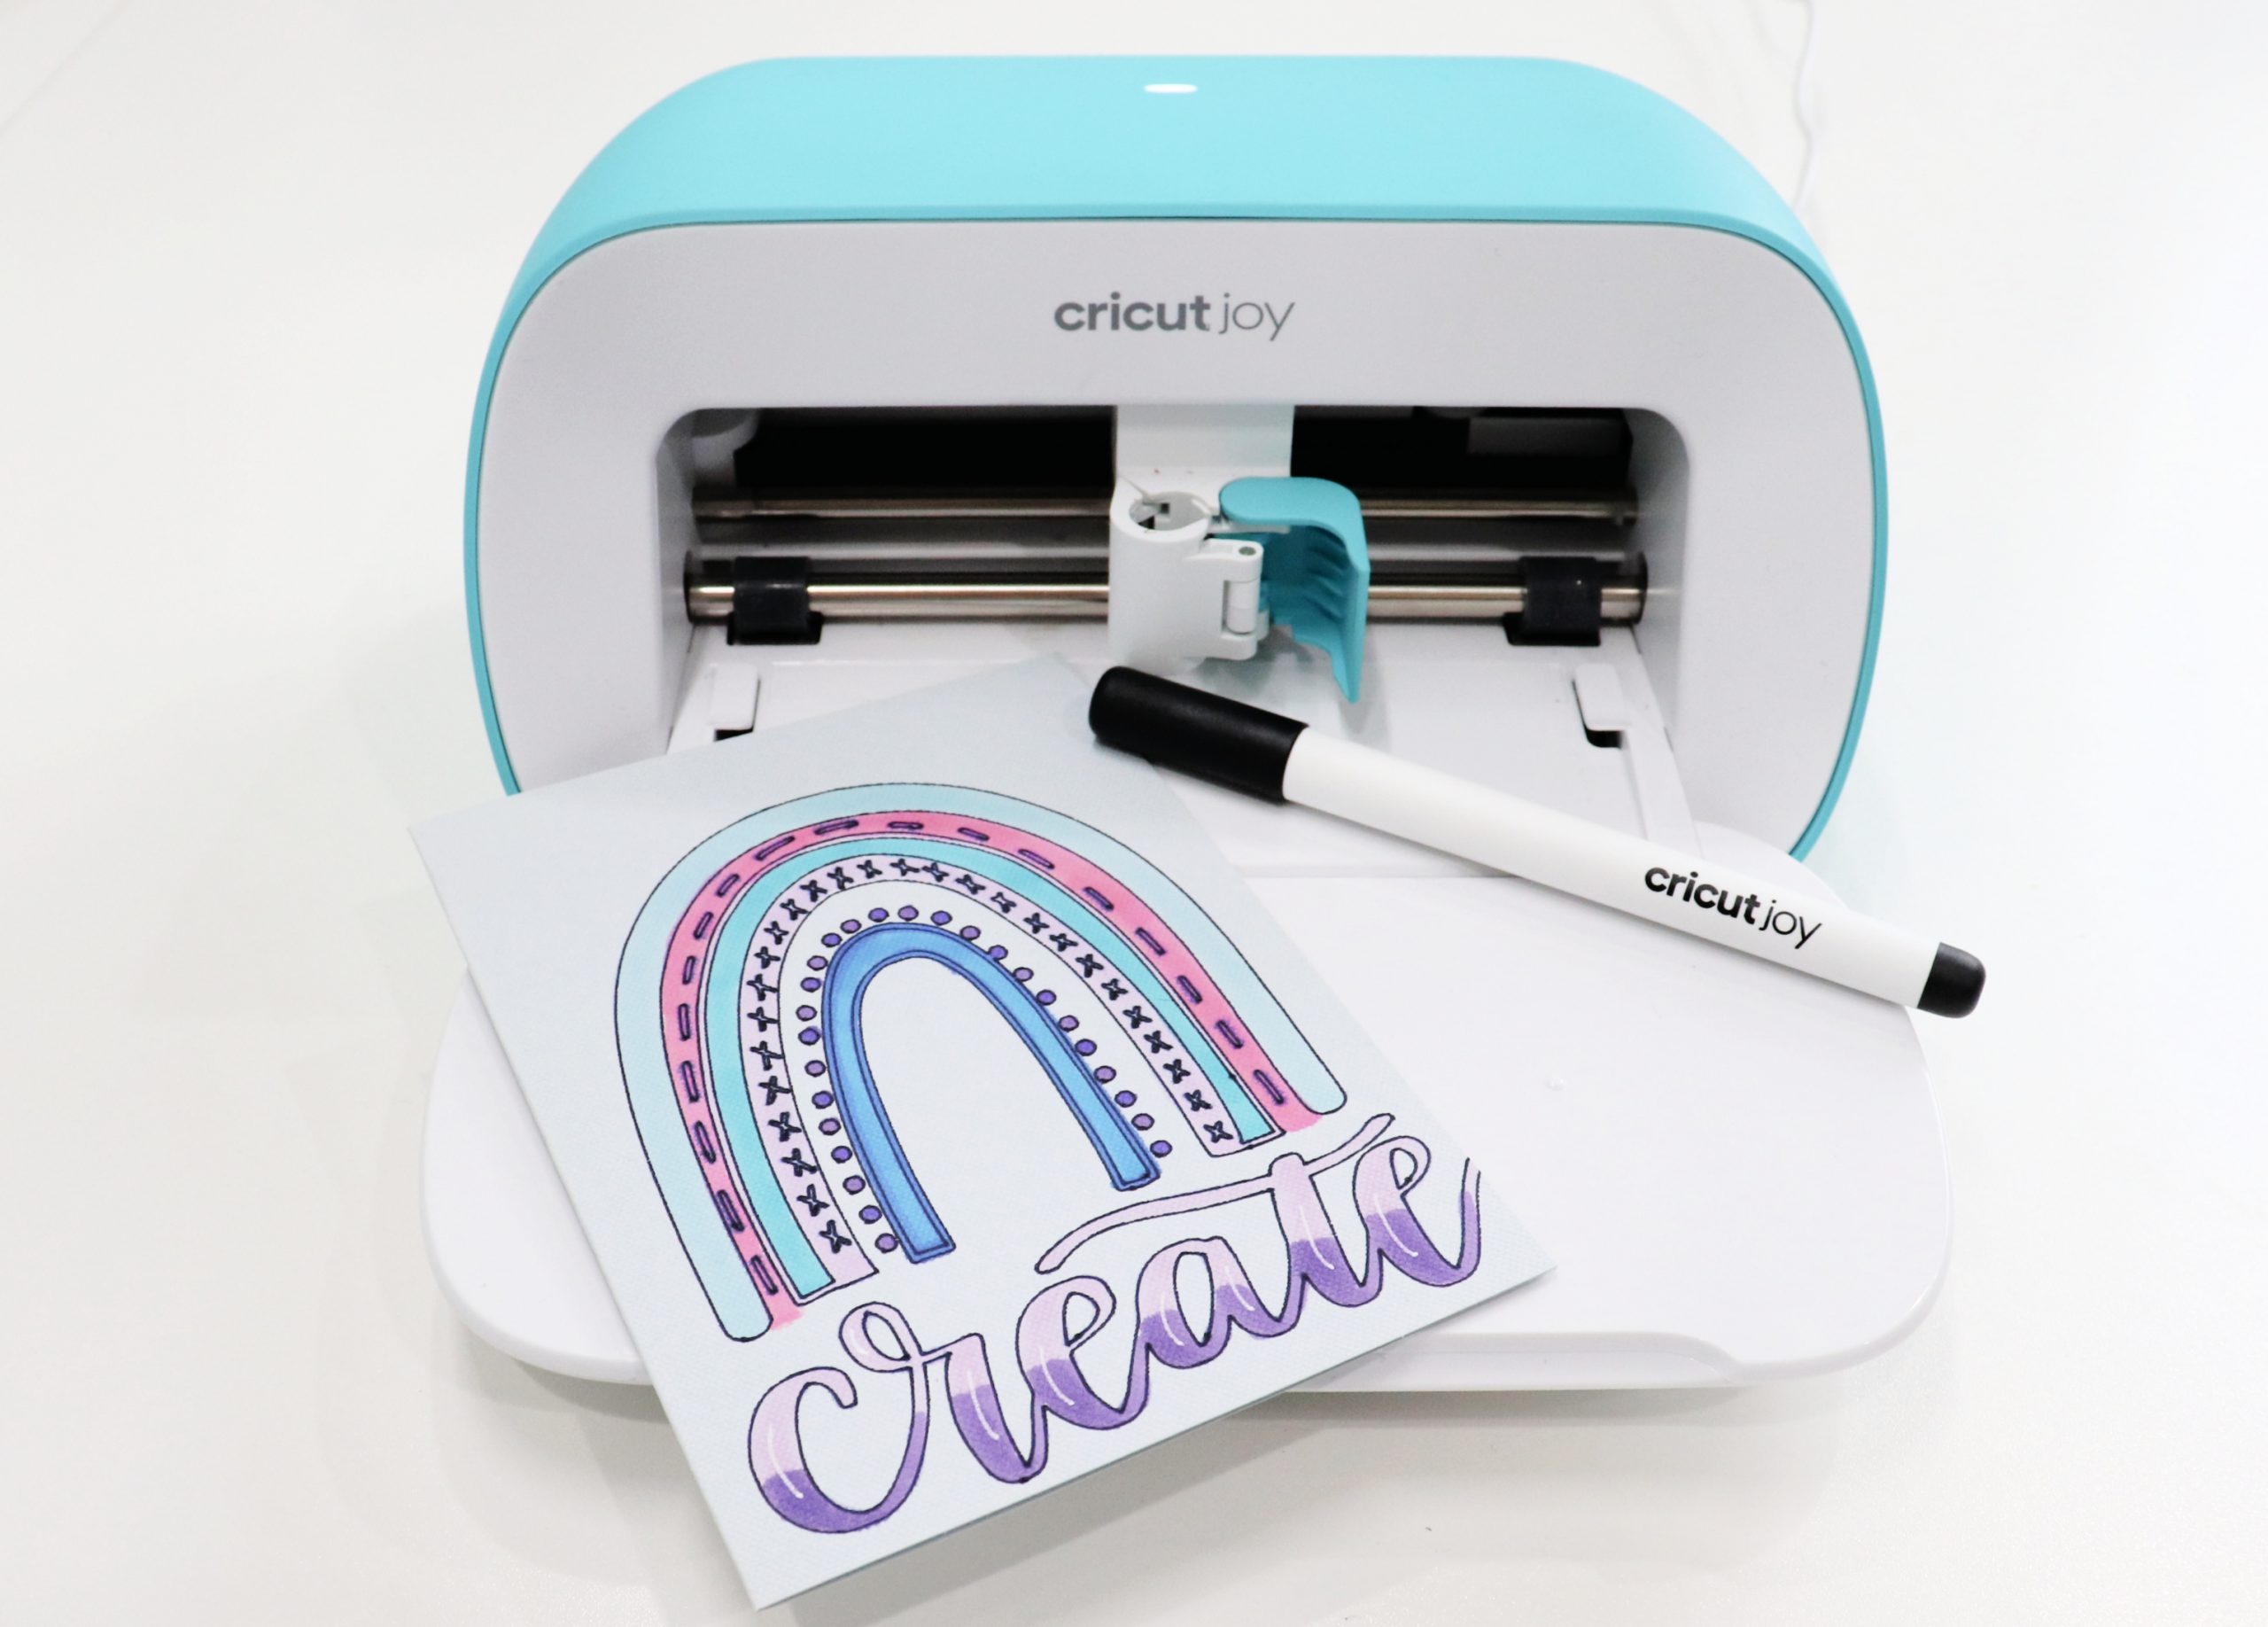
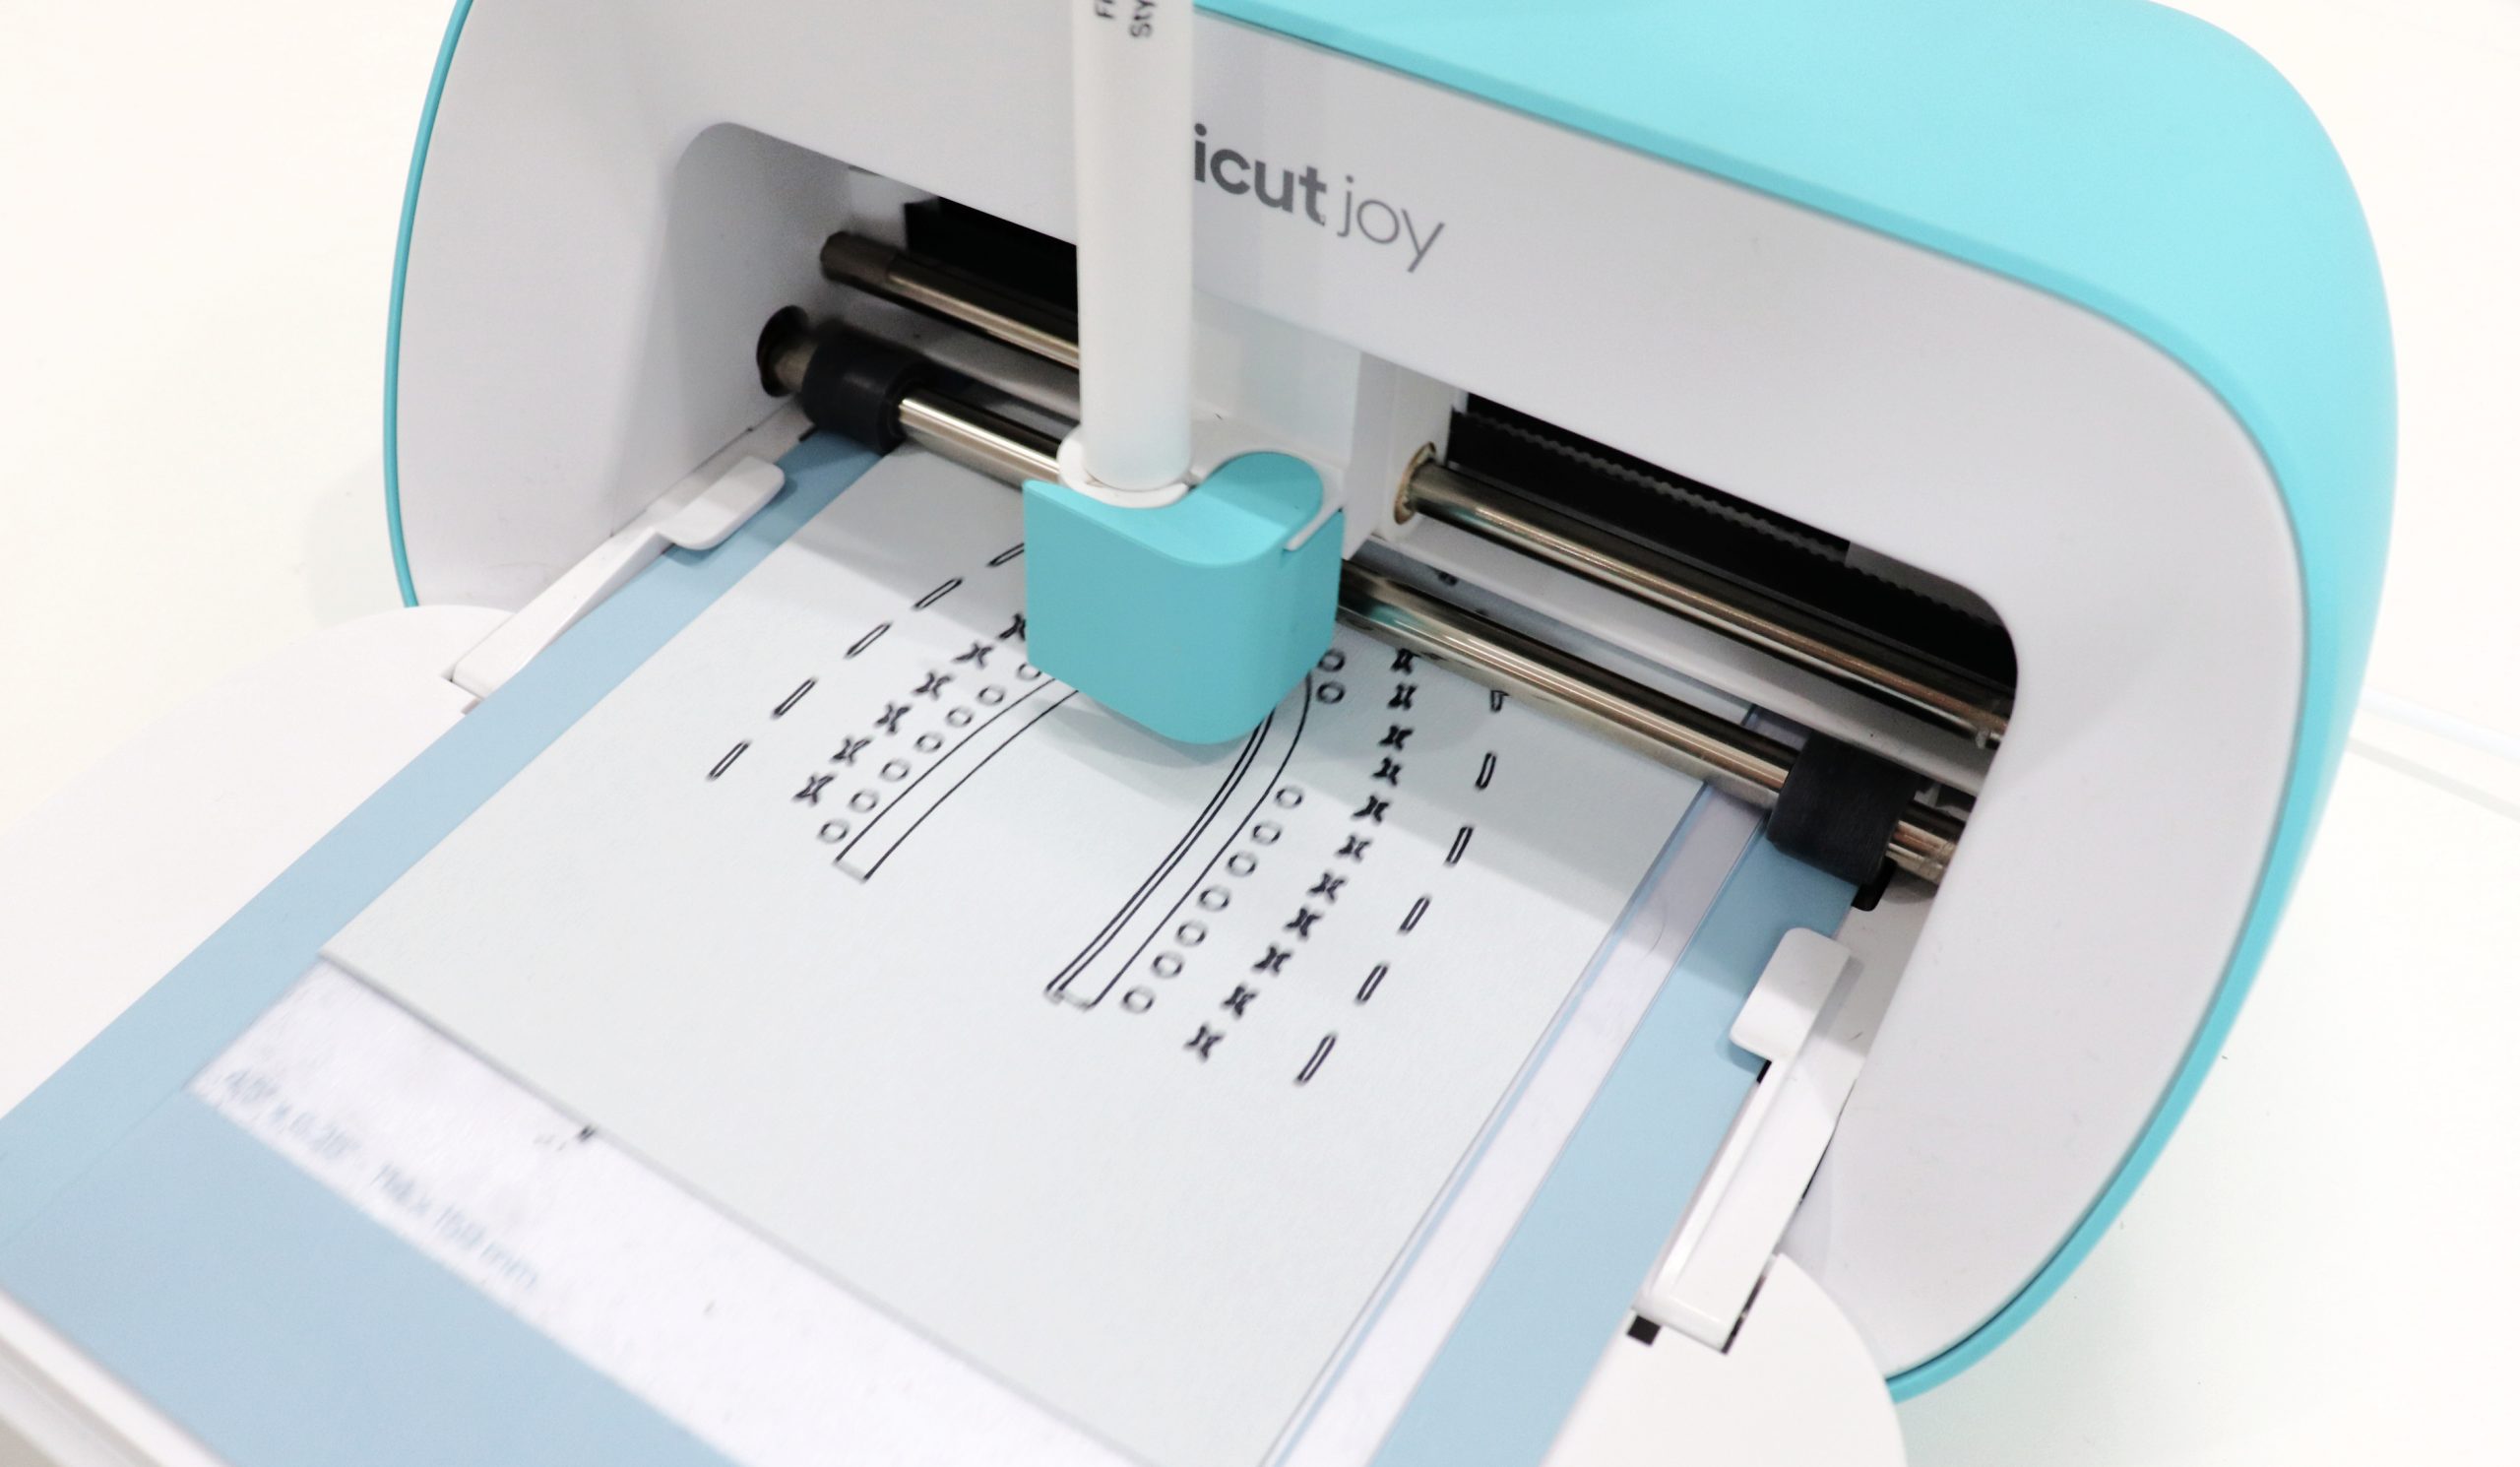
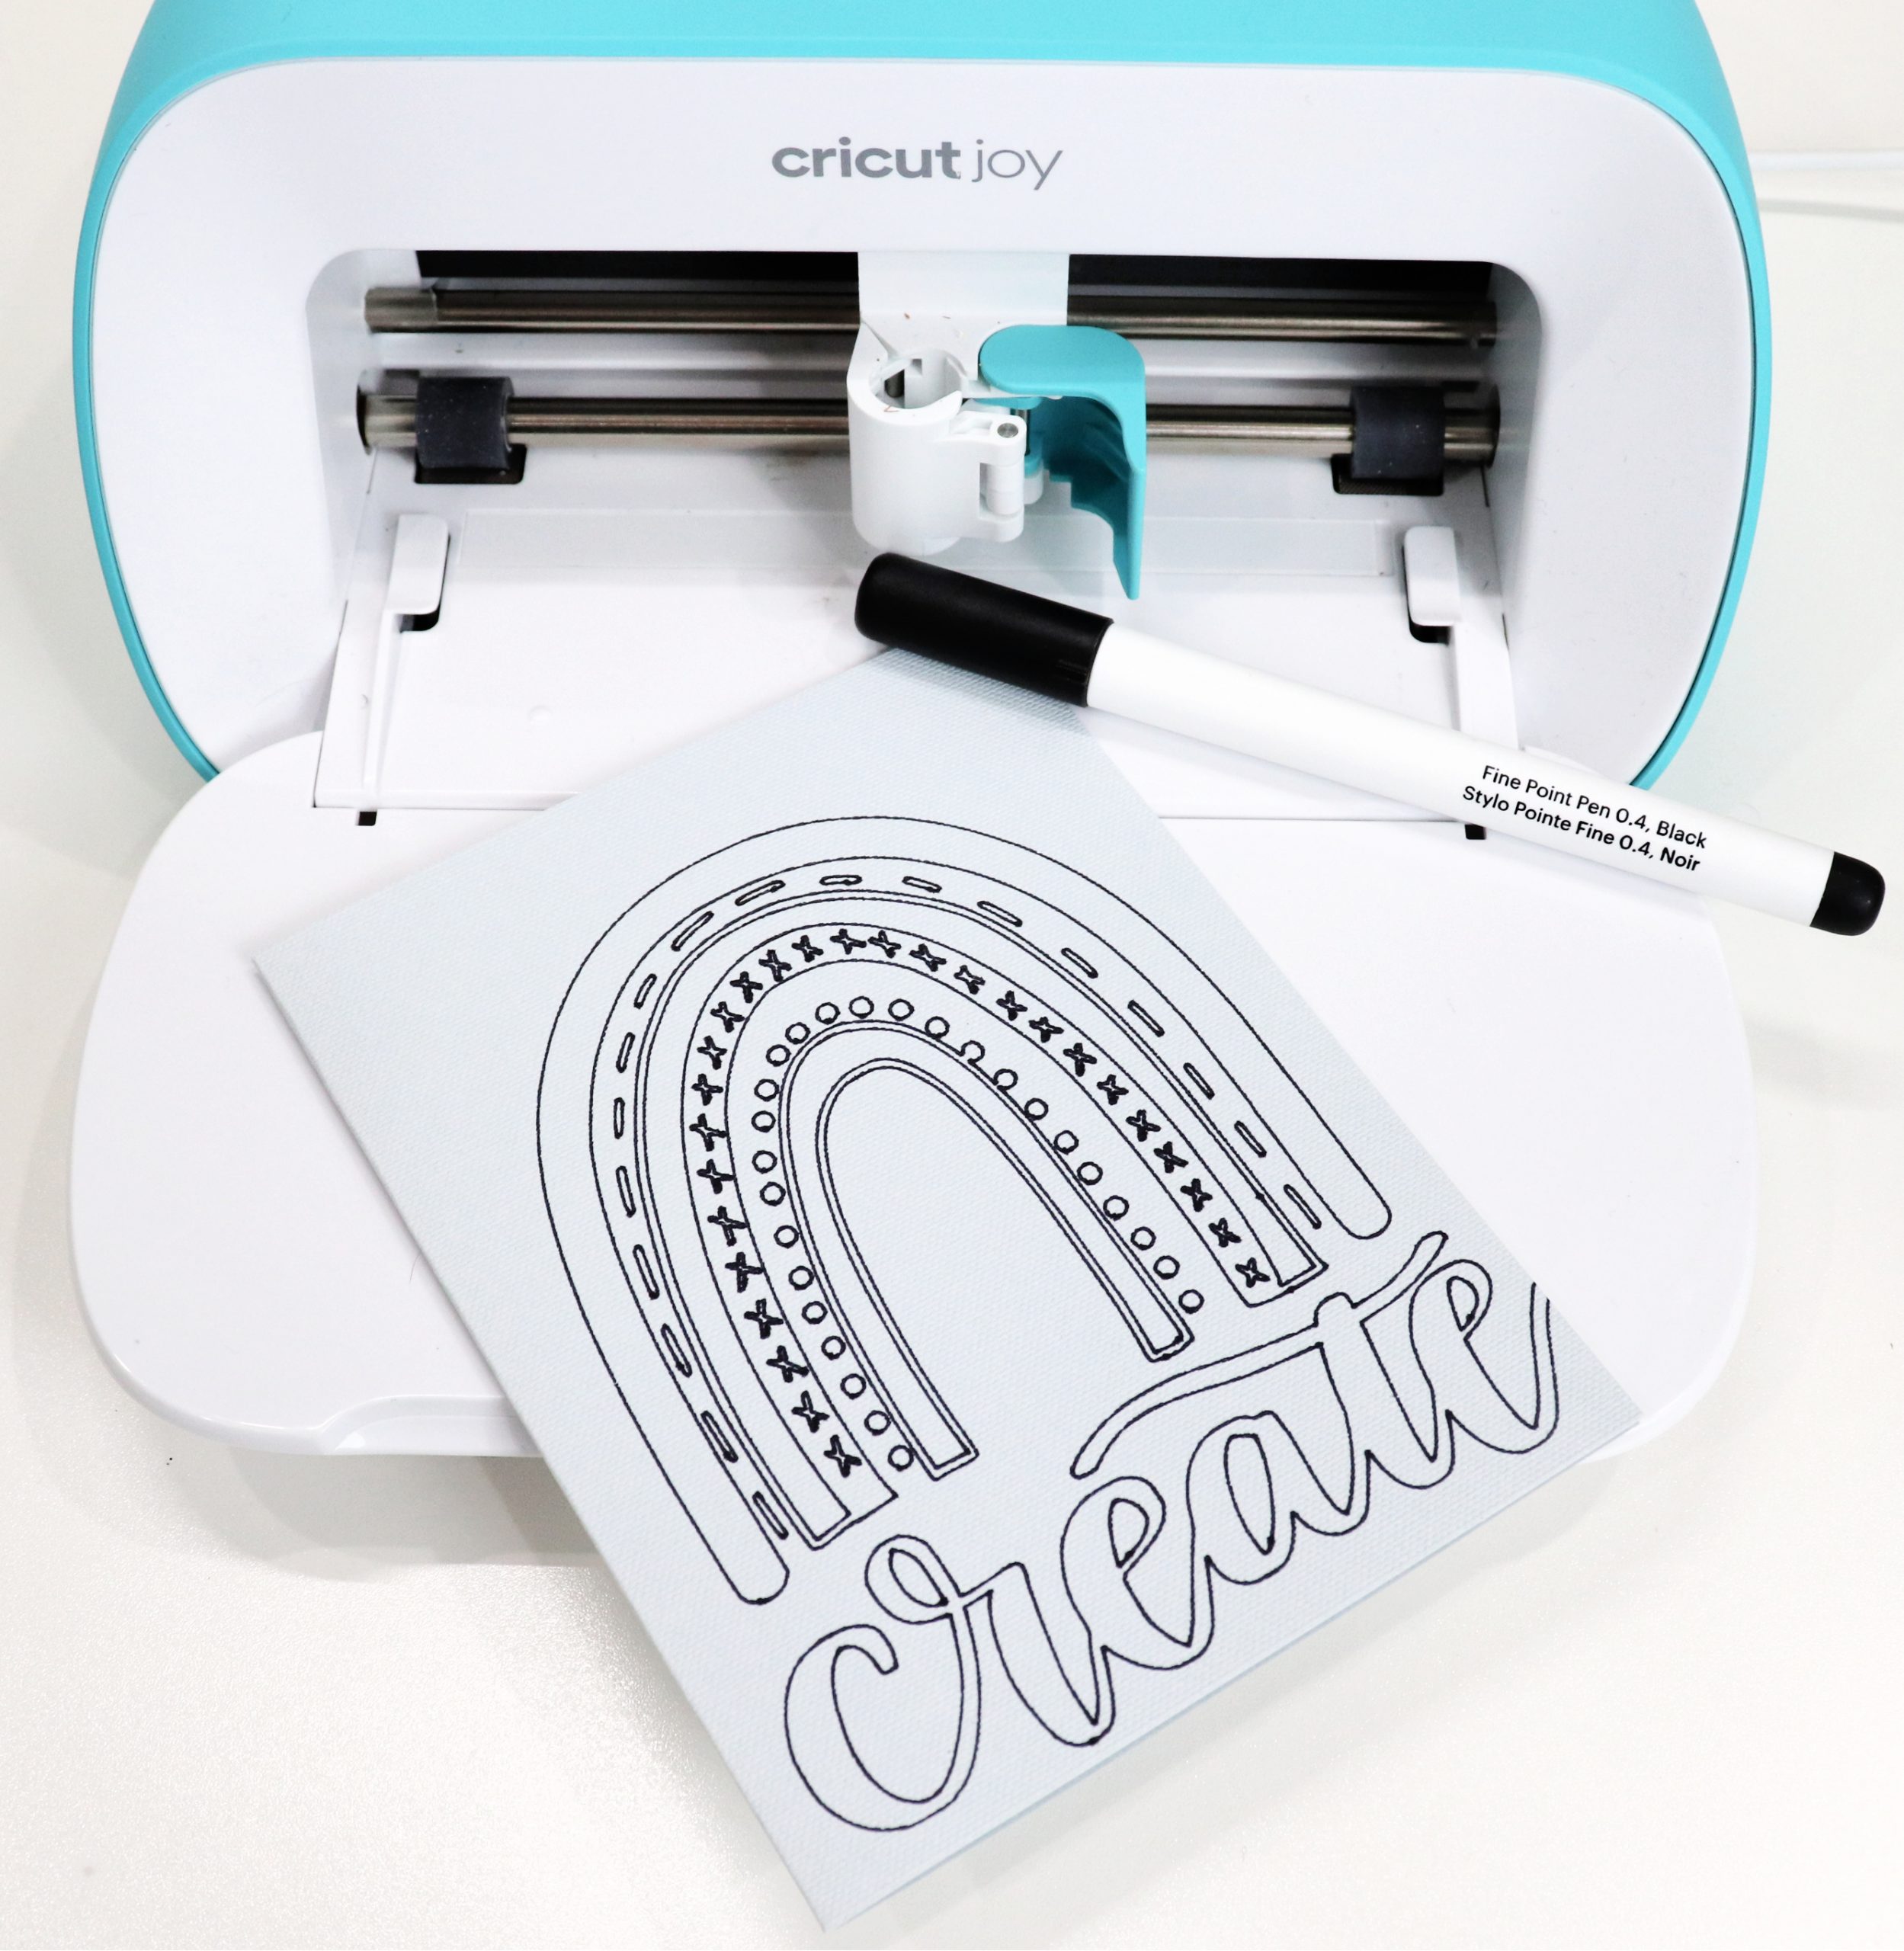
Step 3: Send the design to your Cricut machine.
Once you’re happy with your design and it’s the correct size, choose “Make it,” which will prompt you to select and load your materials into the machine. I used a light blue insert card, but you could also use folded cardstock in any color. I placed the card on the Cricut Joy Card Mat and loaded it. I also swapped out the standard fine point blade for my fine point marker. Now, it’s time to let the Cricut work its magic and draw your design. I found this part mesmerizing and very relaxing to watch.
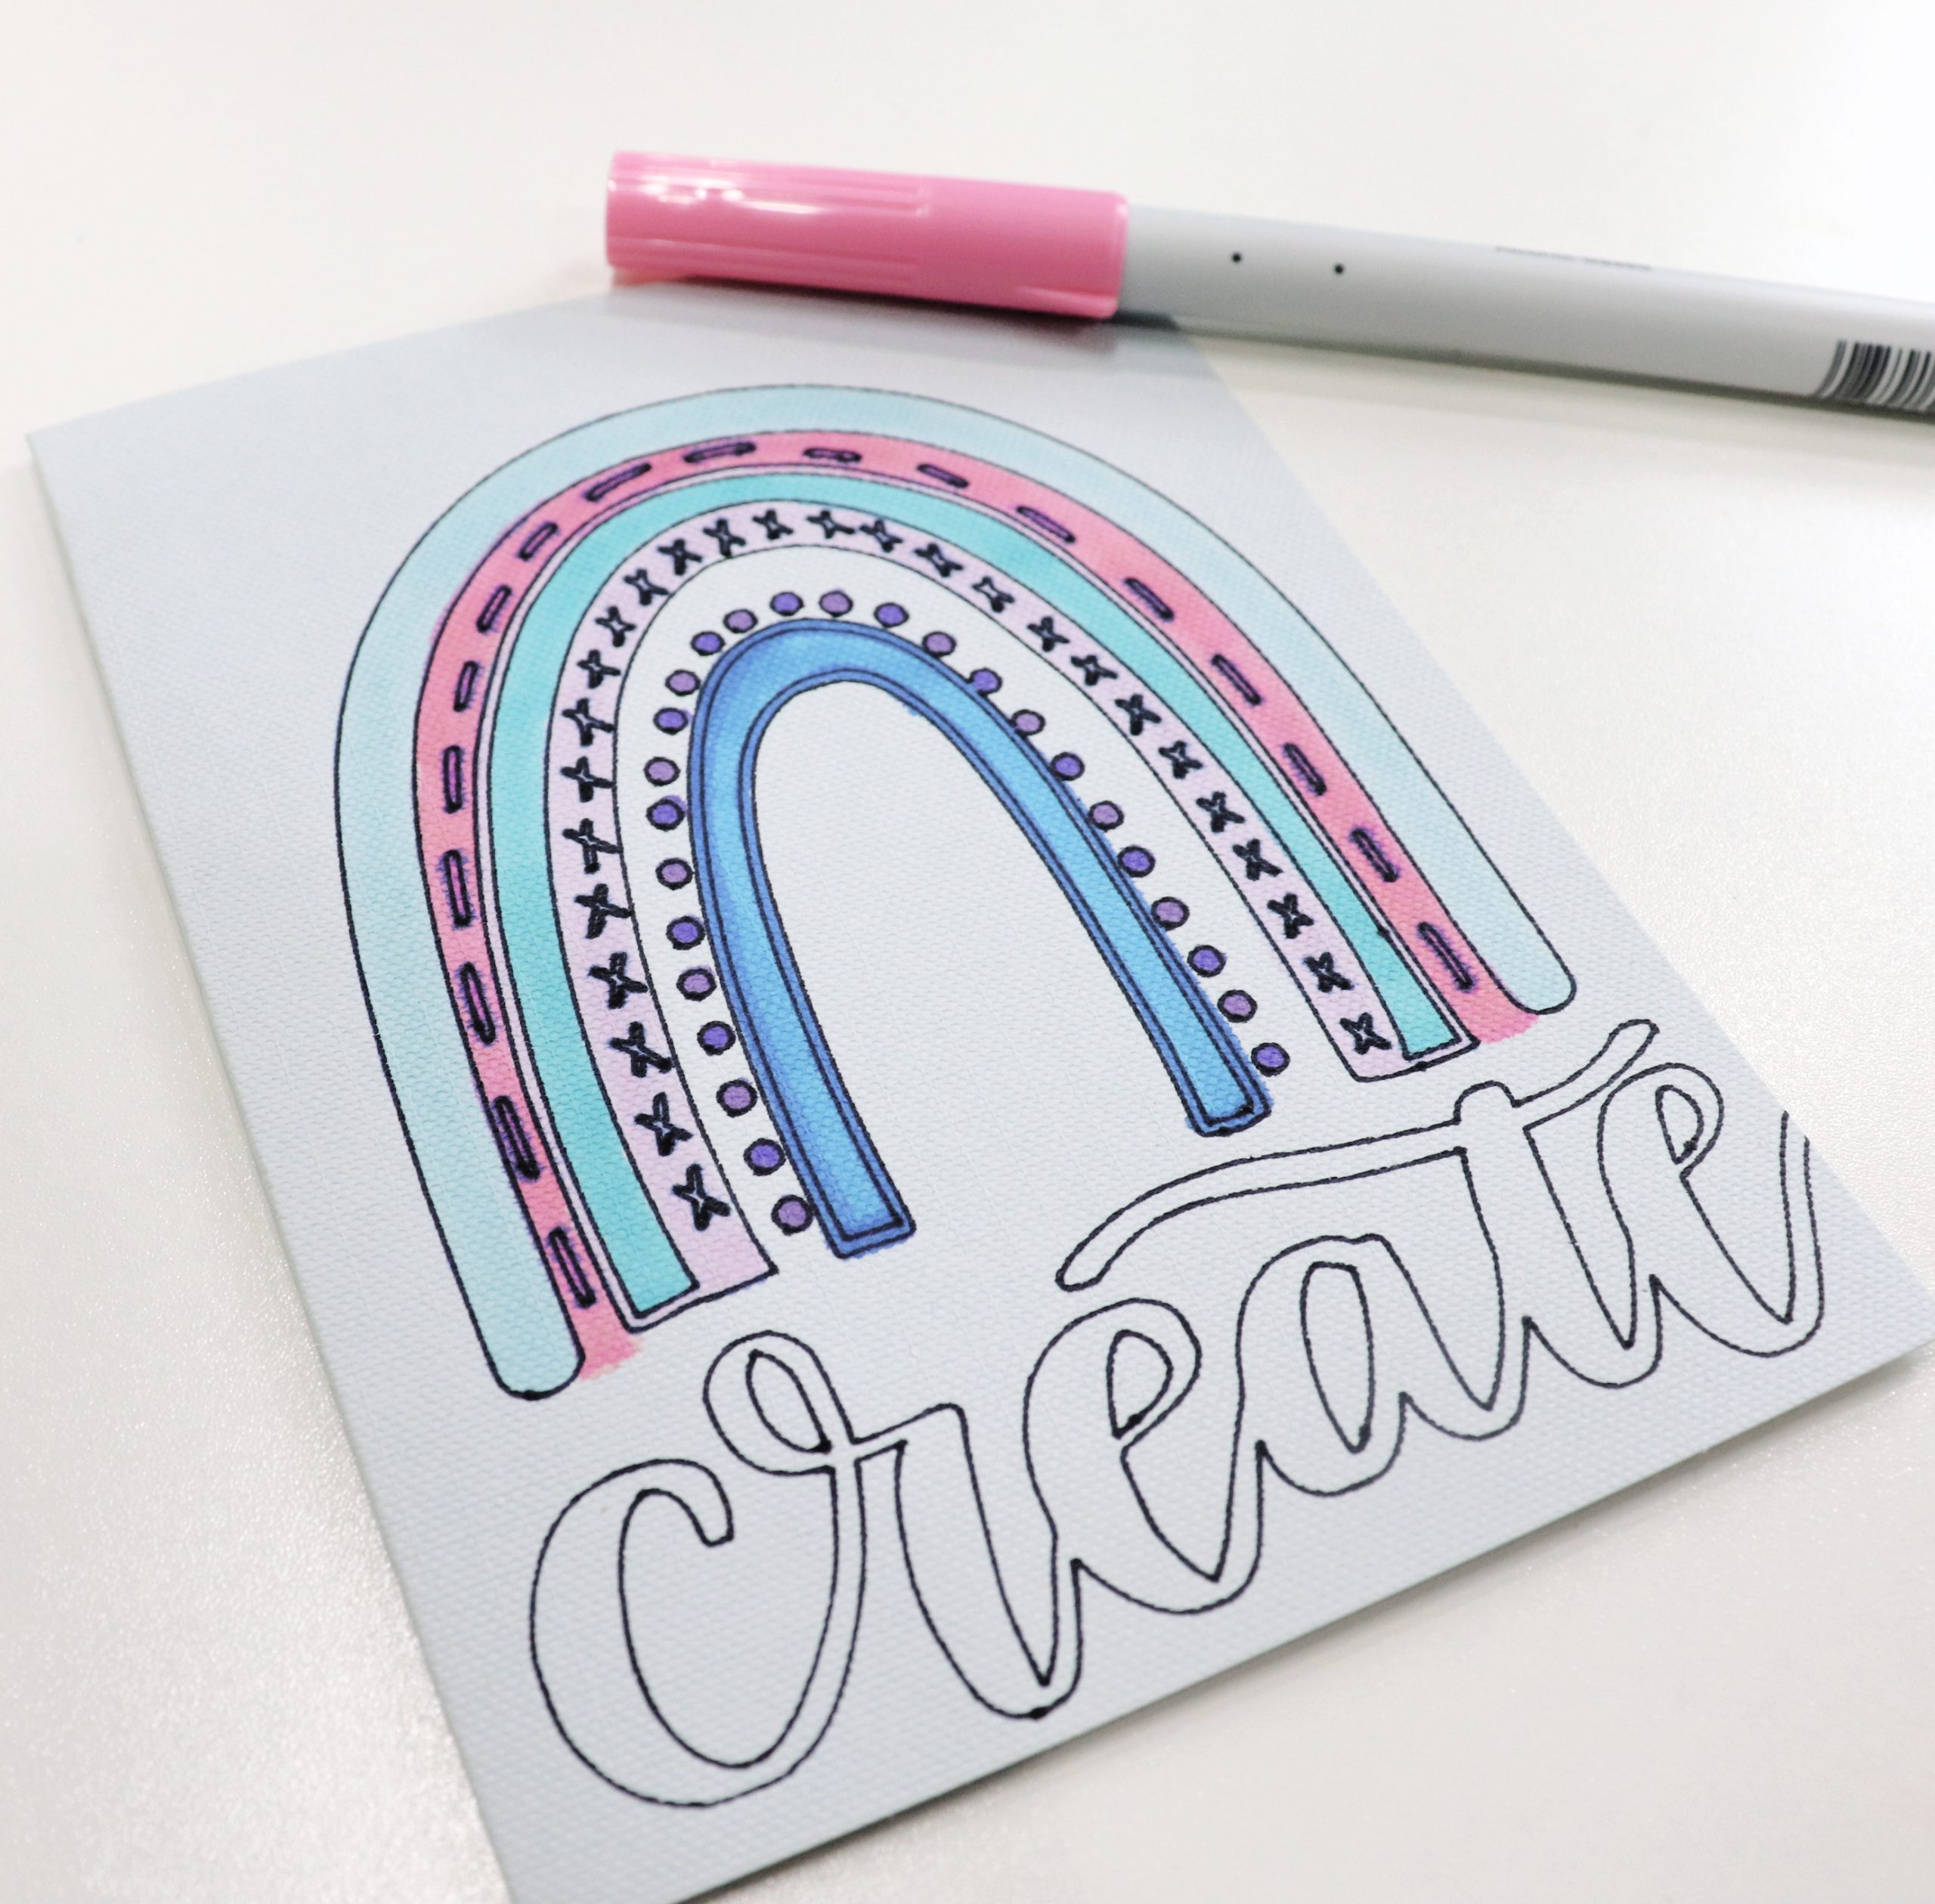
Step 4: Color your card.
Once the design is complete, unload your machine and your card is ready to color!
Use your favorite markers to add color wherever and however you like! This part is definitely fun and relaxing.
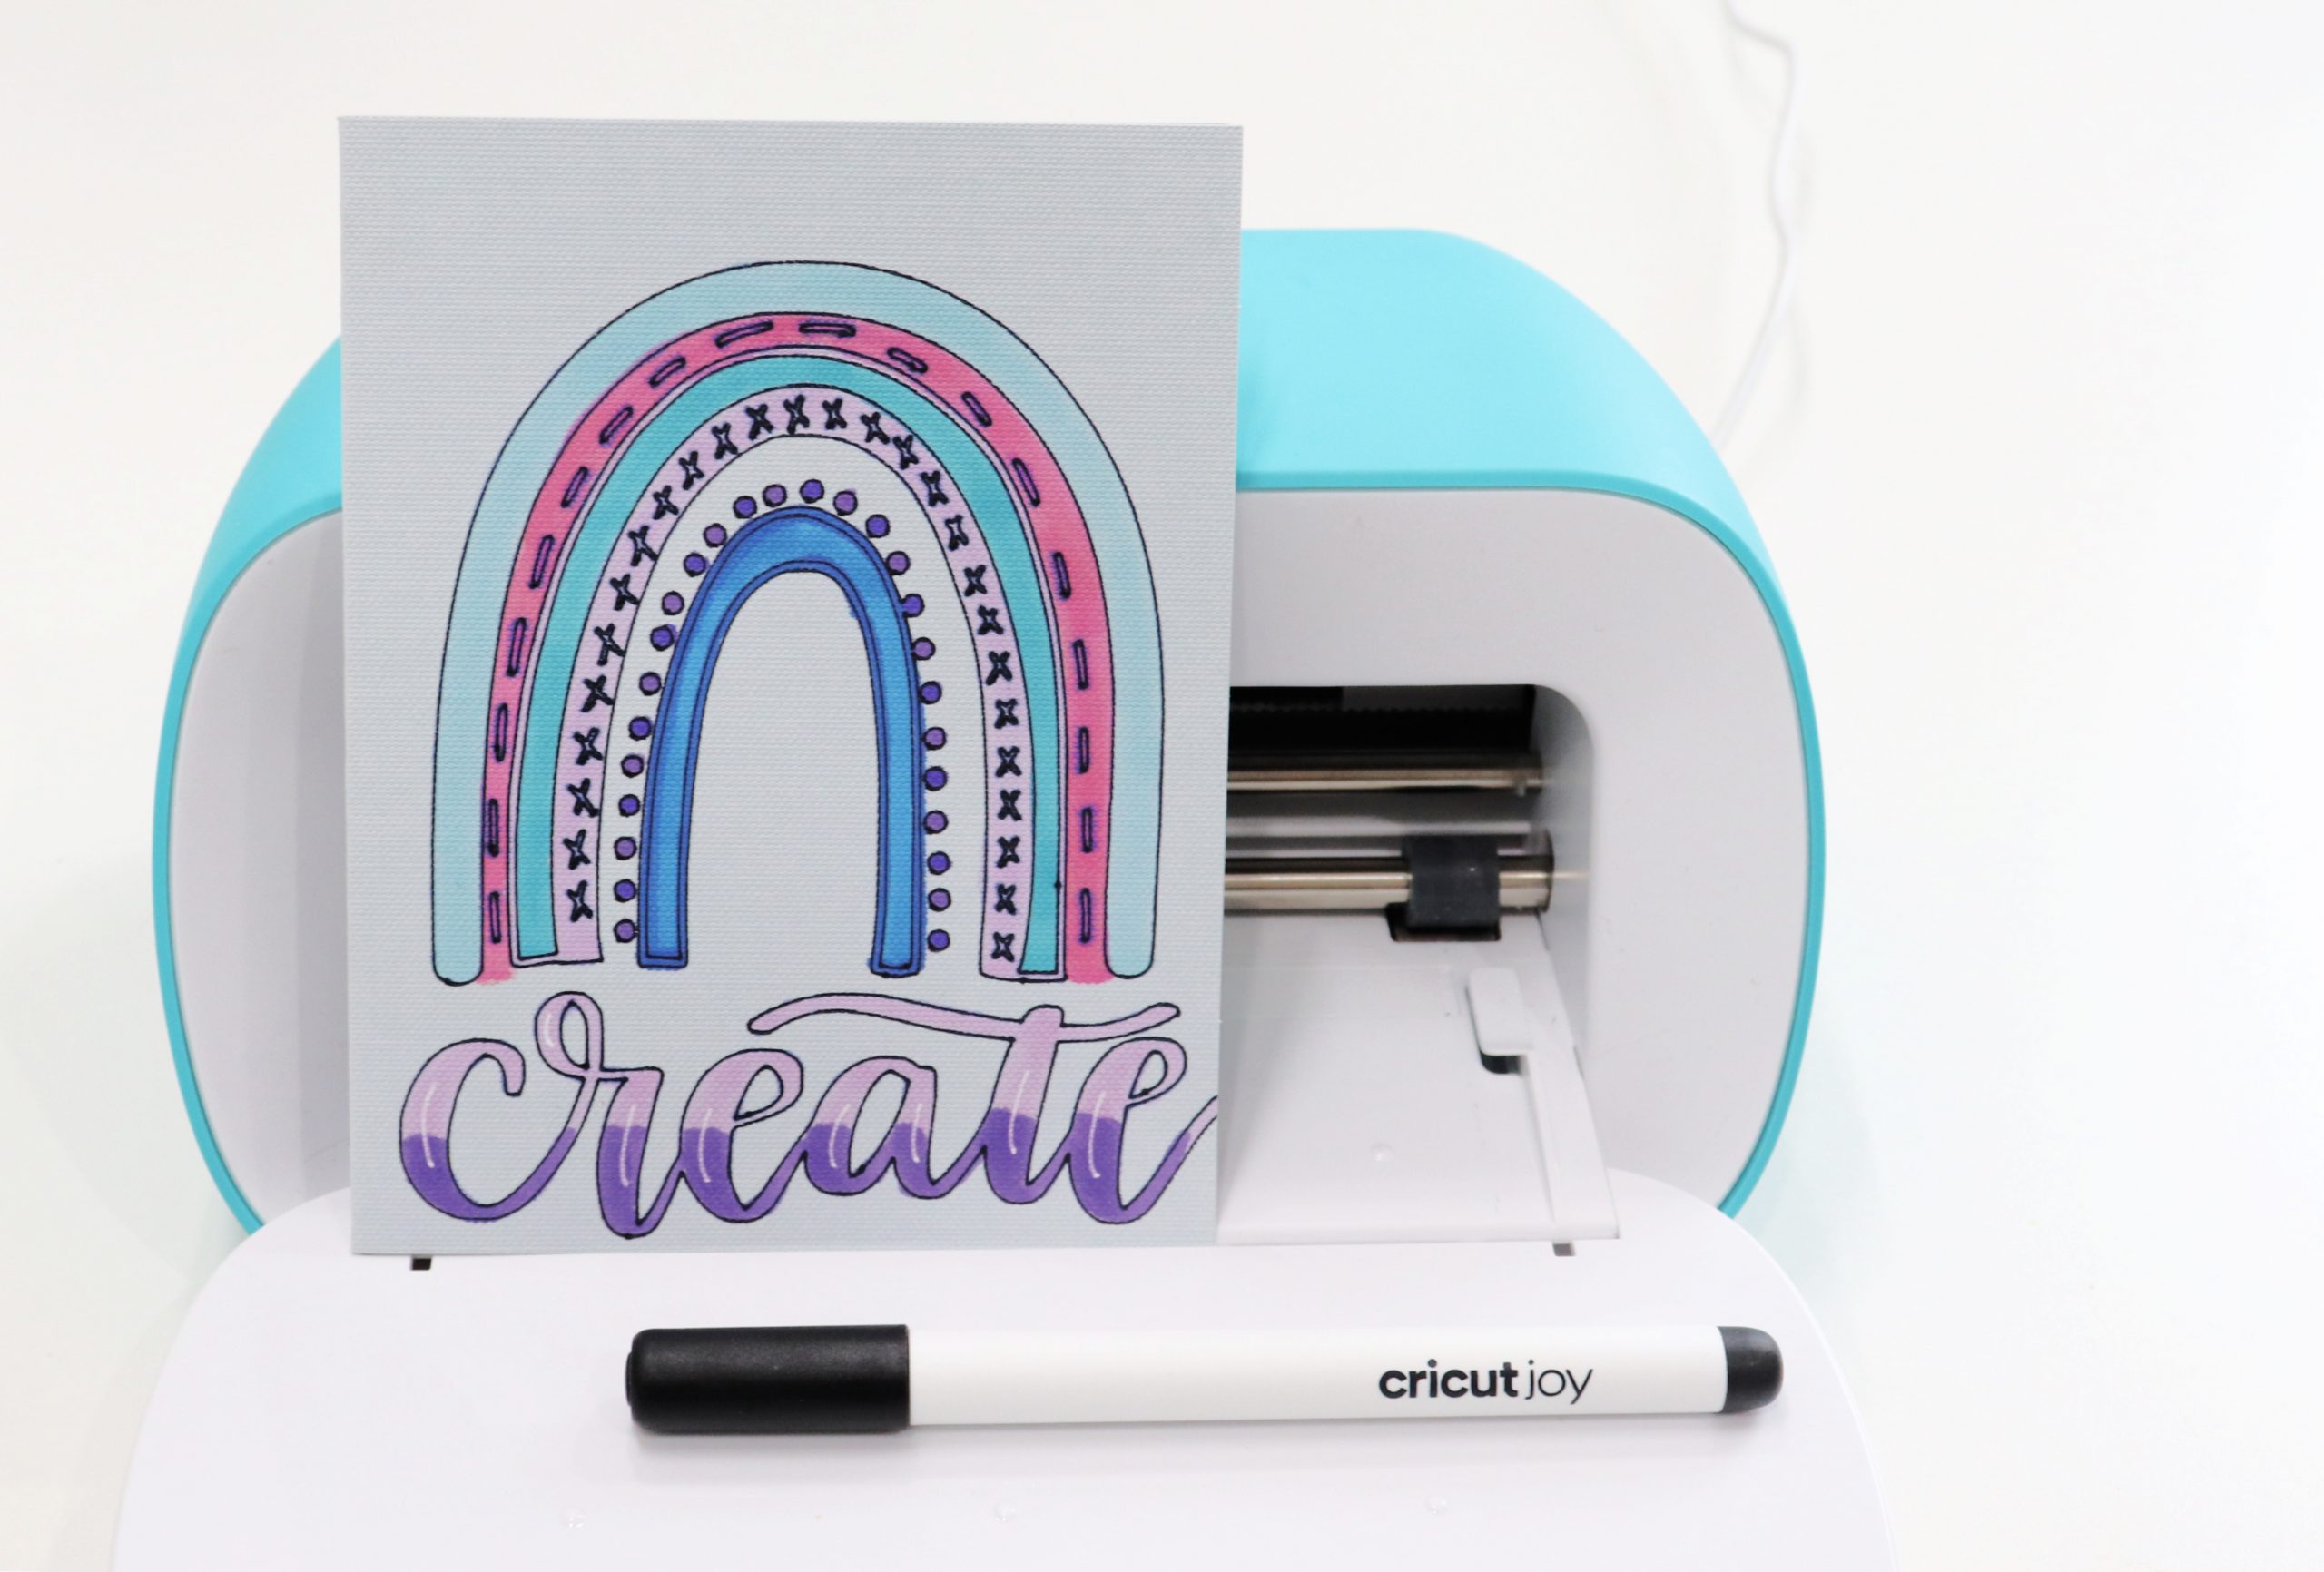
Step 5: Give it away!
Write a note inside and share this masterpiece with a friend. After all, there’s something so special about giving and receiving handmade things.
What do you think? What would be your favorite part of this creative process? You can use this process to create not just the rainbow card, but all kinds of coloring page projects and cards for yourself and to share with others. I enjoyed each step, and it was so fun watching this project come to life. If you try it, I’d love to see how yours turns out. Be sure to join the Amy Latta and Friends Facebook Group and share your latest work with us so we can all be inspired!