Chipboard Berry Basket
Bring the feeling of the farmer’s market into your home decor with this cute and easy chipboard berry basket project.

How to Make a Chipboard Berry Basket
You can create this basket in different sizes, and fill it with anything you like, including real or faux fruit, sweet treats, or even art supplies. I chose to use felt strawberries, which you can learn to make here. Ready to craft your basket? Grab the supplies listed below.
Materials
- Tombow MONO Graph Mechanical Pencil
- Tombow MONO Eraser
- Tombow Fudenosuke Brush Pen, black
- Tombow Xtreme Adhesive Tape Runner, permanent
- Chipboard
- 12″x12” piece of Scrapbook paper (your choice of color/pattern)
- Ruler
- Scissors or paper cutter

Instructions
For a full photo tutorial and complete instructions, head over to the Tombow USA blog.

Crafting Tips
- Create a unique look for your basket by using different colors and patterns of scrapbook paper around the top edge.
- If you don’t want to hand letter anything on your basket, try decorating it with stickers or stamps.
- Use Tombow MONO Xtreme Adhesive Tape for the best, strongest permanent bond.

Frequently Asked Questions
Yes, but chipboard is thicker and will give you a more sturdy basket. If you are using cardstock, I suggest adhering two pieces together to add an extra layer of thickness.
You can create it in a variety of sizes, depending on how you cut your pieces.
Check out my Berry Best Felt Strawberry Gift post.
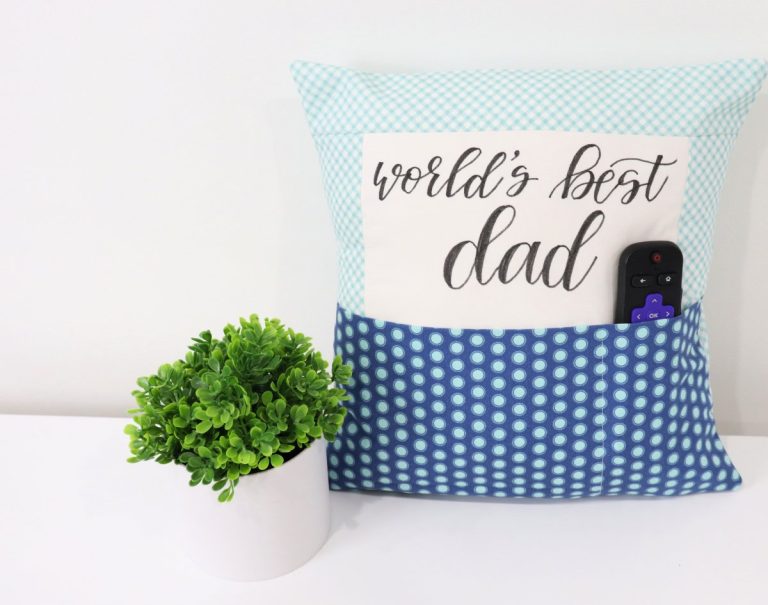
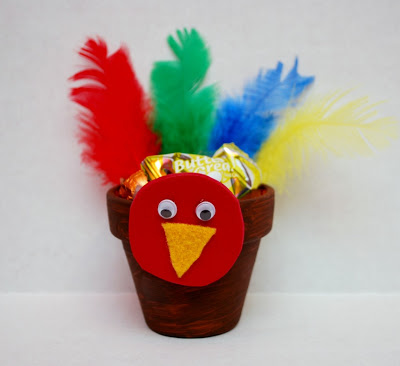
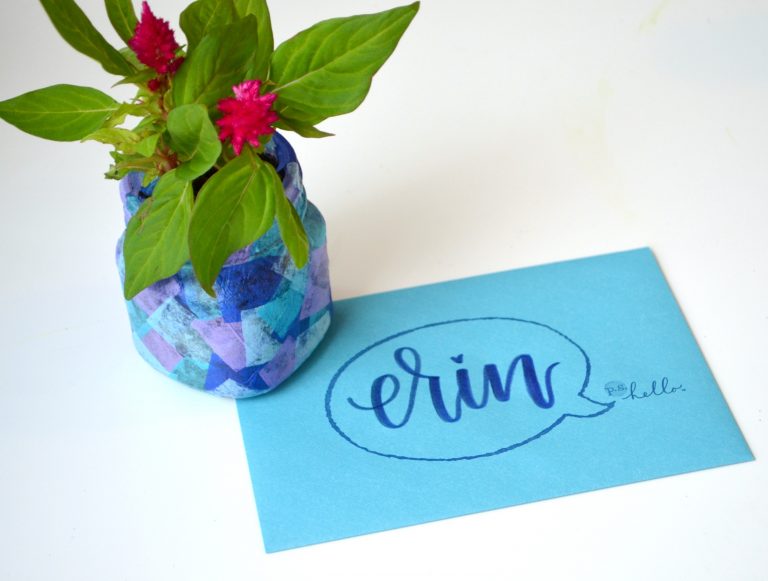
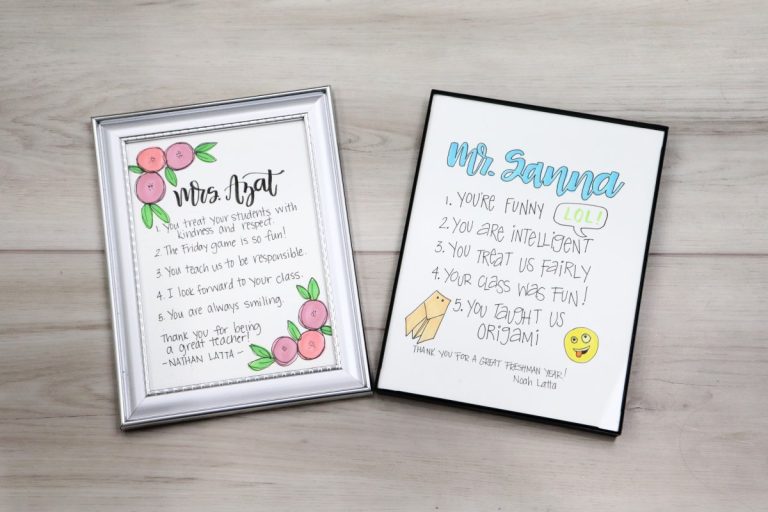
More Project Ideas
If you like this project, check out these other crafts you can make using Tombow products.


If you try making your own chipboard berry basket, I’d love to see how it turns out! Make sure to share your latest project photos in the Amy Latta & Friends Facebook Group so we can all be inspired. Hope to see you there!