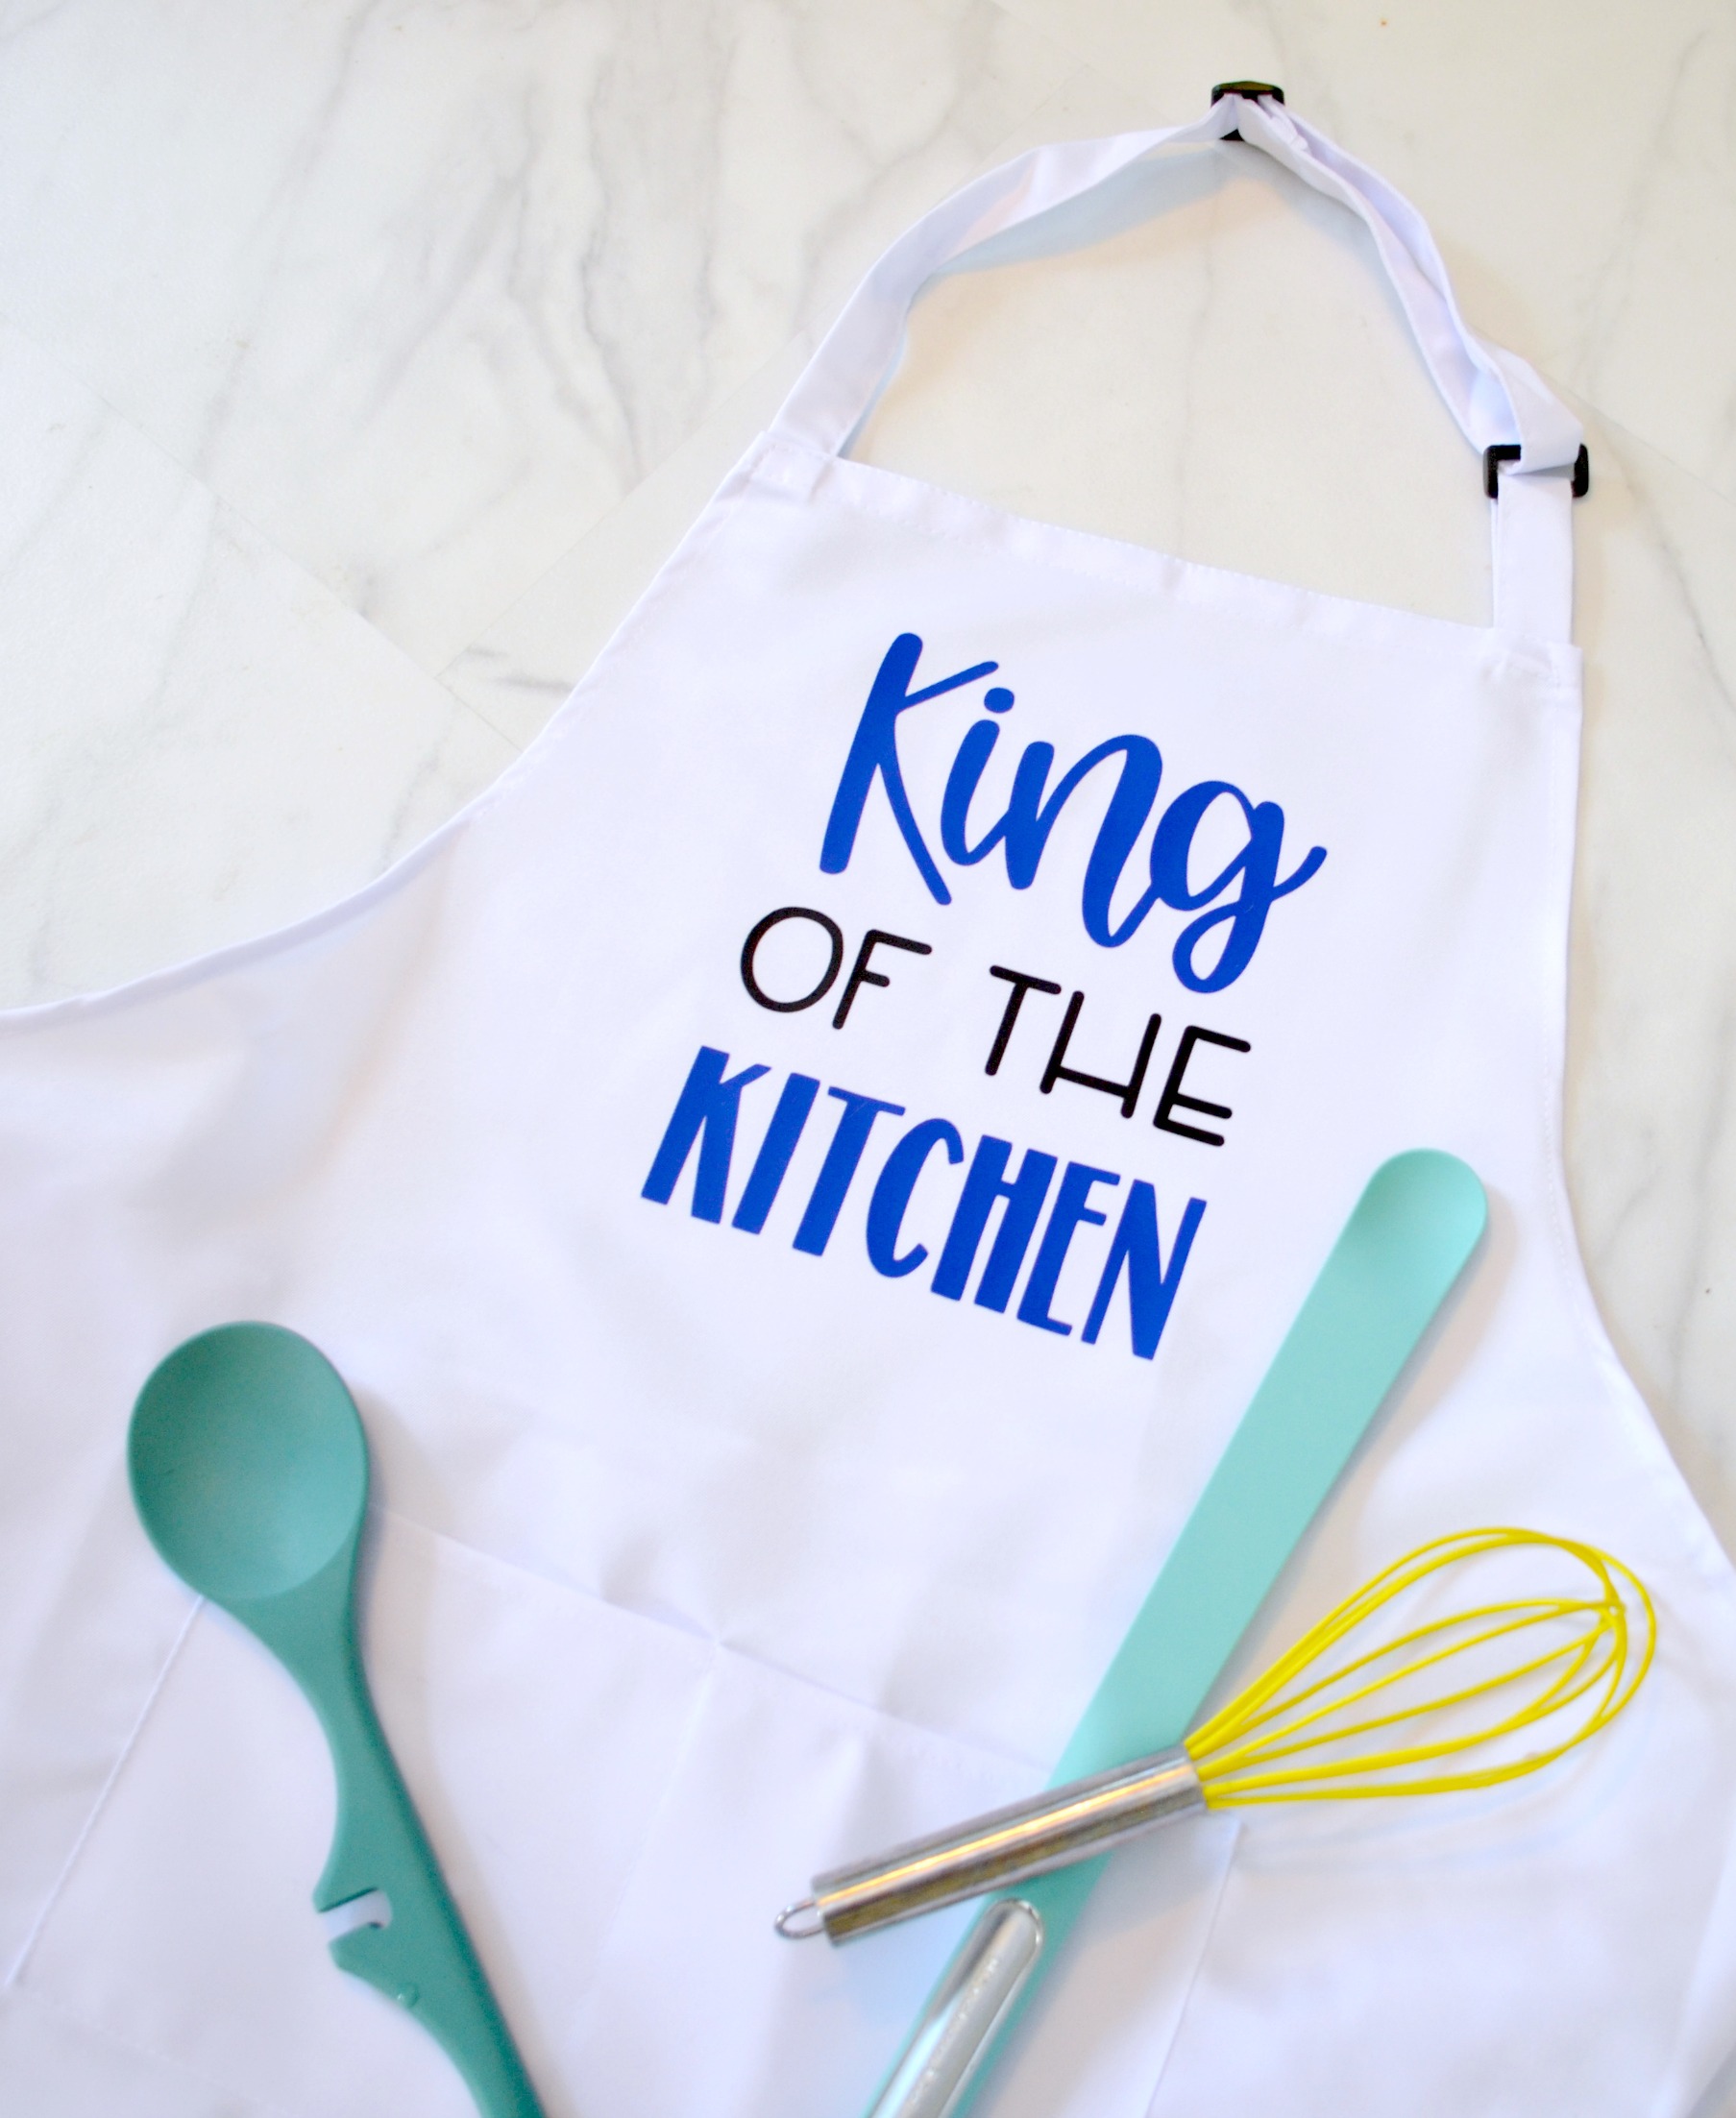
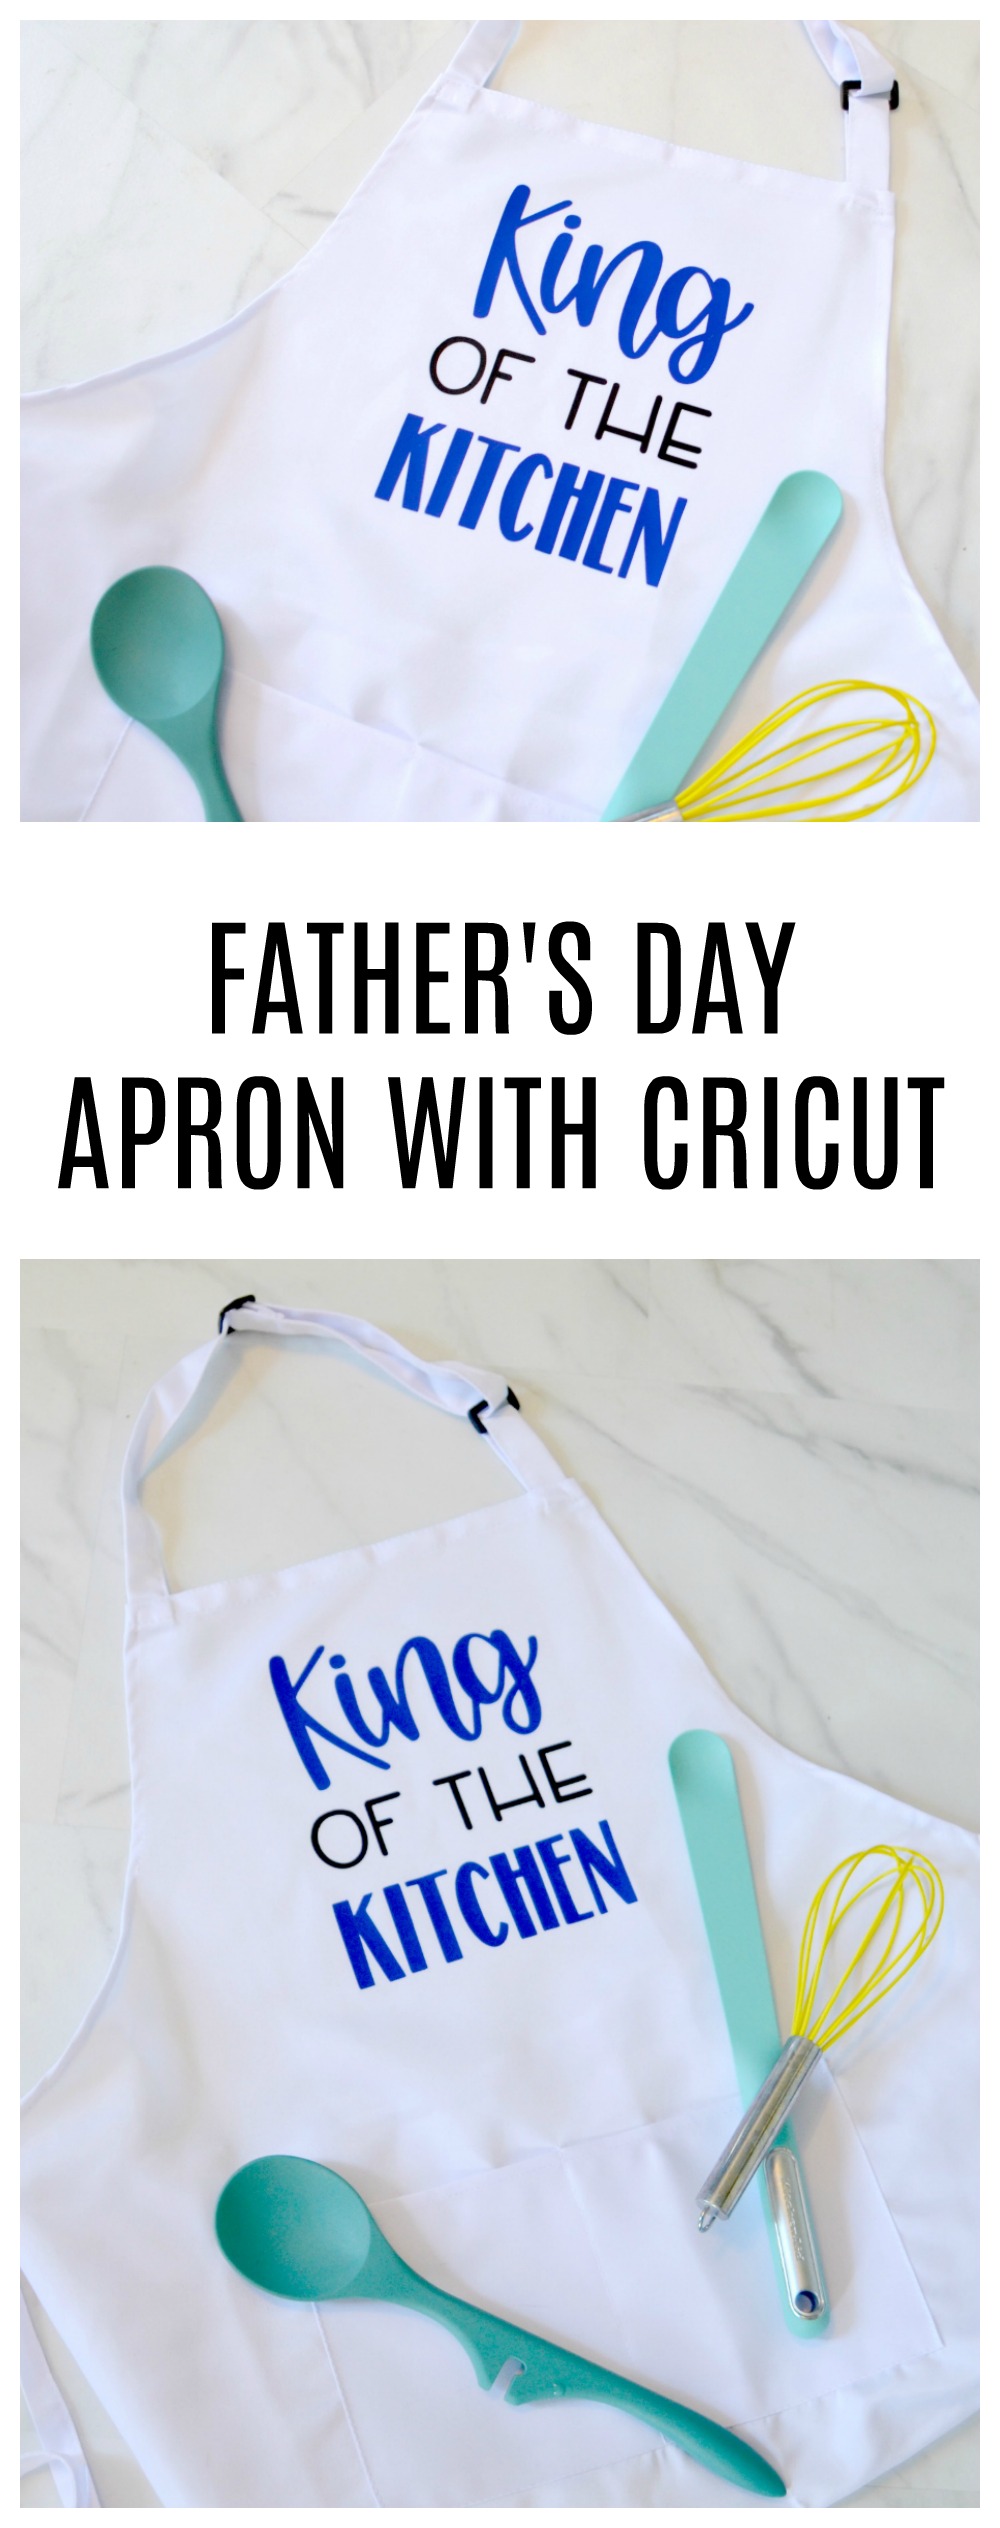
Father’s Day Apron with Cricut
Father’s Day is coming, so it’s time to start thinking about gifts for the men in our lives! I am lucky enough to have a hubby who not only makes delicious meals on the grill, he also cooks other amazing from-scratch dinners. When we first brought our son Nathan home from China in 2017, my husband barely knew the difference between a spatula and a whisk, but he was determined to learn to cook meals that would give Nathan a taste of something familiar. We invested in several Asian cookbooks and lots of ingredients, and that was the beginning of an amazing culinary journey. Now, Dan makes the best fried rice, orange chicken, Mongolian beef, pepper steak, and cashew chicken I’ve ever had, just to name a few. The only down side is that it’s ruined Chinese carryout for us forever! To celebrate his expertise in the kitchen, I decided to make a personalize apron for the boys to give him on Father’s Day. Here’s how I did it, with some help from my Cricut Explore Air 2. (Don’t have a Cricut? Check out this alternate method using Fabric Creations fabric paint!)
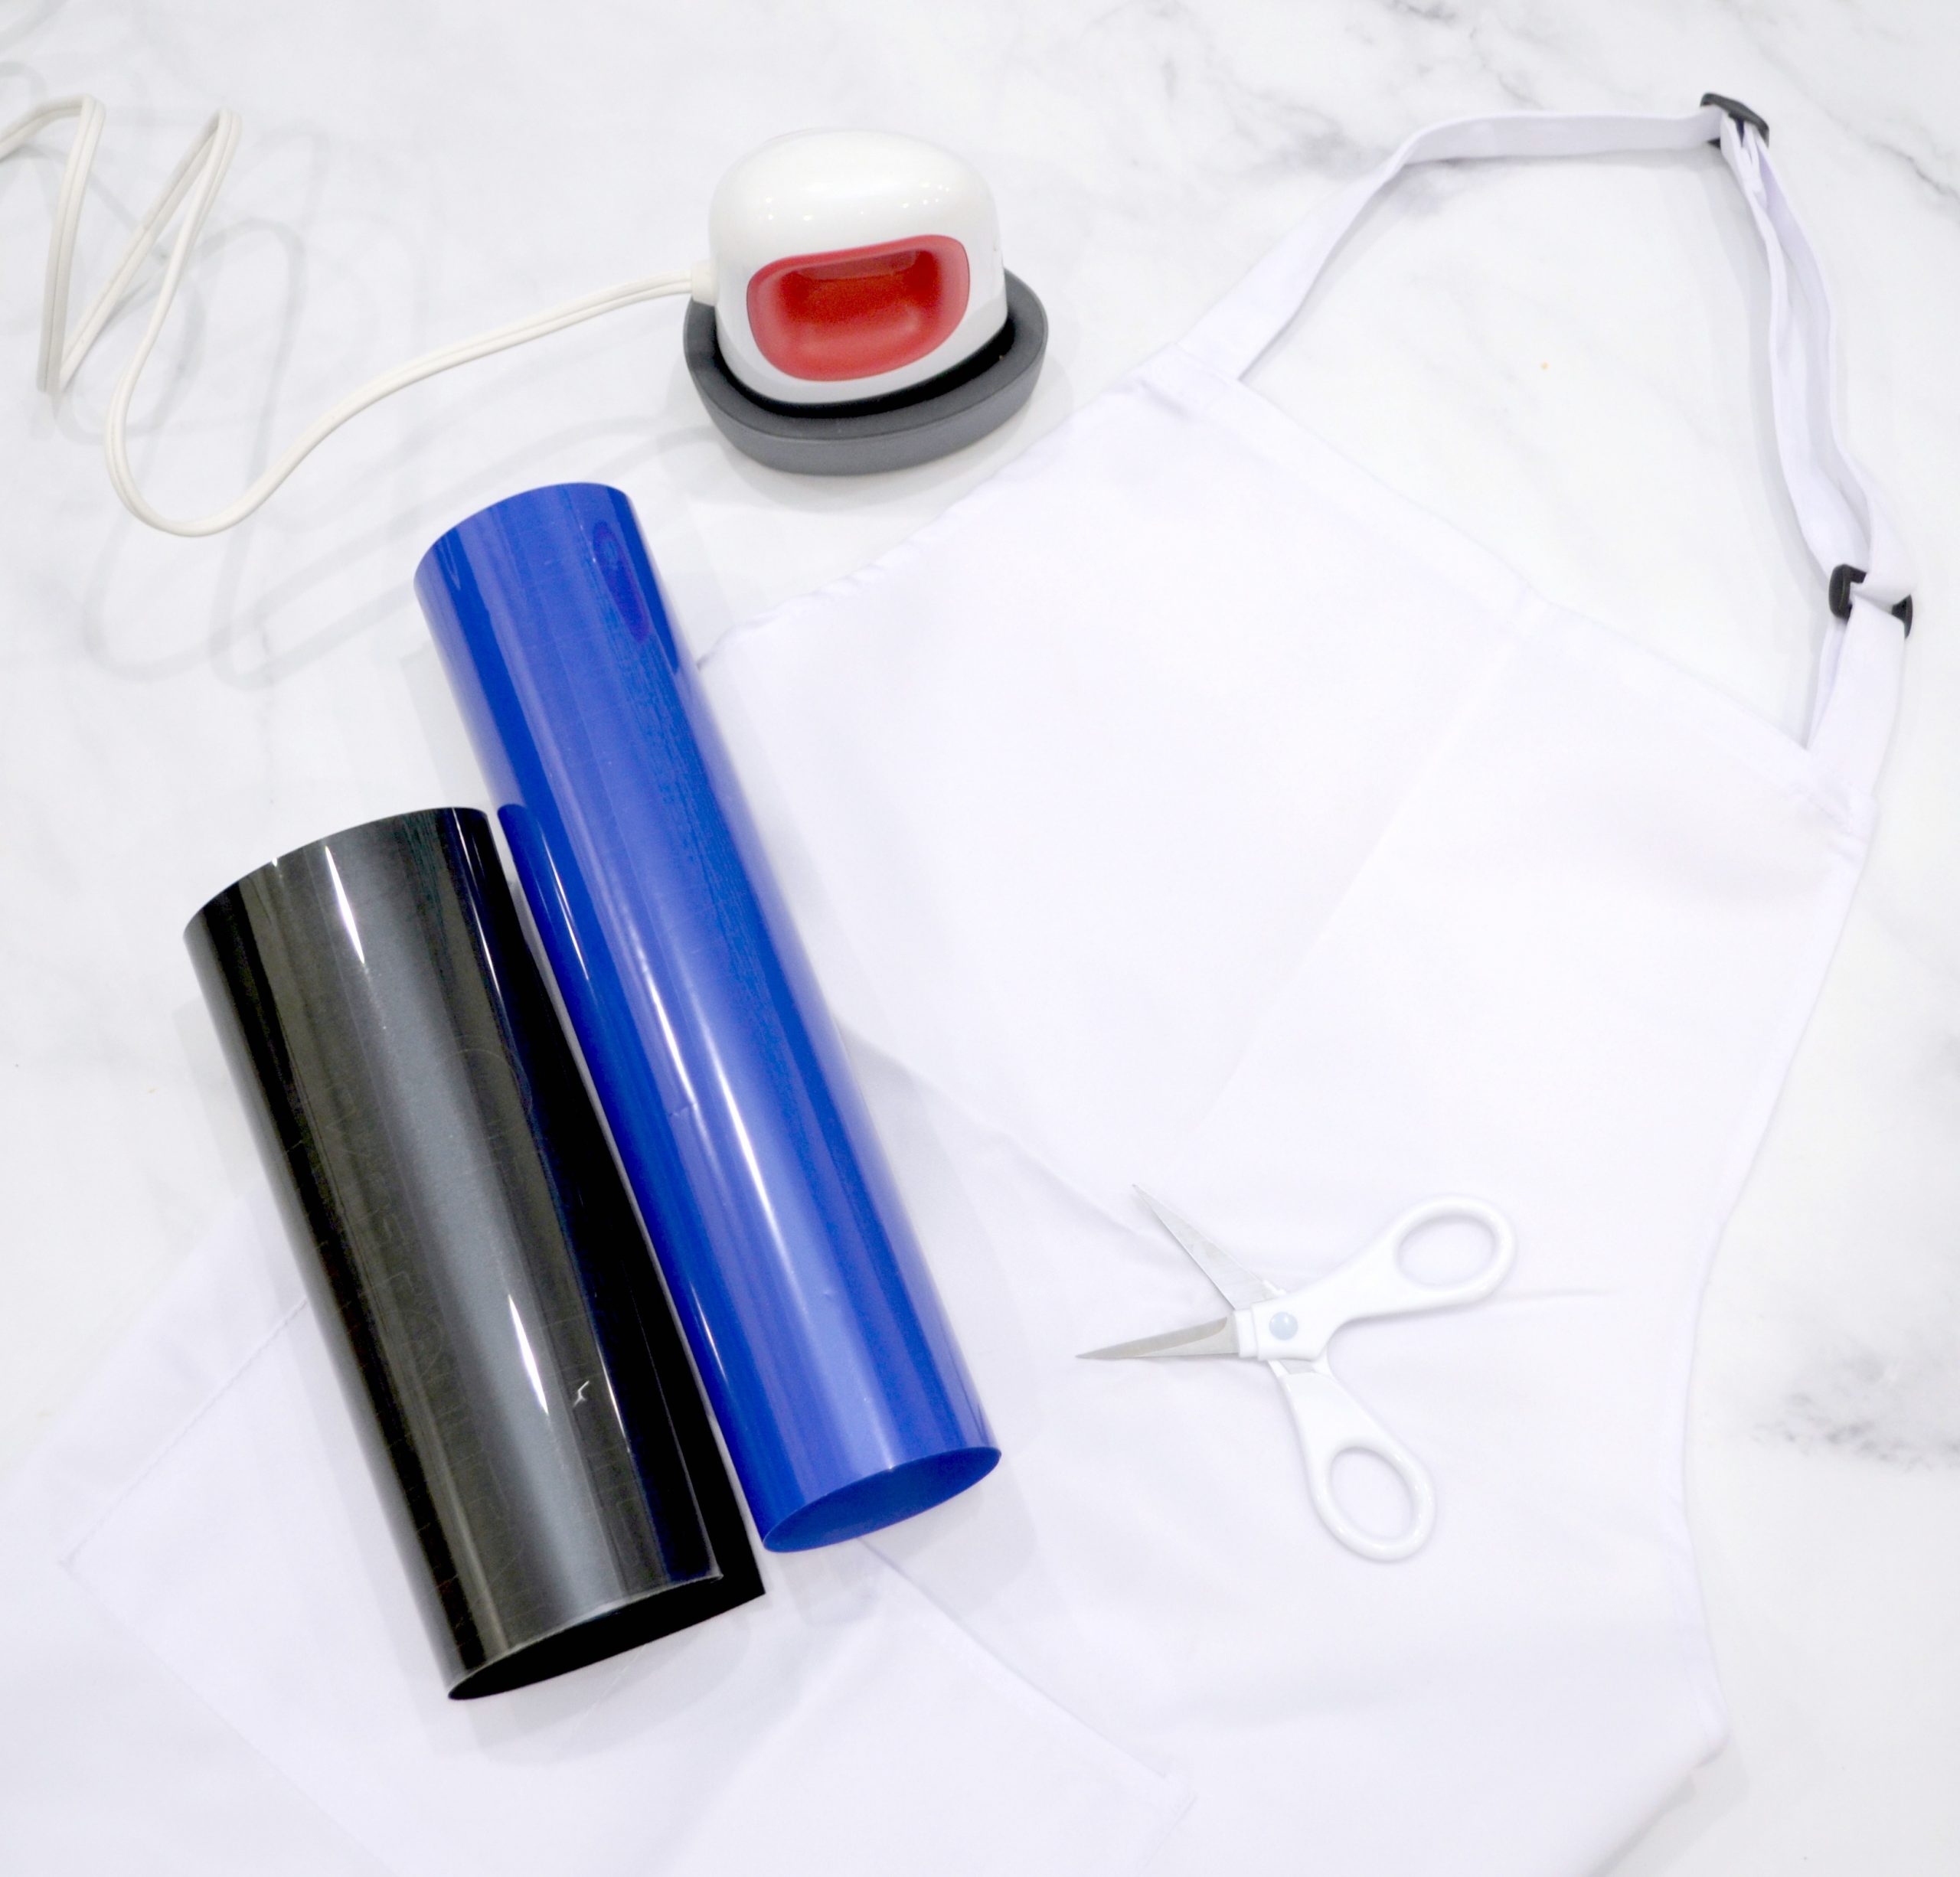
You’ll need:
blank apron (I got a white polyester 2-pack on Amazon)
Cricut Iron-On Vinyl (I used black and blue)
Scissors
Cricut EasyPress 2 and EasyPress Mat
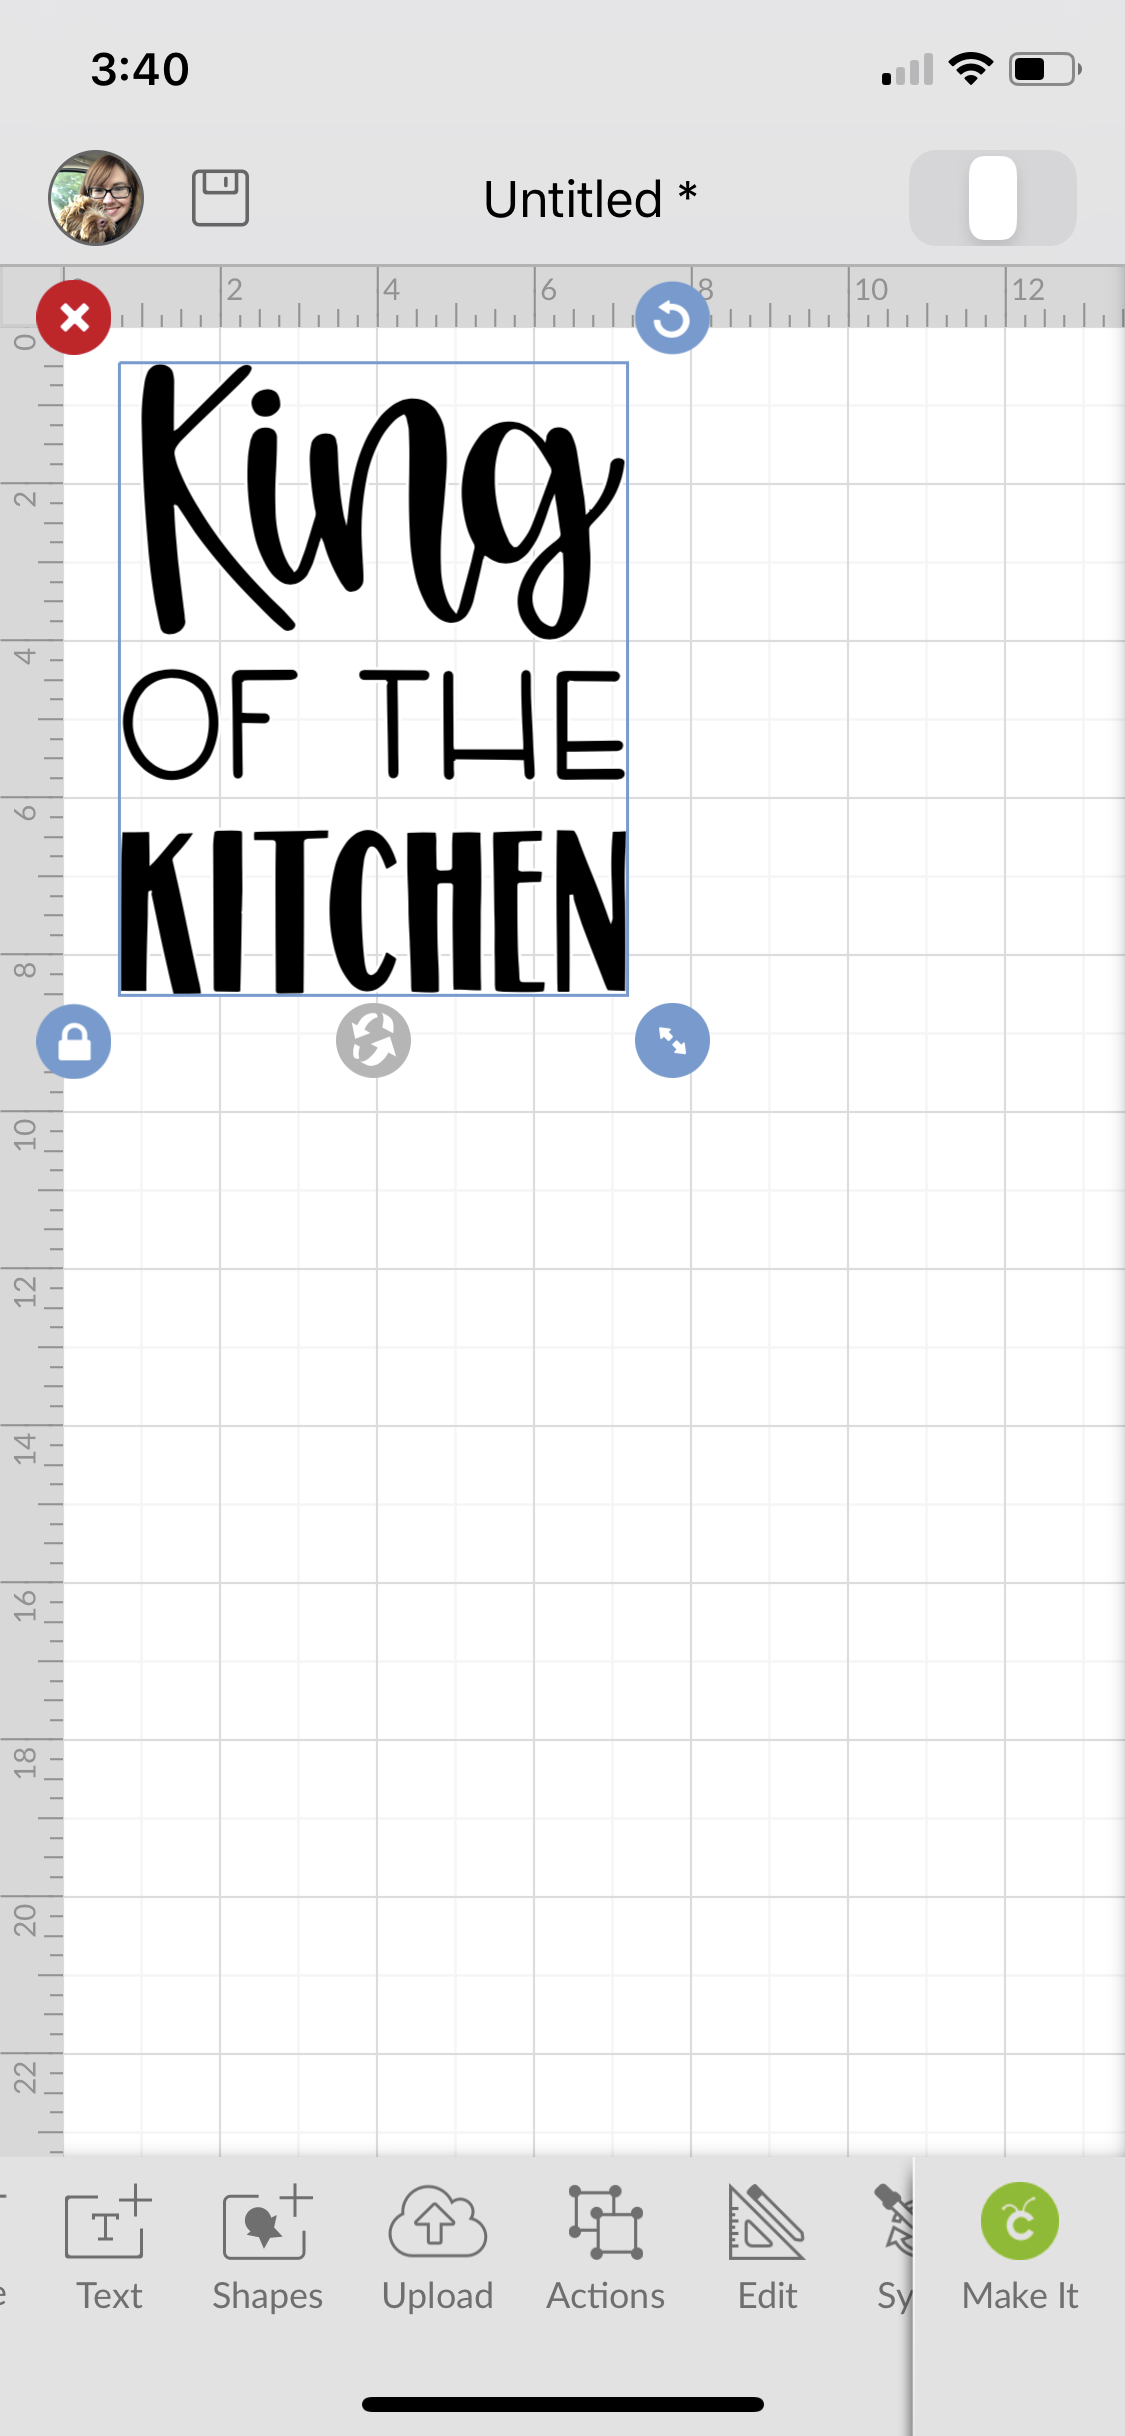
Step 1: Choose a design in Design Space (or import your own), and size it to fit your apron.
I chose the phrase “King of the Kitchen” from the Design Library and sized it to 6″ wide.
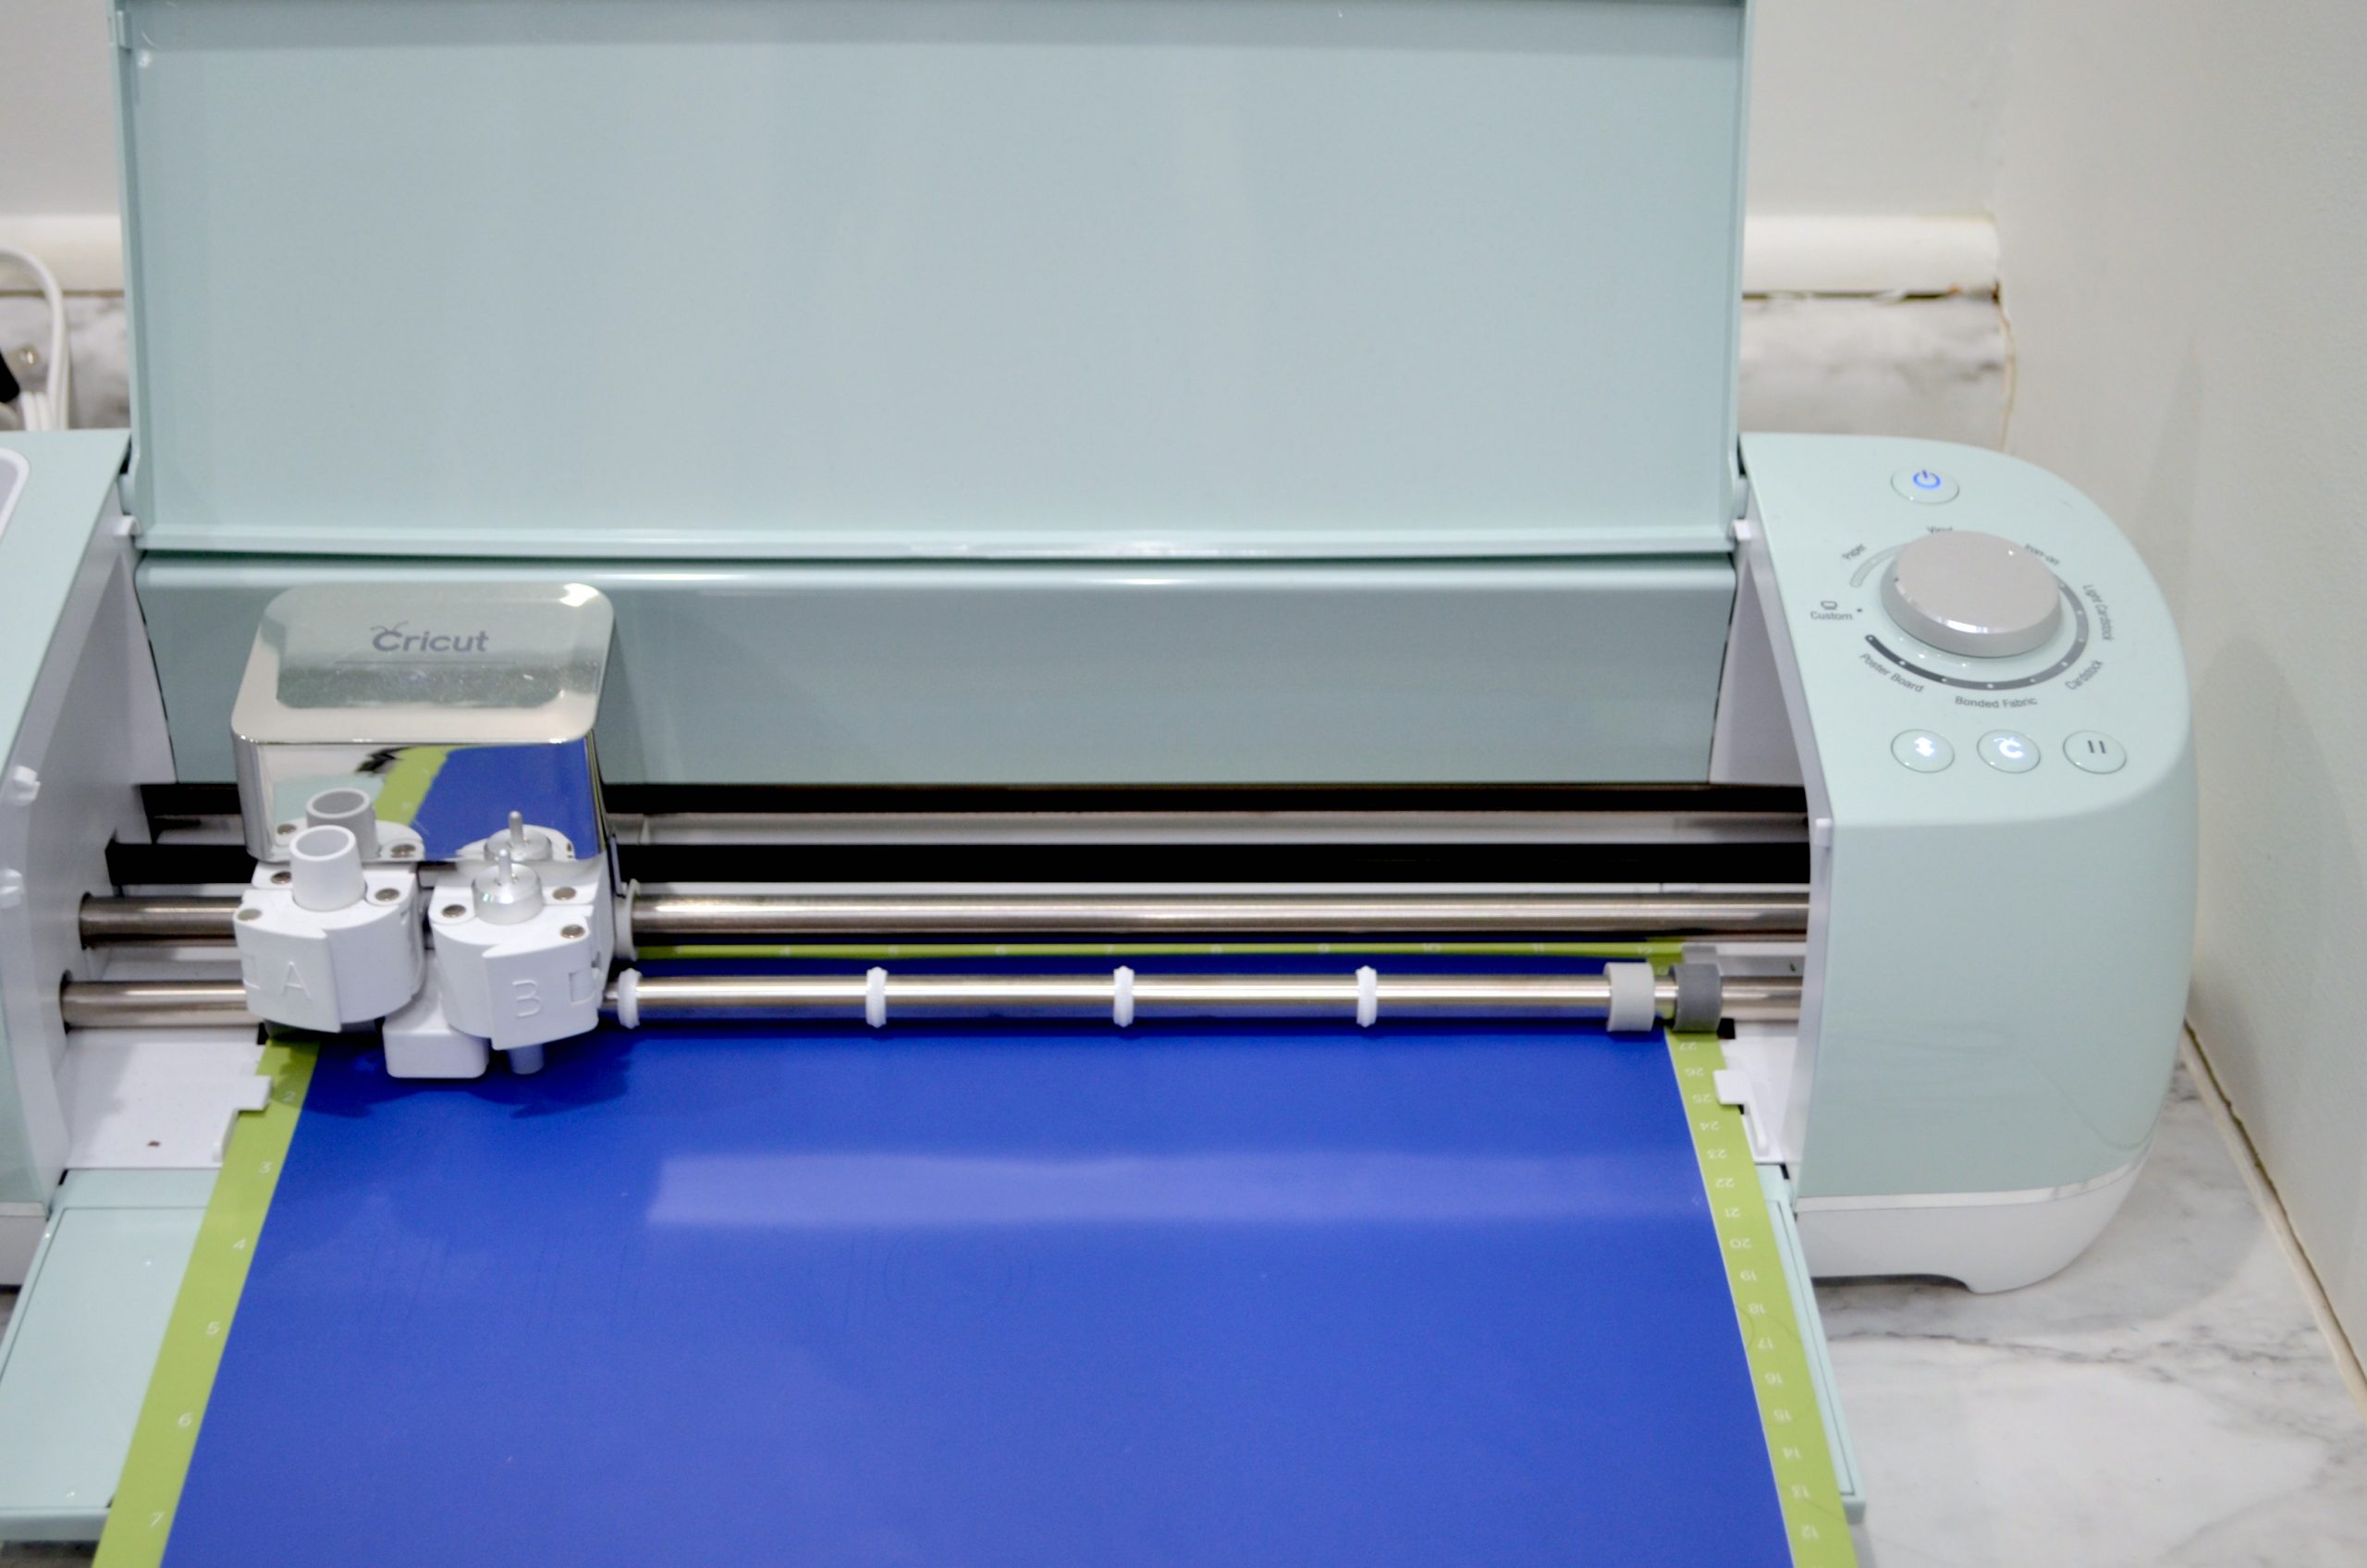
Step 2: Send the design to your Cricut.
Make sure to select “mirror” so that the design cuts backwards. Place the vinyl on your cutting mat with the shiny side down and turn the dial to “Iron-On.” Then, let the machine work its magic and make the cut.
Step 3: Weed your design.
To do this, gently peel the vinyl away from the shiny backing until all that remains on the backing is the design itself. Don’t forget to remove the centers of letters like “g,” “d,” or “o.”
Step 4: Set the EasyPress 2 temperature using the Cricut Heat Guide.
For my polyester aprons, I needed the EasyPress 2 at 315 degrees F for 30 seconds.
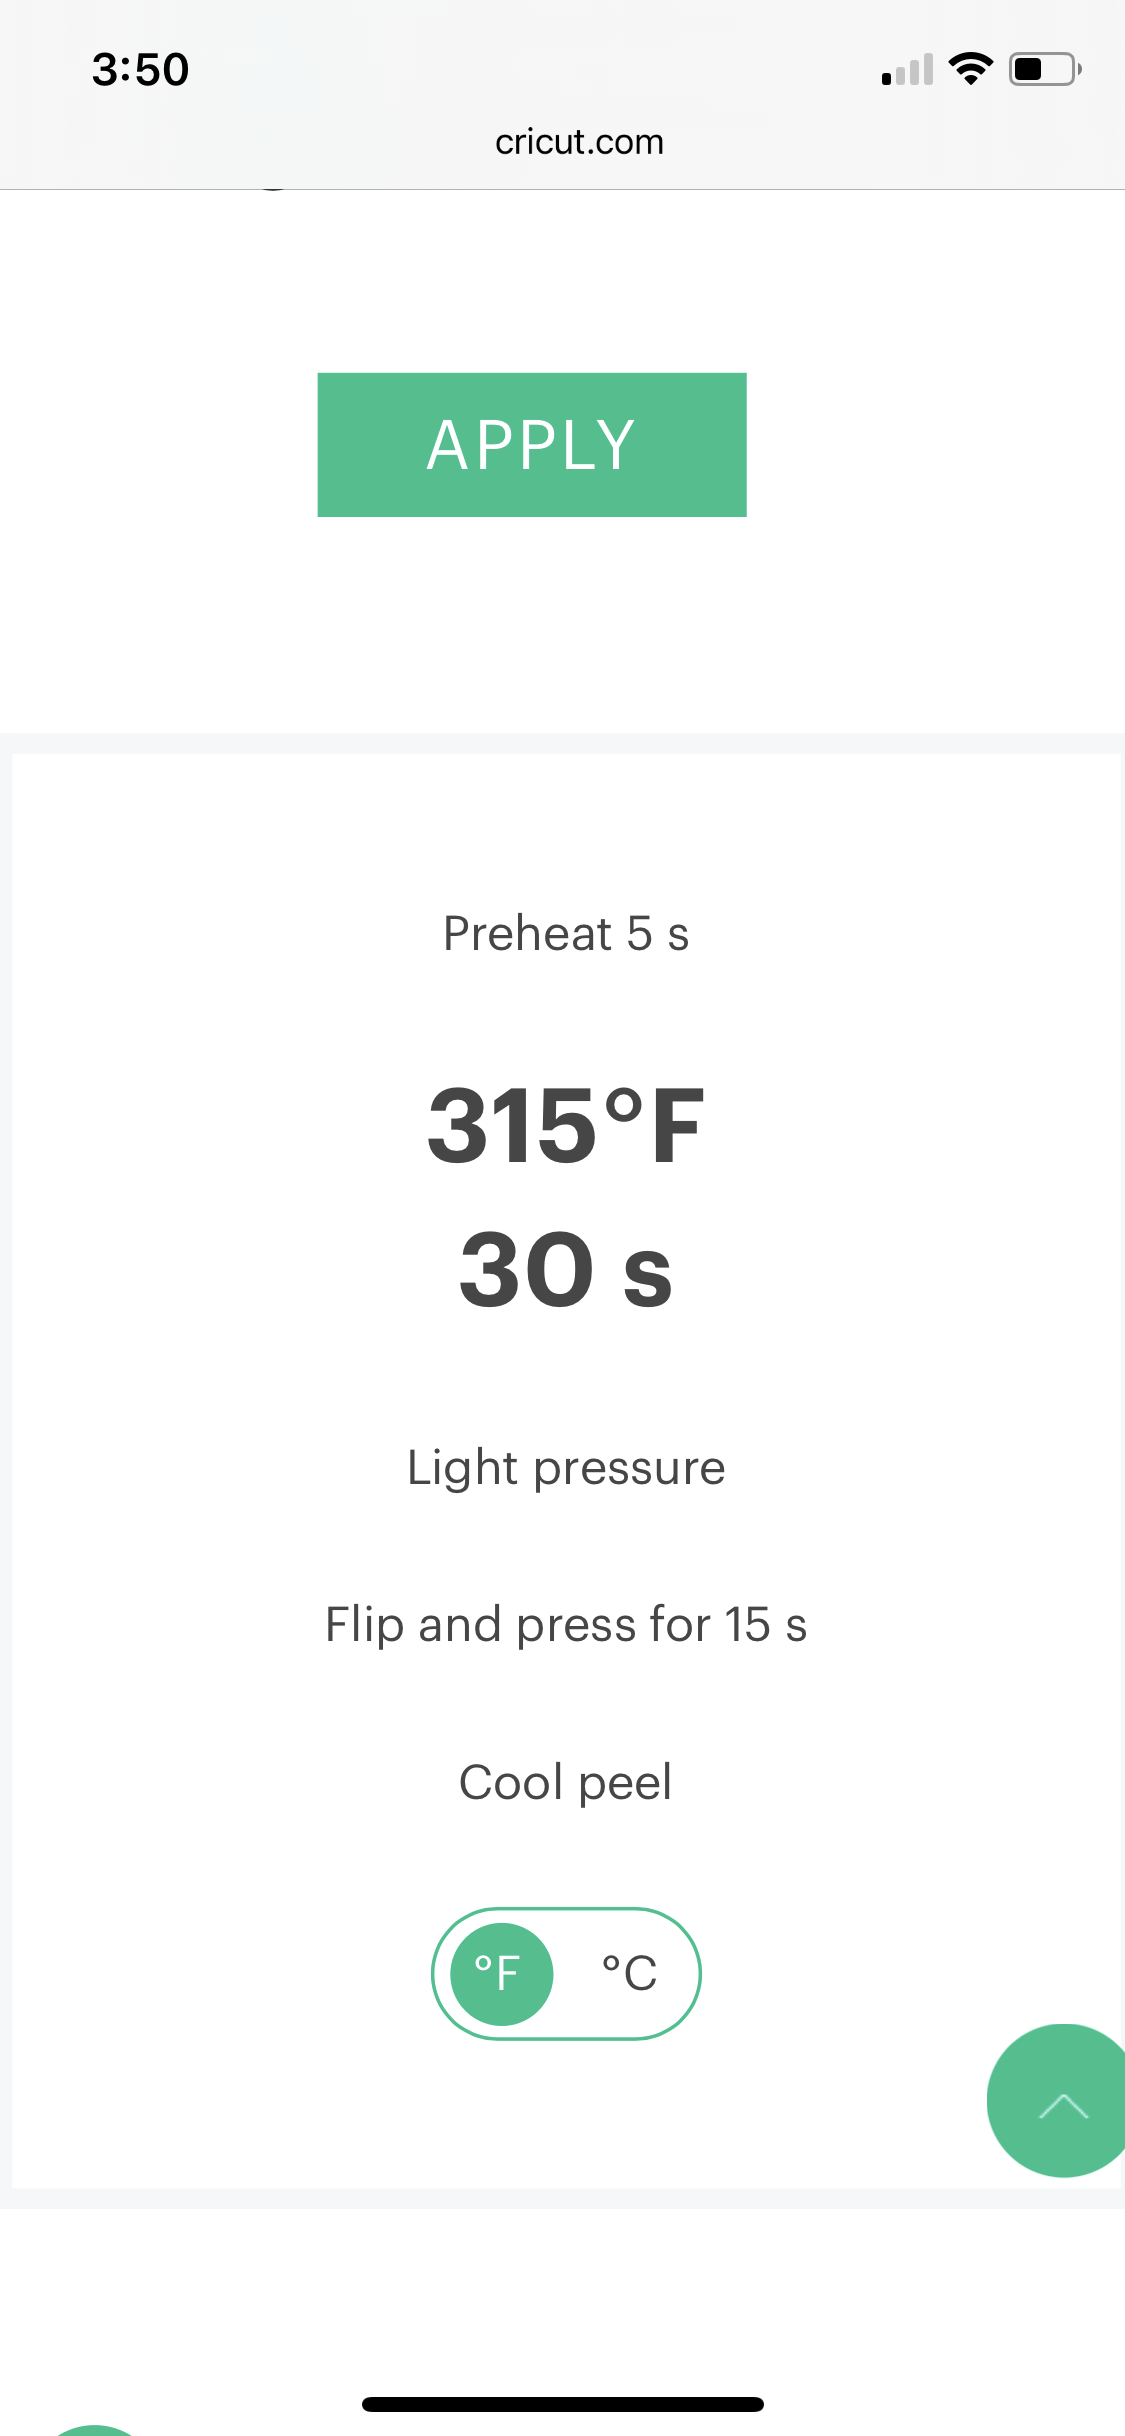
Step 5: Place the apron on the mat and preheat for 5 seconds.
This removes any moisture and prepares the apron for the vinyl to adhere.
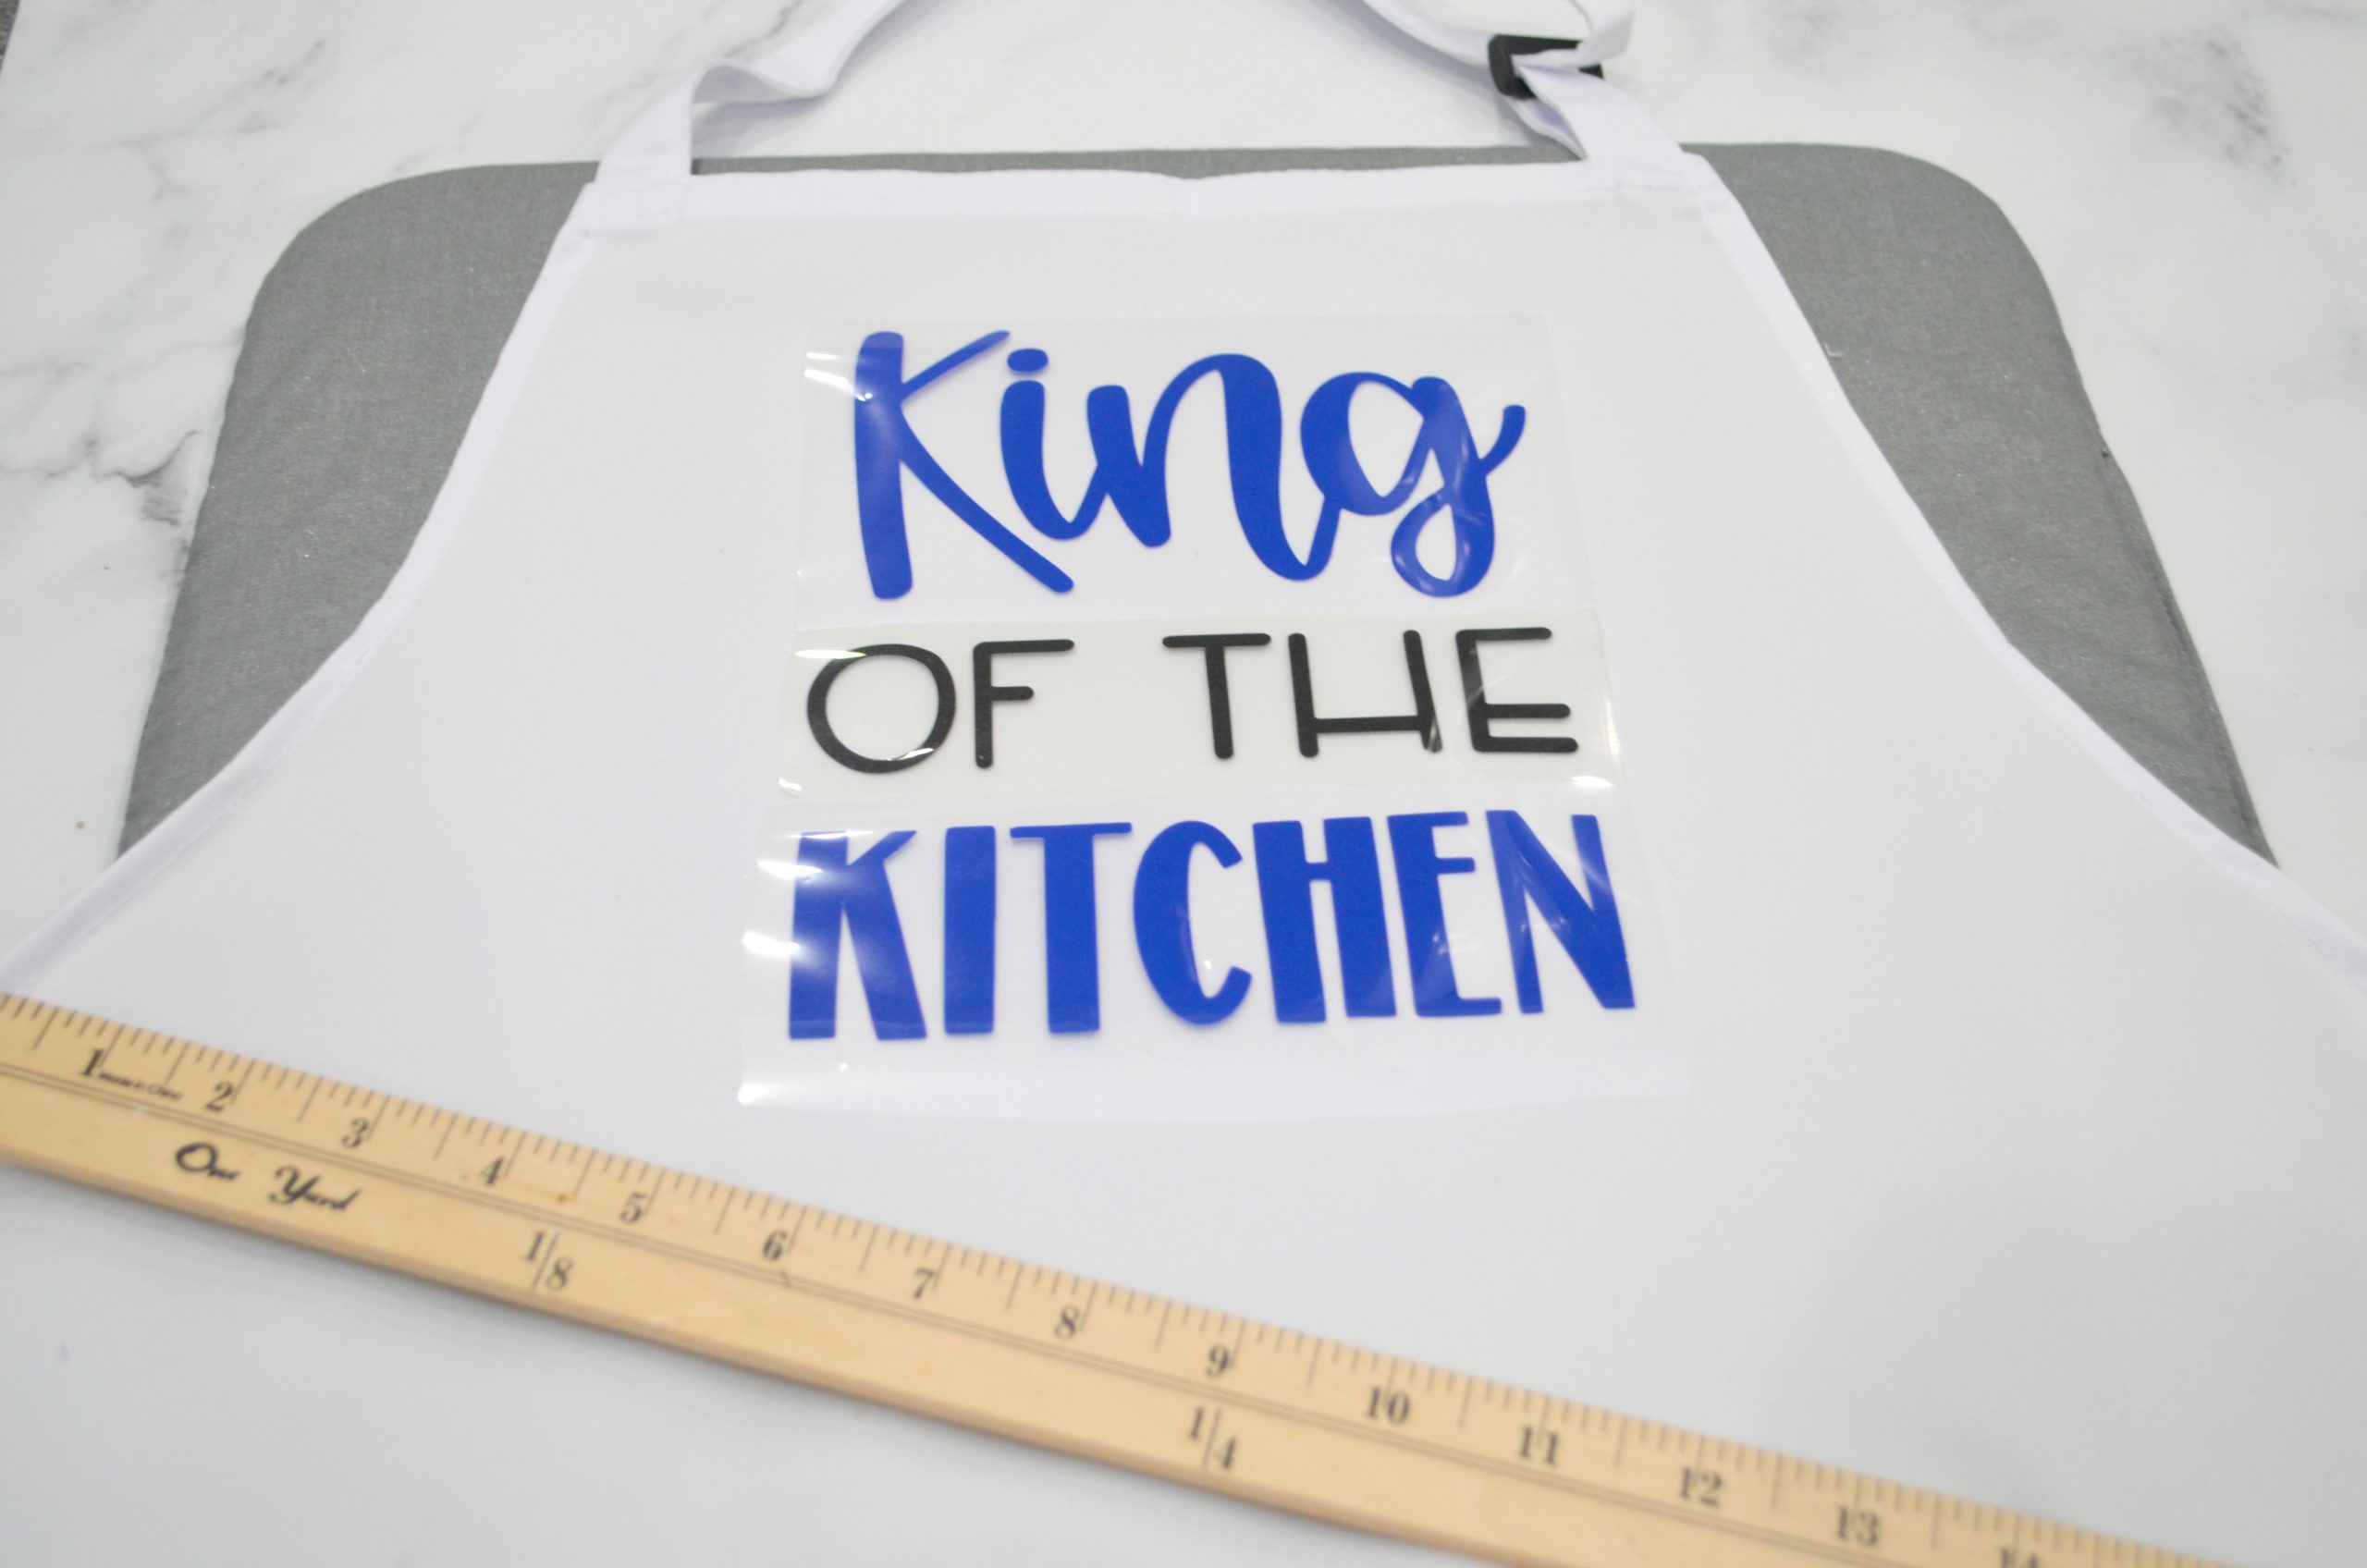
Step 6: Place the weeded design on the apron and apply the EasyPress 2 on top.
The Heat Guide called for gentle pressure for 30 seconds, then flipping the apron over and applying the EasyPress to the back for 15 more seconds.
Step 7: Carefully peel off the shiny backing.
This project is “cool peel” which means you need to let it cool off before attempting to remove the backing. If your apron is cotton, it will be “warm peel” instead, so you can remove the shiny film a little sooner.
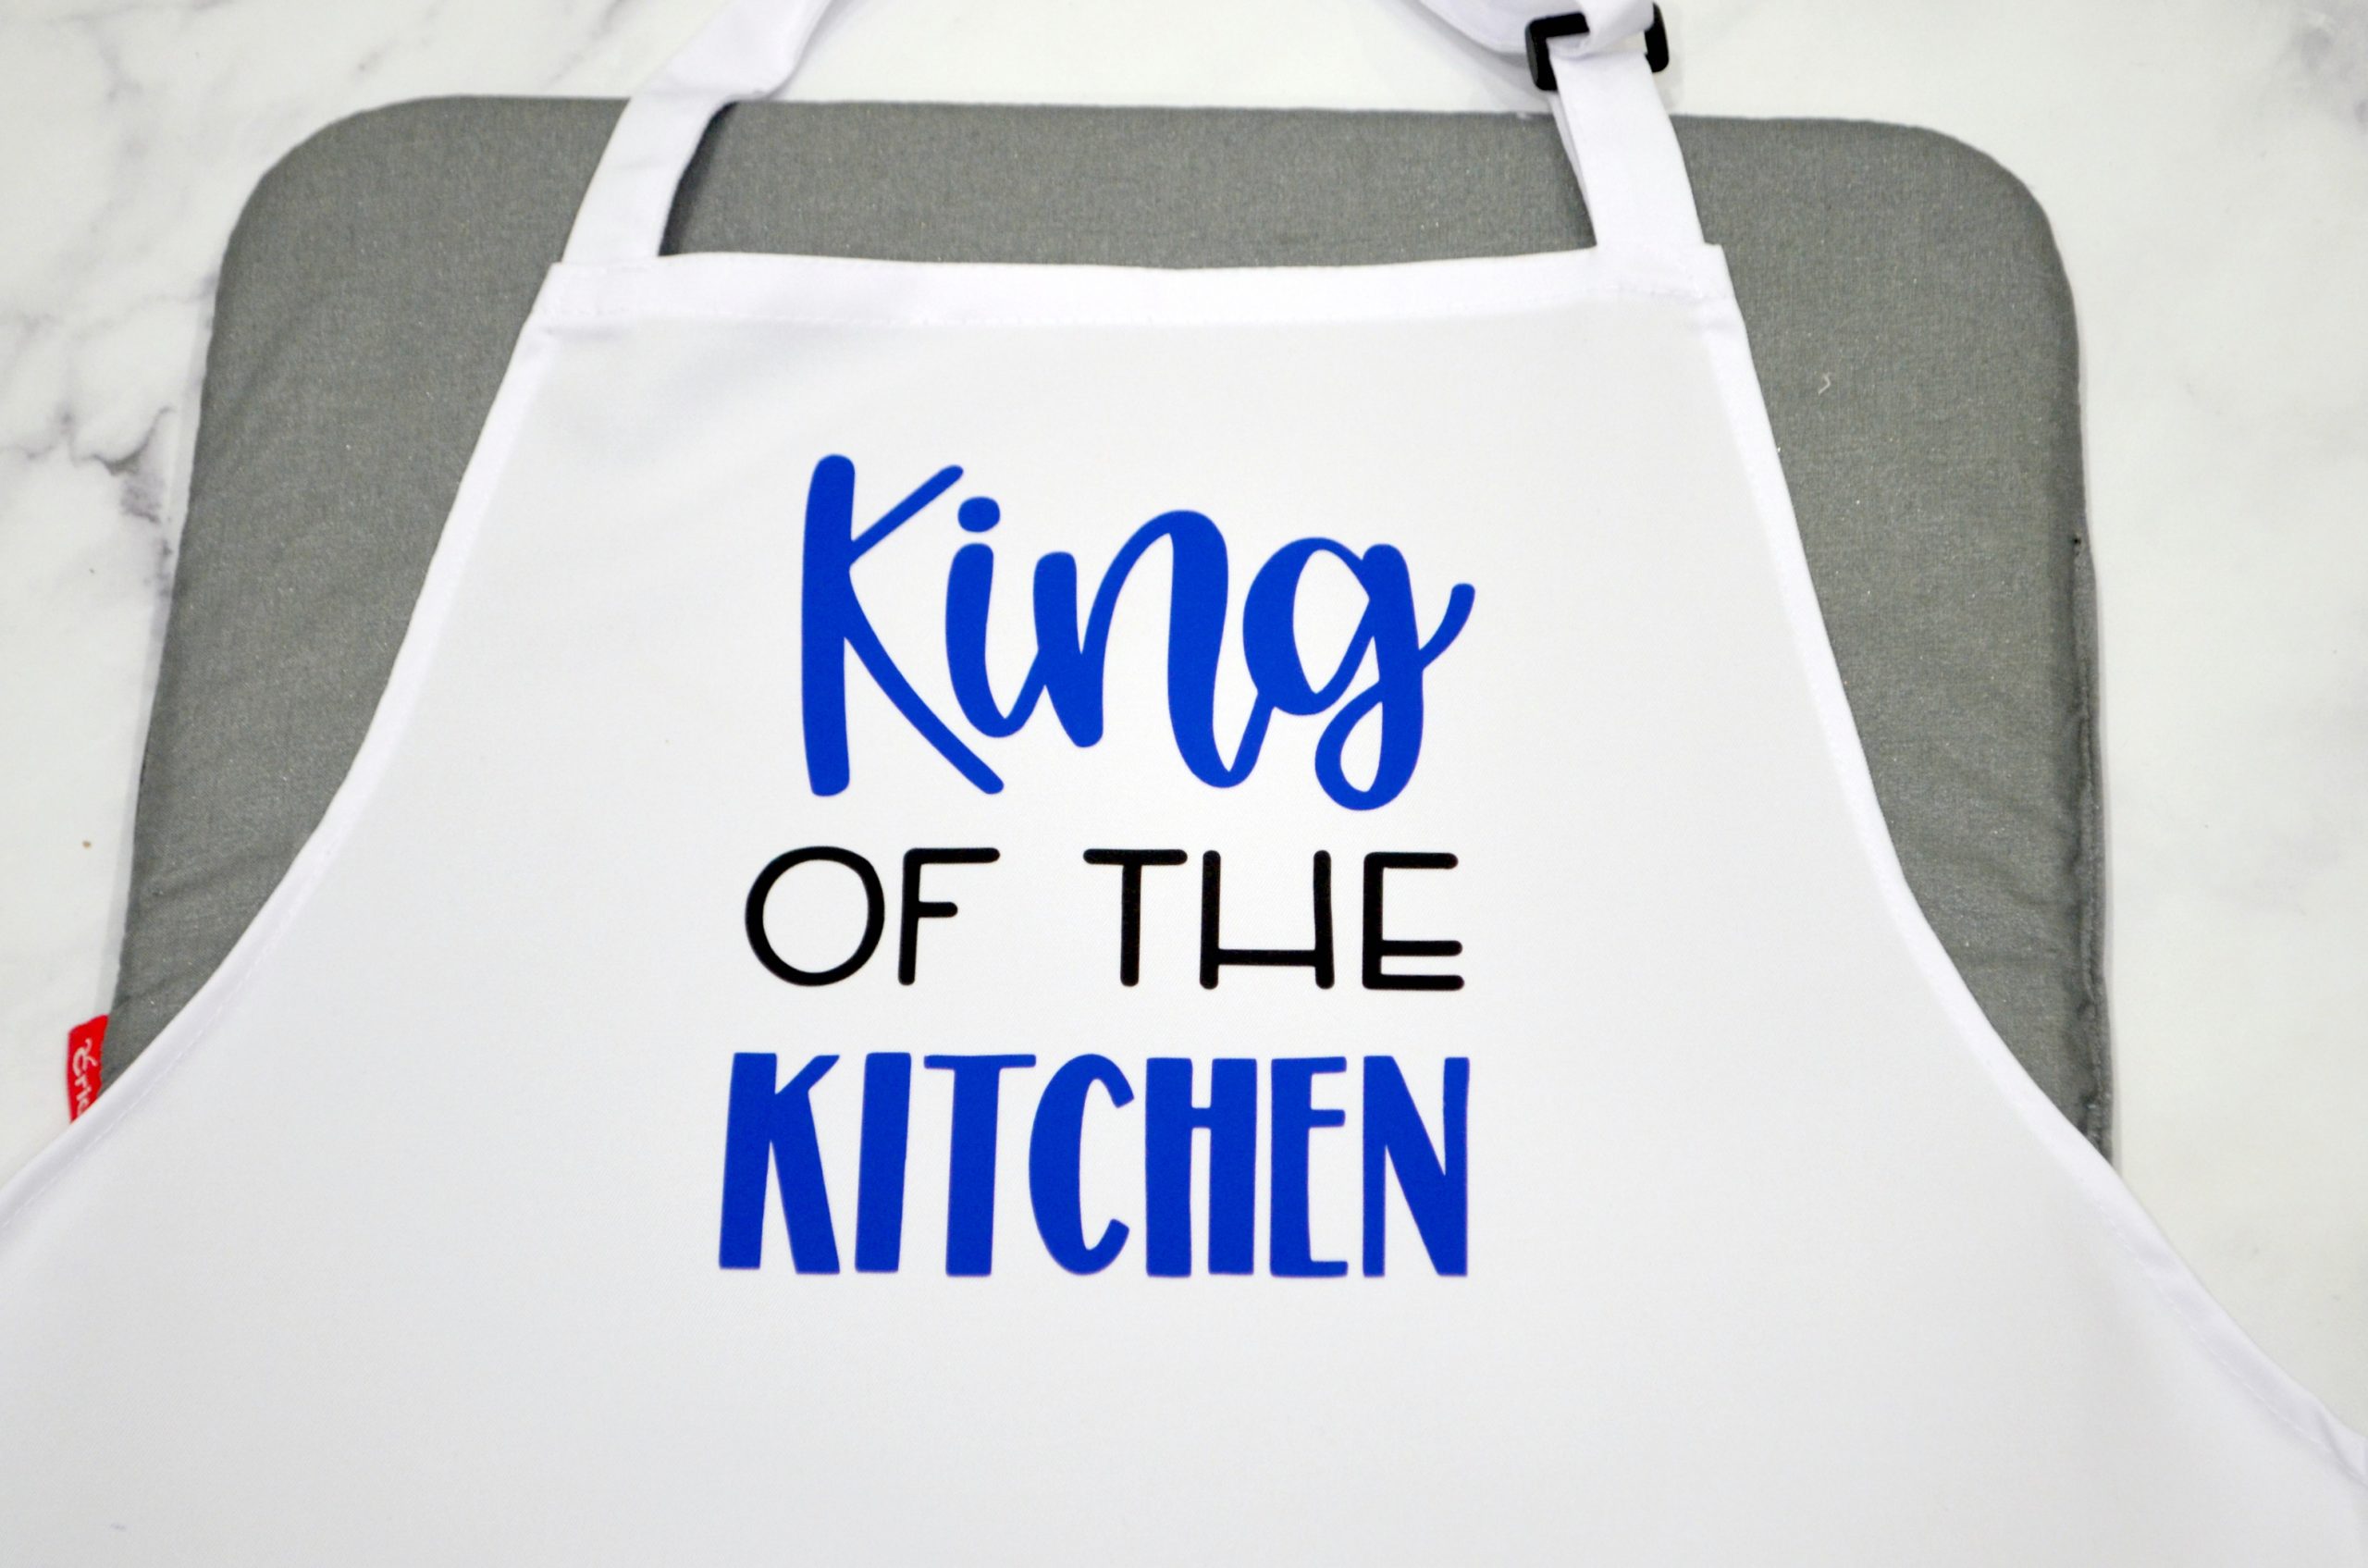
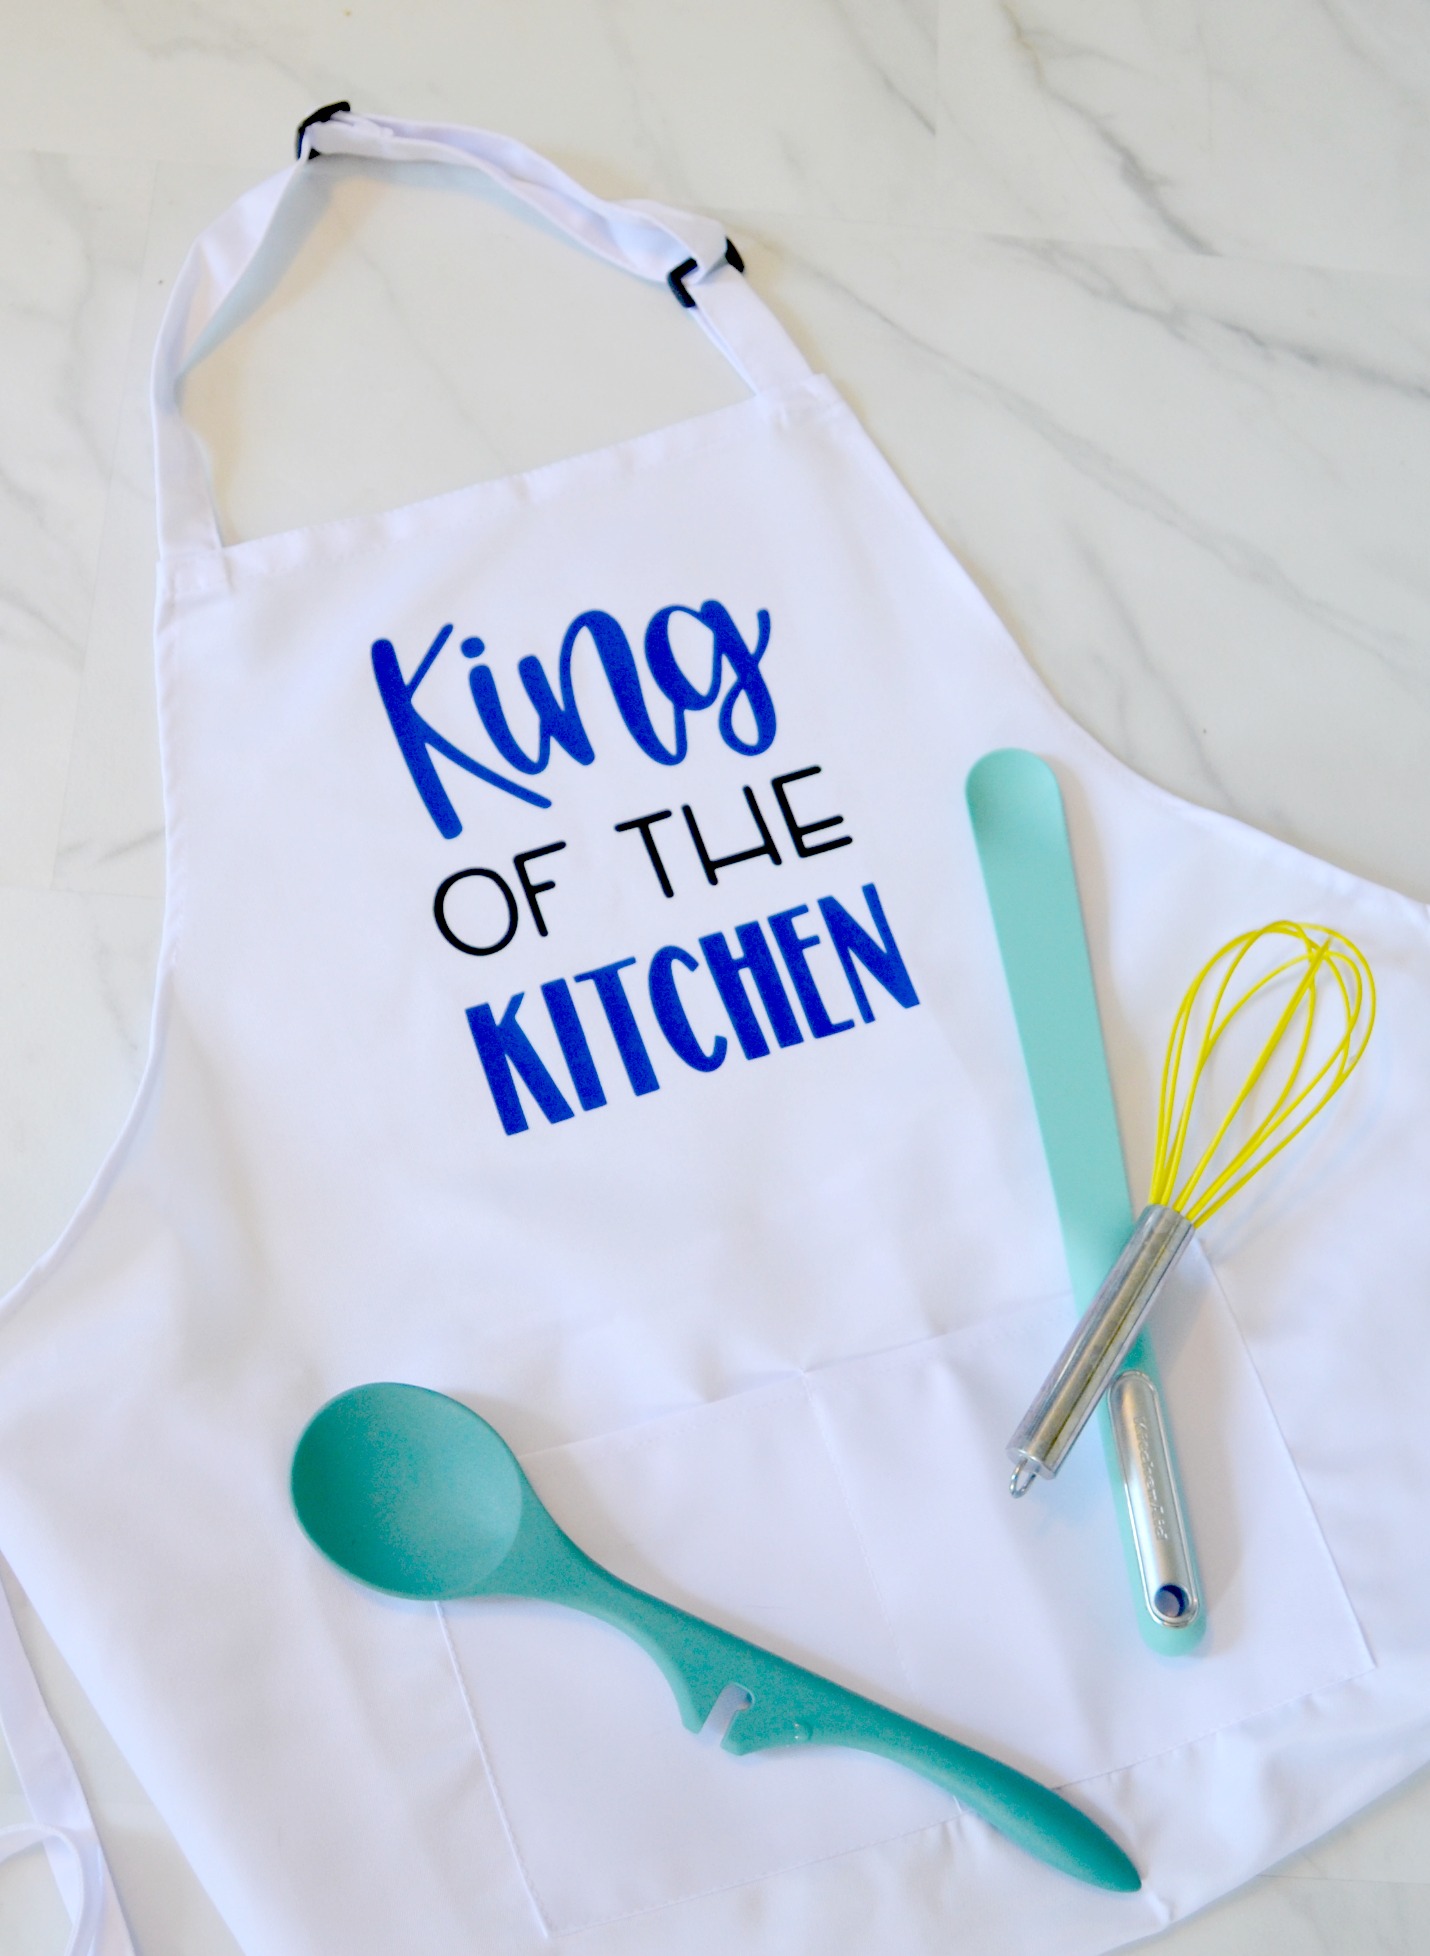
Now your project is complete and ready to gift or wear! It’s totally machine washable and will hold up for daily wear. I can’t wait for the boys to give this to my husband. What are your favorite DIY Father’s Day gift ideas?
Be sure to check out some of these other Father’s Day projects!
We have lots of tutorials and gift idea roundups, so there’s something for every dad. Also, be sure to share your favorite ideas with us in the Amy Latta & Friends Facebook group where we can all be inspired. See you there!


2 Comments