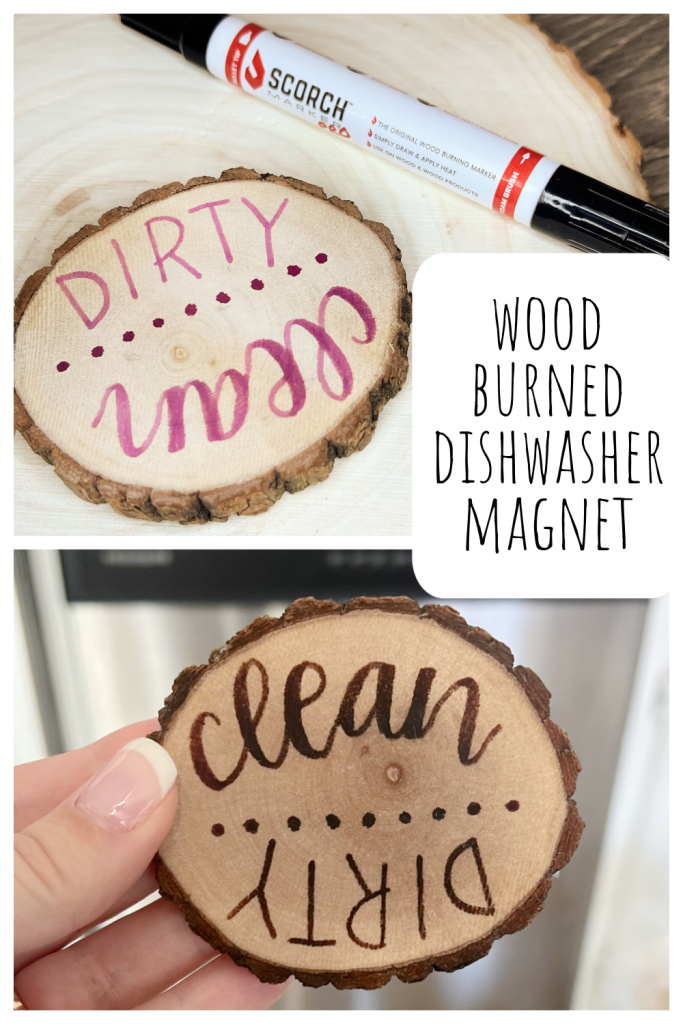
Wood Burned Dishwasher Magnet
I don’t know about you, but in our home, the question, “is the dishwasher dirty or clean” gets asked multiple times a day. Or, my teenage sons decide to make the assumption that it’s clean so they don’t have to put their dirty dishes in. Here’s a fun and easy little project that will solve that problem once and for all. It’s created using my favorite wood burning tool, the Scorch Marker!
The Scorch Marker Pro is filled with a non-toxic solution that reacts when it’s heated and actually burns your design into the wood for a permanent, safe finish. You can draw, write, or stencil with it to create all kinds of personalized projects like this one. It’s so much easier to use than traditional wood burning tools, and it has an “infinity guarantee” that you’ll be satisfied. Here’s how to use it for creating your wood burned dishwasher magnet.

How To Make A Wood Burned Dishwasher Magnet
Supplies:
Heat Tool (must be 1000+ watts of power/350 degrees Fahrenheit)
Sandpaper (fine grit/220)
Magnet
Instructions:
Step 1: Sand your wood slice until smooth.
The more smooth your surface is, the better the marker will work on it, and the more professional your finished project will look.
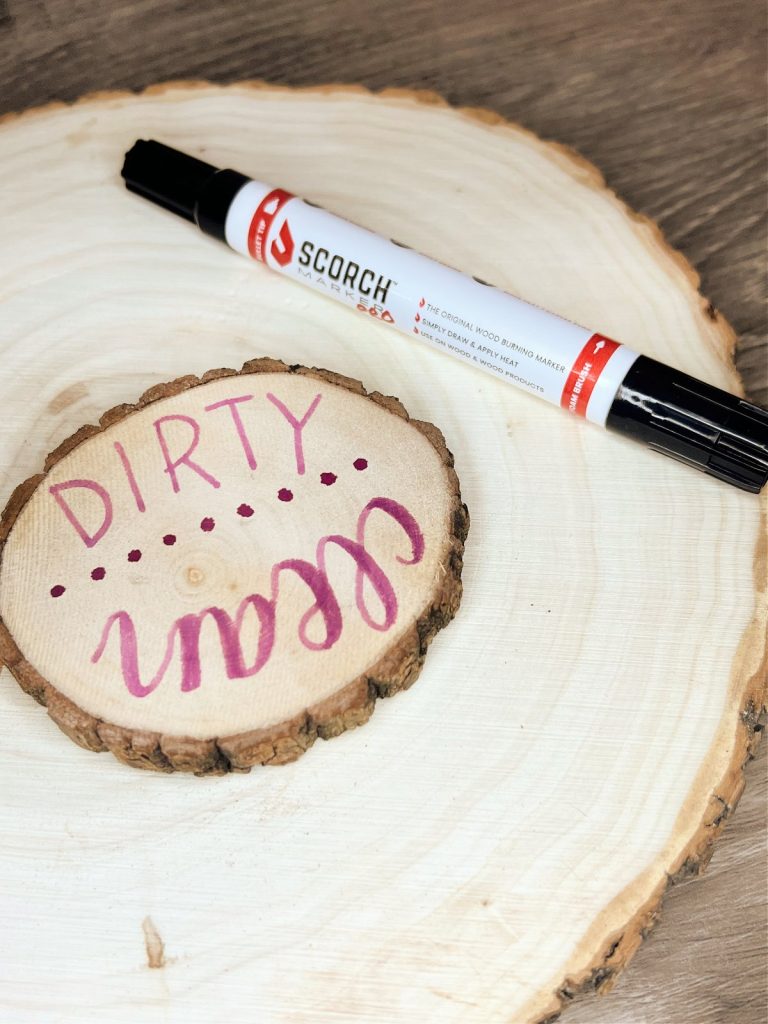
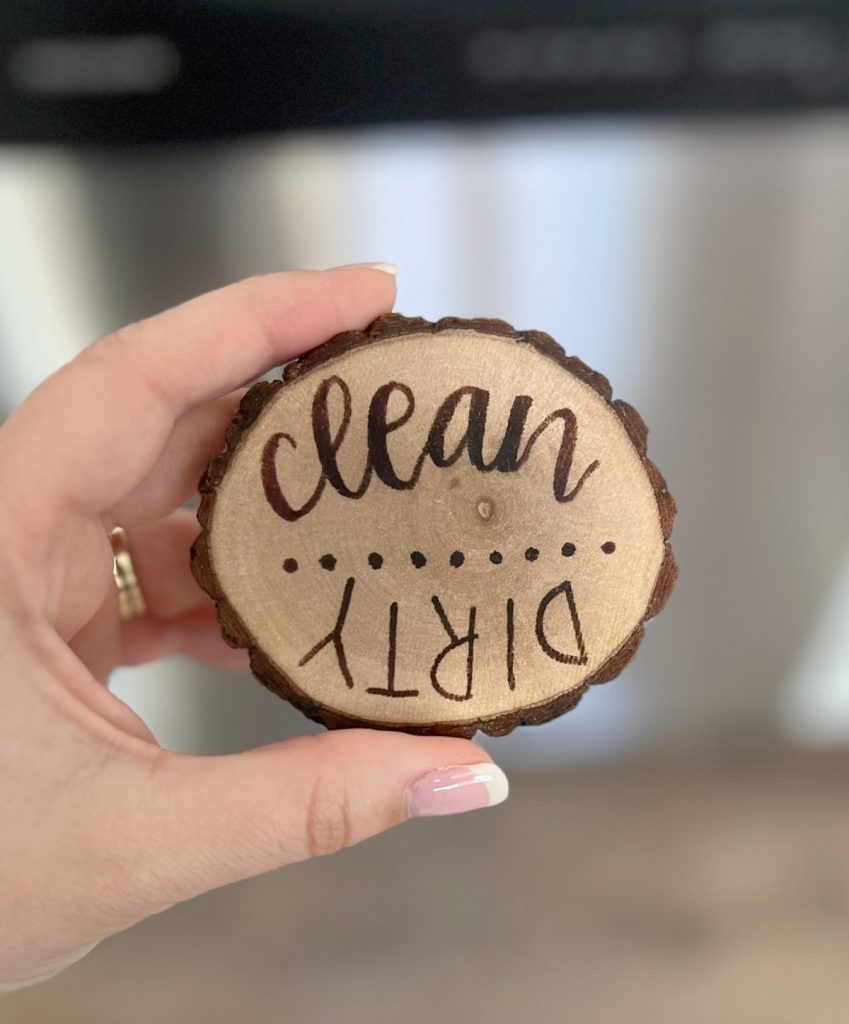
Step 2: Use the Scorch Marker Pro to write “clean” and “dirty” on the wood.
If this is your first time using the marker, make sure to prime it by shaking it, then pressing down on the tip on a piece of scrap paper until the ink runs down and saturates it completely. I printed the word “dirty” in capital letters, and used Faux Calligraphy for the word “clean.”
To get the gorgeous brush script calligraphy look, just write your word in cursive, then go back and thicken the downstrokes (anywhere your pen was moving in a downward motion while writing). For a full tutorial on this technique, check out my Basic Hand Lettering post.
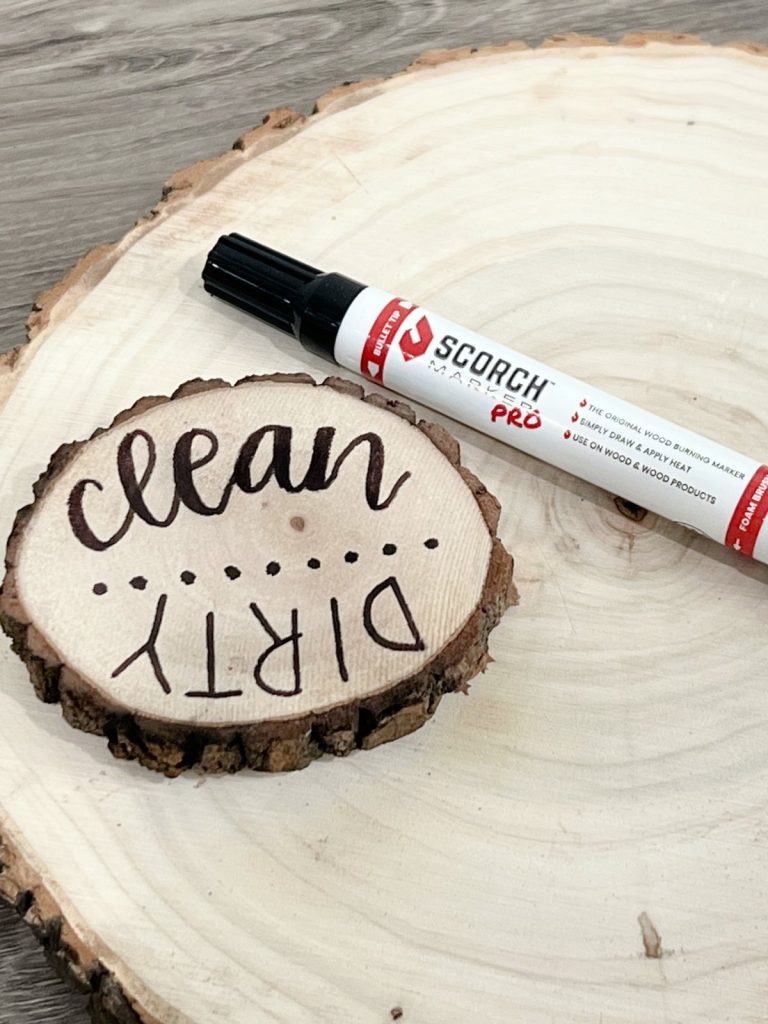
Step 3: Apply heat.
Use a heat tool (1000+ watts of power) and hold it about 6” from the surface of the project. As the ink reacts to the heat, it will begin to change colors from pink/purple to dark brown. The more heat you apply, the darker the burn will be. Make sure if you are using a heat tool to move it around constantly to avoid creating darkened “hot spots” on the wood around your words.
If you don’t have a heat tool, don’t worry, you can place your project in an oven heated to 350 degrees instead and watch for the color change.
Step 4: Seal your project.
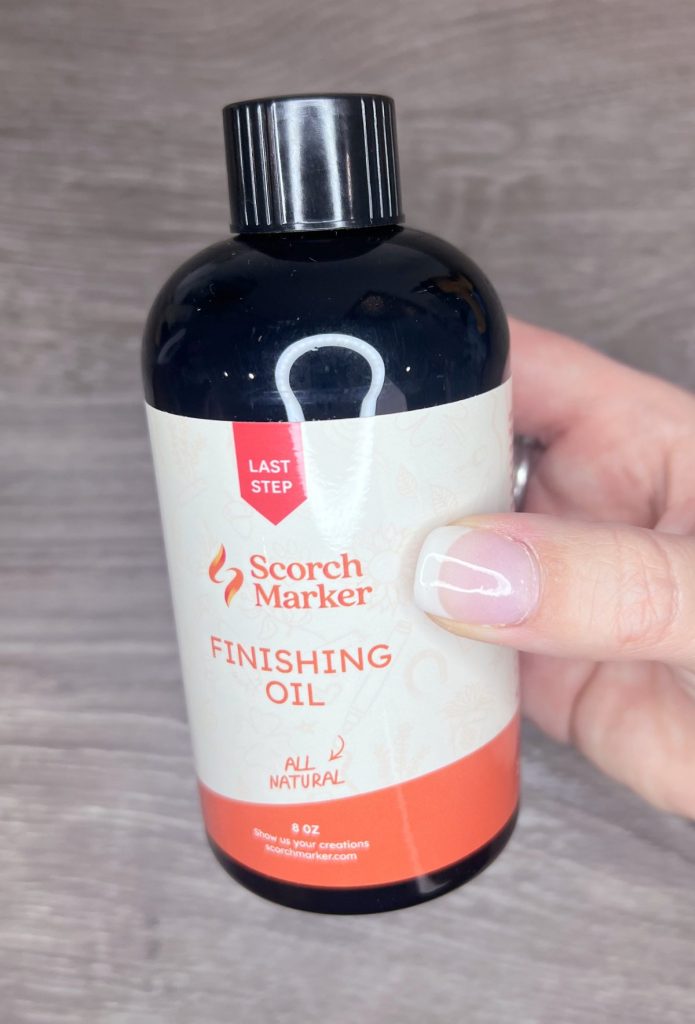
Use your favorite sealer, stain, or wood finish to protect your project. I use the Scorch Marker Wood Finishing Oil, which is made of three all-natural ingredients. It’s food safe and smells great, so it also works perfectly for other types of projects like utensils and cutting boards.
Step 5: Add a magnet.
Adhere a magnet to the back of your wood slice so it can attach to the front of your dishwasher and start solving the clean/dirty dilemma!
That’s it! The Scorch Marker makes it so simple to create all kinds of personalized wood burned projects in no time at all. Now, I just have to convince my teenagers to stop pretending they don’t see that the magnet is turned to “clean.”
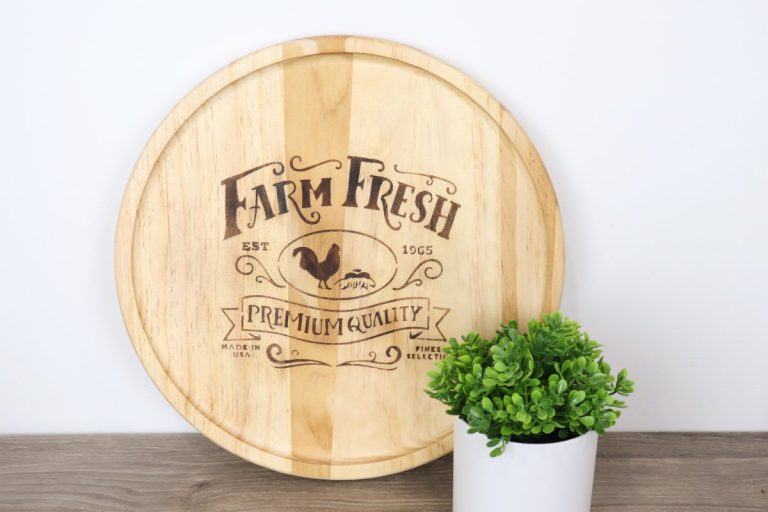
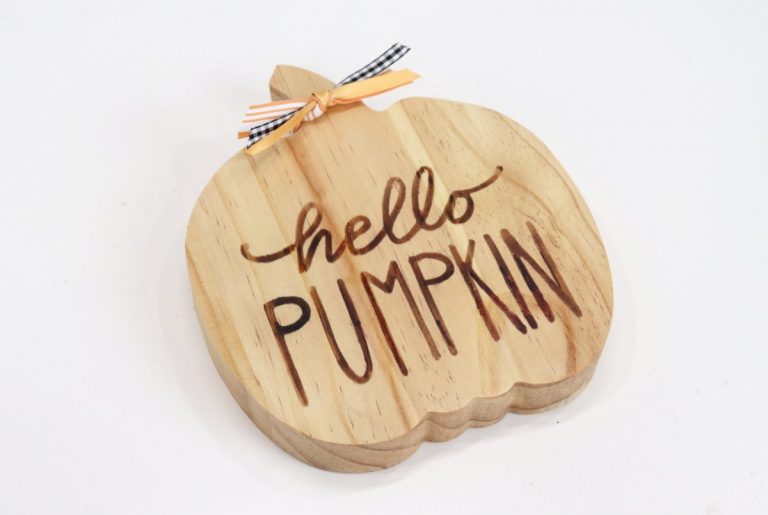
More Scorch Marker Projects
If you try this project, I’d love to see how yours turns out. Make sure you’re part of the Amy Latta & Friends Facebook group so you can share your project photos and we can all inspire each other. See you there!