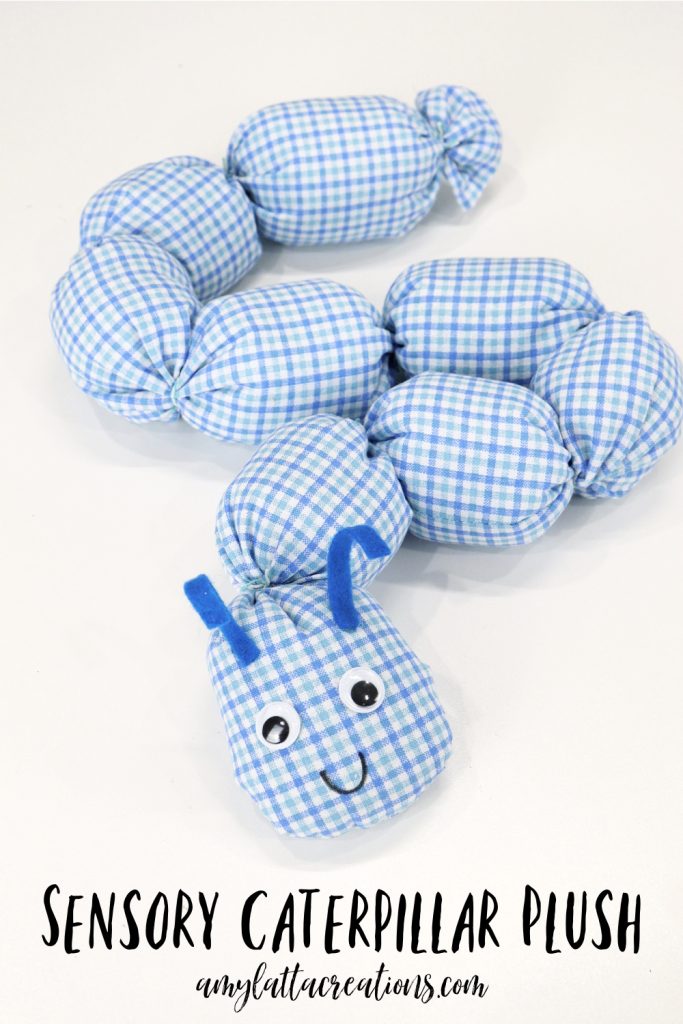
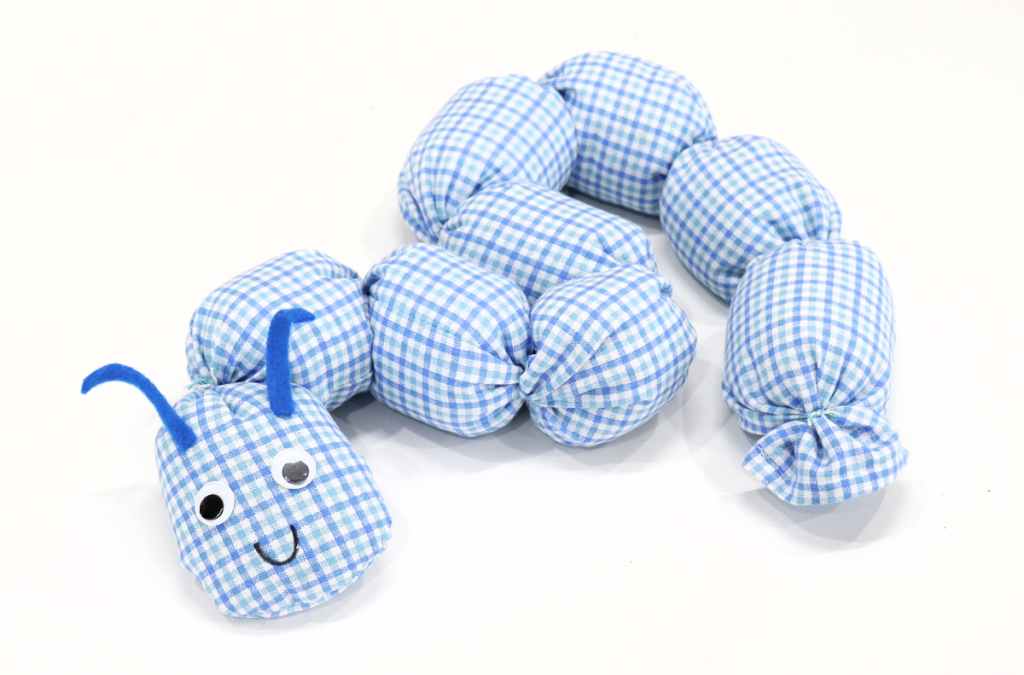
Sensory Caterpillar Plush
To celebrate Autism Acceptance month, I want to share a very special project with you. While it can be used for any and all kiddos, this Sensory Caterpillar is specially designed to encourage sensory play as well as to help calm and relieve stress for those with autism, sensory processing disorder, and other ASDs. It’s a very simple project to create; the key is that the sections of the caterpillar’s body are stuffed with a variety of fillers that provide different textures and weights. Here’s how you can create your own.
How To Make A Sensory Caterpillar Plush
Supplies:
8” x 45” fabric rectangle (OR a long sock)
sewing machine and thread
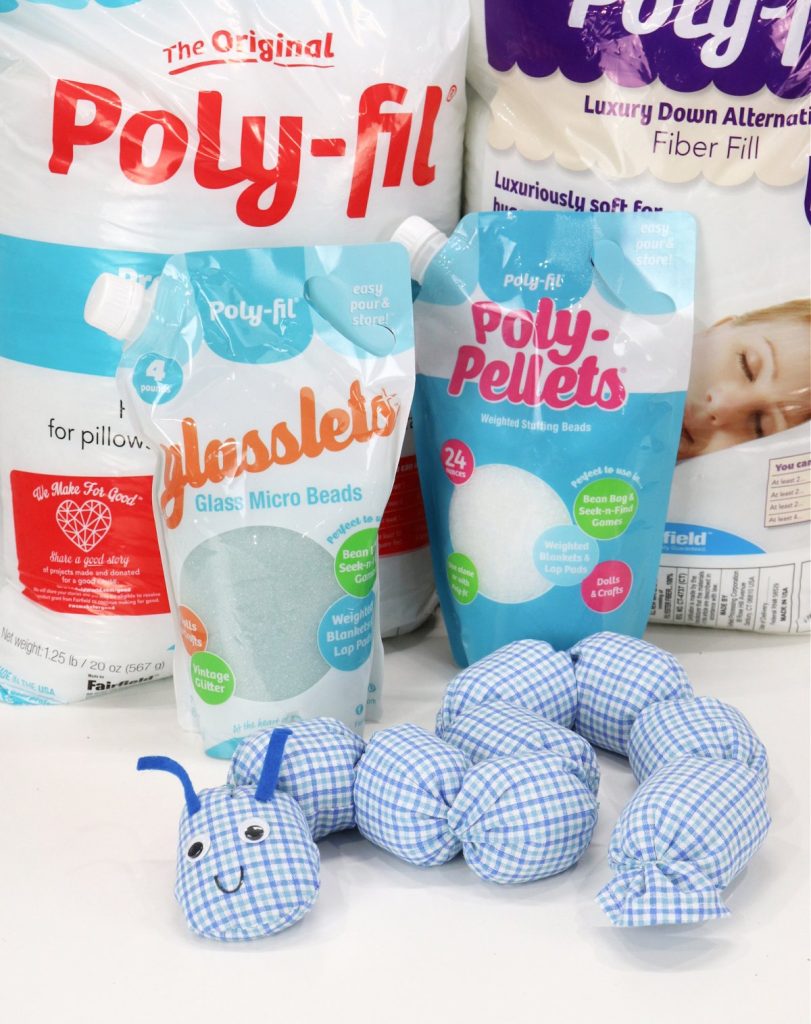
assorted fillers: Poly-Fil, Silky Poly-Fil, Poly-Pellets, Glasslets, Bean Bag Filler
string
scissors
google eyes
felt
glue
fabric marker (optional)
Instructions
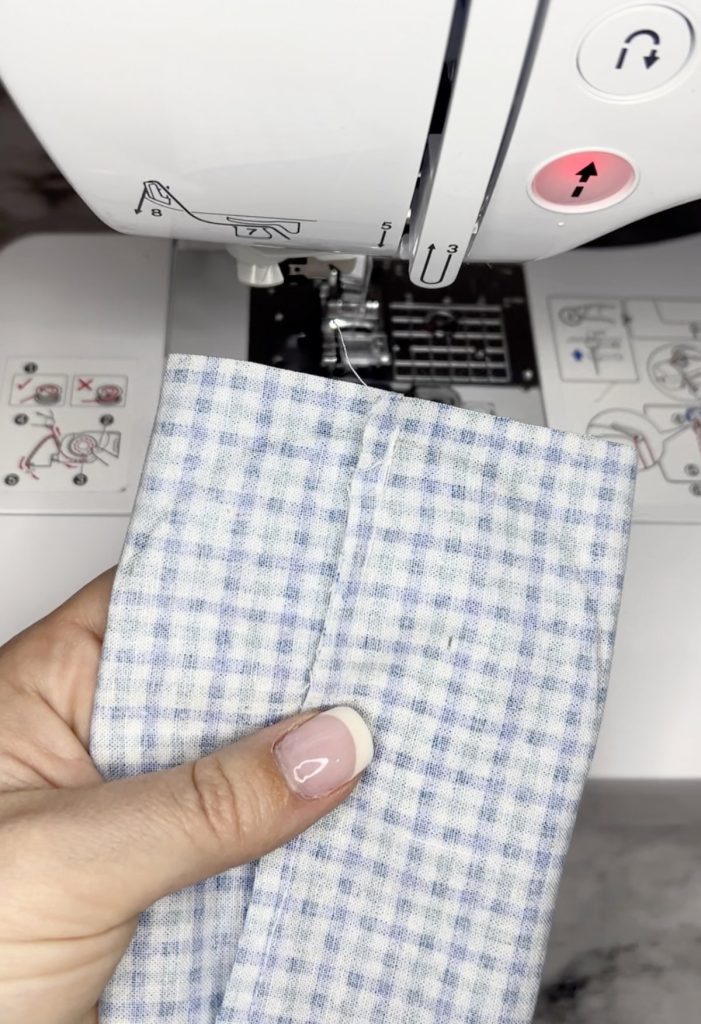
Step 1: Create your fabric tube.
Fold an 8” x 45” fabric rectangle in half longways, with the right sides together. Sew a 1/4” seam down the long side. On one of the short ends, use a pencil to sketch a curve (you can trace something or freehand it), then sew along that curved line.
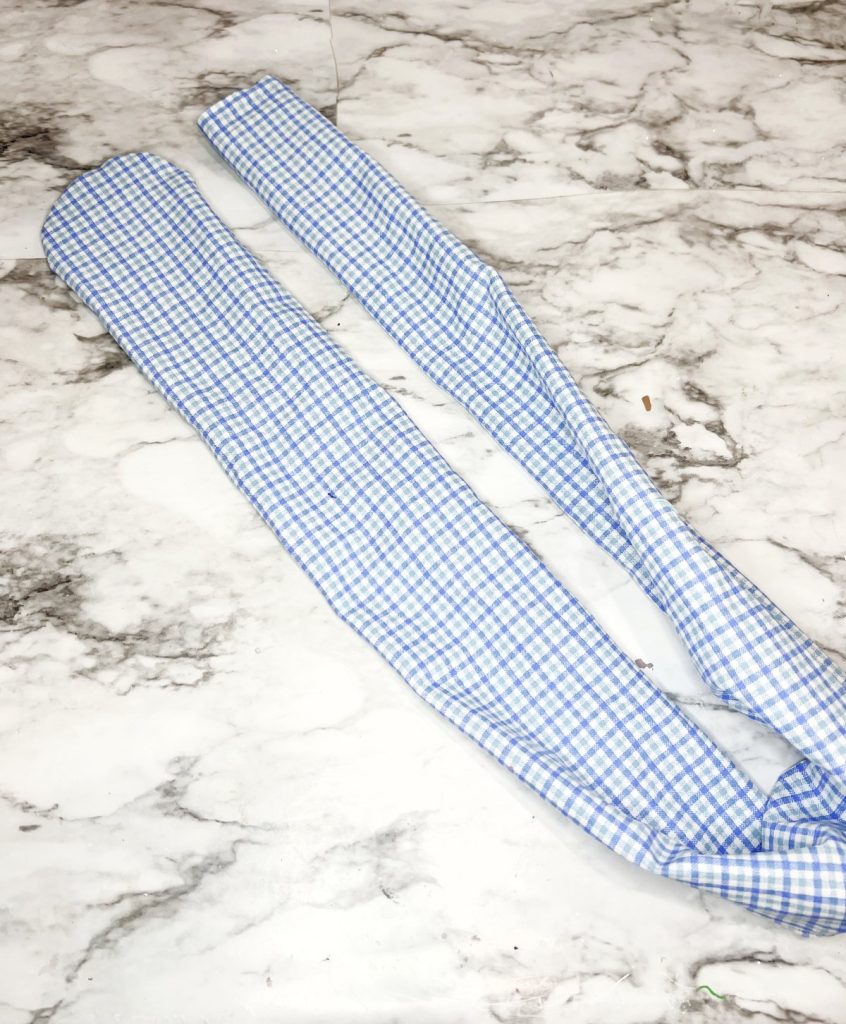
Trim the excess fabric in the corners, then turn right side out. Now you have a long tube that’s rounded on one end and open on the other.
Step 2: Create body sections by adding different fillers.
I recommend starting with Glasslets so the head is weighted. Pour in enough to fill the first 3” section. Tie a piece of string where the filler stops and knot it tightly.
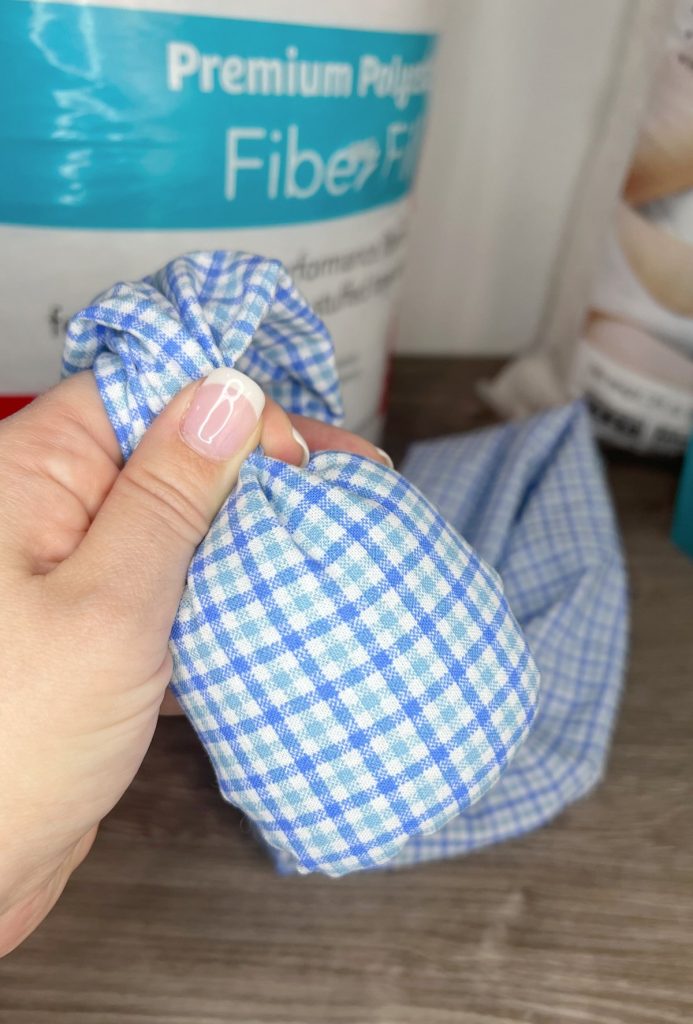
Continue forming body sections in the same way, alternating fillers (original Poly-Fil, Poly-Pellets, Bean Bag Filler, Silky Poly-Fil, Glasslets, and any others you’d like to add). Tie off each section with a tightly knotted string. You’ll end up with nine sections that are about 3” long, including the head.
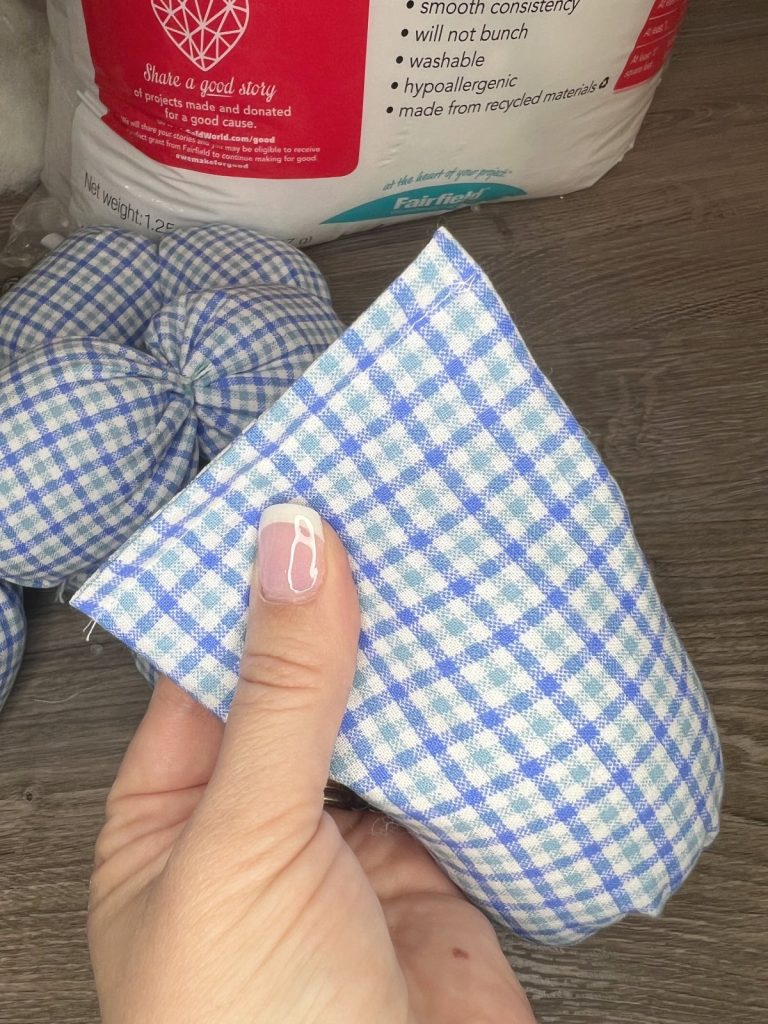
Step 3: Finish the open end.
When you get to the final section, add Poly-Fil, but don’t fill it all the way to the end. Tuck the unfinished edge of the fabric down into the tube.

Then, sew a 1/4” seam across the end, either with your machine or by hand. Finally, tie your string where the Poly-Fil stops, which will create that final section, leaving just a bit of gathered fabric at the very end of the caterpillar.
Step 4: Add a face and antennae.
I glued on google eyes, but you could sew buttons on instead for added safety. Cut two strips of felt for antennae and glue them above the eyes. Finally, use a fabric marker to draw a cheerful smile.
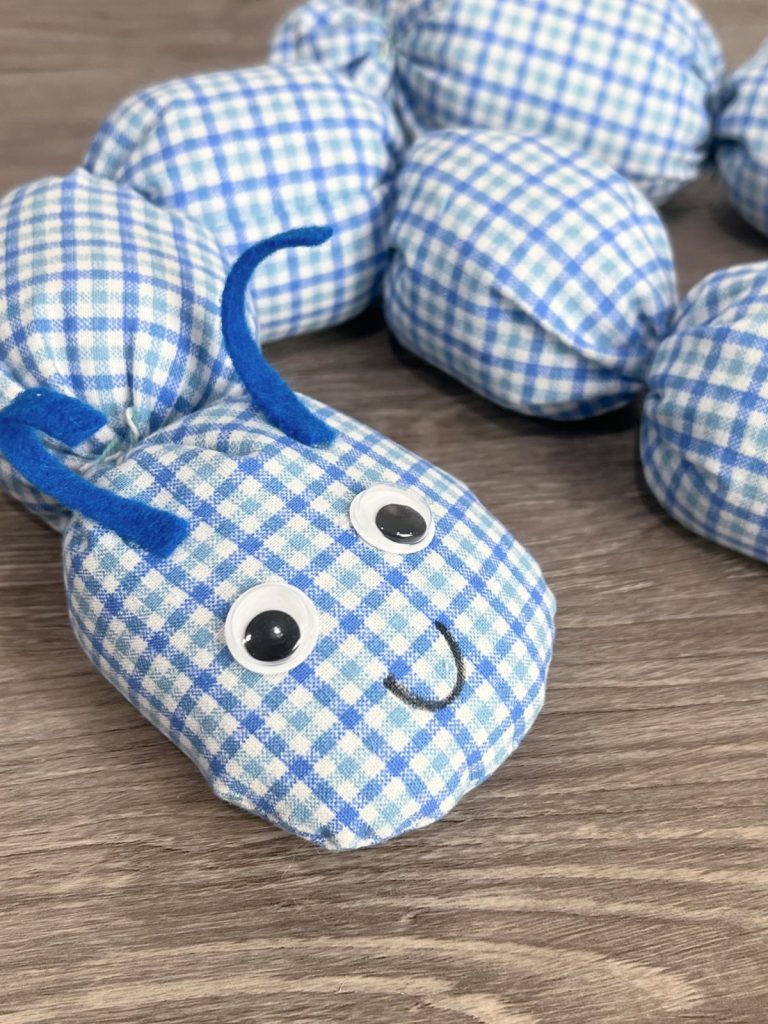


Now your caterpillar is ready to gift to a child for sensory play. Even kids without autism can enjoy this fun plush (Mine already named him Clyde!) I hope you enjoy this special project, and if you try it, I’d love to see how yours turns out. Happy creating!