Hand Lettered Basswood Nursery Sign
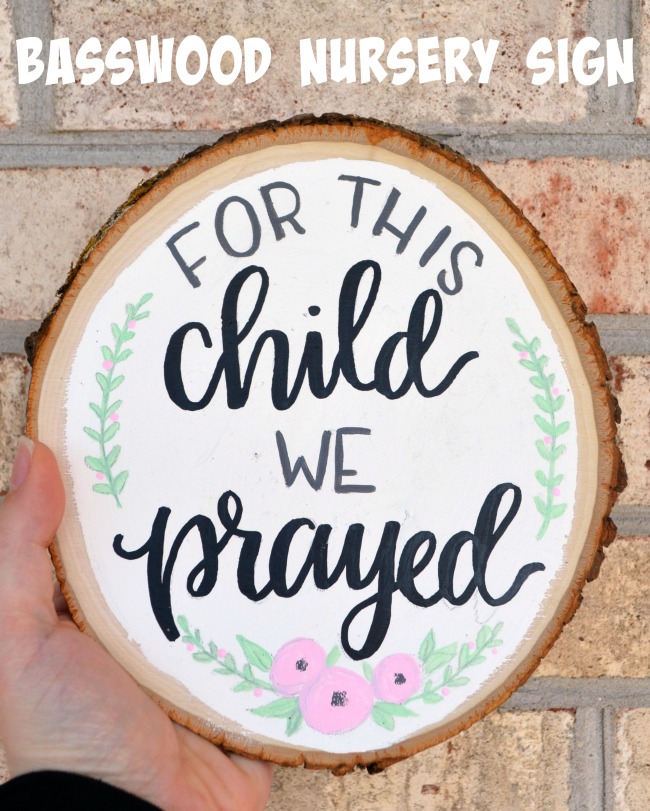
Recently, our friends Ryan and Kelly added a beautiful baby girl to their family. They desperately wanted to be parents for awhile before they were finally able to conceive, and their story resonated with me because we walked the same path eight years ago. When I first heard that Kelly was pregnant, I was ecstatic knowing that their many prayers had been answered in the form of this little miracle. I wanted to make a gift for them that could hang in the nursery as a reminder of their answered prayers as they rock little Norah in the middle of the night and play with her during the day. Here’s how I created this rustic basswood nursery sign for them, and you can do the same for someone in your life!
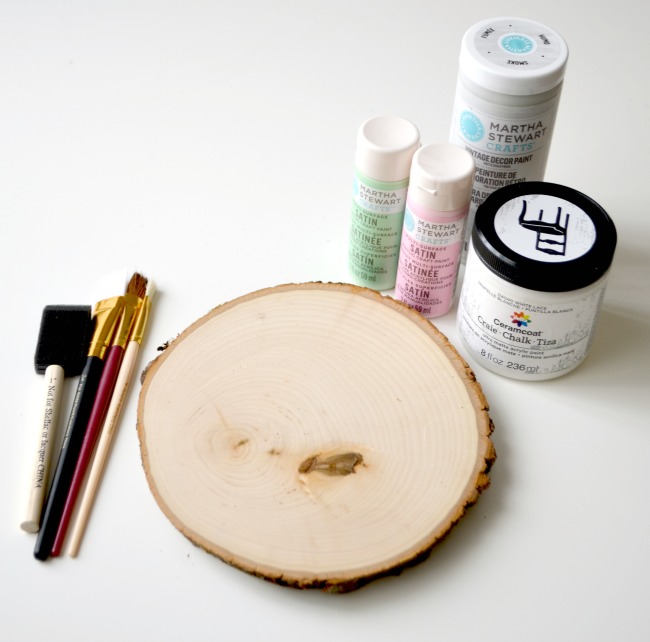
You’ll need:
Rustic Basswood Round, Small {of course, you can use a larger size too!}
White chalky finish paint {mine is Ceramcoat}
Multi-Surface Paint, assorted colors
Paintbrushes, assorted sizes
Pencil with eraser
Black paint marker

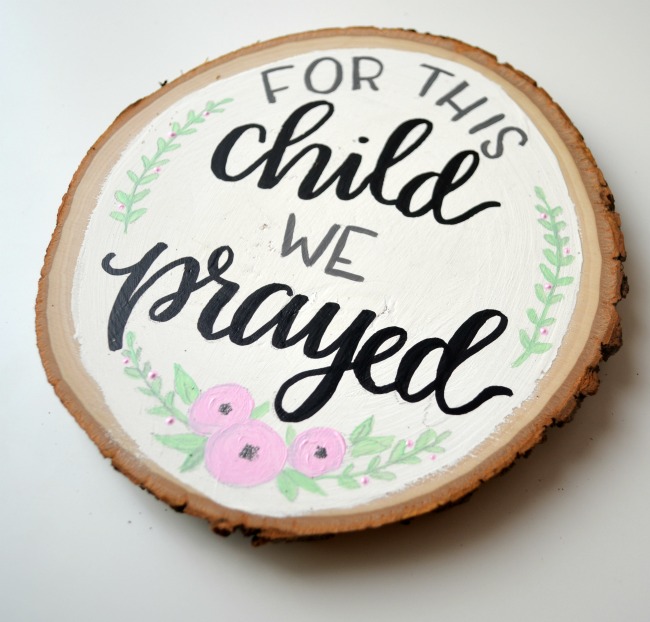
Step 1: Paint a coat of chalky finish white paint onto the top of your round.
I got great coverage with just one coat! I decided not to go all the way to the edges with my paint because I wanted to leave a little bit of the natural wood showing. Ryan and Kelly are the outdoorsy type, so I thought they’d appreciate the sign being on a rustic piece like this.
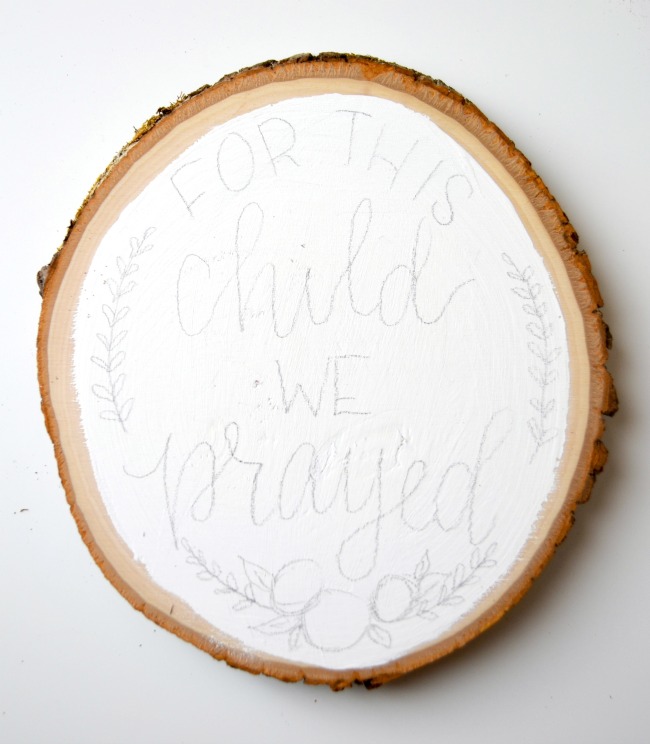
Step 2: Pencil in your design.
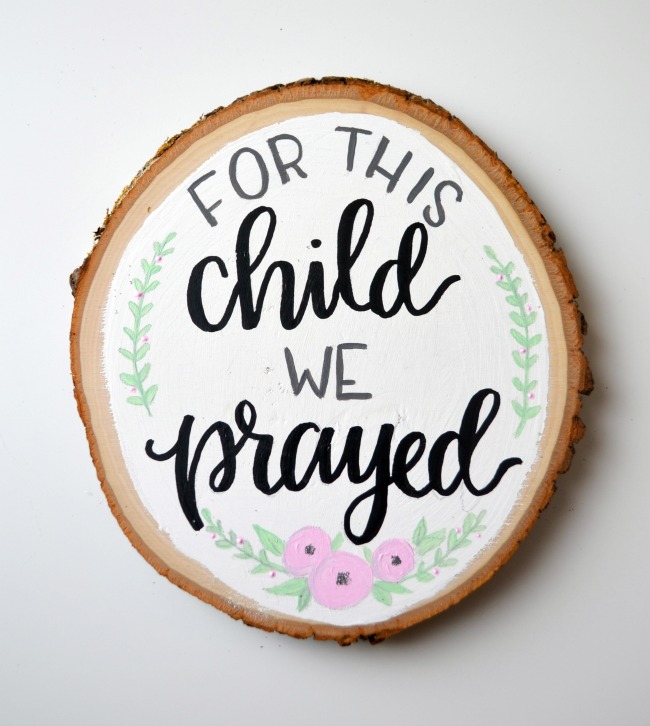
I lightly sketched out the words of my phrase, “for this child we prayed.” I wanted to emphasize the words “child” and “prayed,” so I made those larger and in a script lettering, while the other words are smaller print capitals. I curved “for this” around the natural shape of the wood at the top then balanced it out by sketching a few flowers and a curving vine around the bottom. Finally, I added two little vines along the sides. Kelly told me the nursery color scheme is seafoam green, grey, and white, so I kept that in mind as I created the design. The pencil erased so easily from the chalky finish paint, which was good since I had to rewrite the word “child” three times before getting it right!
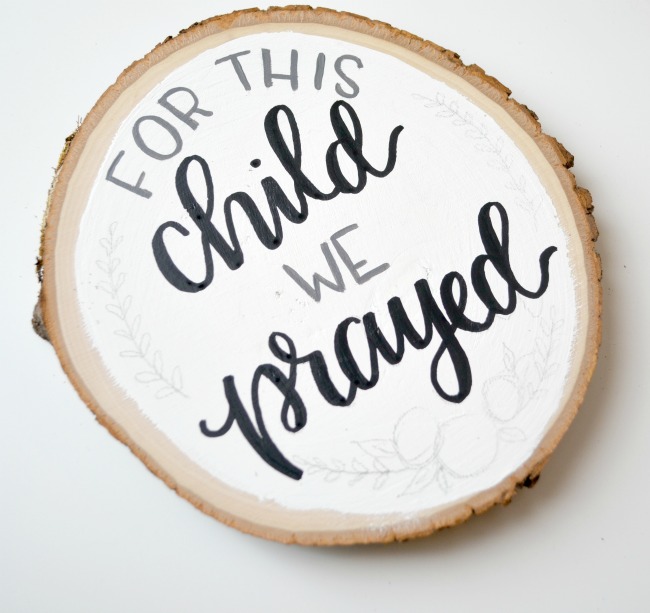
Step 3: Paint your words.
I used a very thin brush in grey paint to go over the capital letters. For the script, I used a black paint pen. I traced my letters, then went back and thickened the down strokes. You can find a full step by step photo tutorial on how to do this type of script in my Basic Hand Lettering Post…I promise, it’s easier than you think!
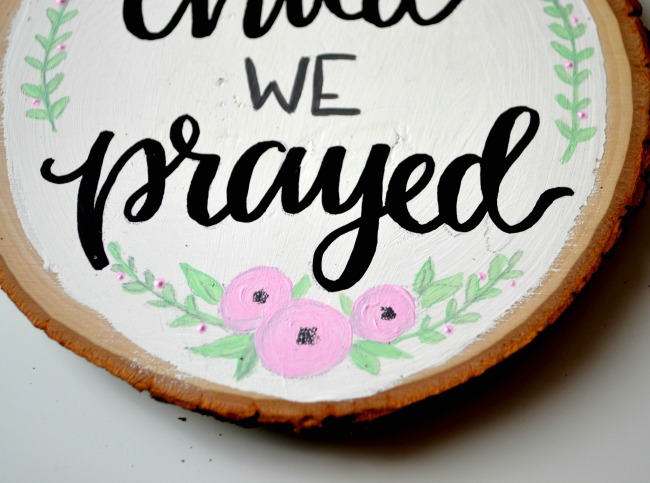
Step 4: Paint your embellishments.
Using the same thin brush, I painted in my vines and flowers. Then, I used the other end of the brush dipped in paint to create dots in the center of the flowers and small pink dots along the vines to look like buds.
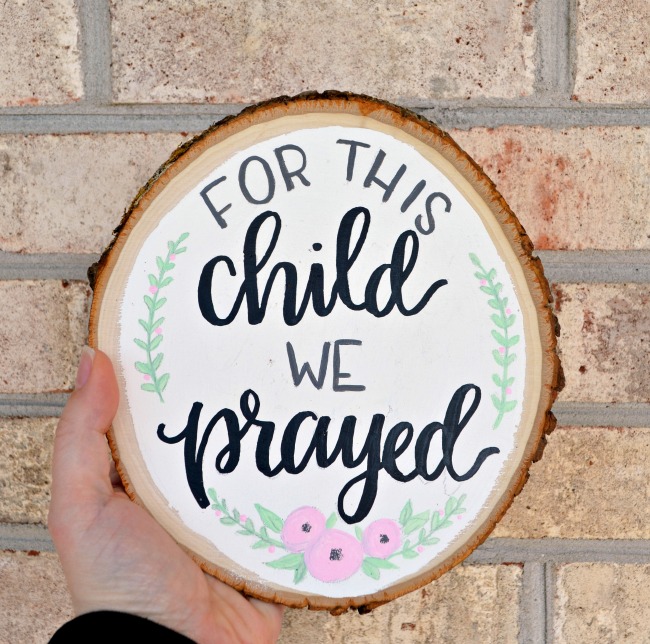
That’s all there is to it! You can literally personalize this project with any saying you like. It would be sweet to use a baby’s name and birth information too. To display this nursery sign, all you need to do is place it in a stand or drill a hole in the back and hang it from a nail in the wall.
What do you think, friends? Is there someone you know who would love to receive a gift like this? While you’re here, I’d love for you to check out my other hand lettering tutorials and projects for more inspiration. Happy crafting!


WOW…. this is absolutely GORGEOUS! Perfect for the nursery.
I have been working on wood slices in the last couple of days, but I do wood-burning 🙂
Love your idea, thank you for the inspiration!
This is adorable! After years of struggling with miscarriages when our daughter was born someone gave me a piece of art with this written on it. It’s still my favorite thing in my daughters room! Just perfect!
Love the sign! Would love to see one that says “She said she could, and she did!” after losing 70 lbs. last year!
Wow, what an accomplishment!! Way to go!