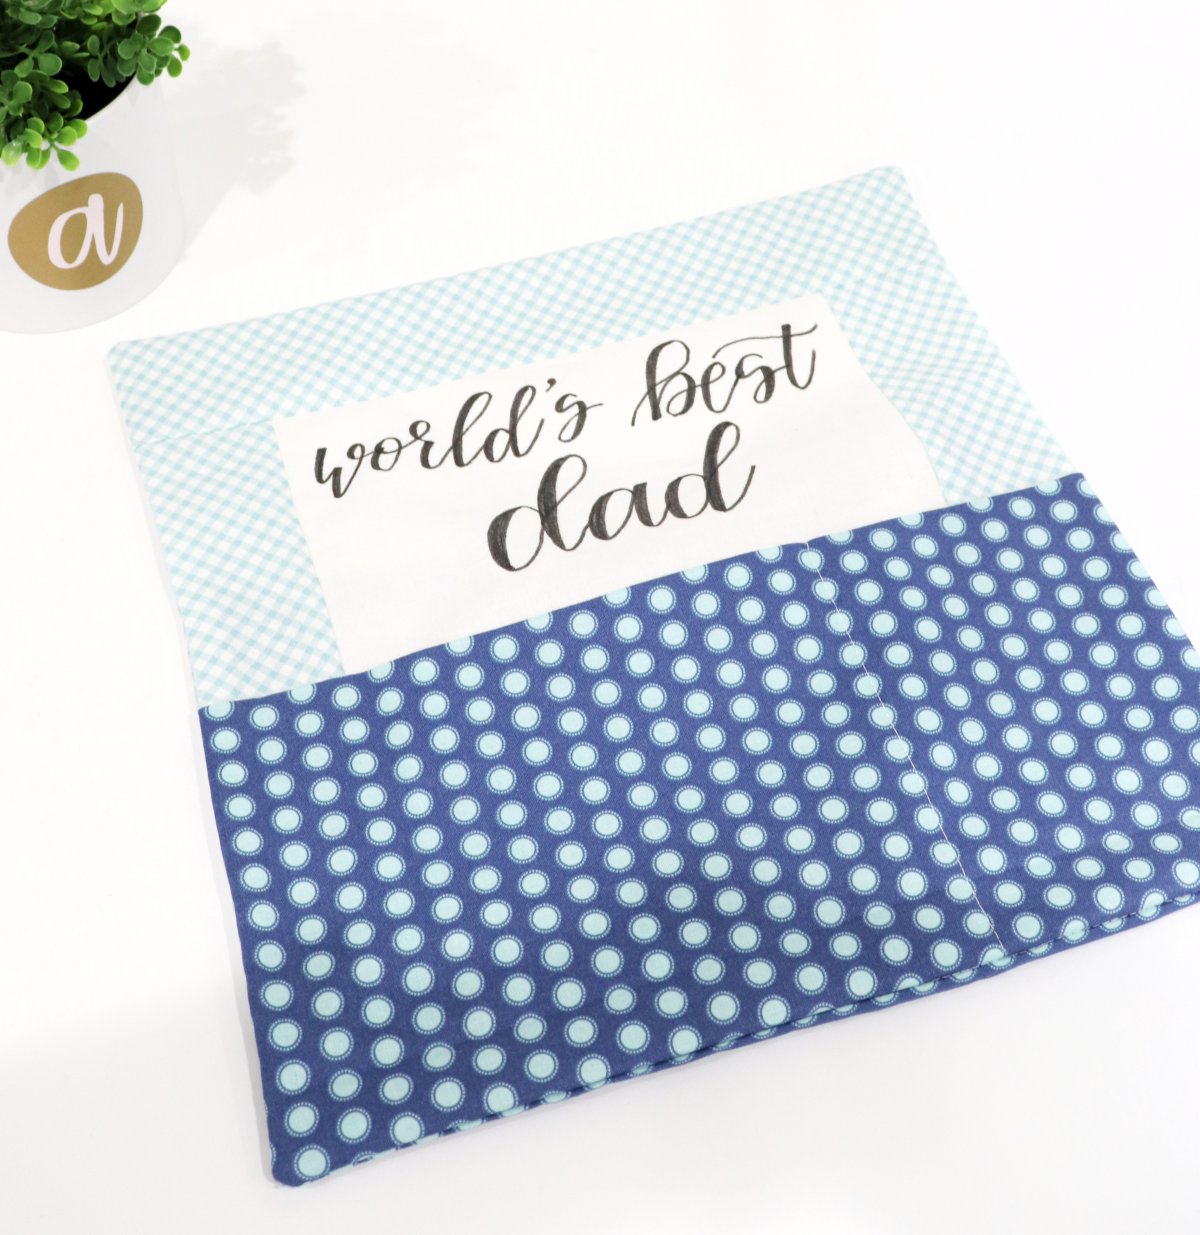
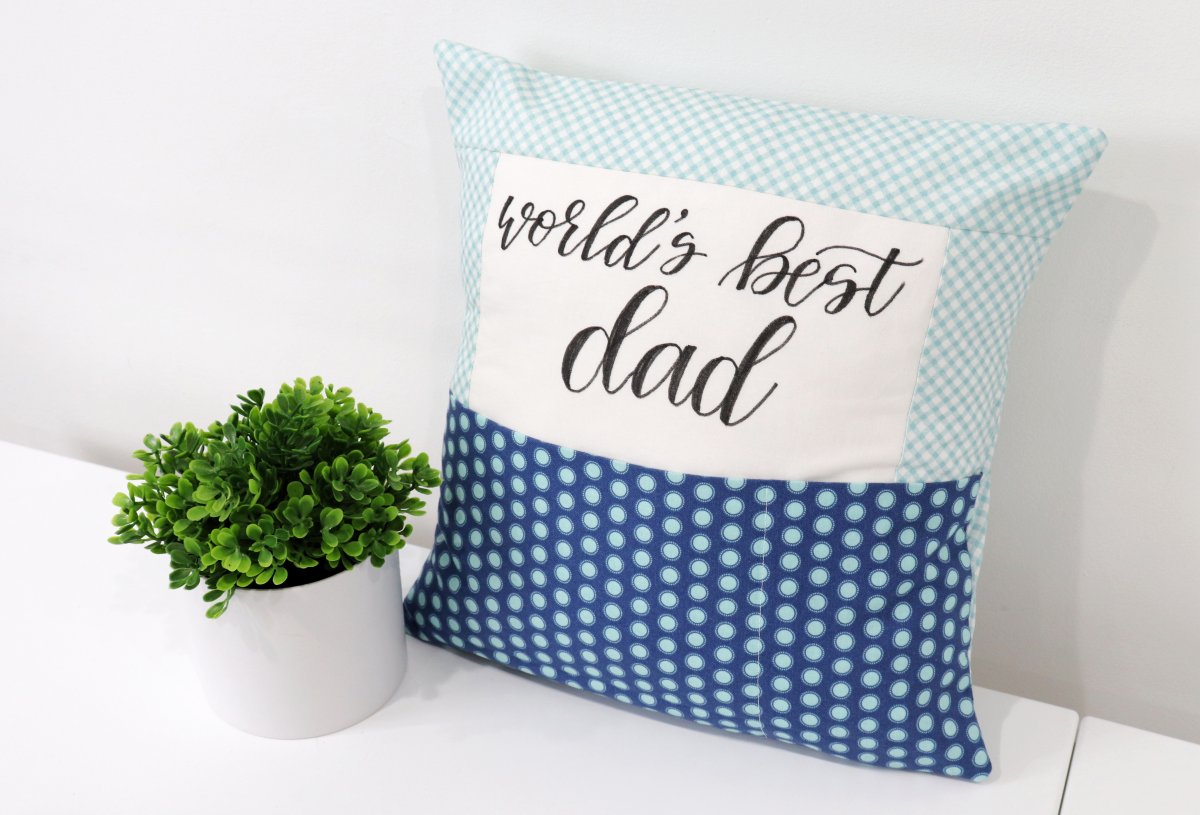
World’s Best Dad Pocket Pillow
Here’s a fun gift idea for the men in your life – a pillow they can sit in their favorite spot, with pockets for the remote control, snacks, and anything else they need!
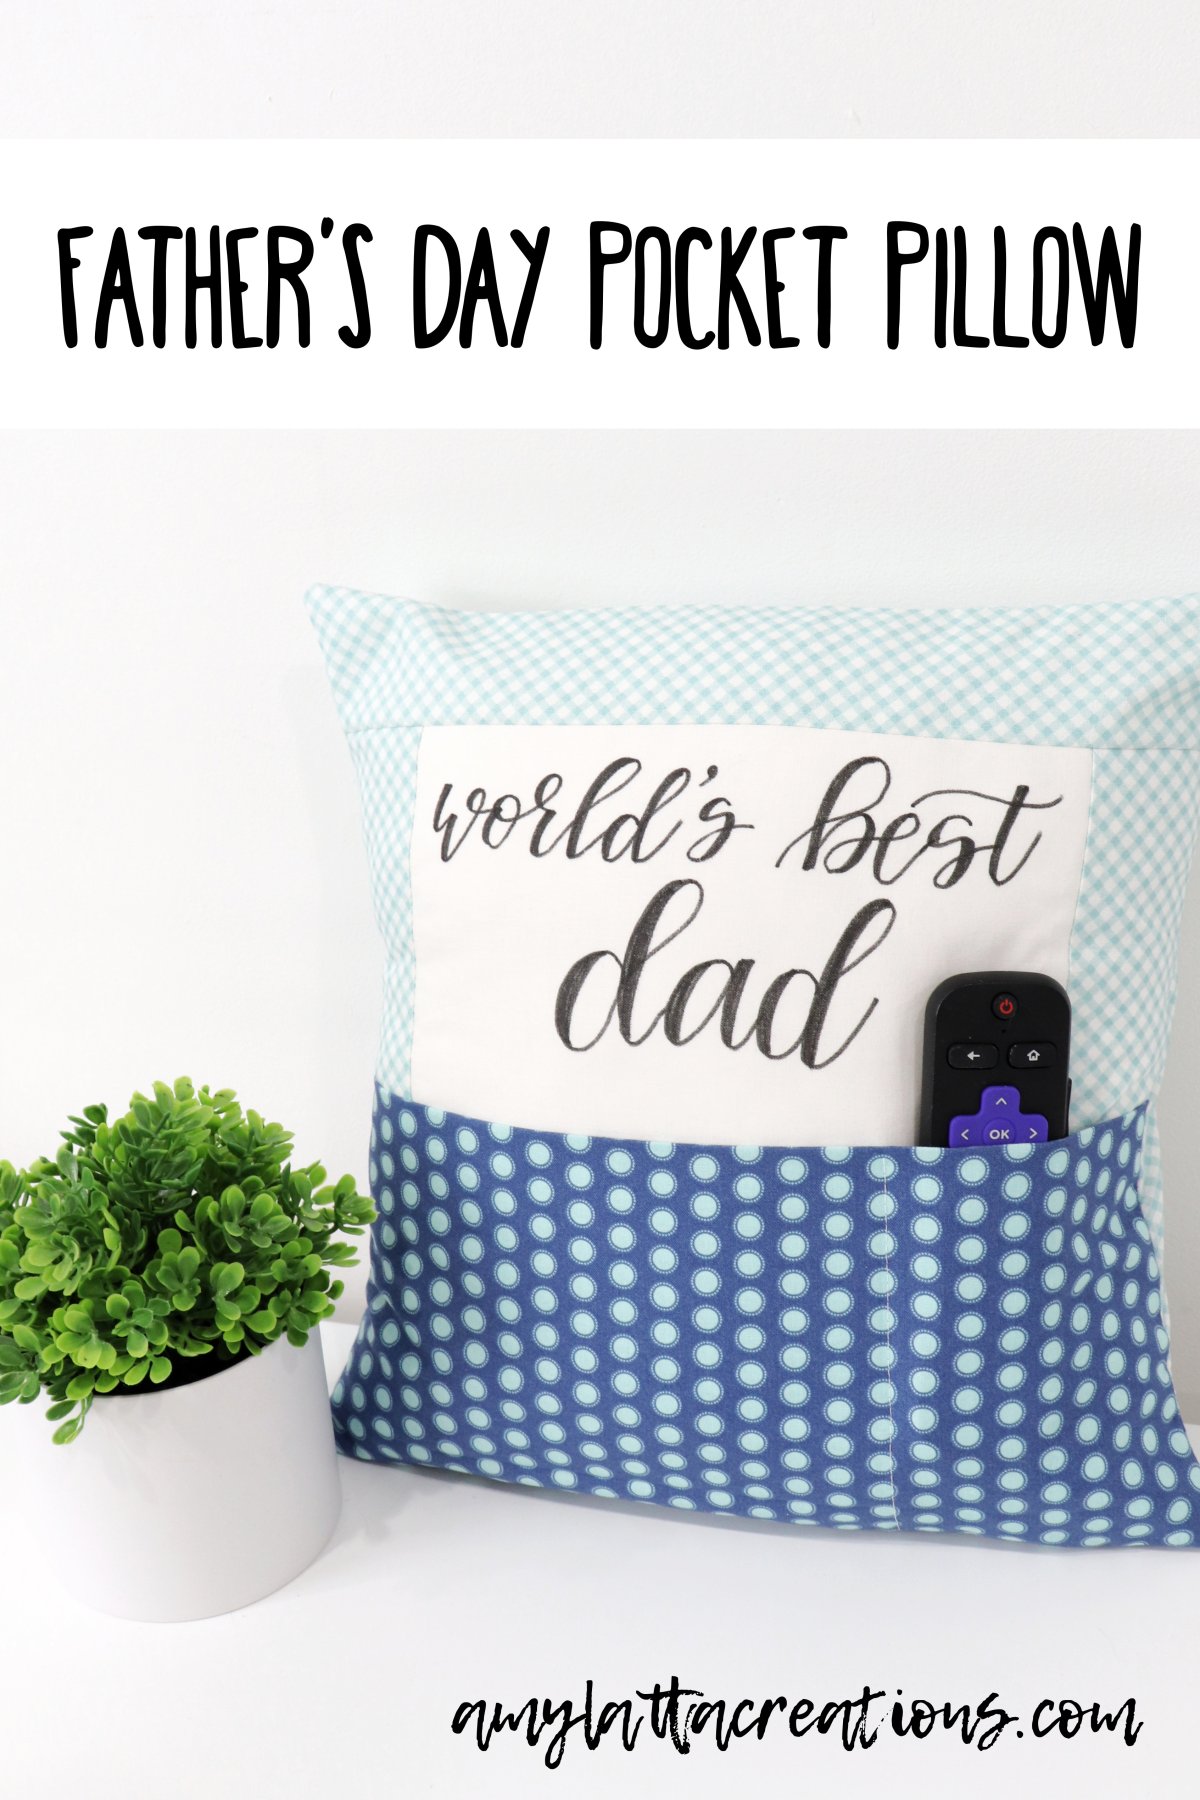
Finished pillow cover size: 12” x 12” to fit 14” pillow form
All seams are 1/4” unless otherwise noted.
How To Make A World’s Best Dad Pocket Pillow
Supplies:
Fabric:
White/Solid – 8.5” square
Two coordinating prints – 1/4 yard each (I used fat quarters from the Daisy Fields collection)
Other:
Fabric Marker (I use the Missouri Star Quilt Company Black Marker)
Rotary cutter, mat, and cutting ruler OR scissors
Sewing machine and coordinating thread
Poly-Fil Premier 14” Pillow Form
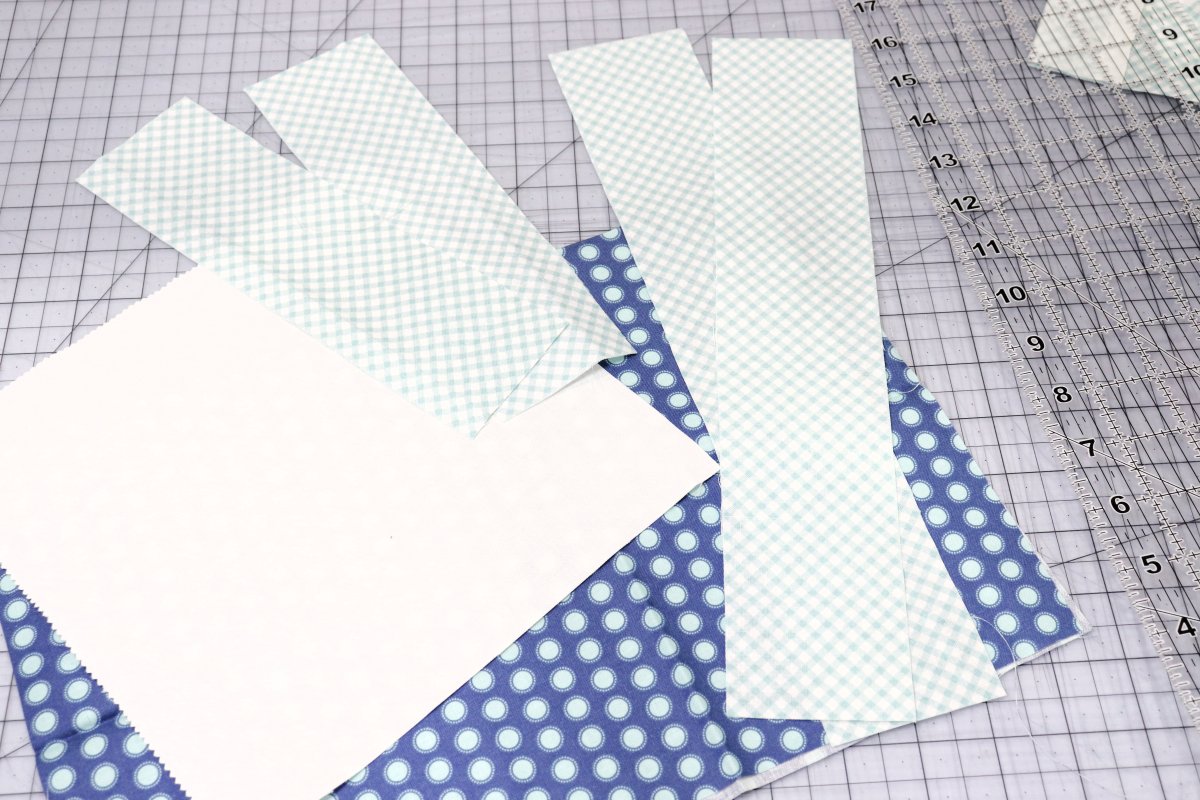
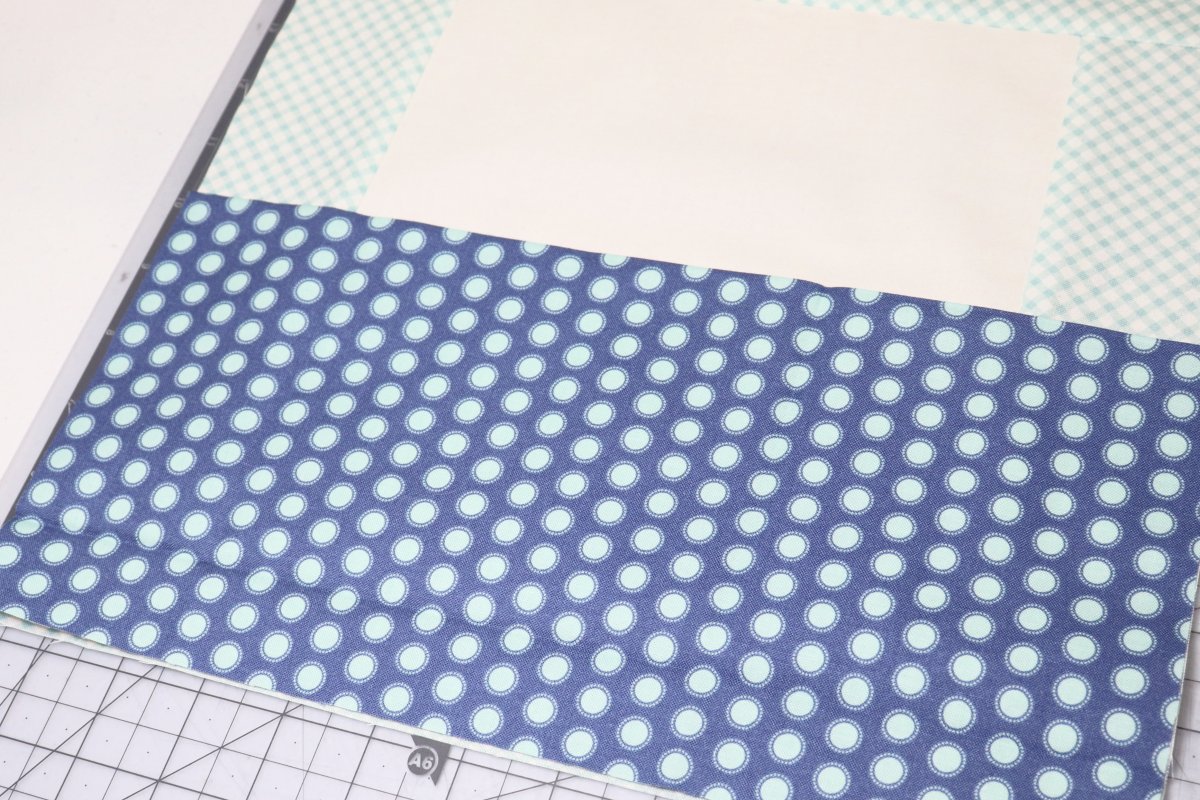
Step 1: Cut your fabric.
White or other solid colored square – 8.5”
Coordinating print #1 – Two 2.5” x 8.5” strips and two 2.5” x 12.5” strips, plus 12.5” x 10” rectangle
Coordinating print #2 – 12.5” x 12” rectangle, 12.5” x 6” rectangle
Step 2: Sew sashing to white square.
Starting with the 2.5” x 8.5” strips, lay one face down along the top of the white square, and the other along the bottom edge. Sew in place with a 1/4” seam. Open up the fabric and press to lay flat.
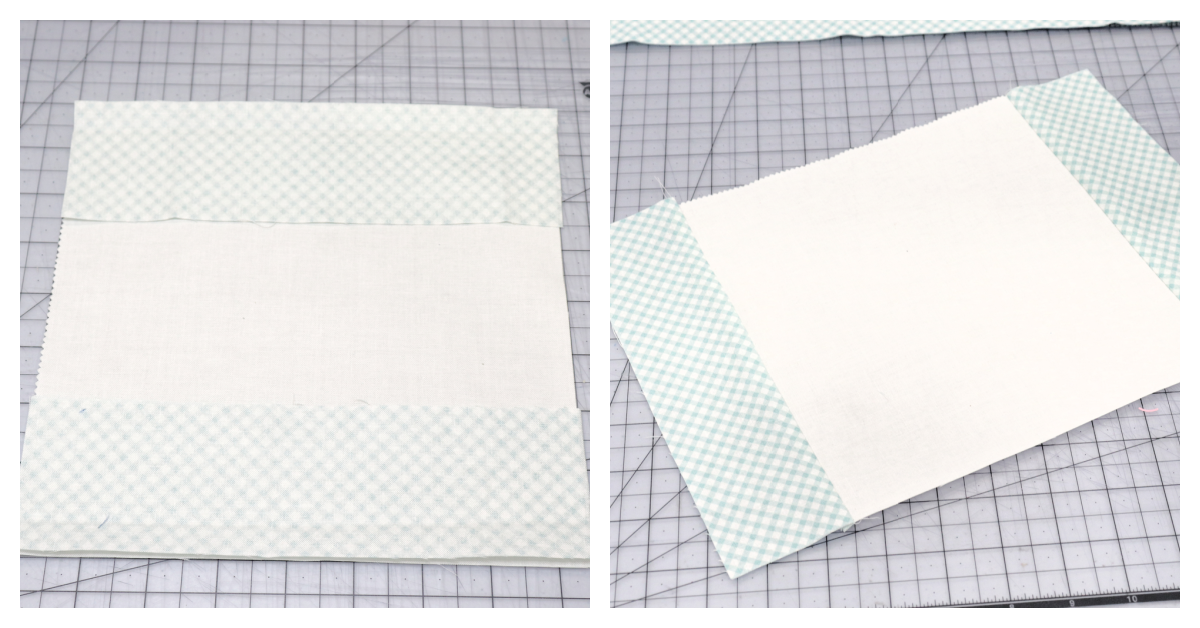
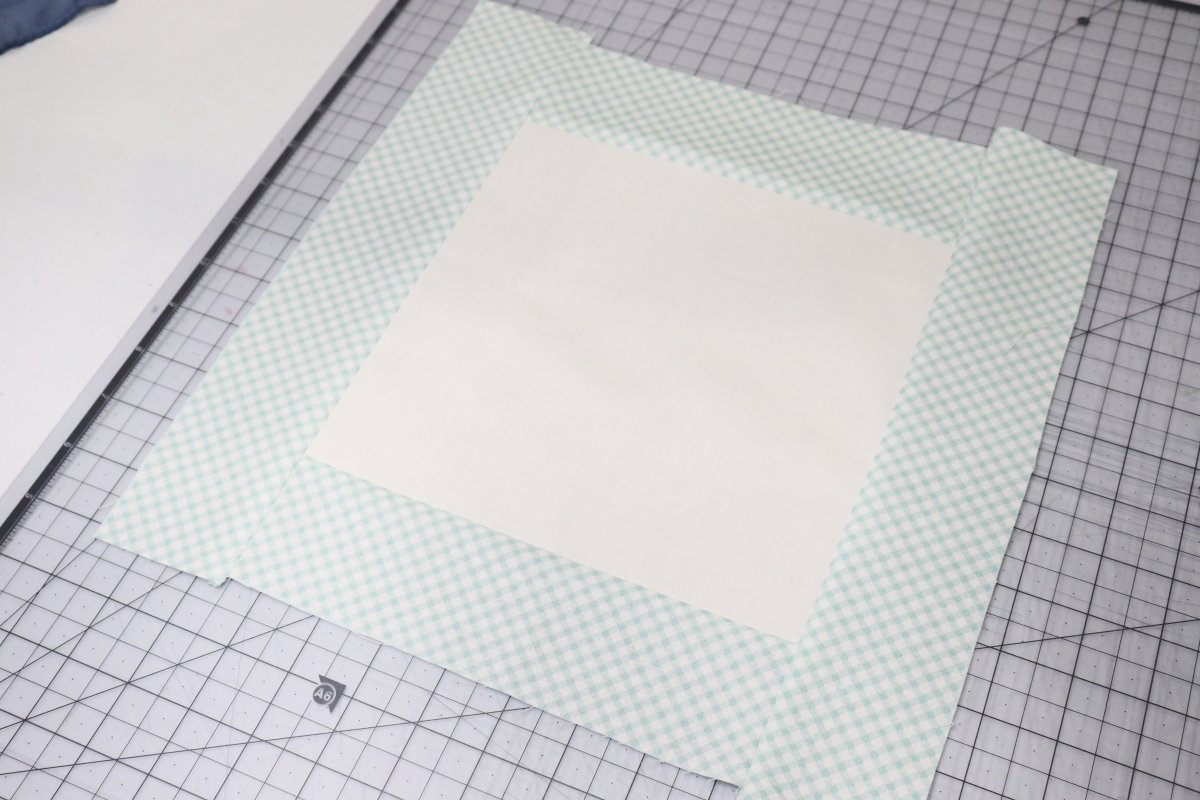
Lay the longer strips on top, face down, one on the left edge and the other on the right edge. Sew in place.
Open up the fabric, press, and if necessary, trim the square to 12.5.”
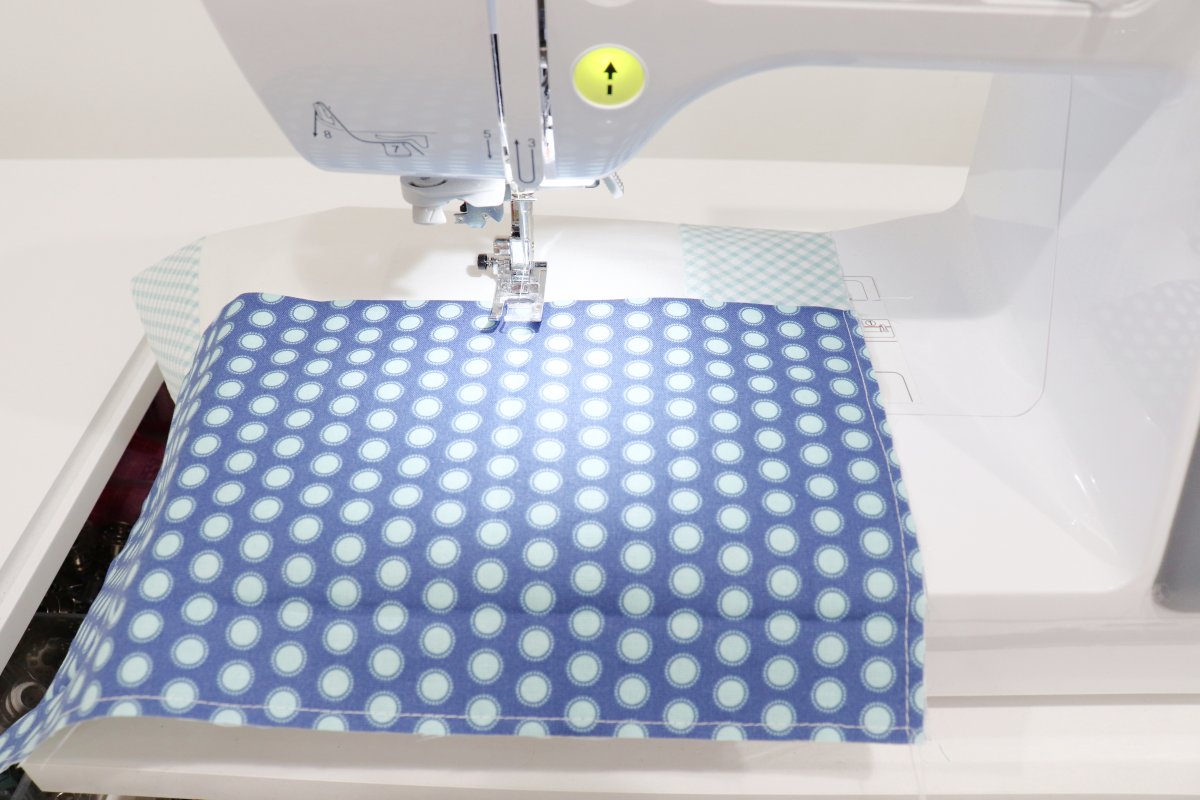
Step 3: Create the pocket.
Fold the 12.5” x 12” rectangle in half so it is 12.5” x 6.” With the fold at the top, lay the rectangle on top of your square, lining up the bottom and side edges. Baste in place around the three edges with a 1/8” seam.
Step 4: Divide the pocket (optional).
If you like, you can leave your fabric as one large pocket. However, if you prefer, you can section it off so that there’s a smaller pocket for a remote control and a larger one for snacks…or in any other way you want. To create sections, just sew a straight vertical line from the top of the pocket to the bottom wherever you want the dividers to go.
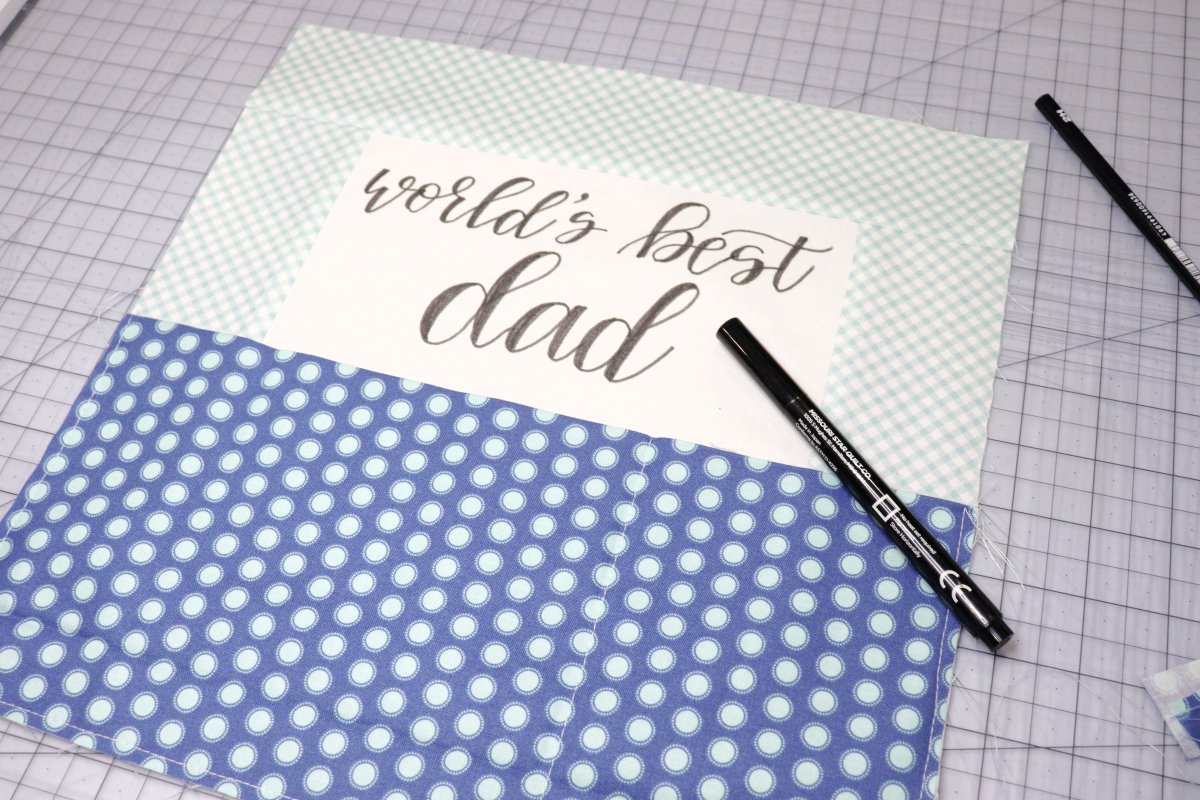
Step 5: Letter your message.
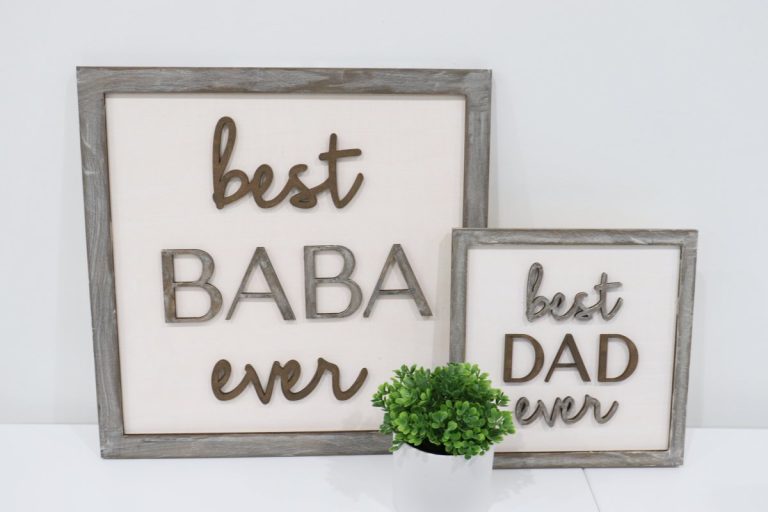
Personalize your pillow by writing a message to the recipient, like “world’s best dad.” You can choose any message you like, and write in any style you prefer. I used the (very easy) faux calligraphy technique to write my message. You can learn how to do that here, or in my books! Another option is to use a cutting machine to cut a message from Iron-On Vinyl and iron it onto your fabric instead. This part is especially fun because it allows you to use whatever special name he might choose to be called (ie: Papa, Baba, Poppy, Abba, etc.).
Step 6: Create the backing.
Turn one edge of each backing rectangle down 1/4” and sew a 1/8” seam to create a finished edge. Overlap the backing rectangles, right sides down, with the finished edges facing toward the center, on top of the pillow front. Pin in place.

Sew around all four sides of the pillow cover with a 1/4” seam. Turn right side out using the opening in the back where the two backing fabric pieces overlap.
Step 7: Insert the pillow form.
All that’s left to do is gift this pillow to a dad, grandpa, or other man in your life! He can fill the pockets with remote controls, snacks, or any other goodies, and enjoy. Who do you know that would love to receive a gift like this?
Sewing & Crafting Tips
- While you can certainly cut your fabric with scissors, it’s much easier and more precise to use a rotary cutter, along with a self-healing mat and quilting ruler.
- After sewing a seam, use an iron to press the seam toward the darker fabric so it will lay flat.
- Sketch out your message using pencil or a heat-erase pen, then trace over it with your fabric marker once you’re happy with the placement.
- Using a pillow form rather than loose Poly-Fil makes it easy to pop the pillow cover off to wash and/or change it seasonally.
Frequently Asked Questions
There are lots of great places, including local fabric and craft stores. I also highly recommend Missouri Star Quilt Company.
As many as you like! I divided mine into two sections; one for the remote, and one for snacks, but you can sew as many dividing lines as you want.
You can make your whole pillow from patterned fabric instead, and leave off the message. Or, you can use a Cricut machine to cut a message from iron-on vinyl.
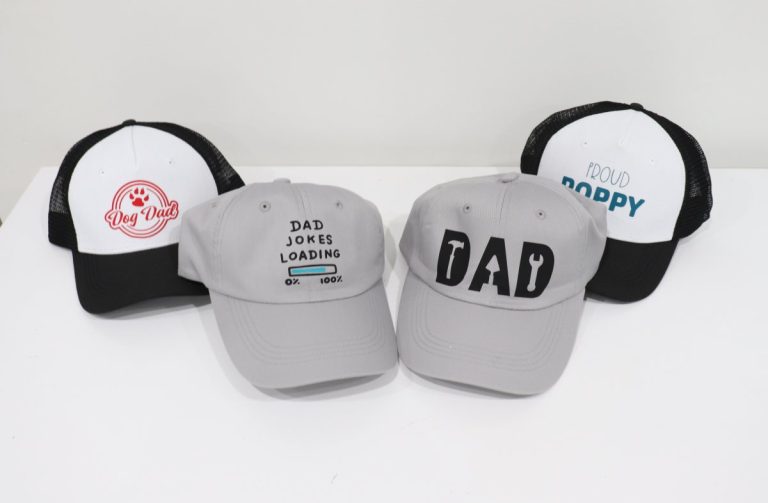
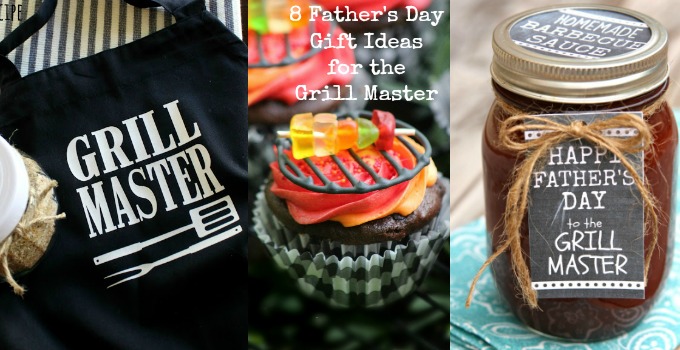
More Father’s Day Projects
If you enjoyed this project, check out my other Father’s Day project ideas!
If you try the project, be sure to share your photos in the Amy Latta & Friends Facebook Group so we can all be inspired. You may even be featured in our weekly e-newsletter! Happy creating, friends.
3 Comments