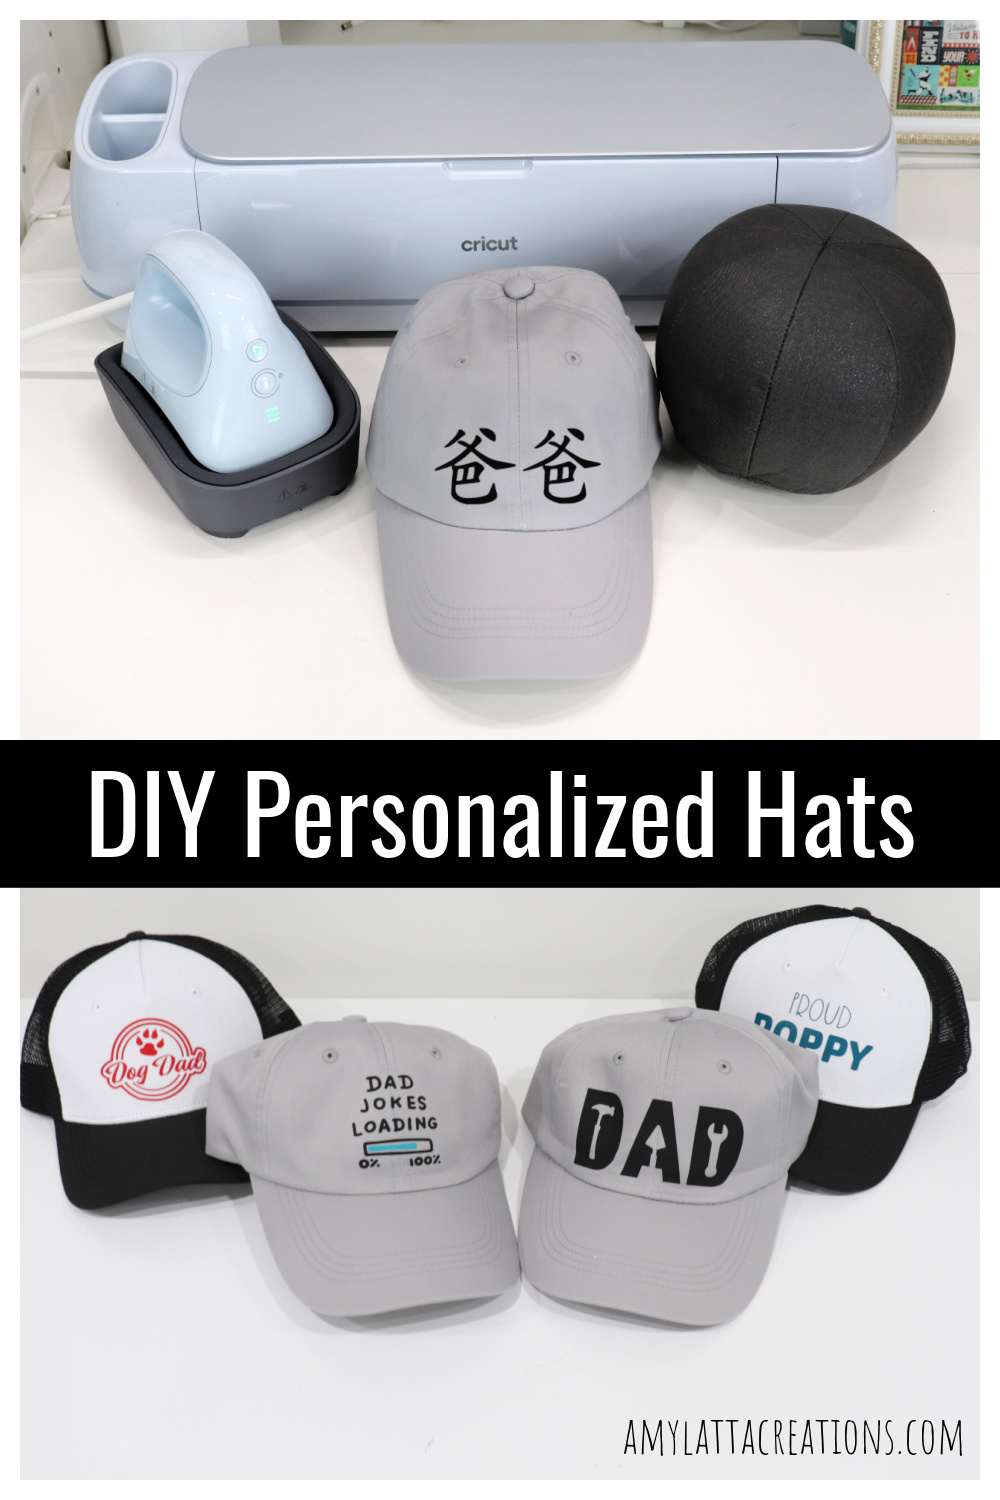
Personalized Hats for Dad
If you’re looking for a personal gift for some of the men in your life this Father’s Day (or any day), here’s something you can create! With the help of the new Cricut Hat Press, you can personalize all kinds of hats with any image, phrase, or design he’s sure to love. Here’s how to do it:
You’ll need:
(note: This post contains affiliate links, which means that if you click on one and make a purchase, I receive a small commission at no additional cost to you.)
Cricut cutting machine – I used the Cricut Maker® 3
Iron-On Vinyl, your choice of colors – I used Smart Iron-On
Scissors
Weeding tools (optional)
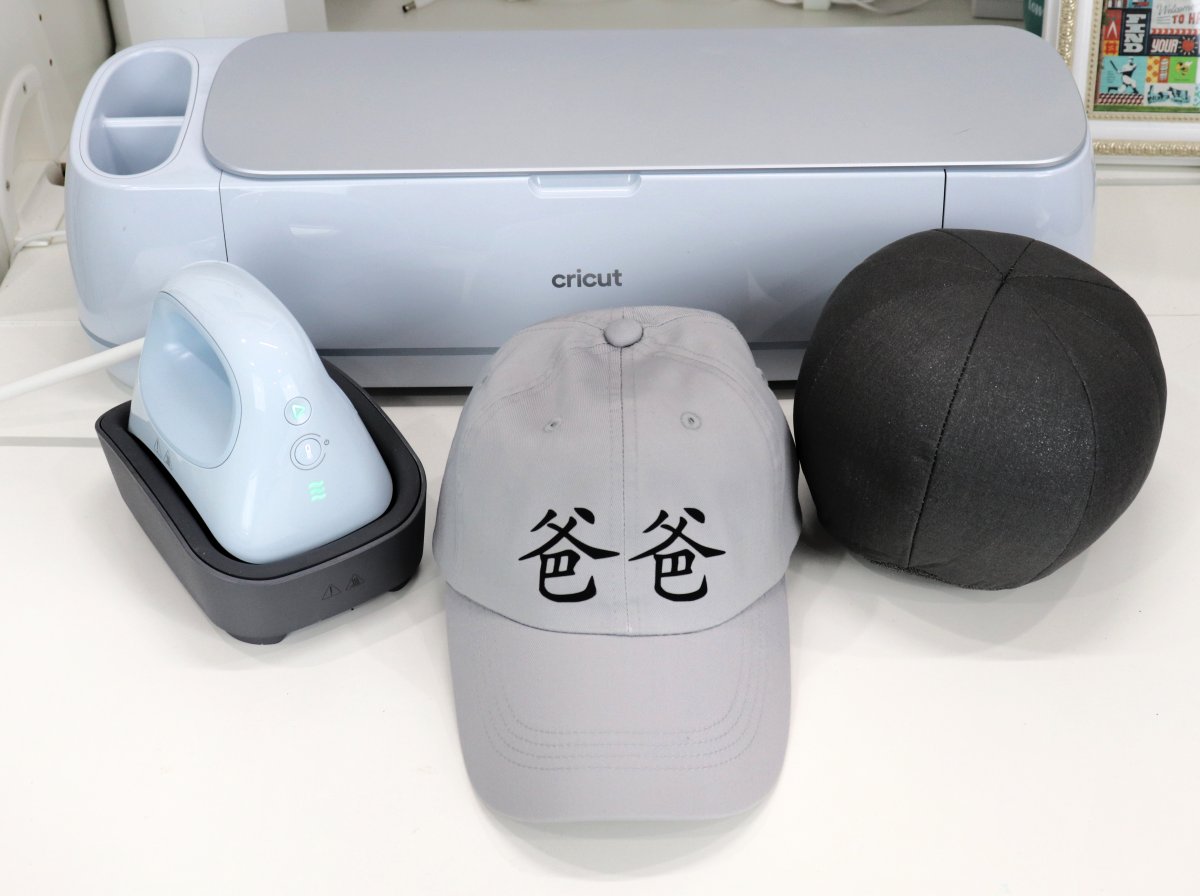
Cricut Ball Cap Hat Blank or Trucker Hat Blank
Cricut Design Space app and Cricut Heat app
Step 1: Choose/create your design.
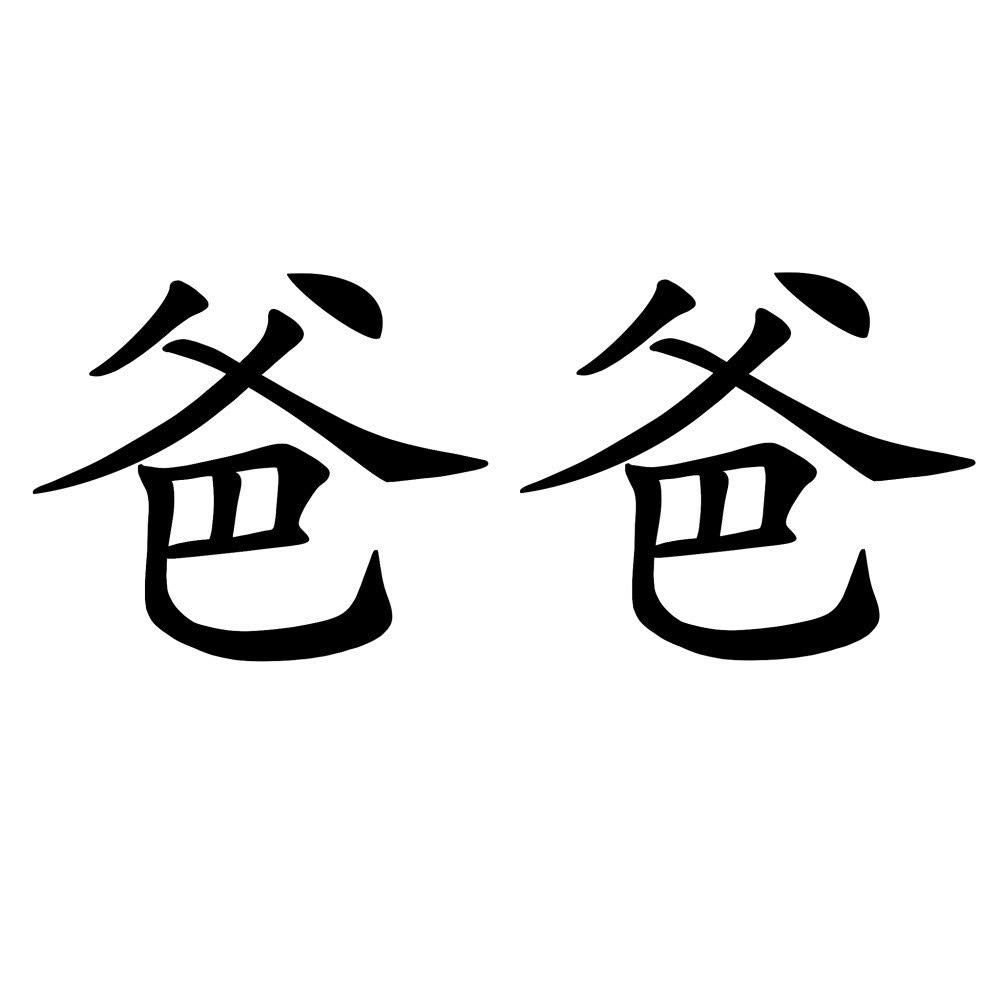
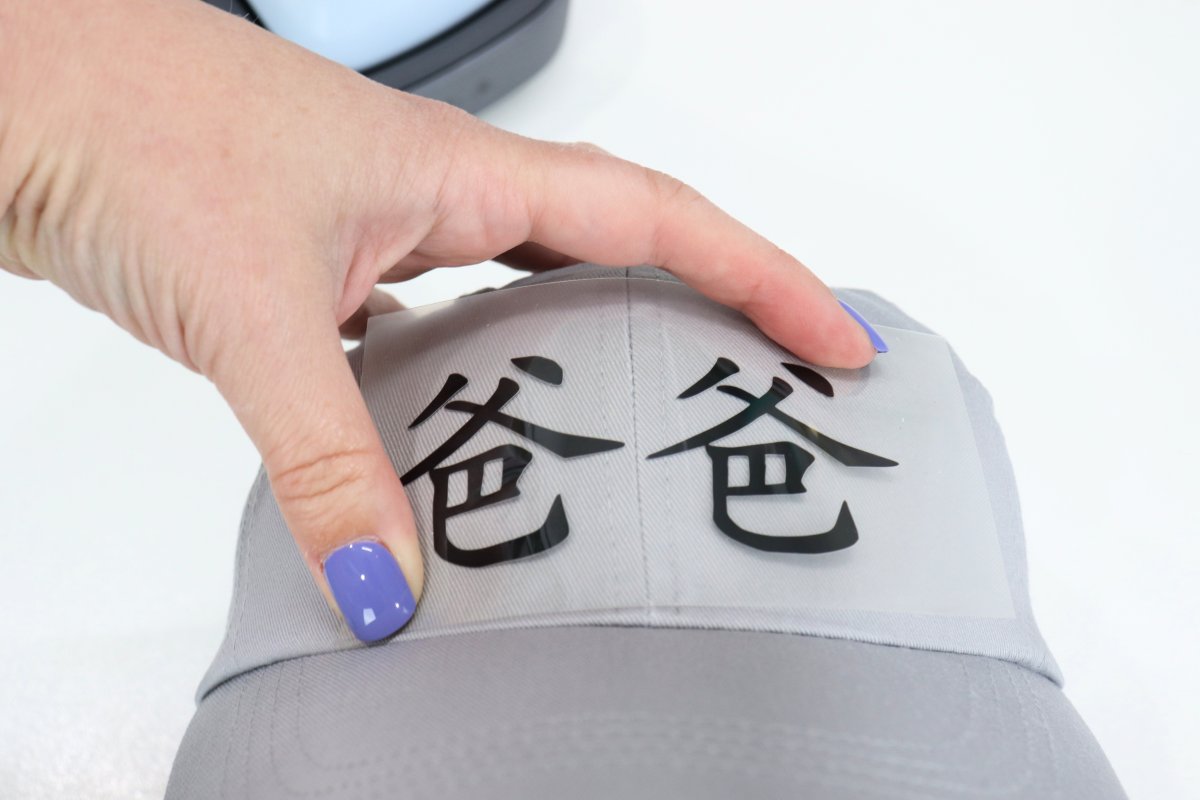
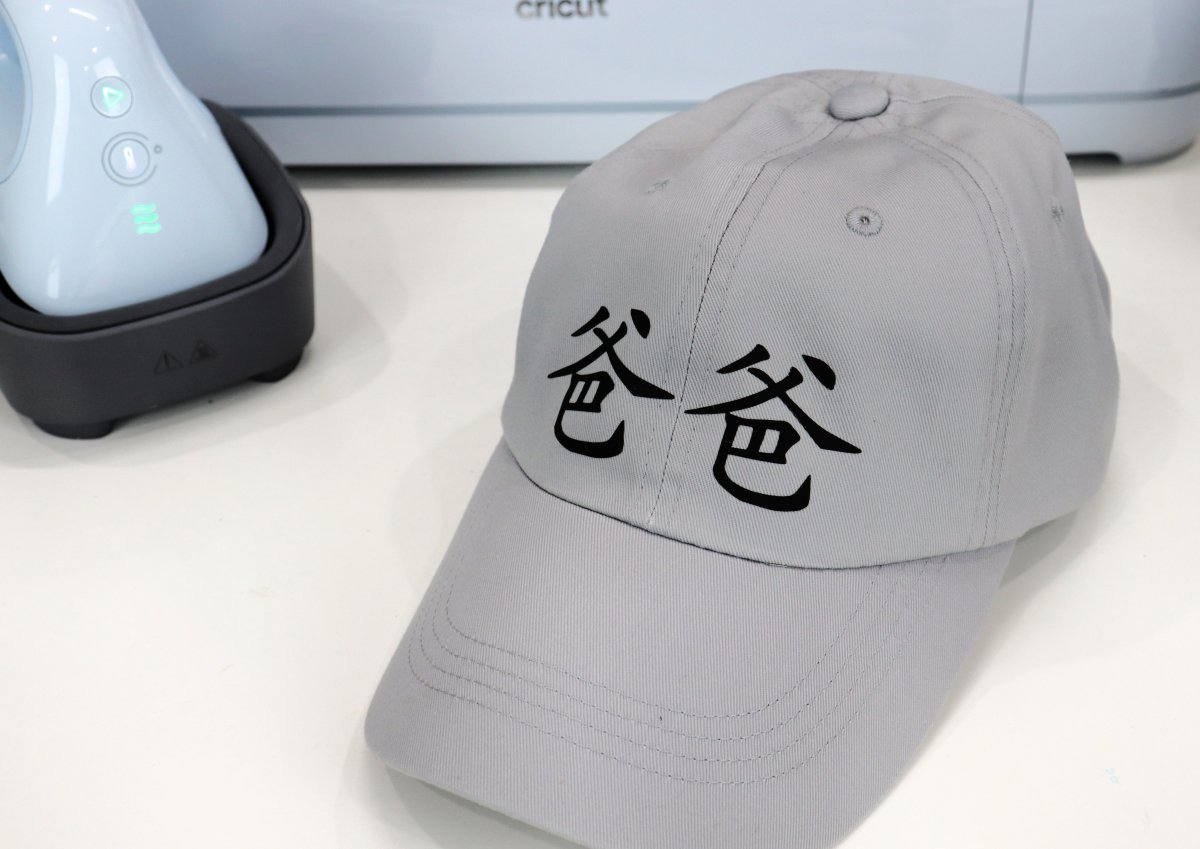
There are tons of images to choose from in the Design Space app, or you can create/upload your own! For my husband, I used the app Procreate along with my Apple Pencil to draw the Chinese characters for “bàba.” Ever since we adopted Nathan from Chengdu in 2017, this is the name both of our boys call him, so I knew it would be meaningful. Then, I uploaded it into the Design Space app. You can search in the app for all kinds of existing images, words, and phrases that are perfect for the dads in your life.
Step 2: Size your design.
Once you’ve uploaded and/or chosen your images, go to the “Canvas” in Design Space, and size them to fit the front of the hat. You’ll want to keep your deigns no larger than 2.25″ x 4.25″ for best results.
Step 3: Cut your design.
Follow the prompts in the Design Space app to send the project to your Cricut machine. Remember to load your Iron-On vinyl into the machine with the shiny side down. Also, don’t forget to indicate in the app that you want to MIRROR the design anytime you’re working with Iron-On.
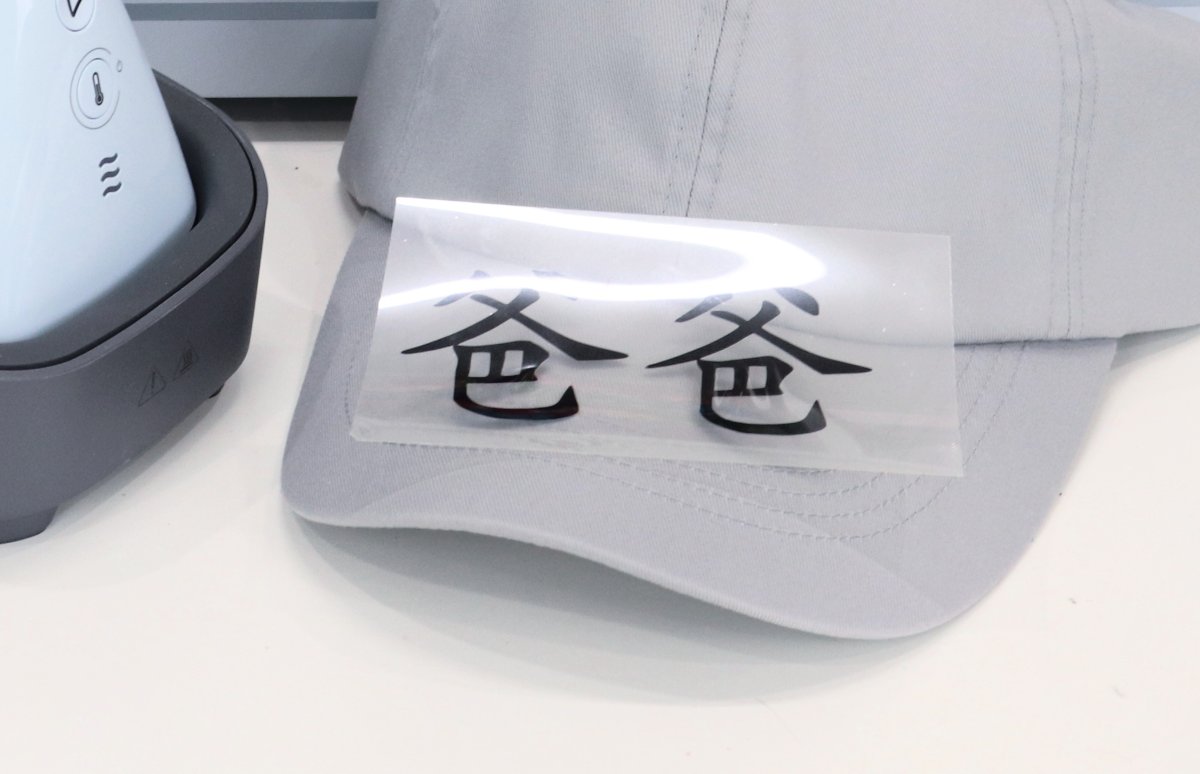
Step 4: Weed your design.
This means removing any of the vinyl that is not part of your design. For small areas, you may need to use a weeding tool to help grab and remove tiny pieces. When you’re finished, you should have only what you want to appear on the hat left on the clear adhesive backing.
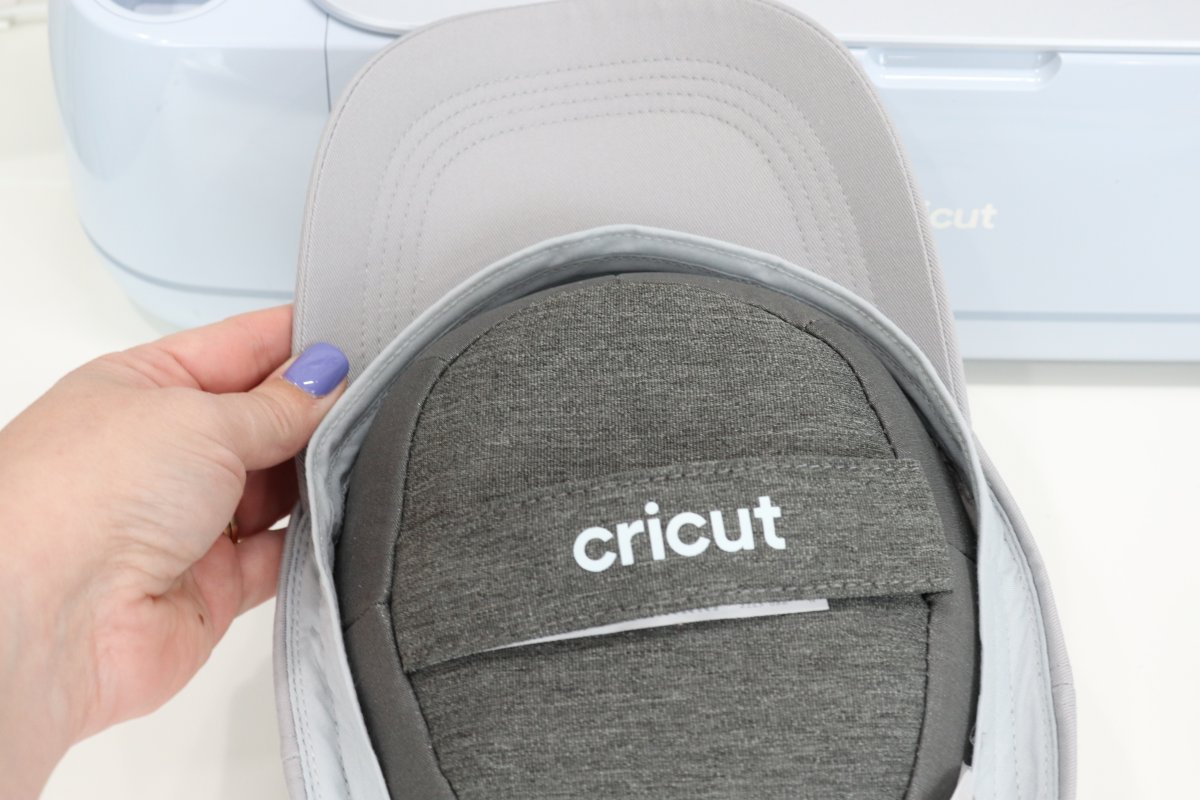
Step 5: Secure your hat onto the hat form.
This weighted hat form comes with the hat press, and is a firm polyester core surrounded by ground walnut shells in a polyester and cotton cover. The firm core lets you apply sufficient pressure, while the walnut shells provide give for the hat’s curves, and also wick moisture from the project. Simply un-fasten the back part of the hat, place the hat on the form, and tighten the back for a snug fit. Fold the sweat band down.
Step 6: Set up the Cricut Heat app.
This app is a free download that allows you to sign in with your Cricut ID and control your heat presses. Take a moment and follow the prompts to set up and connect your press via Bluetooth. Once you’re connected, plug the information for your project into the app, telling it which hat blank and which material (iron-on) you’re using. It will prompt you to preheat the surface of your hat for a few seconds before applying the design.
Step 7: Position your design on the hat.
Place your design on the front of the hat. Due to the curved surface, you may find it beneficial to use the Heat Resistant Tape that comes with your hat press to tape the design in place while you work.
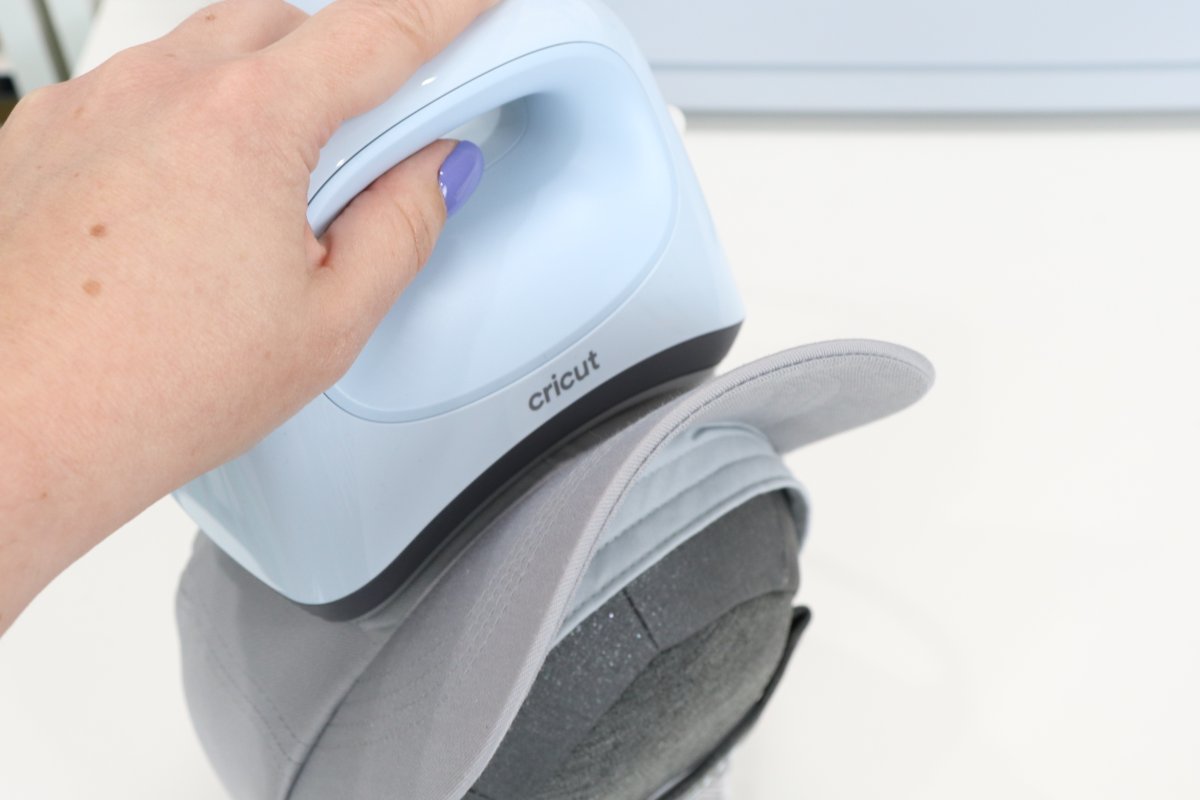
Step 8: Apply heat.
Thanks to the app, the press will automatically set the correct time and temperature for your project (of course, if you prefer, you can also do this manually). Place the press on top of the design, push the start button, and continue to apply heat until the timer runs out.
Step 9: Remove the clear adhesive backing.
While the design is still warm, carefully begin peeling away the backing to reveal the ink, which is now fused onto the hat.
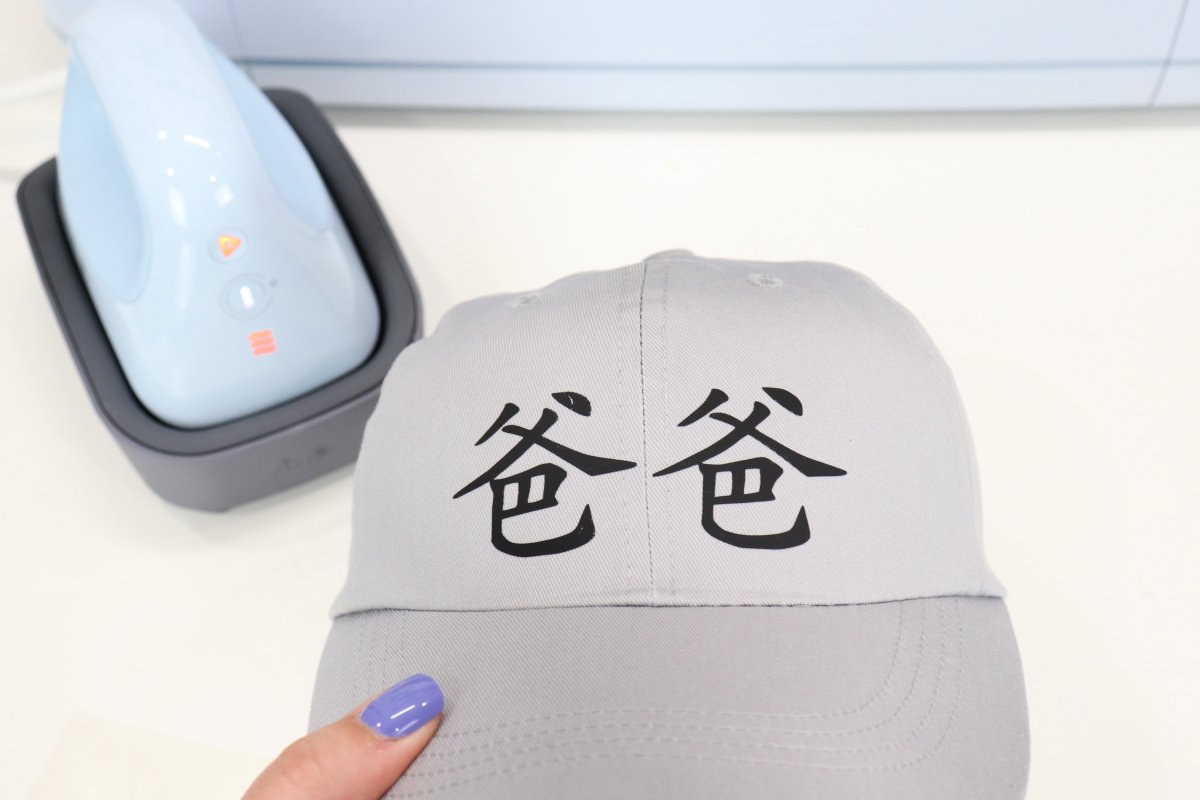
Now, you have a handmade, very personalized hat that’s ready to gift, wear, and enjoy!
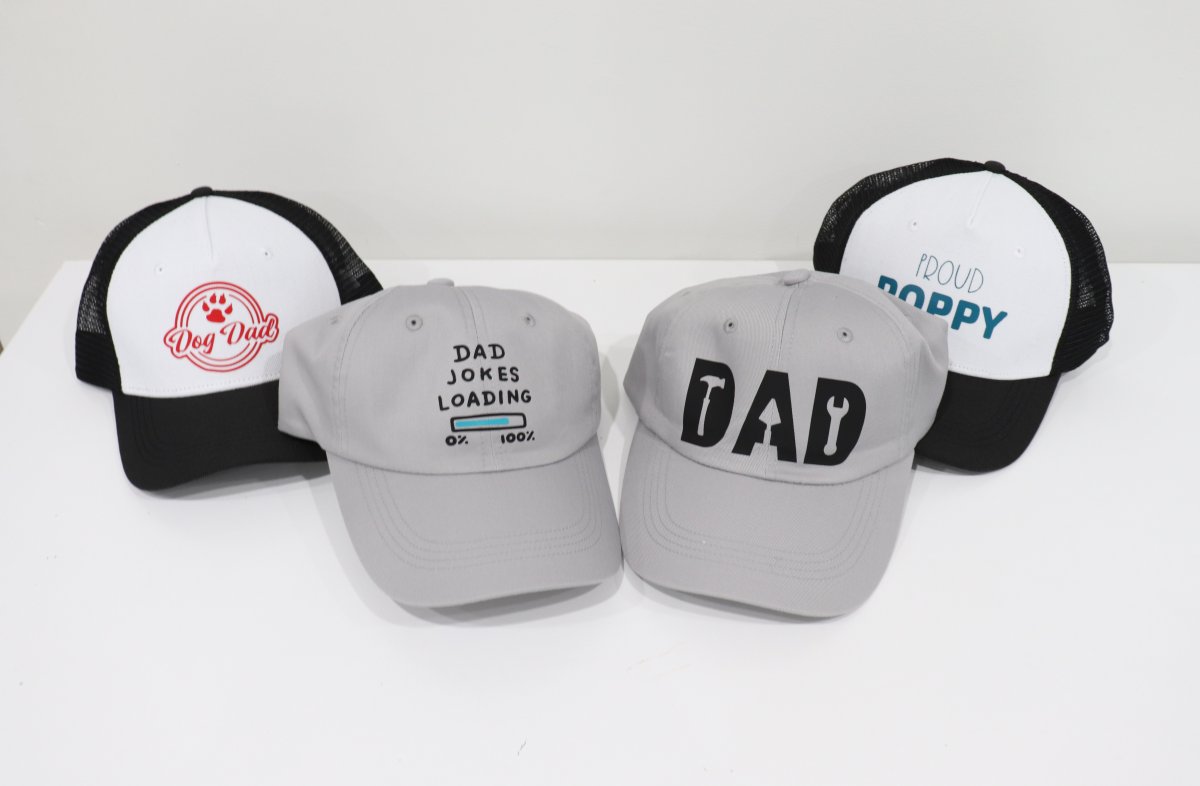
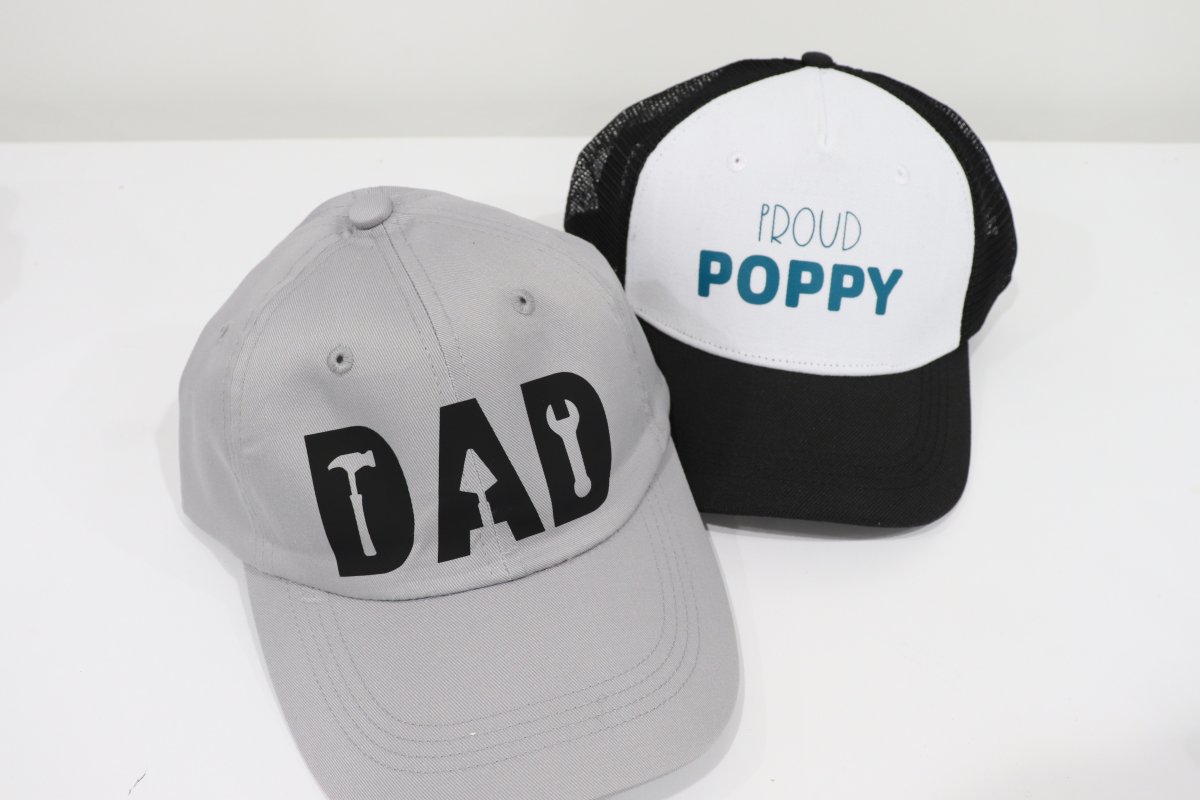
Here are a few other examples of how I personalized these hats for the men in my life. My dad is known for being very handy and great with tools, so I chose an image from Design Space that says “Dad” with the cutout images of tools inside the letters. My father-in-law goes by “Poppy” instead of “Grandpa” with my boys and my niece, so I typed the words “Proud Poppy” for him.
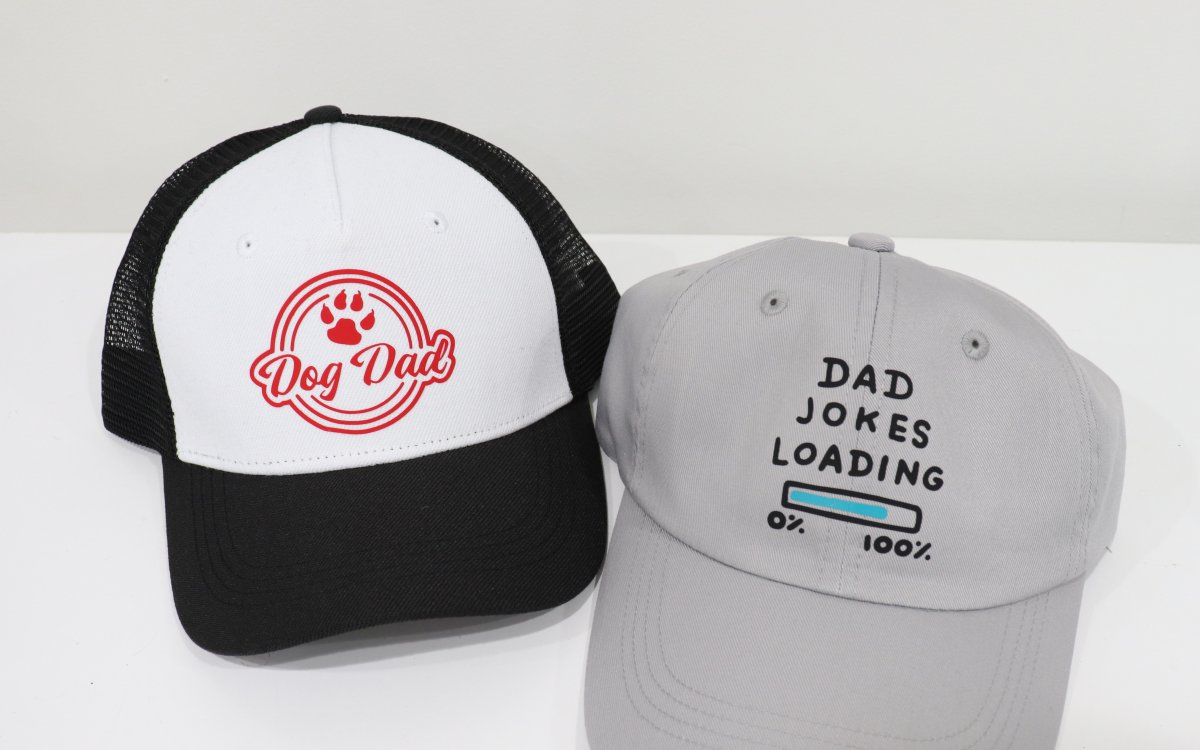
A good friend of ours is known for his terrible/wonderful dad jokes, so I chose an image from Design Space that says, “Dad Jokes Loading.” I also made a “Dog Dad” hat for my hubby, since he is as crazy about our dog Pumpkin as I am.
The possibilities for these hats are literally infinite…you can use any image, phrase, or design you like and create it in all kinds of colors. I used the Iron-On Vinyl for mine, but you can also use the hat press with Cricut Infusible Ink, which brings in tons of additional colors and patterns. I like using the Cricut hat blanks, but you can also use any other plain hats you find. So, how would you personalize these for the men in your life (or yourself!)?
If you try this project, I’d love to see what you create! Make sure you’re part of the Amy Latta & Friends Facebook Group so you can join our Show and Tell threads and we can all be inspired. See you there.
Be sure to check out these other DIY ideas for the guys you love:
“Well Done, Dad” Free Printable
Special thanks to Cricut for providing the Hat Press and Hat Blanks for this post.
Using Procreate and your Apple Pencil to draw the Chinese characters for “bàba” for your husband is a unique and meaningful touch. It’s heartwarming to know that the name holds special significance for both your adopted sons. The Design Space app seems like a versatile tool for creating personalized gifts, and the ability to search for various images, words, and phrases makes it even more convenient. Thanks for sharing your creative process – it’s inspiring for those looking to make something special for the dads in their lives!