DIY Ugly Sweater: Sweater Tree
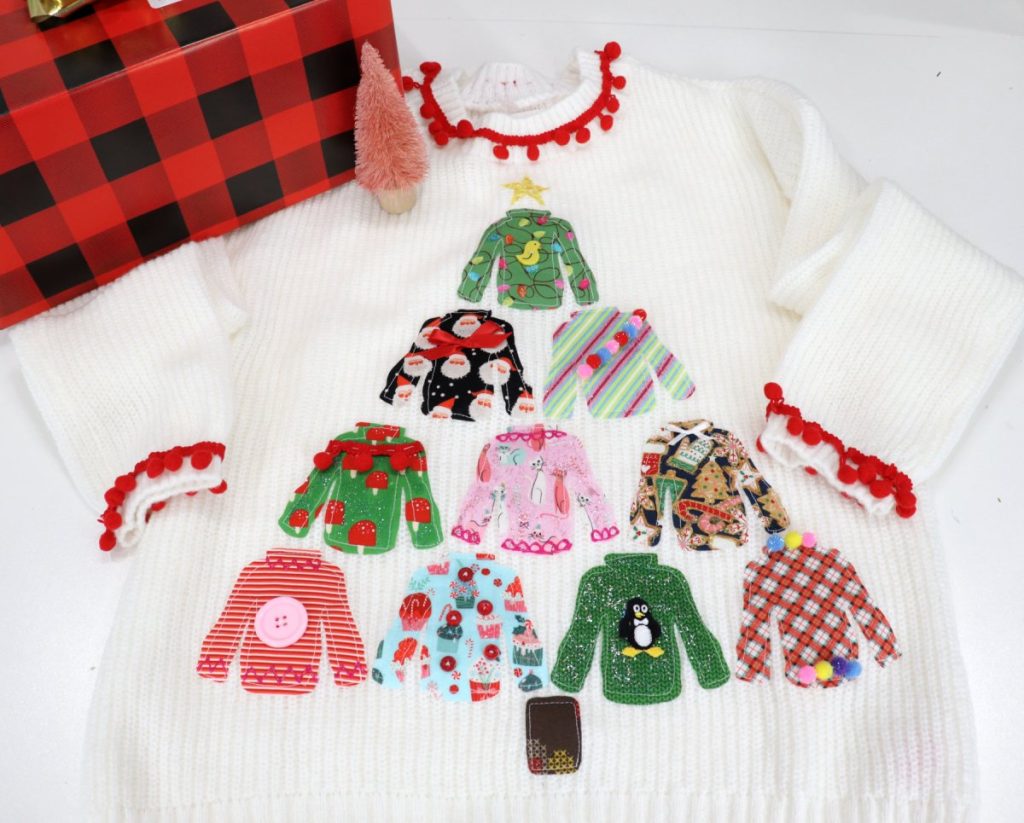
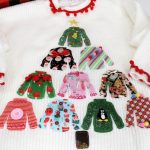
’Tis the season to be festive…and sometimes that involves an ugly sweater or two! This year, try making your own DIY version that’s filled with ten tiny ugly sweaters arranged in the shape of a Christmas tree!
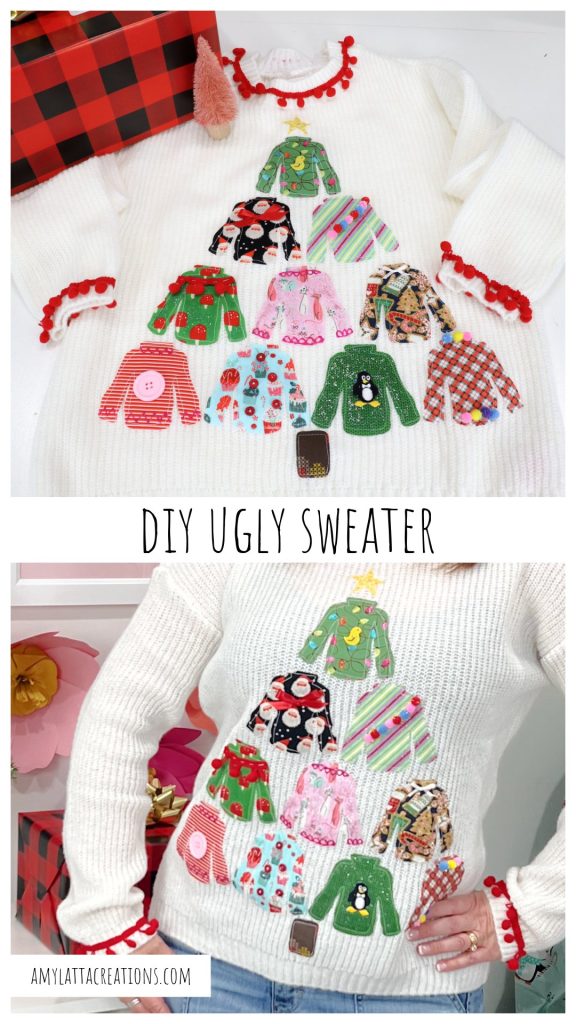
How to Make a DIY Ugly Sweater
This sweater is sure to be the talk of your ugly sweater party, and it’s really fun to create. Check out the video below, then scroll down for full step-by-step instructions and photos to walk you through the process.
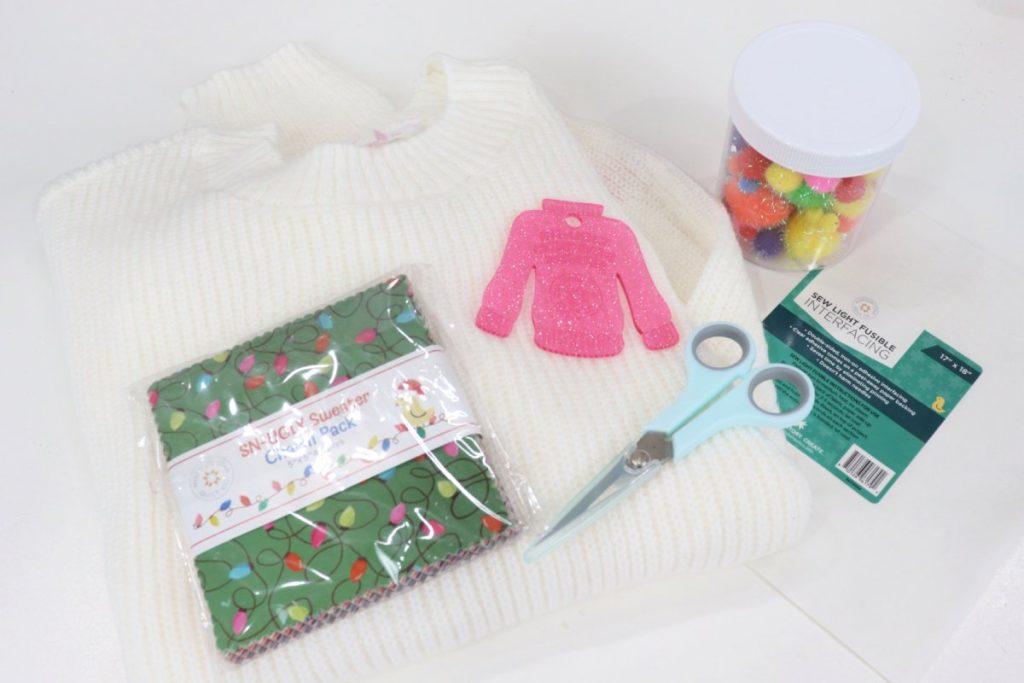
Materials
- solid color sweater or top
- double-sided fusible interfacing
- fabric in a variety of patterns (I used a charm pack, which is made of precut 5” squares)
- scissors
- sweater template or traceable
- pencil
- iron
- sewing machine and/or needle and thread
- embellishments: your choice of ribbon, pom-poms, ric-rac, fabric paint, glitter fabric paint, iron-on patches, buttons, etc.
Instructions
Choose 10 different squares/scraps of fabric.
If you’re not using a charm pack (precut 5” squares), cut your fabric into 5” squares. The more variety you choose for colors and patterns of fabric, the “uglier” your sweater will be!
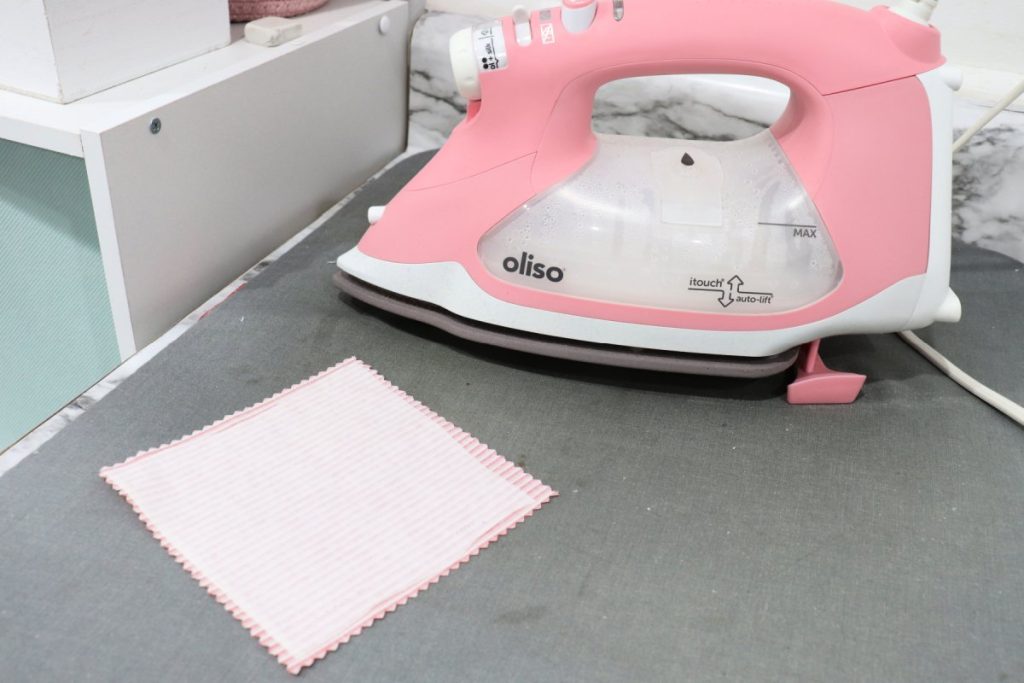
Apply fusible interfacing to the back of each square.
Follow the manufacturer’s instructions to iron it onto the wrong side of the fabric. Leave the backing on for now.
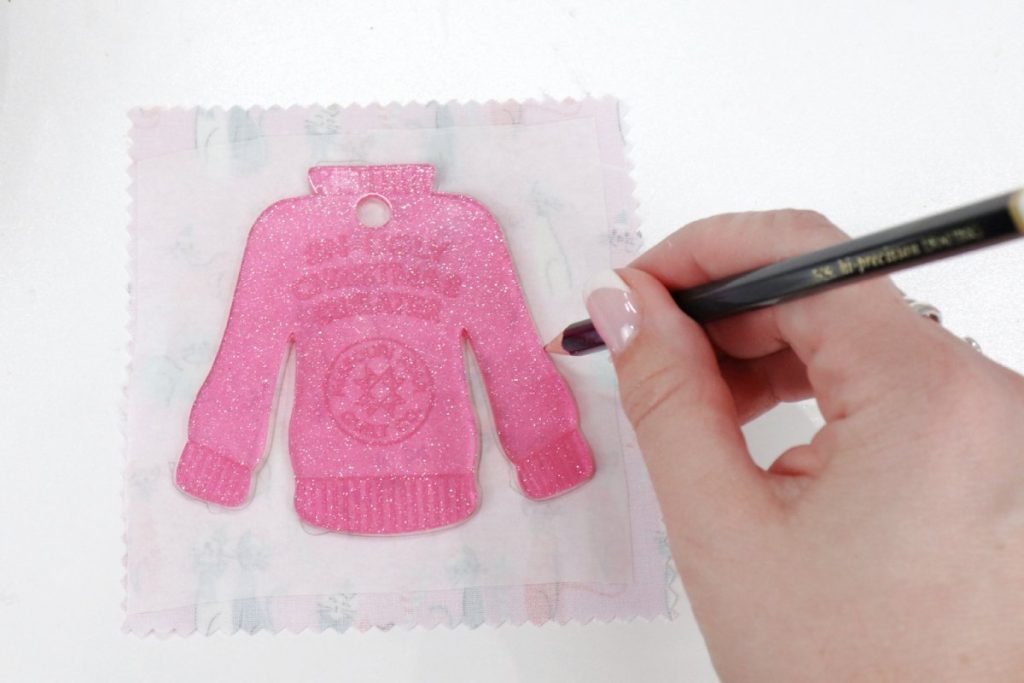
Trace your sweater shape onto the back of each fabric square.
I used the Sn-Ugly Christmas Sweater template, which was an exclusive gift in Jenny’s Countdown to Christmas Box this year from MSQC. If you don’t have the template, you can easily find a clip art image of a sweater online, print it out, and use the outline as a pattern instead.
Cut out the 10 sweater shapes.
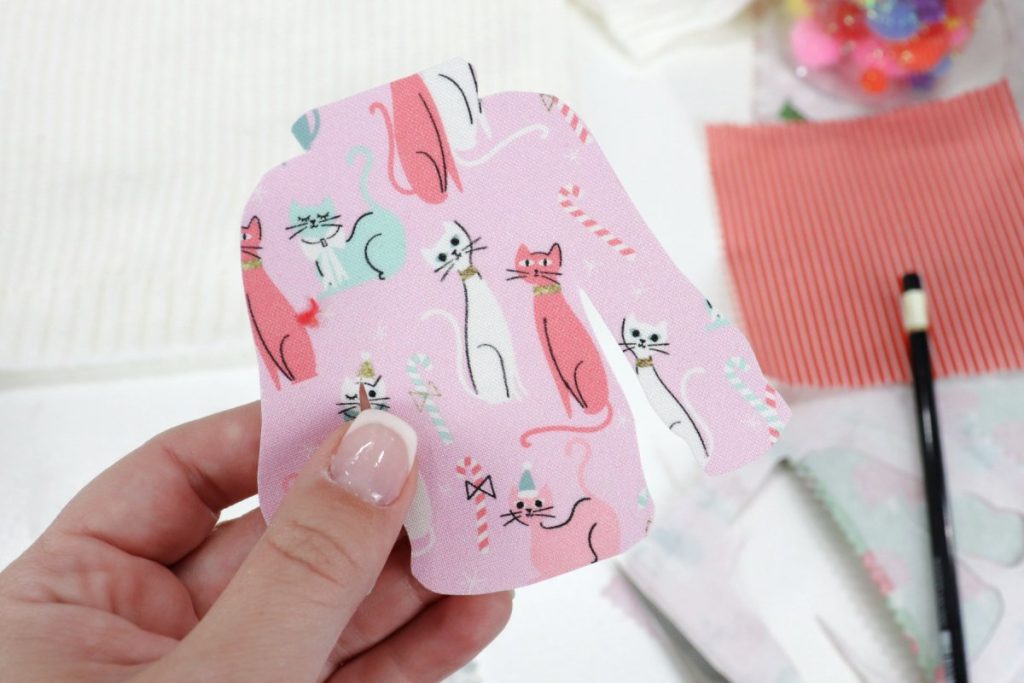
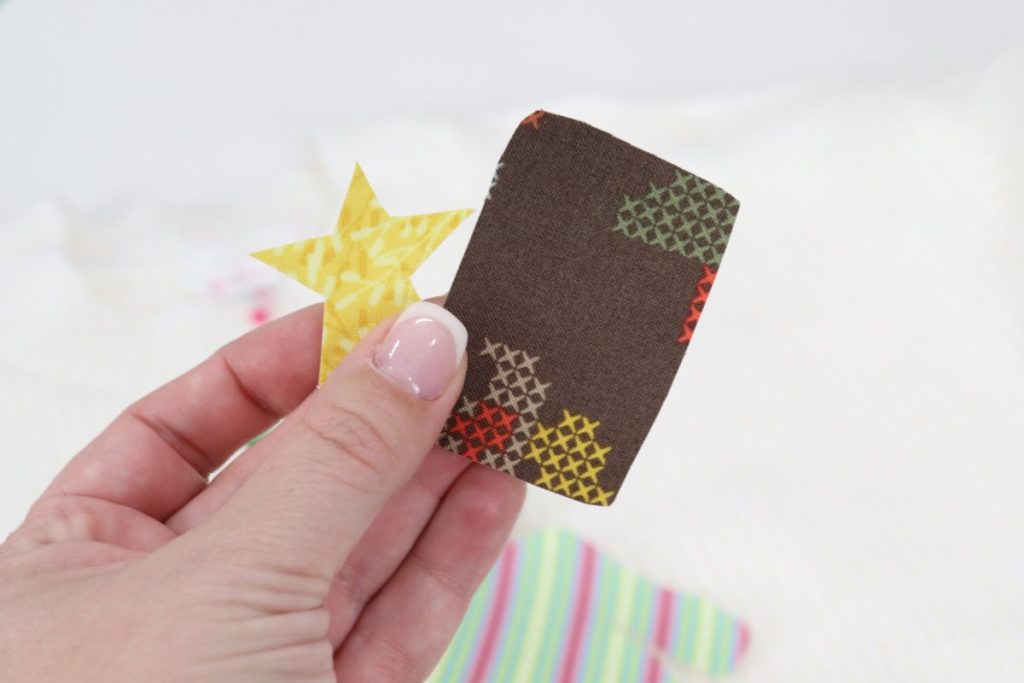
Cut a star shape and a rectangle from yellow and brown fabrics.
I freehanded these shapes, but you can print and trace a pattern or use a template if you prefer. You’ll want to apply fusible interfacing to the backs of these fabrics before cutting, like you did for the sweater shapes.
Peel off the fusible interfacing backing paper.
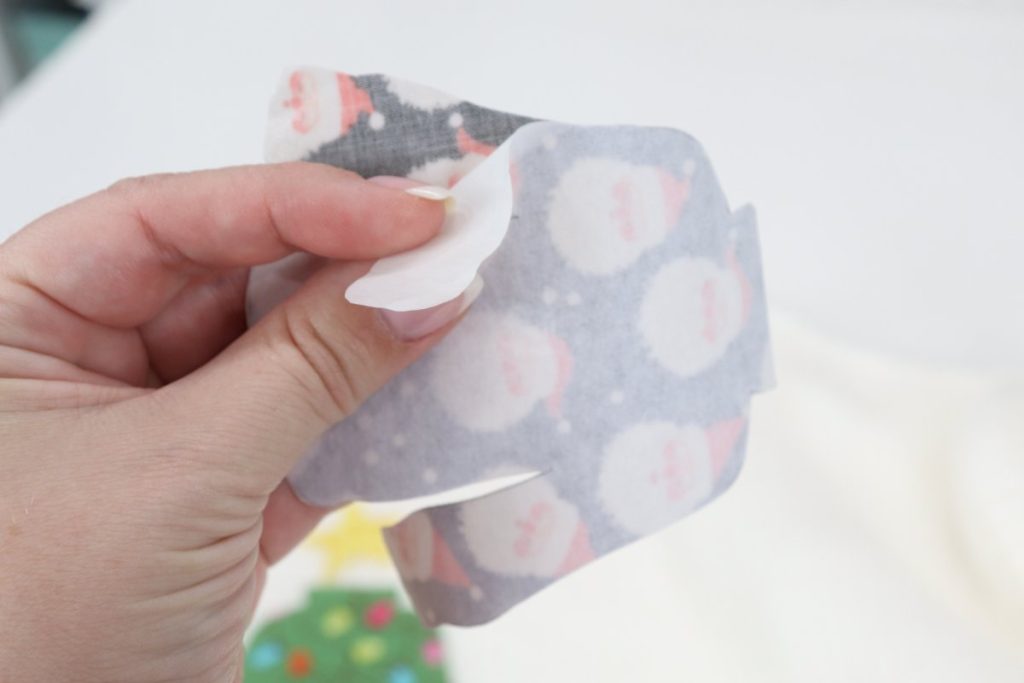
Arrange the pieces to form a Christmas tree.
I started by making a pyramid out of my sweaters, then added the star and the trunk.
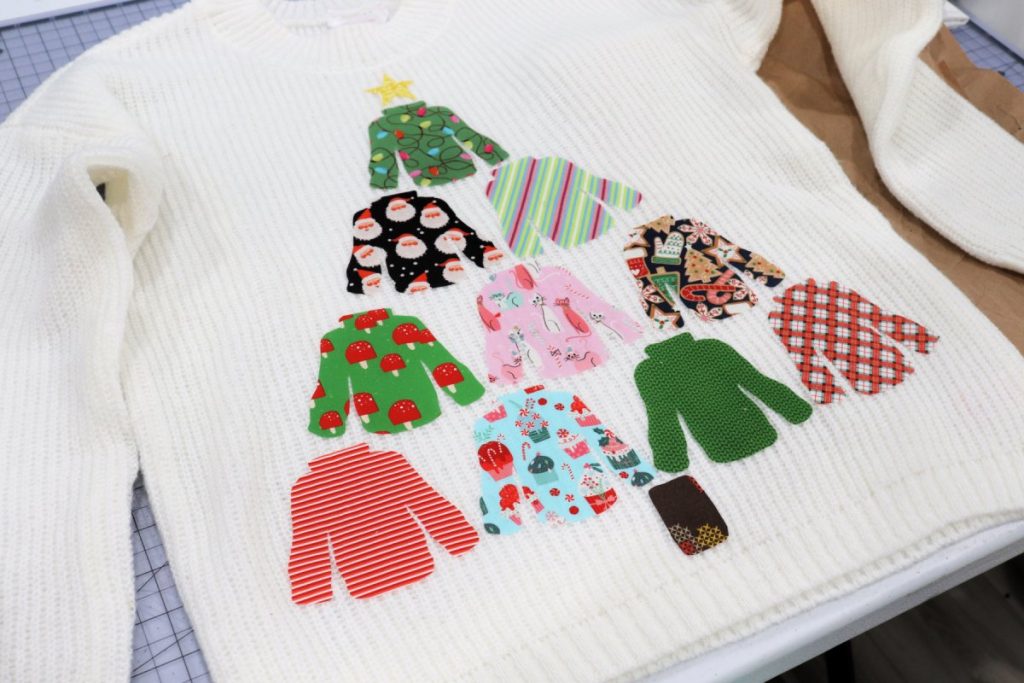
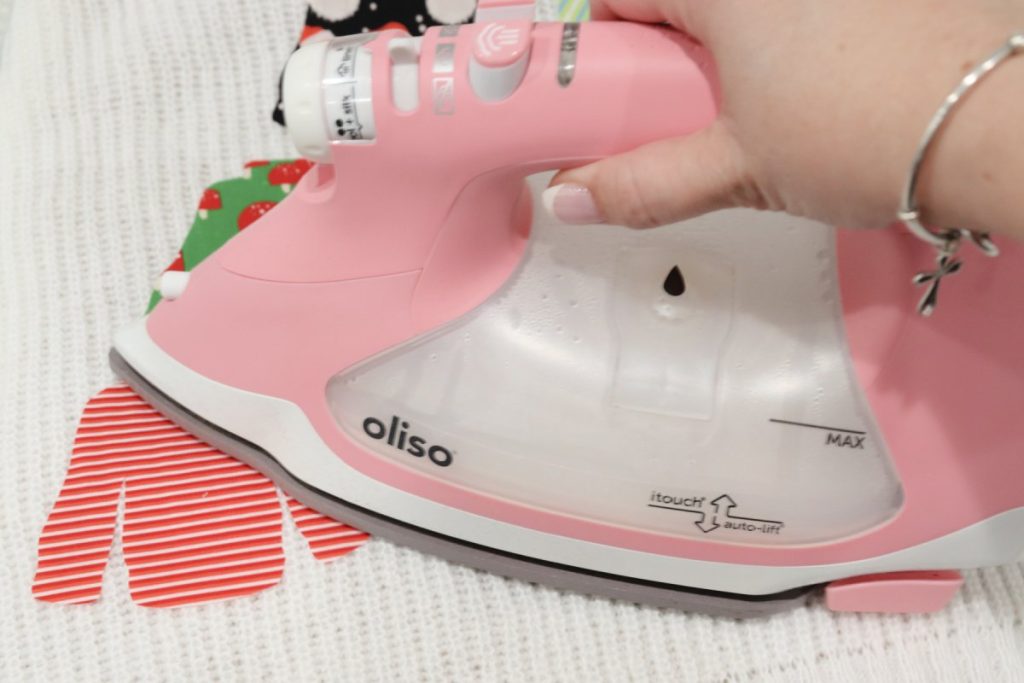
Iron the sweaters in place.
Place a piece of cardboard or a paper bag inside the sweater to keep the front and back separate. Follow the manufacturer’s instructions for the fusible interfacing. Apply heat to fuse the sweaters (along with the star and trunk) in place.
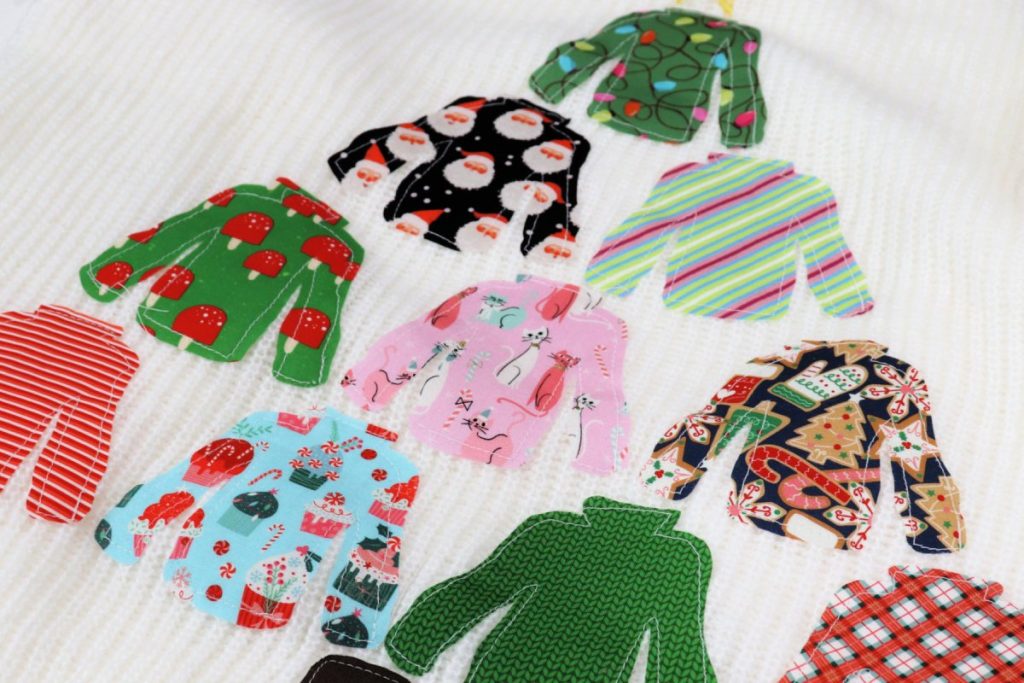
Sew around the edges of the shapes.
I machine stitched a 1/8” seam around each shape, but you can also hand sew if you prefer. You can use coordinating/matching thread if you like; I just used white on all of them since that was easier and it wasn’t supposed to be pretty! Although it may seem obvious, make sure you’re only sewing through the front layer of the sweater, and not the front and back.
Add embellishments to the sweaters.
Feel free to have fun and add all kinds of details. I used glitter fabric paint, buttons, pom-poms, iron-on patches, and ribbon to make each sweater one of a kind.
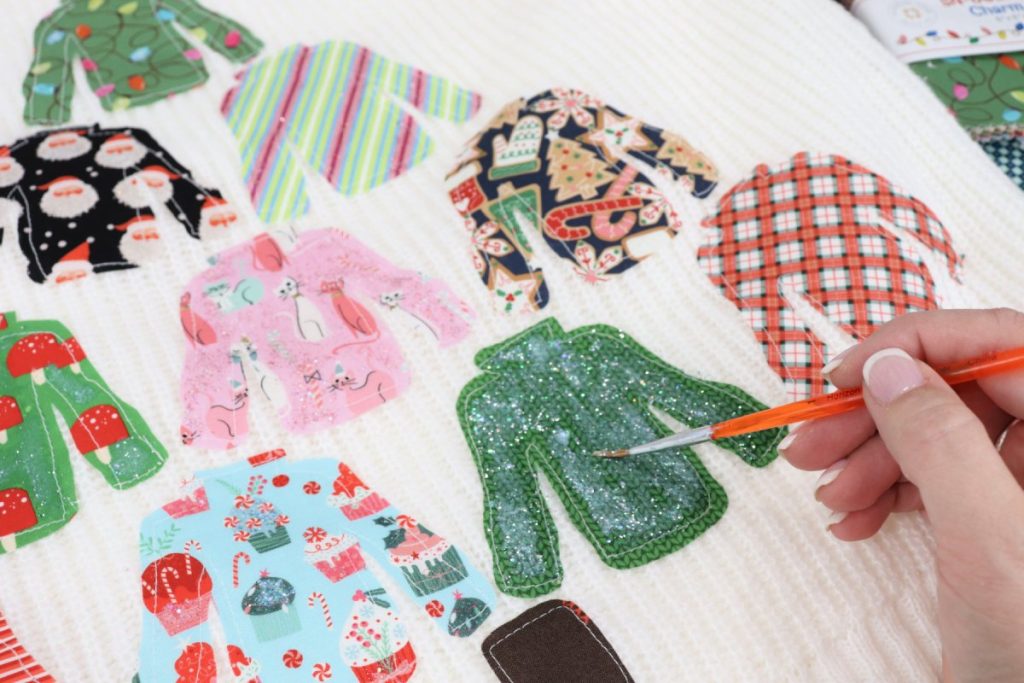
Although the easiest method is to attach embellishments with hot glue, if you really want to be able to wash and re-wear the sweater (which I do!), you’ll want to hand sew them on instead. You’ll also want to avoid any embellishments that aren’t washable.

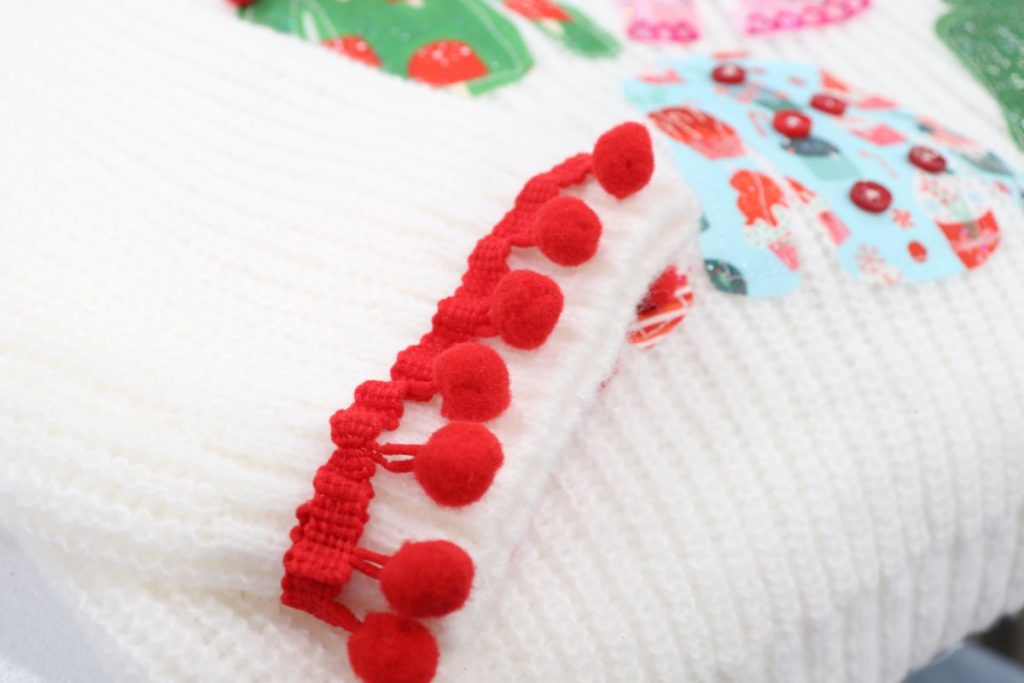
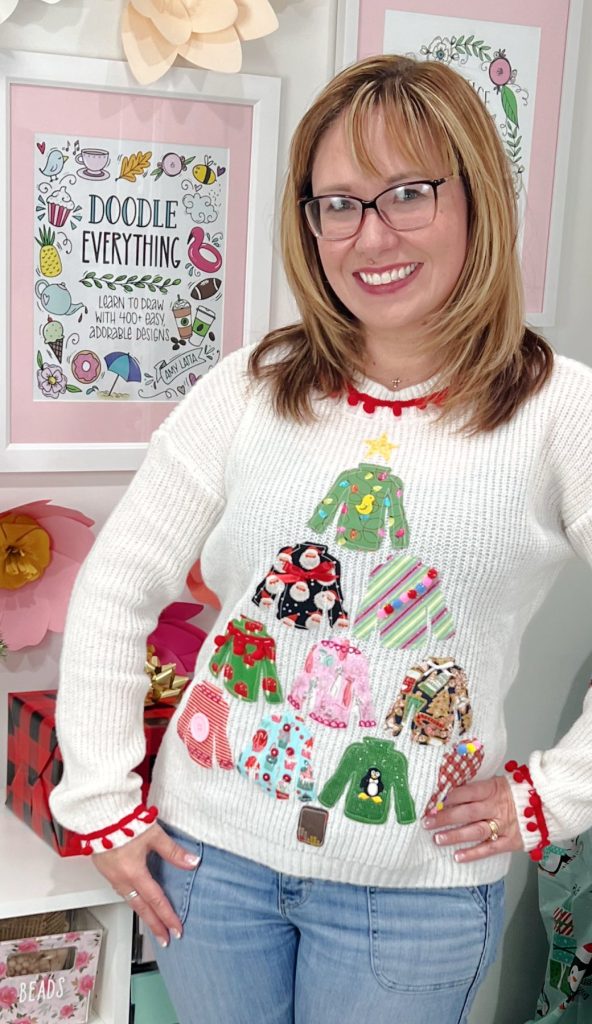
Sew pom-pom trim around the neck and sleeves.
I wanted an extra pop of color, so I added this as a finishing touch.
That’s all there is to it! Now you have an ugly sweater ugly sweater! I love how customizable this is, because using different fabrics and embellishments makes each sweater completely unique.
Crafting Tips
- Don’t feel like you need to go out and buy a lot of special embellishments and supplies. Raid your craft stash first, and you’ll probably find everything you need!
- If you have a Cricut machine, that’s another great way to get a sweater shape pattern for tracing. Plus, you can cut embellishments from infusible ink and/or iron-on vinyl!
- This is a great way to use leftover fabric scraps from other projects. Don’t worry if they aren’t all holiday themed prints; anything will do.
Frequently Asked Questions
The fabric I used for my sweaters is a charm pack called Sn-Ugly Sweater. It was an exclusive release from Missouri Star Quilt Company in this year’s Countdown to Christmas box.
Of course not! I chose white so the various fabric prints and colors would stand out, but you can use whatever color makes your heart happy.
I got mine for just $6 at Walmart. Or, you can try your local thrift store to find a great deal. In a pinch, you can also use a sweatshirt, t-shirt, or other long sleeve top.
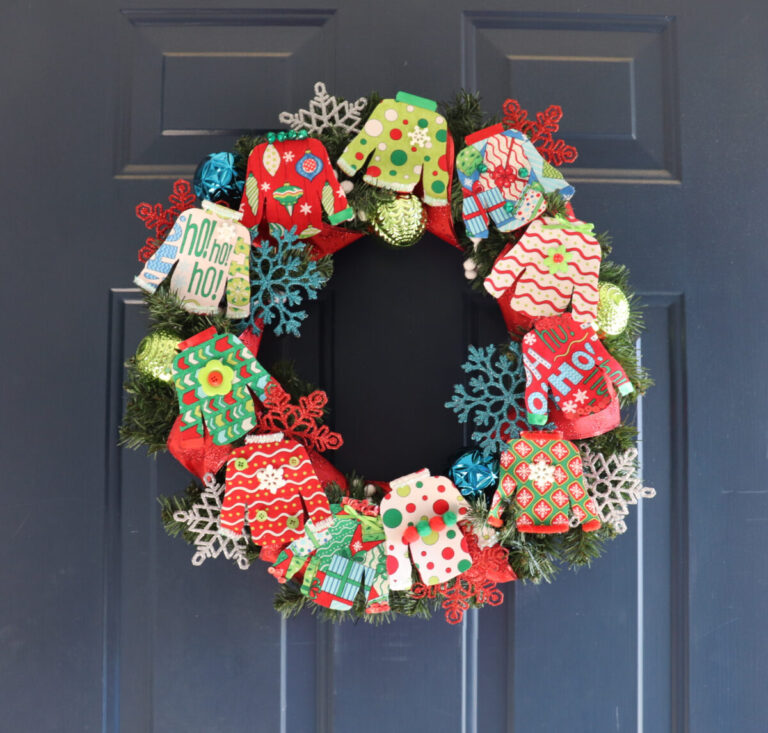
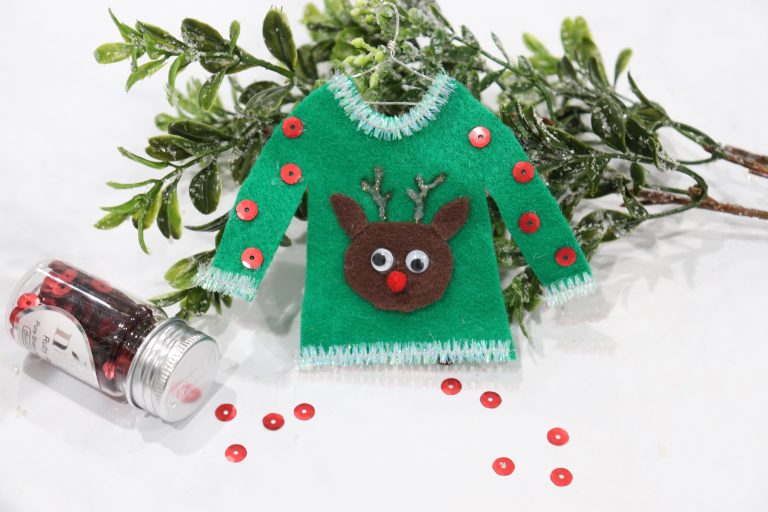
More Ugly Sweaters
Need more ideas and ugly sweater inspiration? We’ve got you covered. Check out these other fabulously festive DIY sweater projects!

If you try creating your own DIY Ugly Sweater, make sure to share your project photos in the Amy Latta & Friends Facebook Group so we can all be inspired! Hope to see you there.
DIY Ugly Sweater: Mini Sweater Tree
Equipment
- scissors
- needle and thread
- sewing machine
- iron
- pencil
- sweater template or traceable
Materials
- solid color sweater or top
- double sided fusible interfacing
- fabric (I used a charm pack)
- embellishments: pom-poms, ribbon, buttons, fabric paint, etc.
Instructions
- Choose 10 different squares/scraps of fabric.
- Apply fusible interfacing to the back of each square.
- Trace your sweater shape onto the back of each fabric square.
- Cut out the 10 sweater shapes.
- Cut a star shape and a rectangle from yellow and brown fabrics.
- Peel off the fusible interfacing backing paper.
- Arrange the pieces to form a Christmas tree.
- Iron the sweaters in place.
- Sew around the edges of the shapes.
- Add embellishments to the sweaters.
- Sew pom-pom trim around the neck and sleeves.