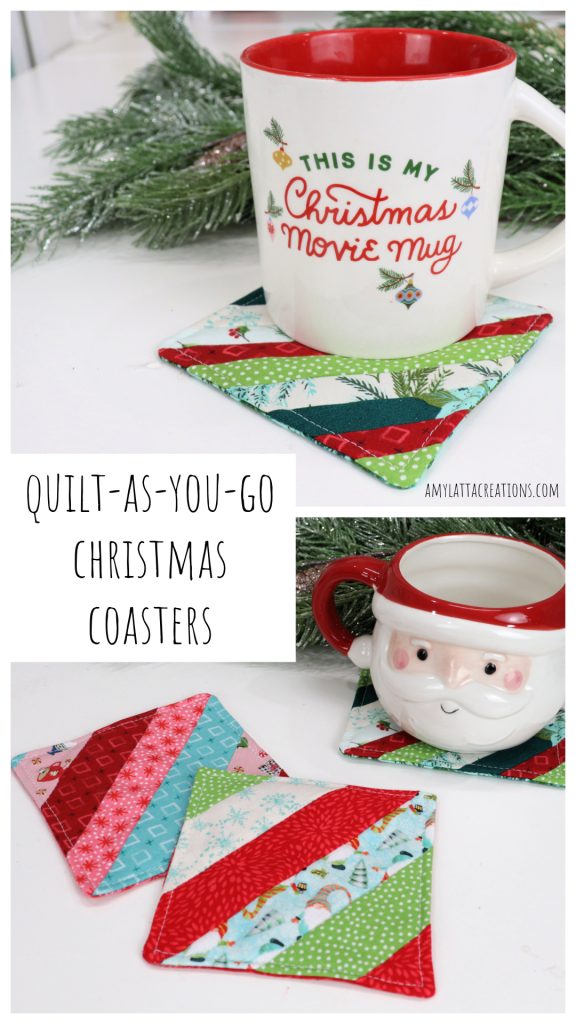
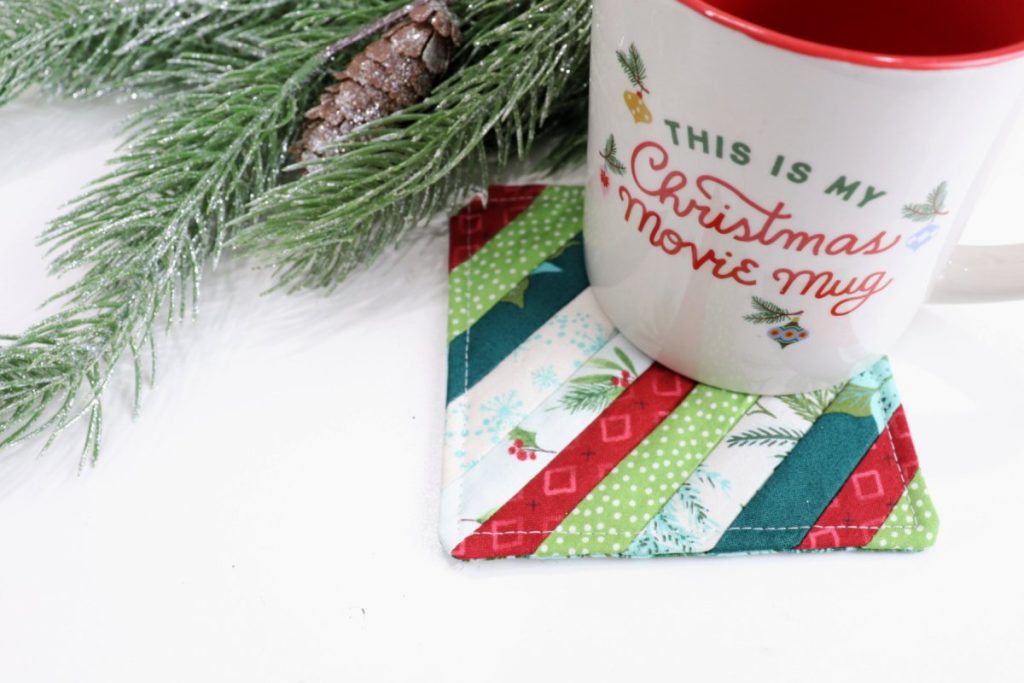
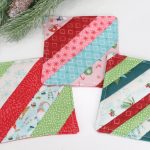
Quilt-As-You-Go Coasters
If you love to sew and have fabric scraps lying around like I do, here’s the perfect little holiday project for you: Quilt-As-You-Go Coasters. These are super quick to create, and are really inexpensive since you’ll be using up your scraps. Let’s get started!
How to Make Quilt-As-You-Go Coasters
Materials
- 5” square of batting (mine is Fairfield World Low Loft Quilt Batting)
- 5” fabric square (for backing)
- 4 – 6 fabric scraps
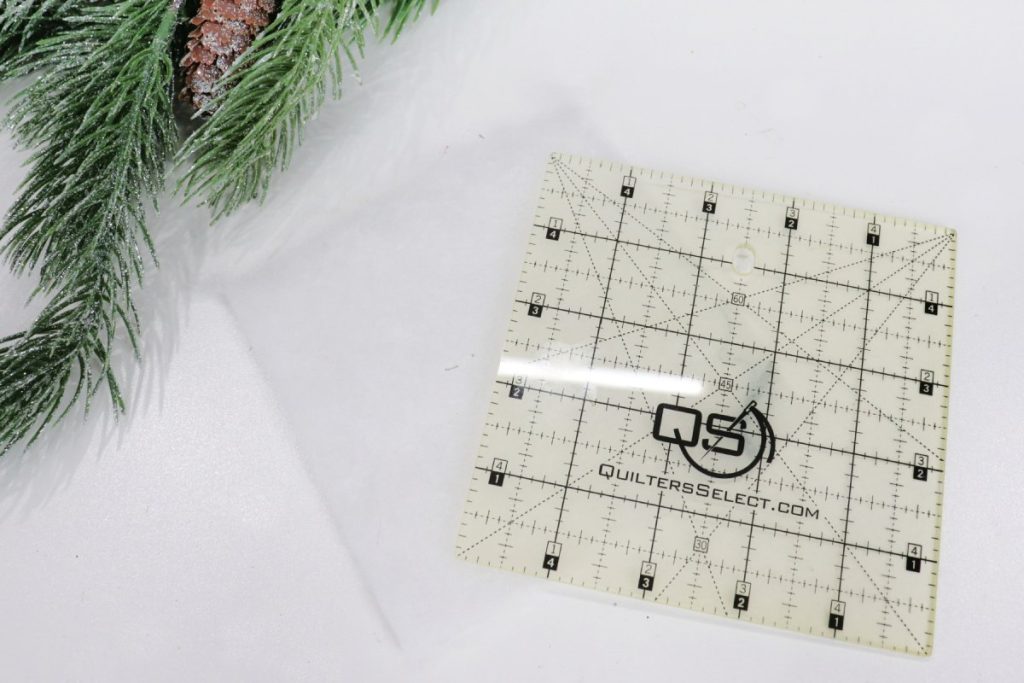
- rotary cutter and mat
Instructions
Check out the video below, or keep reading for detailed step-by-step instructions.
Cut your fabric scraps into strips.
I like to cut six strips that are each 1.5” wide. For the thinner stripe variation, cut 11 strips that are 1” wide. Or, you can mix and match strips of different widths. The center strips should be at least 7.25” long, but the others can be shorter.
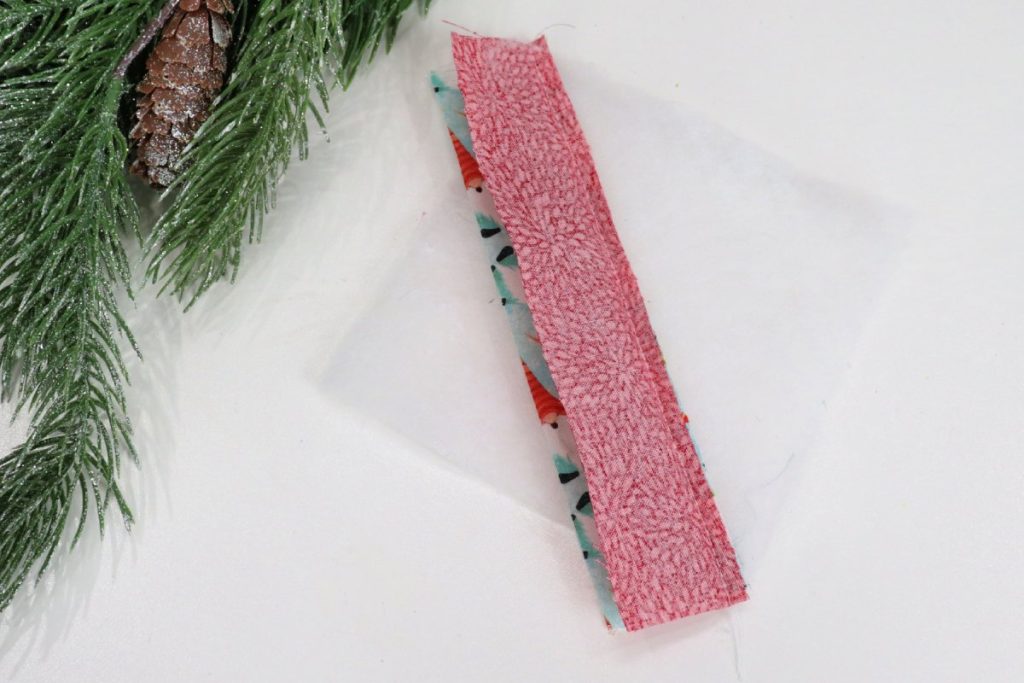
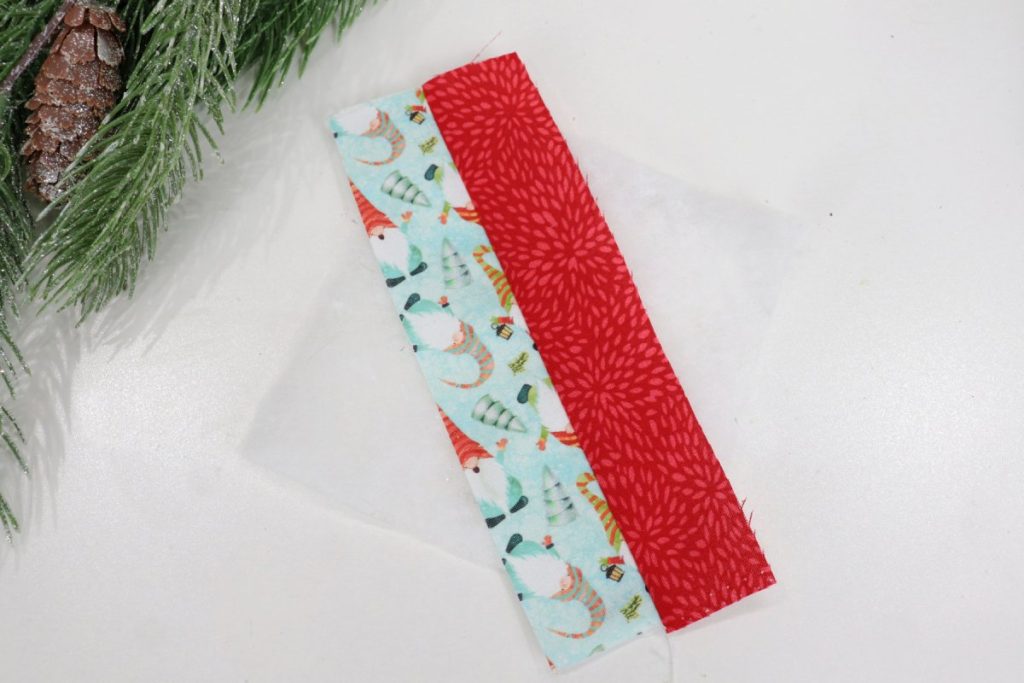
Lay your longest strip diagonally across the batting square with another long strip face down on top.
Sew a 1/4” seam along one edge of the strips.
This seam should go through both layers of fabric AND the batting.
Open the fabric and press with an iron to flatten.
Lay the next strip face down on top of the strip on the left. Sew a 1/4” seam along the edge (and through all layers).
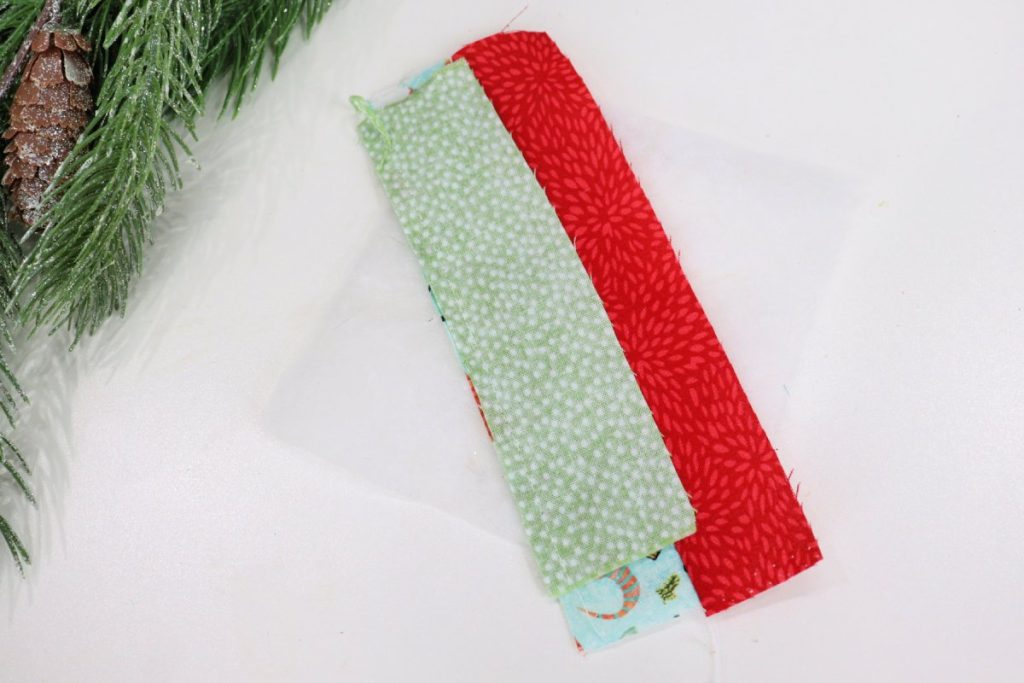
Continue repeating the same process, adding strips until the batting is totally covered.
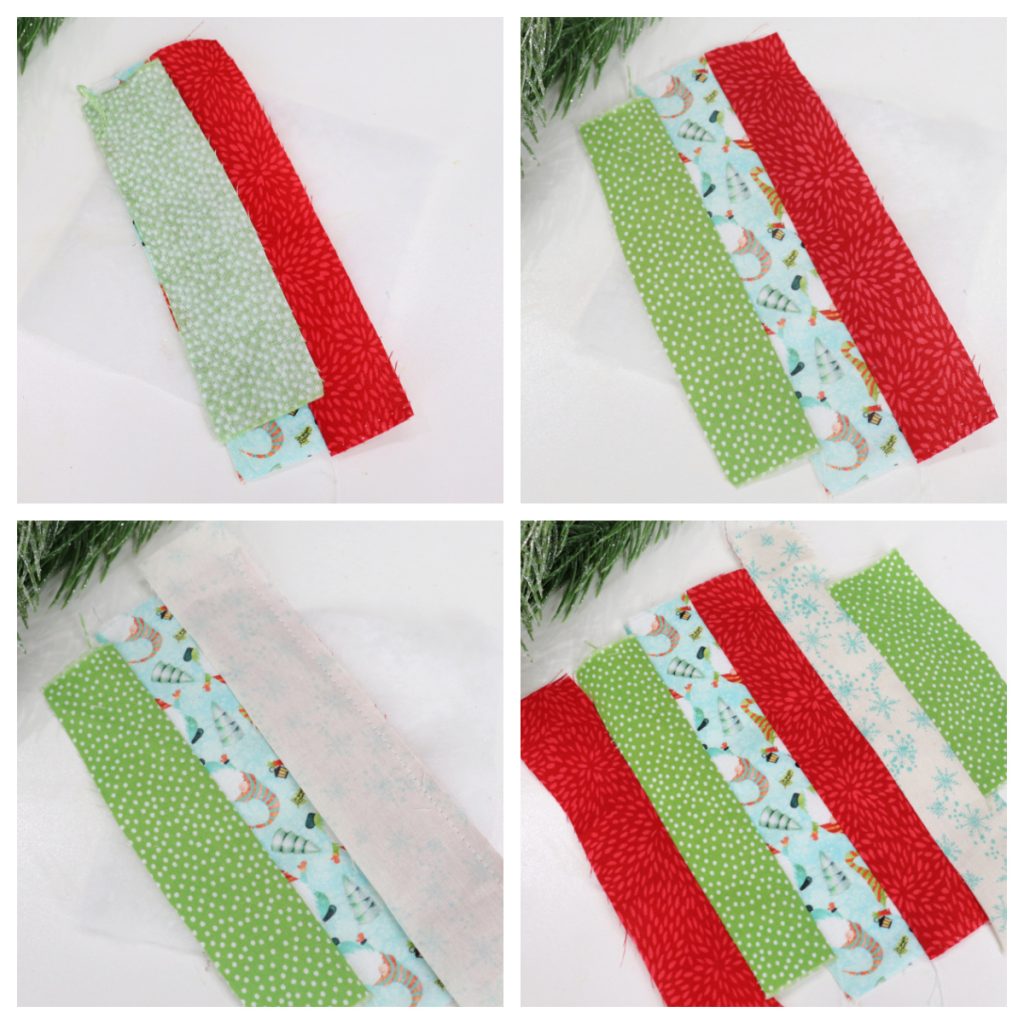
Trim the excess fabric so you have a 5” square.
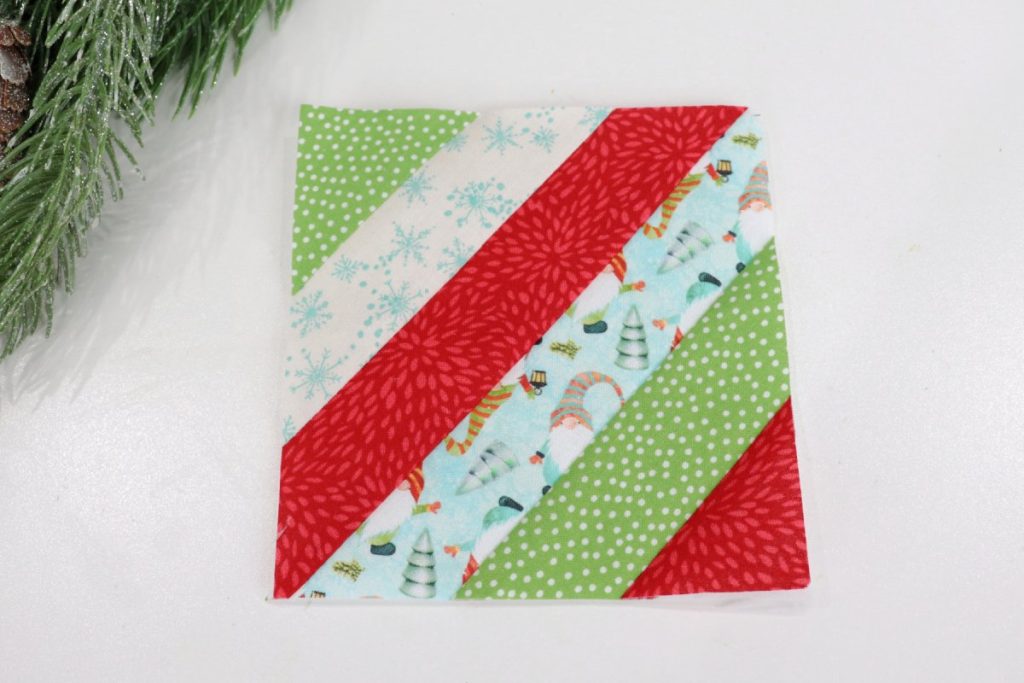
Place a 5” fabric square face down on top (right sides together) and sew a 1/4” seam around the edges, leaving a 2” opening.
After you stitch, you can trim the corners close to but not touching the seam. This will make the corners easier to shape when you turn the coaster right side out.

Turn the coaster right side out. Press it flat with an iron, then top stitch a 1/8” seam around the entire square.
This will close the opening as well as help the coaster to lay flat.
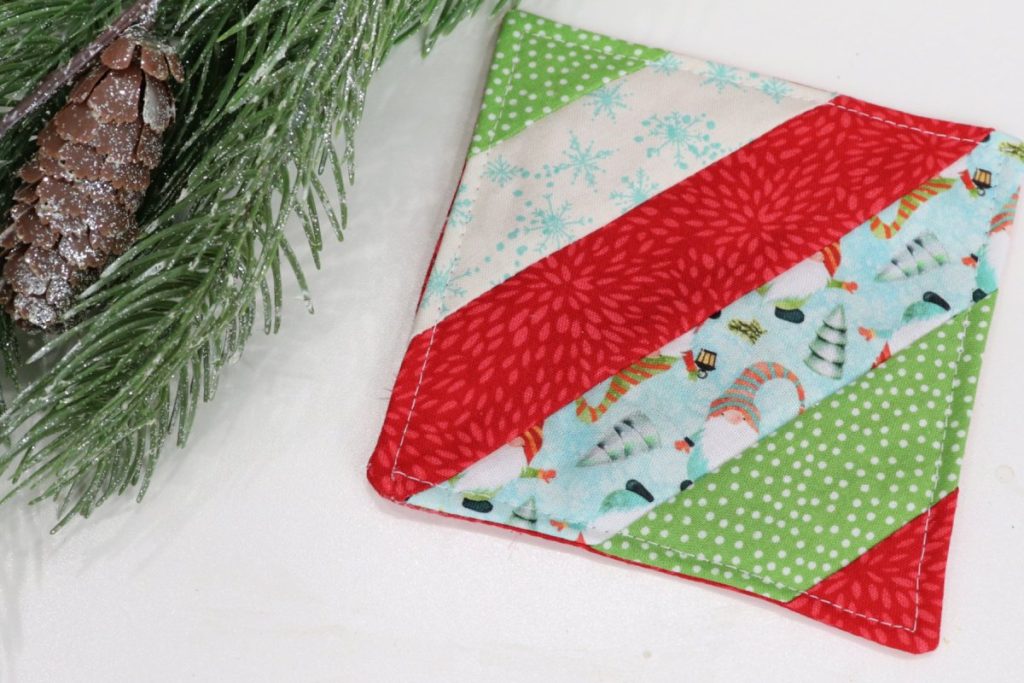
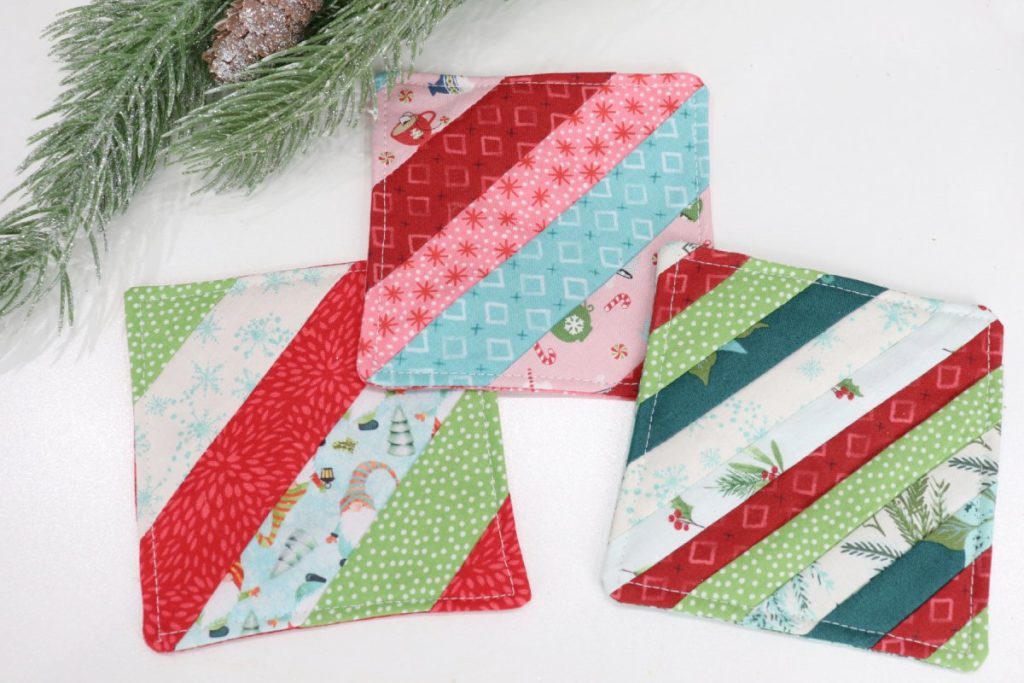
Now your coaster is ready to use or to give as a holiday gift! My favorite part of making these, besides how quick and inexpensive they are, is that each one can look totally unique depending on the fabric scraps you choose.
Crafting Tips
- Have fun mixing and matching different fabrics to come up with your own one-of-a-kind patterns! You can also use non-holiday fabric to create coasters that can be used year round.
- Try this same method using vertical stripes instead of diagonal ones. This will allow you to use scraps from a pre-cut charm pack for the whole project.
- Feel free to add any additional decorative top stitching you like.
- A set of 4-6 coasters tied with a ribbon makes a great holiday gift!
Frequently Asked Questions
My favorite place to shop for fabric is Missouri Star Quilt Company! Use this link to automatically have a 15% discount applied to your order.
The process of quilting involves sewing through multiple layers; fabric and batting. Normally, to create a coaster like this, you would sew the fabric strips together to create the front, then sew it to the batting and backing. Instead, this process has you sew through the batting as you’re piecing the fabric, completing two steps at the same time.
More Quilting Projects
If you enjoyed these coasters, here are some other quilting projects to try!

If you try this project, I’d love to see how your coasters turn out! Make sure you’re part of the Amy Latta & Friends group on Facebook so you can share your latest photos and we can all inspire each other. Hope to see you there.
Quilt As You Go Coasters
Equipment
- rotary cutter and cutting mat
- sewing machine
Materials
- 5” square of batting
- 5” square of fabric
- assorted fabric scraps cut into 1.5” strips
Instructions
- Cut your fabric into 1.5” strips.
- Place two strips diagonally across the batting square, right sides together.
- Sew a 1/4” seam along one long edge through both strips and the batting.
- Open and press.
- Add another strip, face down, on top of one of the previous strips and sew a 1/4” seam.
- Repeat this process until the batting square is covered with fabric strips.
- Trim the excess fabric so you have a 5” square.
- Place a 5” square of fabric on top, right sides together, and sew around the edges with a 1/4” seam, leaving a 2” opening.
- Turn right side out and press.
- Top stitch around the square with a 1/8” seam.


I love the creative idea. I hope you will come link up in my party too! https://meandmyinklings.com/best-christmas-cookie-recipes/