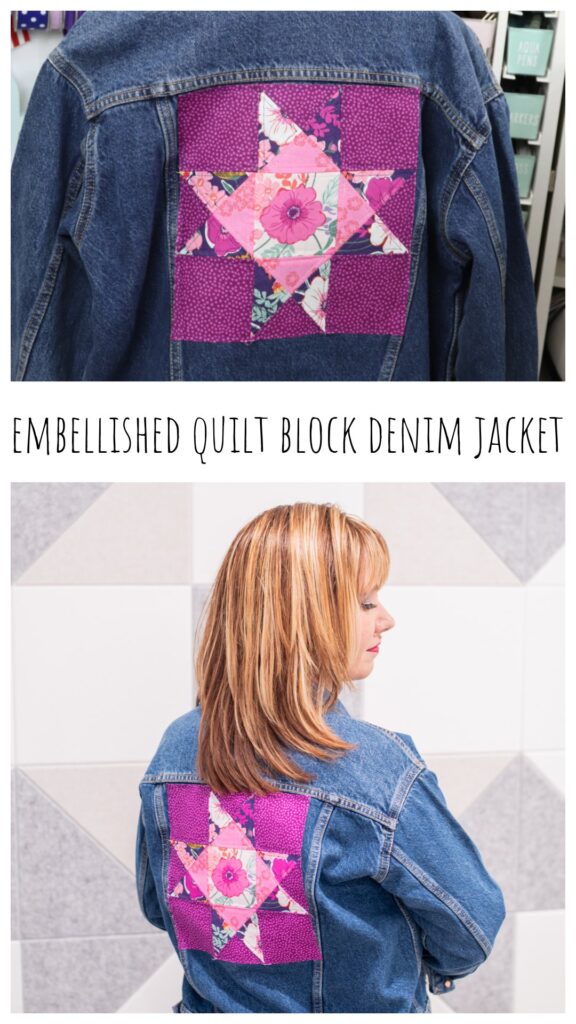
Embellished Quilt Block Denim Jacket
Do you have a denim jacket that needs a bit of an update? Here’s a fun and easy project to help you personalize your wardrobe: an Embellished Quilt Block Denim Jacket! And the best part is that you can make it uniquely your own by choosing any style of block and fabrics you like. Believe it or not, you can even create this if you don’t know how to sew.
How to Make an Embellished Quilt Block Denim Jacket
There are two different ways to create this jacket; one is for quilters, while the other requires absolutely no sewing experience at all. Take a look at the easy instructions below, and choose the method that’s the best fit for you.
Materials
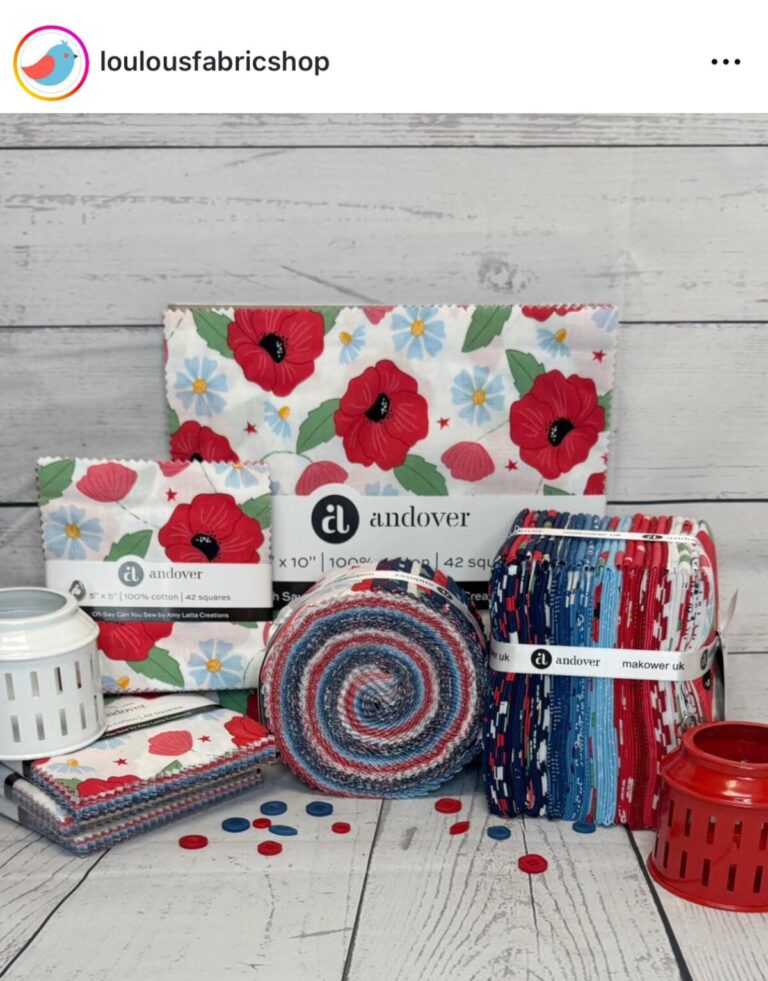
- fabric of your choice (mine is Felicity Fig from the Wandering collection by Andover Fabrics) OR premade 10” Iron On Patchwork Quilt Blocks
- double-sided fusible interfacing
- denim jacket
- iron
- sewing machine and thread (optional)
- scissors
Special Savings: My favorite source for quilting and sewing supplies is Missouri Star Quilt Company. If you click any of the affiliate links in this post and place an order, you will get a special 25% discount that’s just for my friends and followers! The discount will automatically be applied at checkout, so let’s go shopping!
Instructions
Create or choose your quilt block.
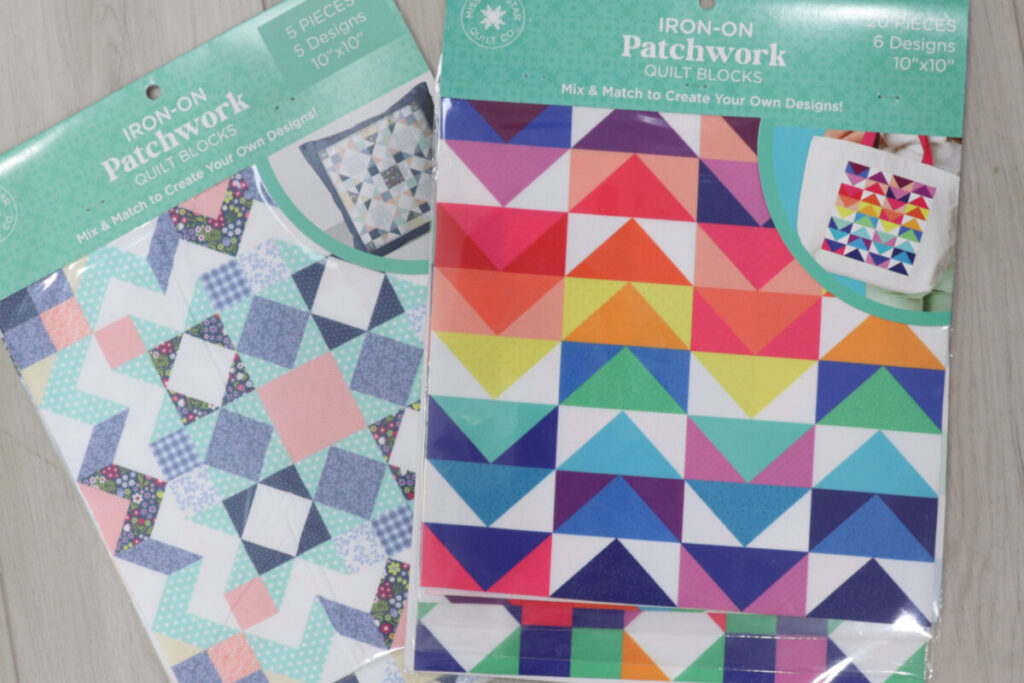
If you’re not a quilter, this is the easiest step ever, because all you need to do is choose your favorite premade 10” Iron On Patchwork Quilt Block! They’re available in a Brights palette as well as Cottage Core. Each pack has 5 designs to choose from, and you can use the extras for other projects like pillows and tote bags.
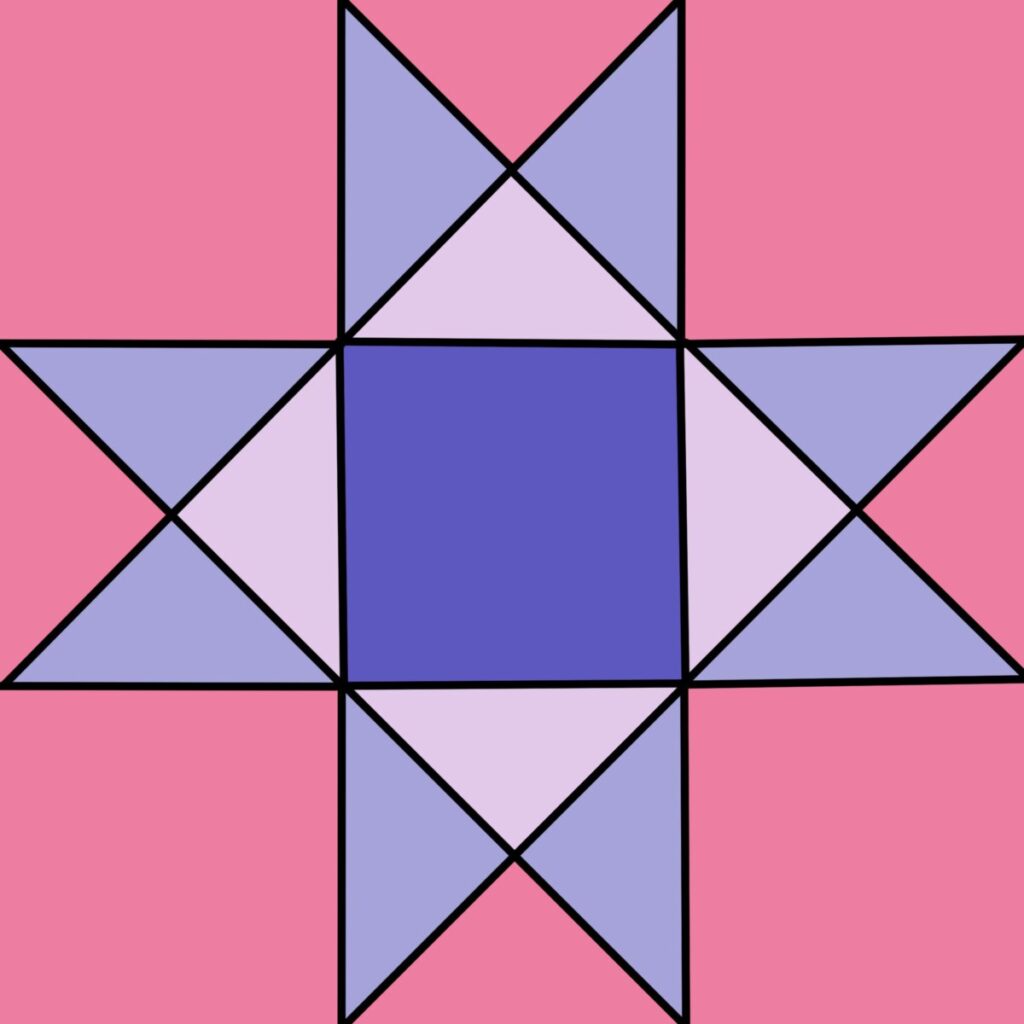
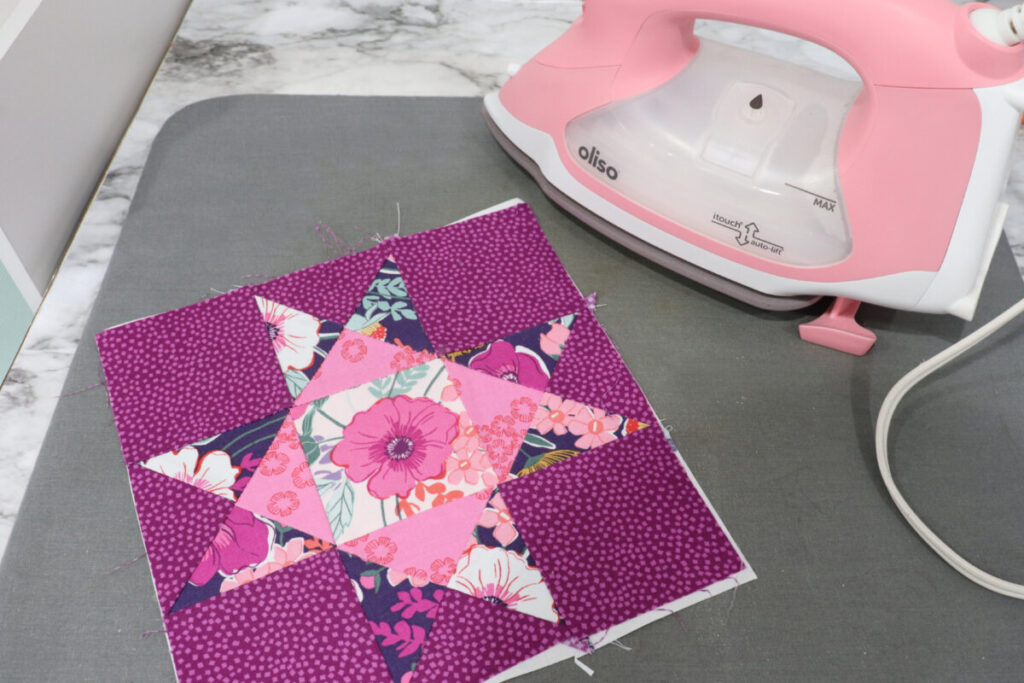
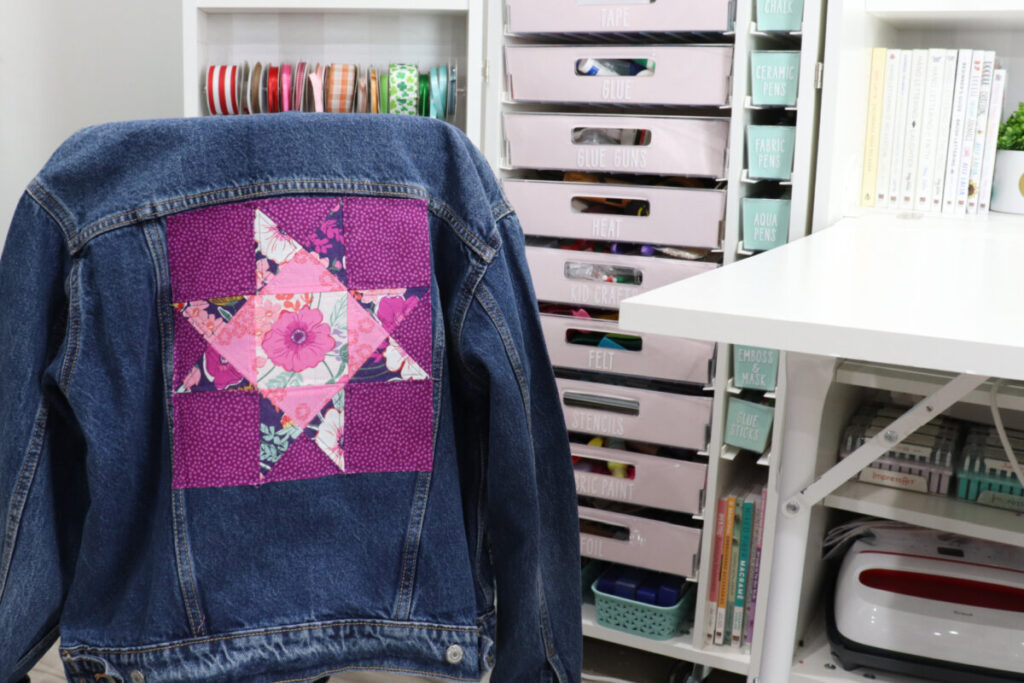
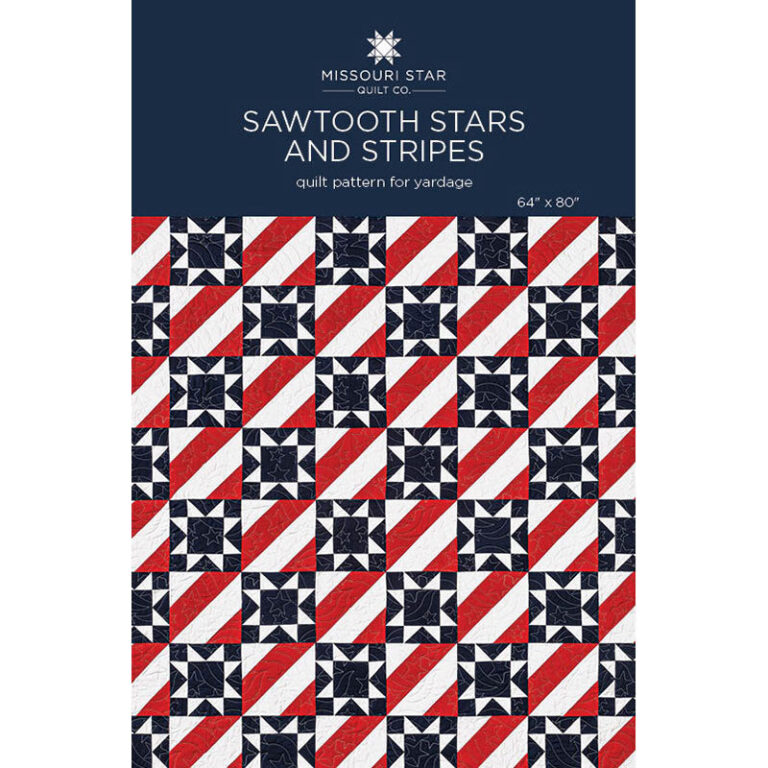
If you prefer to create your own quilt block, choose your favorite 9” or 10” block pattern, and piece it with your choice of fabrics. I chose the Ohio Star, which is a pretty simple one for beginning quilters. Here’s a detailed tutorial for how to make the Ohio Star, or you can make any style block you like.
Iron fusible interfacing onto the back of your block (only if you sewed your own).
The pre-made blocks already have adhesive backings, so skip this step if you are using one of those. If you created your own block, follow the instructions on the interfacing packaging to iron the bumpy/rough side of it to the back side of the fabric. Then, trim your block to square it up.
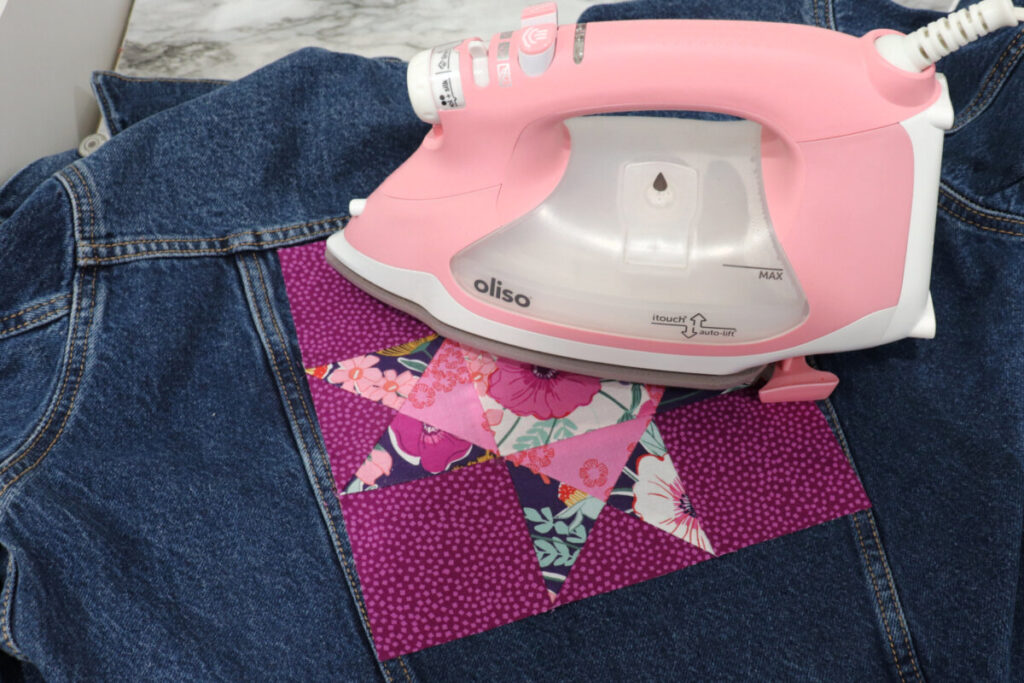
Position your block and iron it to your jacket.
If you’re using the pre-made blocks, follow the instructions on the packaging regarding heat and time settings. If you made your own, you’ll first need to peel off the paper backing layer of the fusible interfacing. Then, place your block right side up on the back of the jacket and iron it to adhere.
Machine sew around the edges of the square (1/8” seam) and sew any other details/pattern you like. (optional)
If you don’t sew, no worries, your patch will still look awesome! If you do want to add decorative stitching, this is your time to shine. I basically sewed a 1/8” seam inside each of the smaller shapes in my Ohio Star.
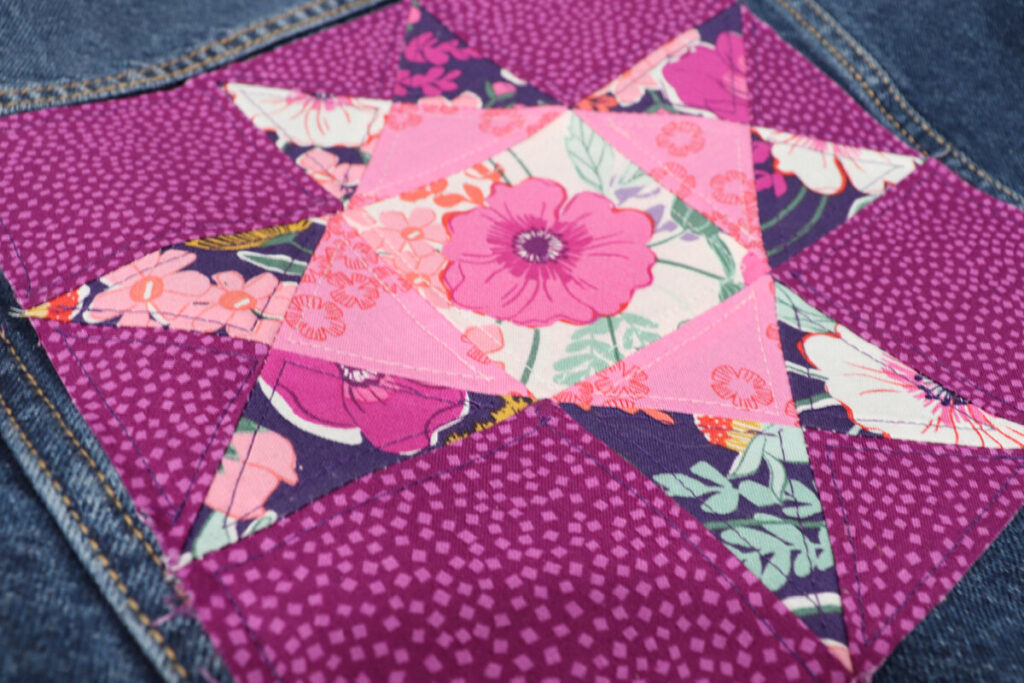
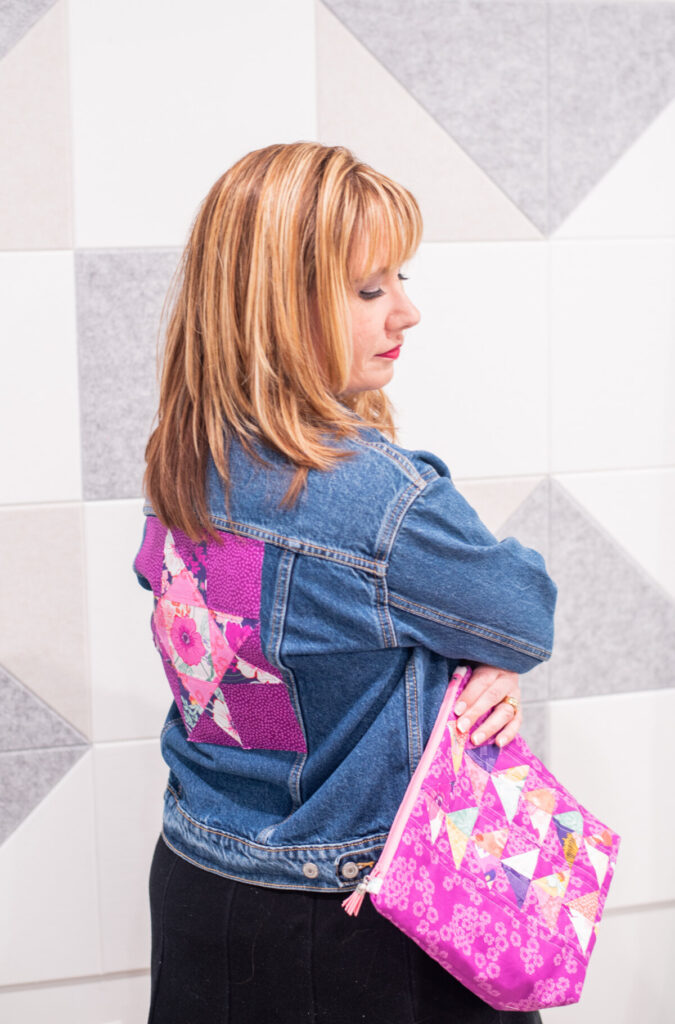
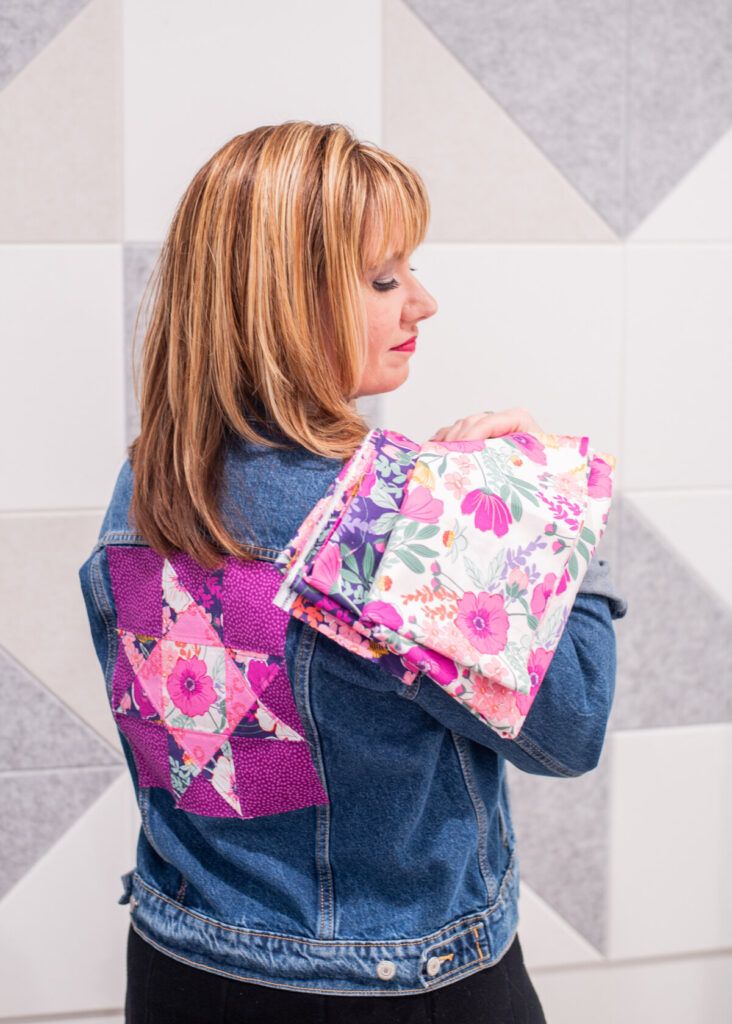
Once your block is ironed in place (and stitched, if you like), your jacket is ready to wear! Isn’t it so much fun?!
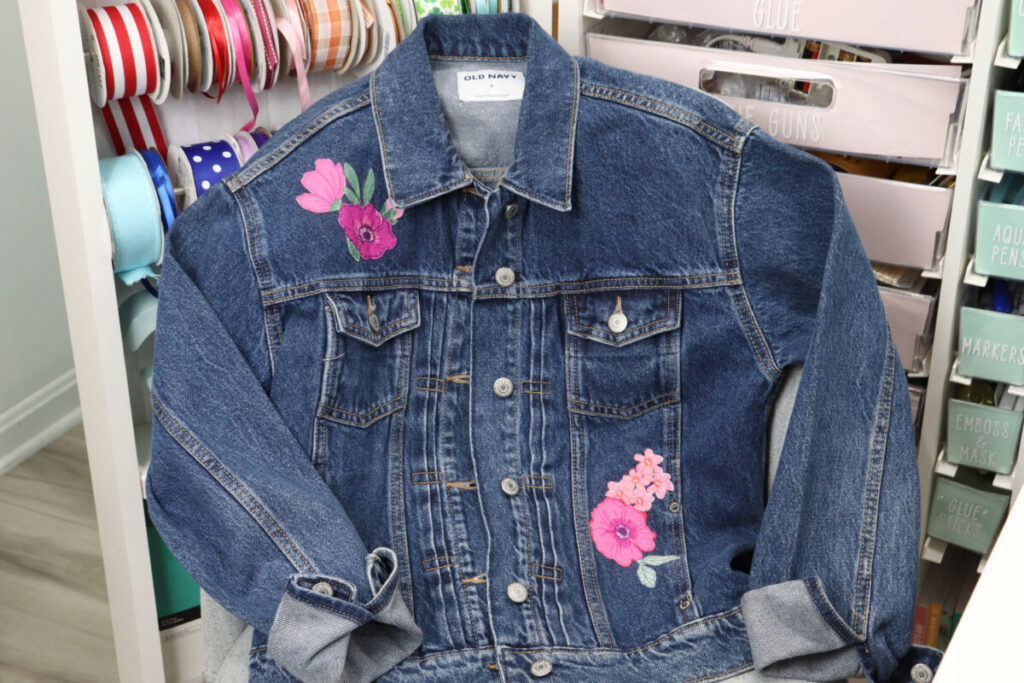
If you don’t want to stop there, you can add some extra flair to the front of your jacket too, by doing some fussy cut appliqué or by ironing on smaller versions of the quilt block patches. Here’s my full tutorial for the appliqué flowers I did.
This is such a fun and easy way to bring new life to a jacket, a pair of jeans, or even a tote bag. It’s also a great option for repairing/covering a hole in your favorite jacket. What will you personalize?
Crafting Tips
- Don’t have a jacket that’s perfect for this project? Try your local thrift store or online marketplace to find a great deal on a gently used one!
- Use this same technique to personalize a tote bag.
- If your pre-made block is too big, you can cut easily use a rotary cutter or scissors to trim it down to the size you need.
Frequently Asked Questions
Yes!
The 10” blocks, as well as smaller 5” blocks are available online from Missouri Star Quilt Company. Save 25% on your order when you use this link. The discount will automatically be applied at checkout.
Absolutely.
More Quilting Posts
If you enjoyed this post, here are some other ideas for small quilted projects you can create!

If you try personalizing your own jacket, or any of these other projects, be sure to stop by the Amy Latta & Friends Facebook Group and share your photos in the Show and Tell thread! Let’s inspire each other. See you there!

Embellished Quilt Block Denim Jacket
Equipment
- scissors
- sewing machine optional
- iron
Materials
- fabric OR Iron-On Patchwork Quilt Blocks
- denim jacket
- double-sided fusible interfacing (optional)
Instructions
- Choose or create your quilt block.
- If making your own block, iron double-sided interfacing to the back.
- Trim your block to square.
- Position block and iron to adhere.
- Add decorative stitching (optional).