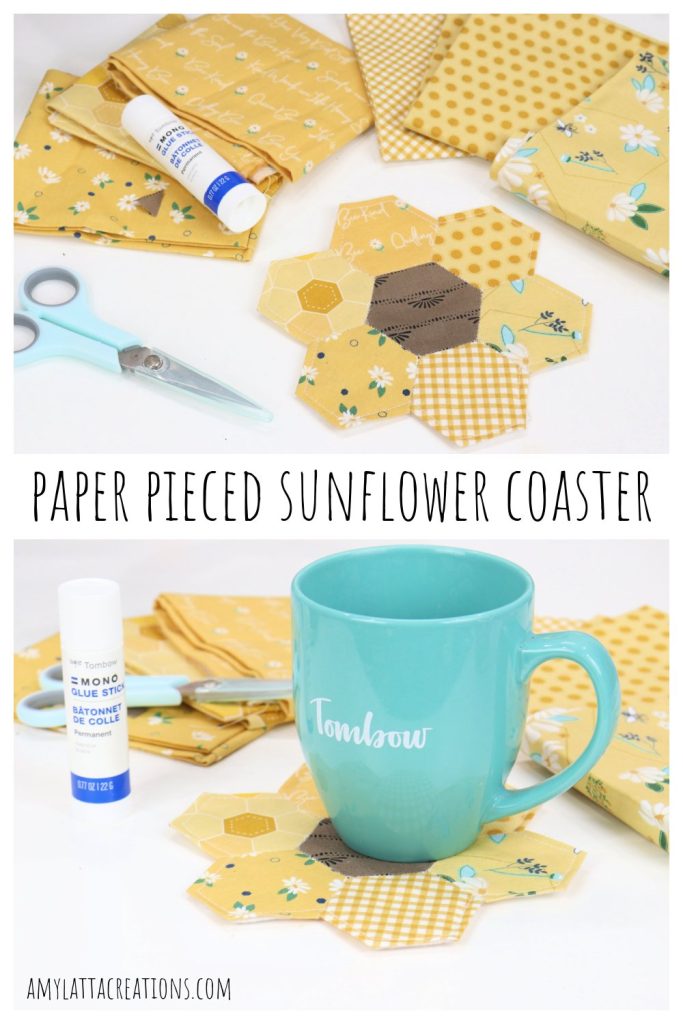
Paper Pieced Sunflower Coaster
What’s your favorite flower? Personally, I’d have to say the sunflower! They’re so big, bright, and cheerful that I can’t help but smile when I see them. Today, we’re going to create a sunflower coaster together. Let’s get started!
How to Make a Sunflower Coaster
To create this cheerful coaster, we’re going to use the English Paper Piecing technique, which involves wrapping fabric around paper shapes, then hand sewing the shapes together to form our design. For more info on EPP, check out my introduction to paper piecing post.
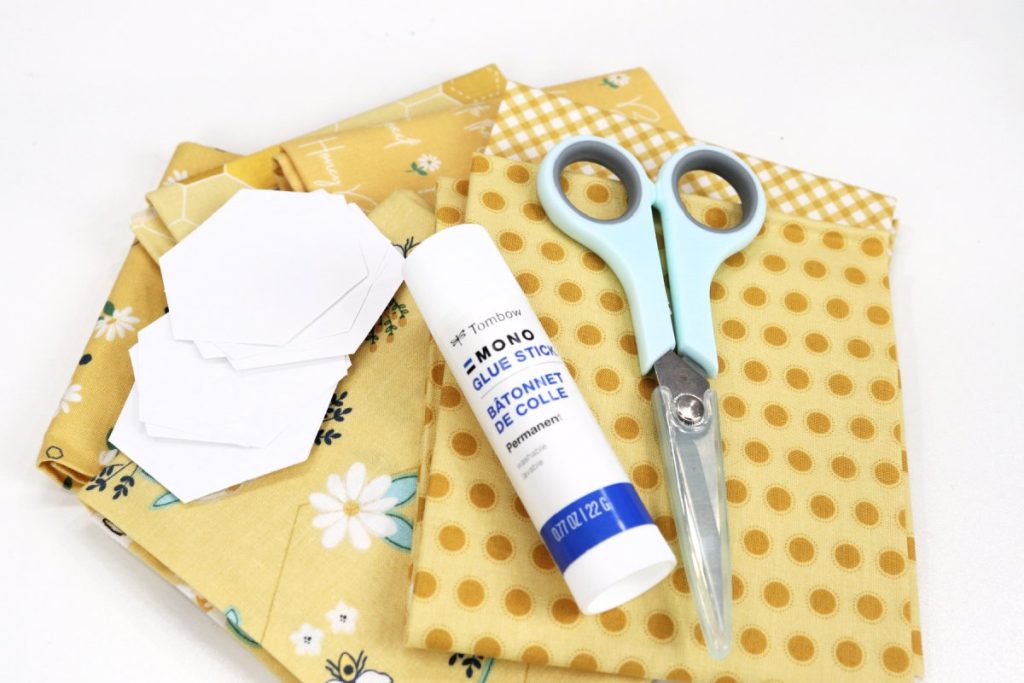
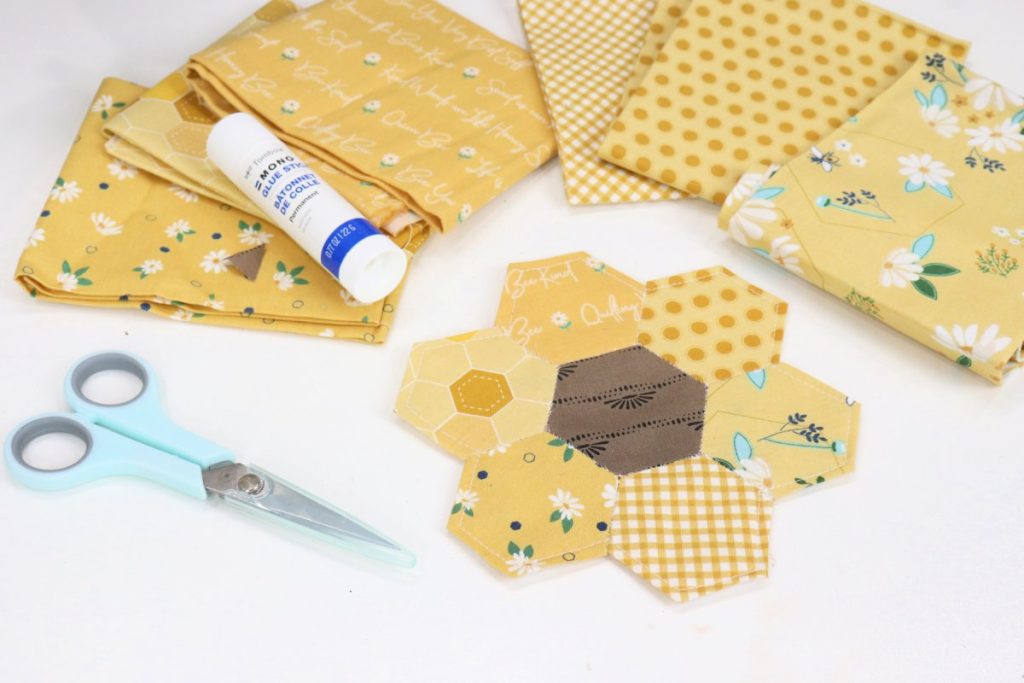
Materials
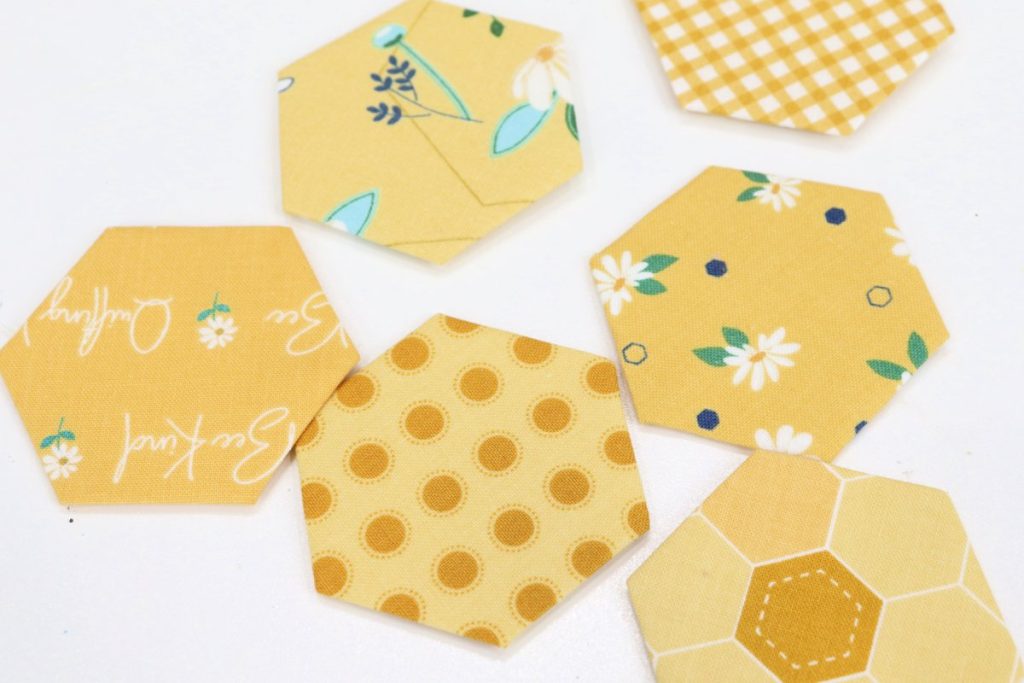
- assorted scraps of yellow fabric (enough for six 3” squares)
- 3” square of brown fabric
- scissors
- paper hexagon shapes (each edge of mine measures 1.25”)
- glue stick
- needle and thread
- felt
You can purchase pre-cut hexagon shapes, or use a Cricut machine to cut your own from cardstock.
Instructions
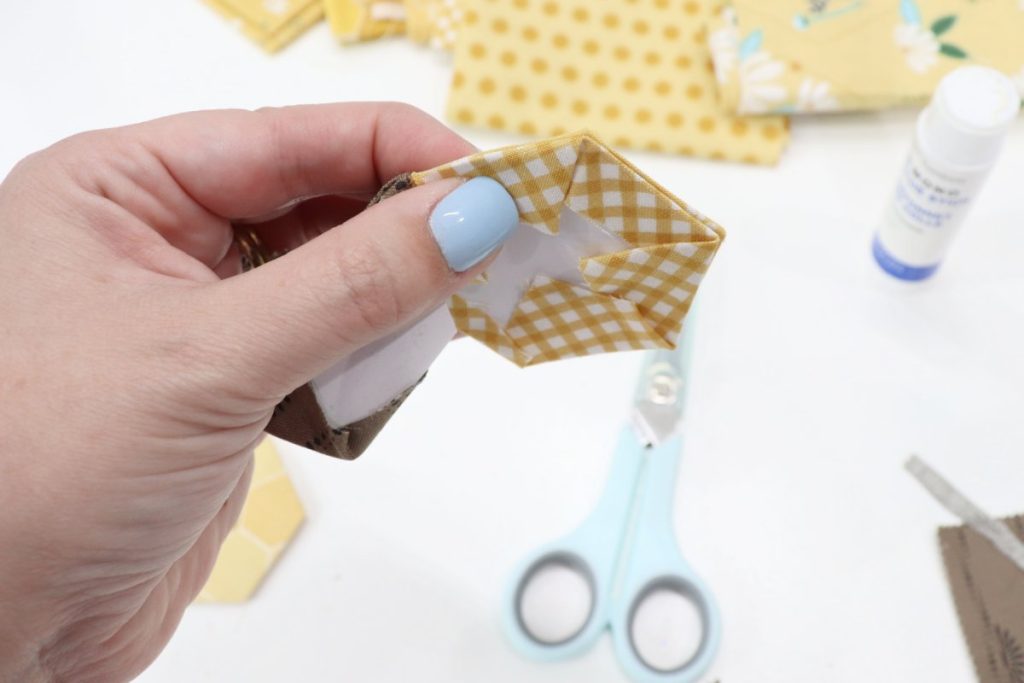
Wrap six paper hexagons with yellow (or other colored) fabric, and wrap one hexagon with brown fabric.
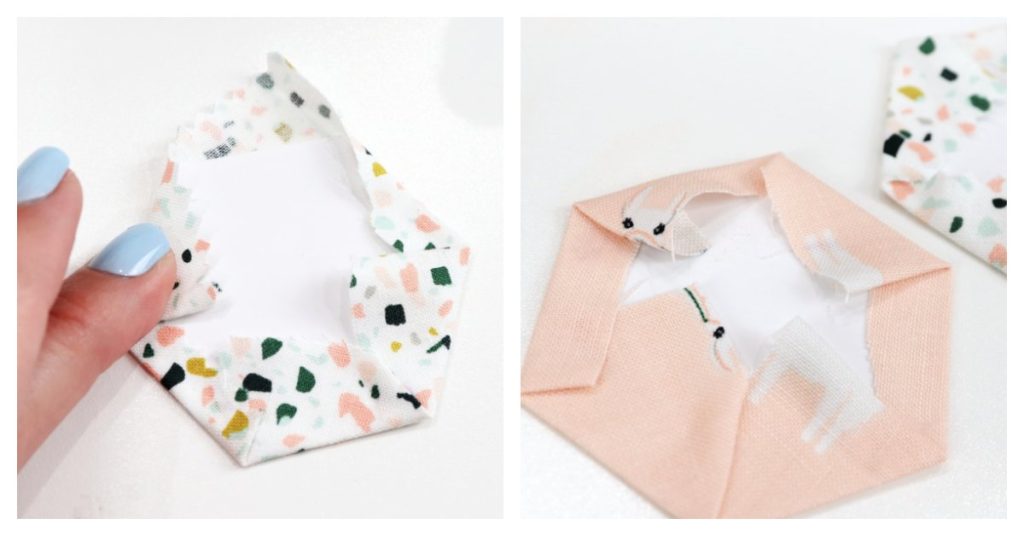
To do this, place the fabric square face down on the table with the paper hexagon centered on top. Go around the shape one side at a time, pulling the fabric over the edge and using a small amount of glue to hold it in place. Pressing with an iron will also help the fabric stay put. Some crafters prefer to make a few hand stitches to hold the fabric in place rather than using glue; you can choose whichever method you like best.
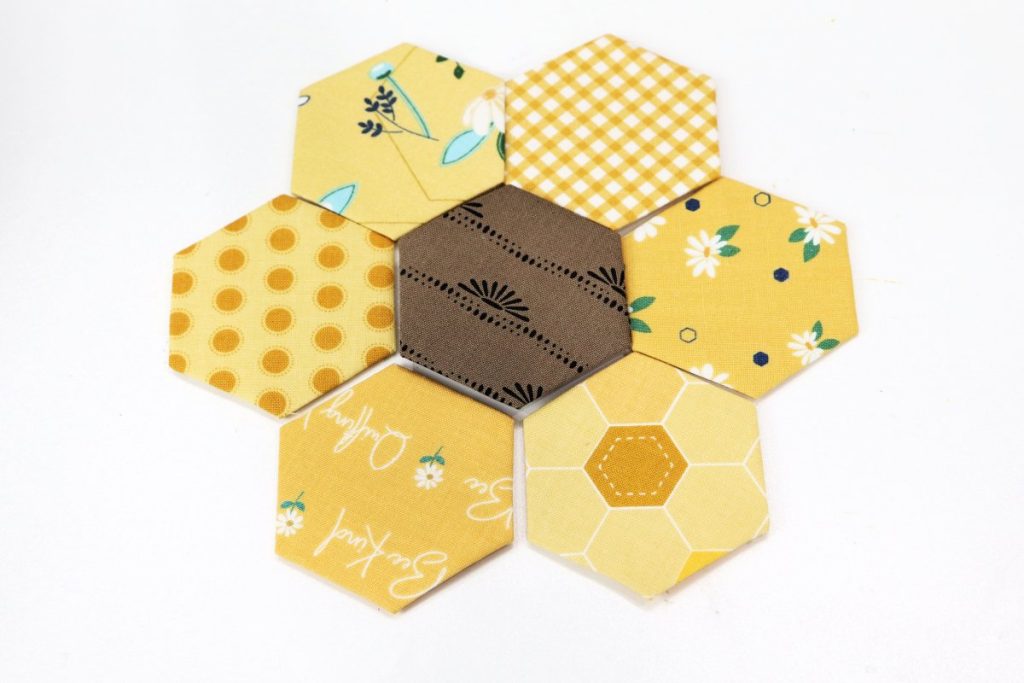
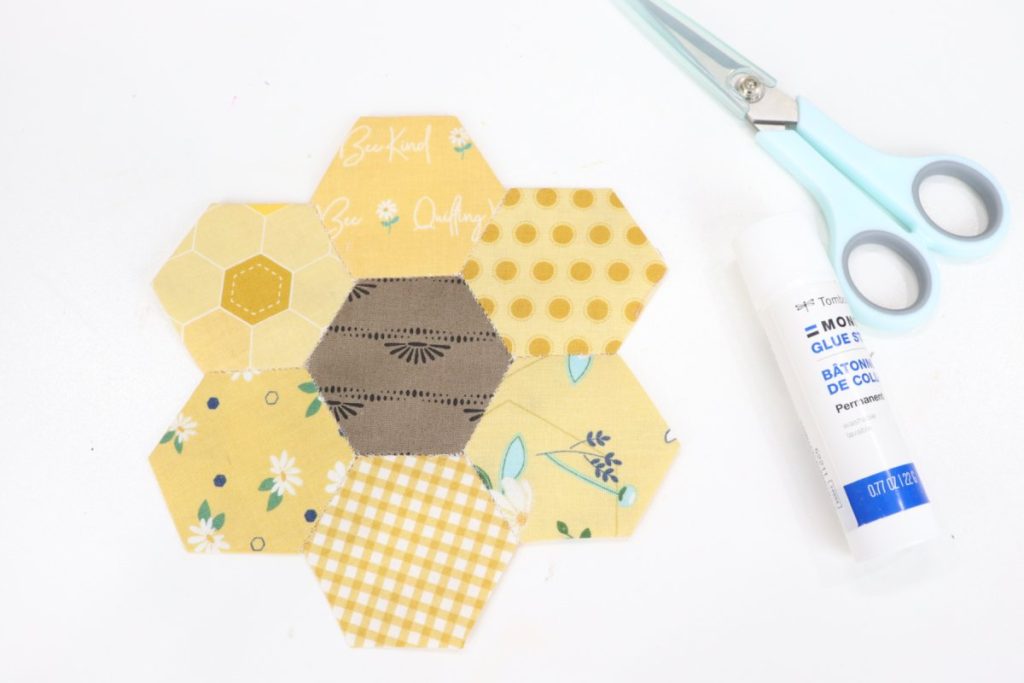
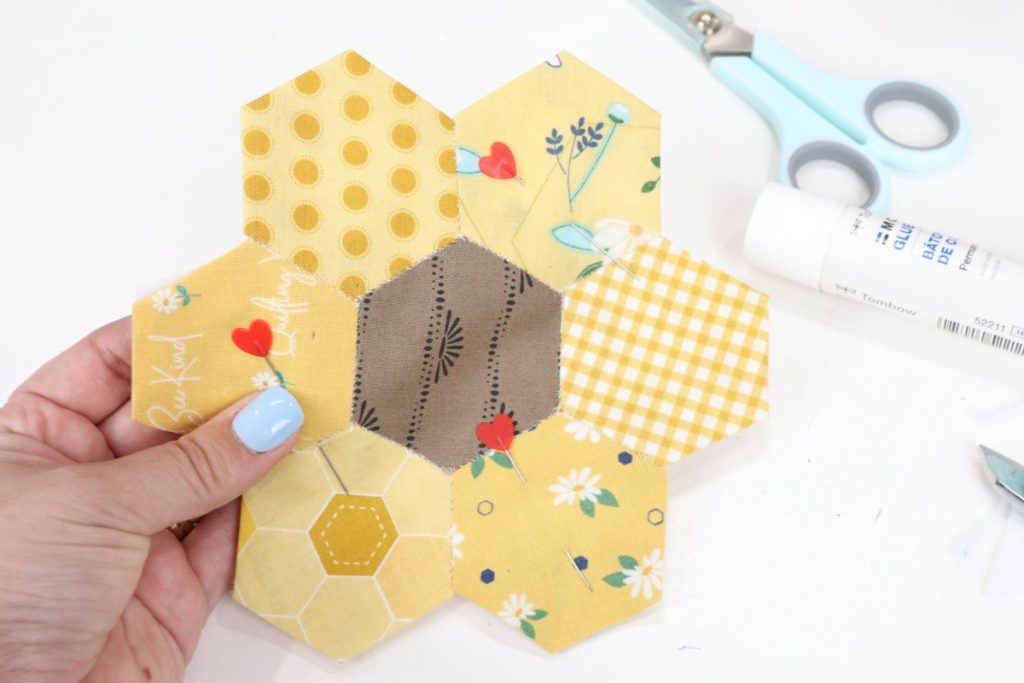
Arrange your shapes to form the flower.
Place the petals on all sides of the center shape, arranging the fabrics however you like.
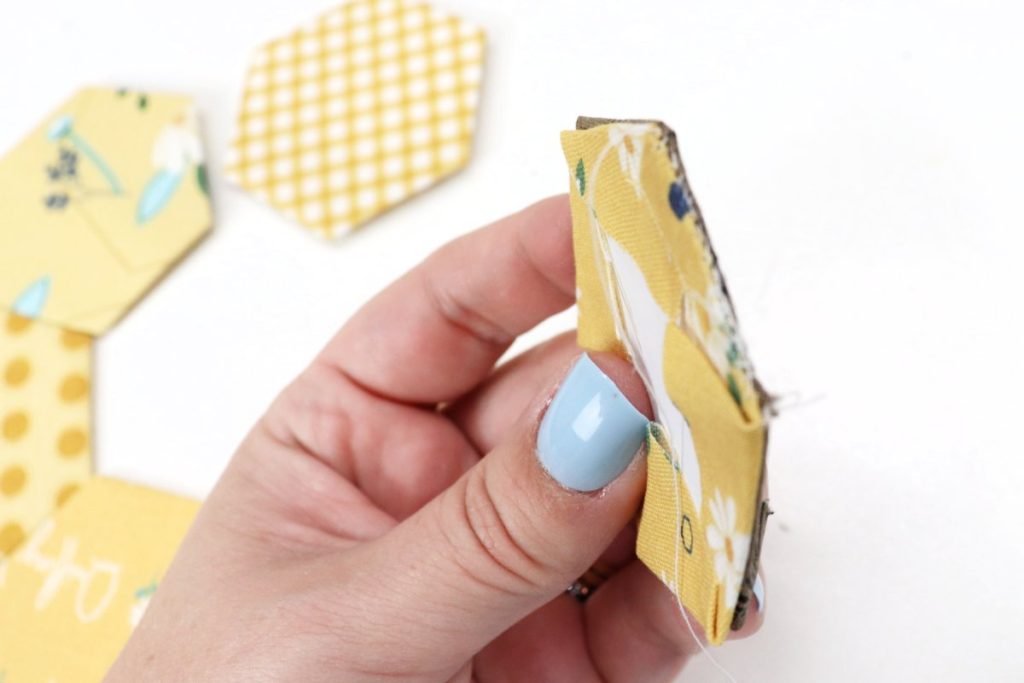
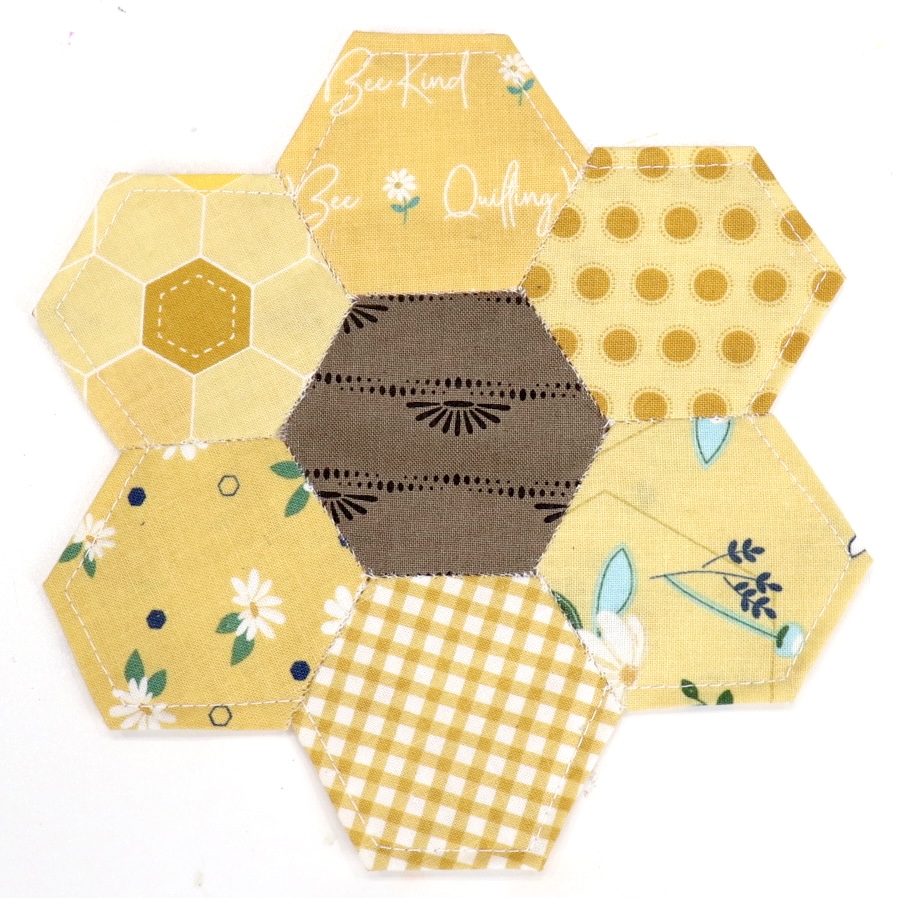
Hand stitch the shapes together along the edges.
Starting with the center hexagon and one of the petals, place the shapes right sides together, then sew along one side. Grab just a little bit of fabric from each shape with the needle, not catching the paper.
Then, sew the next petal in place. You’ll start by placing it facedown against the center piece and sewing along that edge. Then, move the petal so it’s facedown against the previous petal and stitch along the adjoining edge.
Continue hand sewing the hexagons together until your entire flower is one piece. Here’s a diagram for my recommended order to sew the pieces.

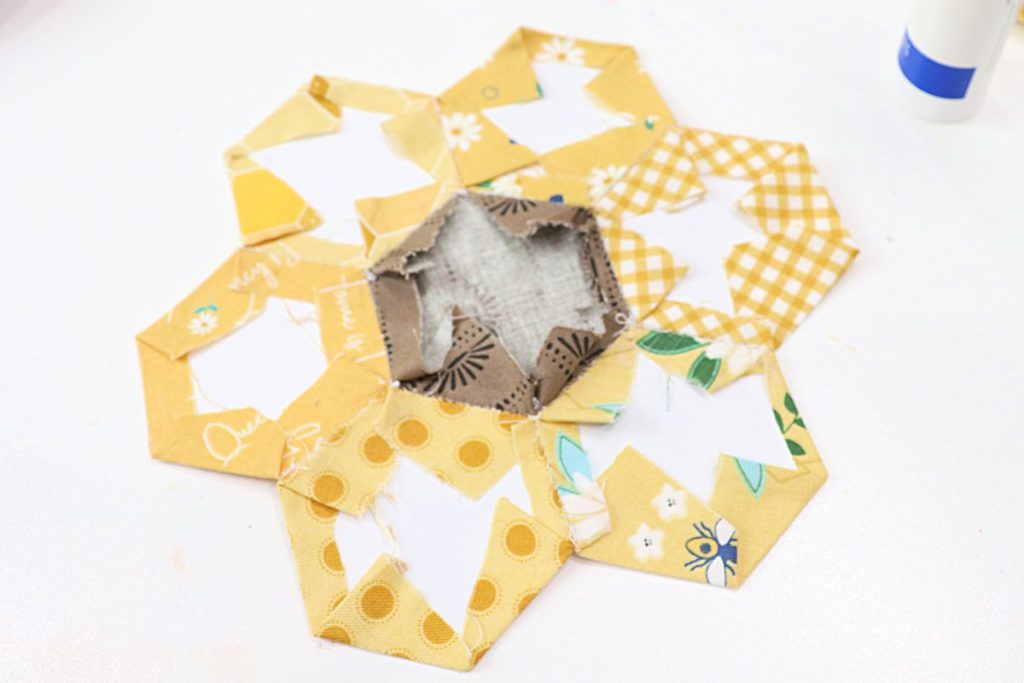
Remove the papers.
Carefully remove the paper pieces. If the glue is not cooperative, you can heat it briefly with an iron to loosen the bond.
Once the papers are removed, you could choose to applique the flower onto a pillow cover, a quilt top, a bag, etc. Or, you can continue on to the next step to create the coaster.
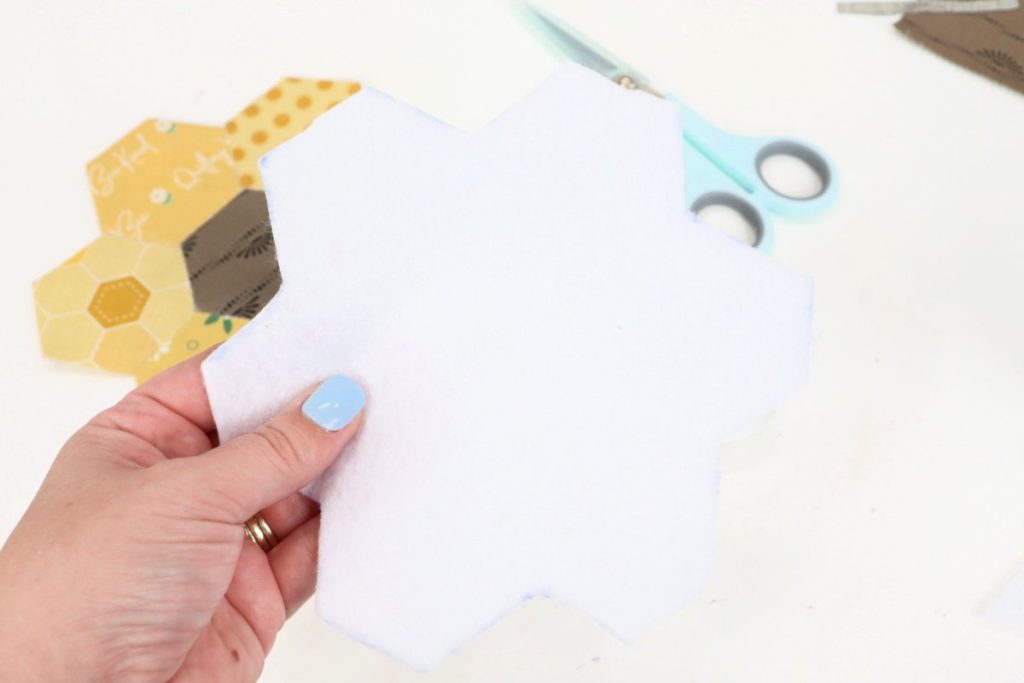
Cut a piece of felt that’s slightly smaller than the flower.
I did this by tracing the flower onto my felt, then cutting inside the lines.
Pin the flower to the felt piece and sew around the outside edges with a 1/8” seam.
You can do this stitching by hand, if you like, or you can sew this part on your machine.
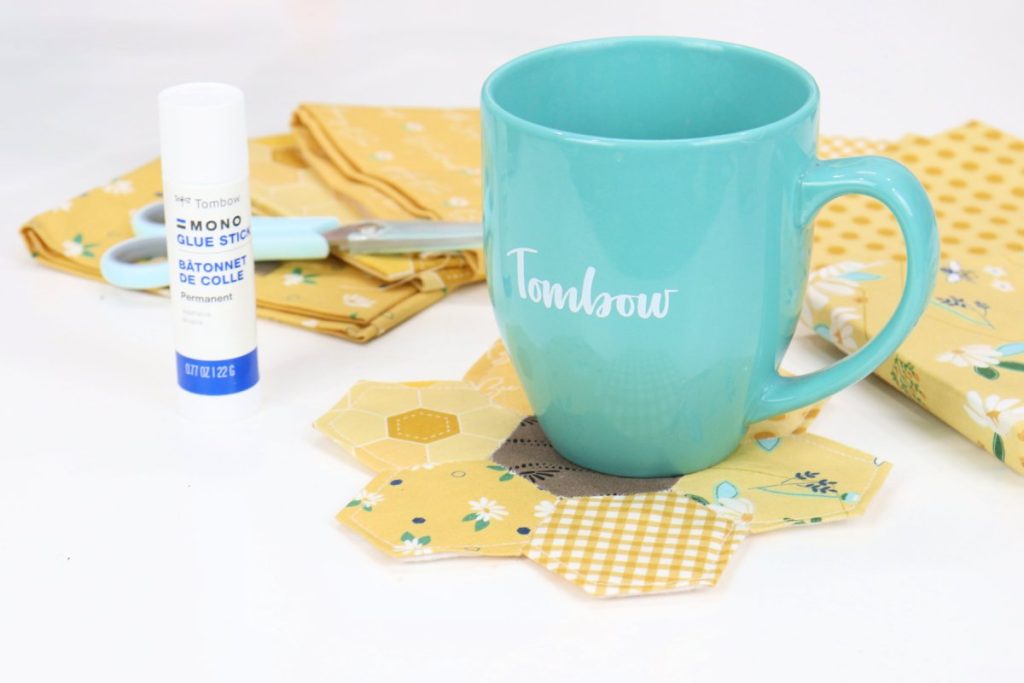
Now your coaster is finished and ready to add a cheerful touch to your table.
For those of you who are visual learners, here’s a quick video of the process!
Crafting Tips
- Try using this pattern to create other flowers using different colors of fabric!
- Instead of making just one coaster, try crafting a set of four or six. A set of handmade coasters is a great gift idea.
- When using glue, less is more. Remember, the goal is to remove the paper when you’re finished your stitching.
- If you enjoy paper piecing, check out Pinterest for all kinds of other patterns and ideas using hexagons and other geometric shapes!
Frequently Asked Questions
There are glue pens made specifically for paper piecing that you can find online or in craft and hobby stores. You can also use a regular school glue stick.
You can purchase precut shapes, or you can create your own. One option is to trace and hand cut them. I prefer to upload a hexagon shape into my Cricut app (Design Space) then size and duplicate it, and cut multiple pieces from cardstock. It’s quick and easy, and all of my shapes come out exactly the same.
My yellow fabrics are from the Daisy Fields collection (by Bev McCullough for Riley Blake Designs). The brown is from Dawn on the Prairie (by Fancy That Design House for Moda Fabrics).
More Quilting Projects
If you enjoyed this project, check out these other fabric projects including more paper piecing, quilting, and sewing.

If you try any of these projects or patterns, I’d love to see what you create! Make sure you are part of the Amy Latta & Friends Facebook Group so you can share your latest photos and we can all be inspired. Hope to see you there!