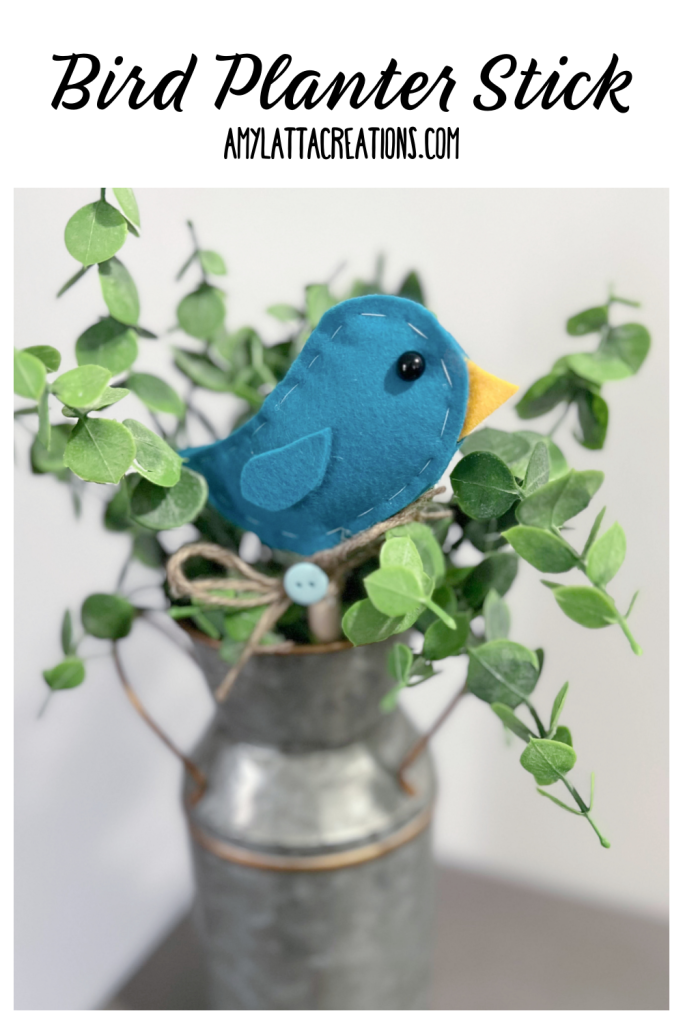
Spring Bird Planter Stick
Spring is coming, and warmer weather is just around the corner! To celebrate, here is a quick, easy, and cheerful little project you can create; Bird Planter Sticks! The first, easiest version is made from felt and either hand stitched or glued together. If you prefer, you can make them from fabric and using some machine stitching, but the template and basic idea is the same. Let’s start with our little felt friend:
Materials:
Felt (one color for the body and wing, plus a color for the beak)
Scissors
Thread and sewing needle OR glue
Dowel rod
Poly-Fil
Button, google eye, or other embellishment for eye
Ribbon or twine, button (optional)
Step 1: Cut your felt pieces.
Download the free pattern by heading to this link and saving it to your device. Print it out, then use it as a guide to cut two pieces of felt for the body, one beak, and one wing for every bird you’d like to make.
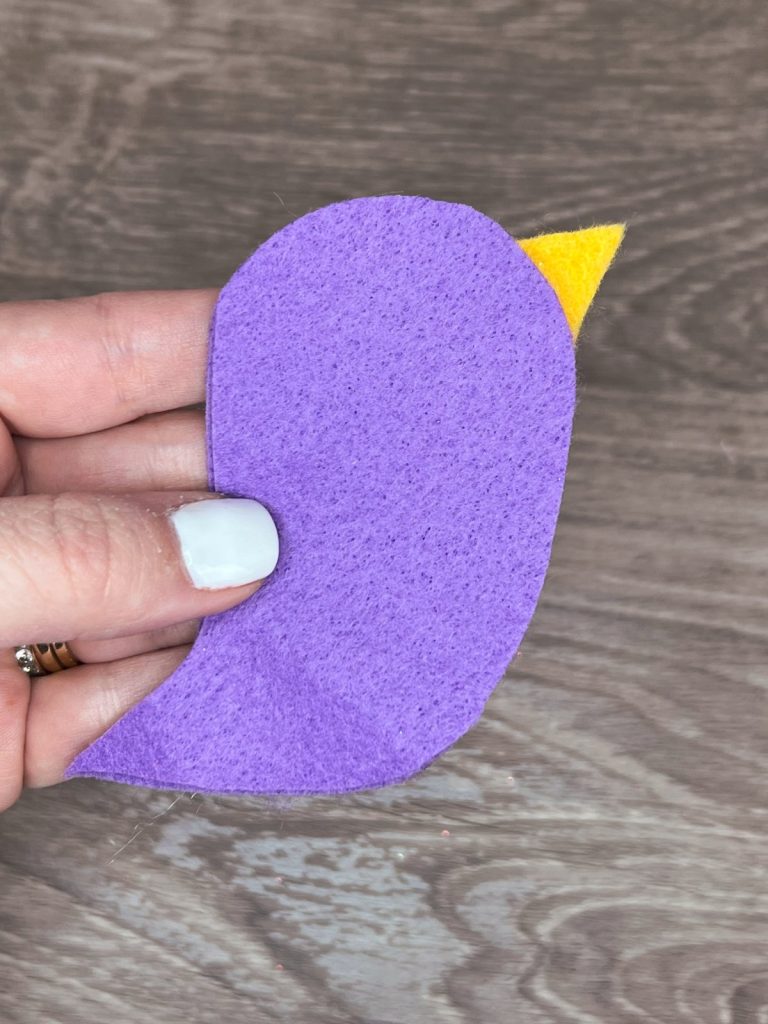
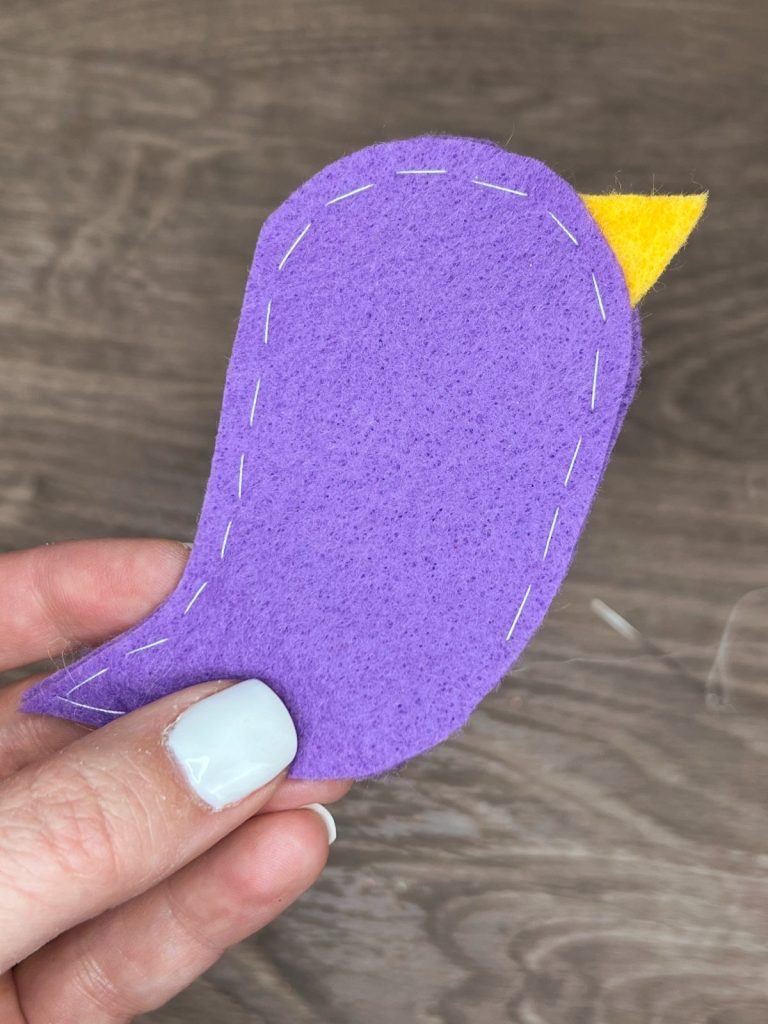
Step 2: Sew around 3/4 of the bird, leaving the bottom open.
Place your two body pieces on top of each other, with the beak piece in between. If you’d like to use a small dot of glue to hold the beak in place while you sew, feel free. Then, hand stitch close to the edges of the felt to attach the pieces together. Leave an opening at the bottom.
If you’re crafting with young kids, or just don’t like to hand stitch, you can attach the front and back with hot glue or craft glue instead. Just make sure to still leave that opening at the bottom.
Step 3: Stuff the body with Poly-Fil.
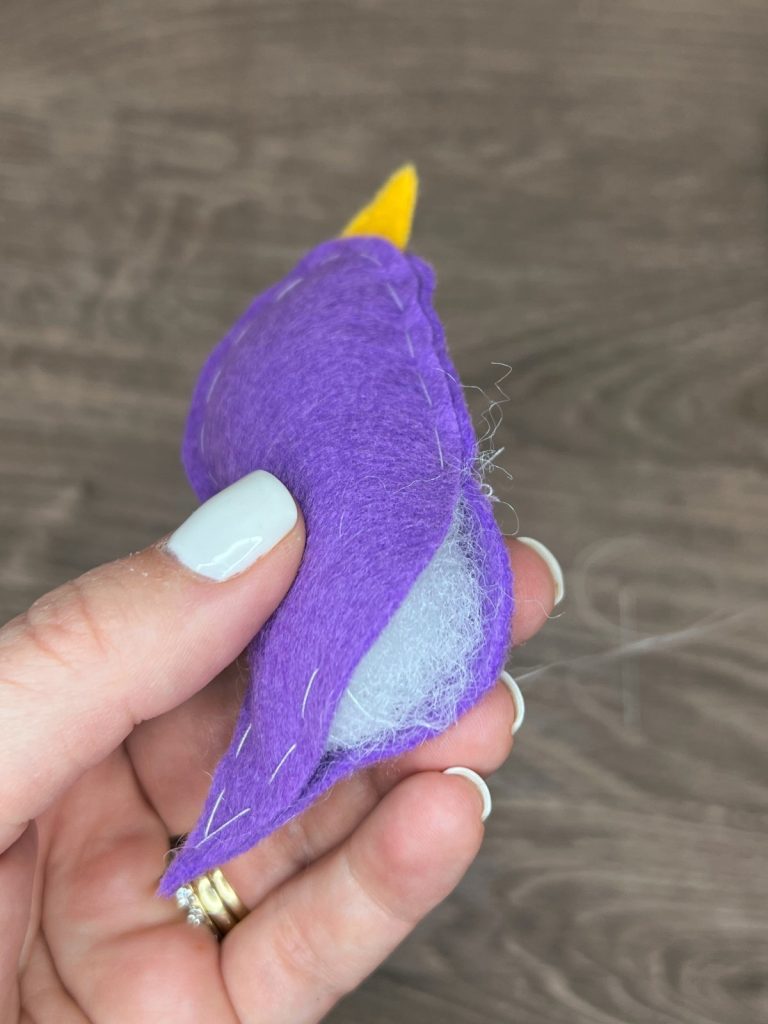
Step 4: Place the dowel inside the bird and finish stitching the bottom closed.
You can use whatever width and length dowel works best for your planter.
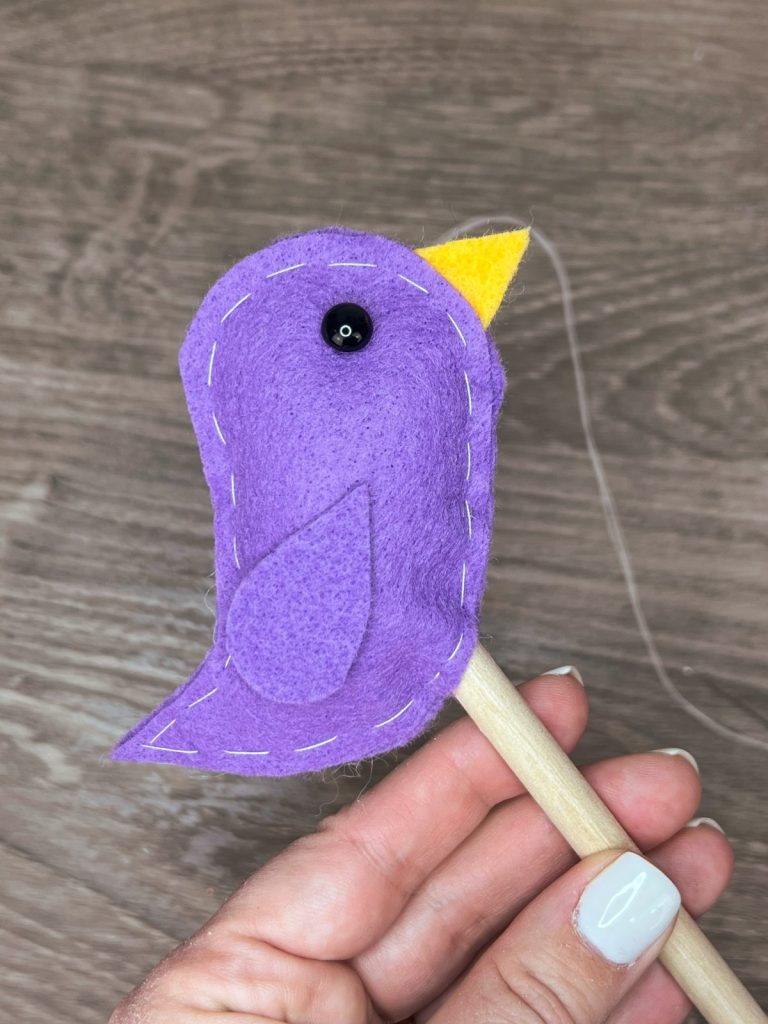
Step 5: Glue or sew the wing piece and eye onto the body.
If you want to get creative and use a different color felt, or even a feather for the wing, go for it!
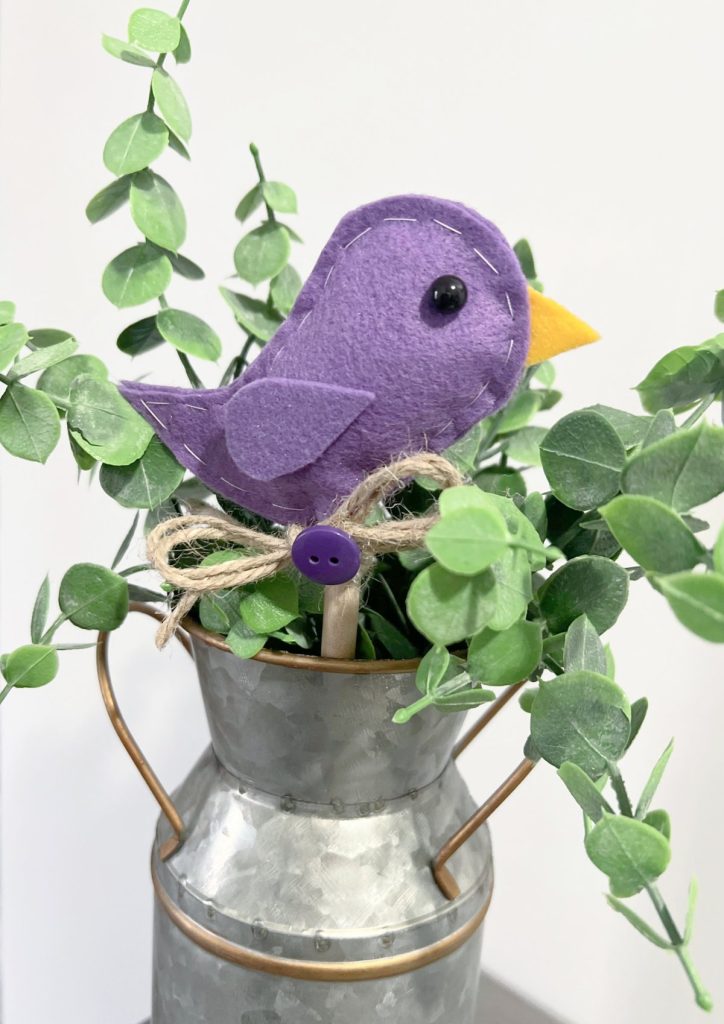
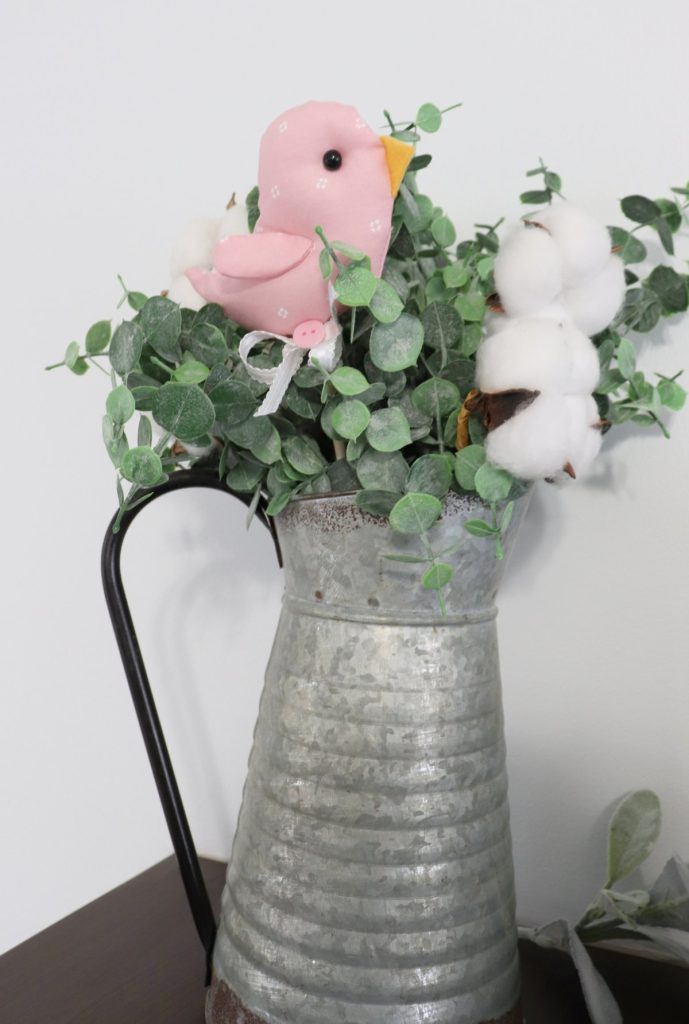
I like the natural look of twine, but you can also use ribbon in any color or pattern. This just adds a fun little finishing touch.
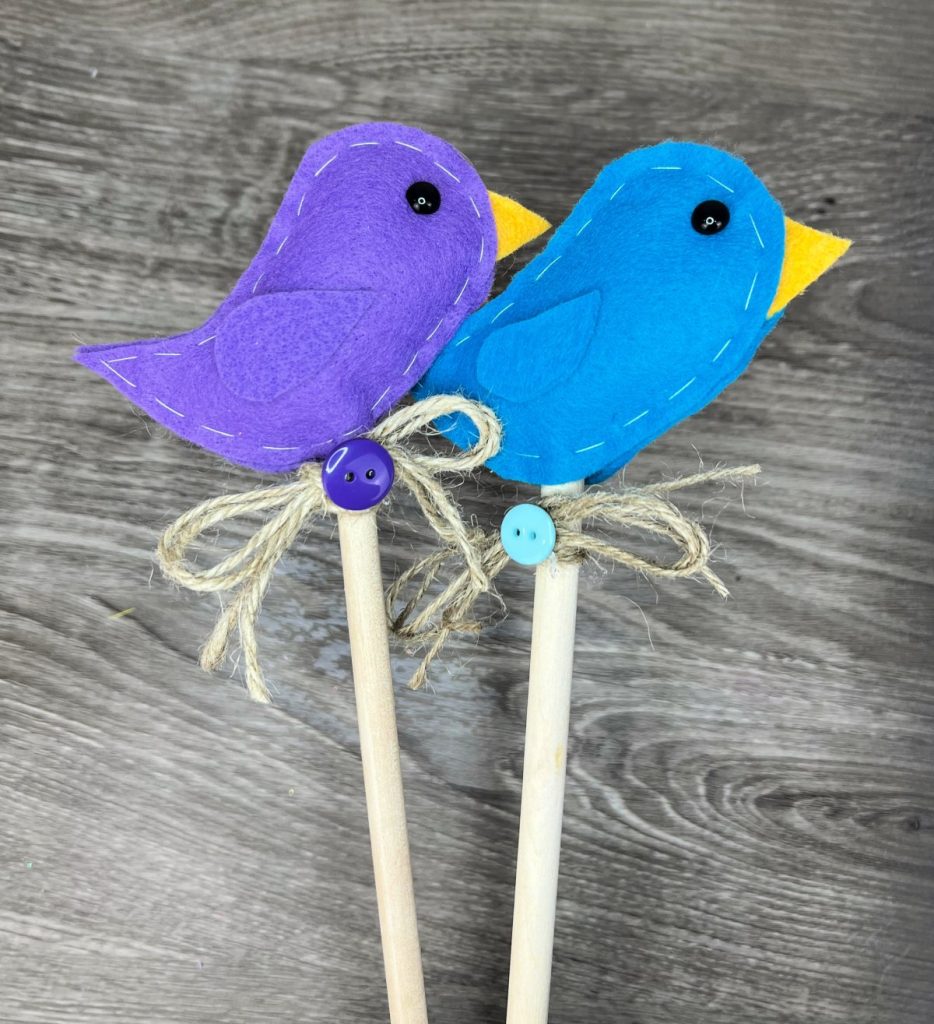
The only thing left to do is place your little friend in a flower arrangement or a potted plant! I love how they bring a touch of spring into the house and remind me that warmer days are just around the corner!
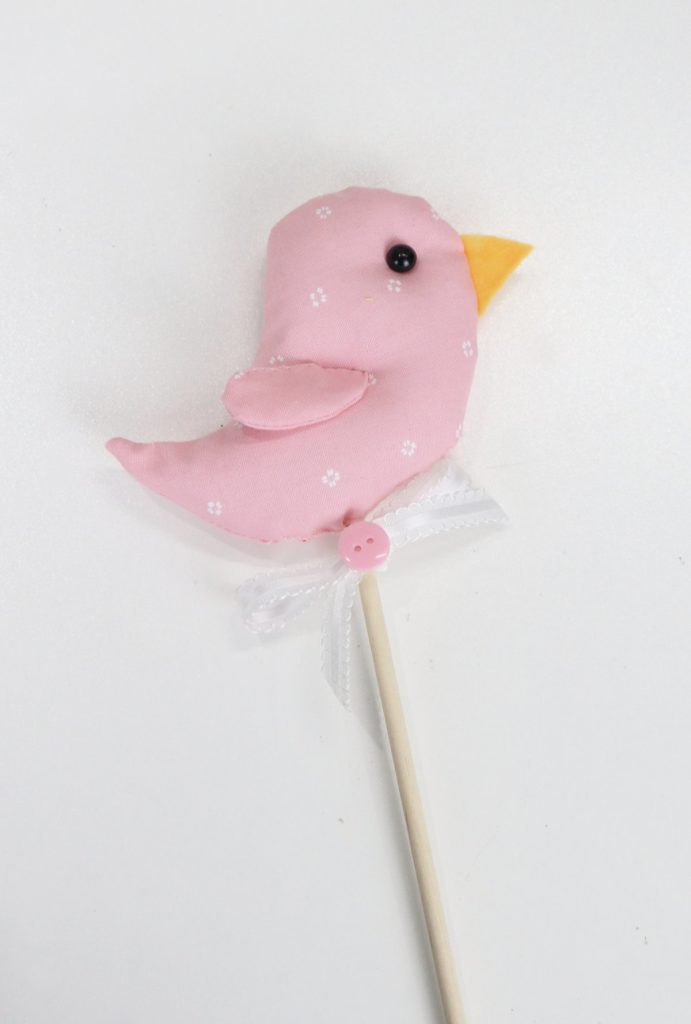
If you’d like to try the fabric version, use the same pattern/template, but cut two wing shapes instead of one. To sew the body, place the fabric pieces right sides together and machine stitch around 3/4 of the shape. Turn it right side out, then pick up with step 3, filling it with Poly-Fil, adding the dowel, and hand stitching it shut. For the wing, place the wing pieces together right sides facing in, sew around the shape, leaving an opening. Then, turn it and sew the opening shut. Hand stitch the wing to the body, then continue with the other steps.
If you create your own, I would love to see how they turn out. Share your photos in the show and tell thread in the Amy Latta and Friends Facebook Group so we can all be inspired.
PS. If this little birdie looks familiar, it’s because you can learn to draw him in my newest book, Doodle Everything! Check it out for all kinds of other fun spring, animal, garden, and other step-by-step doodle ideas.
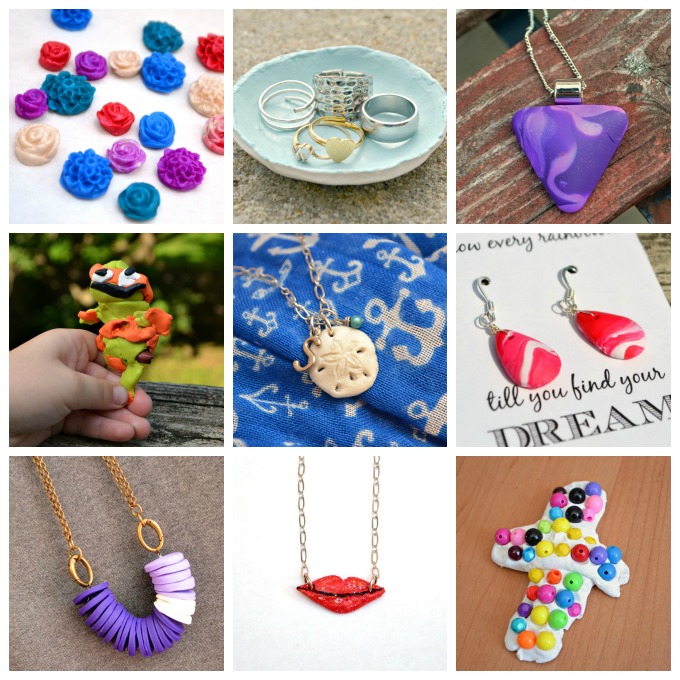
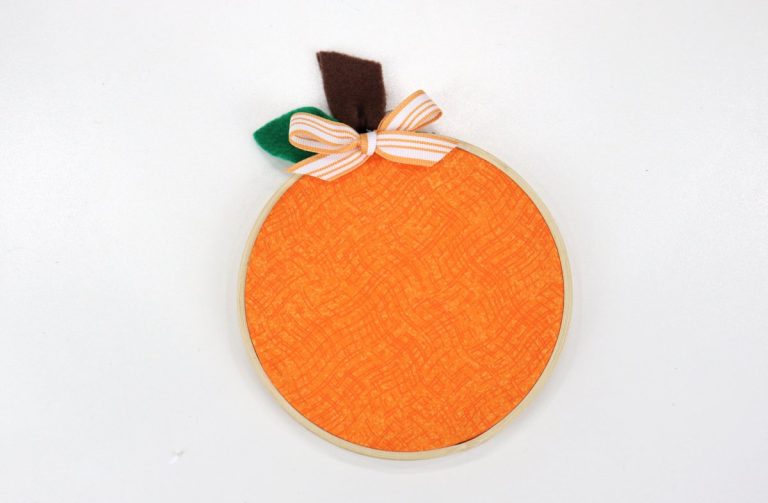
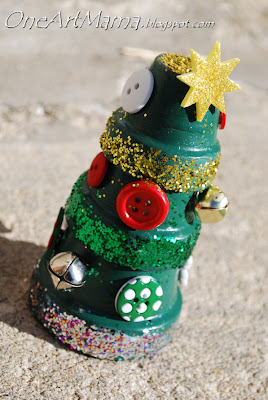
Also, make sure to take a look at these other fun spring crafts. Happy creating!