Stenciled Wooden Sign
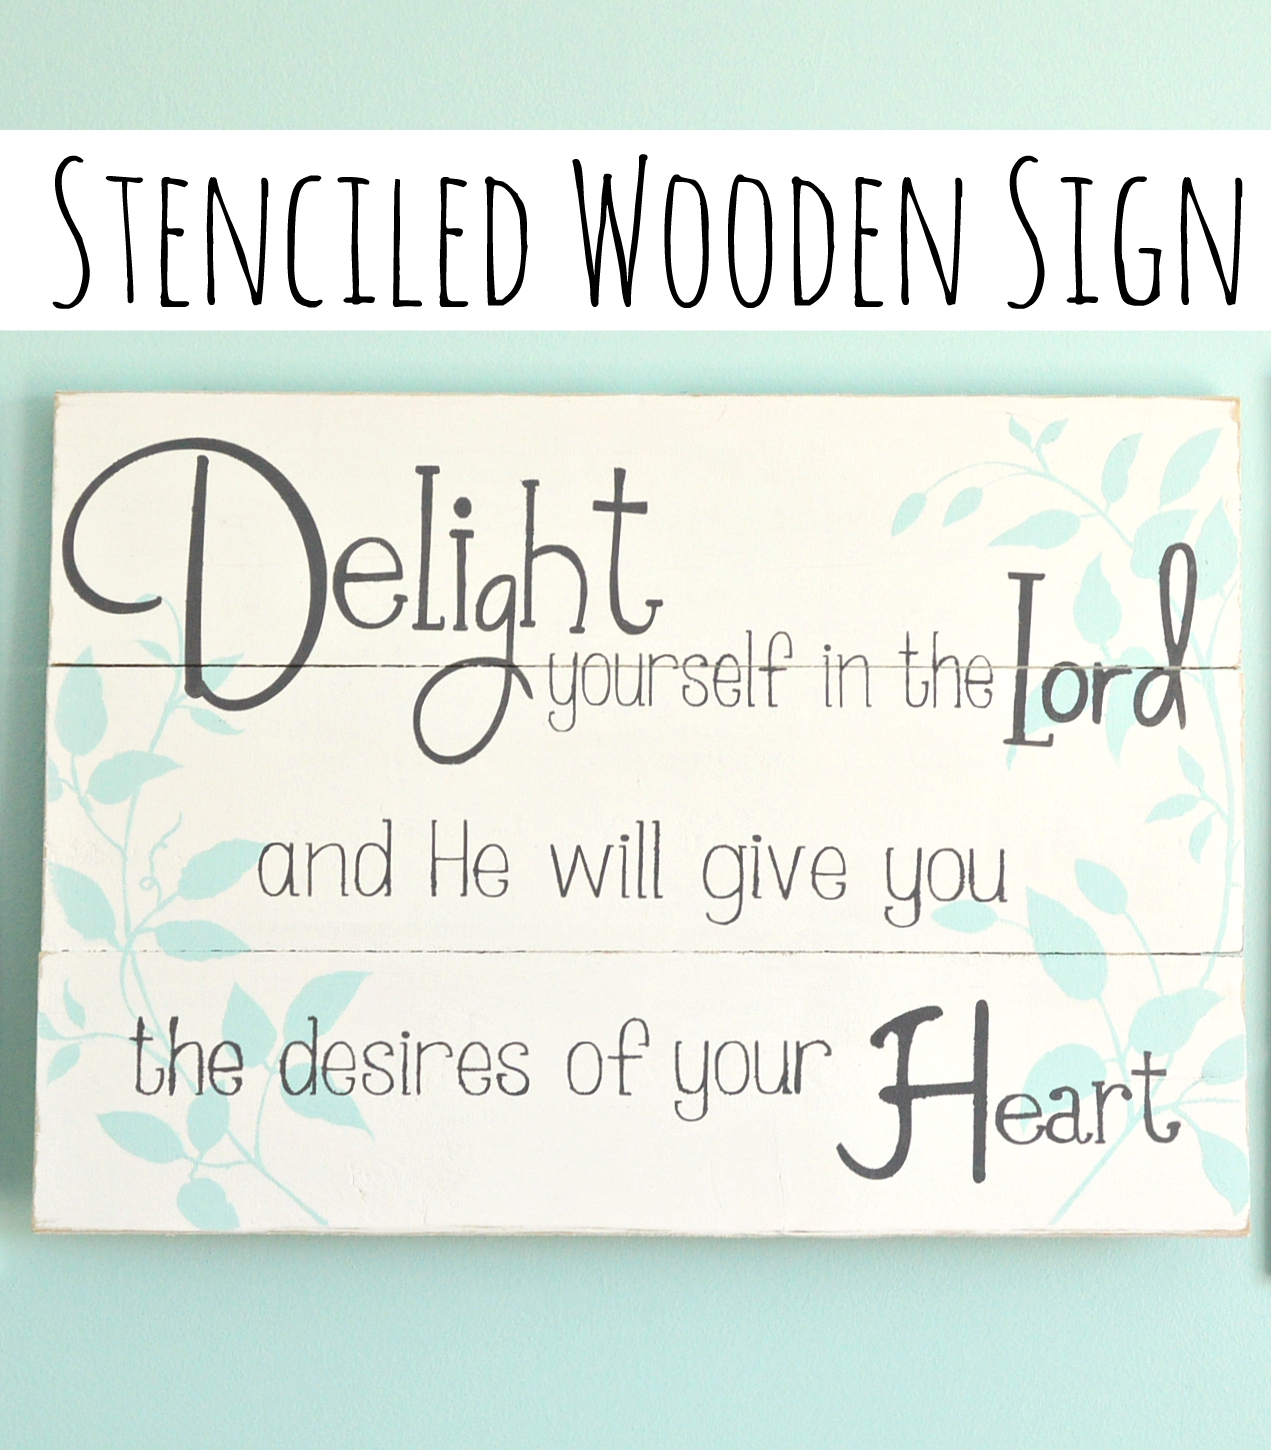
I (Erin) always feel like one of the focal points in any nursery is the art that goes over the crib. I wanted to something super special for my baby girl, and with the help of Cutting Edge Stencils, I was able to design a sign that held a lot of meaning for me.
If you’ve been a long-time reader of One Artsy Mama, you might know that I lost my mom to pancreatic cancer a little less then three years ago. Needless to say, it’s a bittersweet journey with every pregnancy. This pregnancy was a huge surprise to us (the first without help of fertility drugs), and then when we found out it was a girl, the joy and excitement continued to mount! The Bible verse Psalm 37:4 has stuck with me throughout this pregnancy, and I knew it was the perfect thing to put above sweet Claire’s crib. (Claire will be named for my Mom of course, as well as my grandmother, and I am proud to continue their legacy through my daughter.) Keep reading to see how I made this special over-the-crib art!
Stenciled Wooden Sign
Materials:
-Wood (you can use use a pre-made board, or make your own)
-Paint (I used chalky white paint for the background, gray for the words, and for the stenciling, I used our nursery wall paint to have a perfect match)
-Small roller
-Stencil (Mine was provided by Cutting Edge Stencils)
-Stencil Brush (Mine was provided by Cutting Edge Stencils)
-Paint Brushes
-Vinyl/Vinyl Cutter (for wording)
-Transfer Tape
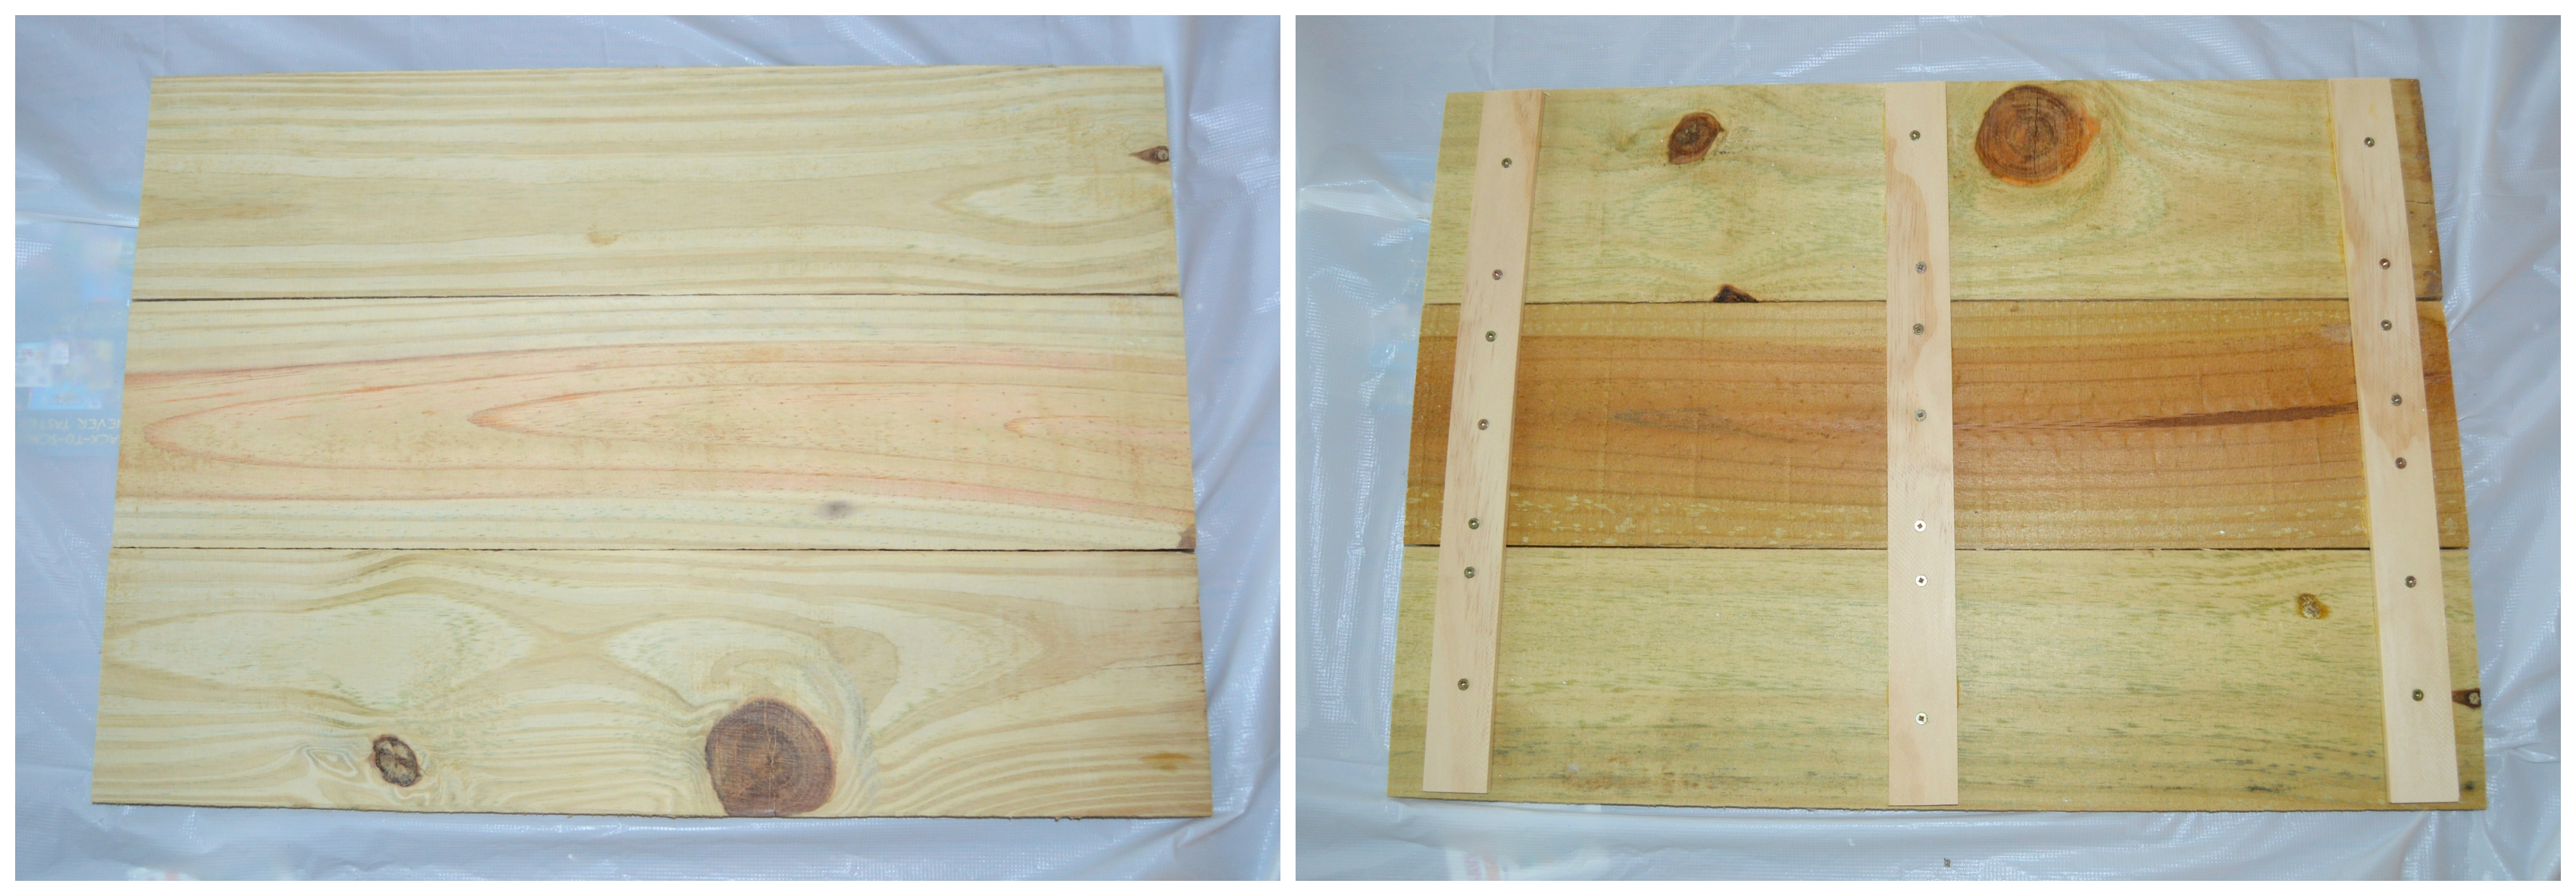
Step 1: Make or cut your board. My dear husband made me this board using some scrap wood we had laying around, but you can easily buy full panels in a home improvement store.
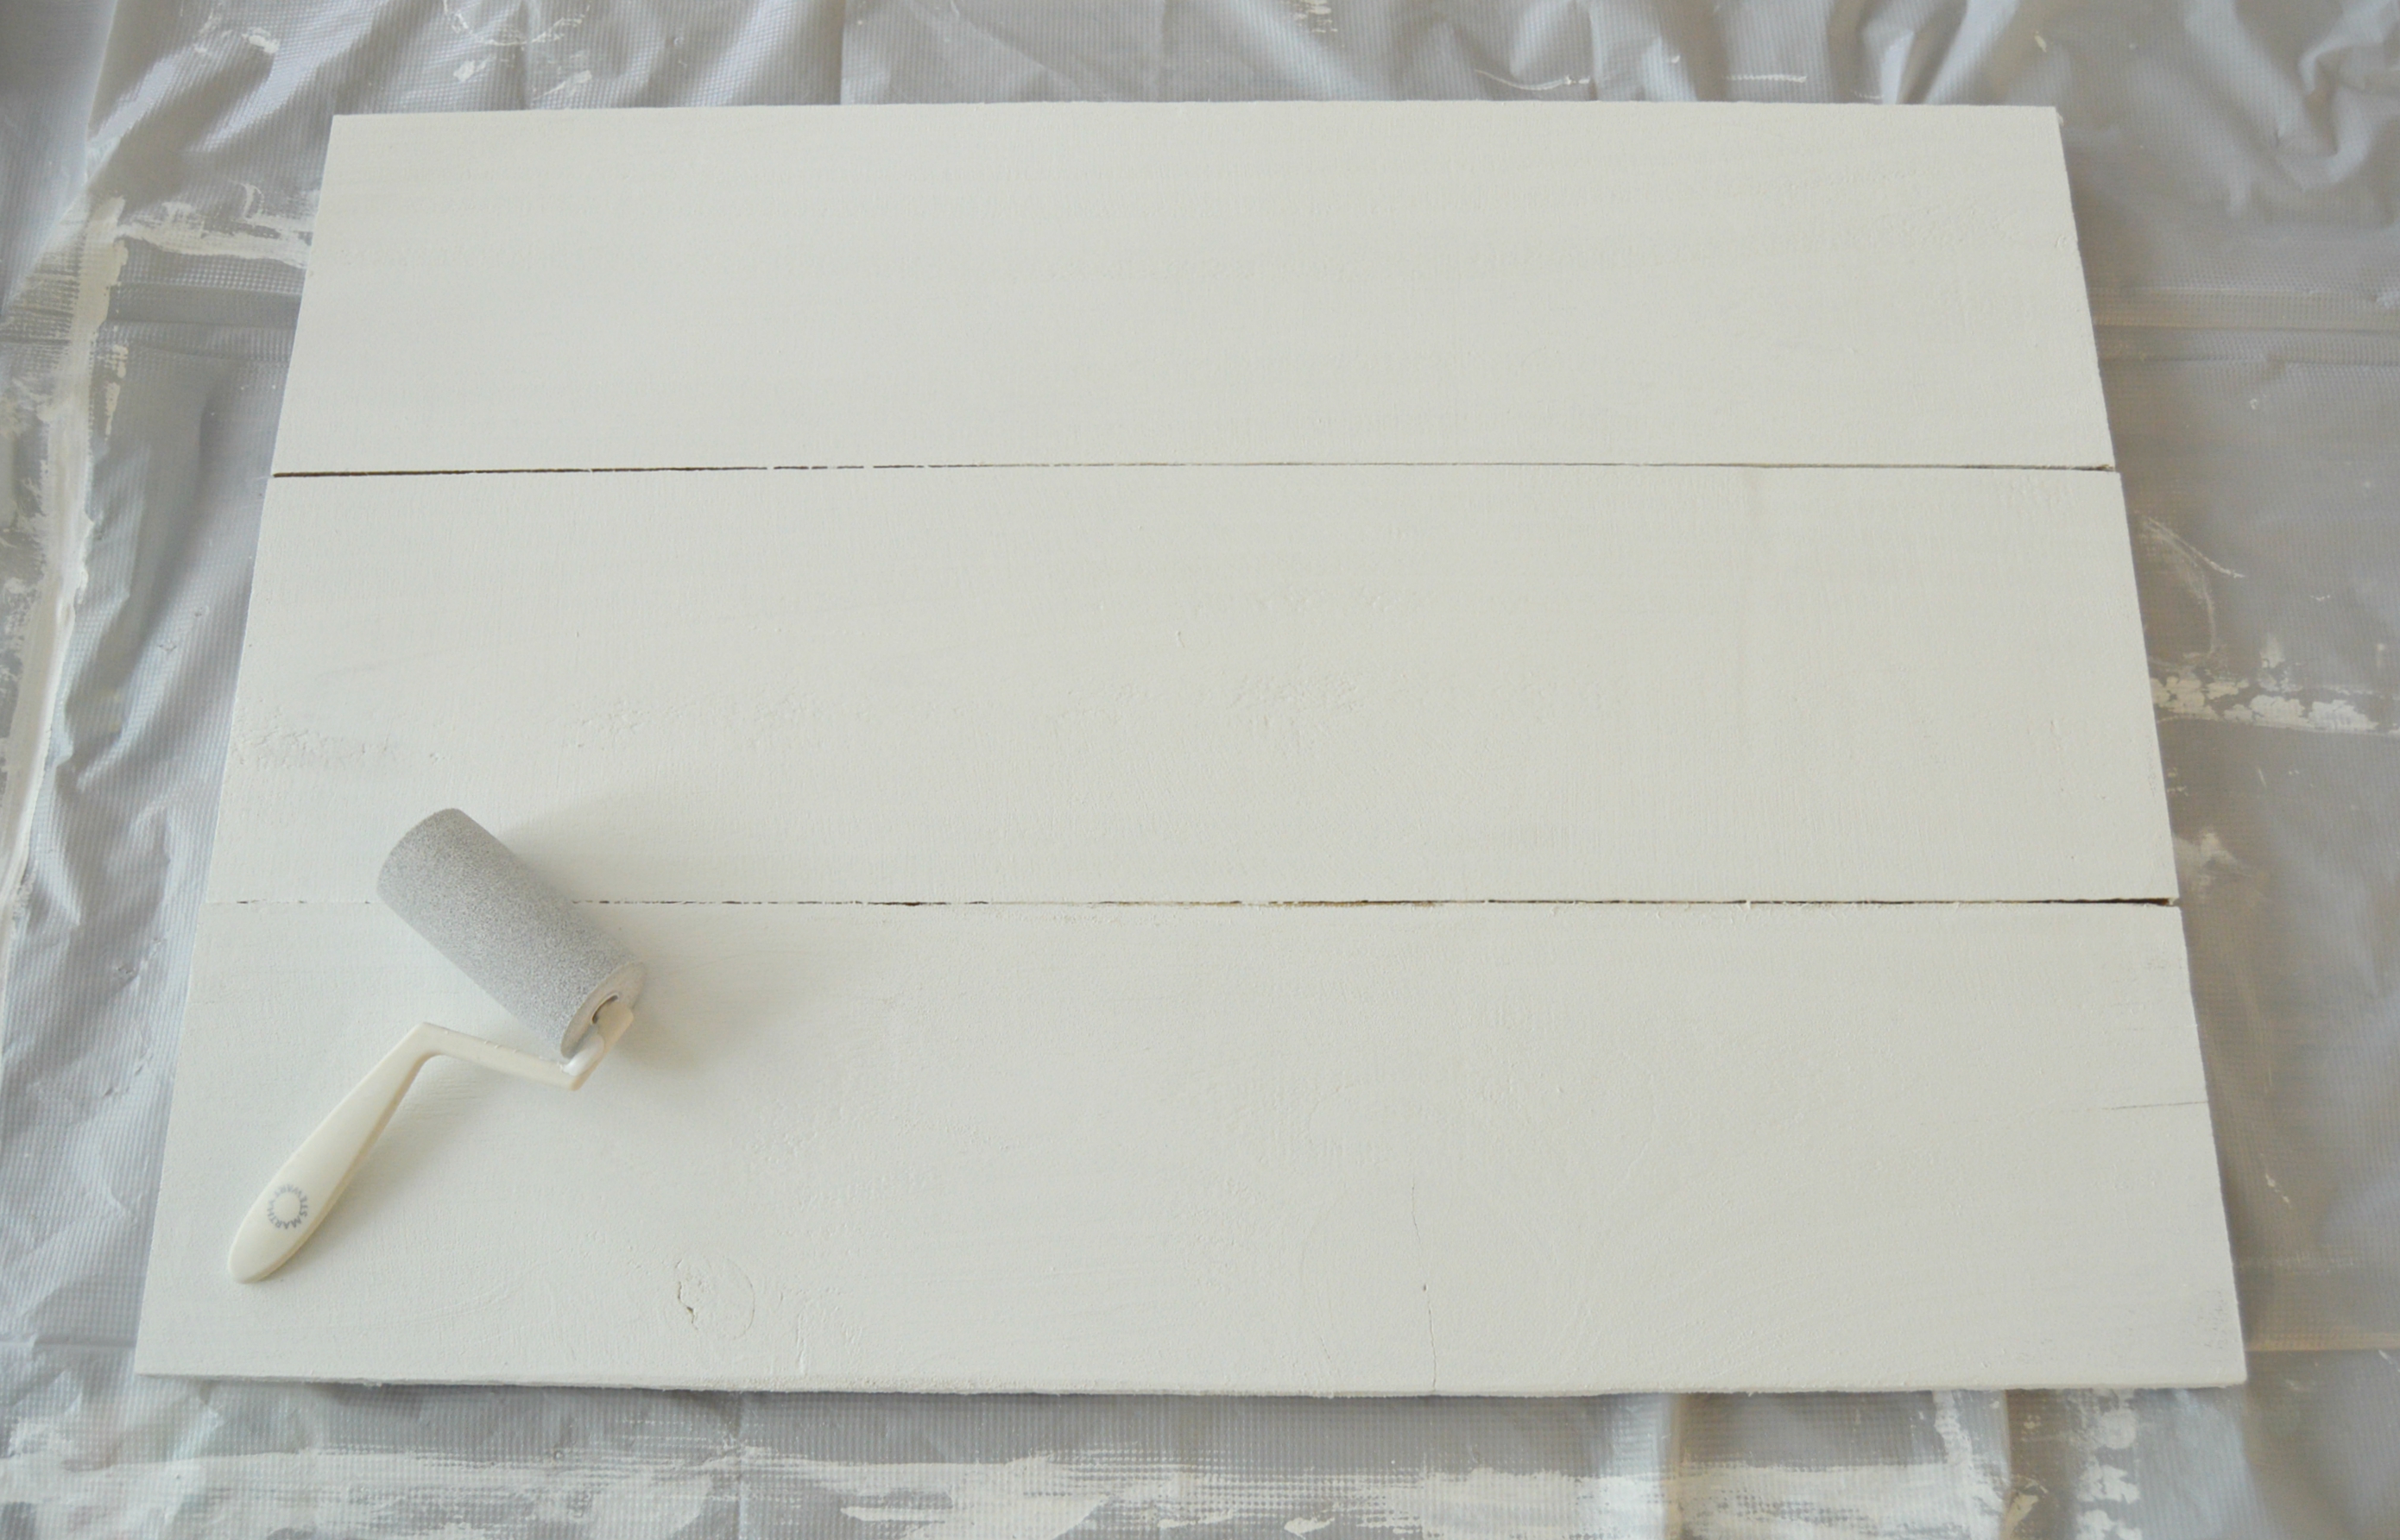
Step 2: Paint your board with the background color. I used a small foam roller for an easy and smooth application.
Step 3: Stencil time! I used the “Budding Clematis Stencil Kit” from Cutting Edge Stencils. I taped the stencils into place with painter’s tape.

I used a stencil brush, and carefully off loaded the paint on a paper plate, before using quick up and down pouncing motions on the board. This gave me full coverage, but no seepage beneath the stencil!

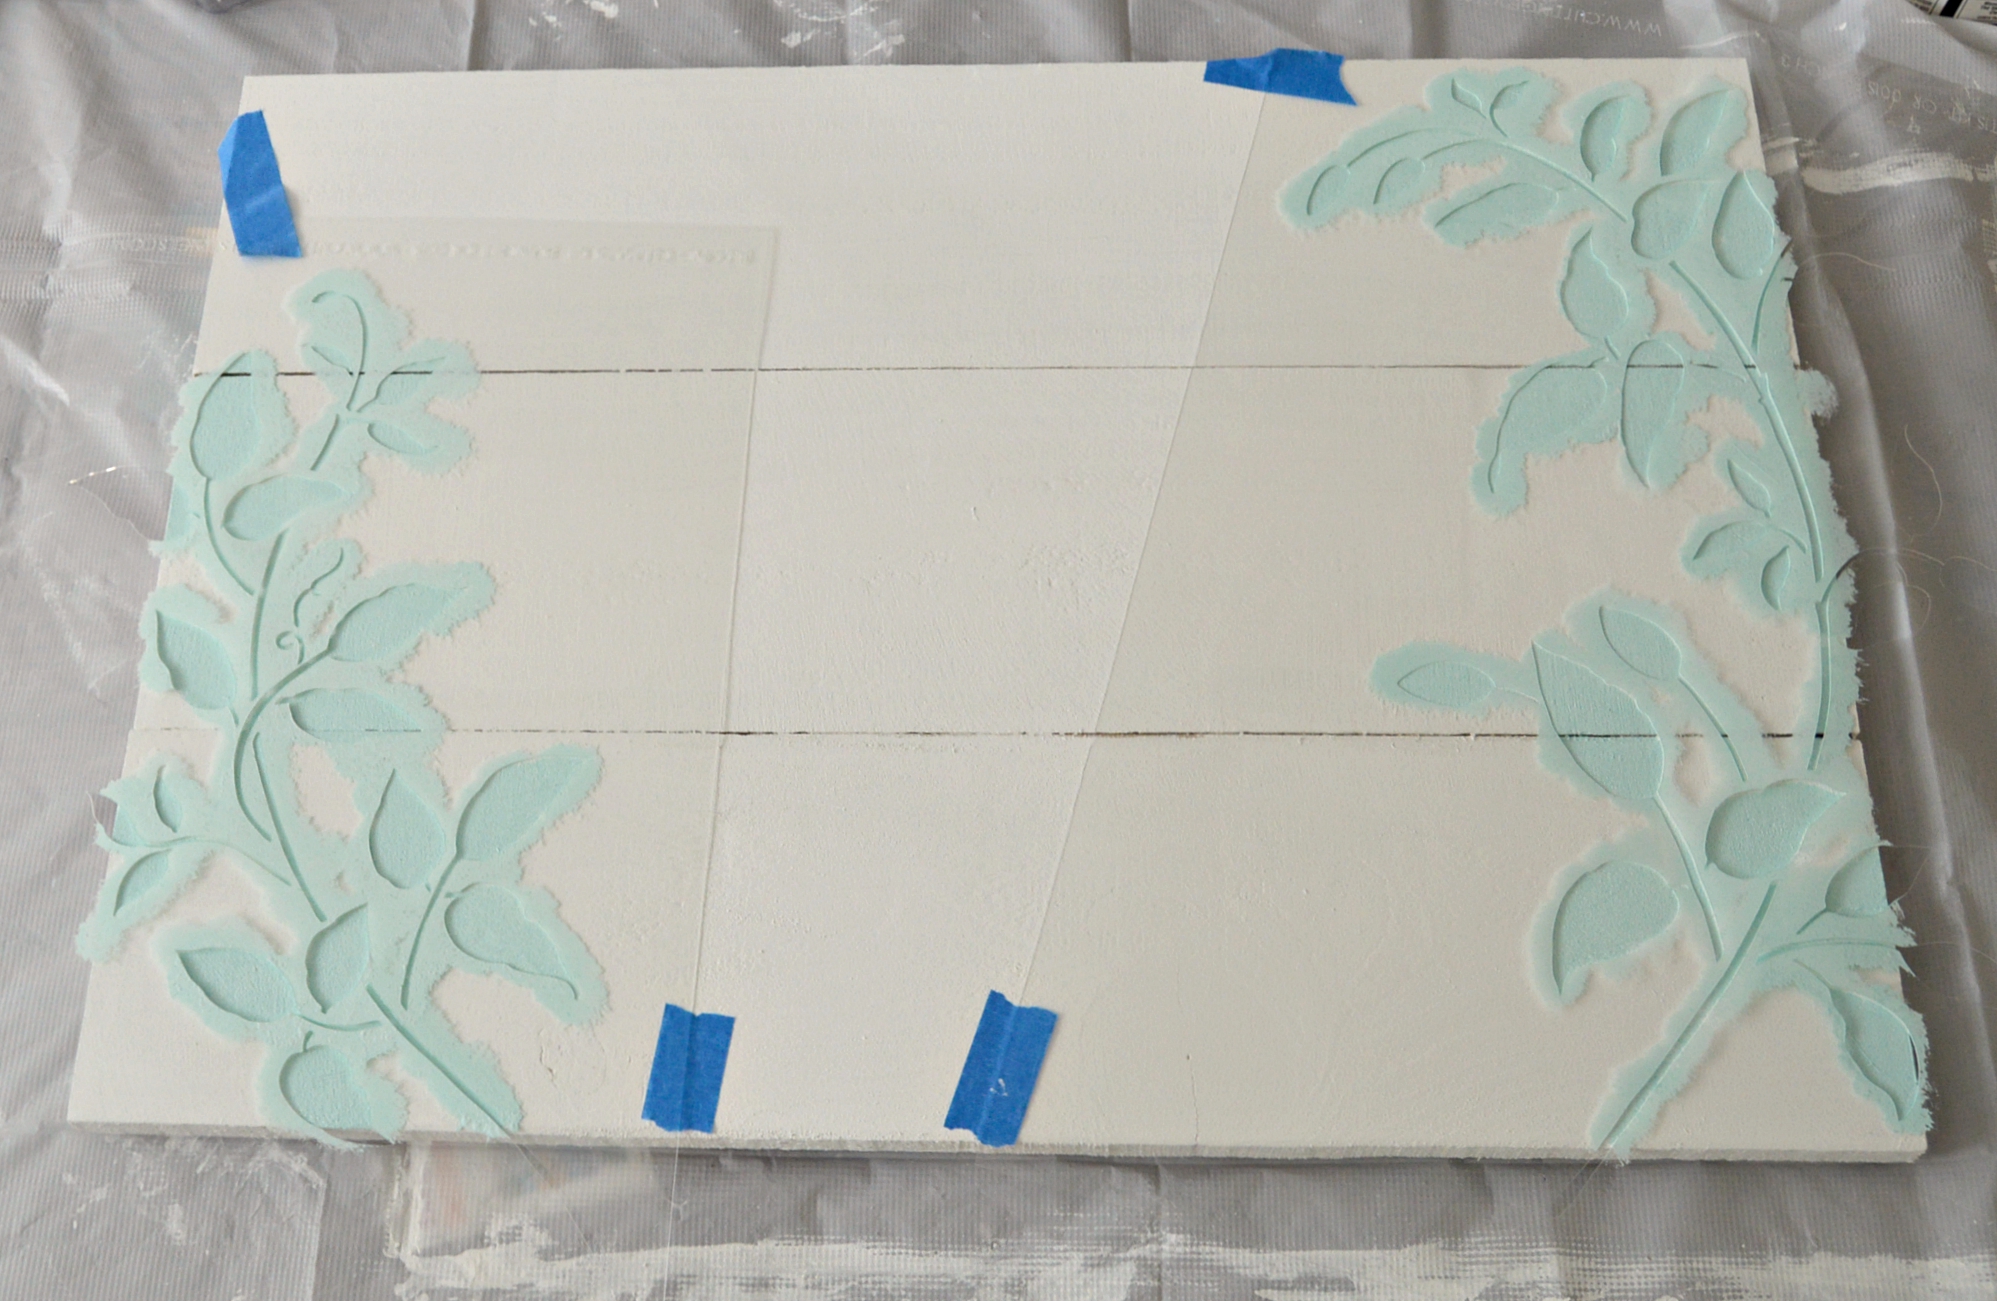
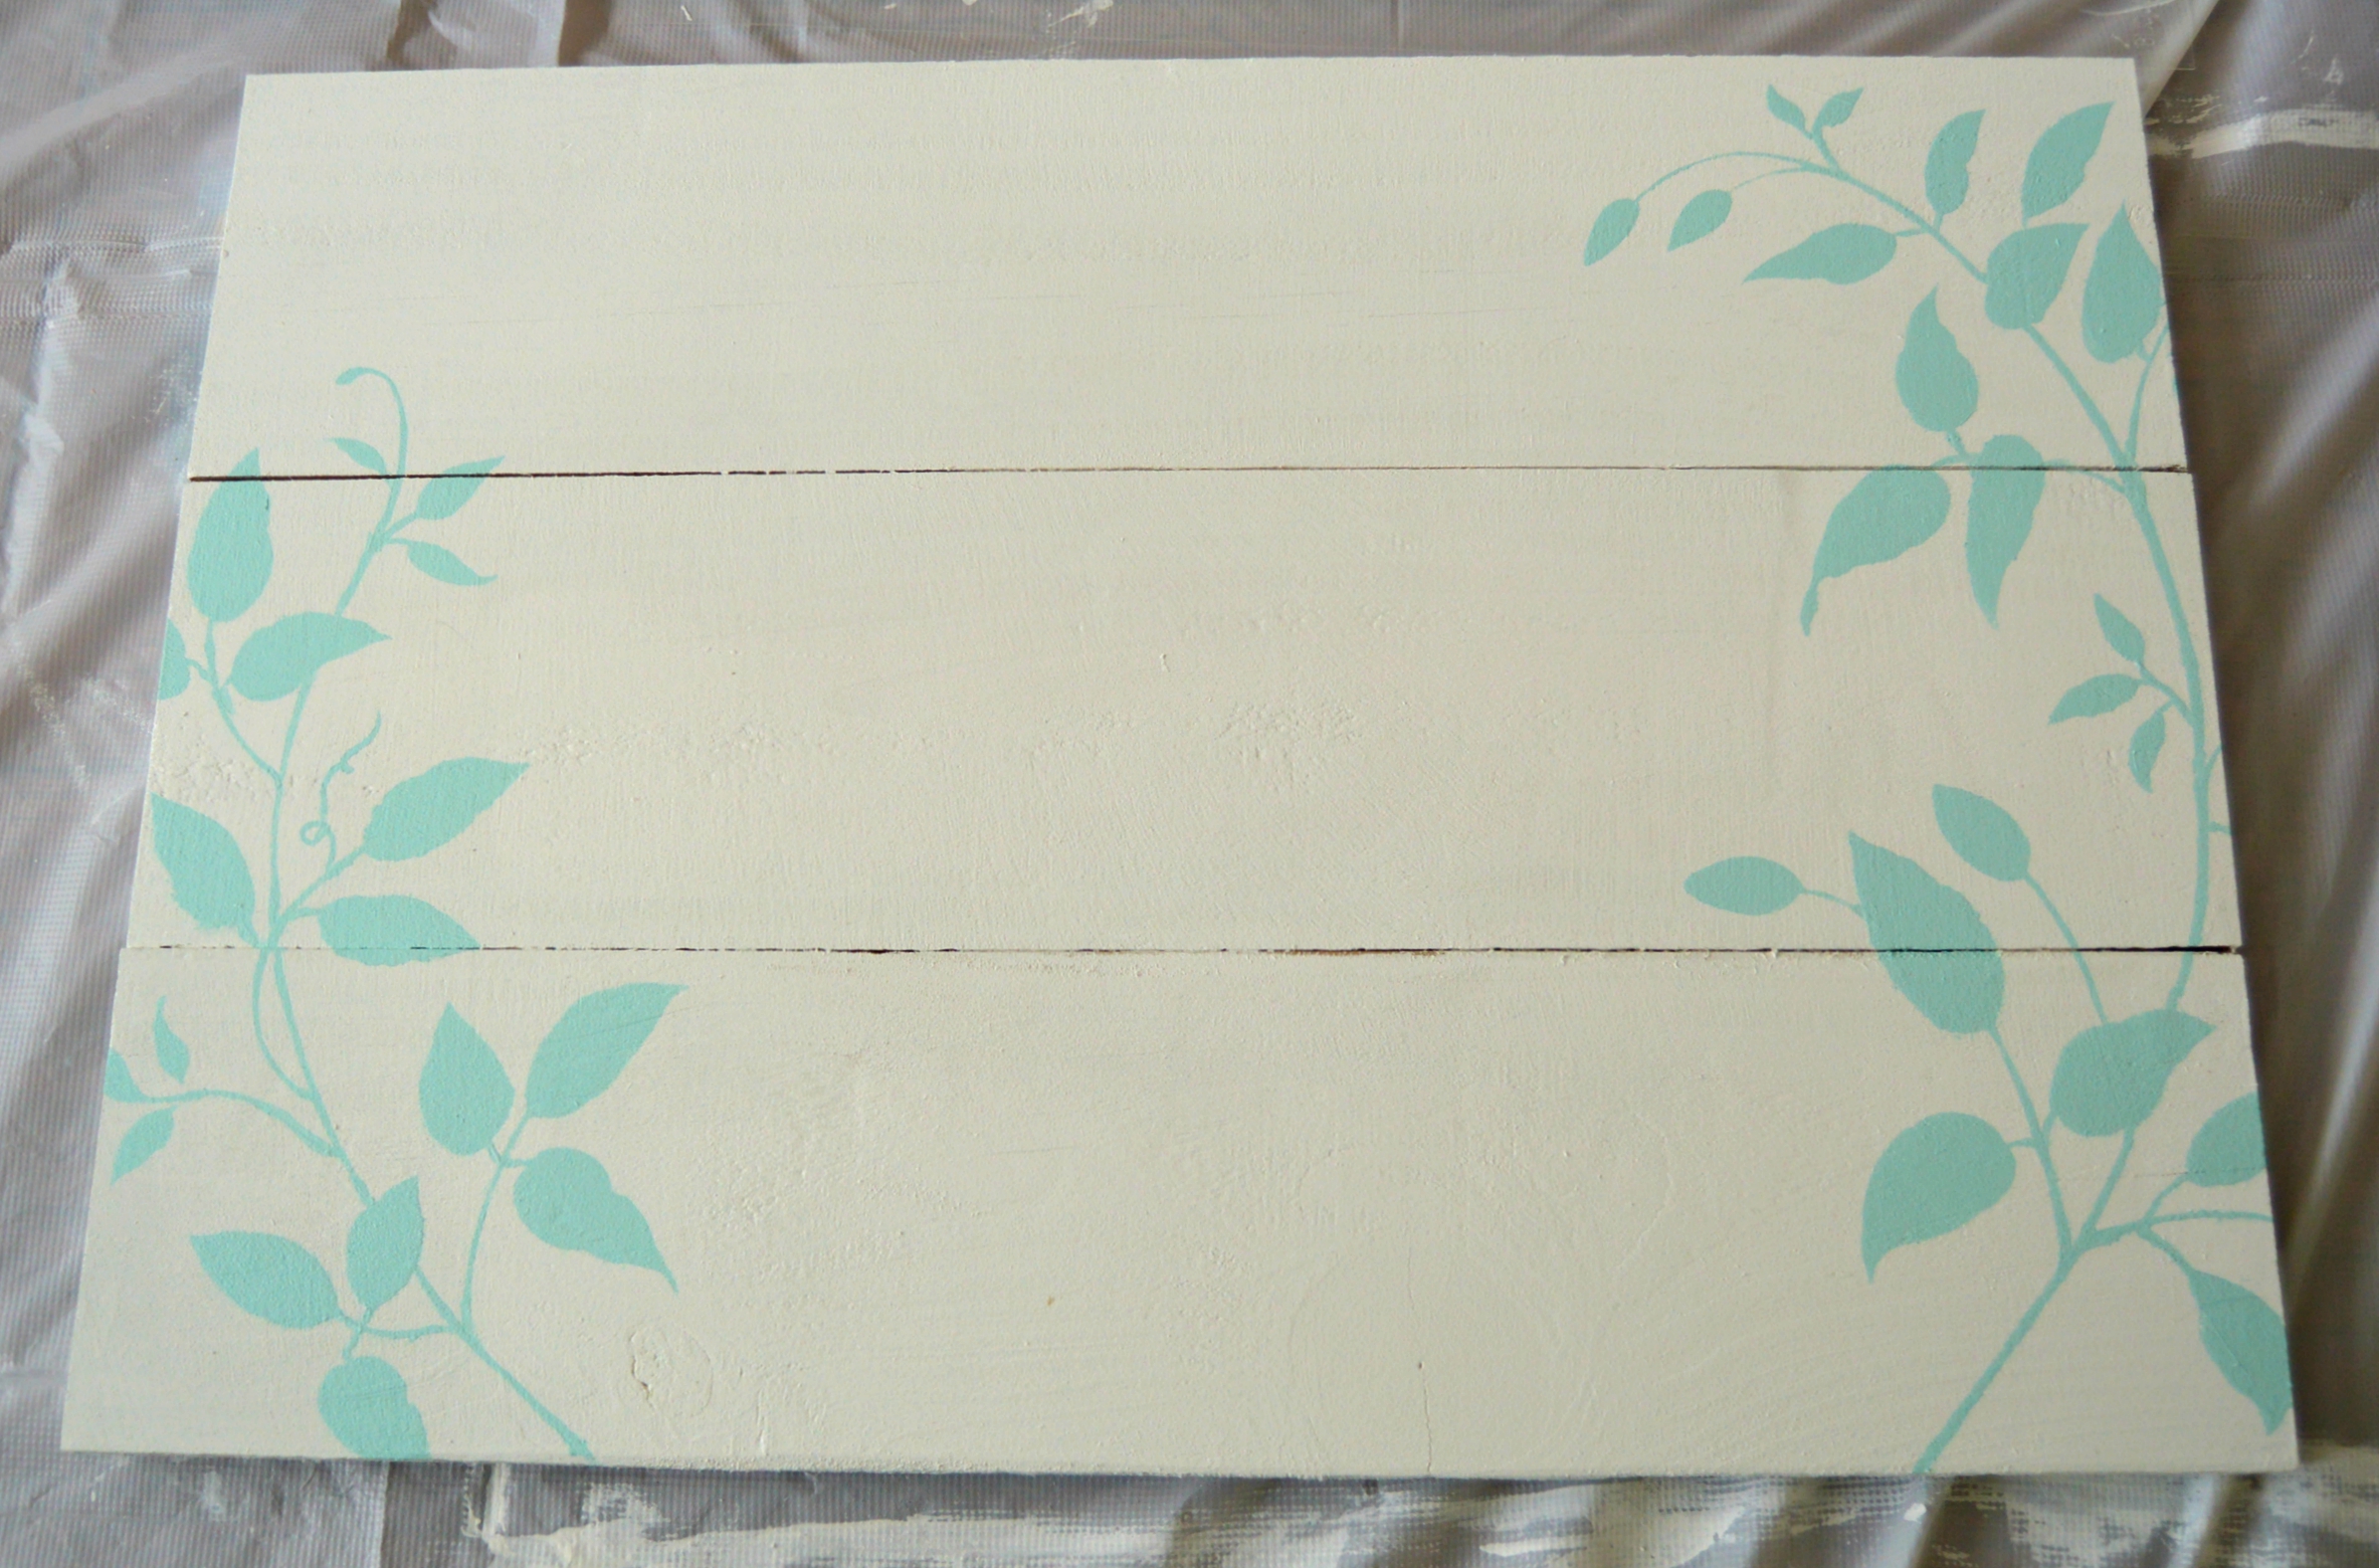
After removing the stencil, take a second and admire your work. I did go back and fill in some of the lines so that the leaves looked like they were all connected. This process went very smoothly and I was quite pleased!
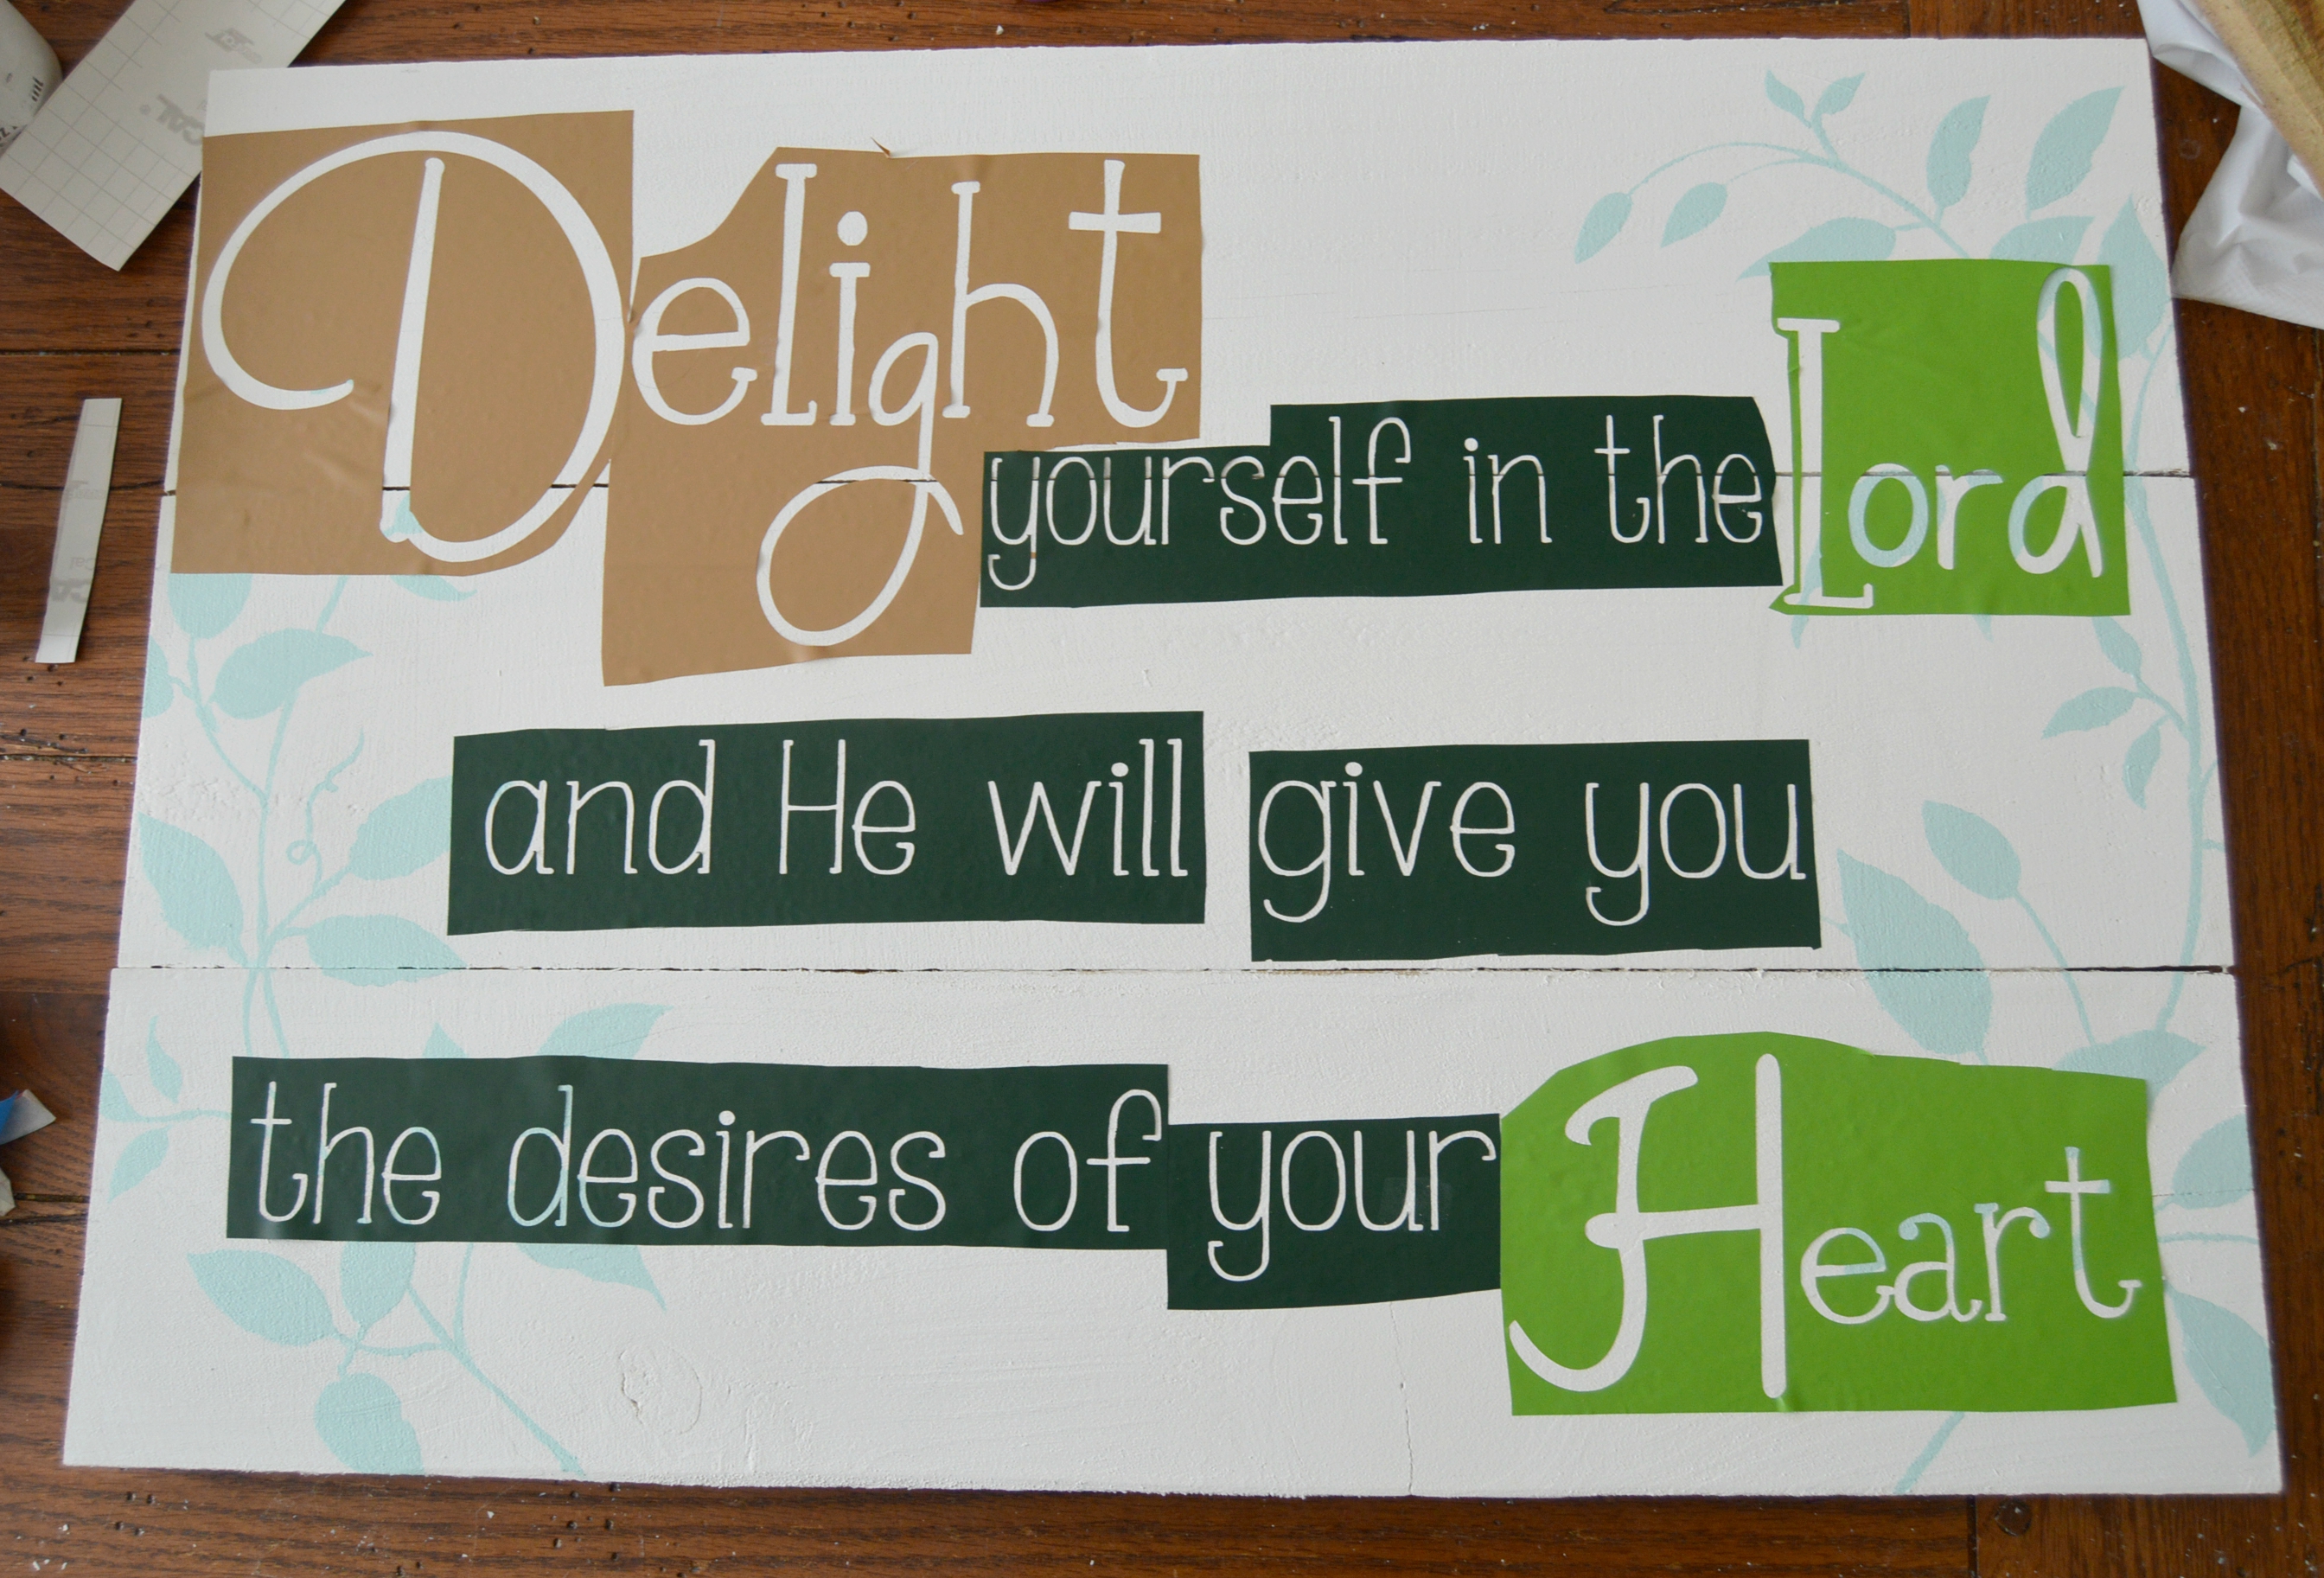
Step 4: Design and cut your vinyl stencil. Use transfer tape to place your vinyl stencils on to your board. I used my Silhouette software to design my stencil, and my Cameo to cut the wording.
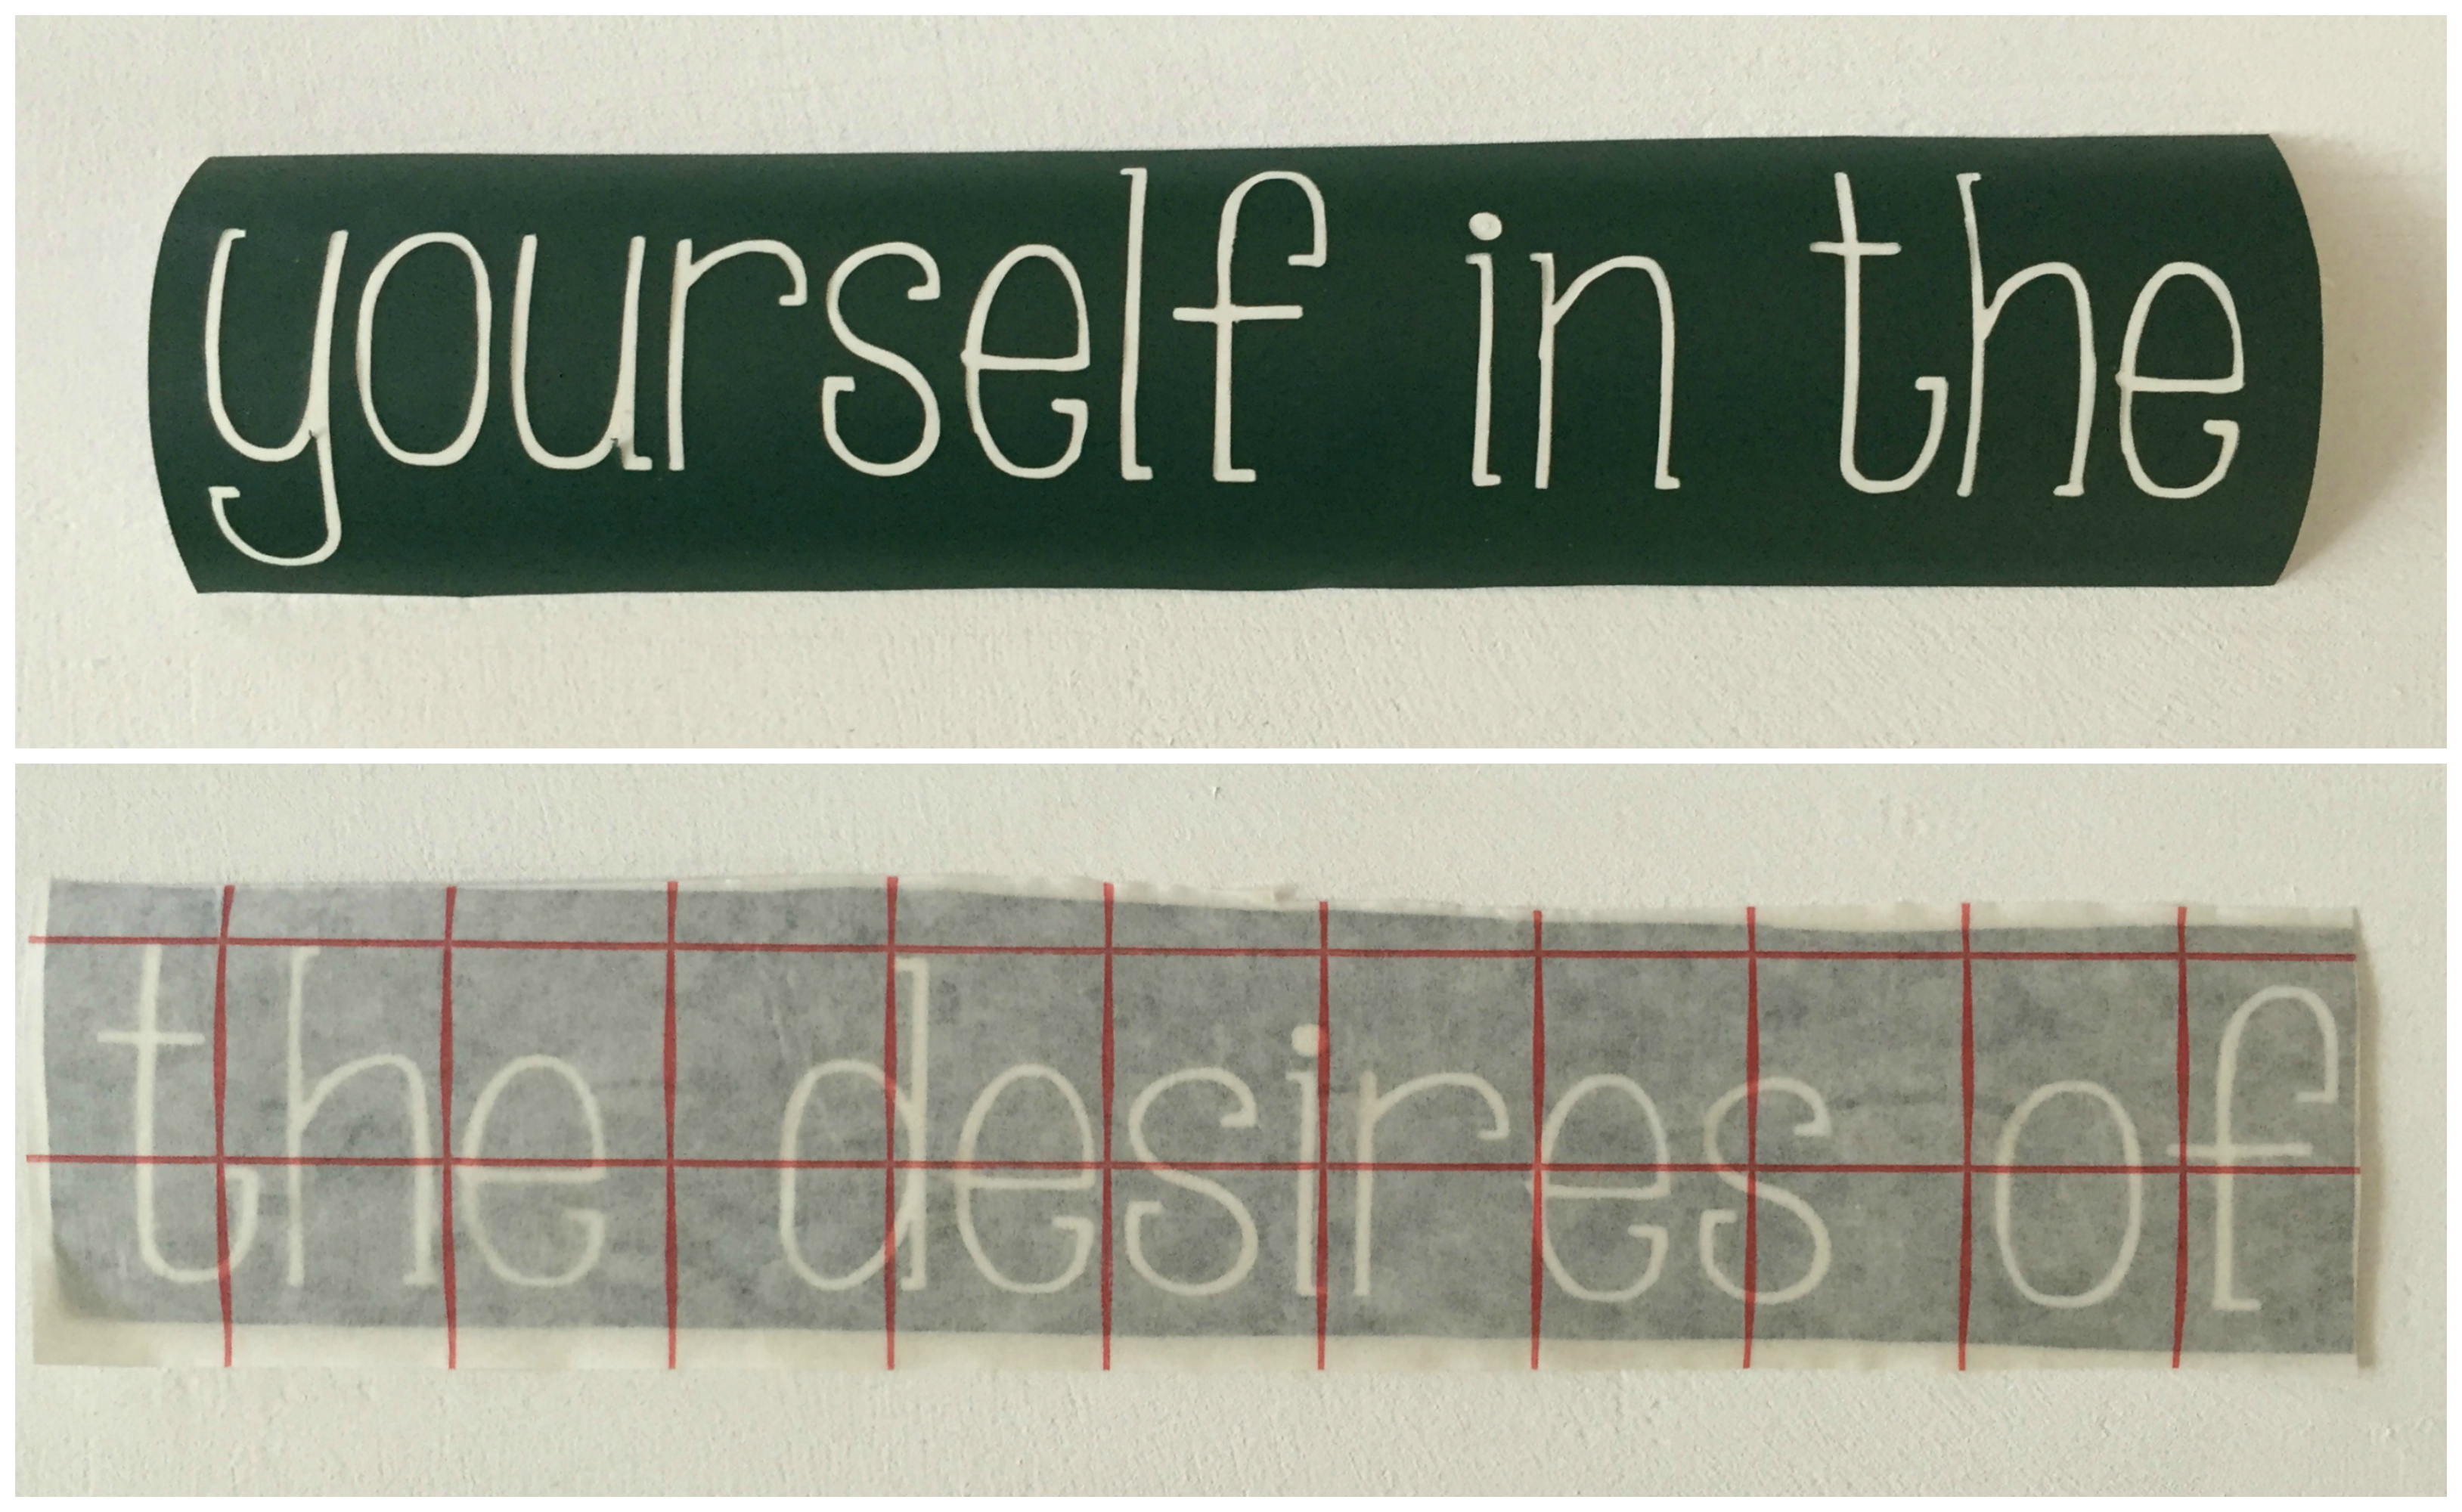
Before I removed the vinyl backing, I taped everything into place to make sure it was straight and spaced correctly.
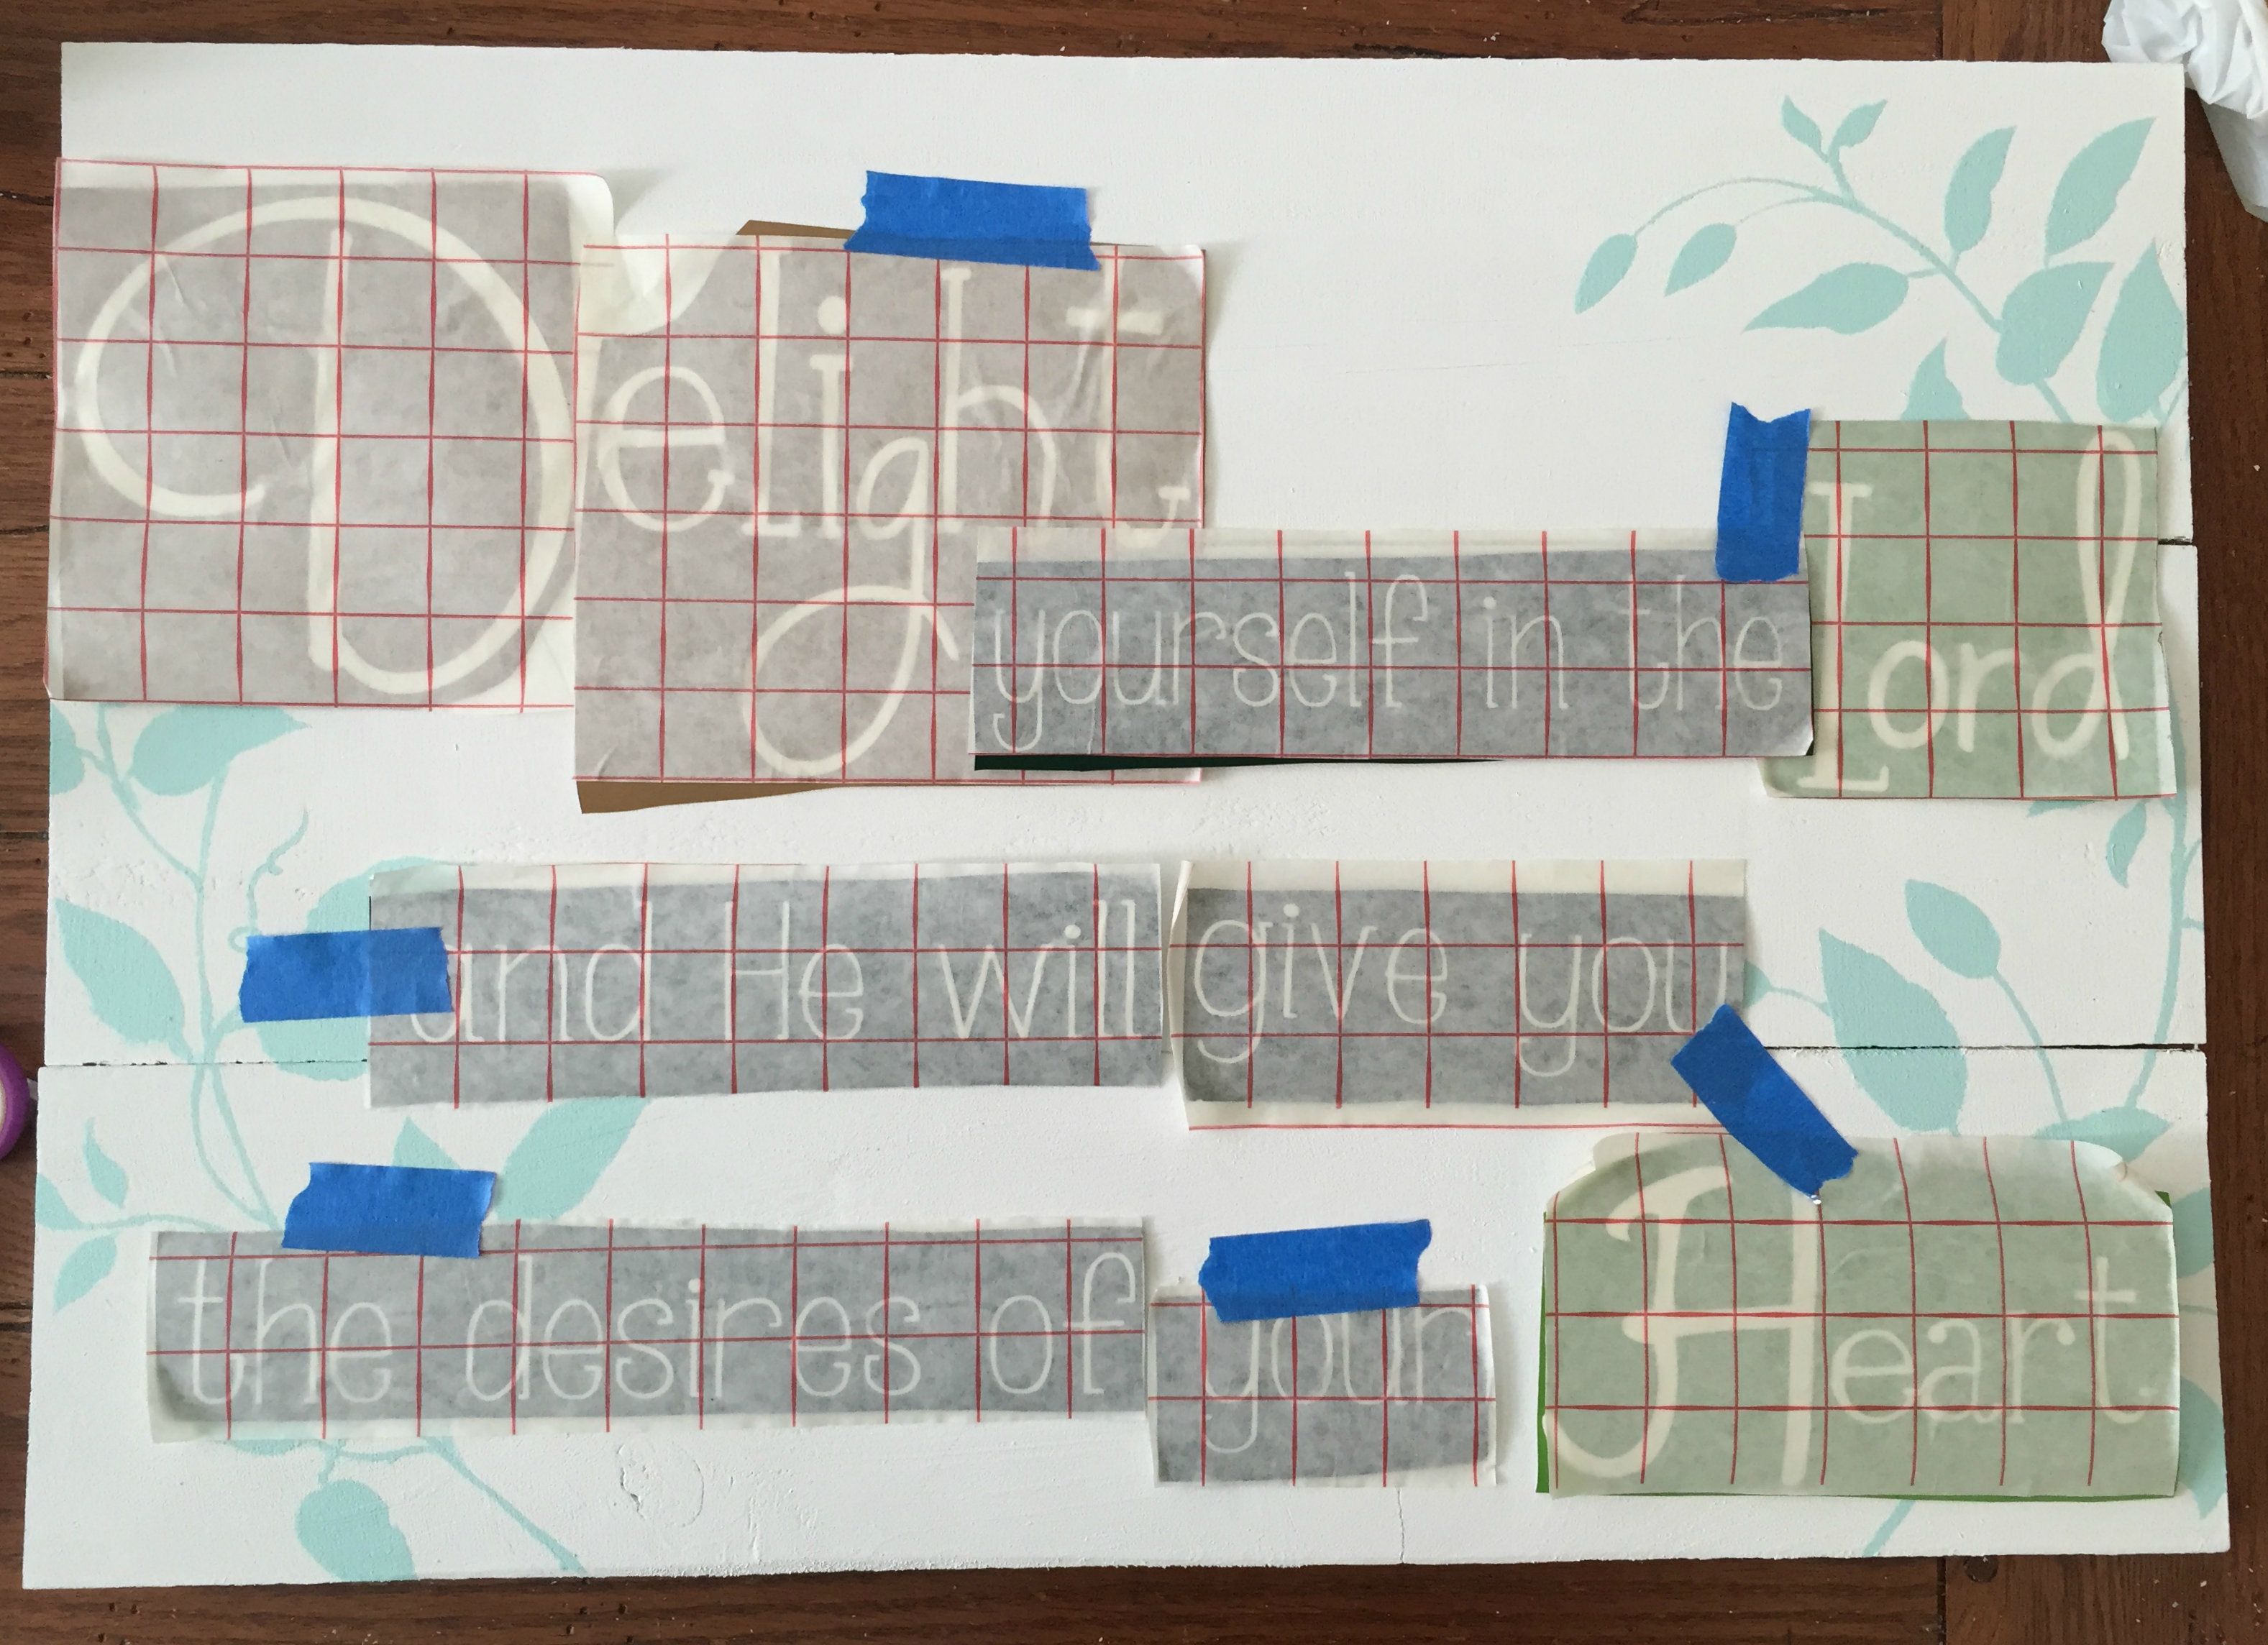
Peel the backing off of the stencil, and now you’re ready to paint!
Step 5: Using a stencil brush, paint over your stencil (using the same technique as the above stencil).
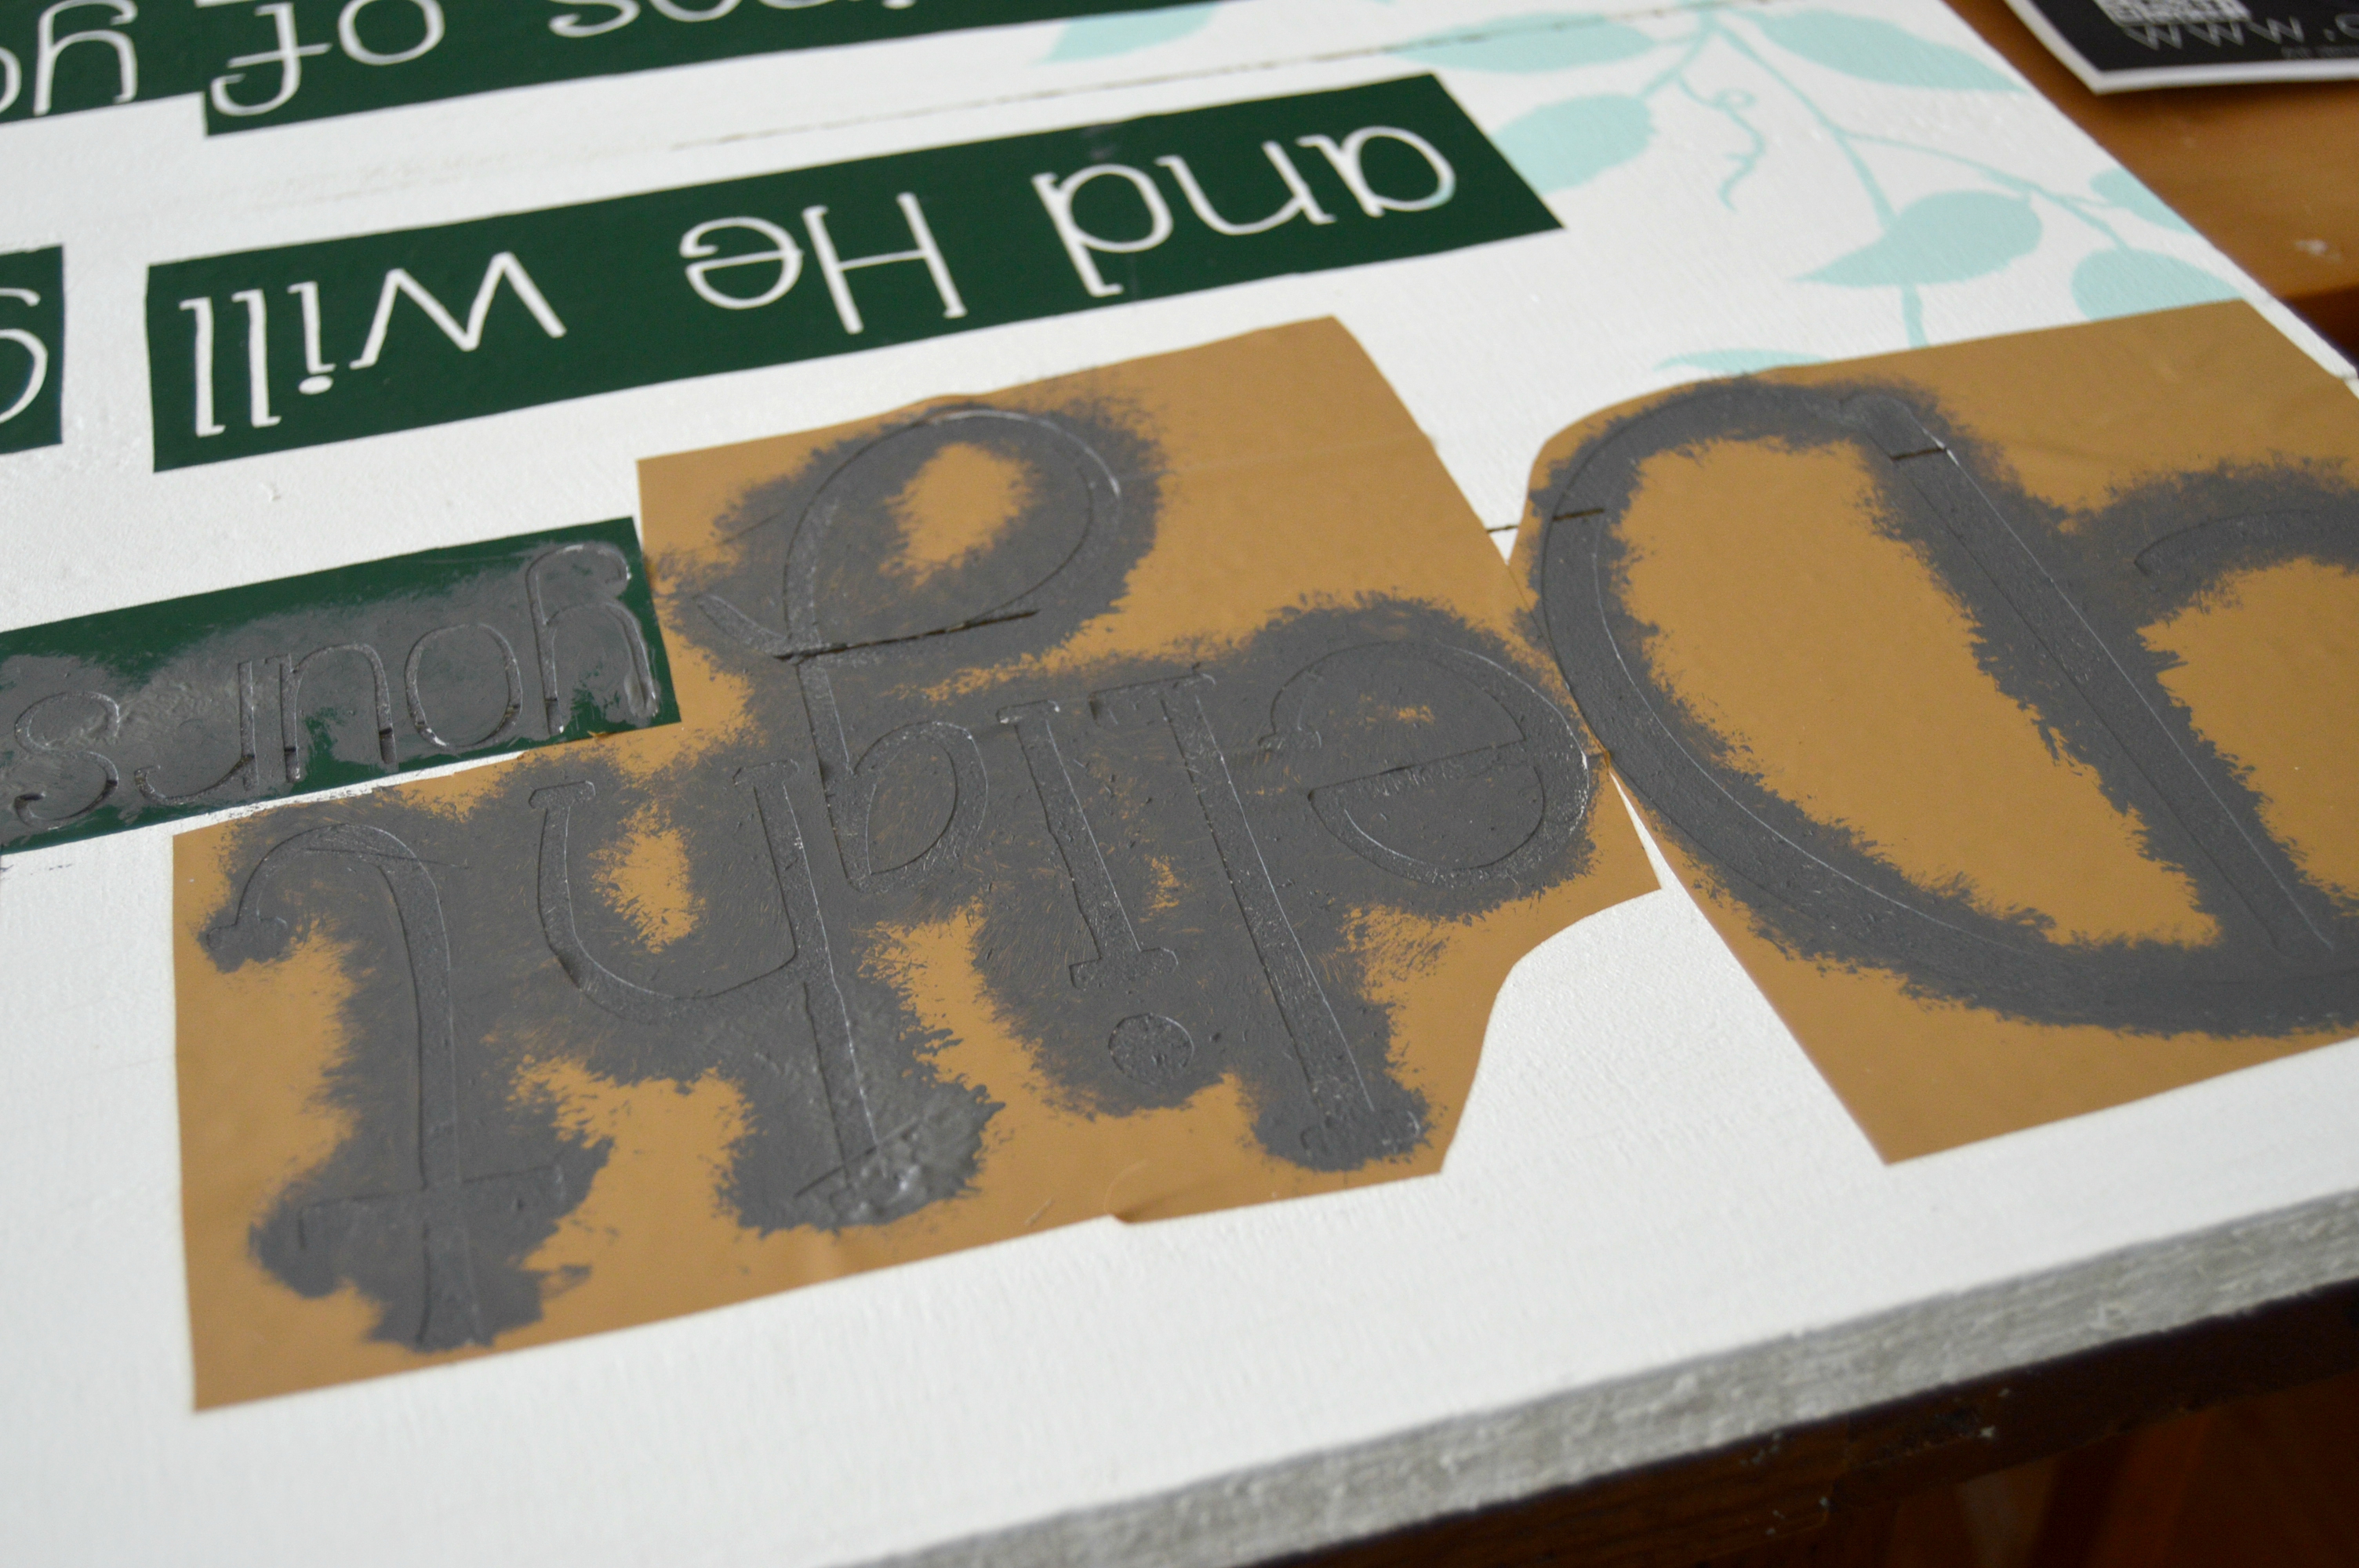
Step 6: Peel off vinyl, and make any touch ups that you need to.

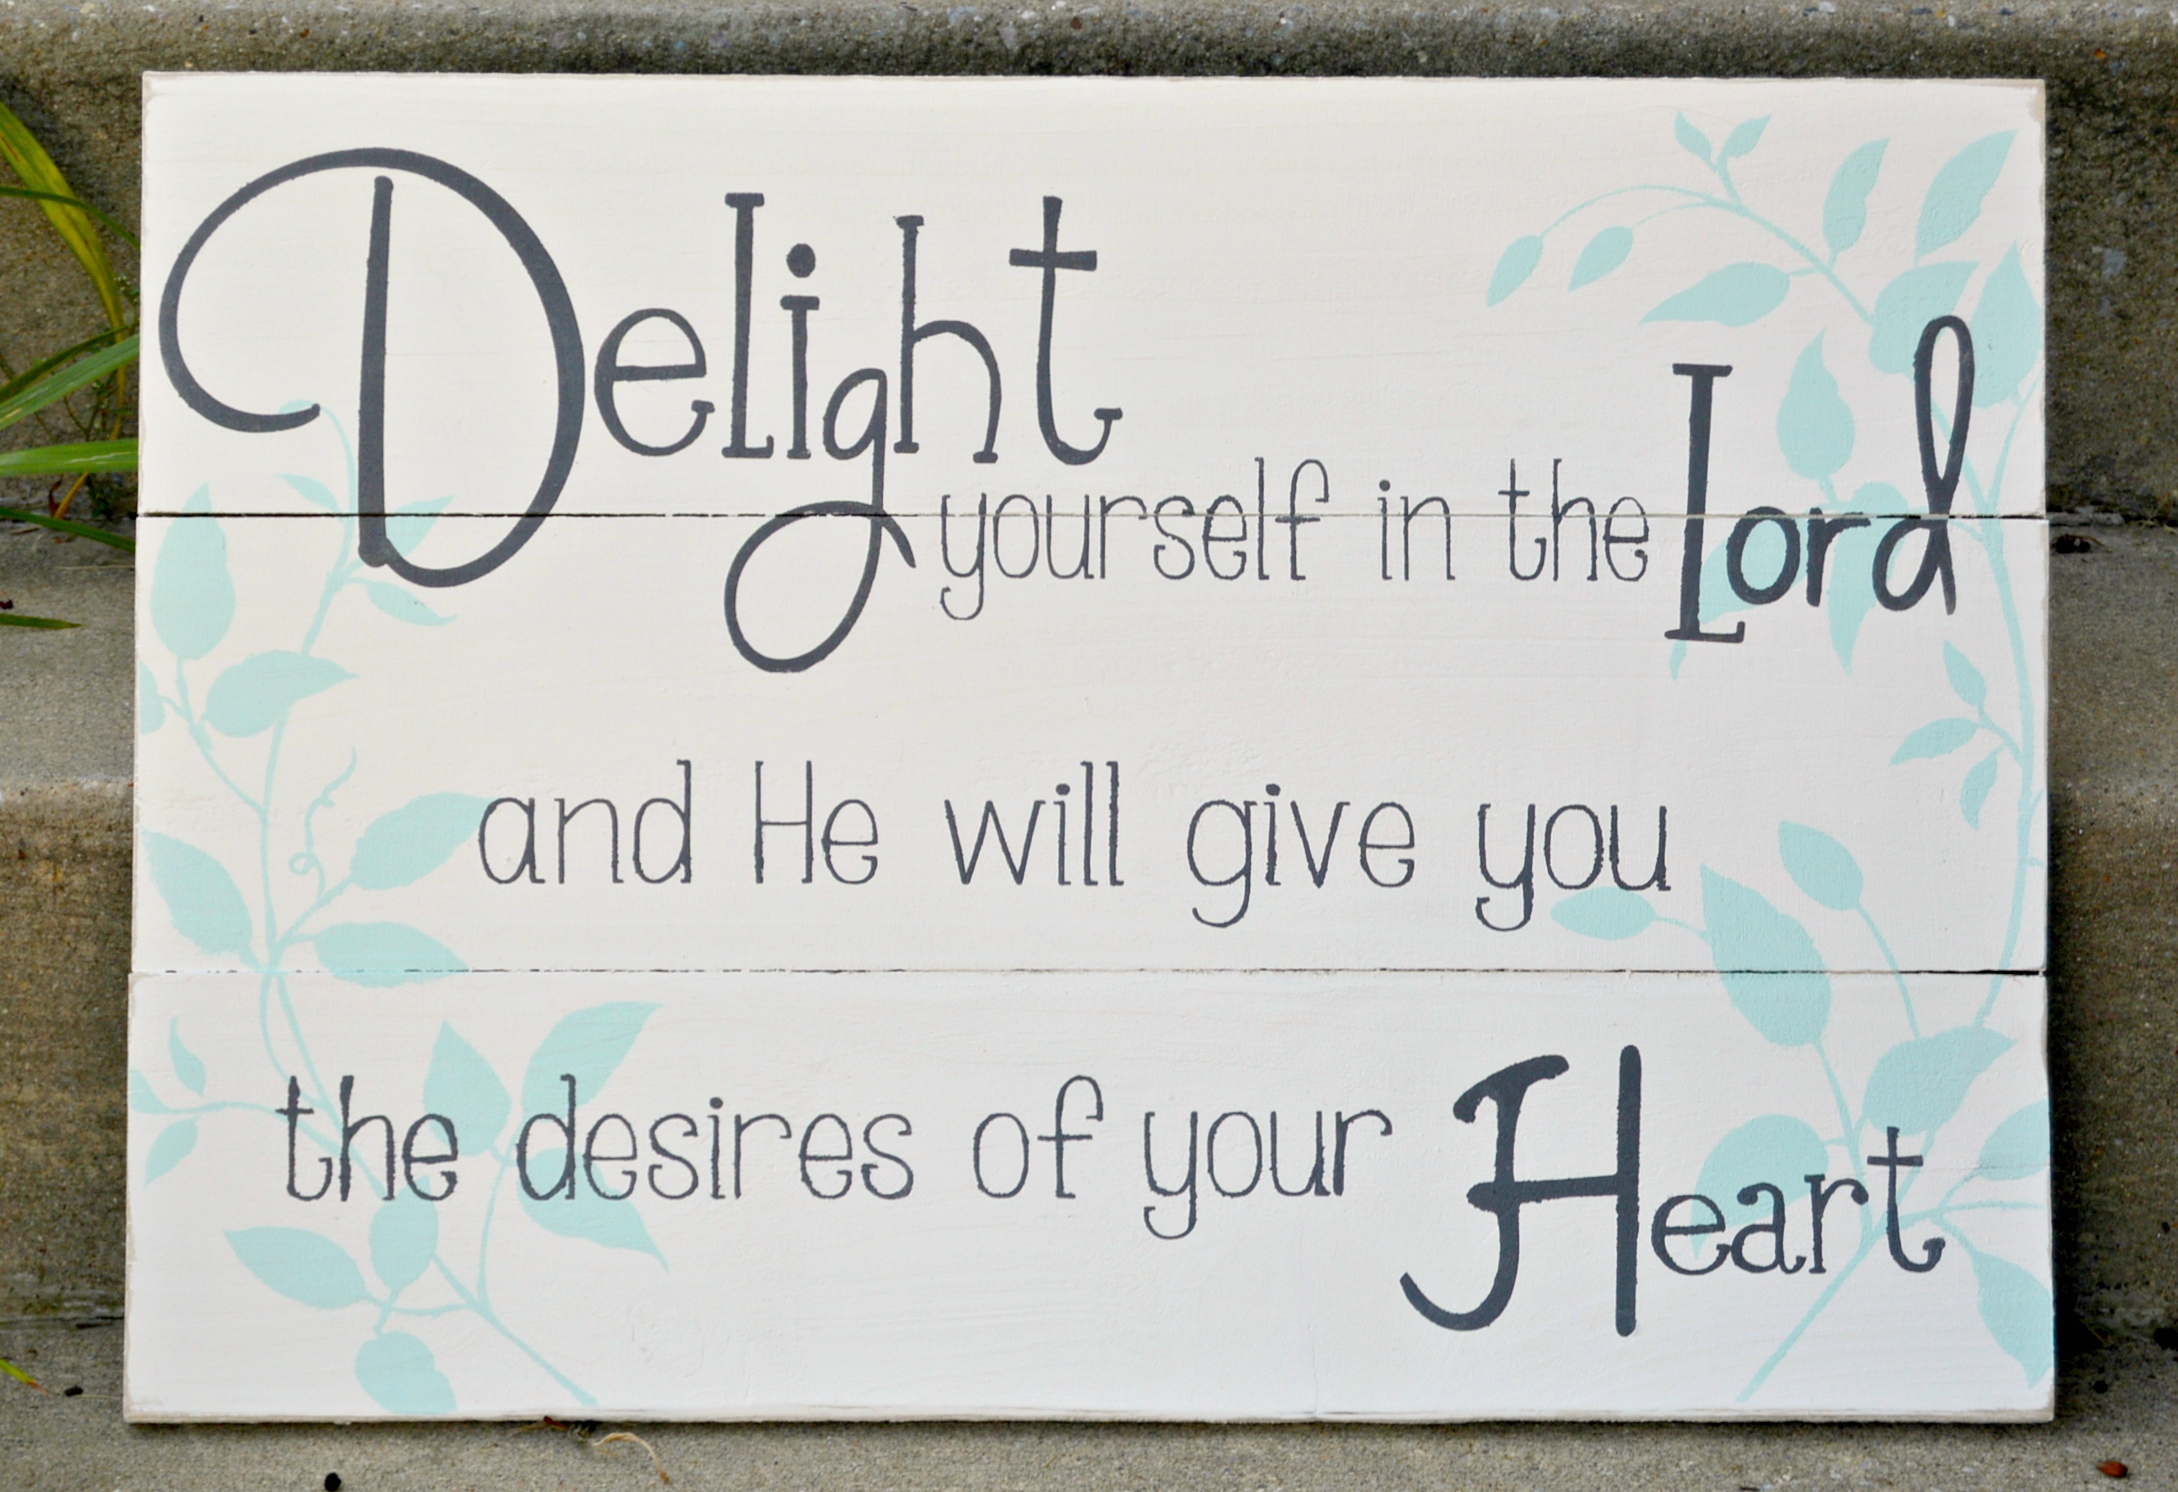
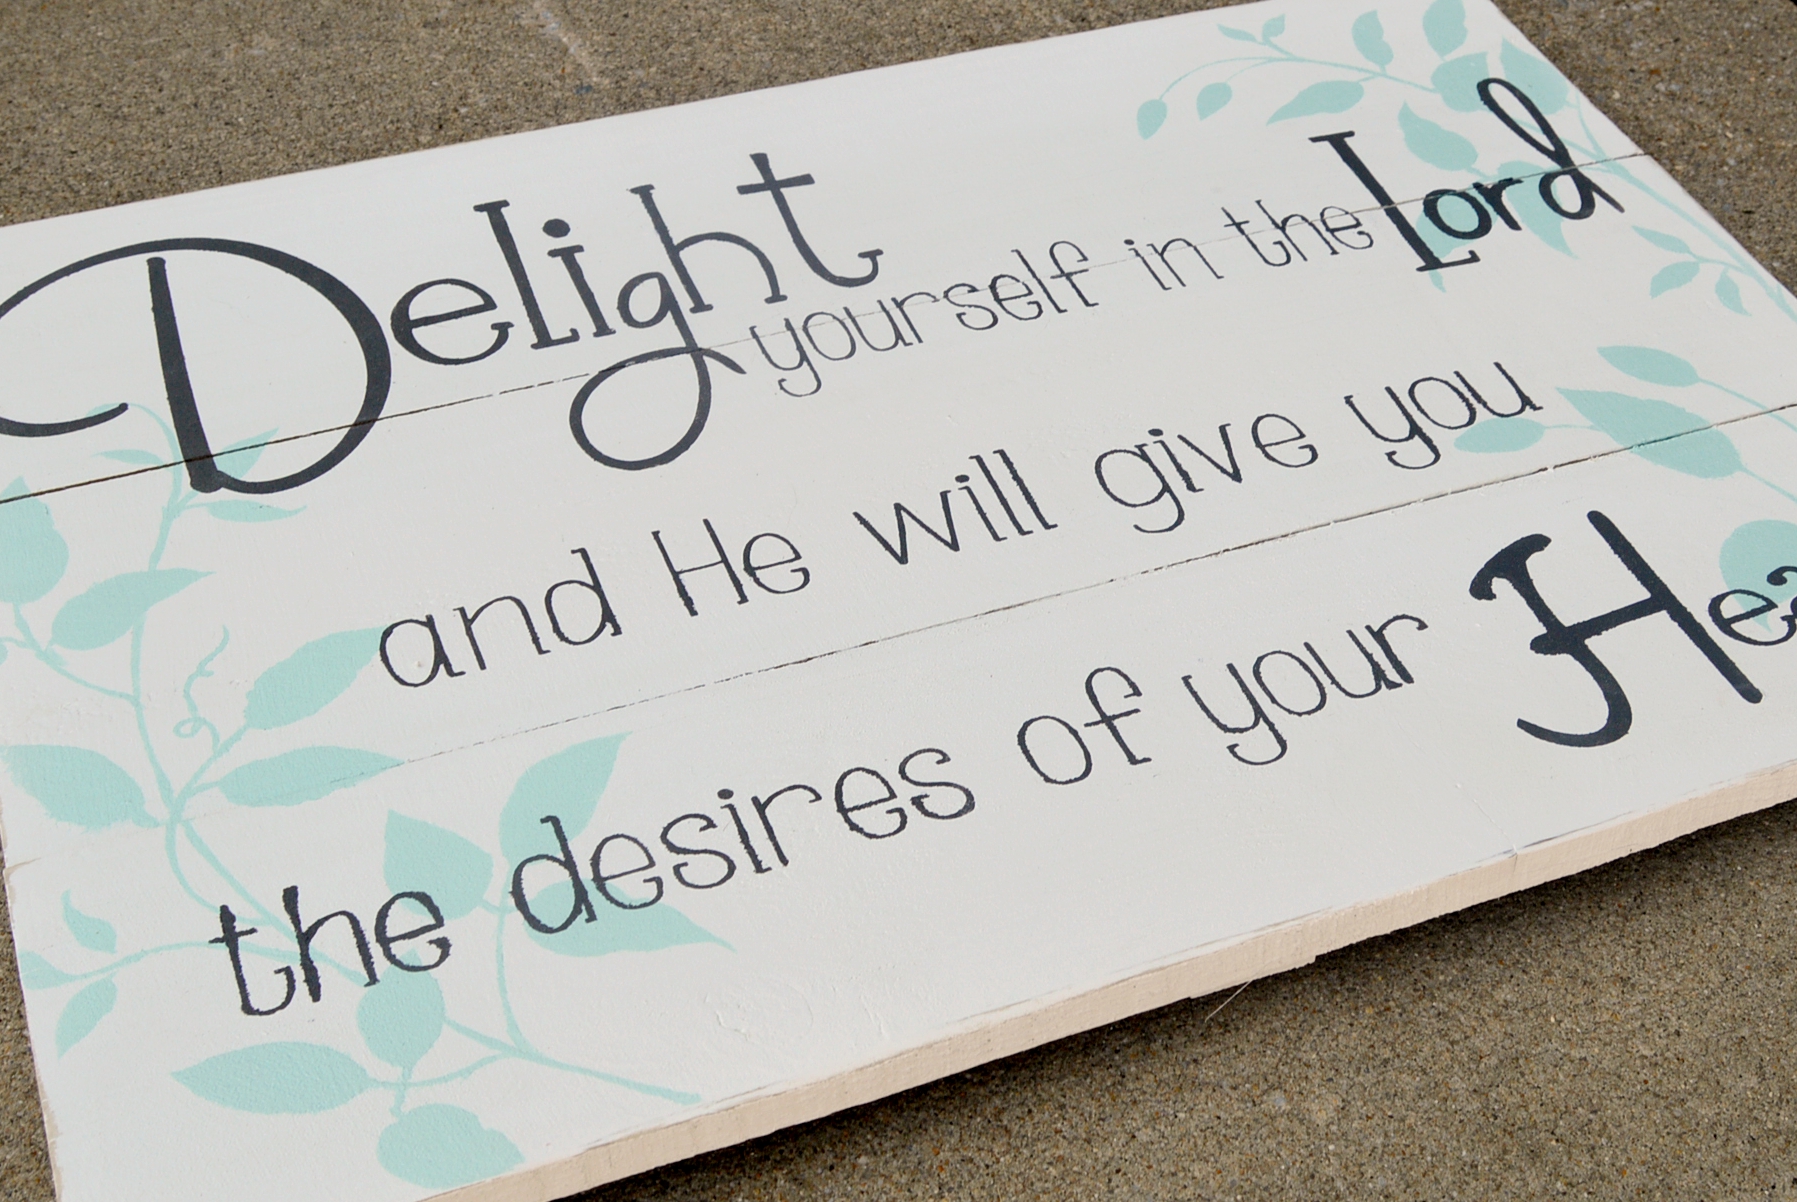
All done! I did distress the edges with sand paper, but didn’t do any other distressing, since I wanted the lettering to pop.
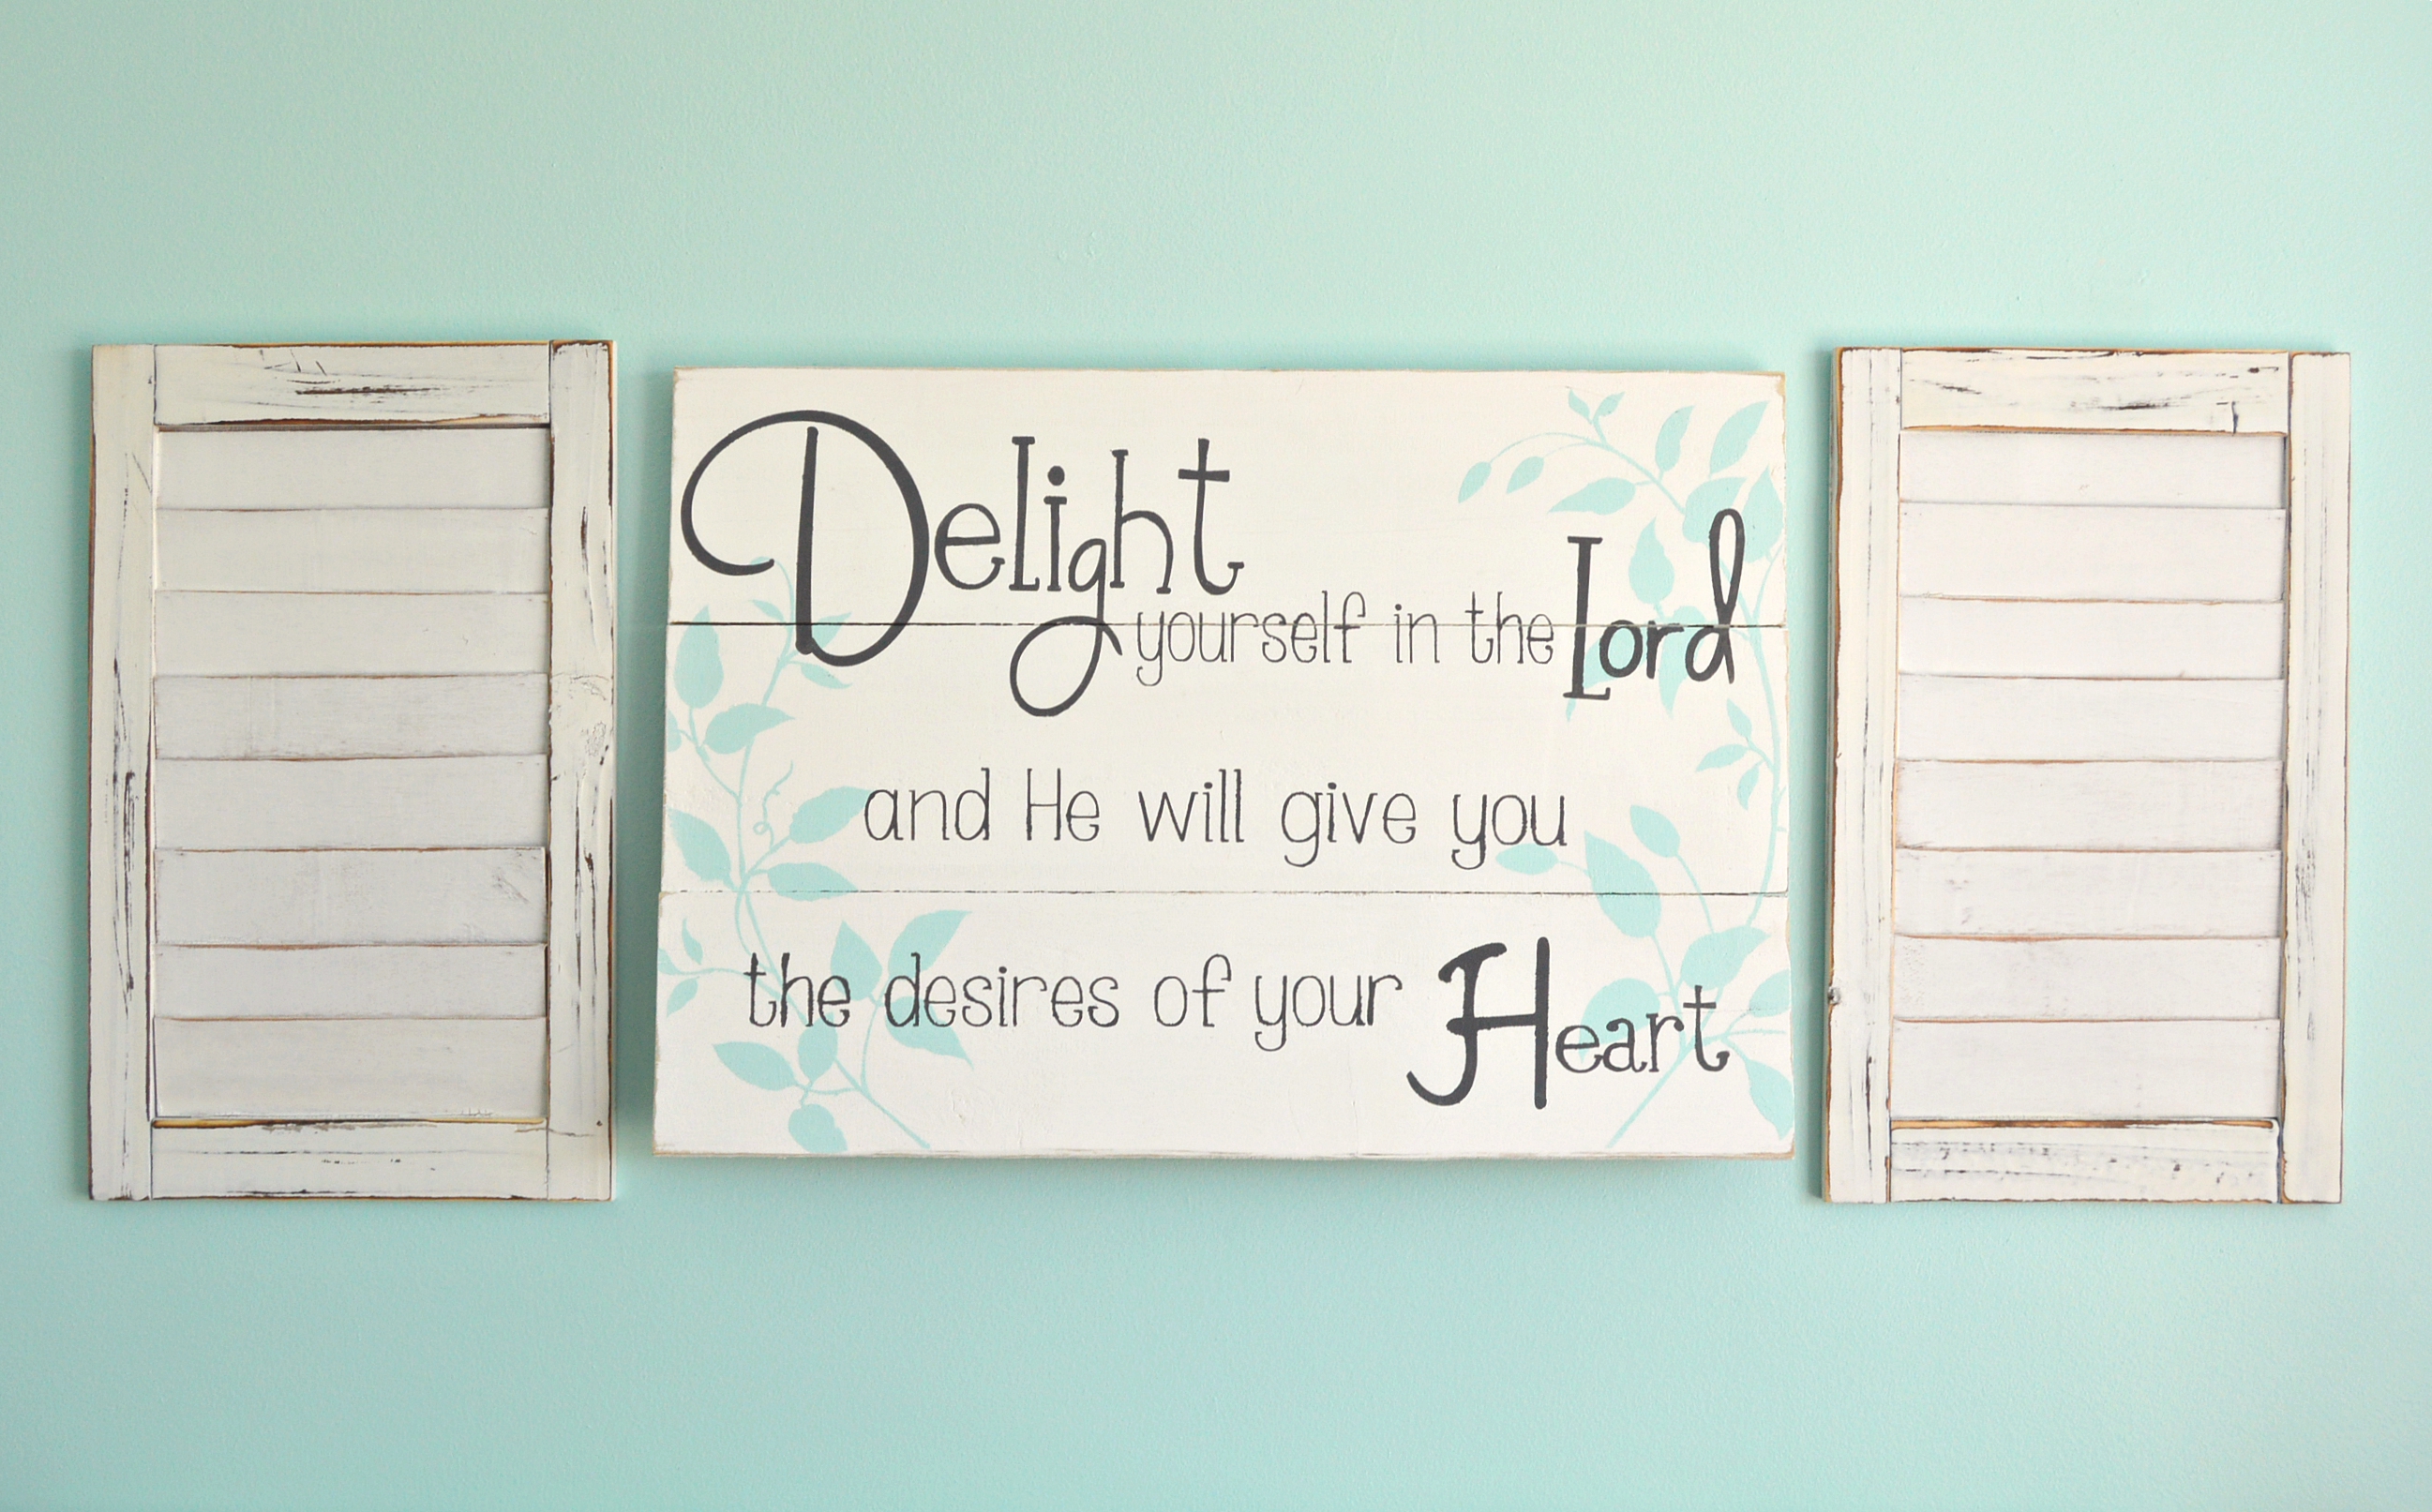
Stenciling really helps cut down on time, and allows clean lines with a hand-painted look. This sign turned out exactly how I pictured, and I knew it would look perfect over the crib. (And yes, it’s bolted securely into the wall!)
I bought these distressed shutters at Michaels, and thought they were the perfect companions to the wooden sign (and yes, also securely bolted!). The sign has so much meaning to me, and it’s so special to see it on the wall, over the place where my baby girl will be sleeping soon!


What a great project!! It turned out so beautifully too!