Painted Clay Ornaments
Little Crafter and I love making things all year long, but at Christmas time it’s even more fun to craft together! One of our favorite types of holiday projects is creating a variety of ornaments. We really enjoy hanging them on our tree each year and also tying them onto gift packages for family and friends. Today, I want to show you LC’s latest ornament idea because it’s so simple and fun I think you’re going to want to make some too!
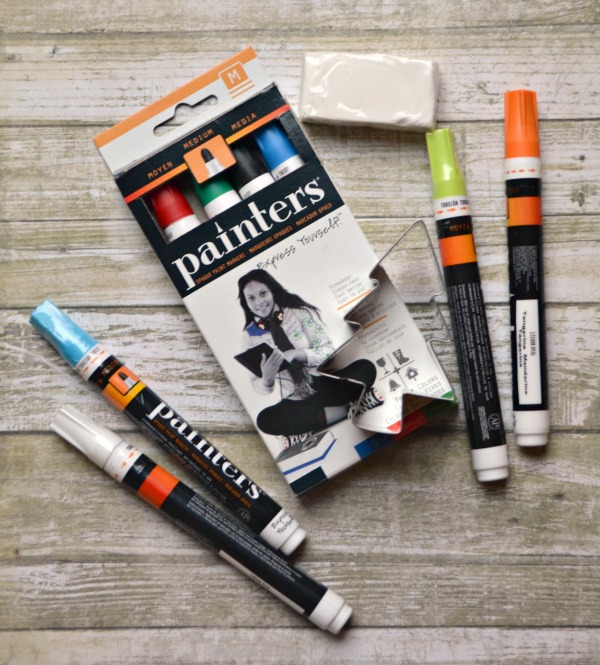
Materials:
{Some of ours were provided by Elmer’s; all opinions are our own}
– Elmer’s Painters® Paint Markers
– White Polymer Clay
– Cookie Cutter
– Rolling Pin
– Toothpick
– Baking Sheet
– Aluminum Foil
– String or ribbon
– Scissors
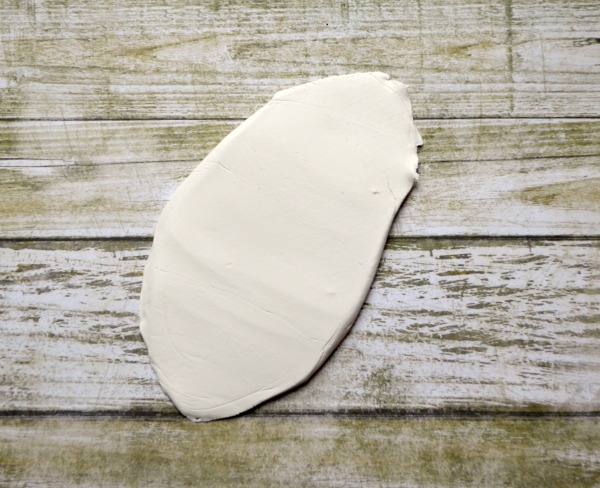
Step 1: Roll out your clay to about 1/4″ thickness.
Essentially, this is just like rolling out cookie dough. However, it’s important to note that any supplies you use that come directly into contact with the clay should be used only for clay, not for food. If you {like me} don’t have a separate rolling pin to use just for crafting, put down a sheet of foil, put the clay on it, then put a second sheet of foil on top. That way the rolling pin is coming into contact with the foil and not the clay. You could also use wax paper or parchment paper on top instead if you want to be able to see the clay as you roll it, but we didn’t have any.
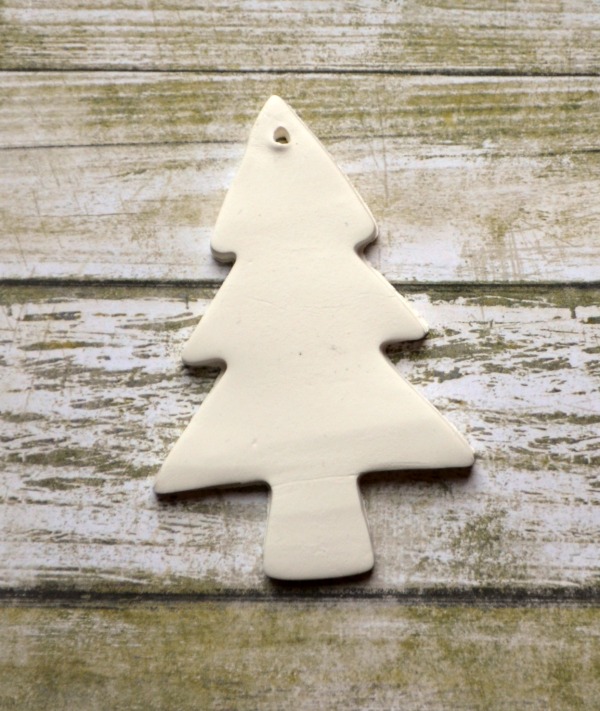
Step 2: Cut your shape with a cookie cutter.
Little Crafter loved this part. Once again, though, be sure that you devote the cutter you use to future craft projects and don’t use it when you’re baking your holiday cookies. We got some on clearance a few years ago that we use just for things like this…just because polymer clay is non-toxic doesn’t mean you should mix it with food.
Step 3: Use a toothpick or clay tool to poke a hole in the top for string.
Step 4: Place your ornaments on a foil lined baking sheet and bake according to the instructions on your package of clay.
Ours took 15 minutes at 275 degrees. Once they were done, we let them cool for about five minutes, then they were ready to decorate!
Step 5: Decorate with Elmer’s Painters® Paint Markers!
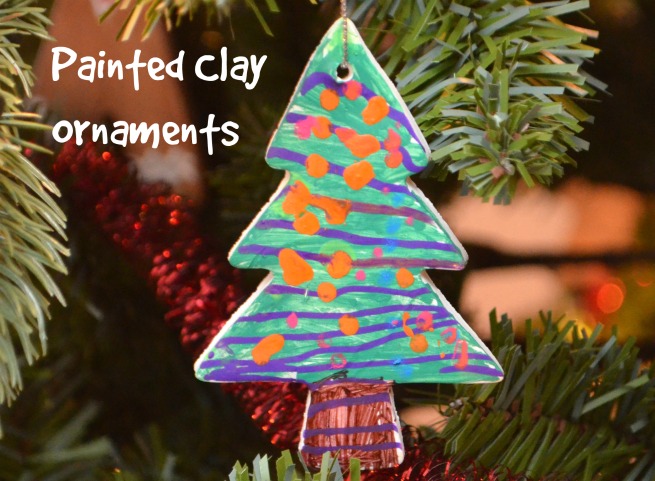
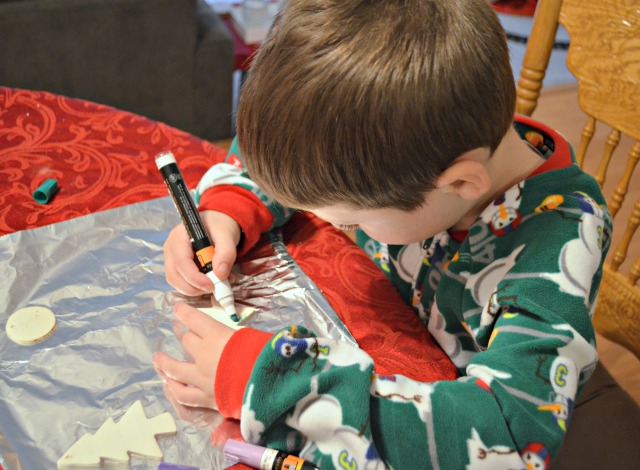
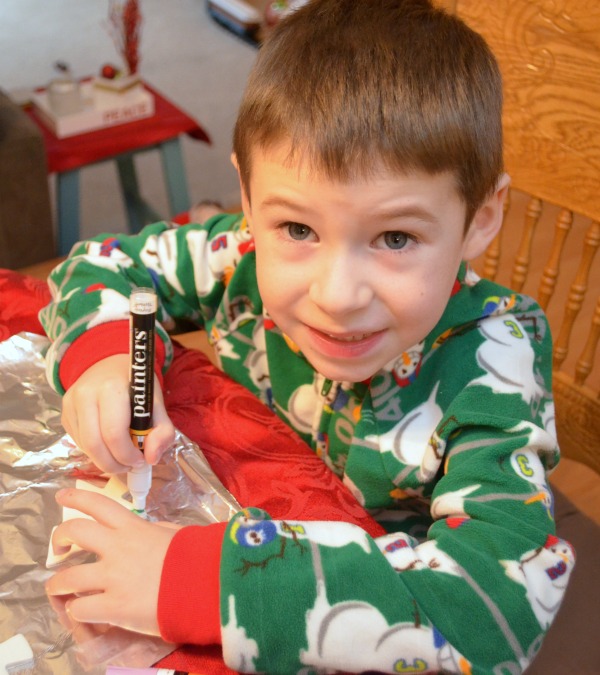
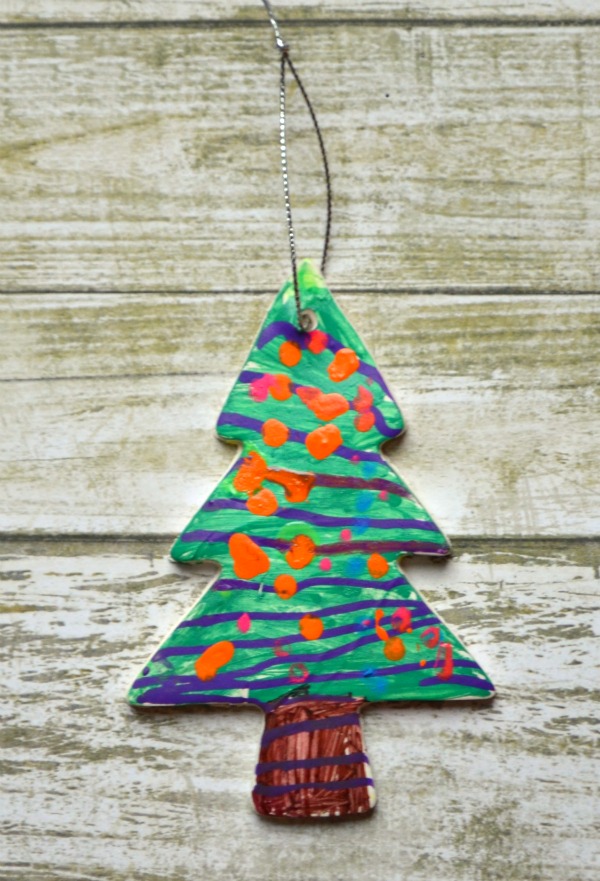
Little Crafter was very excited about this part. He chose to make a green tree with purple garland, a yellow star, and multi-colored ornaments. As you know, we’ve used Elmer’s Painters for a variety of our projects and love them because they give the look and feel of paint with the easy use of a marker. It’s very easy for LC to control where he wants the paint to go and to make things look exactly they way he envisions them.
Personally, I also love that there’s no mess to clean up; we just re-cap the Painters and they’re ready to use next time. No dirty brushes or water and no wasted paint either, which is another huge plus. I think my favorite thing about Elmer’s Painters, though, is that they dry SO fast! As soon as LC had finished painting the green tree base, he immediately started putting other colors on top and it was not a problem because the green had already dried. The other colors showed up really well even over the dark green, particularly the Neon ones. Elmer’s Painters® Paint Markers are available in Bright Colors and Neon Brights, like we used here, as well as a variety of other colors and tip options including Metallic, Super Tips, and lots more {many of which we’ve personally used and can tell you are awesome}.
Step 5: Add a string hanger and place on your tree or on a gift package!
If you want to jazz it up even more, you could always add glitter or sequins using Elmer’s X-TREME School Glue. Little Crafter said his was perfect as is, so we hung it on the tree along with his other masterpieces. This was the perfect activity for a cold, icy two-hour-school-delay kind of morning. There was just enough time to snuggle a little in our pajamas, read a book, bake our clay, paint the ornament, and hang it up before we had to leave for school. We got two more ornaments, another tree and a circle, out of our small block of clay that Little Crafter plans on decorating after school.
What about the little crafters in your life? Would they enjoy this simple and fun project? What shapes would they enjoy painting?
Painters® Paint Markers are as fresh and fun as the projects they create! These colorful opaque acrylic paint markers are perfect for decorating, drawing and personalizing almost any surface. Available in a variety of colors & tips, they are fast drying, permanent, streak-free, non-toxic & acid free. Express Yourself™! Follow Elmer’s on Instagram & Pinterest.
Compensation was provided by Elmer’s via Mode Media. The opinions expressed herein are those of the author and are not indicative of the opinions or positions of Elmer’s.






I love making ornaments with the kids – this looks like a lot of fun!
This is so cute! I love doing a homemade ornament each year with my daughter. I’ve been wanting to do a clay one – I think we’ll give it a shot next year!
Handmade ornaments are the best — and even better when the kiddos get to add their personal touch. Love it!
Super cute…love looking at handmade ornaments on my tree!! Such fun memories go into every one!
Another cool Elmer’s idea!
The absolutely best ornaments are the ones my kids have made over the years ~ I love this one ~ I can’t wait to try it with my youngest (he still, thankfully, is young enough to do this!). 🙂
My favorite kinds of ornaments! Love them so much… especially when they’re accompanied by a smile like that!
Adorable! Those painters look like so much fun! Great crafty idea!
how did I NOT know about these! I love this project and will be doing it with my grandchildren! ox
Making ornaments with kids is such a great holiday tradition…these are so fun!
Kiddos love making their own ornaments! How fun!
What a cute idea! I know my kids would LOVE to make something like this!
These are so much fun!!!!!!!!!
I LOVE LC’s tree! I want to make some of these myself. 🙂
These are adorable! My kiddos would have so much fun making these.
I love handmade ornaments!
Such a fun memory and cute ornament!