5 Things I Love About My Cricut Explore Air 2
This is a sponsored conversation written by me on behalf of Cricut. The opinions and text are all mine.

As many of you know, I recently added a new crafting tool to my studio, the Cricut Explore Air 2. It has quickly become a go-to method of creating all kinds of personalized projects. I know there are lots of folks on the fence about getting a Cricut, as well as some who have never heard of it, and others who have one but are intimidated to take it out of the box. Today, no matter which of those categories you fall into, I want to share with you 5 things I love about my Cricut Explore Air 2.
1. It’s easy to use.
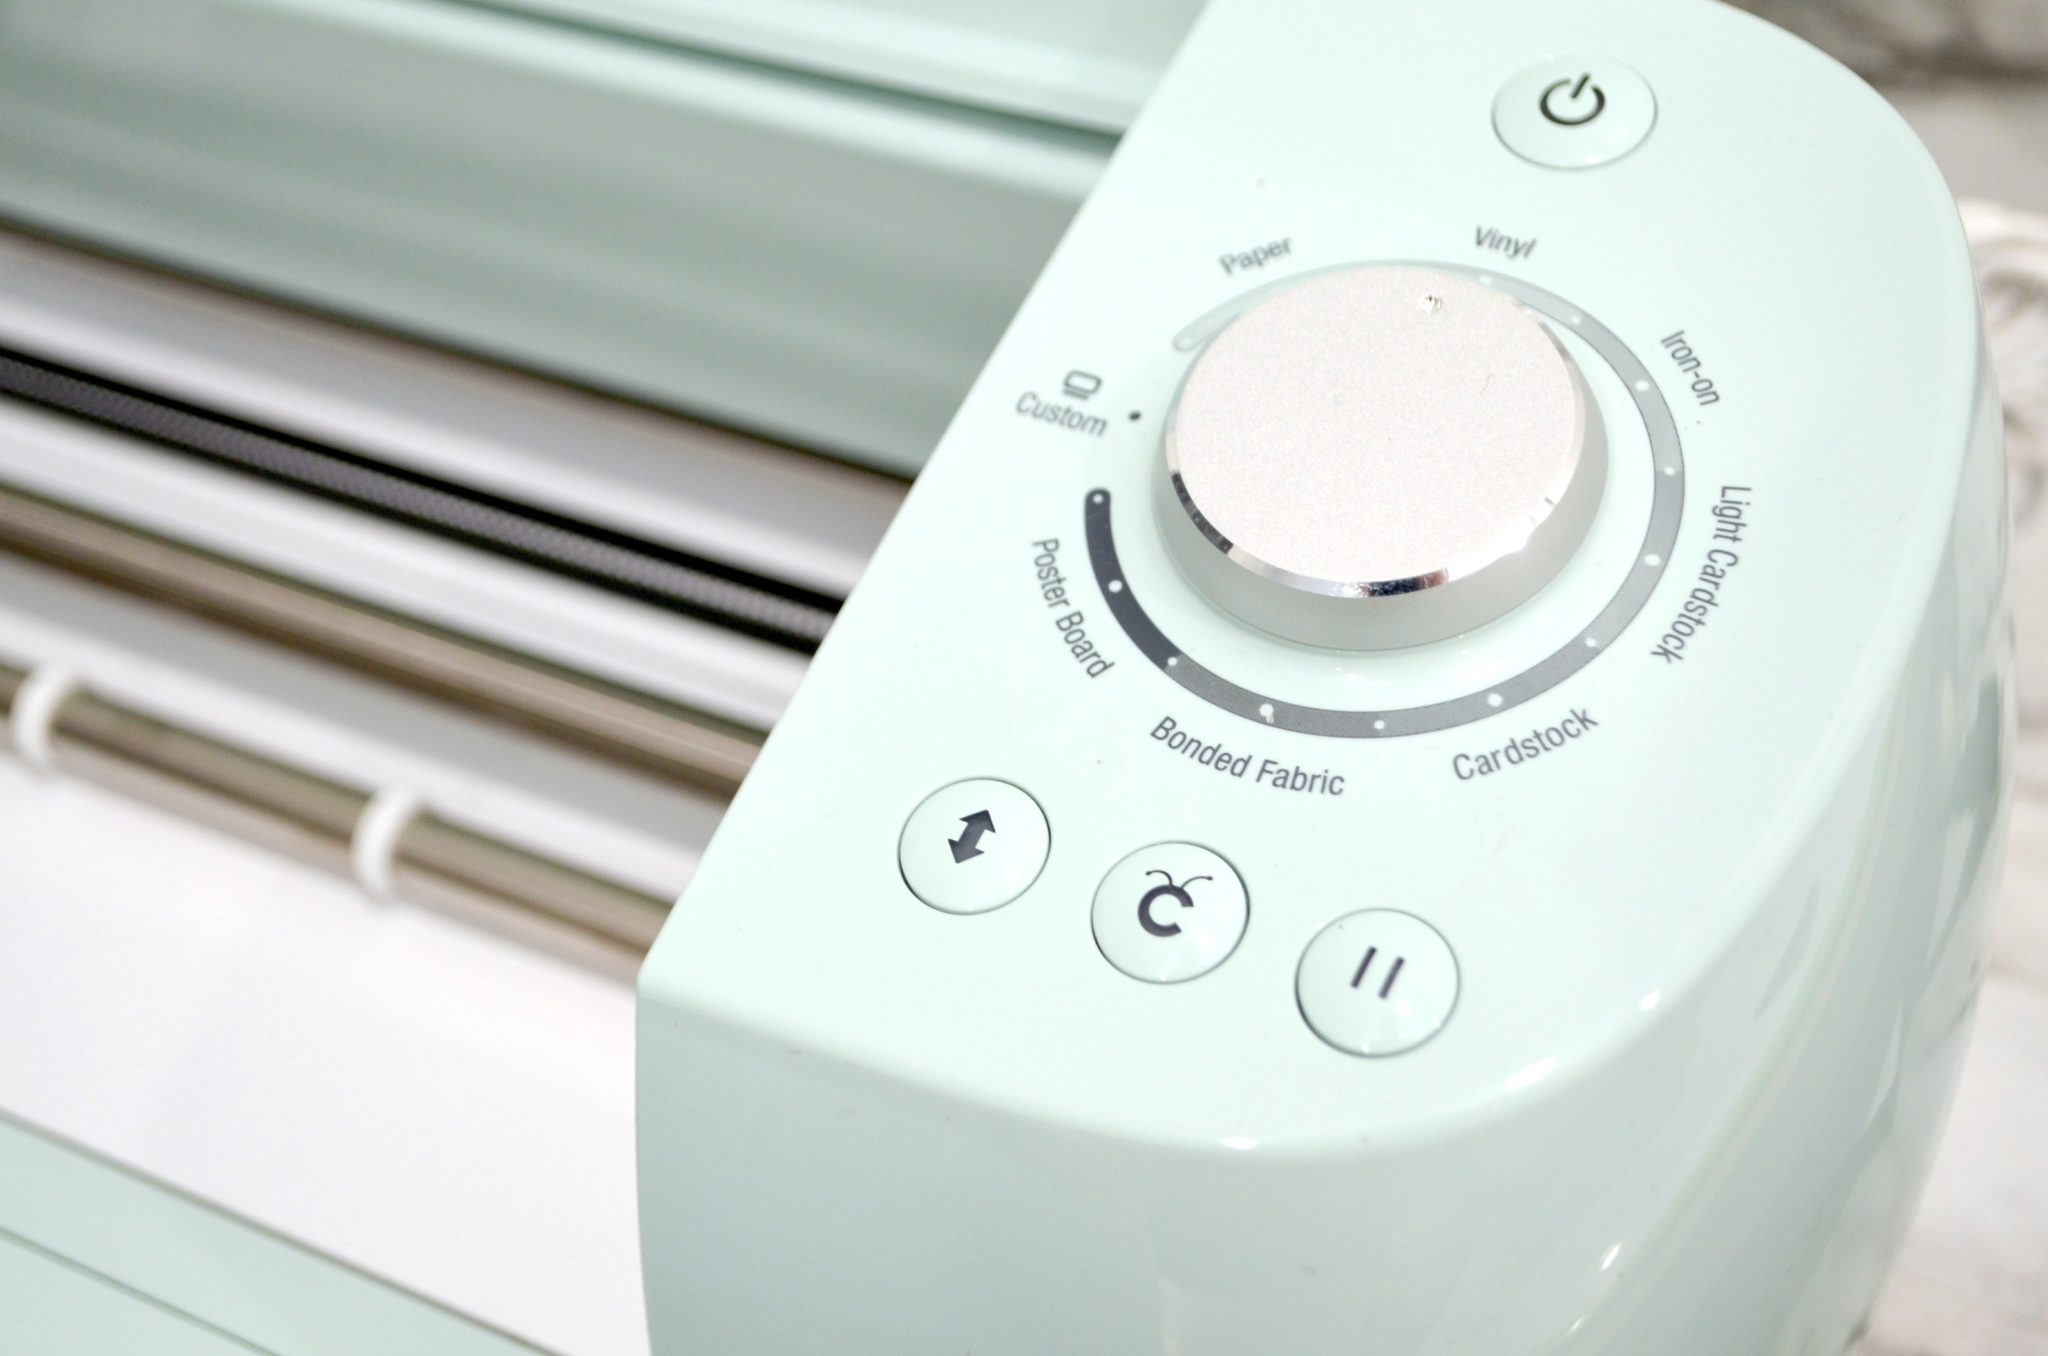
Although it may sound intimidating because of its many features, the Explore Air 2 is actually a very user-friendly machine! To make a cut, first you’ll turn the dial to indicate what material you’re using, then place that material on a machine mat. Send your design to the machine from Design Space, then the arrow button will blink telling you to load the mat. Once it’s loaded, the button with the Cricut logo will flash, telling you it’s time to cut! Just follow the prompts to press those buttons, and the machine will do the rest.
2. It’s fast.
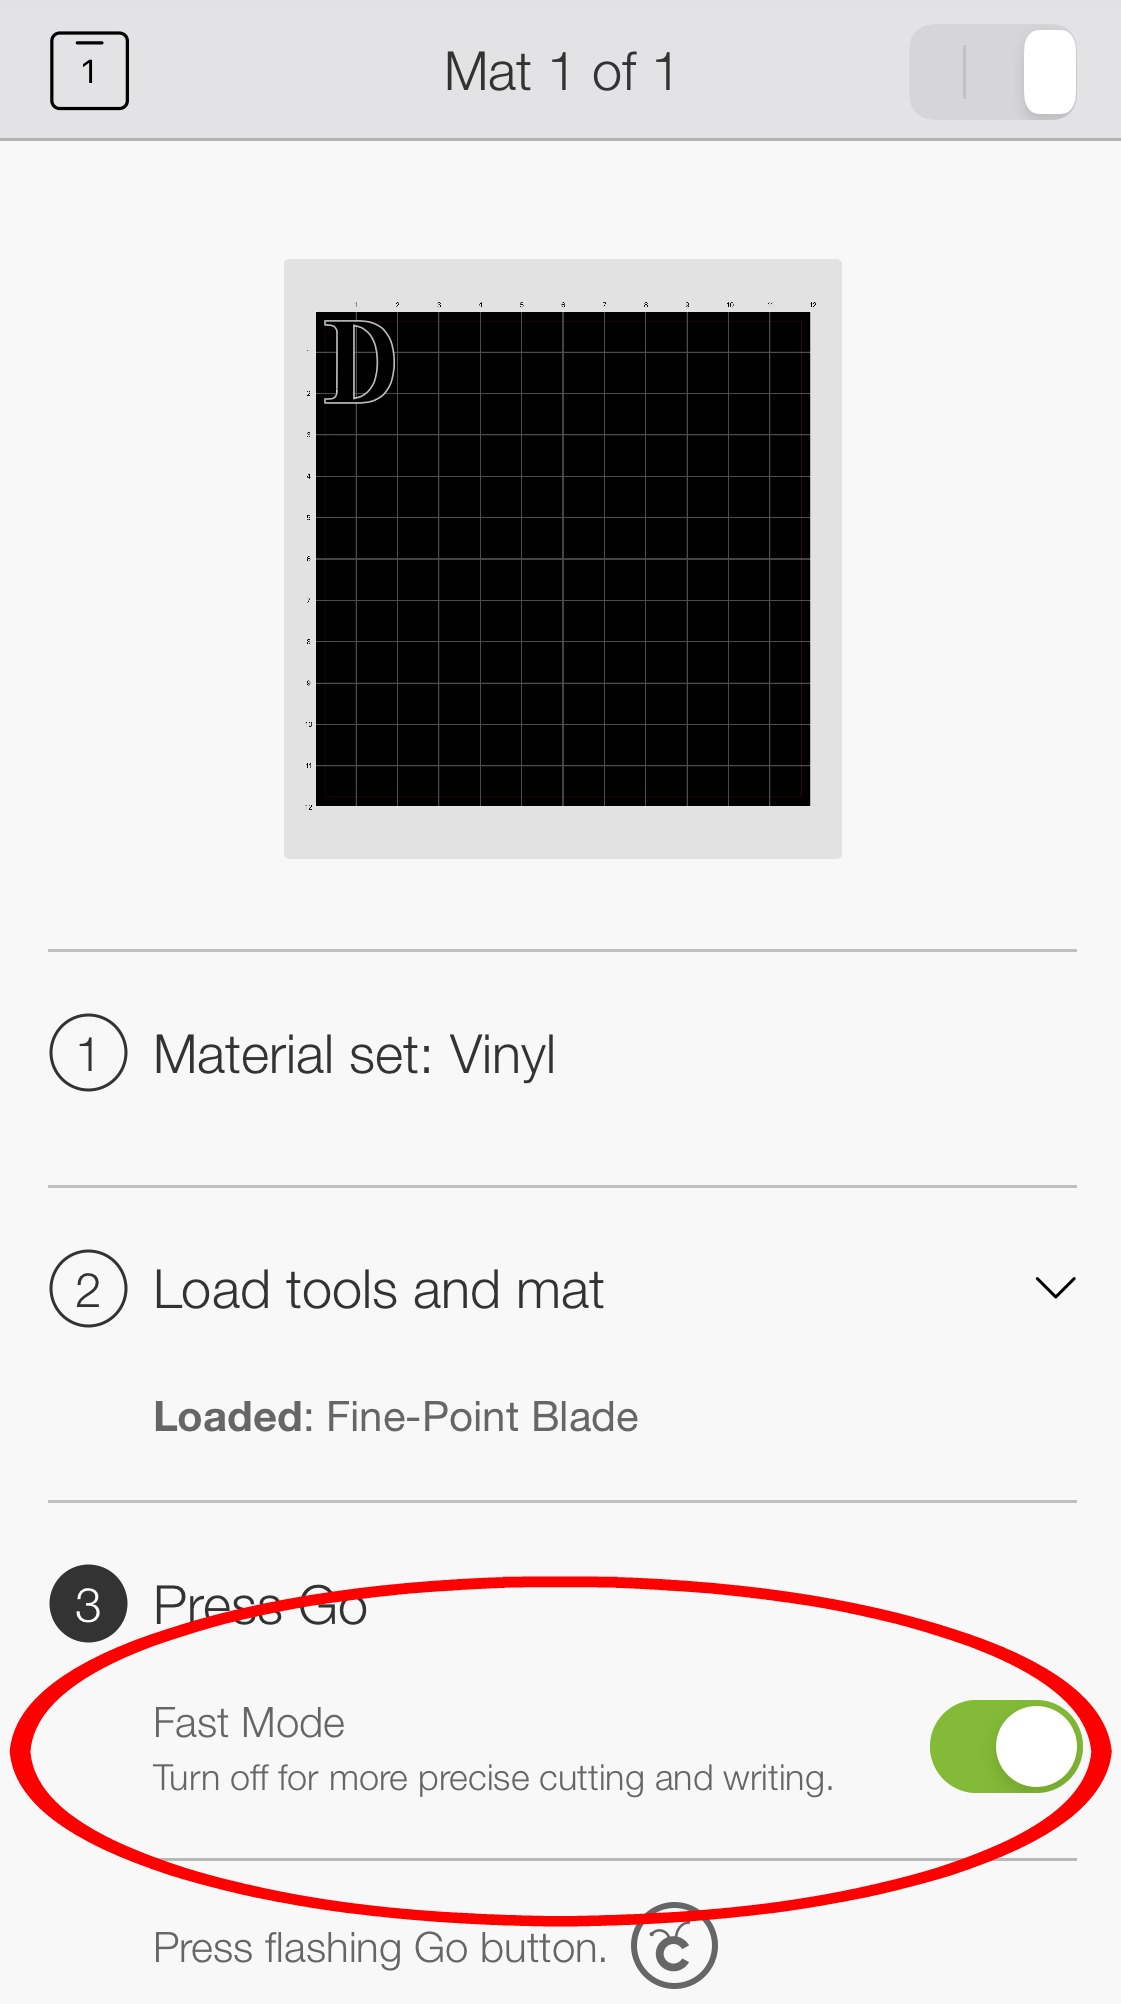
As an impatient crafter and a busy mom, I like projects I can make quickly. The Cricut Explore Air 2 has a “Fast Mode” option that allows it to cut cardstock, vinyl, iron-on, and more up to 2x faster so you can move on to the next step of your project in no time.
3. It cuts 100 different materials.
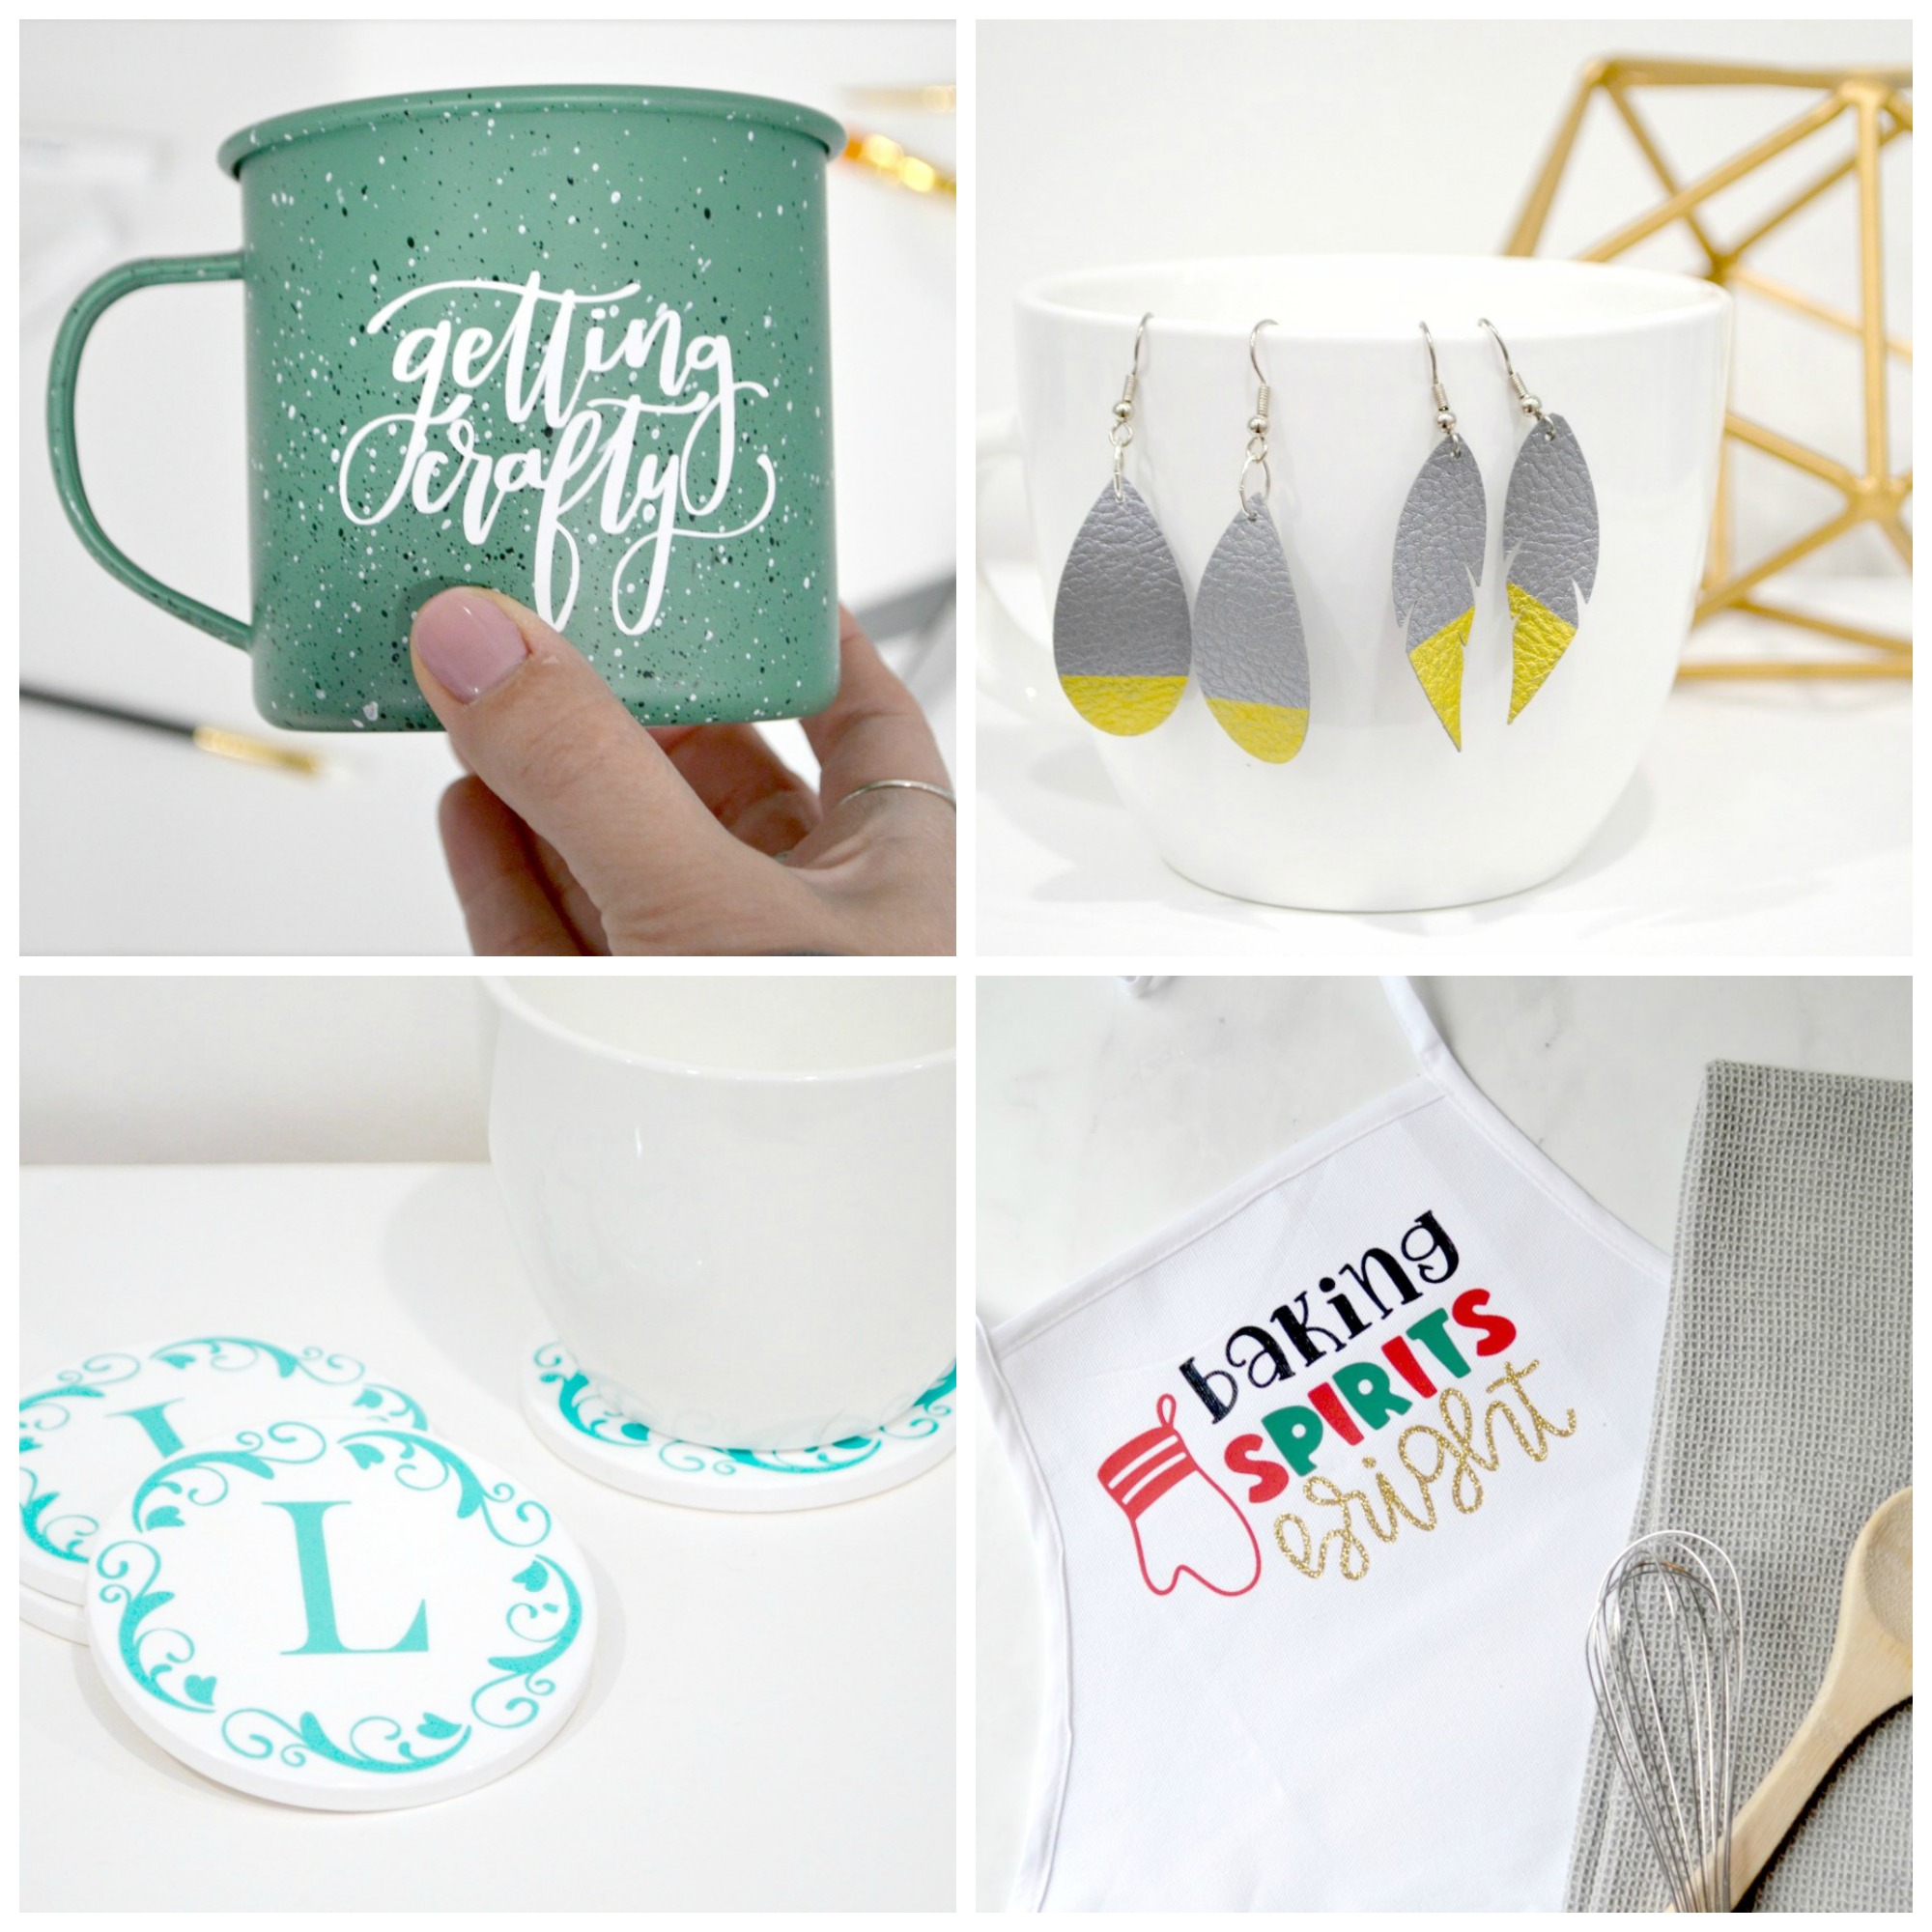
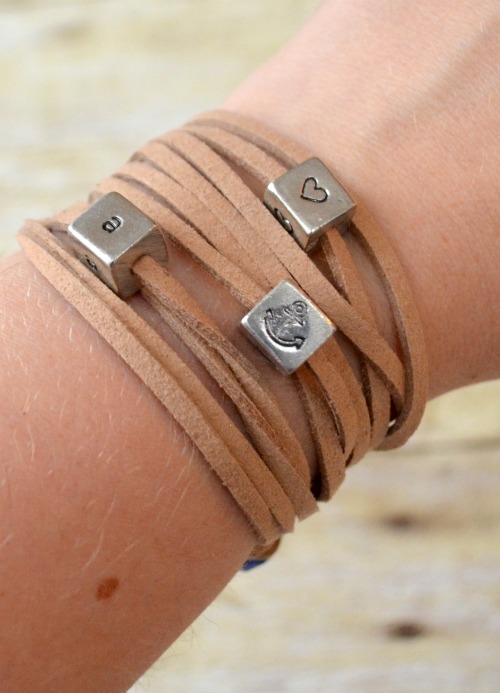
That means I can make projects using everything from cardstock, vinyl, and iron-on to specialty materials like glittery paper, polished foils, and bonded fabric. I’ve had so much fun experimenting with all the different possibilities and creating a huge variety of projects, like this coffee mug using permanent vinyl, faux leather earrings, an apron personalized with iron-on vinyl, and coasters made with Infusible Ink! The more I can cut, the more I can create.
4. I can do everything from my phone.
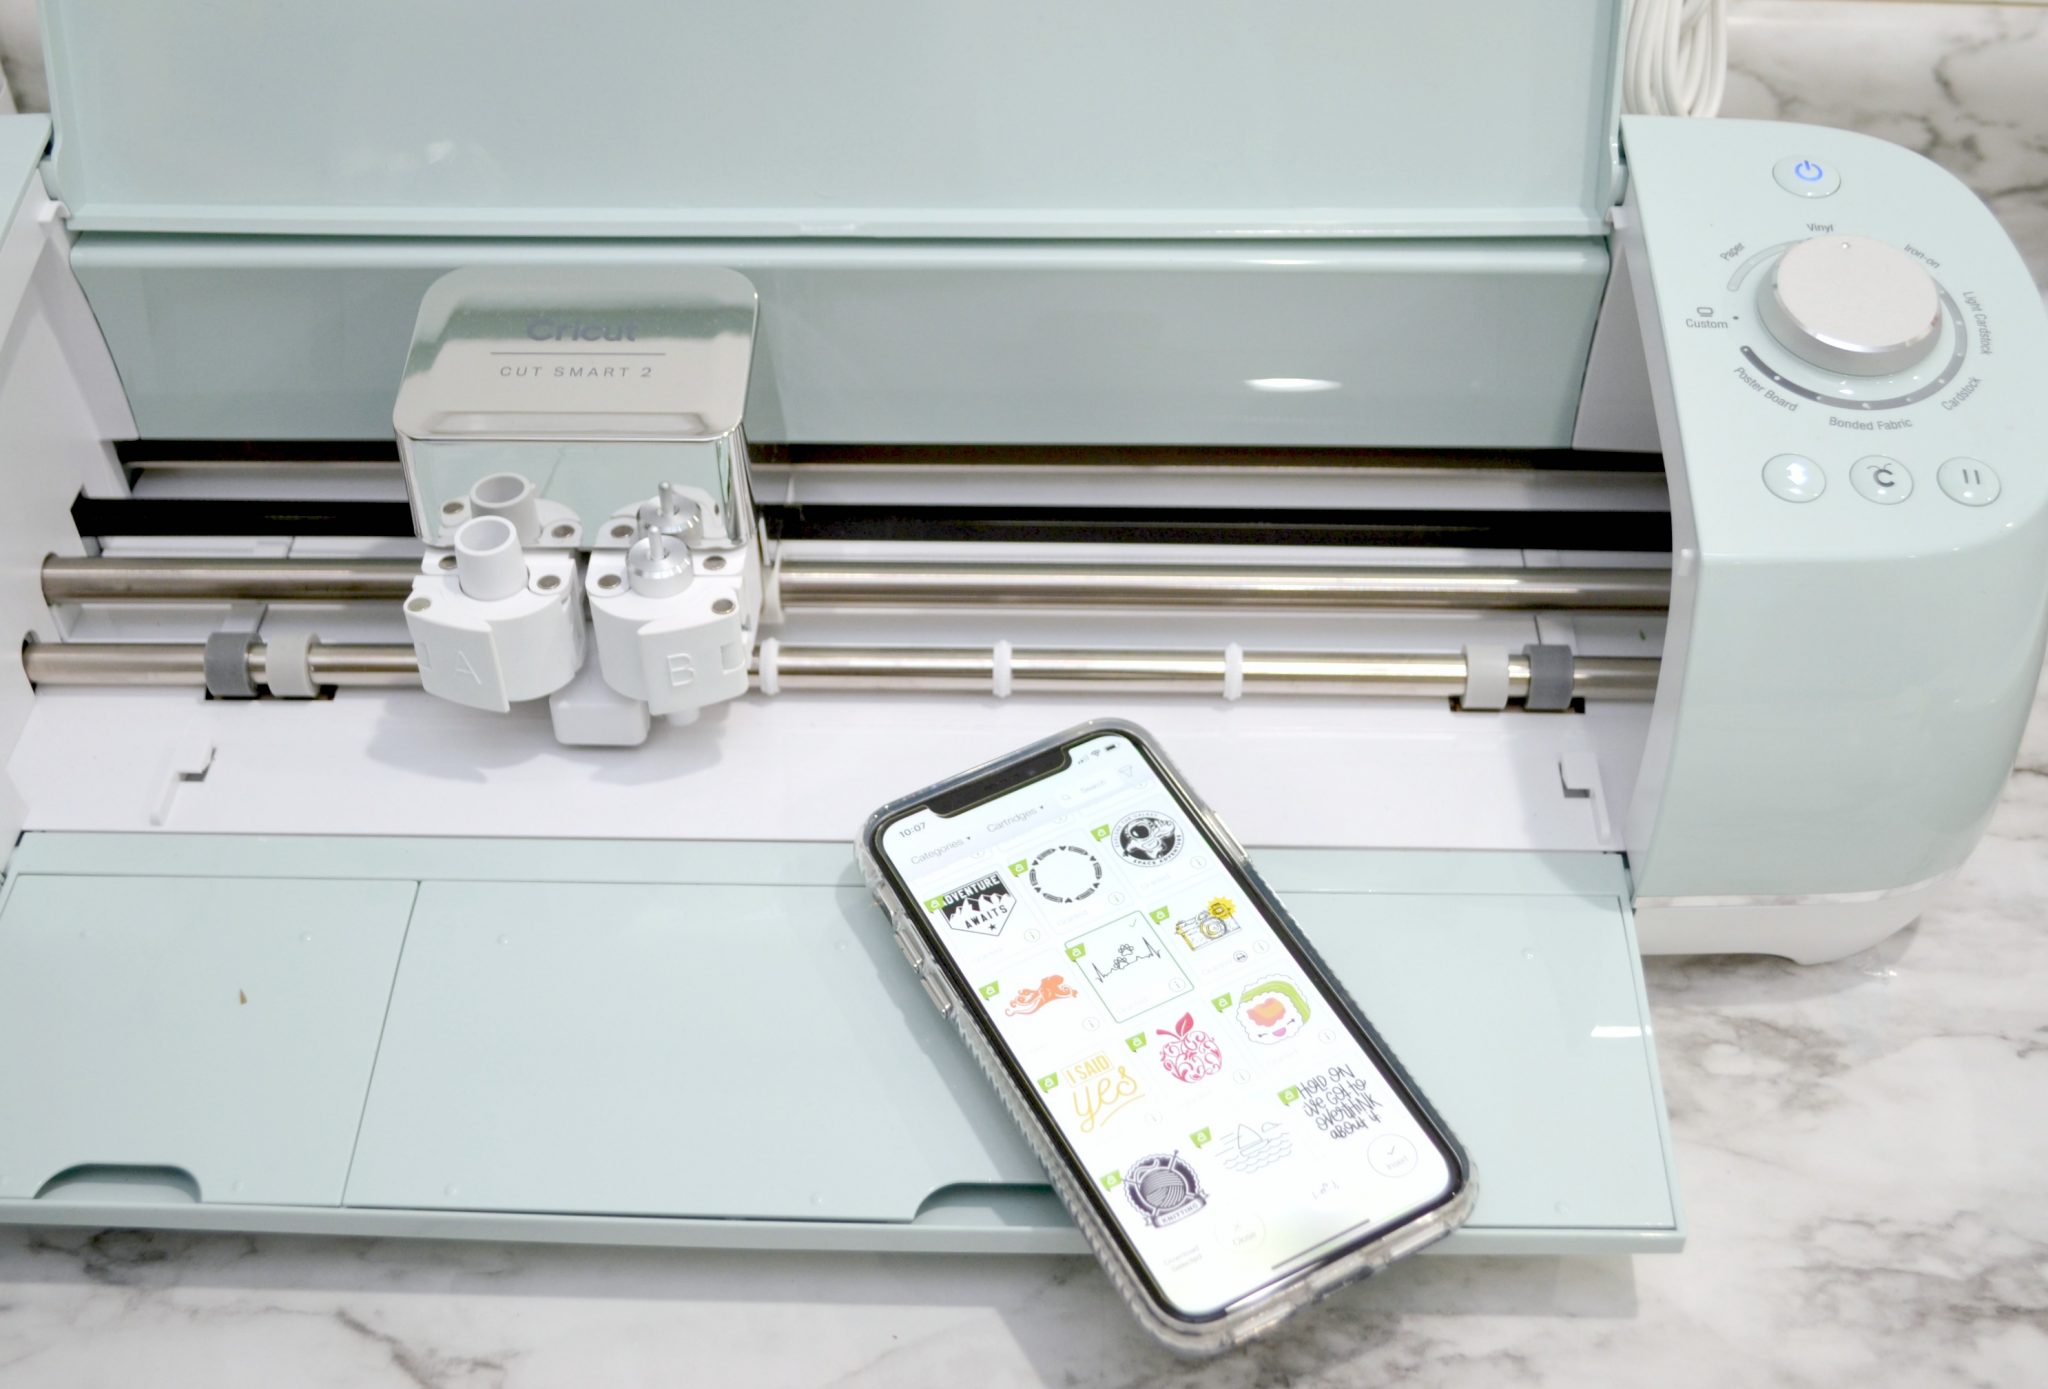
It’s not always convenient to hook my computer up to my machine, but now I don’t have to, because I can make a wireless connection to the Explore Air 2! In fact, I can create entire projects from my phone. I just upload or choose a file in the Design Space app, adjust it any way I like, then send it to my machine via a Bluetooth connection.
5. It lets me personalize things with my own lettering and images.
Honestly, the reason why I didn’t have a Cricut years ago is that I believed something untrue. I thought that a Cricut machine could only cut specific images and couldn’t be used for anything other than its own library of designs. I was so wrong. Not only can I choose from and work with the huge variety of images provided in Design Space, I can also cut anything I upload. That includes my own hand lettered files and designs, company logos (with permission, of course), my own business logo, and all kinds of other images. For someone like me who is a business owner and a hand lettering artist, this was a game changer. I shared a tutorial recently about how to use your own lettering with the Explore Air 2, and I have also used my machine to make personalized gifts using outside images, like mugs with the logo for the news station where I do a monthly craft segment. Realizing that I could use my own designs is what caused me to start really wanting an Explore Air 2 in the first place!

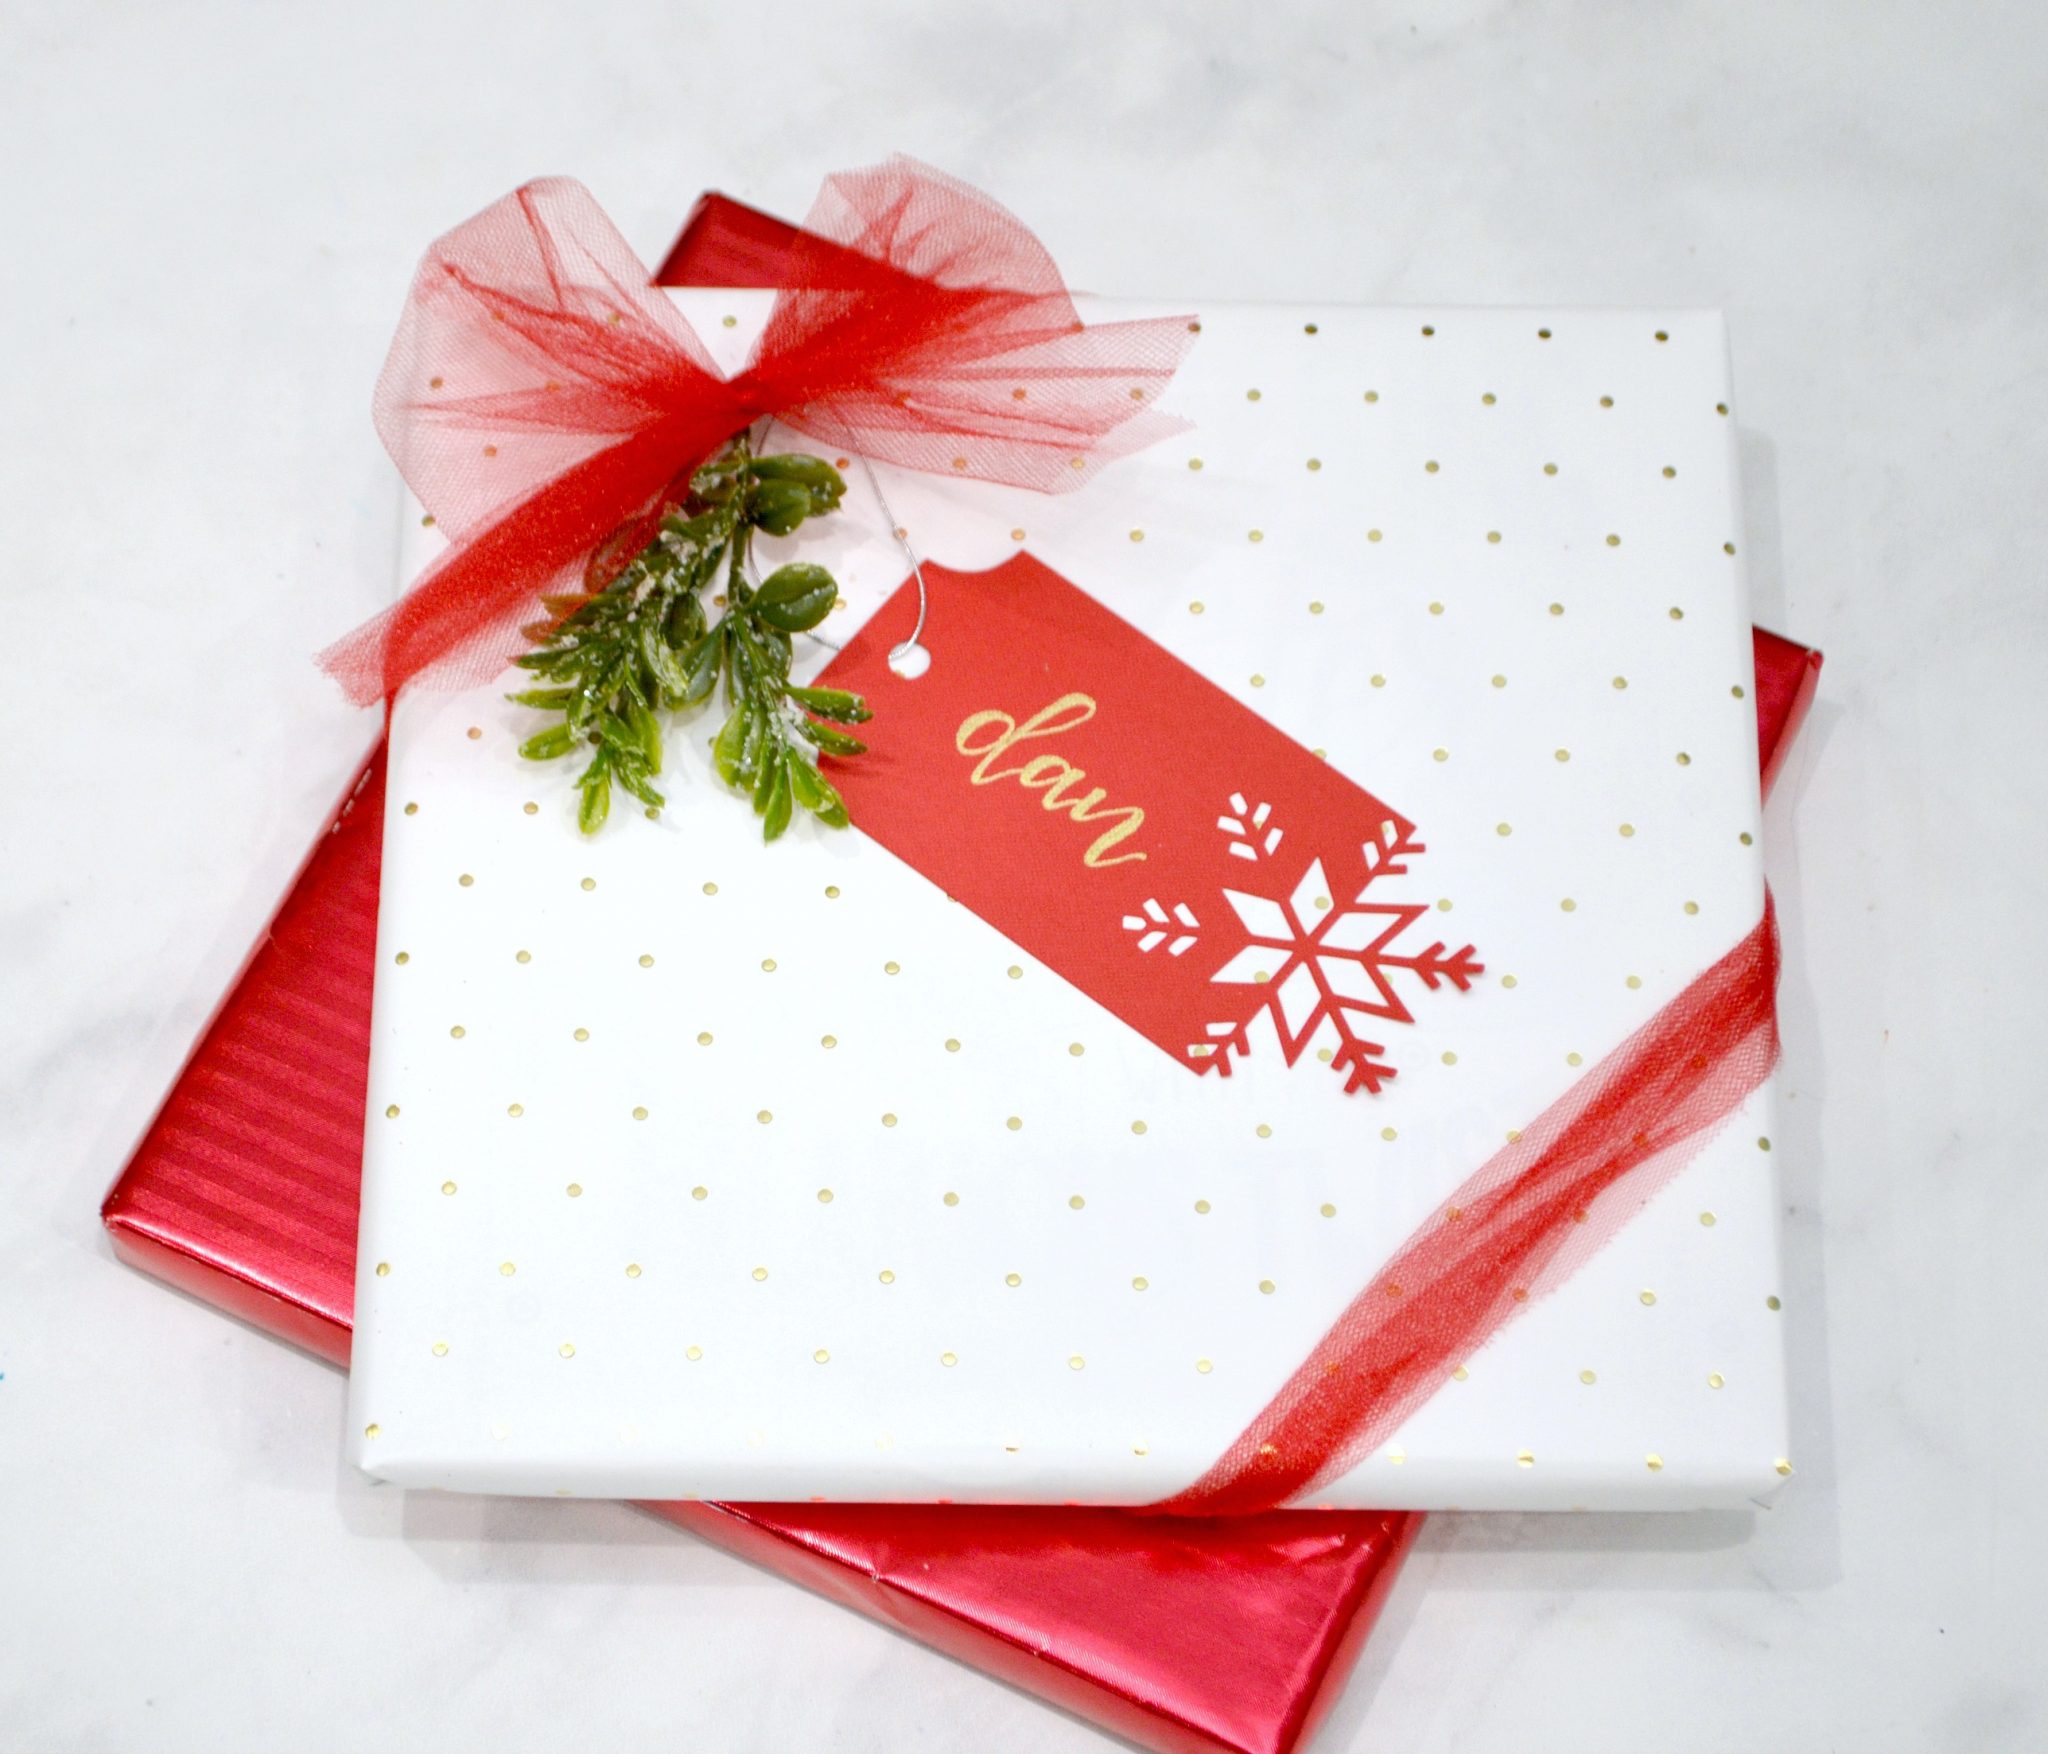
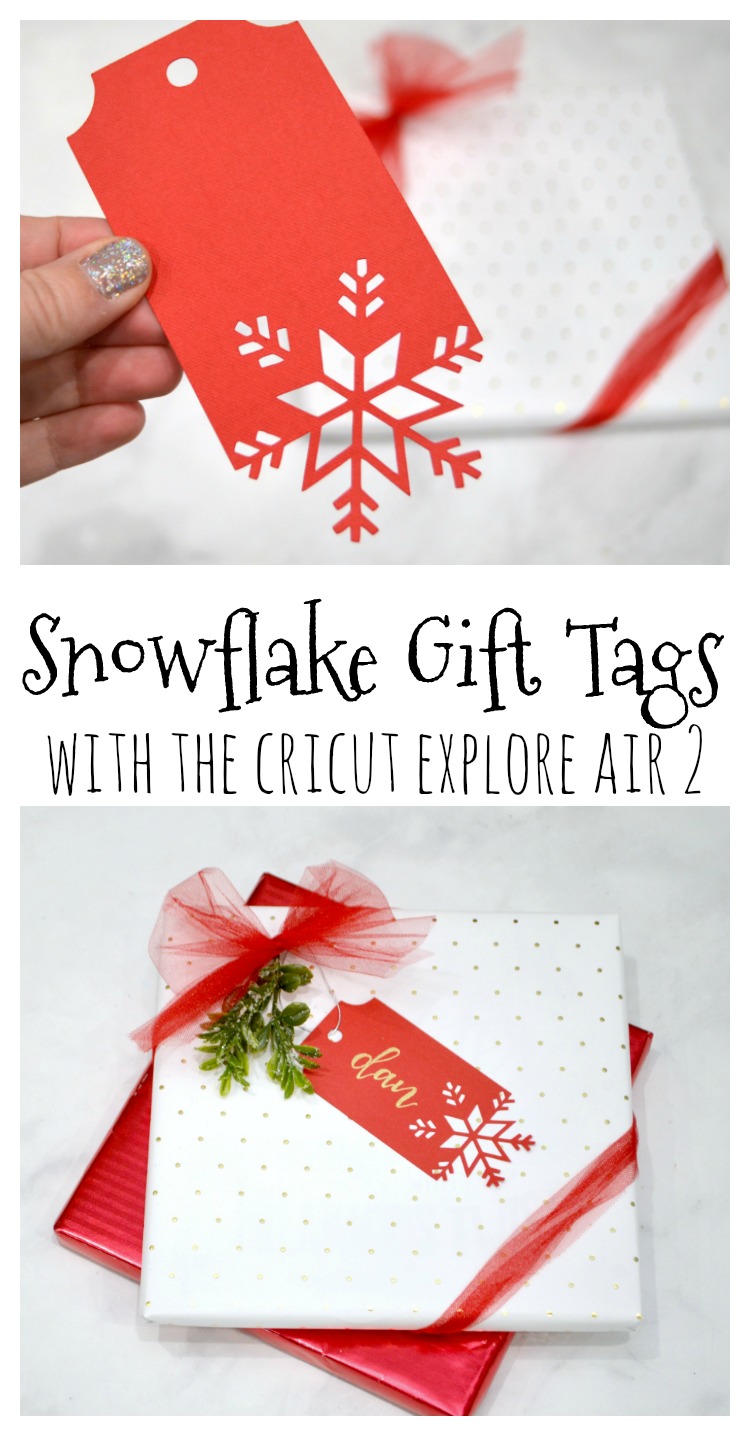
These five reasons (plus more!) make the Explore Air 2 one of my absolute favorite crafting tools. To show you just how easy it is to use, I want to share a project that literally takes less than 5 minutes to create. If you’re on the fence, I hope this will convince you that you need a Cricut in your life. And if you have one and it’s still in a box, I hope this encourages you to take it out, plug it in, and create! Let’s make these super-simple but beautiful Snowflake Gift Tags.
SNOWFLAKE GIFT TAGS
Materials:
Gold Paint Pen
Metallic Cord
Scissors
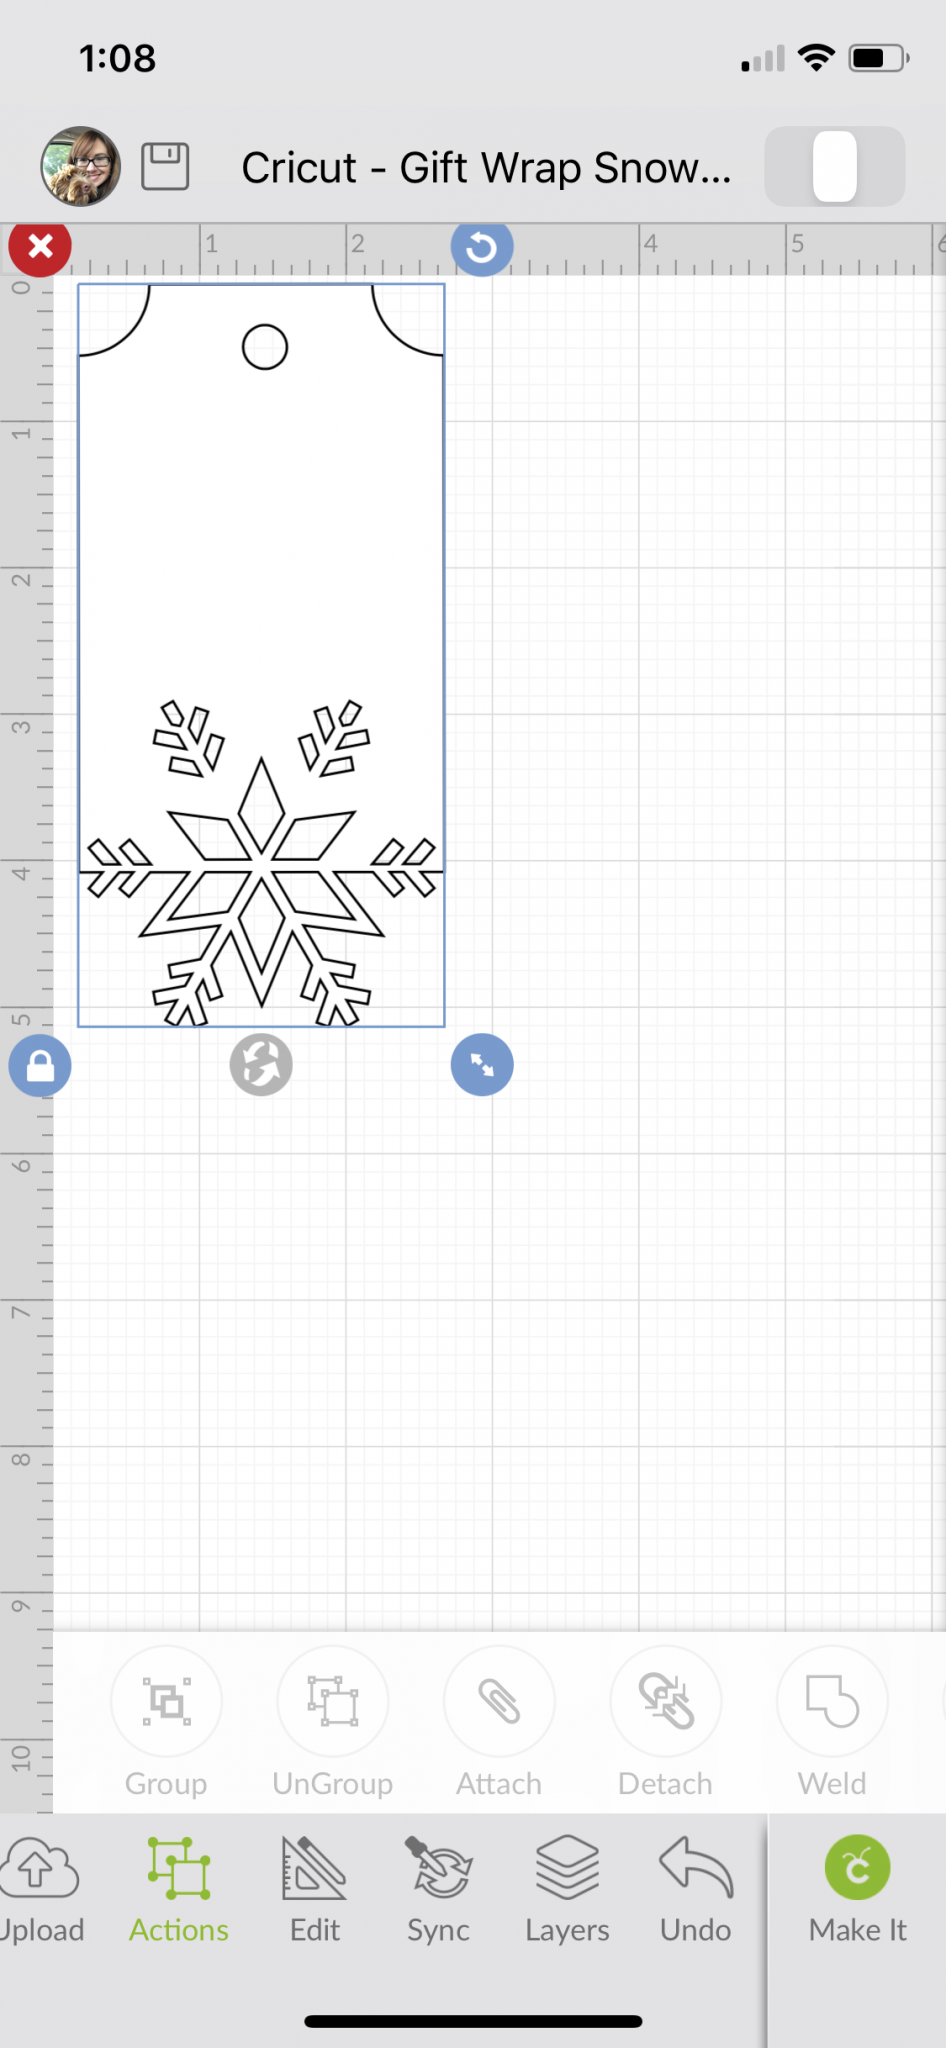
Step 1: Open Design Space and insert the snowflake tag image on a new canvas.
This project can be found in the Design Space app, called Snowflake Gift Tag #M2E75078. Just select “new project” and then choose to insert an image onto the canvas. You’ll be taken to the app’s image library where you can search for this file. The original file also includes a handwritten “to” and “from,” which you can use with a Cricut Pen, or a scoring blade and adhesive foil, but I wanted to keep things super simple. To remove that part of the image, just select “actions” from the bottom menu, then choose “detach.” The words will now appear inside a box and you can tap or click on the red “x” to delete them. All that’s left is the cut file for this pretty tag.
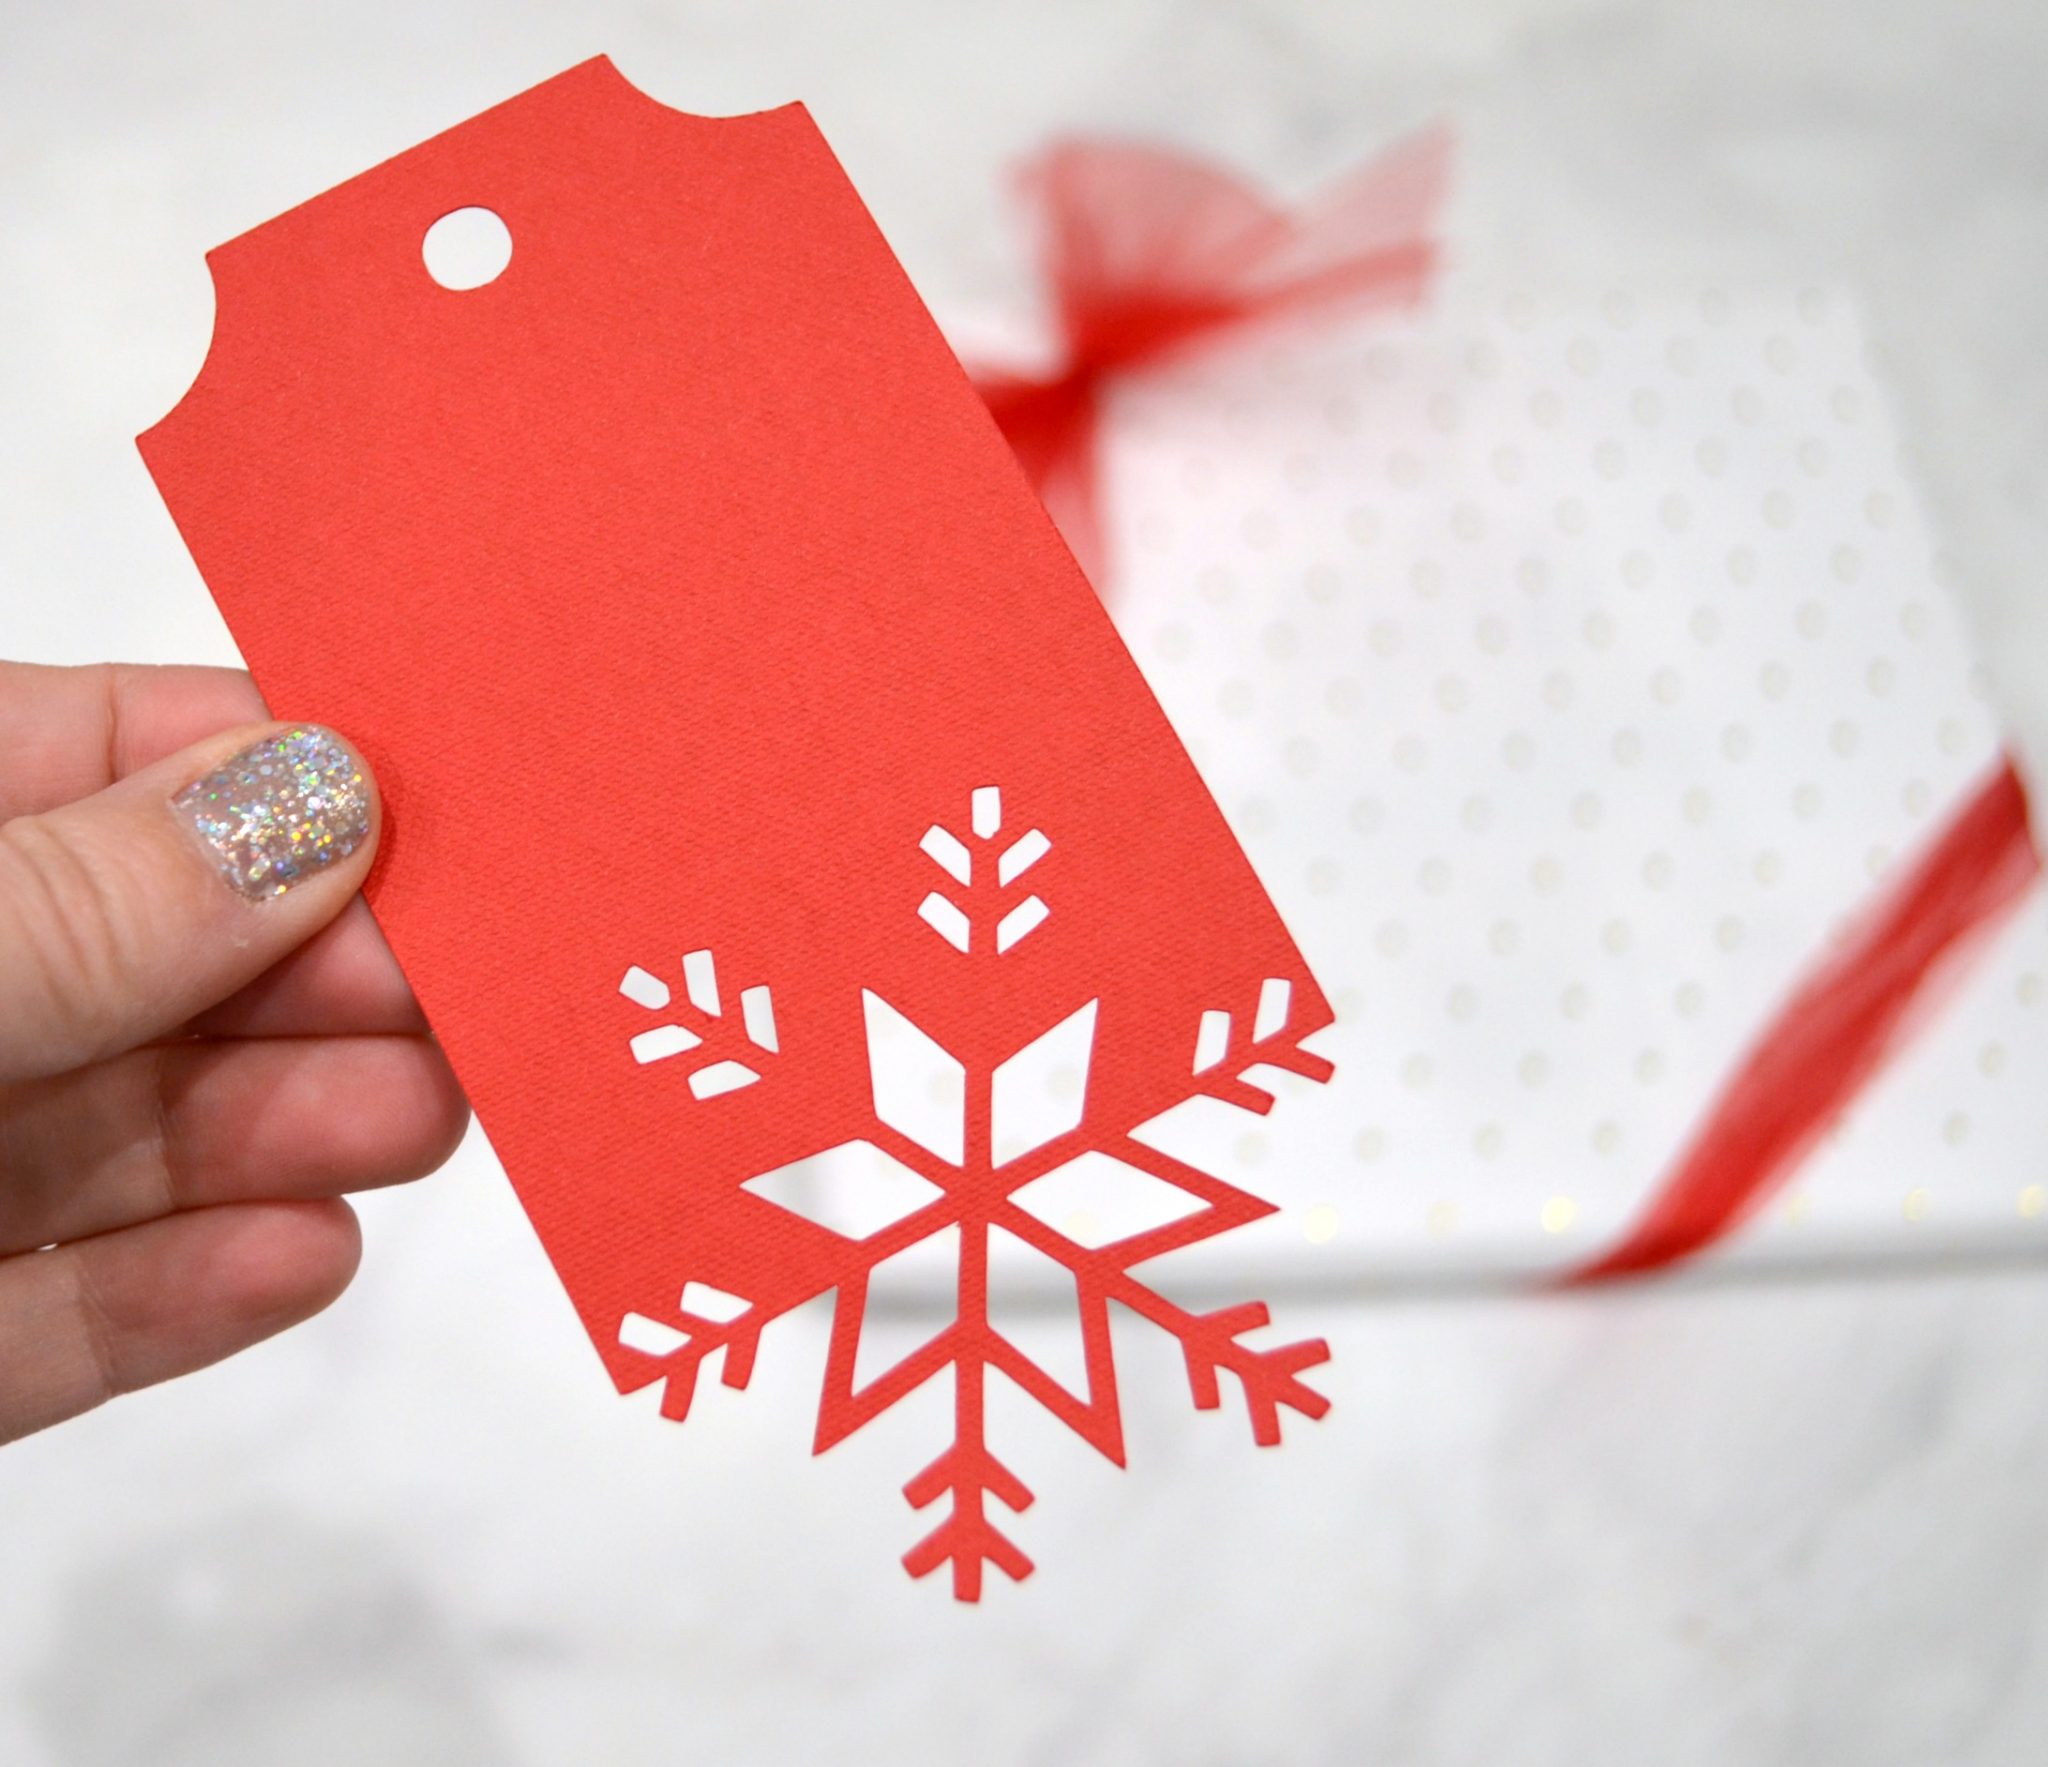
Step 2: Cut the tag from red (or another color) cardstock.
Send the design to your Explore Air 2 by choosing, “Make it” and following the prompts to load your mat and start the cut. Make sure the dial on the machine is turned to cardstock, then let the machine do its magic.
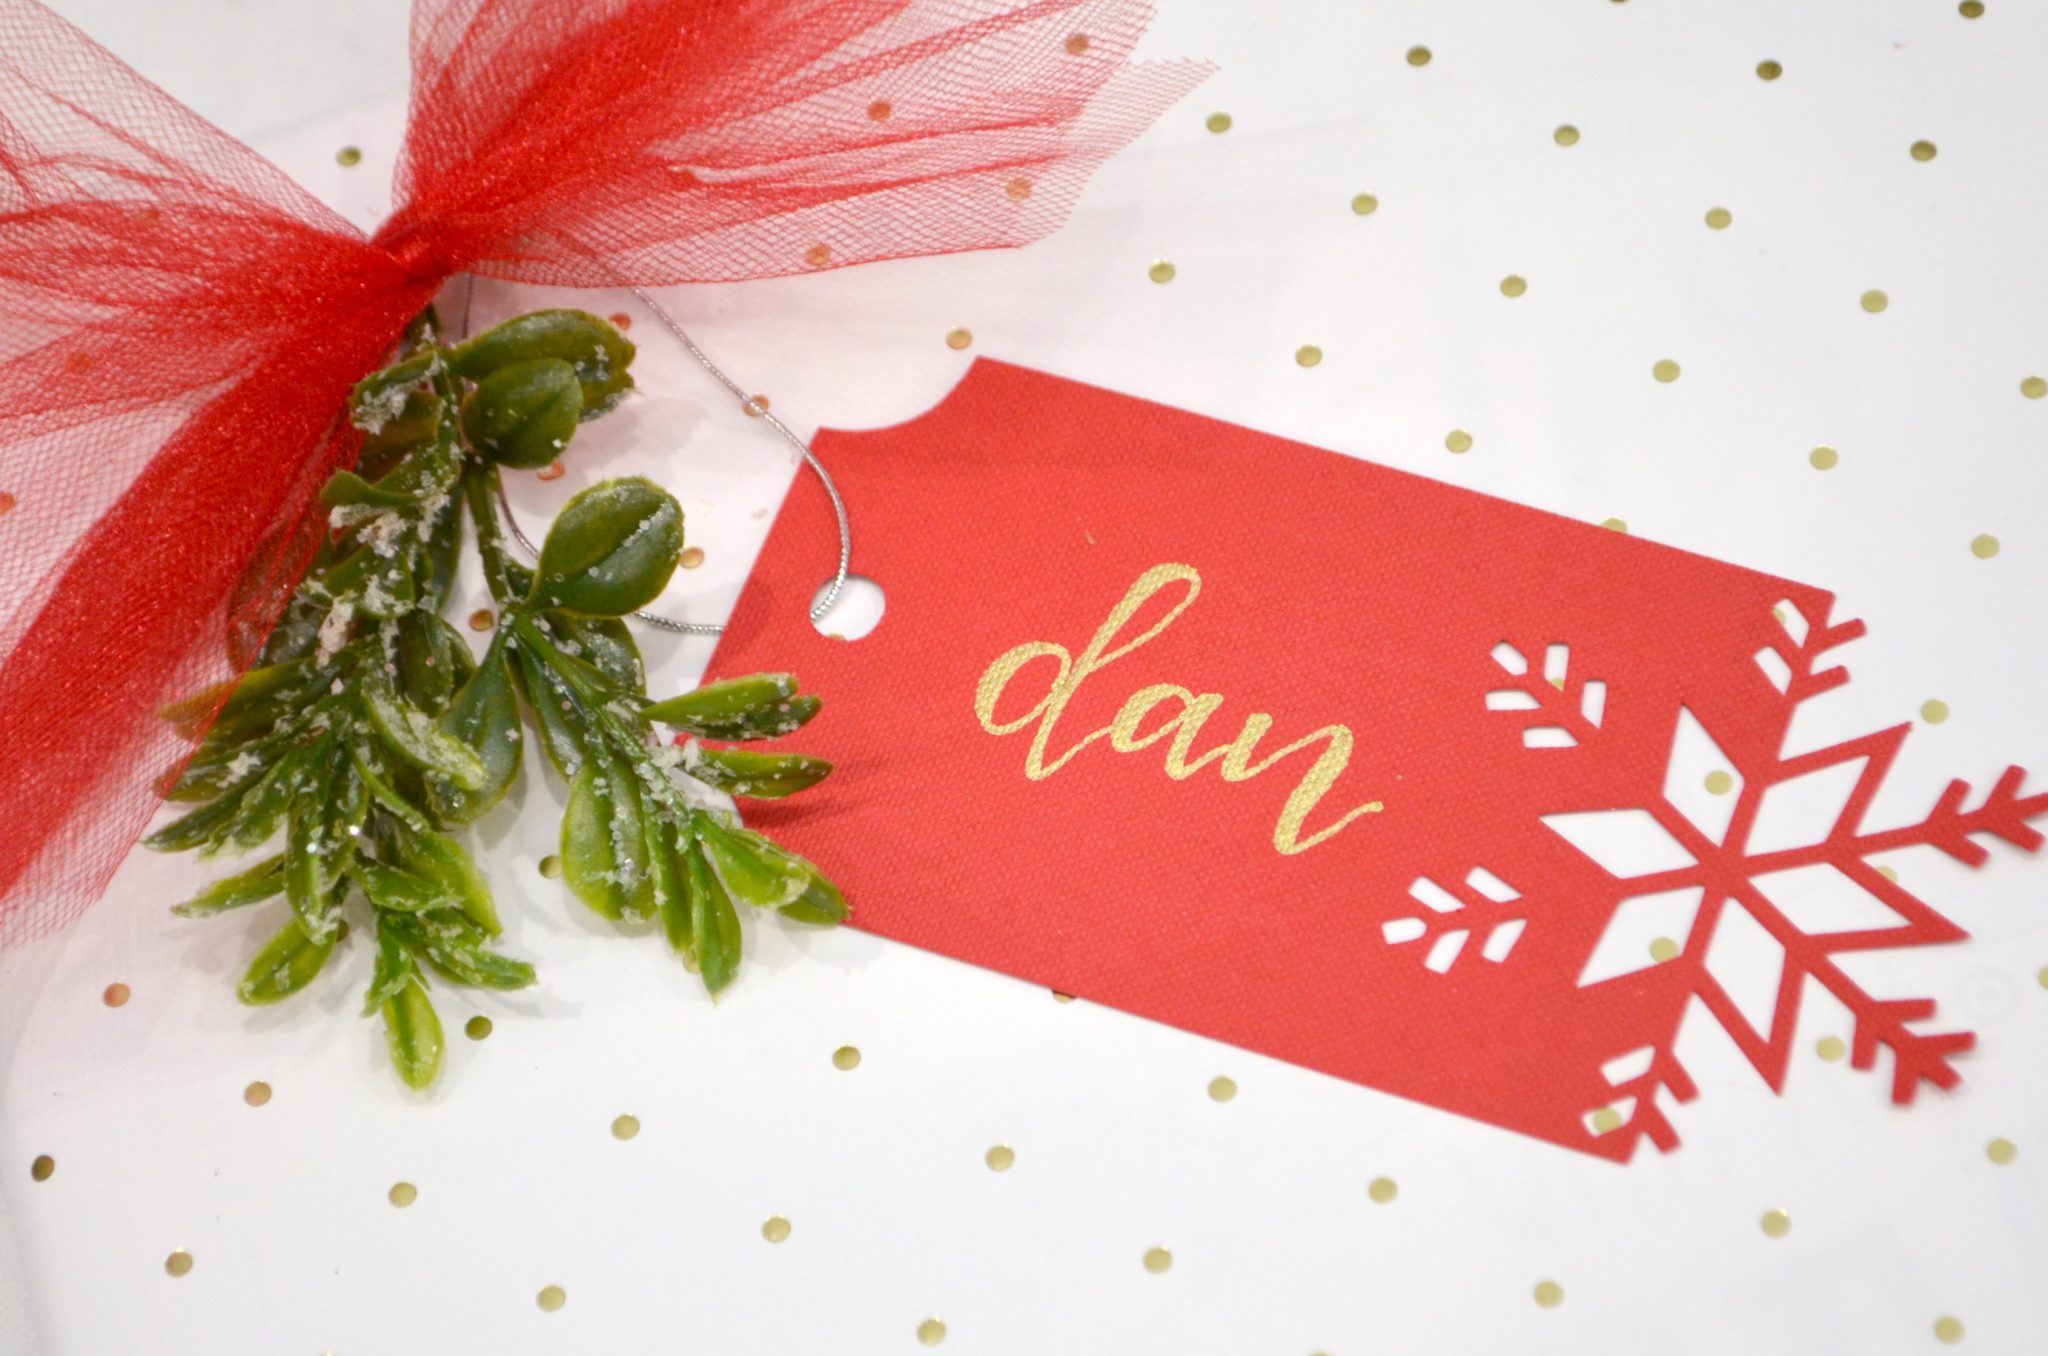
Step 3: Thread a piece of metallic cord or ribbon through the hole and write a name or message on the tag.
I used a gold paint pen to letter my husband’s name.
That’s all there is to it! These tags couldn’t be easier to make, and they’re a gorgeous handmade addition to your holiday gifts. Plus, they only take five minutes to create, so you can make them even faster than you could go to the store and buy a package of pre-made tags. What do you think? Will you whip up some of these for your gift packaging this year? If you like them, be sure to pin the project so you can find it later or share with a friend. What do YOU love about the Cricut Explore Air 2?
Hello!
What brand cardstock do you prefer? I am having issues with tearing and not getting a clean cut.
I use lots of different types. What were you trying?
I am having trouble finding this svg on design space.
It is called Snowflake Gift Tag, Image #M2E75078
Me too
I searched “Gift Wrap Snowflake Tag” and that tag is not coming up. Would you be able to post a more specific identification of it so i can find it?
The image is Snowflake Gift Tag #M2E75078
I’m not able to find the image either…. I’ve looked with the wording and the number.
I don’t know what to tell you. It is showing up in my app…Snowflake Gift Tag #M2E75078. The image in the app is blue, not red. What happens when you try putting in the number?
When I put in the number it just comes up blank. Nothing is showing up. When I put in the words. This one does not come up.
I don’t understand why it’s not showing. I can see it on my app. I will ask Cricut about it.
I had a difficult time finding it, too. But you have to belong to Cricut Acces[s to buy it for 1.99. Hope this helps. Also you have to type in the words, then the number. Just like ‘dancer for life” above has it.
I just now found it. June 11, 2022
It says no results found when searching with just the image number.
Hi! I do have issues finding the image, there is another image, but it says EXCLUSIVE and it not let me click on anything.
It may be that you need the Cricut Access subscription for that one?
I have Cricu access and still this file does nit come up. I will contact Cricut to complain.
Search Gift tag