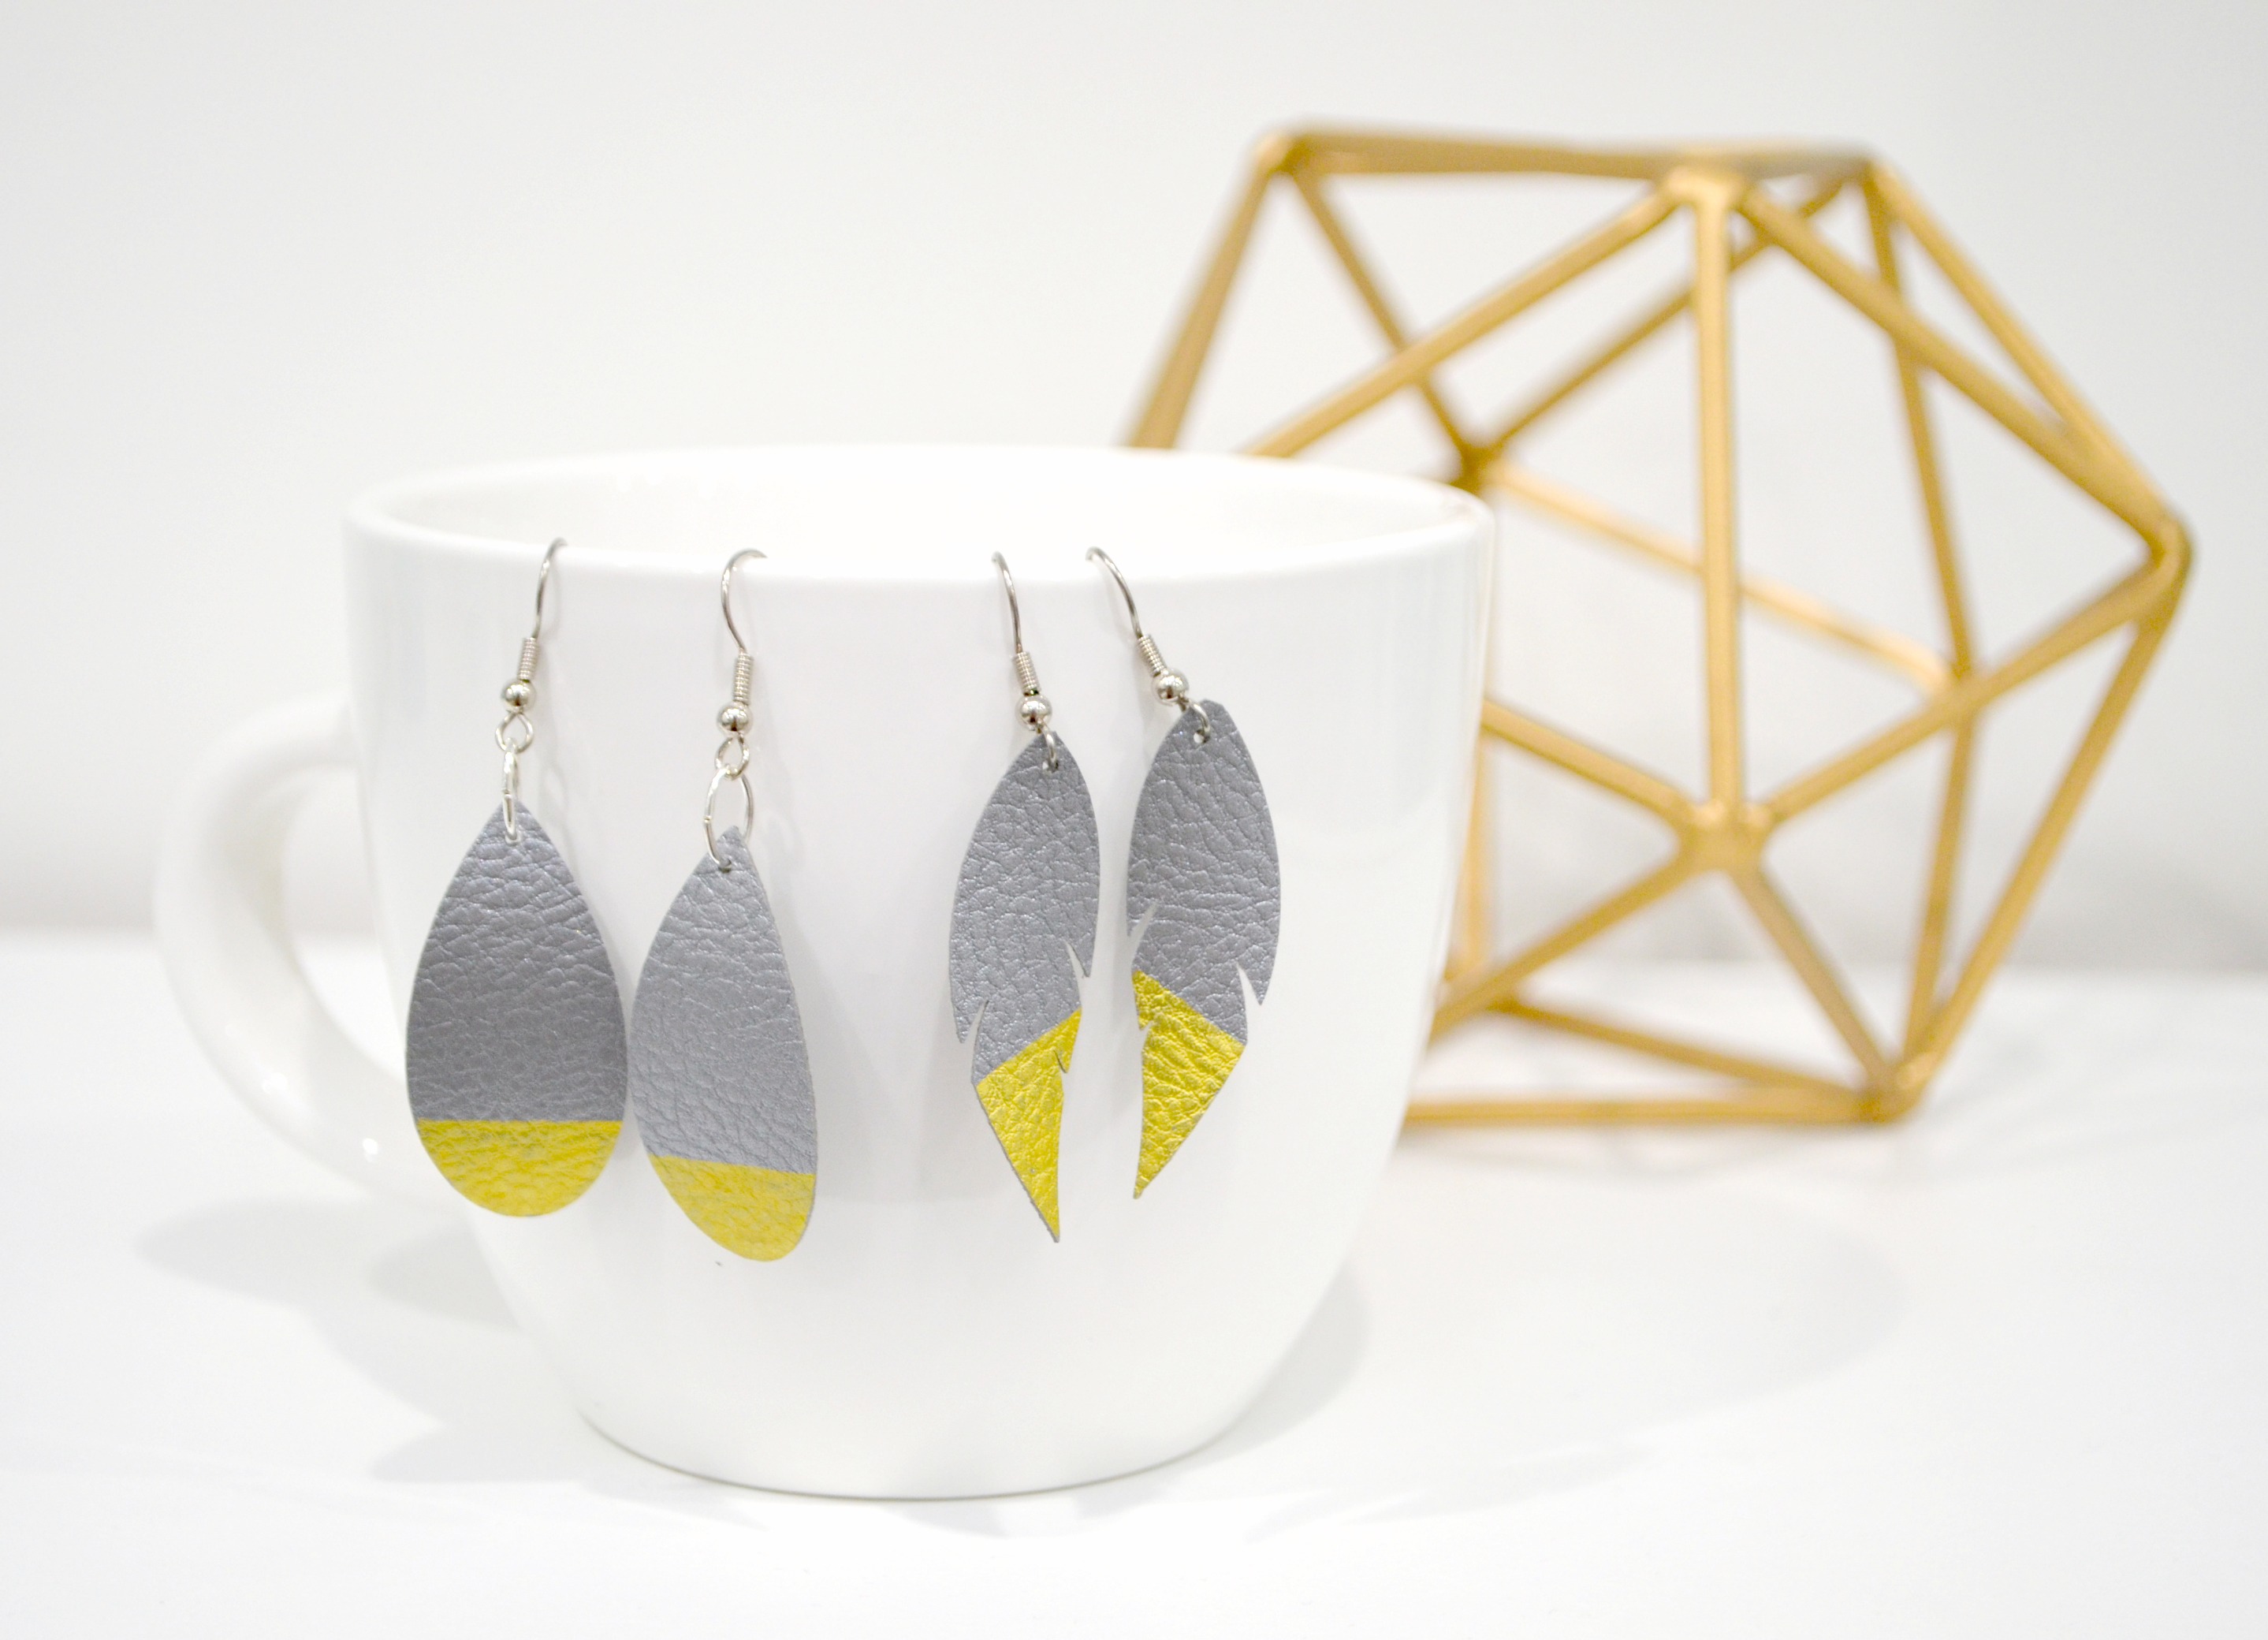
DIY Monogram Coasters with Cricut Infusible Ink
I don’t know about you, but I love giving handmade gifts for the holidays. I feel like there’s something extra-special about things that are created by hand, and I enjoy having the ability to personalize them for each recipient. Monogram coasters make a great gift for friends, neighbors, and just about anyone on your list, and it’s easy to get gorgeous results with Cricut Infusible Ink. Take a look.
Monogram Coasters Materials:
Cricut Coaster Blanks (available in round or square)
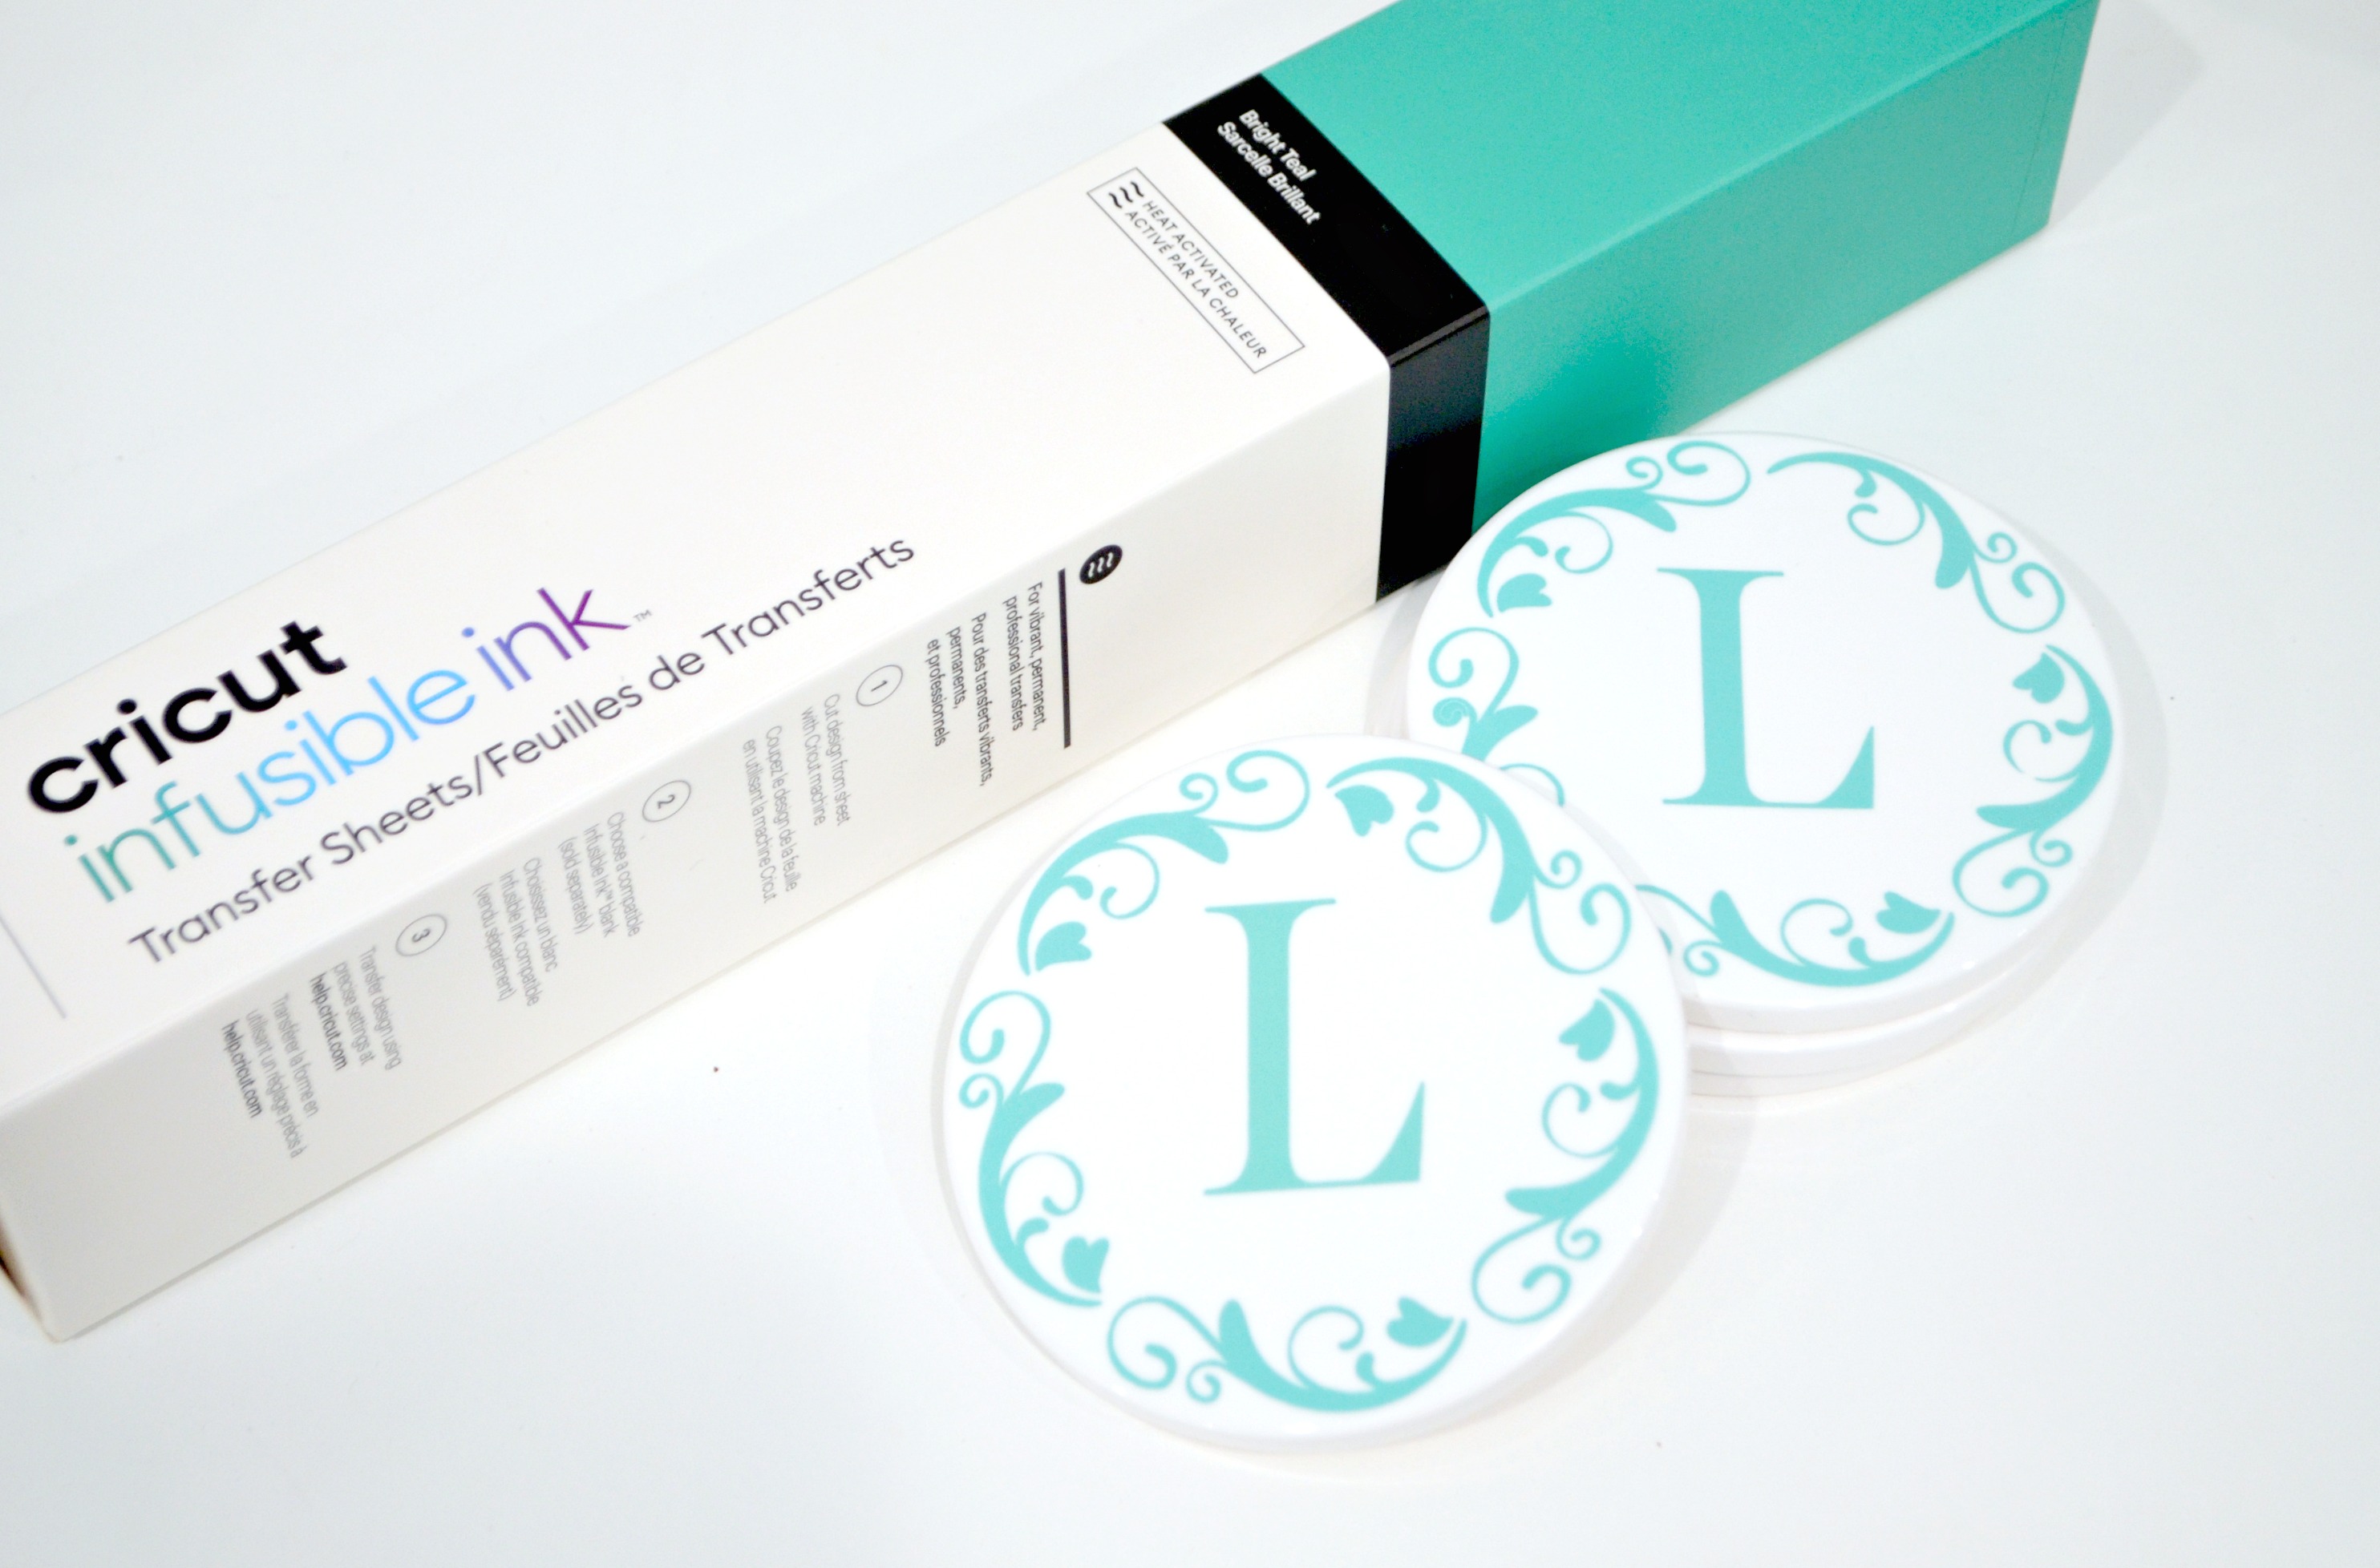
Cricut Infusible Ink Transfer Sheets (I used Bright Sky)
Scissors
Cricut Explore Air 2 or Maker
Cricut EasyPress Mat or a folded towel
Creating Your Monogram Coasters:
Step 1: Create any image you like in Cricut Design Space.
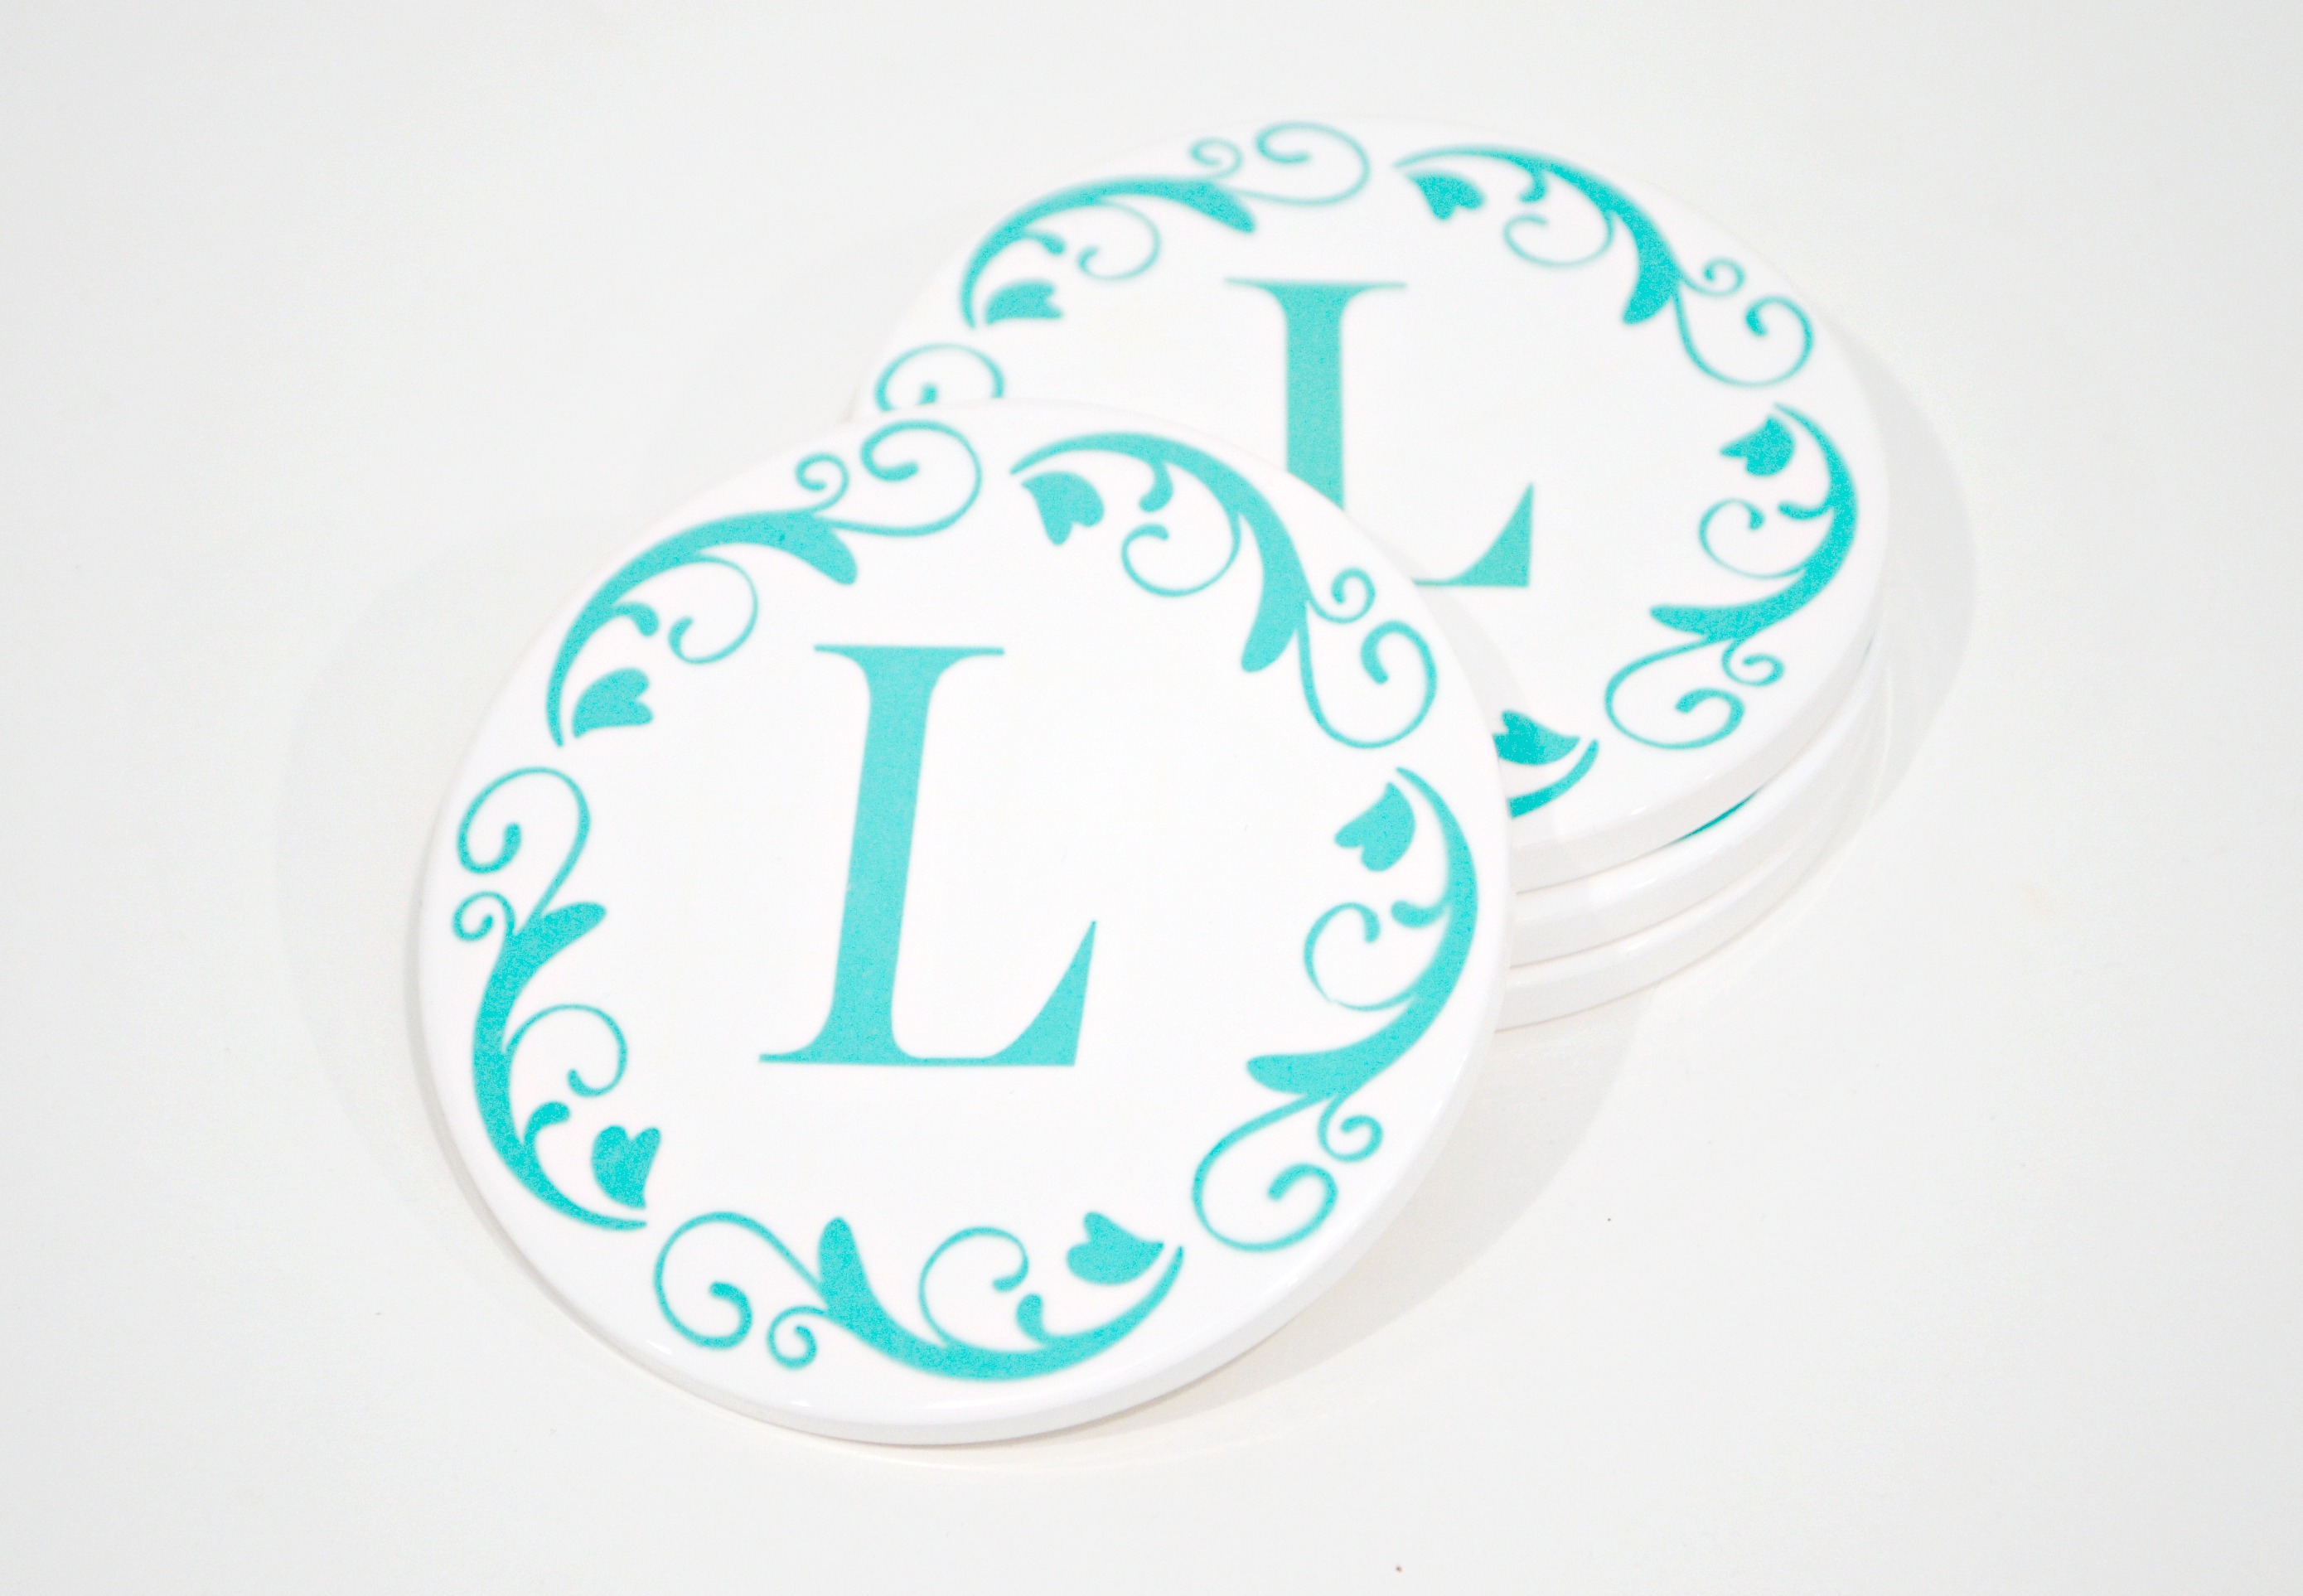
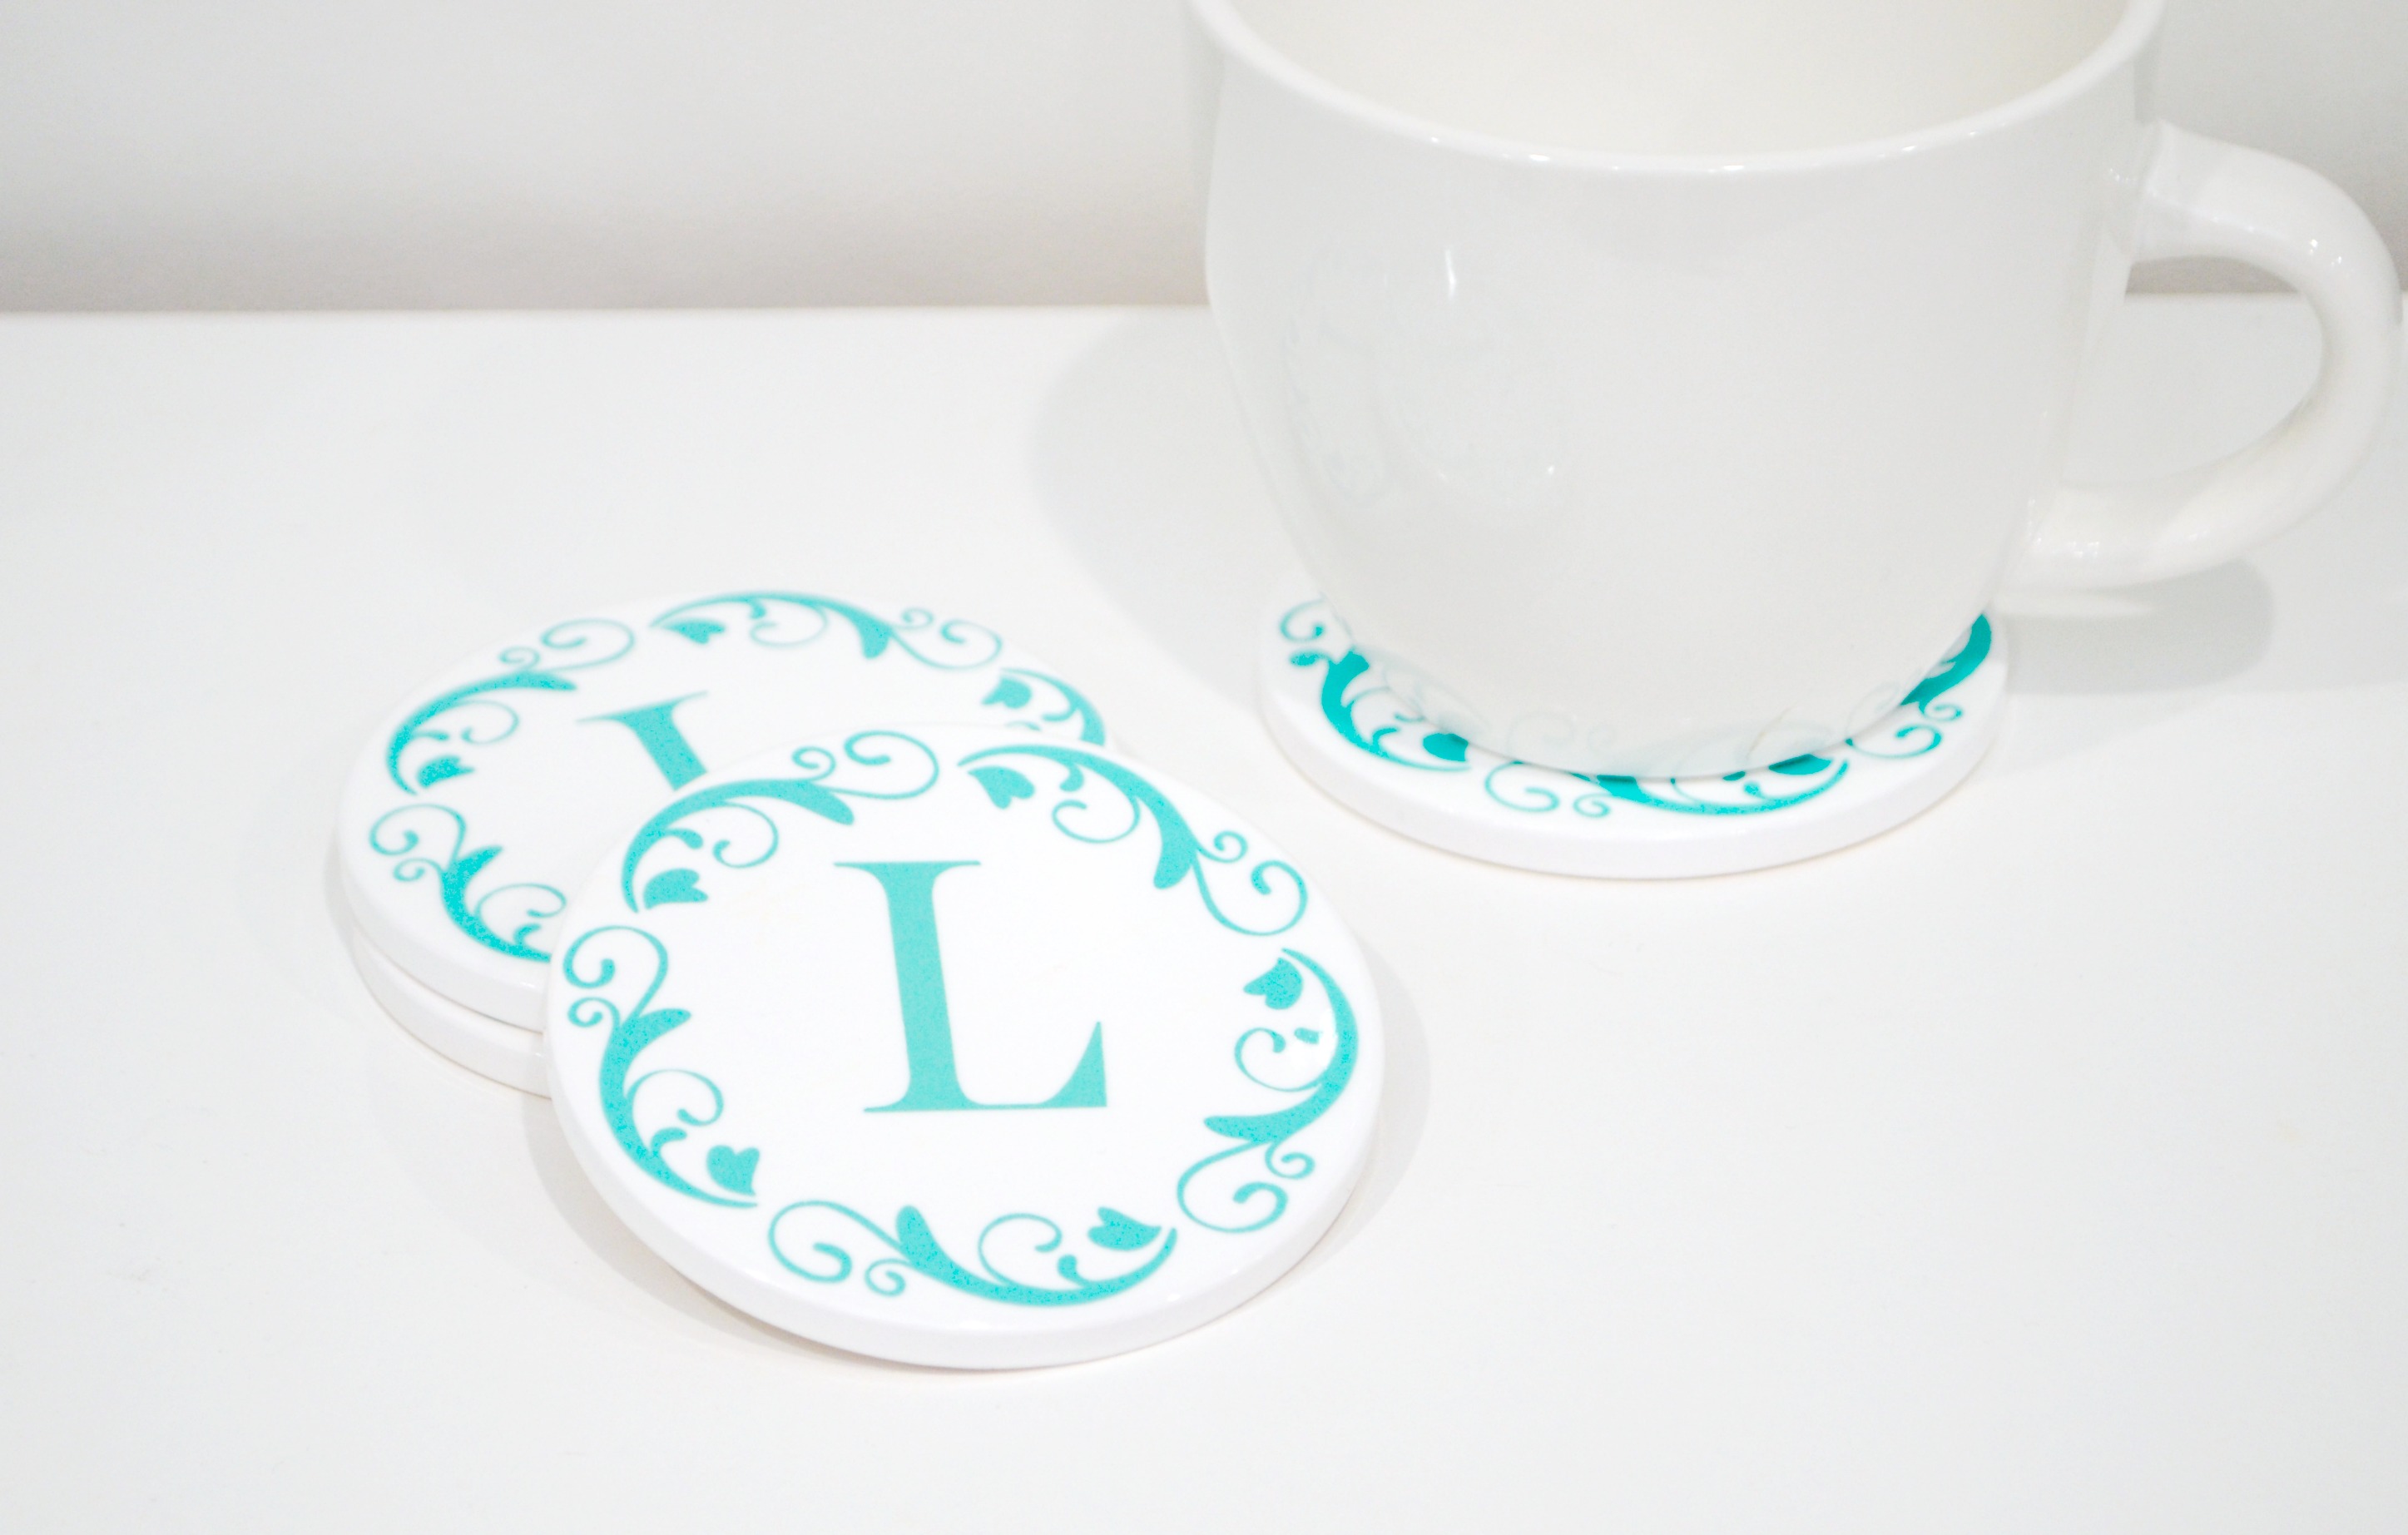
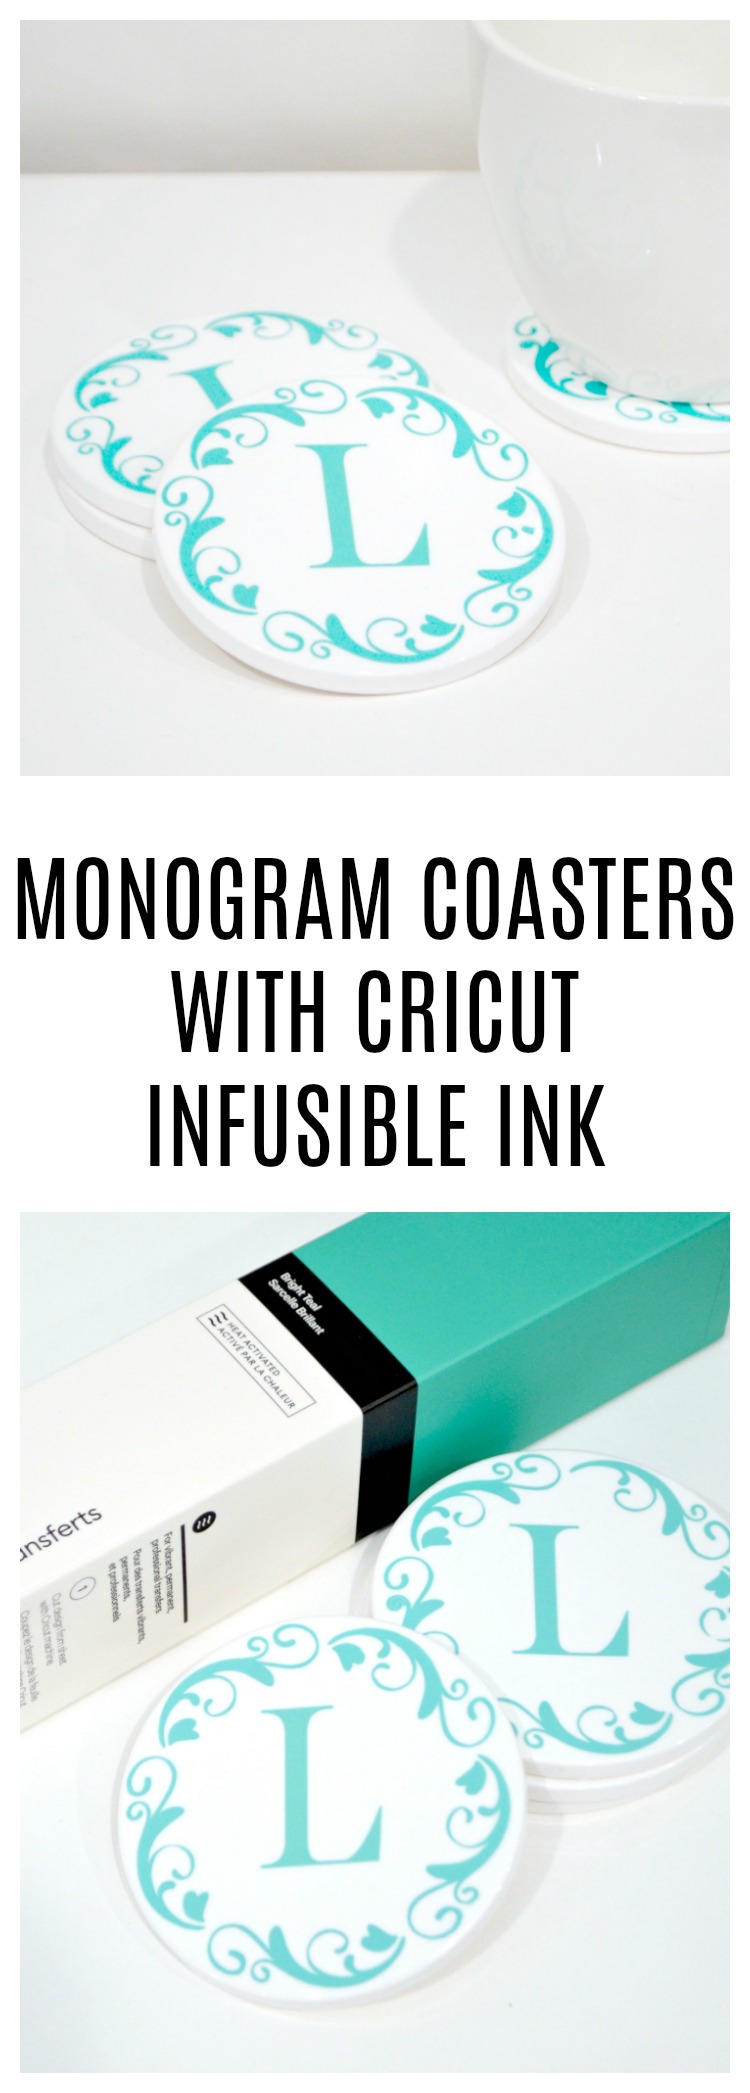
This free desktop and mobile app lets your import or create any design you like. I chose an image from the Design Library called “Flourish,” #MA4DED97. Then, I sized it slightly smaller than the 3.6″ diameter of the coasters. The last step was to choose a font and add our last inital, L, inside.

Step 2: Cut the image from the Infusible Ink Transfer Sheet of your choice.
I used a solid color, Bright Teal, to match my living room decor, but there are lots of other colors as well as patterns to choose from. Just place the sheet on your cutting mat with the colorful side facing up. Make sure you select “mirror on” in Design Studio so the image will cut in reverse. Turn the knob on your machine to “Custom,” then select “Infusible Ink” when prompted to choose a material in the app.
Step 3: Weed your design.
This means removing all of the extra parts of the transfer sheet that aren’t a part of your cut design. You should be left with just the pieces you want to transfer, attached to a clear, sticky backing.
Step 4: Transfer your design to the coaster blank.
Stick your design on top of the coaster, making sure you position it exactly where you want it to be. Flip the coaster upside down and place it on top of a towel or EasyPress mat. You’ll also want to put a piece of cardstock underneath to protect your mat from any unwanted ink transfer. Place a piece of butcher paper on top of the upside-down coaster, then apply heat using the EasyPress 2. The setting for coaster blanks is 400 degrees (F) for 240 seconds. If you have the large EasyPress 2, you can transfer all four of your coaster designs at the same time!
Step 5: Allow your coaster to cool, then remove the clear adhesive and what’s left of the transfer blank.
All of the color should have transferred to the coaster itself, leaving you with just white cutout pieces. Be very careful when handling the coasters, because they will get extremely hot.
The best part about Cricut Infusible Ink is that the ink actually becomes part of the coaster surface, so you get a smooth, professional finish that will never crack, wrinkle, peel, or flake.
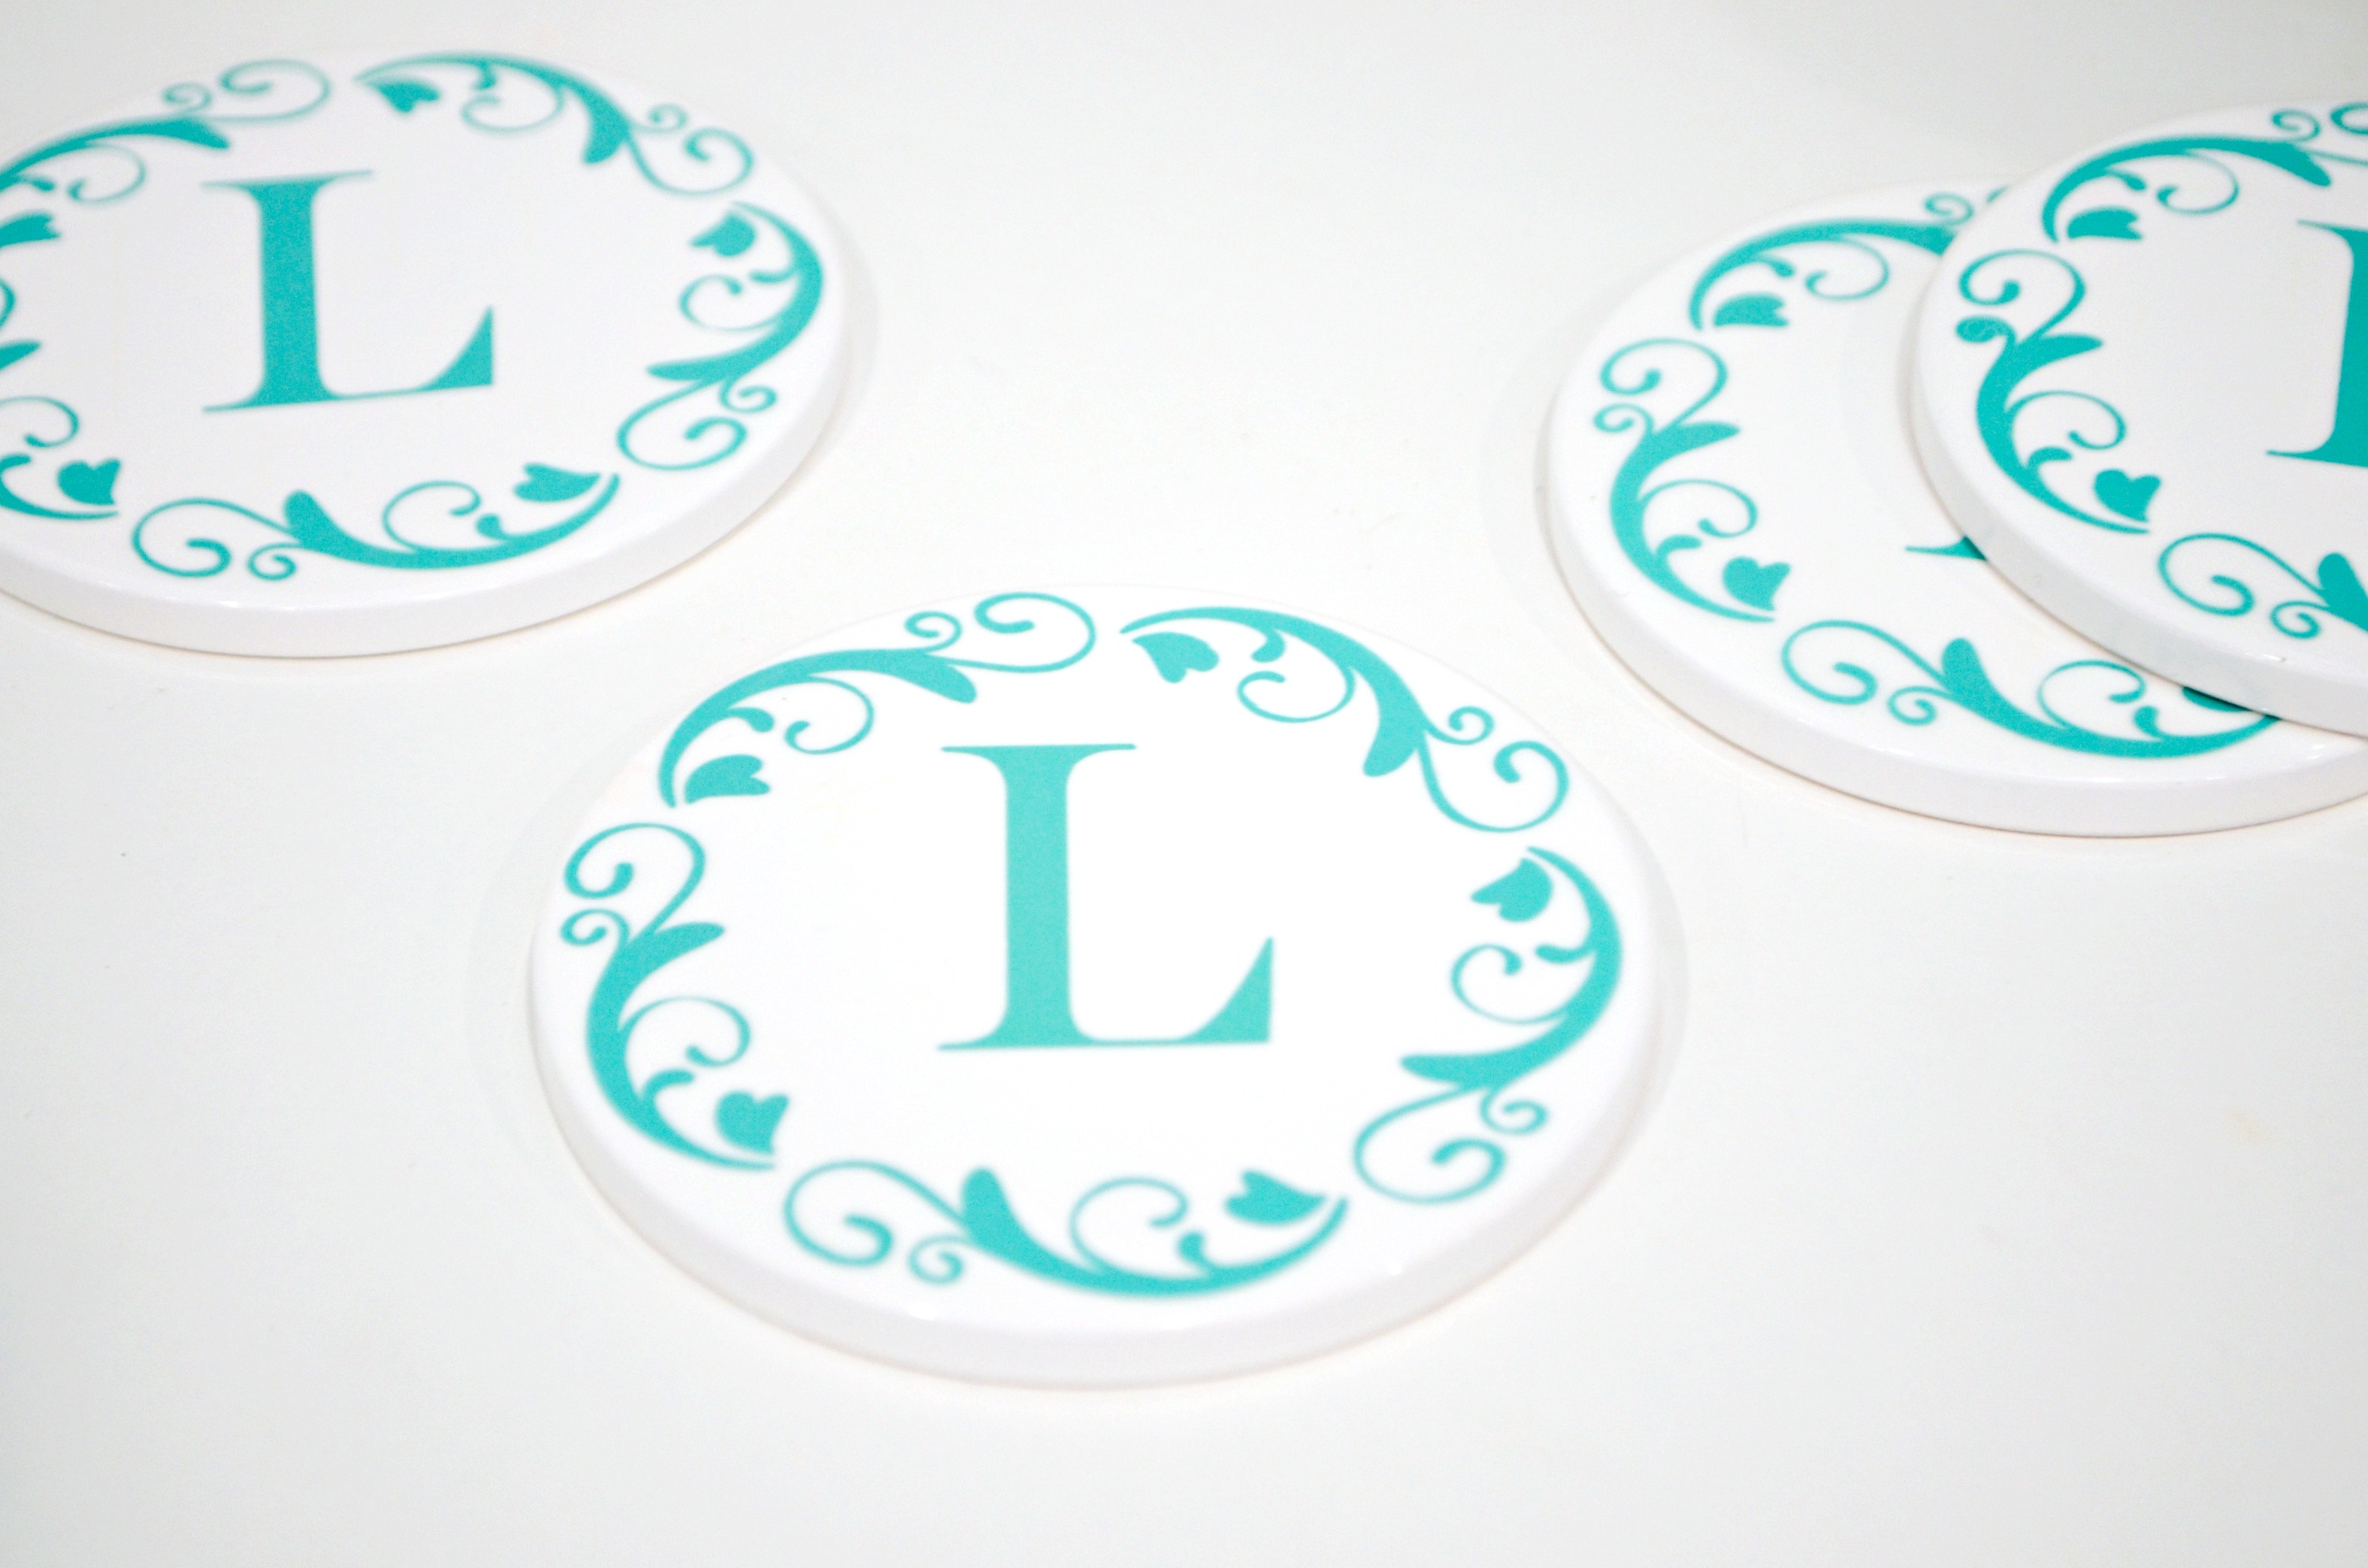
There are endless possibilities for how you could customize these coasters using your favorite designs and patterns! What would you put on a set for your home? What about for a gift?
If you like this idea for your holiday gifting, or just for fun, be sure to put a Pin on it!
Be sure to check out more DIY Gift Ideas with Cricut & other holiday ideas here!