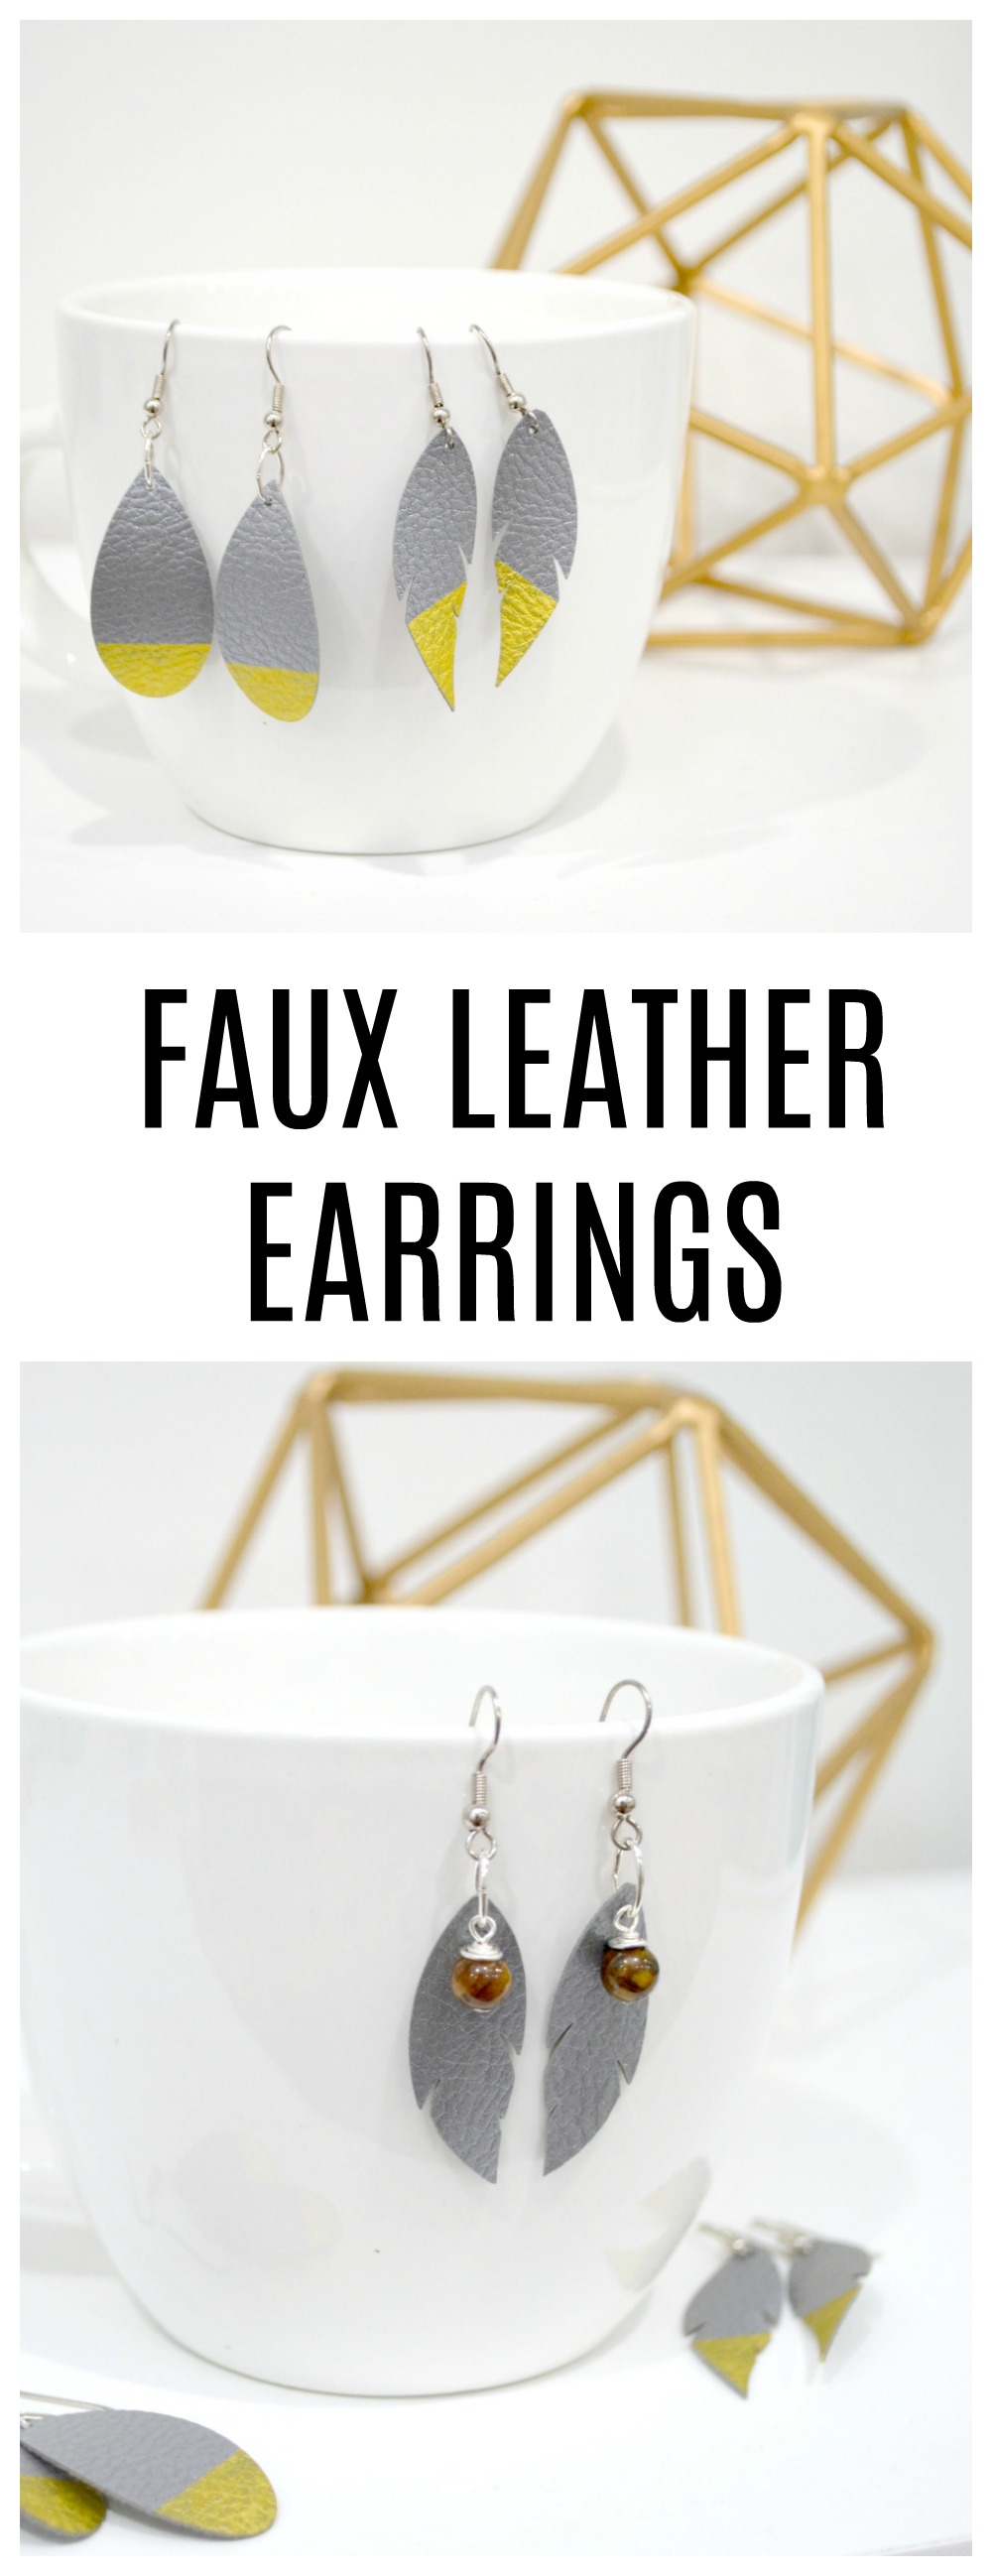
DIY Faux Leather Earrings
I love a good, inexpensive jewelry project, don’t you? Leather and faux leather earrings are such a huge trend right now, and believe it or not, they’re really easy to make! I have wanted a pair (or three) for a while now, but most of the ones I’ve seen are just a little larger than what I typically like to wear. Making my own allowed me to choose exactly the shapes, sizes, and colors I wanted, and I couldn’t be more pleased with how they turned out. Here’s how you can make some too!
Faux Leather Earrings Materials:
(contains affiliate links)
Cricut Faux Leather – Pebbled Silver
Cricut Explore Air 2 or other Cricut machine
Beads and Head Pins (optional)
Making Your Faux Leather Earrings
Step 1: Create/choose your shapes in Cricut Design Space.
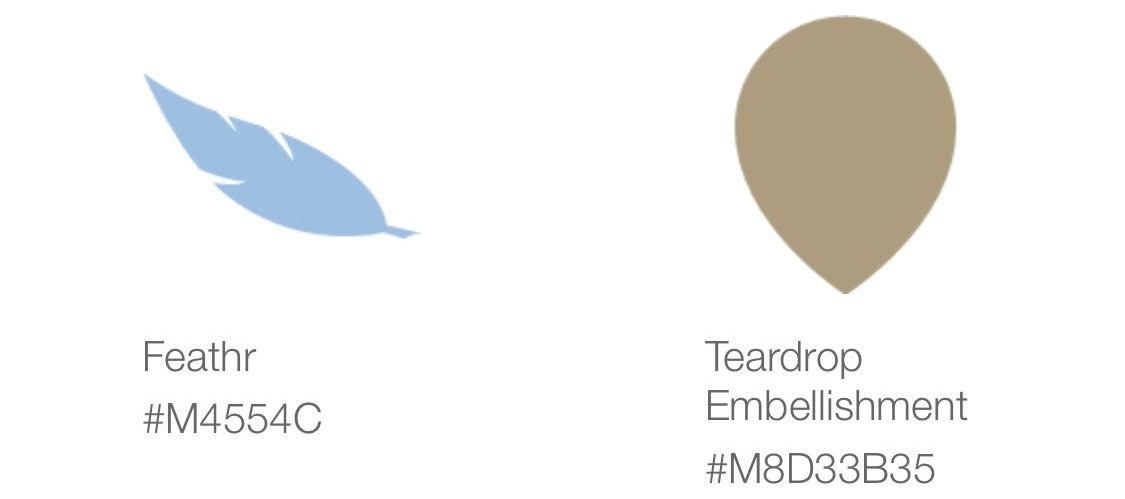
I chose these two images from the Design Library. You can also use circles, ovals, triangles, or any other shapes/images you like.
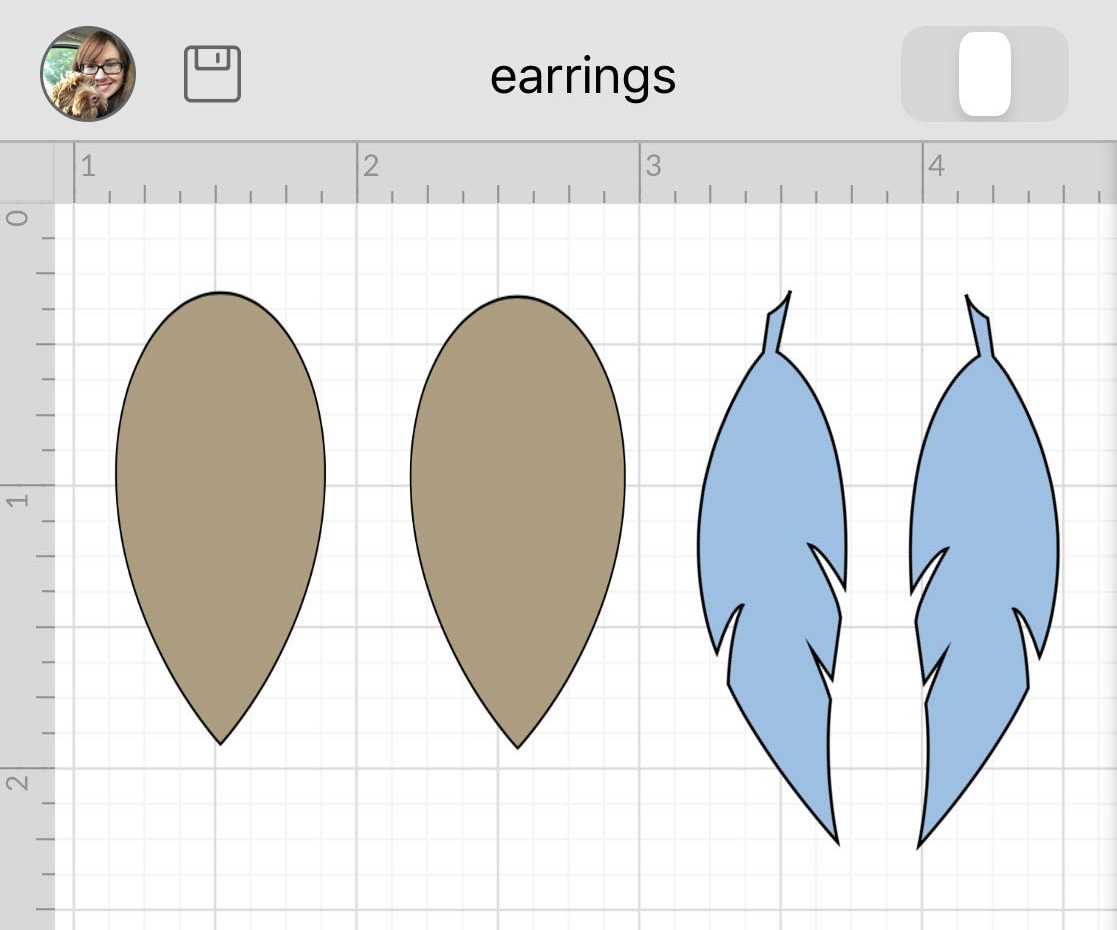
Step 2: Add your shapes to a canvas. Resize, shape, and duplicate them until you have just what you want.
I unlocked the teardrop shape and pulled it vertically to make the shape longer and thinner than the original. I sized it, then duplicated it so I had a second shape identical to the first. I left the feather the same shape as the original, but I sized and duplicated it, then flipped the second image so that the feathers curl in opposite directions.
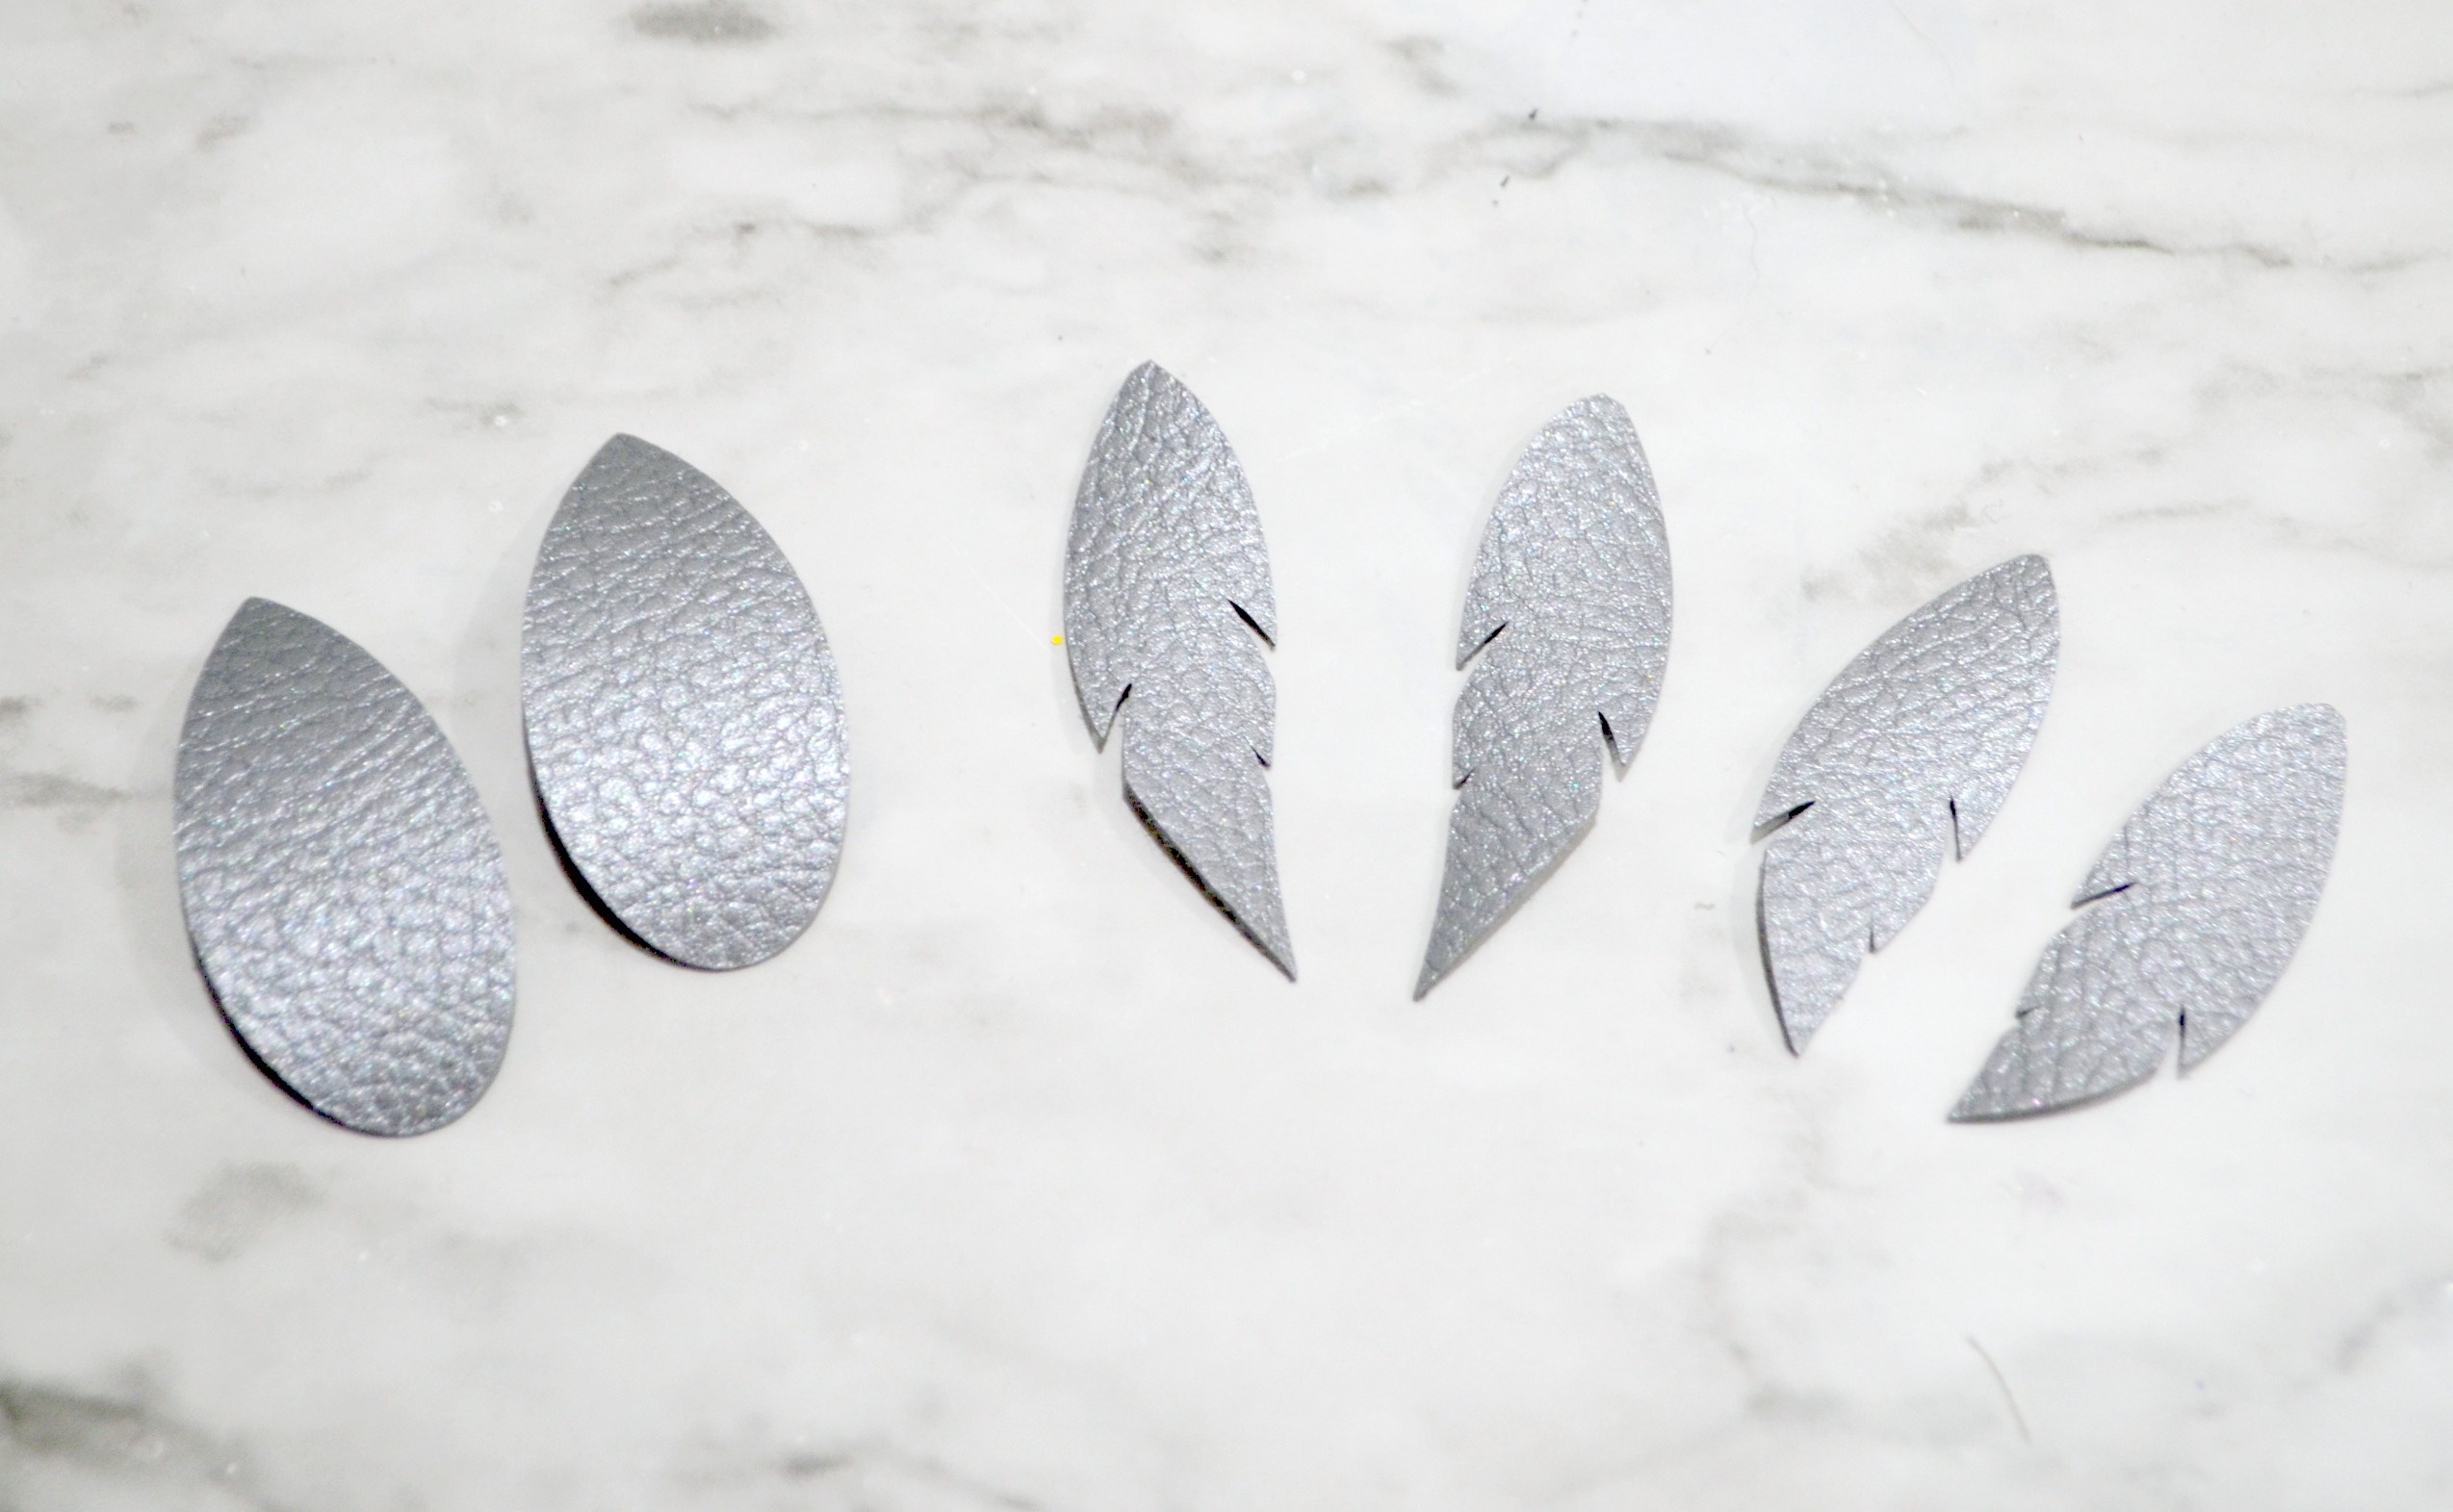
Step 3: Cut the shapes from faux leather using the Cricut Explore Air 2 or Maker.
Place your Faux Leather with the “good” side down on a StrongGrip mat and press firmly to adhere it. Turn the materials dial to Custom, and set the material as Faux Leather in Design Space. Load the mat into the machine and follow the prompts to begin cutting.
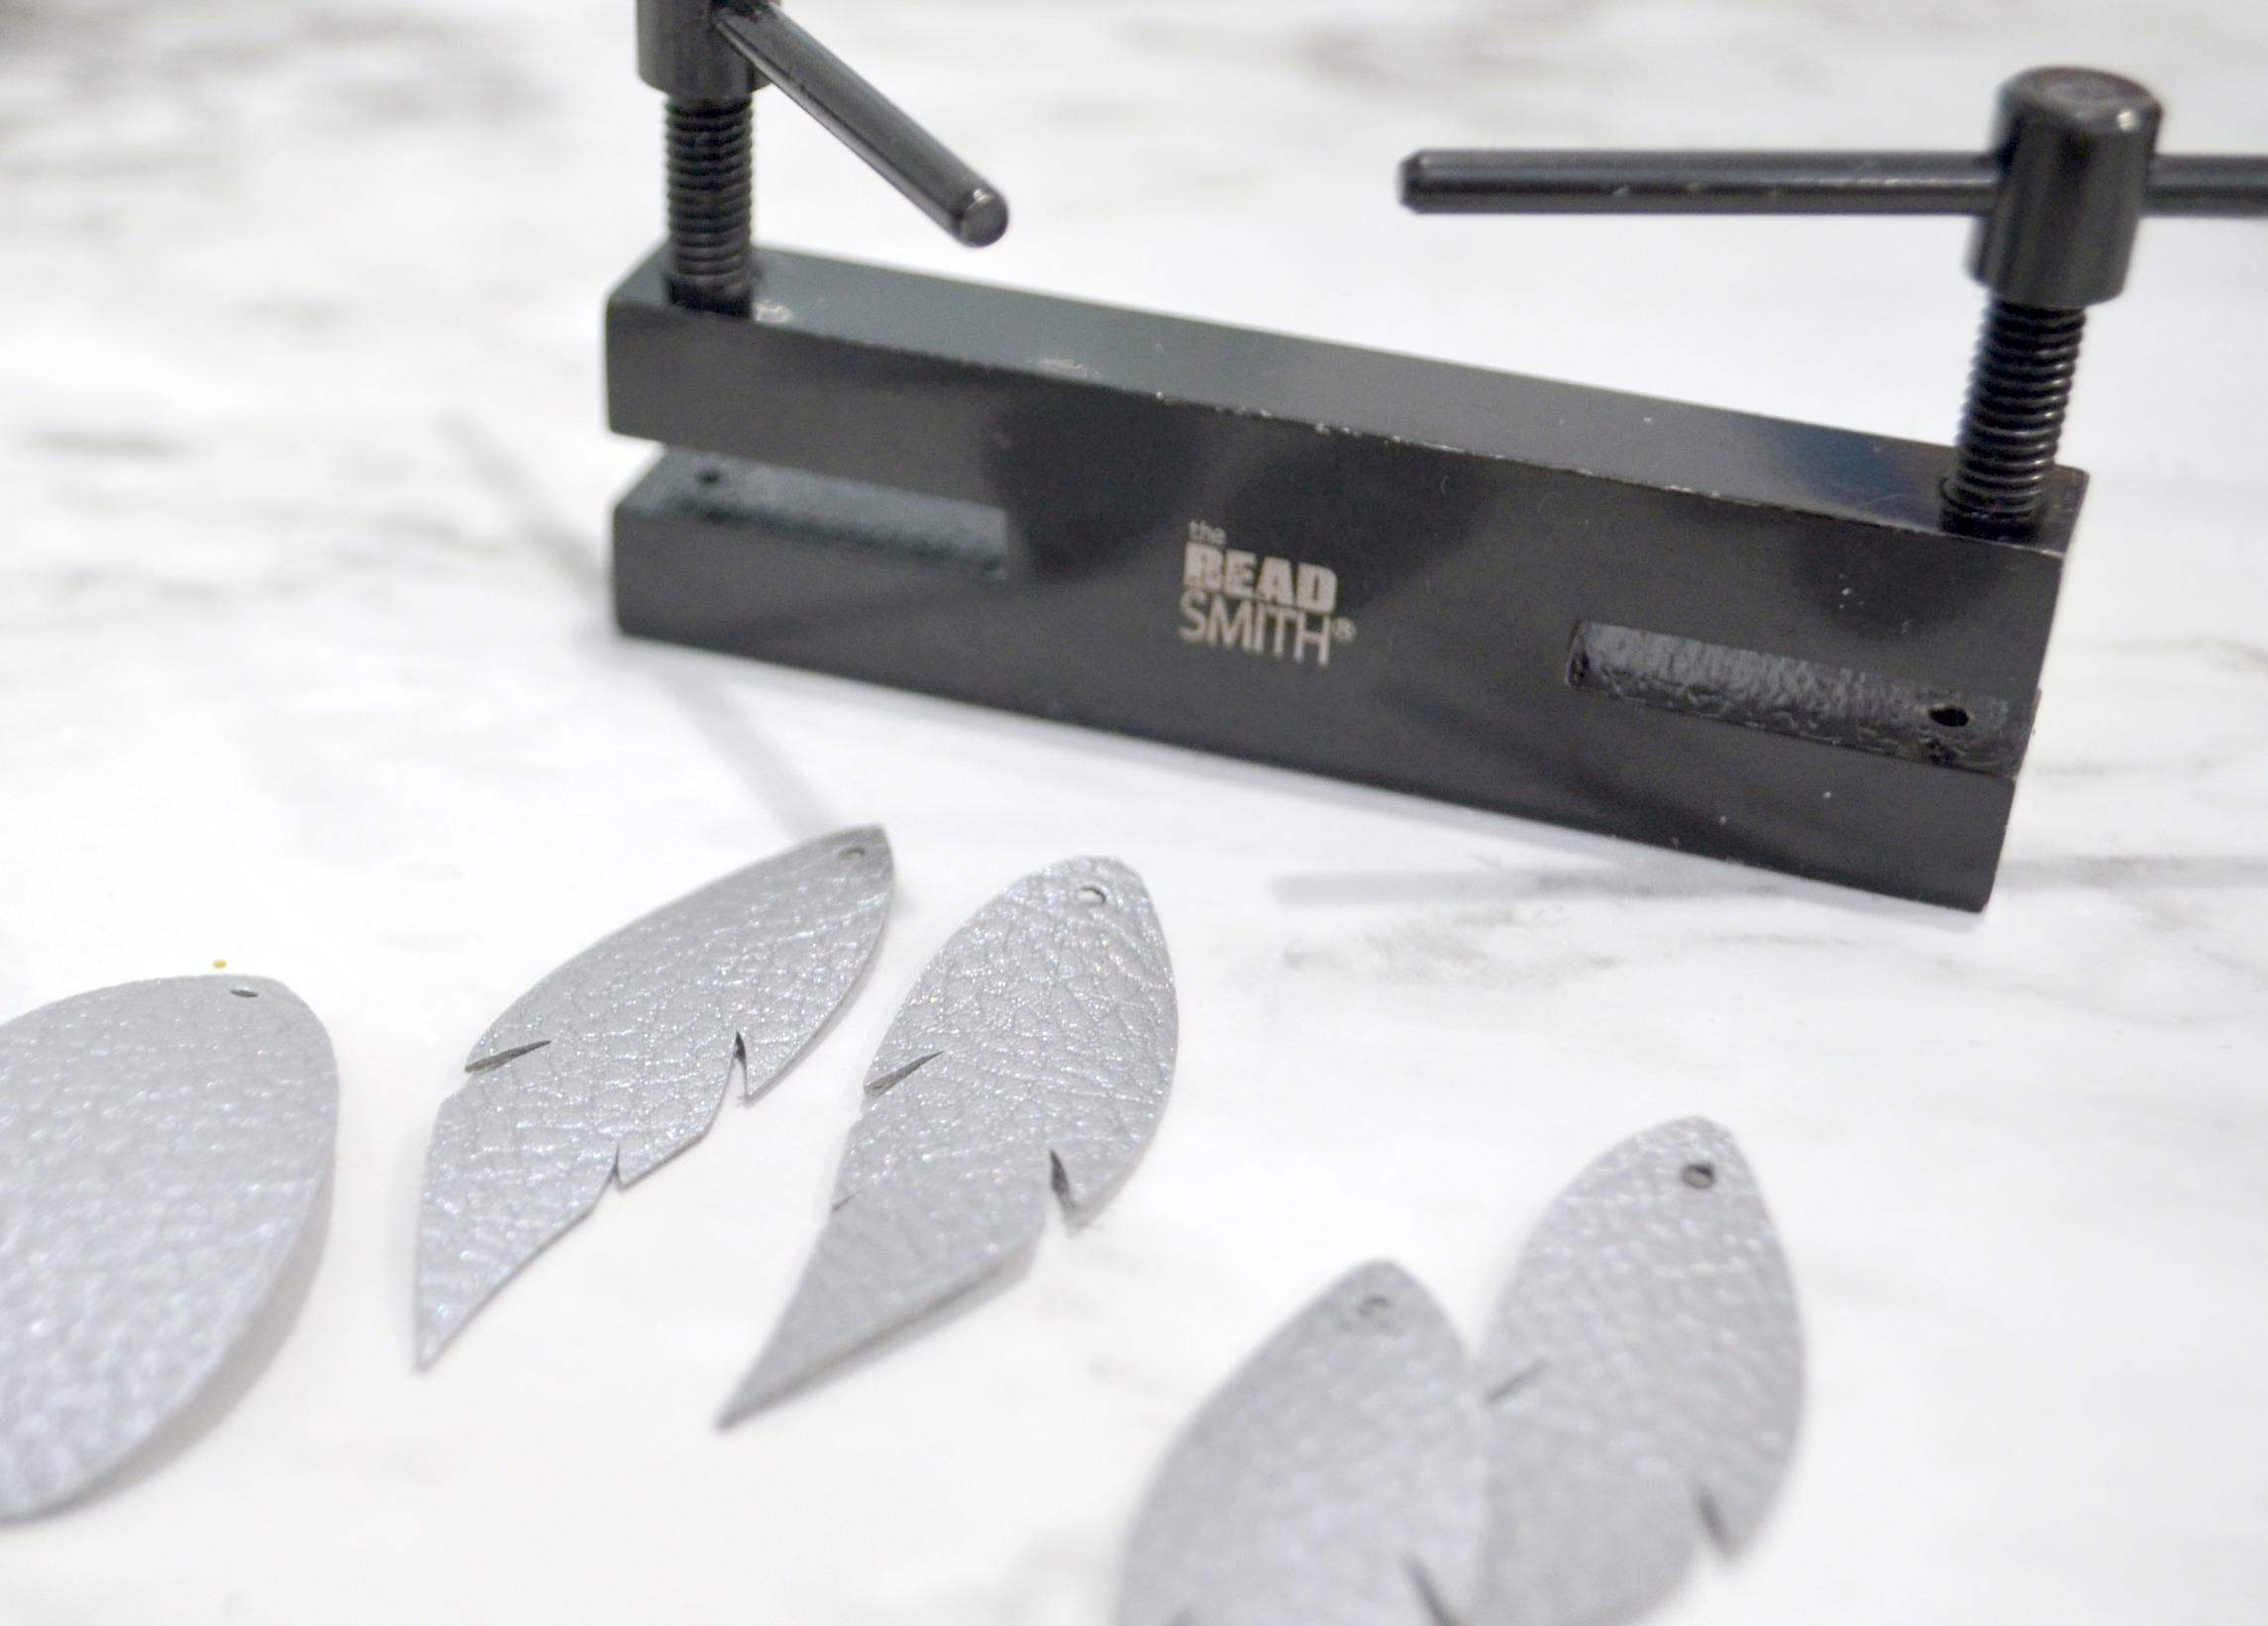
Step 4: Punch a hole in the top of each shape.
You can use a metal or leather punch for this step, or if all else fails, use whatever sharp tool you have around the house to do the job. Try to get the hole in the same spot on both shapes so the earrings will hang at the same length.
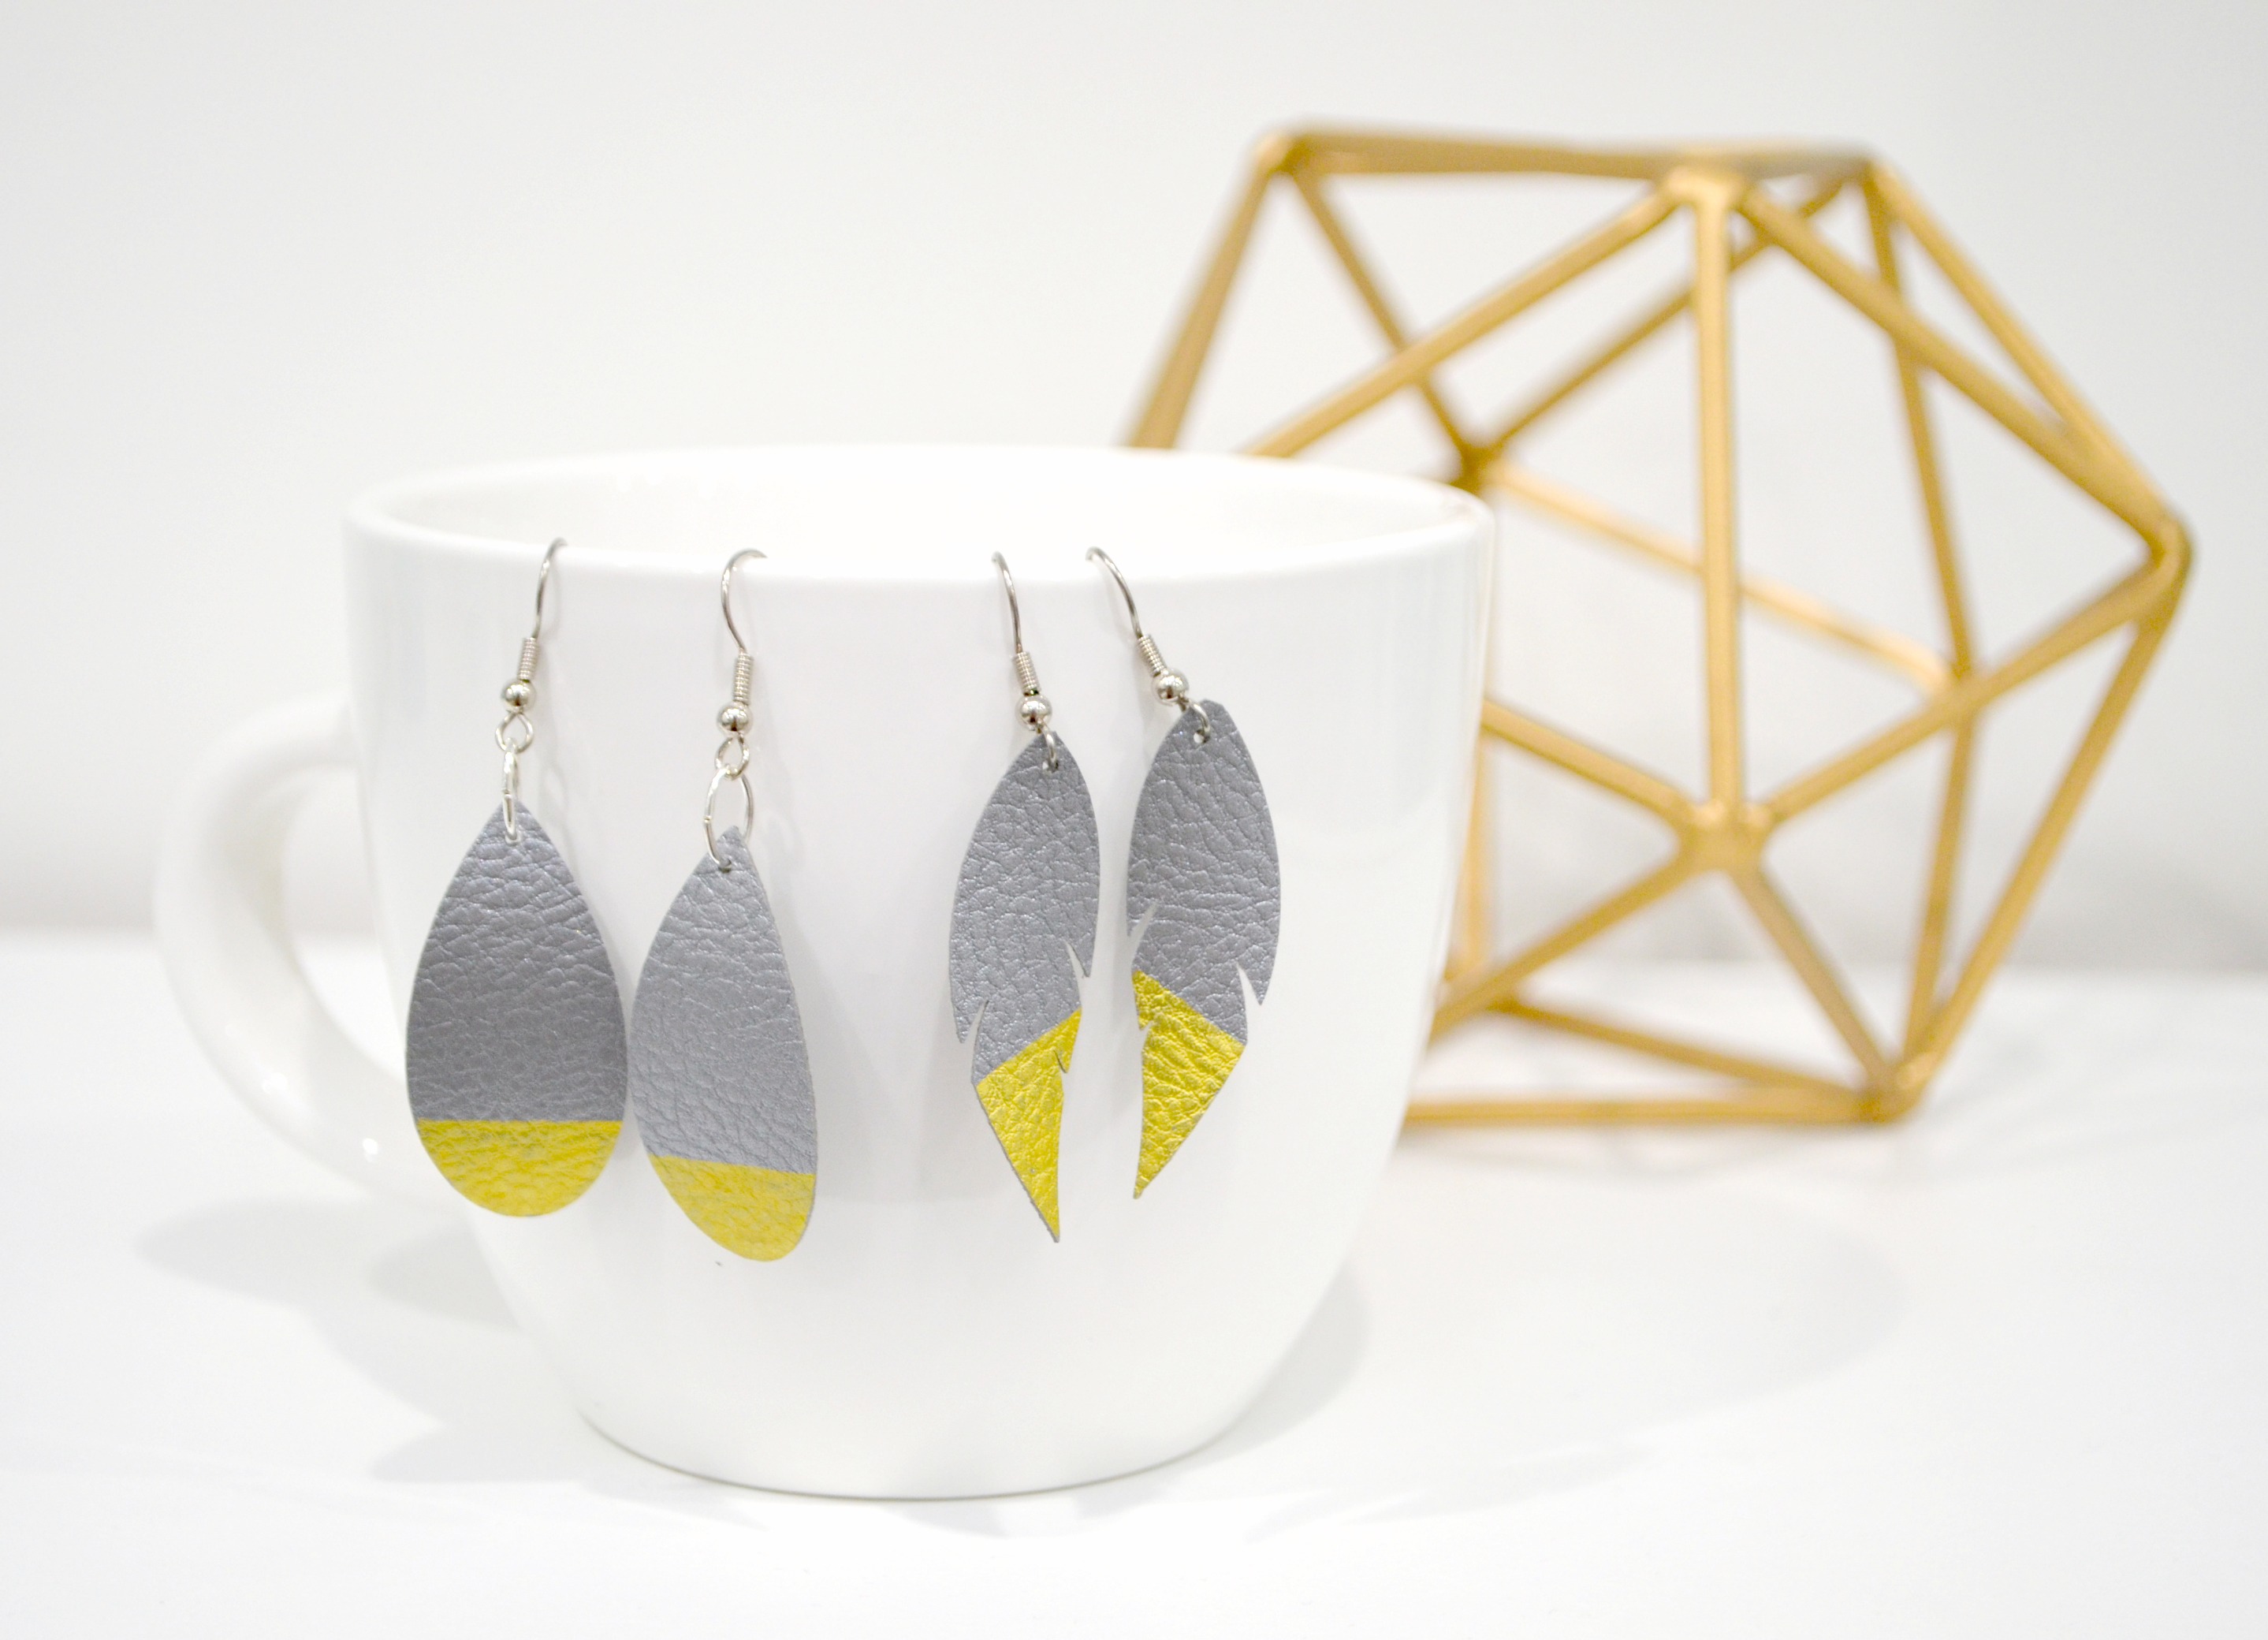
Step 5: Embellish and add ear wires!
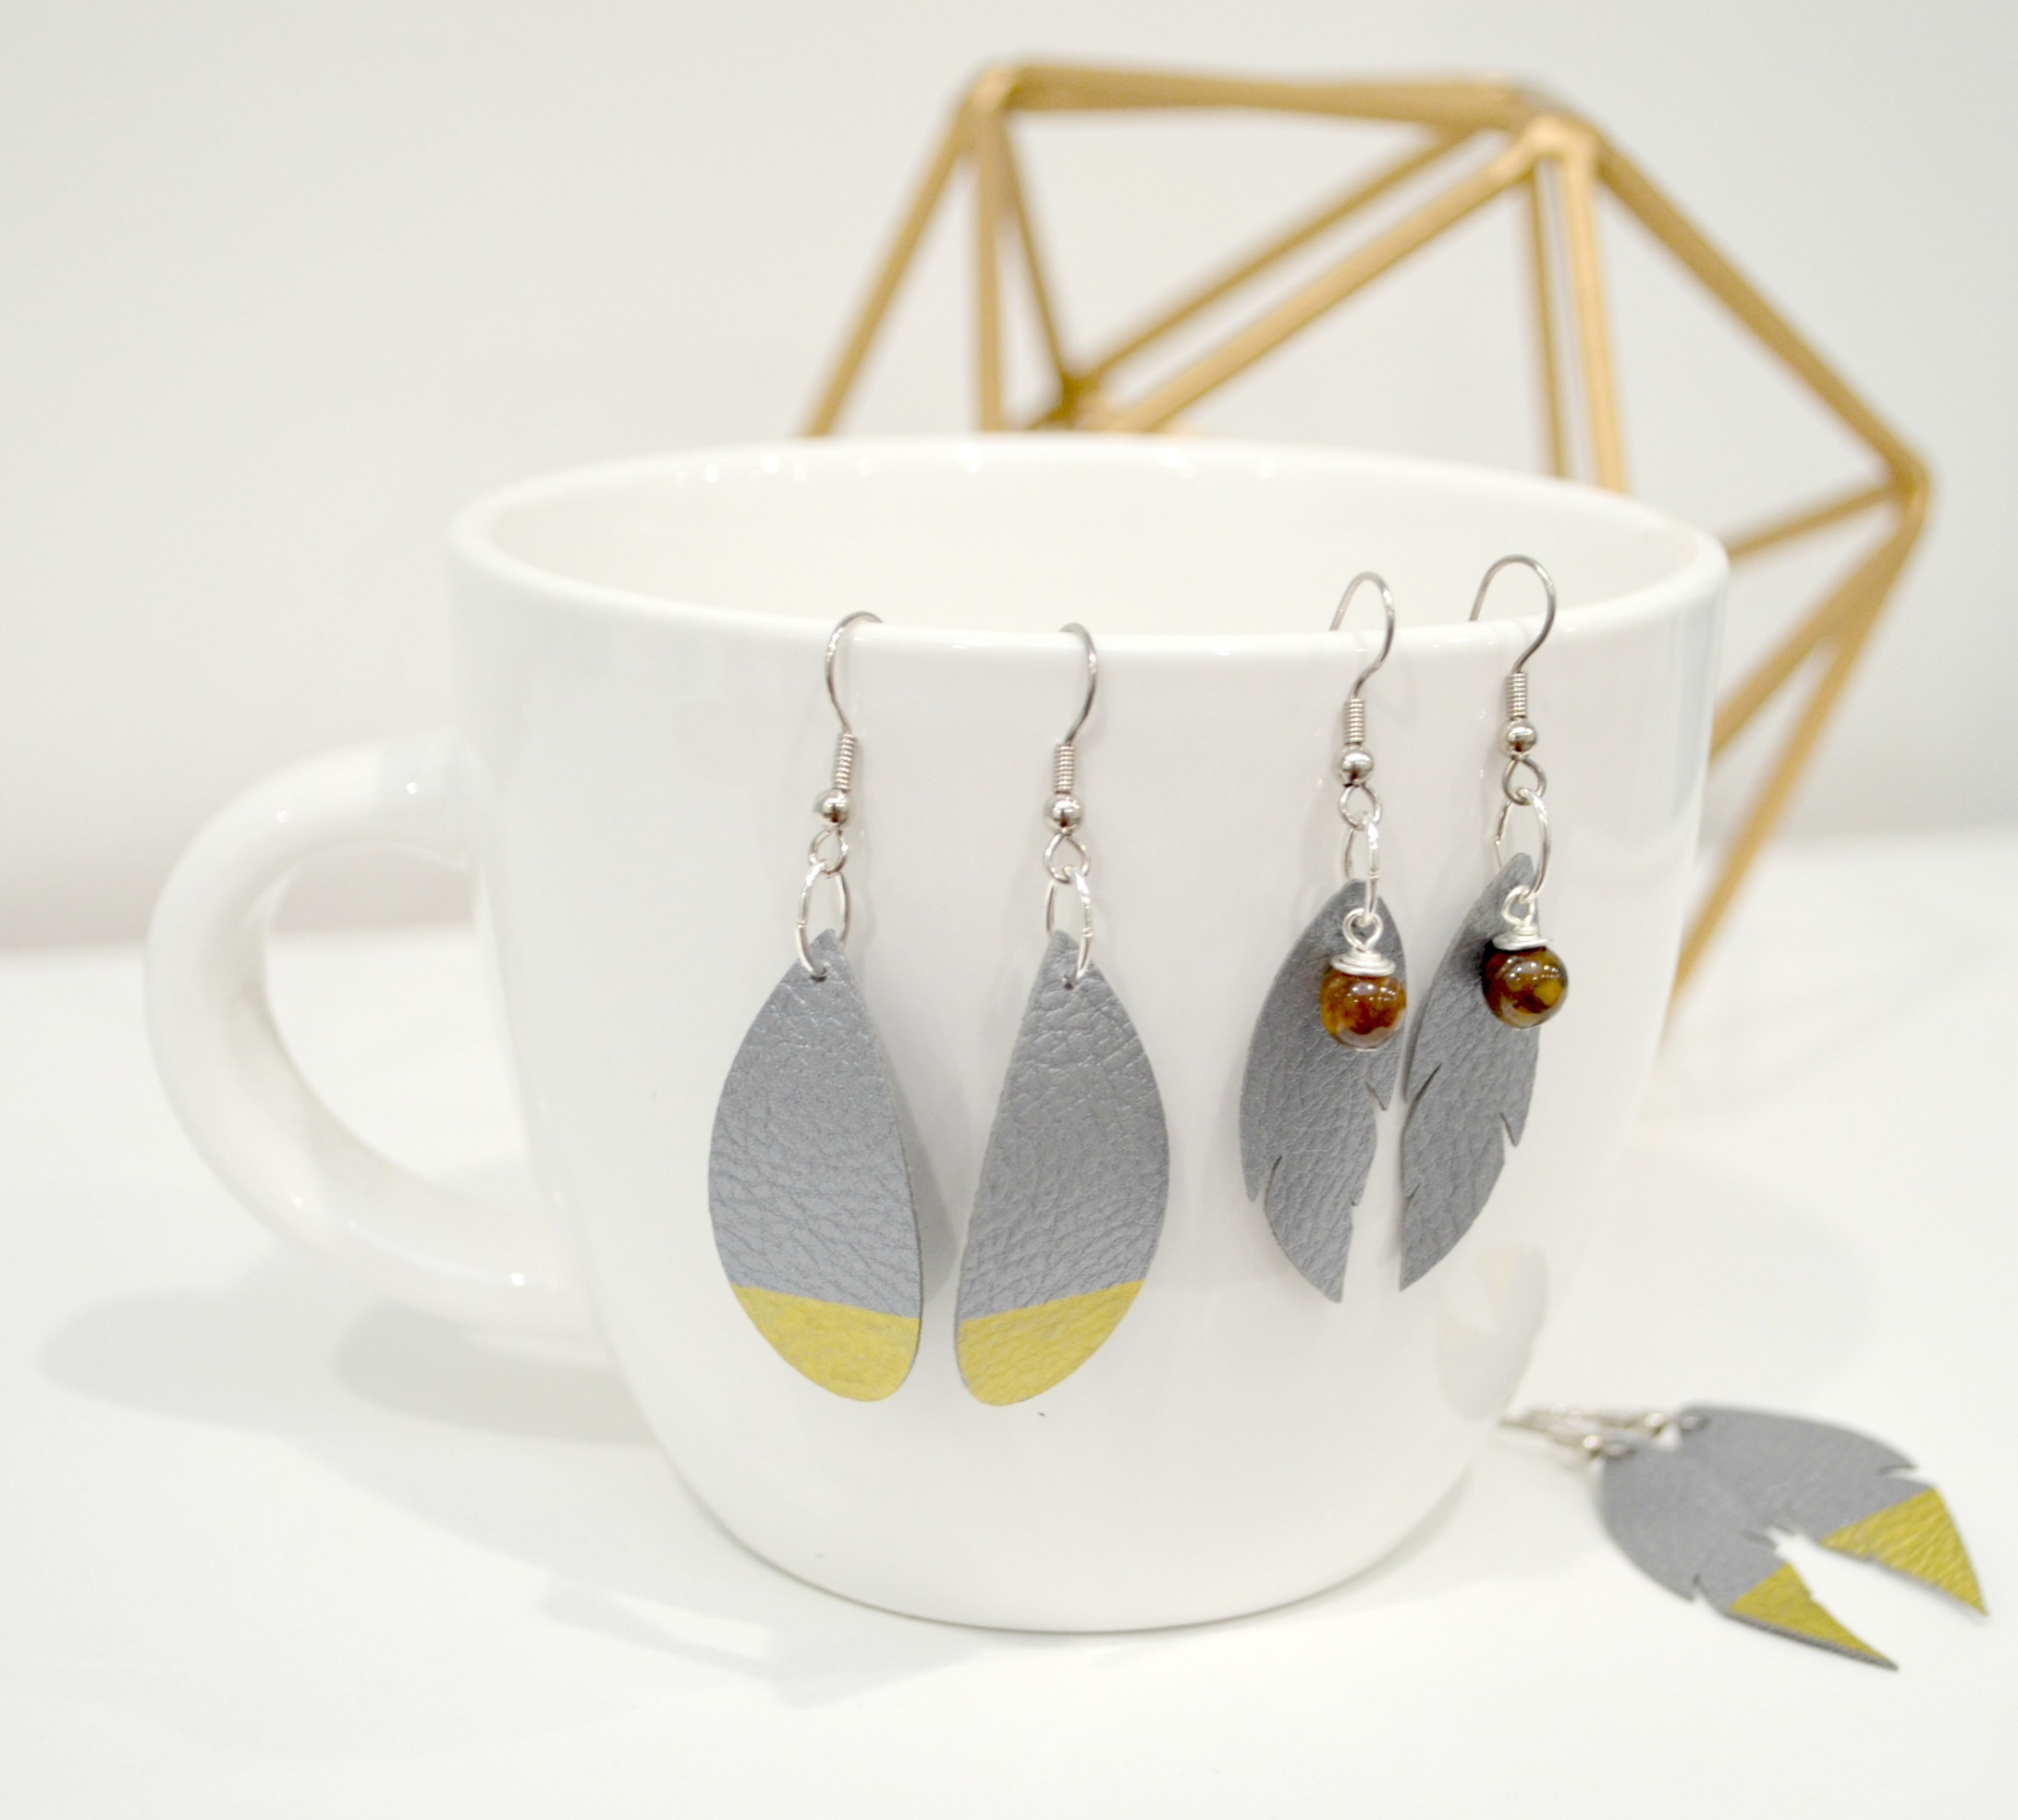
The first type of embellishment I tried was adding color blocking by using a gold paint marker on the bottom section of my earring shapes. I just drew a line, either horizontal or diagonal, then colored in the space below it. This gives my earrings a gold-dipped effect. You could also get a similar effect by using Cricut metallic foil and heat setting it on top of the faux leather. Then, it was time to turn them into wearable earrings by adding ear wires! For the feathers, I just opened the loop at the bottom of the wire with a pair of pliers, slid it through the hole, and closed it again. For the teardrops, I added a jump ring for a little extra dangle.
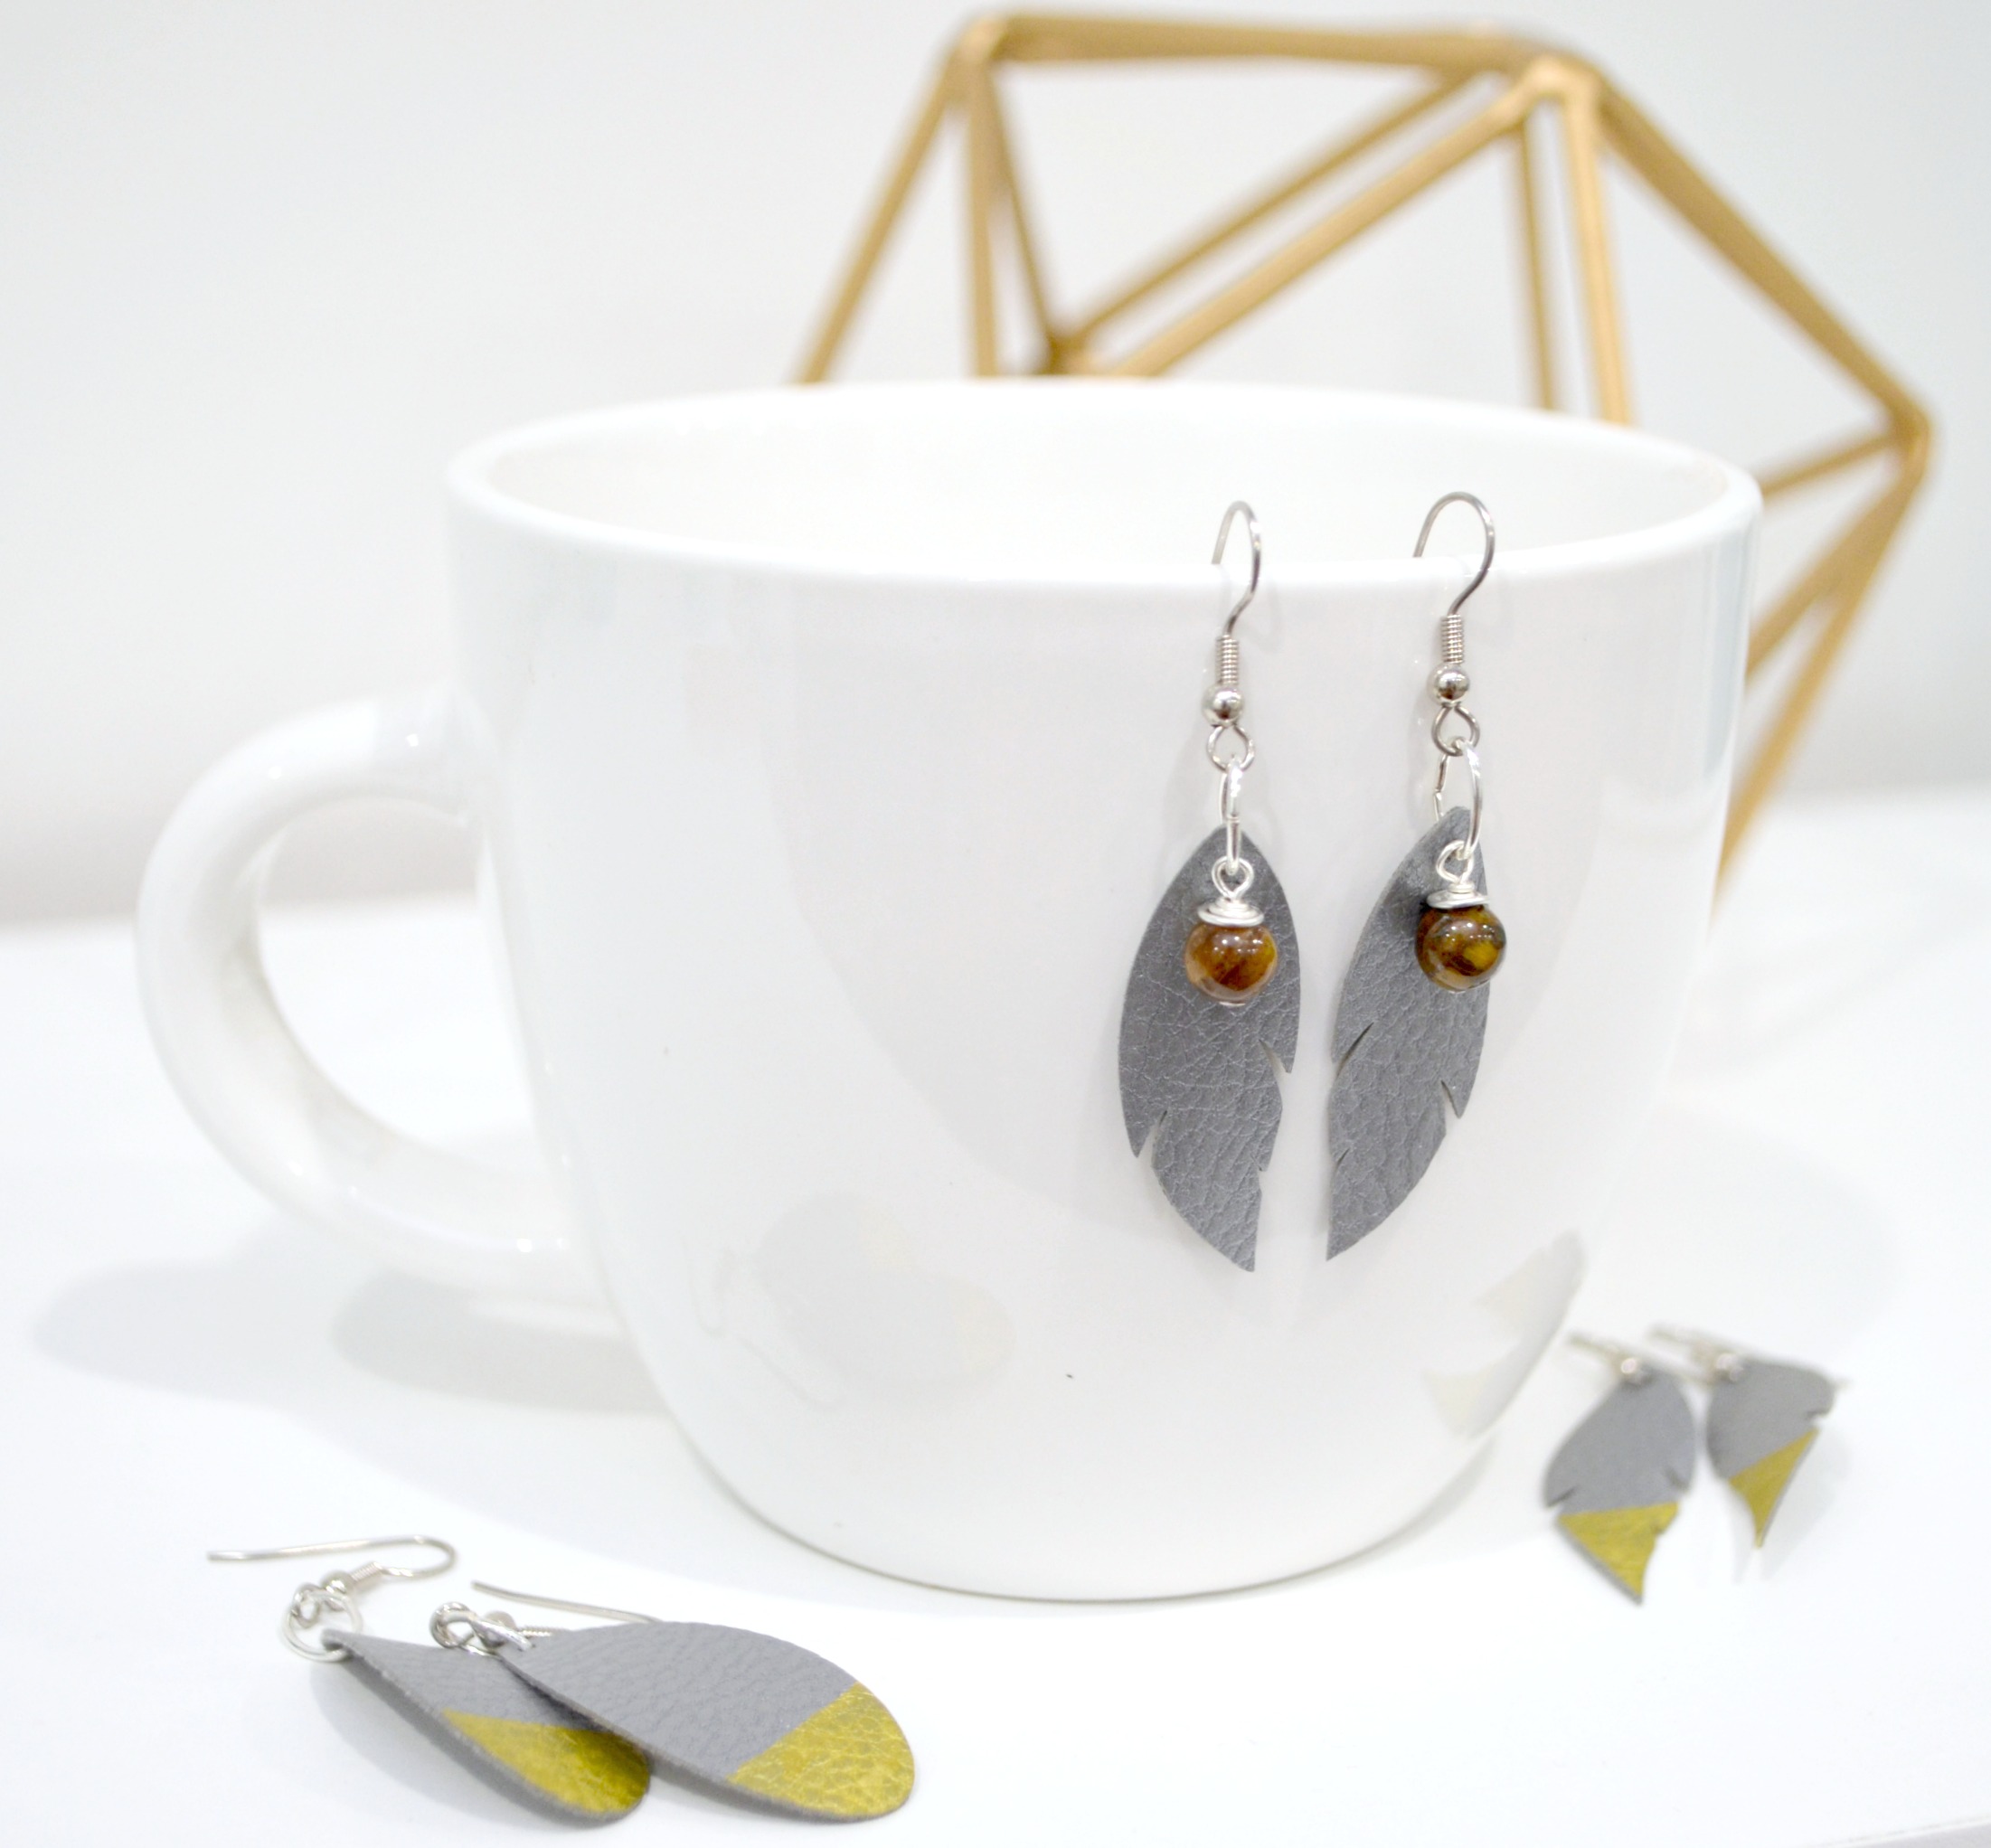
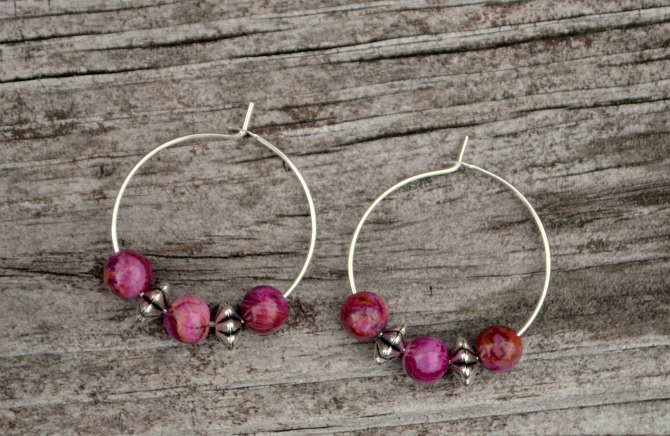
For a totally different effect, I added beads to my third pair of earrings. To do this, I threaded brown beads onto head pins, then formed a wire wrapped loop. For full instructions on how to do this if you’re new to jewelry making, check out this post. You can use any size, style, color, and shape of beads you like to make them totally your own. Open a jump ring and slide the leather and the bead on. Add ear wires, and you’re ready to wear your new jewelry!
What do you think? These earrings took less than 15 minutes to make and I’m so excited to wear them! They’re really light weight, and you can personalize them in any way you like. Which pair is your favorite? Check out lots more jewelry tutorials here, and be sure to pin this post for later!

Beautiful faux feather earrings. I love them and can’t wait to make them. Thanks for sharing instructions.