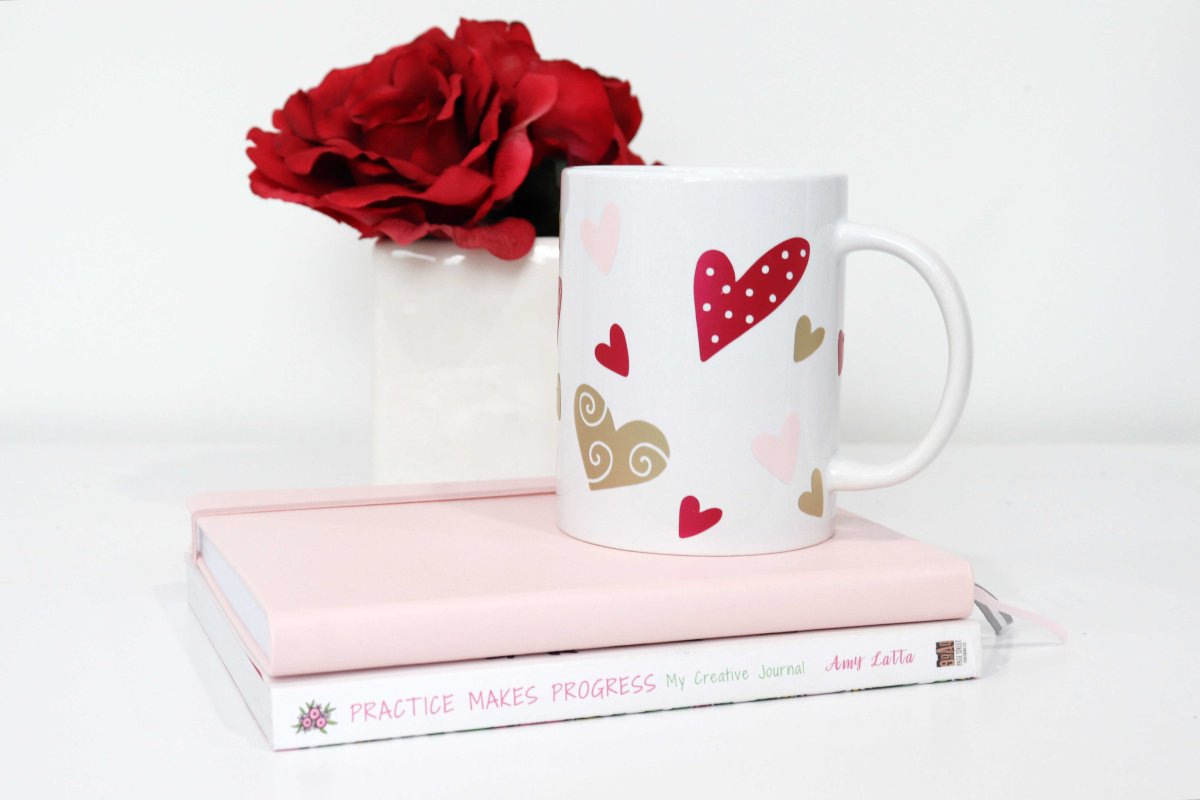
Lots of Hearts Valentine Mug
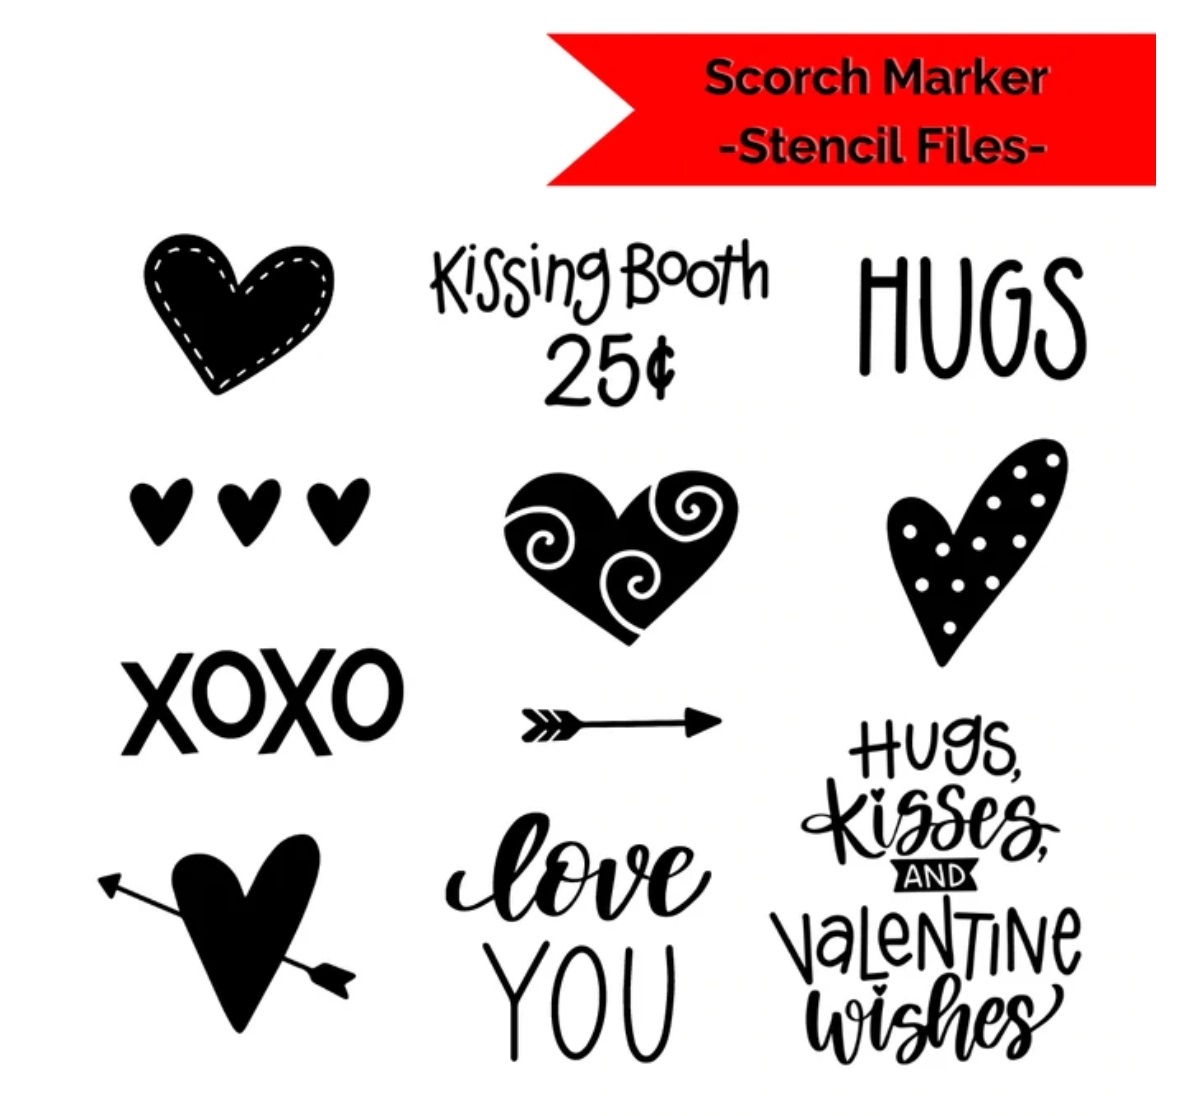
Valentine’s Day is a great opportunity to show the people in our lives some extra love. Whether it’s for our spouse, kids, best friends, or neighbors, this fun little DIY project is sure to bring a smile. To create it, I used a special set of stencil/sticker files that I designed for use with your Cricut or other cutting machine. These files are available on the Scorch Marker website, and are FREE to download with the code: ilovestencils. Here’s a peek at the 11 different images that are included (as SVG, PNG, DXL, and AI files).
DOWNLOAD THE STENCIL SET HERE
These images can be used in any way you like; as stickers or as stencils! Over the next few weeks, I’ll be sharing several different projects I created using some of these designs, but let’s start by making this simple mug. Here’s what you’ll need to make your own:
You’ll need:
Valentine Stencil/Sticker Files
Cricut or other cutting machine
Permanent Vinyl
Transfer Tape
Plain colored mug
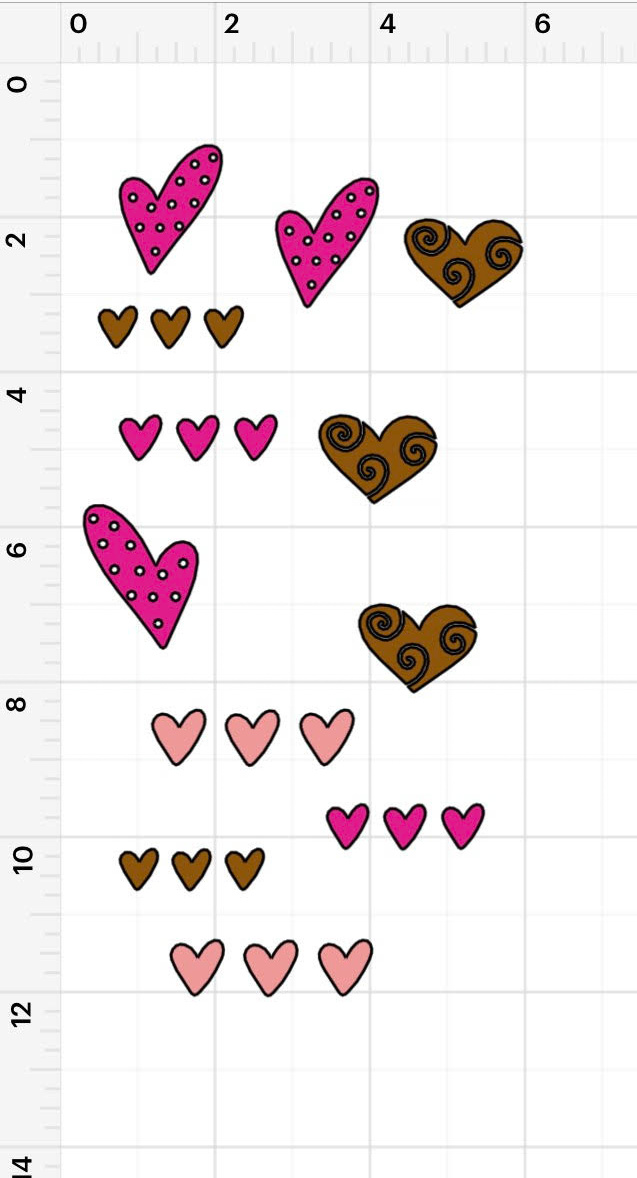
Step 1: Choose and size your favorite heart designs.
I chose two of the embellished heart designs from the set as well as the three small hearts. I uploaded the SVG files into the app for my cutting machine, then duplicated them until I had as many hearts as I wanted. (To do this in Design Space, select the image, then go to “Actions,” and “Duplicate.”) Then, I selected each image, chose the “Edit” command and re-colored it for the material color I wanted to cut it from: magenta, light pink, or gold. I sized the images to fit on my coffee mug, making some larger than others. Here’s what my canvas looked like:
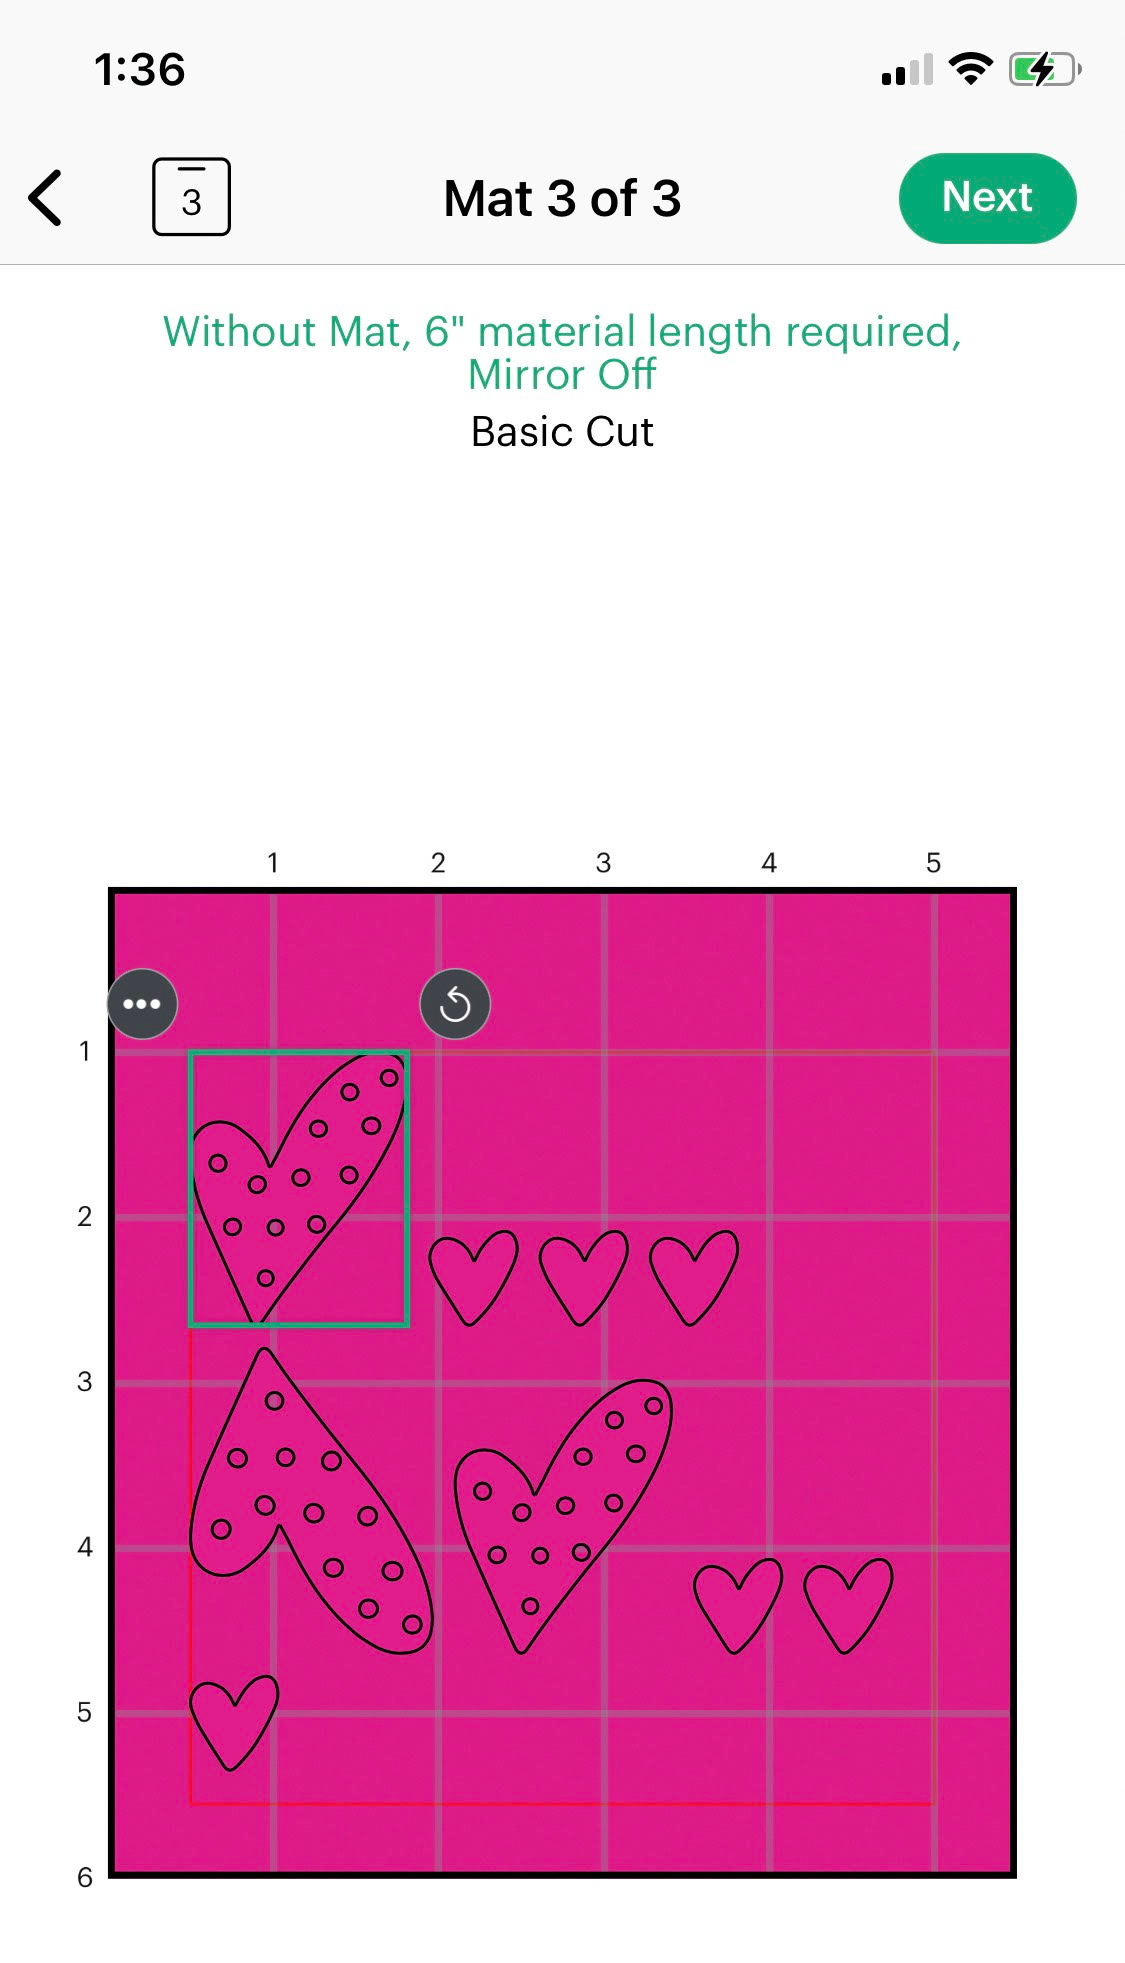
Step 2: Follow the prompts to load vinyl and cut out the hearts.
Design Space divided my heart images into three different mats, based on color. I followed the prompts to load each color, one at a time, and the machine did all the cutting.
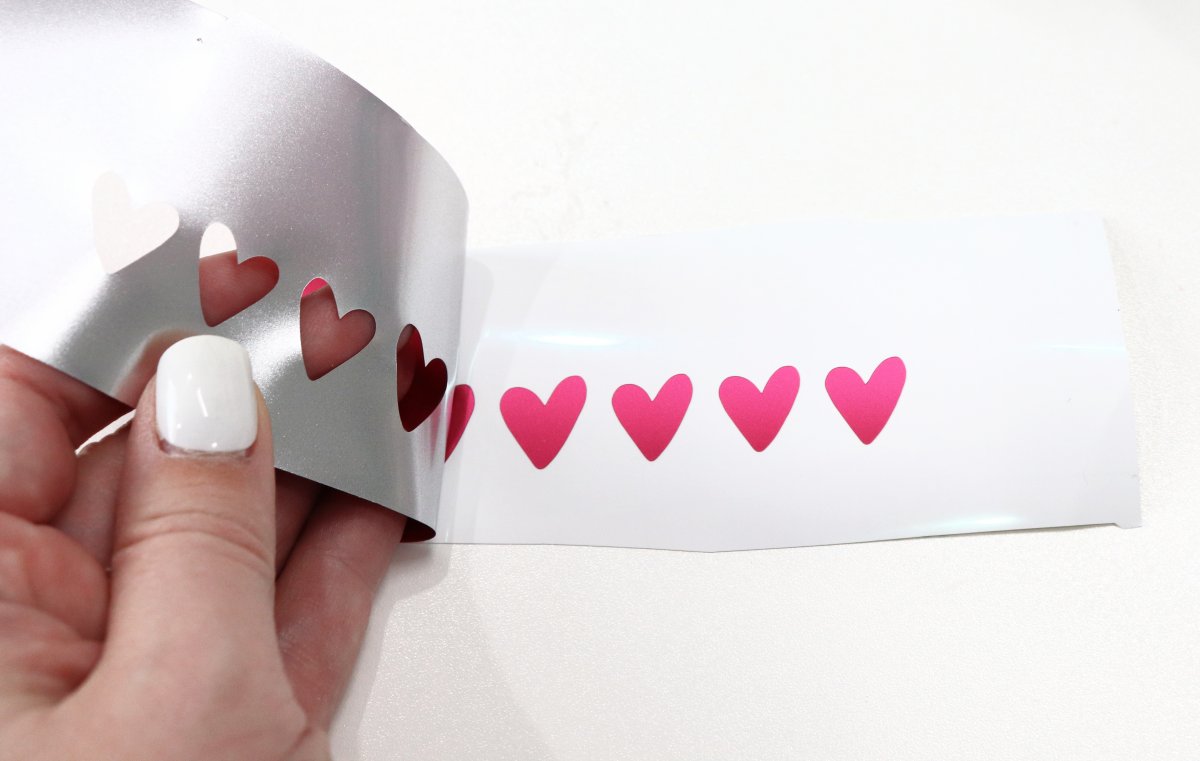
Step 3: Weed your vinyl.
This means removing all the excess vinyl that isn’t part of your heart designs. For the basic hearts, it’s as easy as peeling away the edges. For the hearts with more intricate designs, like the polka dots, you may need to use a weeding tool or a toothpick to help you remove the tiny cut-out areas.
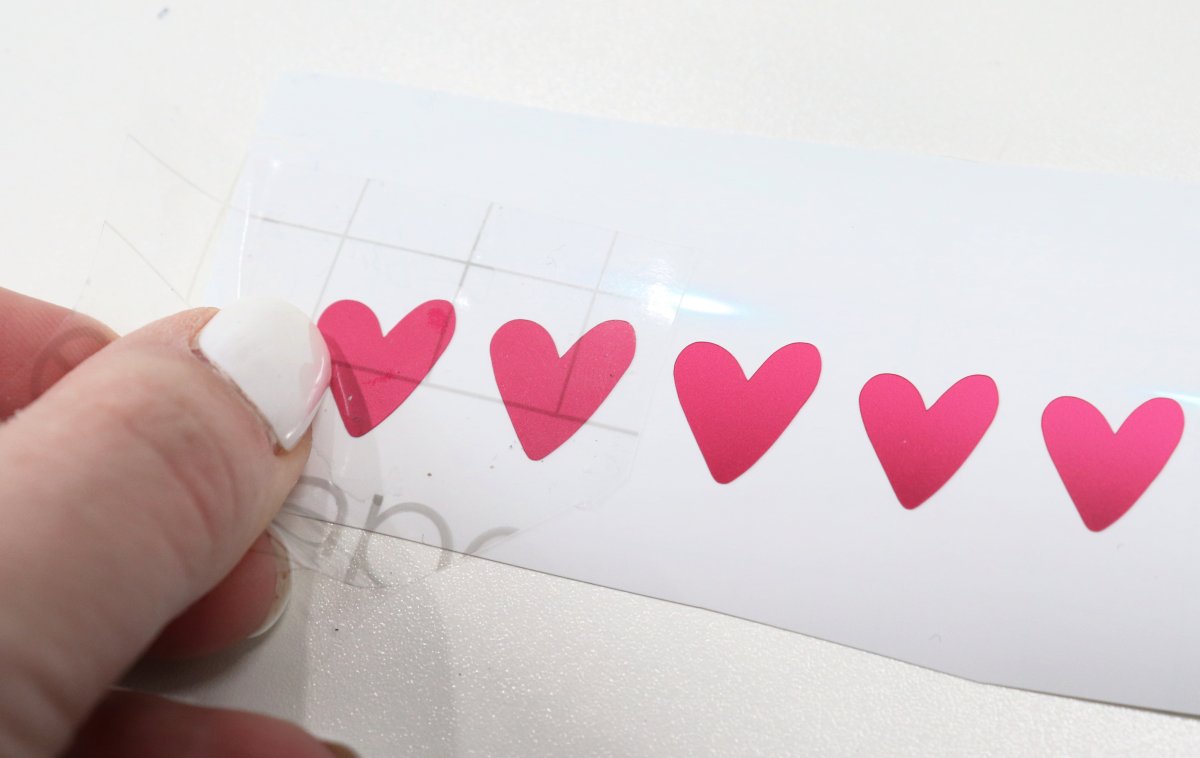
Step 4: Apply Transfer Tape to each heart.
Apply clear adhesive transfer tape on top of each heart. Peel it away from the backing, which makes it like a sticker.
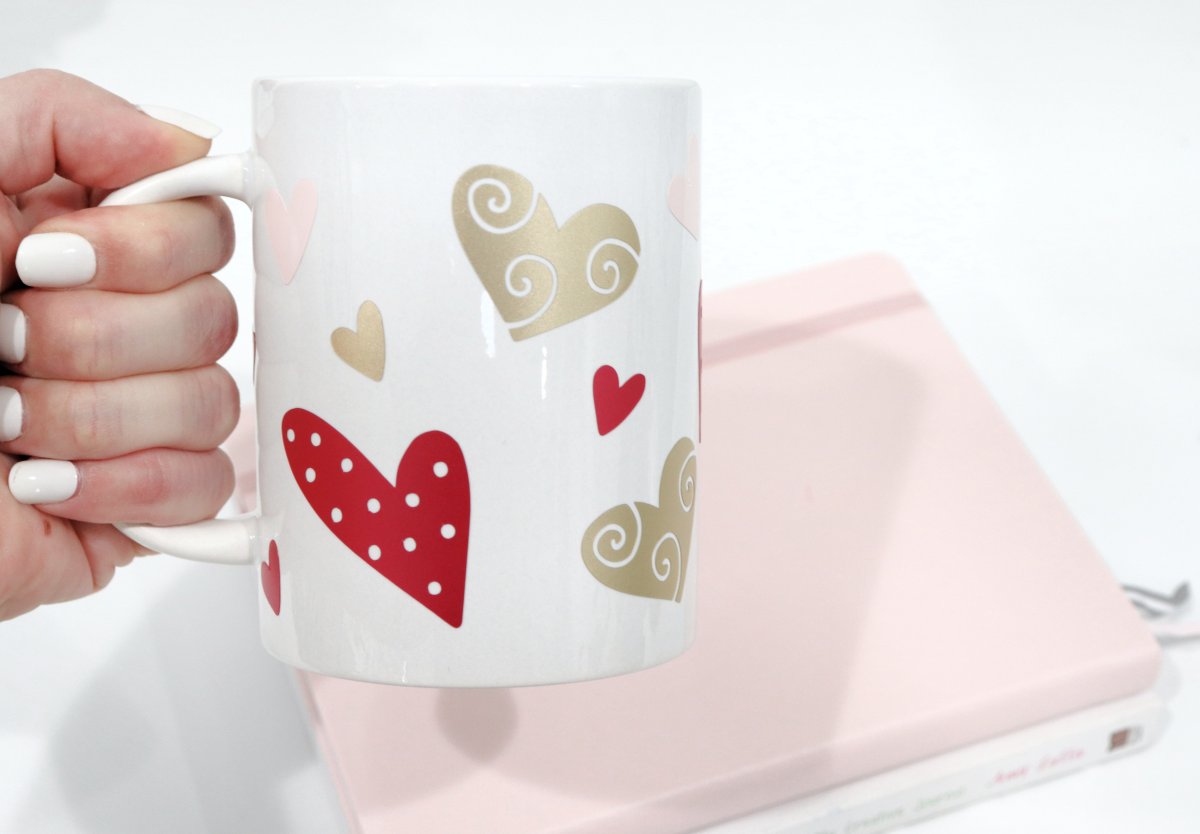
Step 5: Apply each heart to the mug.
Place each heart where you want it to go and rub firmly to adhere. Remove the transfer tape and your heart will remain on the mug’s surface. Repeat until all of the hearts are applied.
Now your mug is ready to use and/or gift! Fill it with seasonal candies and/or packets of hot cocoa, coffee, and tea as a treat for someone you love.
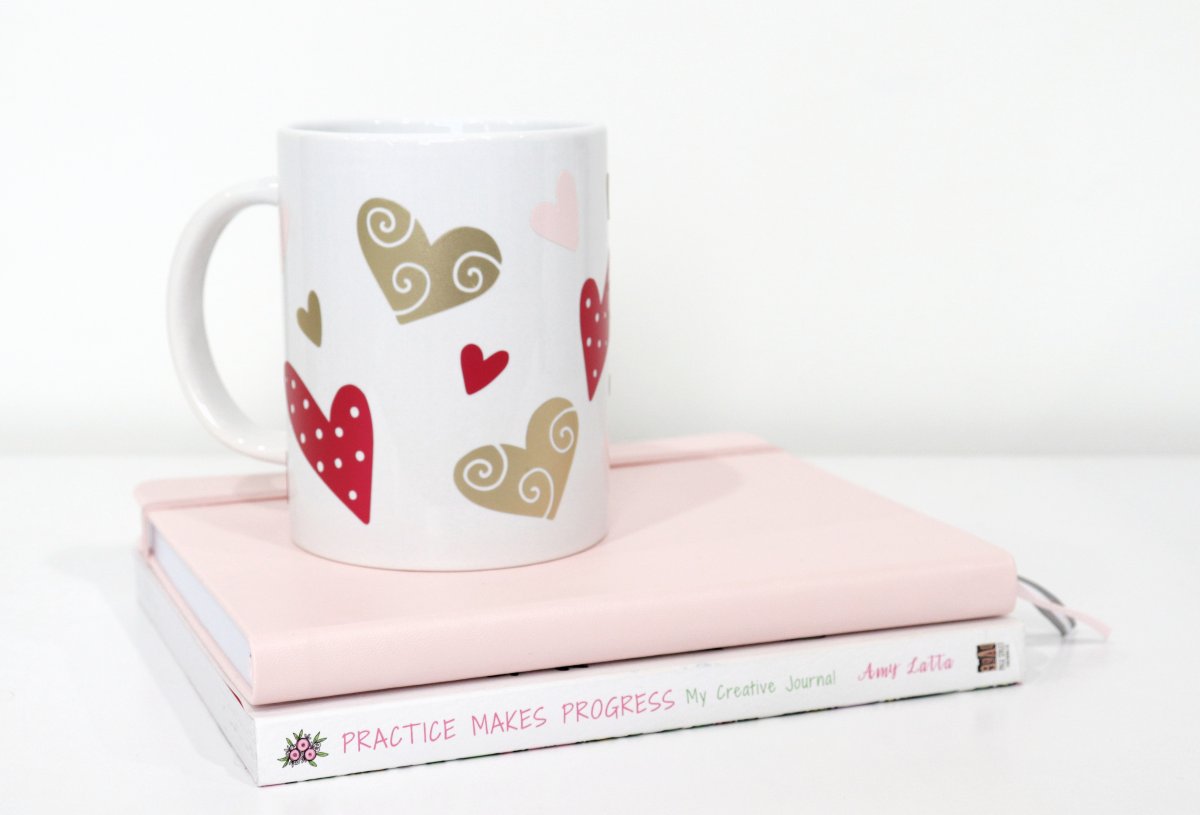
Since the vinyl is permanent, it is safe to wash the mug, and you can even use the dishwasher, although hand washing is recommended to keep your project looking beautiful. What do you think? Would you enjoy making this project, or other creations with this stencil/sticker set? If you try it, I’d love to see what you create! Be sure to share your photos in the Amy Latta & Friends Facebook Group so we can all be inspired. See you there!


2 Comments