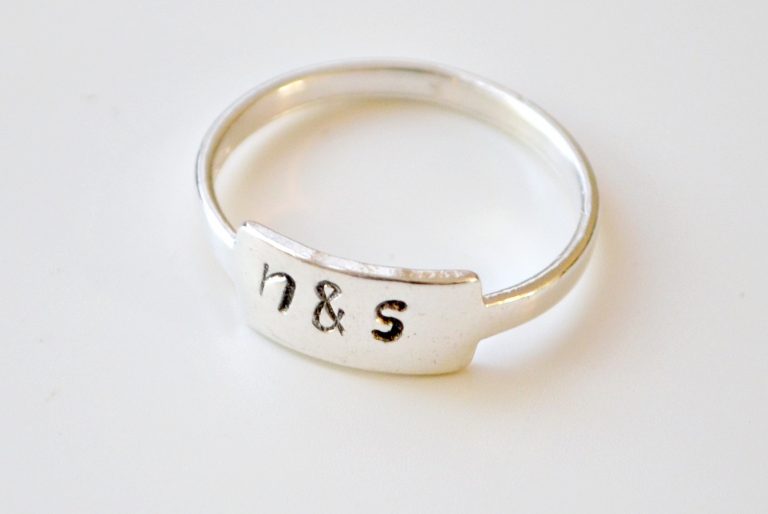
Handwriting Keepsake Bracelet with Cricut Maker
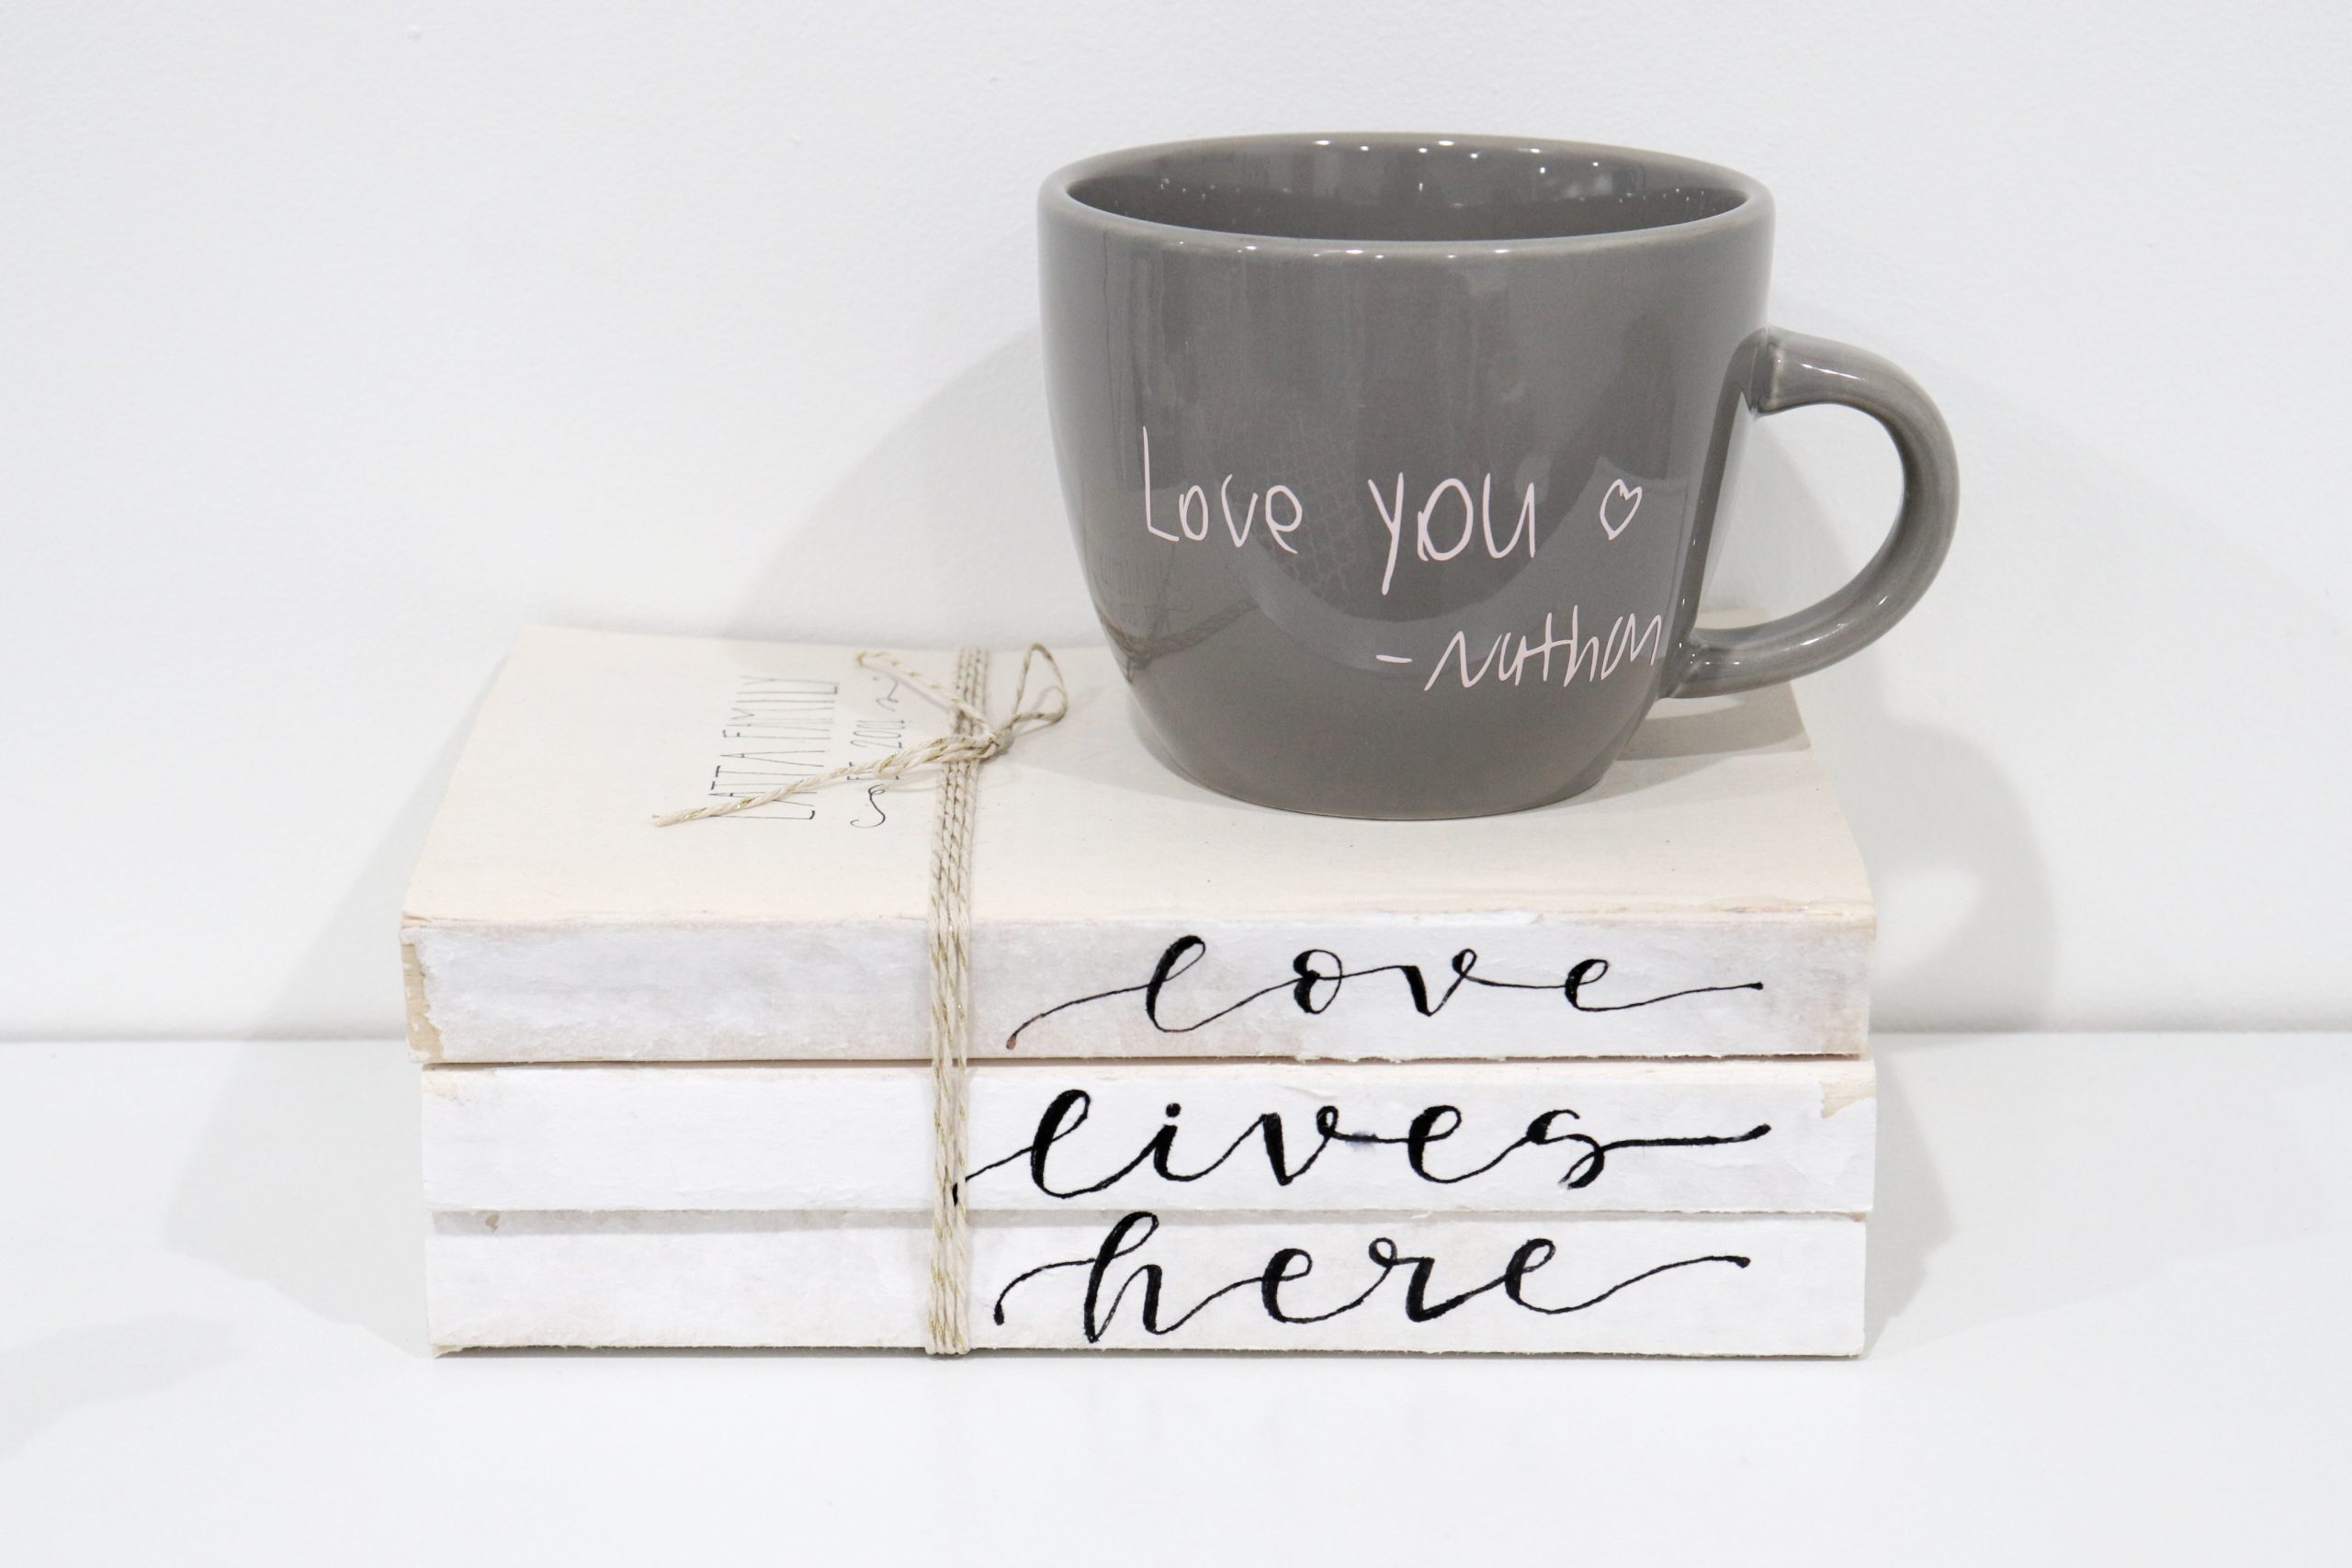
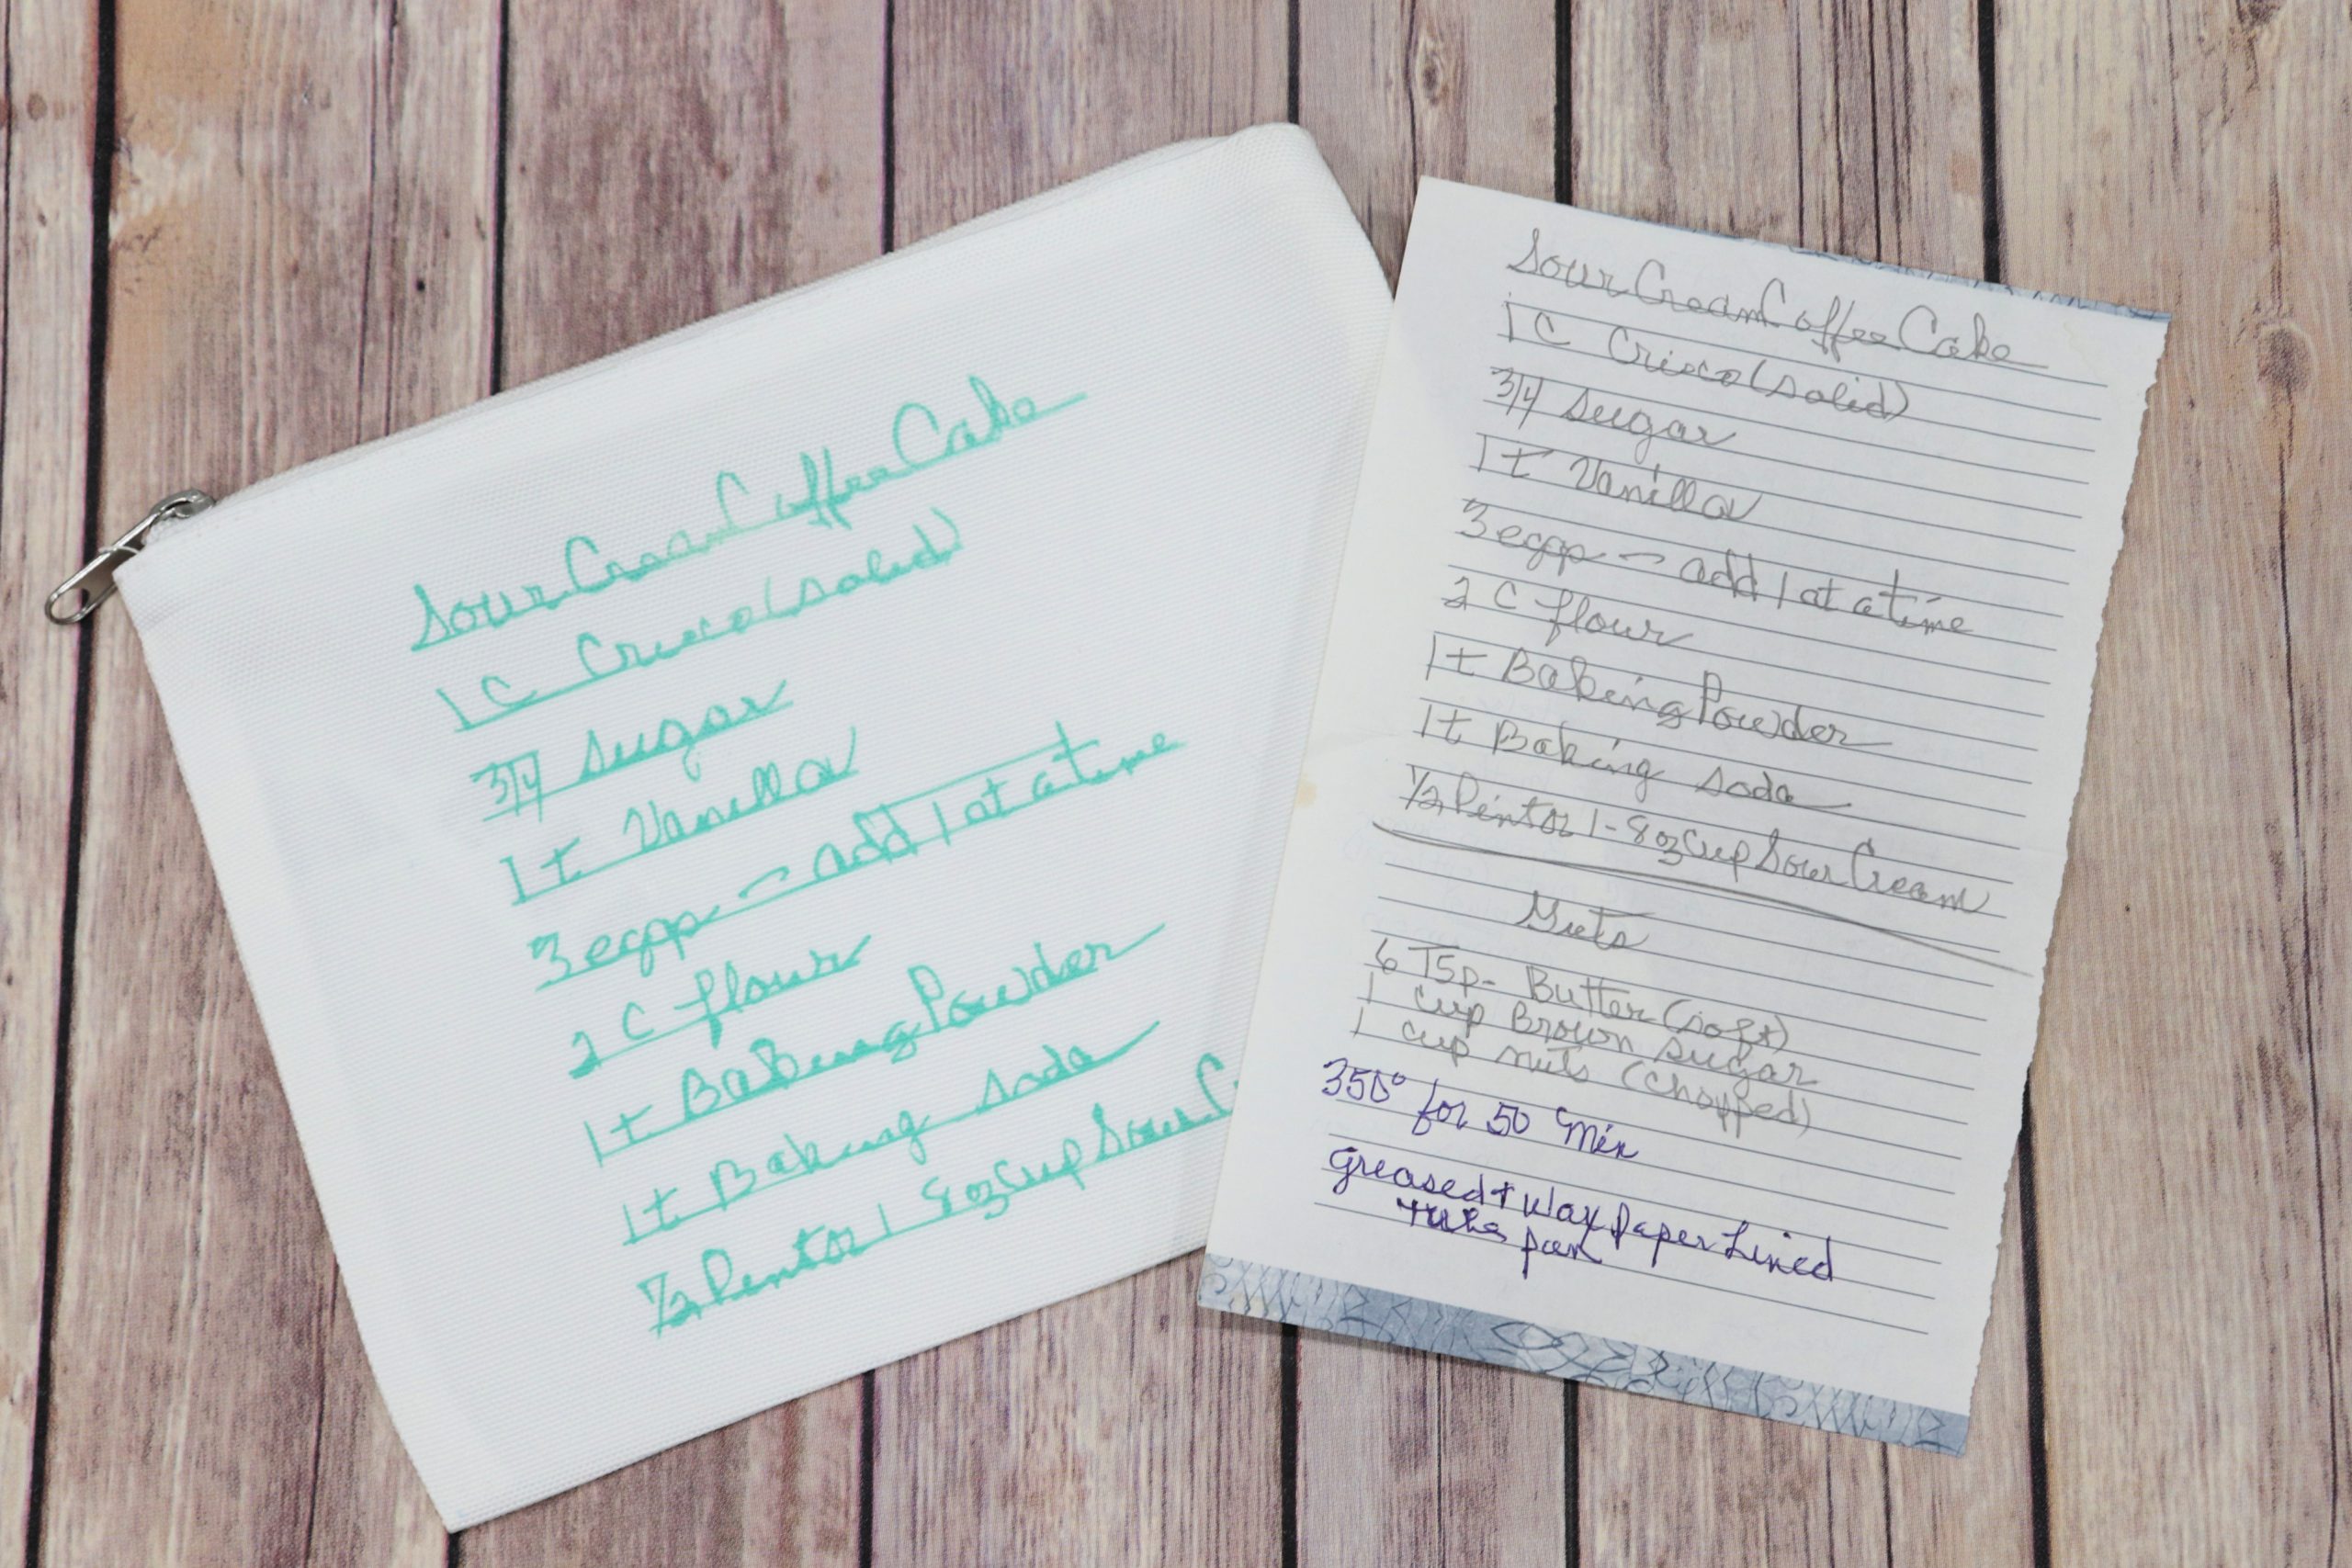
In honor of the upcoming “holiday,” National Handwriting Day, I’ve been working on a few projects that will allow you to turn the handwriting of someone you love into a special keepsake. Previously, I shared a coffee mug and a pouch; today I want to show you how to turn handwriting into a treasured piece of jewelry, a handwriting keepsake bracelet. Let’s get started.
You’ll need:
handwritten message or signature
scanner, camera, or CamScan app
EasyPress Mat or folded towel
Scissors
Chain
Jump Rings
Needle nose and flat pliers
Making your bracelet
Step 1: Adhere a piece of leather to your Strong Grip mat, right side down.

Step 2: Open the bracelet template in the Design Space app and size it to your desired dimensions.
Mine is approximately 1.5,” but you can make it slightly larger if you like.
Step 3: Send the design to the Cricut Maker and let it cut, using a deep-point blade.
Make sure to push the white plastic rollers to the side when loading the machine, because of the thickness of the leather. Peel the leather from the cutting mat and set it aside.

Step 4: Scan or photograph the handwritten message and upload it into Design Space.
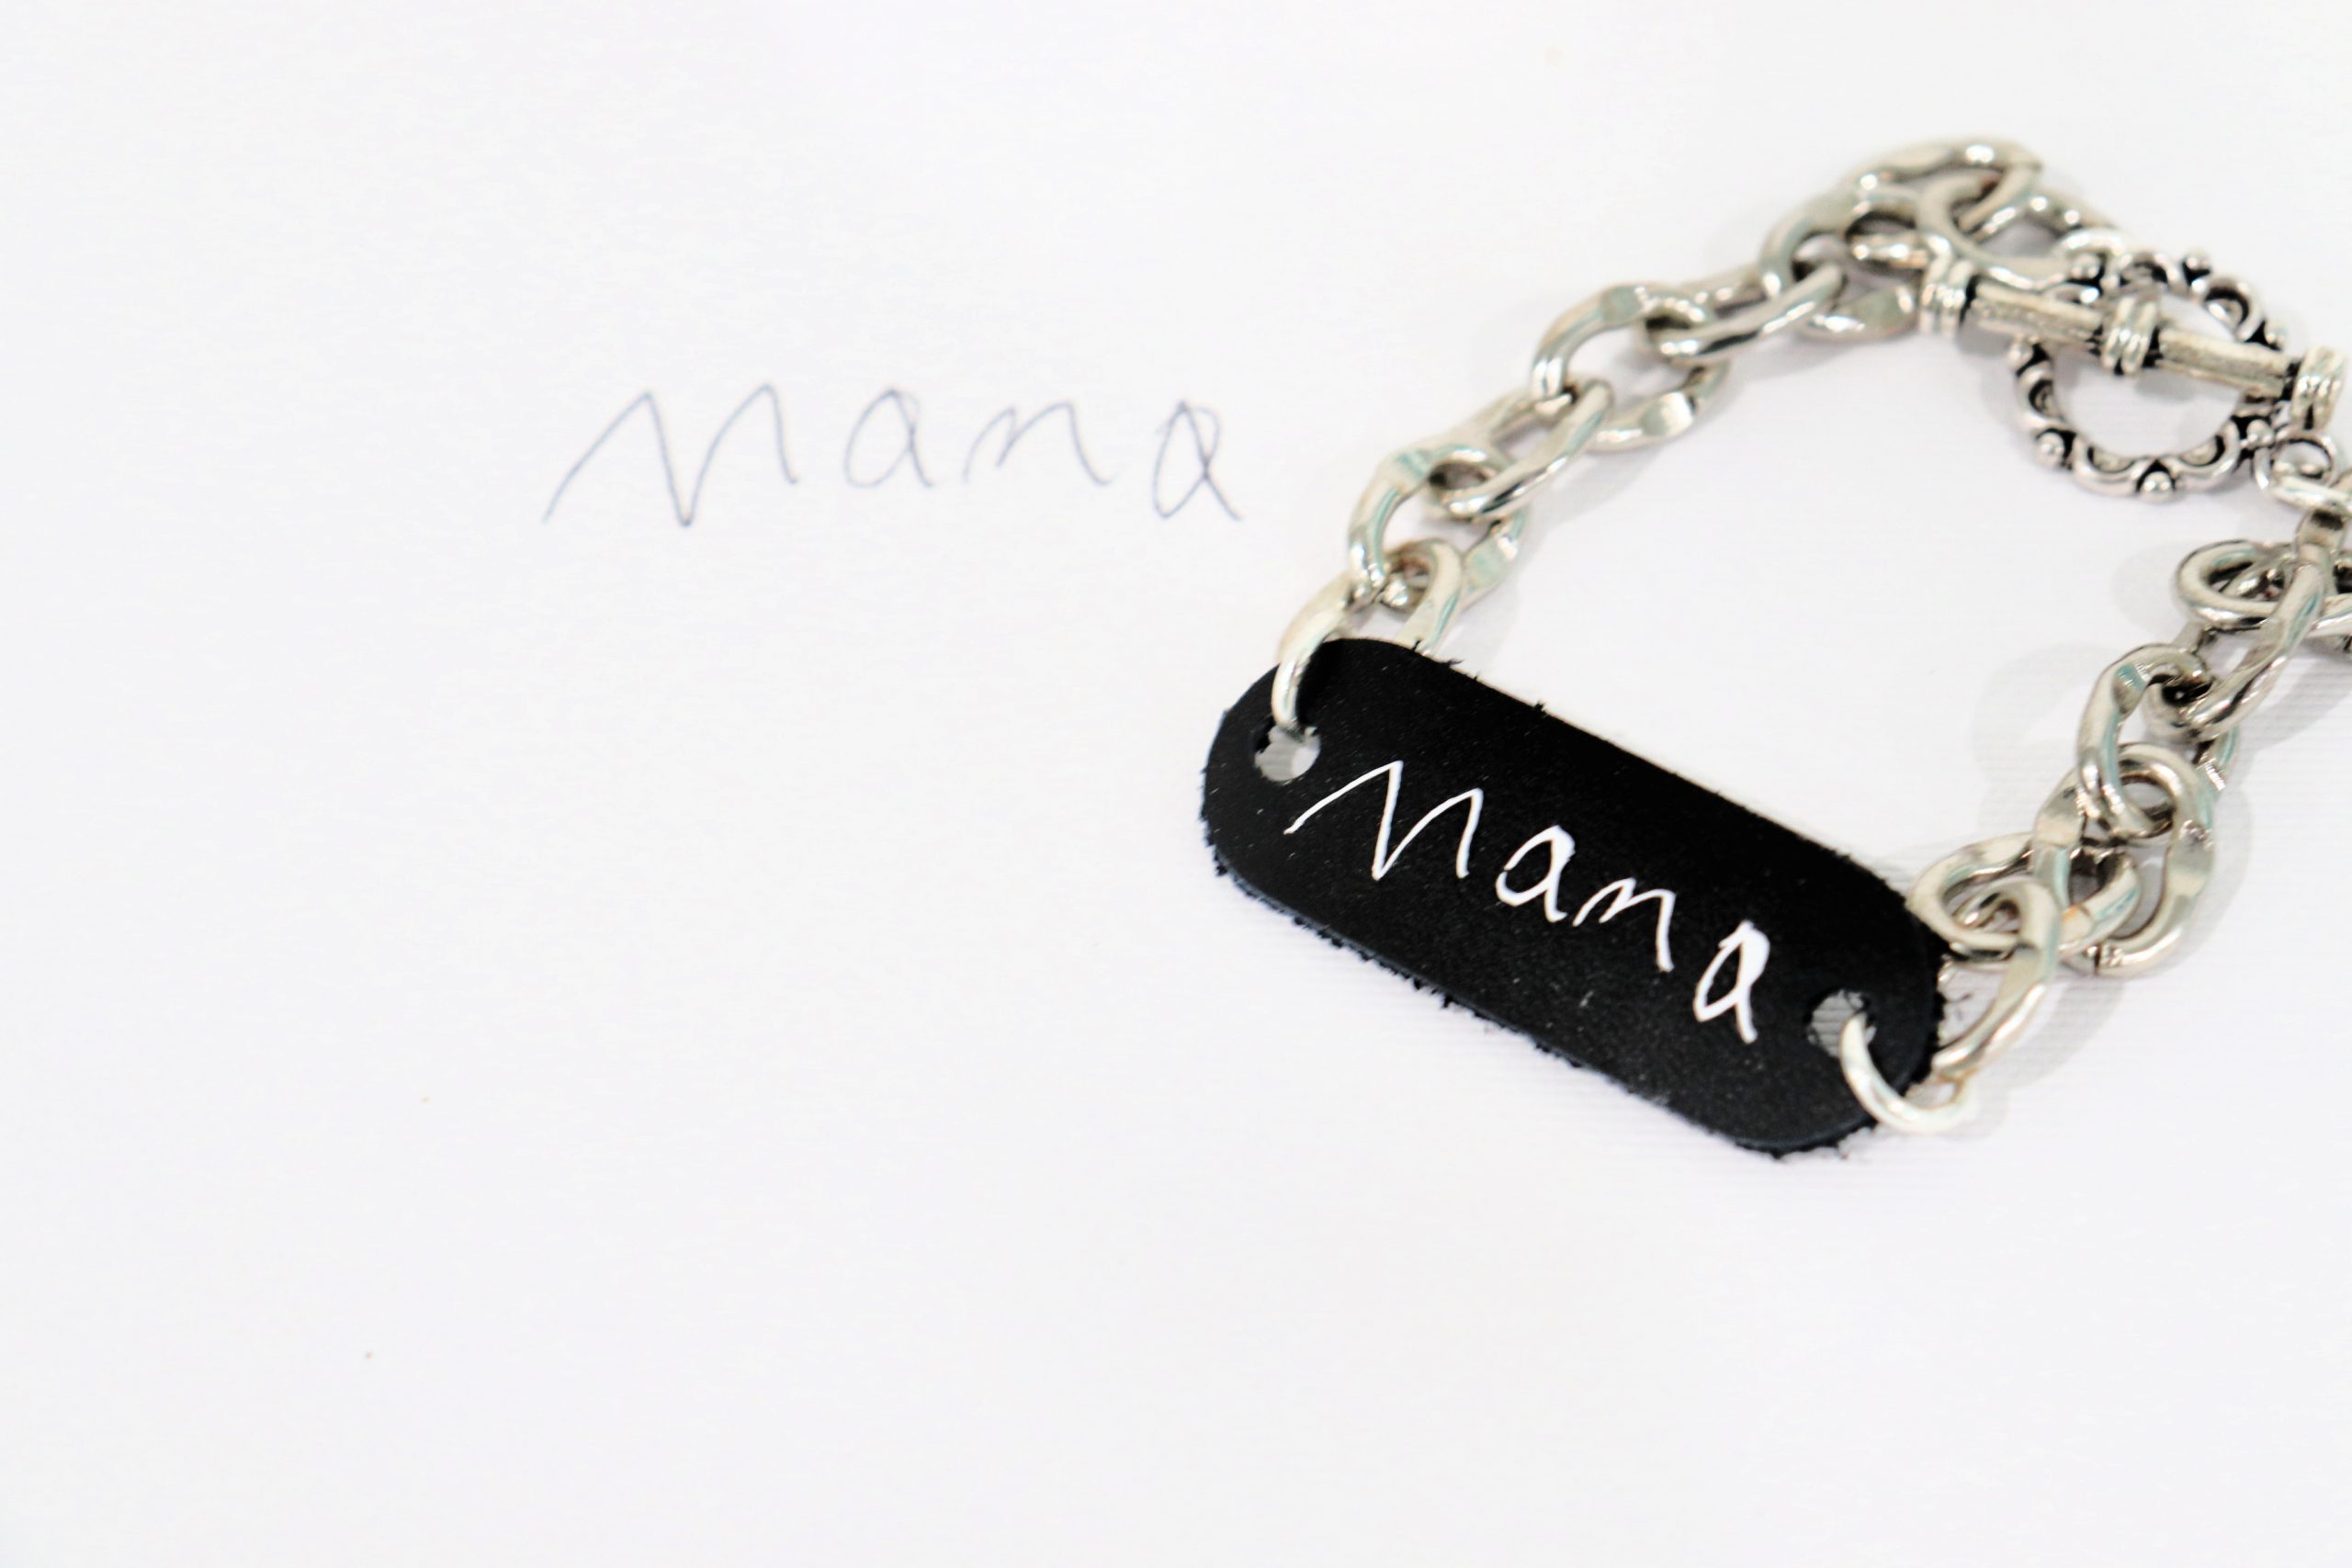
I used the Cam Scanner app on my phone to take a picture of “Mama” written in my youngest son’s handwriting.
Step 5: Use the tools in the app to clean up the image.
I like to start with the “remove” tool and click on the white background as well as any spaces inside closed letters, like “a” or “o.” Then, use the eraser tool to make any other changes.

Step 6: Save the writing as a cut image, open it in a new canvas, and size it to fit your bracelet.
Make sure it will fit in the space between the two holes, which is smaller than the total width of the leather piece.

Step 7: Load your machine with Iron-On Vinyl and switch to the Fine Point blade. Mirror your image, and let the machine cut it.
Make sure the vinyl is shiny side down on the mat.
Step 8: Weed the design.
This means you need to trim around the cut area and remove all the vinyl except for what is part of your design. Don’t forget to get rid of the areas inside of closed letters!

Step 9: Adhere the design to your leather.
First, place the leather piece on an EasyPress Mat or a folded towel. Preheat the leather for a few seconds, then position your design on top. Apply heat (use the Cricut Heat Guide for time and temperature recommendations), then gently peel the clear backing away.

You should now have the handwriting successfully transferred onto the leather! All that’s left to do is turn it into a bracelet.

You can create your bracelet in any style you like, with any chain, beads, or materials you have on hand. I went with a thick, chunky silver chain. First, I placed a jump ring in each of the two circles in the leather piece, then attached a length of chain to each one. Finally, I added a jump ring to each end of the chain and attached a toggle clasp.

Quick tip: When opening jump rings, hold them with a pair of pliers in each hand and gently twist them in opposite directions (toward and away from your body). This will help maintain the circle shape and make them easier to close. For more jewelry tips, check out these posts.

I am thrilled with how this turned out, and every time I look at it, it reminds me of my sweet Little Crafter. This is a great way to turn a written name, signature, or short message into a wearable keepsake. What do you think? Whose handwriting would you love to preserve this way? If you try the project, I’d love to see how yours turns out. Be sure to share it, or any other projects you’re working on, in the Amy Latta & Friends Facebook Group. See you there!

PS. If you like this project, make sure to check out these other ways to preserve someone special’s handwritten messages!

I love the bracelet idea!!!!
Thank you, Michelle!