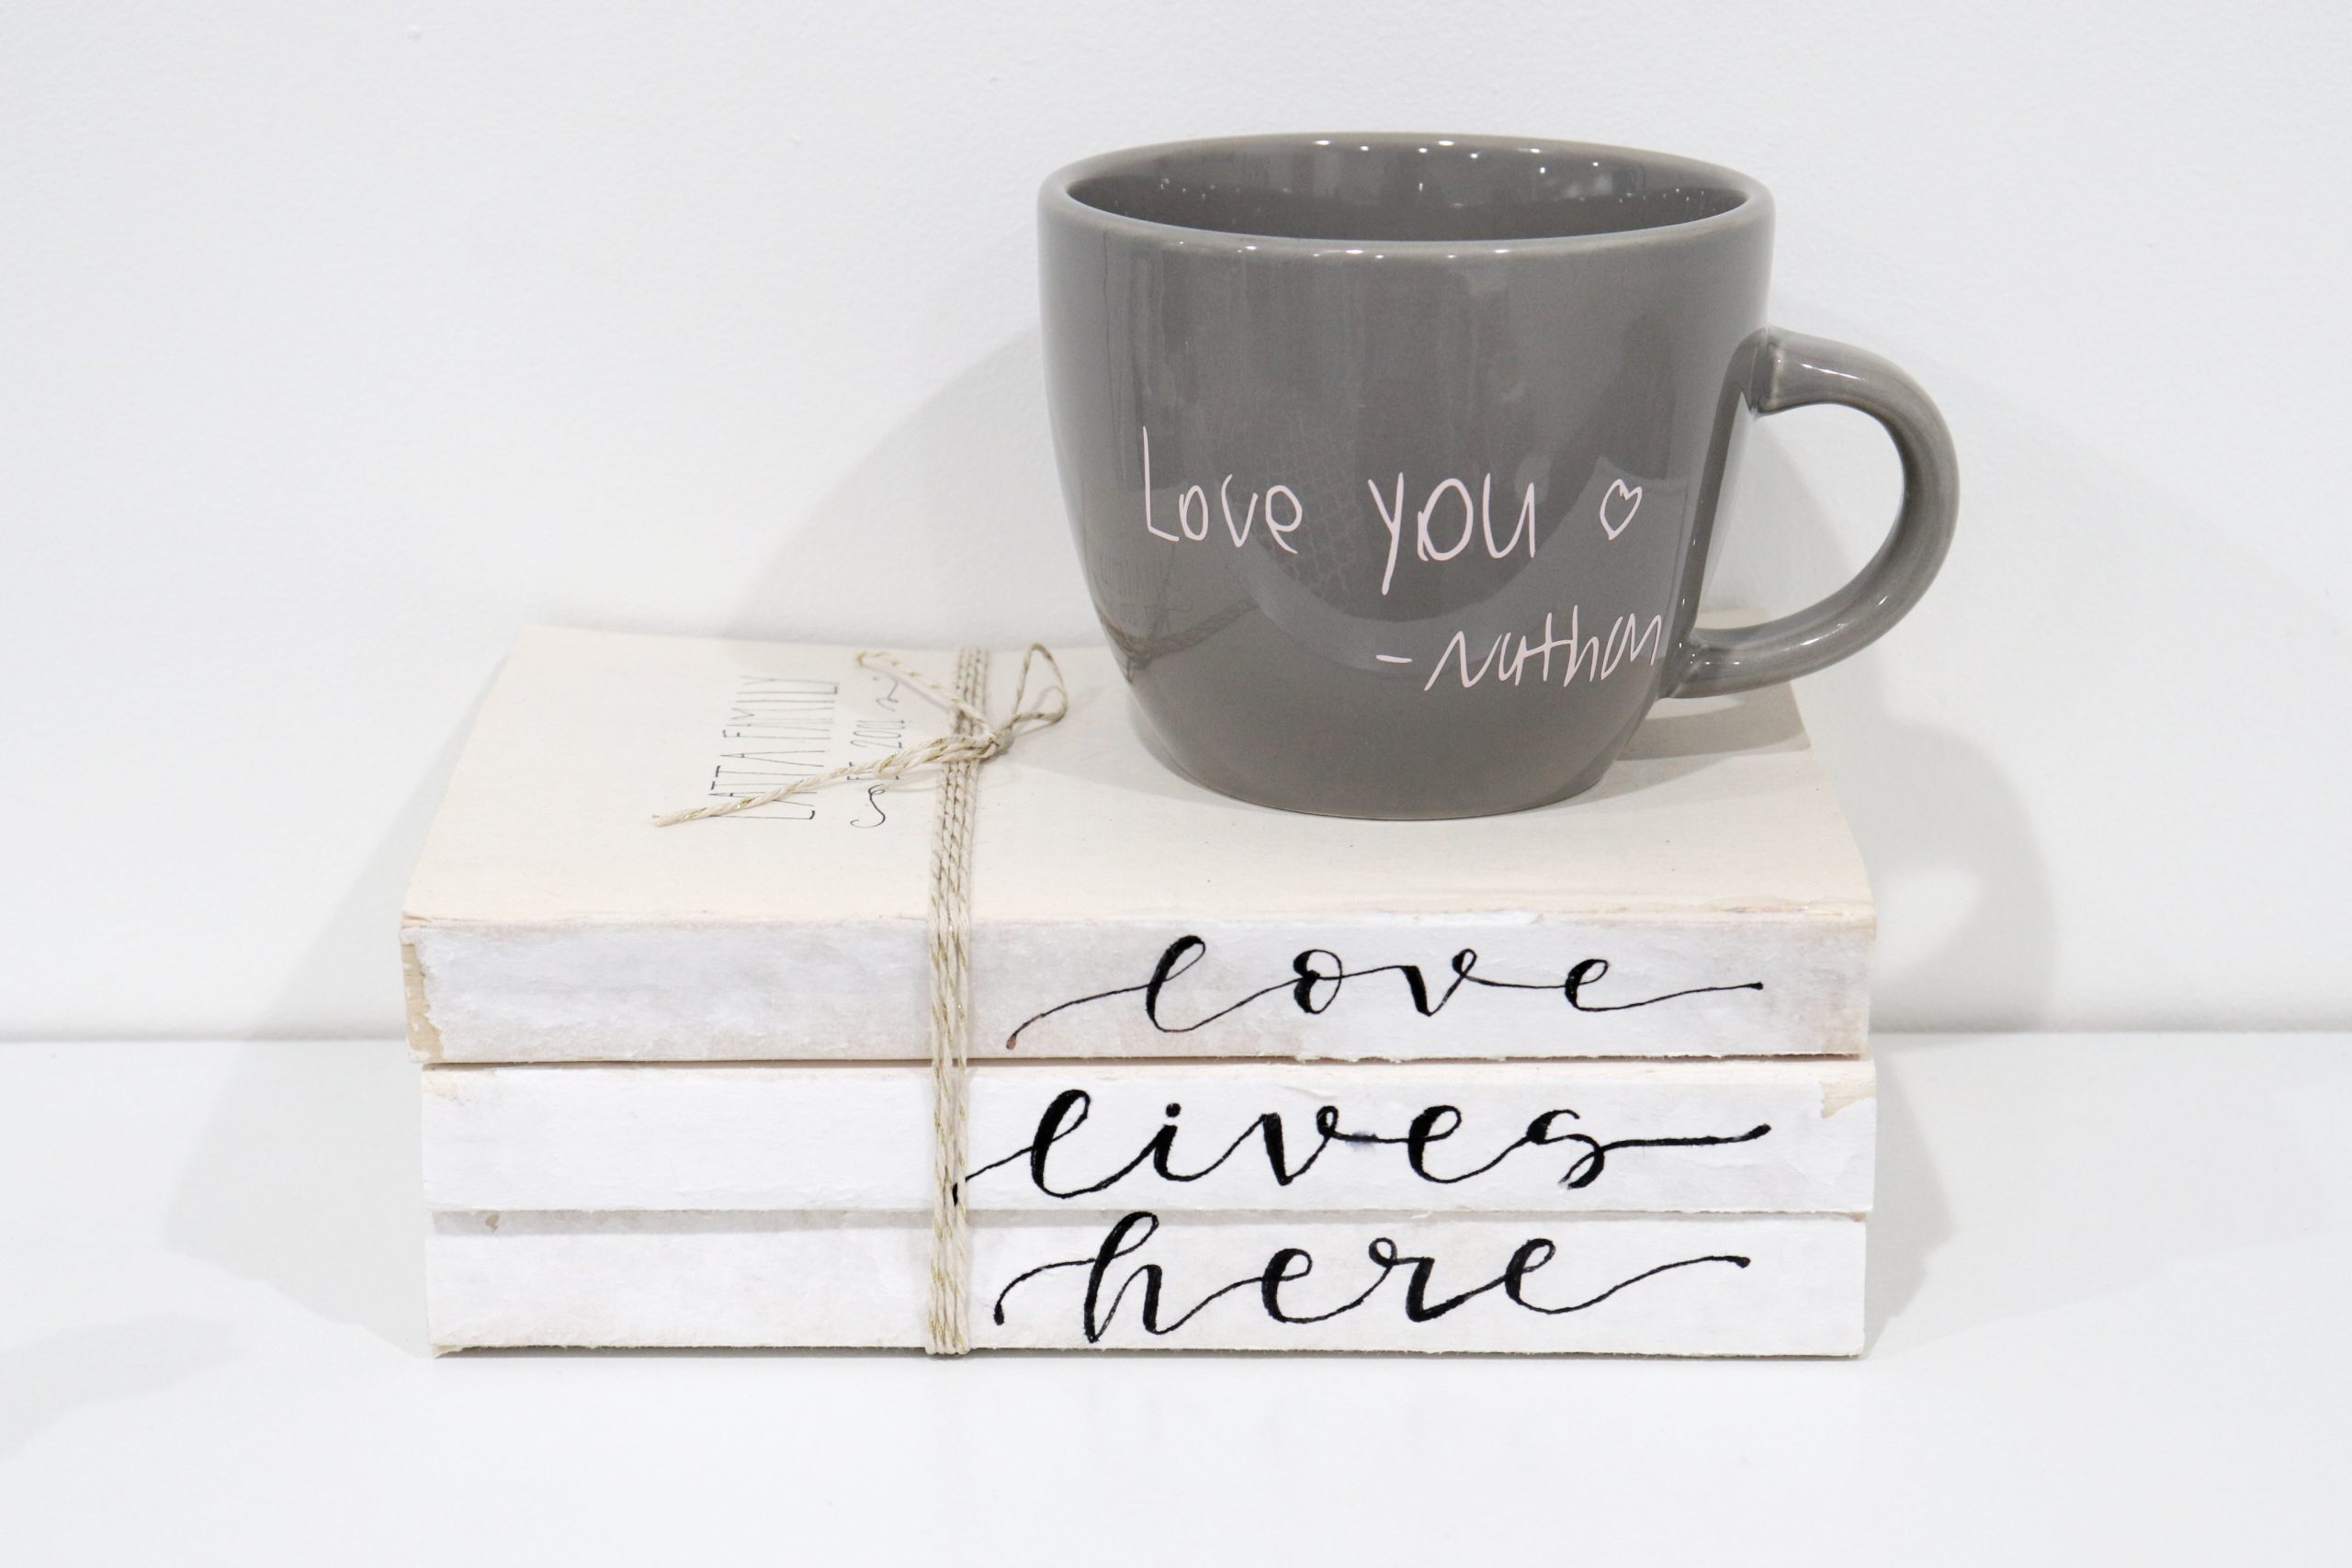
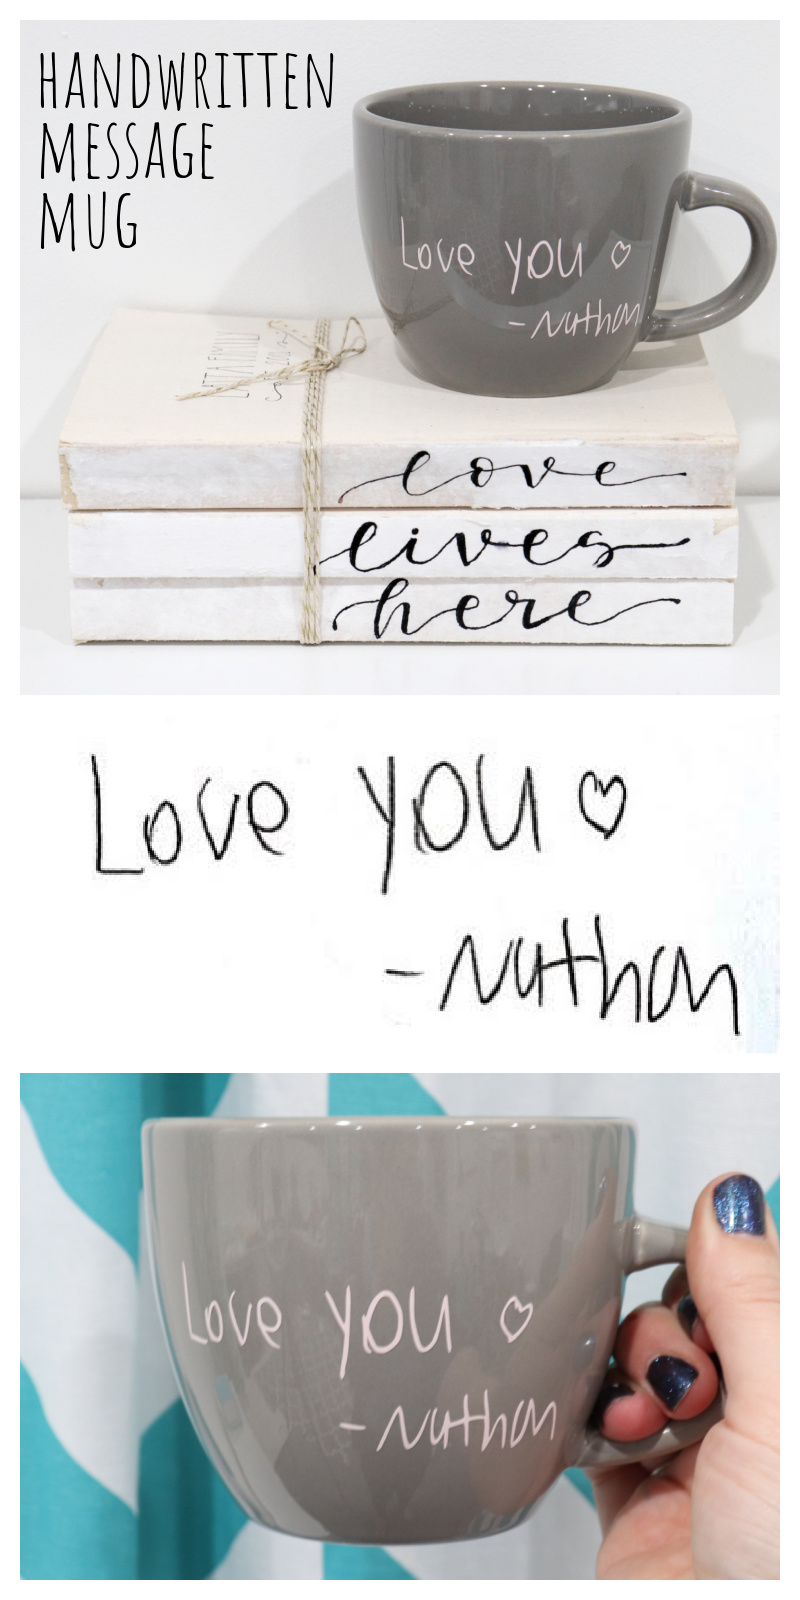
Handwritten Memory Mug
January 23 is National Handwriting Day, and while that may at first sound like just another random “holiday,” I think there’s something really special about taking time to appreciate handwritten things. Like a thumbprint, our handwriting is a unique part of who we are. Seeing the writing of a person we love can affect us in a powerful way, which is why I wanted to share how to turn a handwritten message into a permanent keepsake.
For this project, I used a note my 13 year old son wrote in my most recent birthday card. If you have ever had a teenager, you’ll relate to the fact that a daily reminder your child actually does love you is much needed! Here’s how I did it and you can too, with any special handwritten note you have.
You’ll need:
handwritten message
scanner, CamScan app, or high quality camera
Cricut Joy, Explore, or Maker machine
scissors
mug
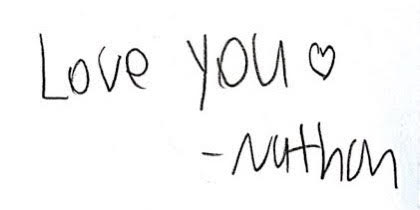
Step 1: Scan or photograph your written message.
I used the CamScan app on my phone to capture this note my son Nathan wrote. You can also use an actual scanner or a high quality digital camera. The idea is to get a clear digital image of the writing.
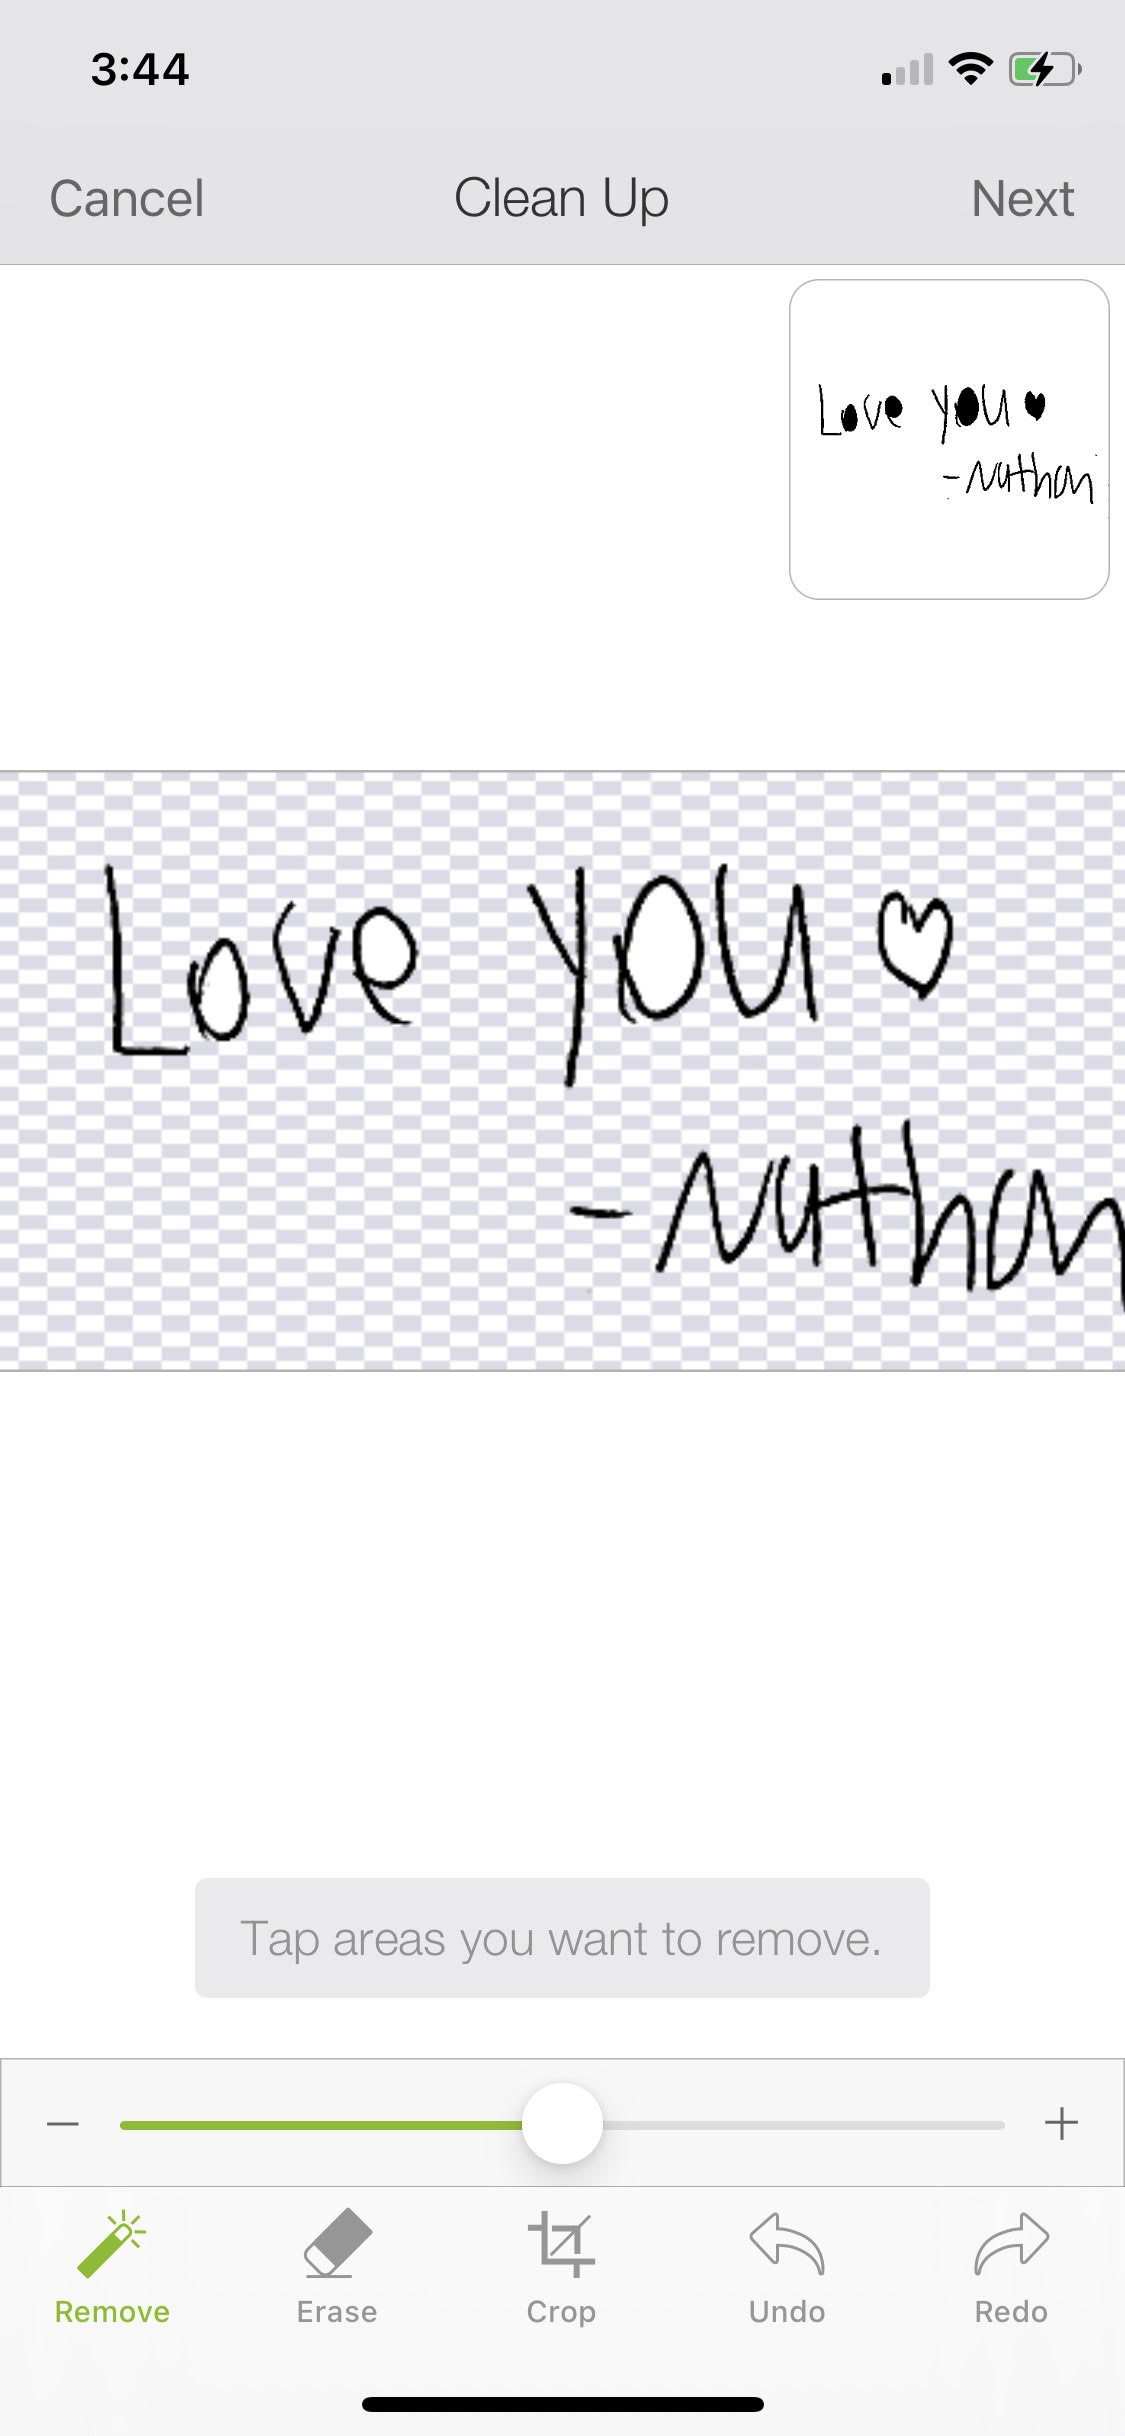
Step 2: Upload the image to Cricut Design Space and use the Clean Up feature.
A good first step is to use the “remove” tool and click on the white background. This will take the background away and leave just the writing. Make sure to click inside closed letters like “o” and “e.” In the upper right corner of the screen, you’ll see a preview of the image, which will help you to spot any areas that still need to be removed. The eraser tool is also good for getting rid of any part of the image you don’t want to keep.
Once your image is cleaned up, convert it to a cut file and save it with whatever name you like.
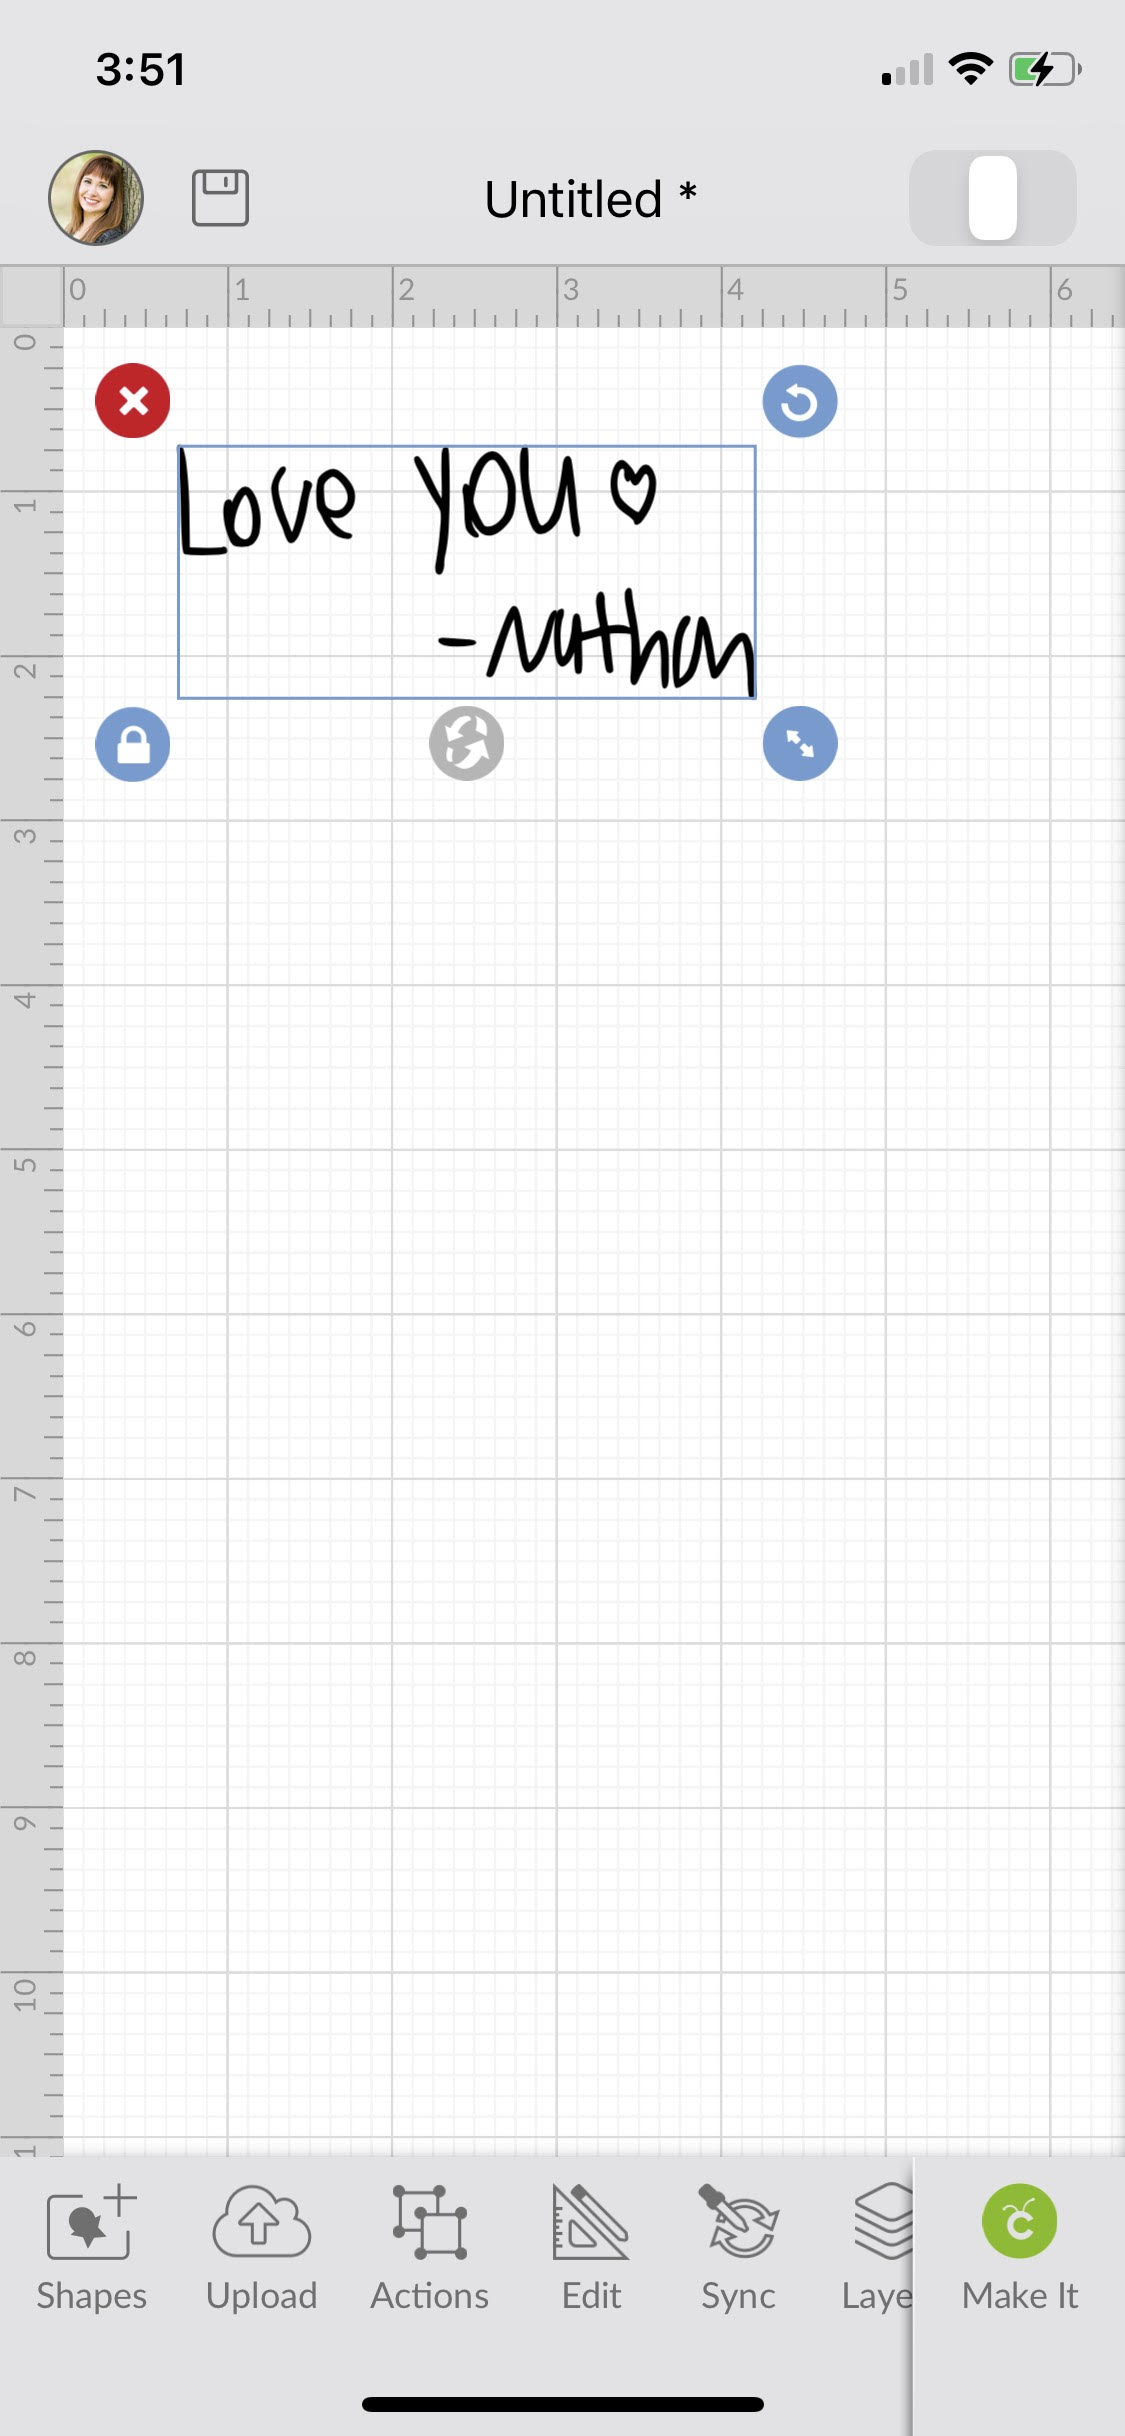
Step 3: Insert the image on a new canvas and size it for your mug.
My mug is low and wide, so I was able to make the design about 3.5″ wide. Make sure to measure your mug so you get the best size for your project.
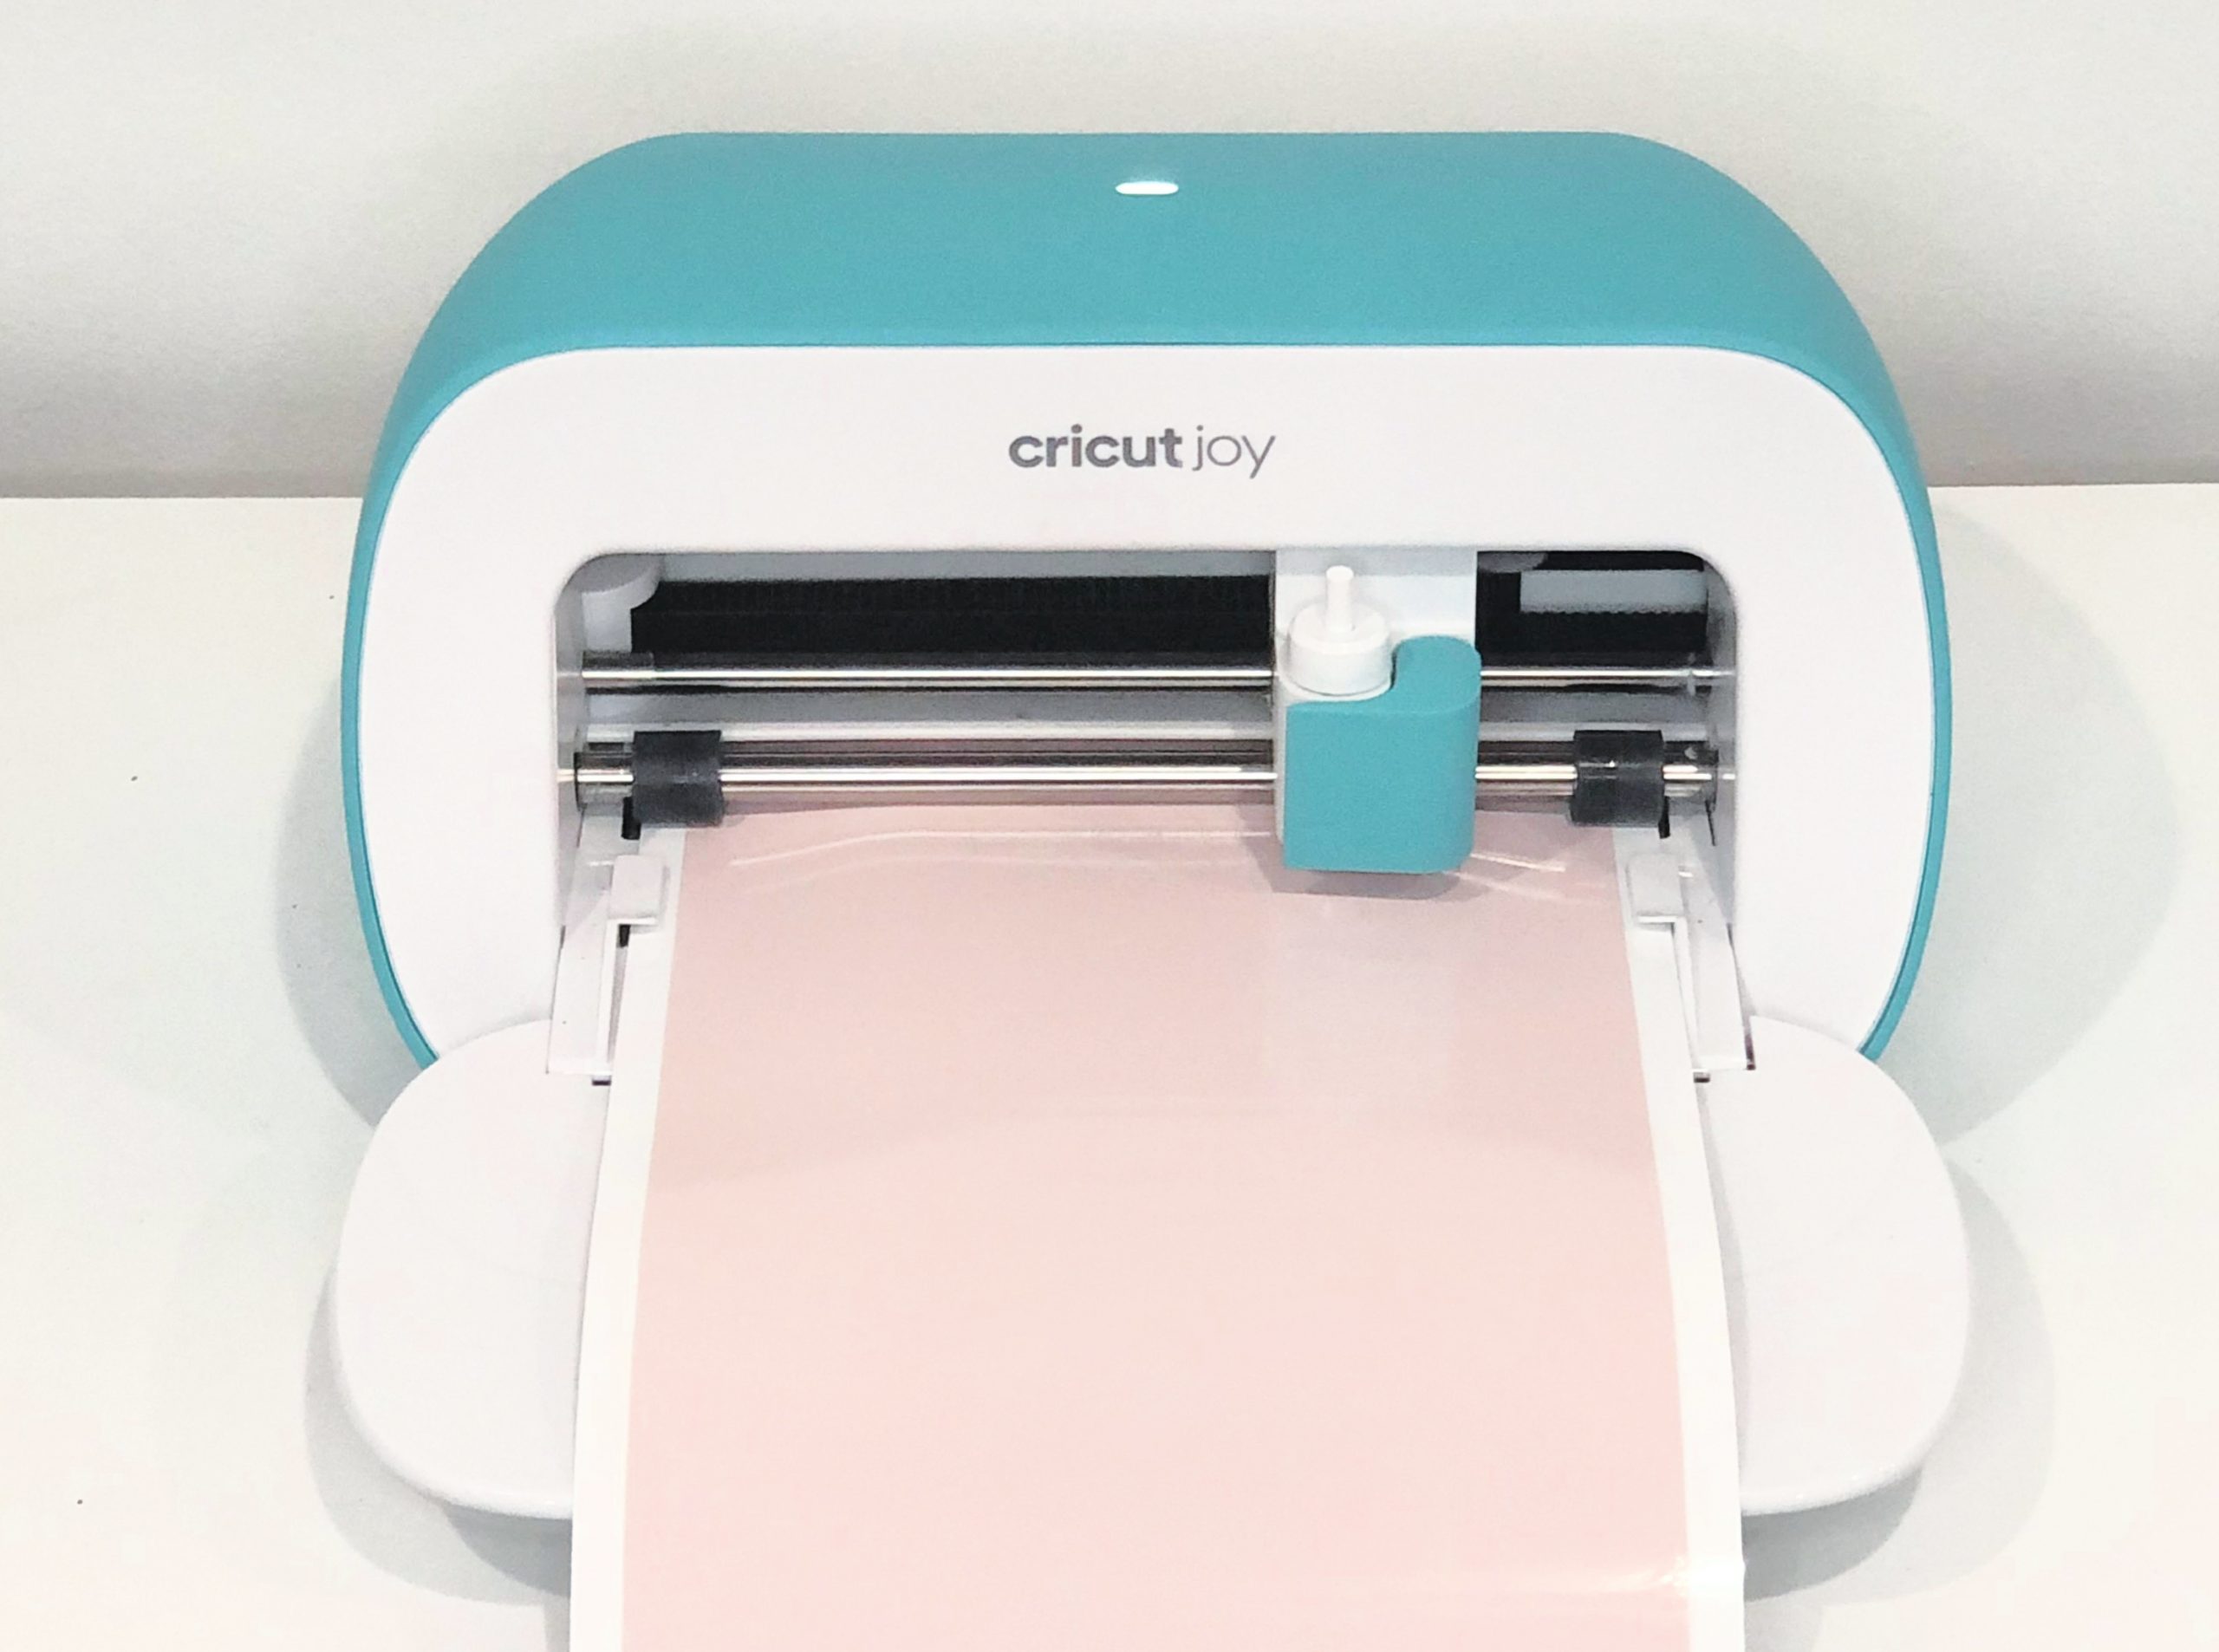
Step 4: Set the material and load your Cricut.
I used permanent vinyl. Mine was actually SmartVinyl, because I used the Cricut Joy. This means I didn’t have to use a cutting mat underneath. If you’re using a different Cricut machine, make sure to put your vinyl on a cutting mat before loading the machine.
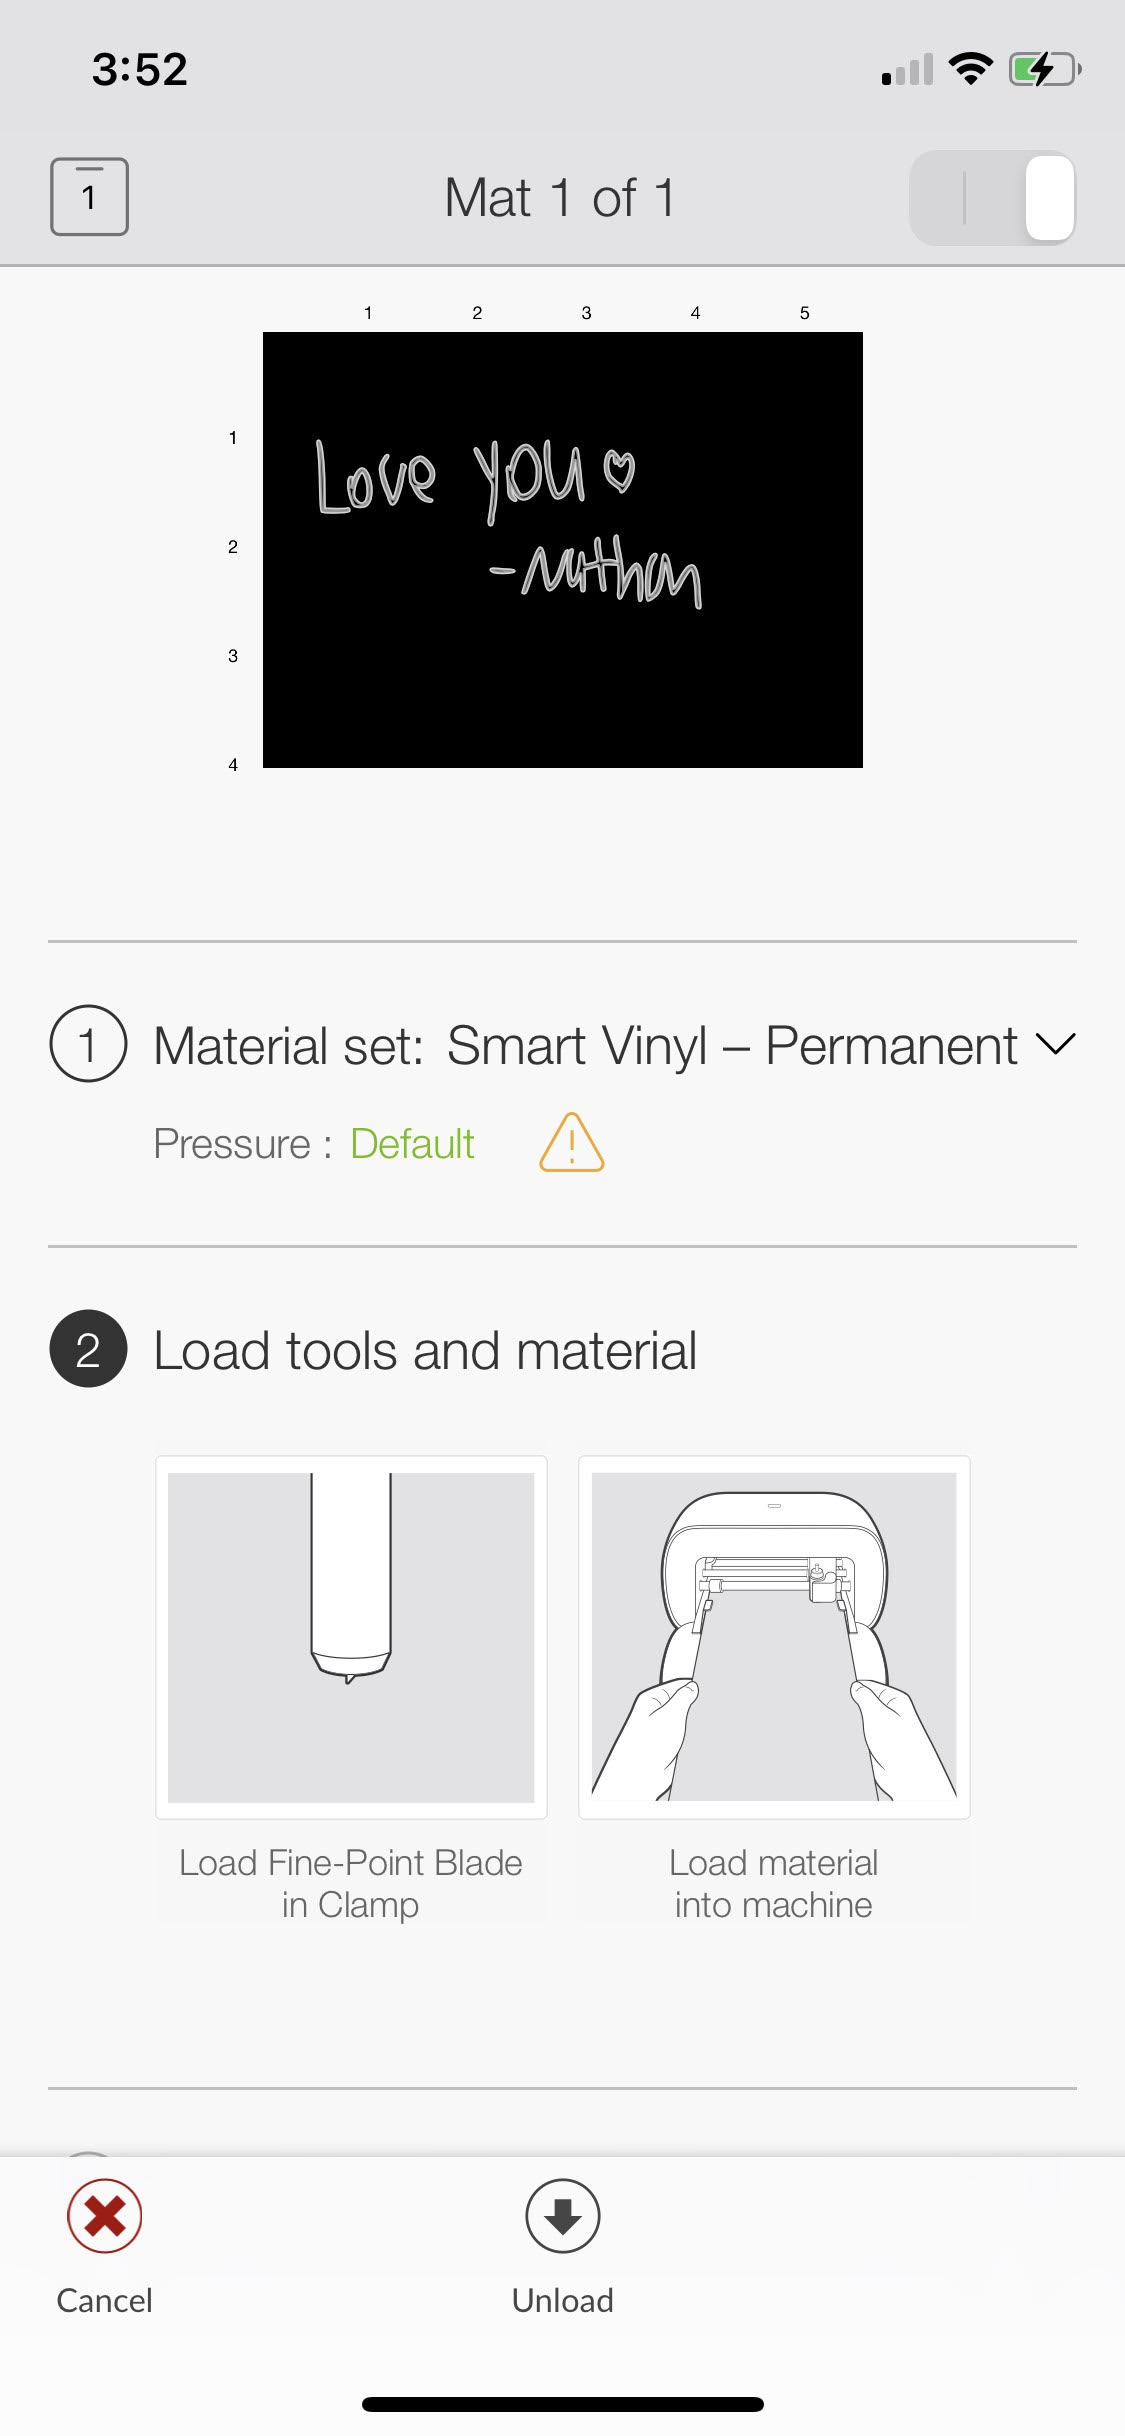
Step 5: Send the design to the Cricut and let it work its cutting magic!
Step 6: Weed your design.
That means removing all of the vinyl that isn’t part of the written message. Once again, don’t forget to remove the centers of your “o” and “e” style letters.
Step 7: Use transfer tape to adhere the design to your mug.
First, you’ll cover the design with a piece of clear transfer tape. Rub firmly and peel the tape back up. Your letters should peel up with it, leaving the vinyl backing empty. Now, position your tape and words on the mug wherever you want them to be. Rub firmly and peel the tape off. The letters should stay in place on the mug.
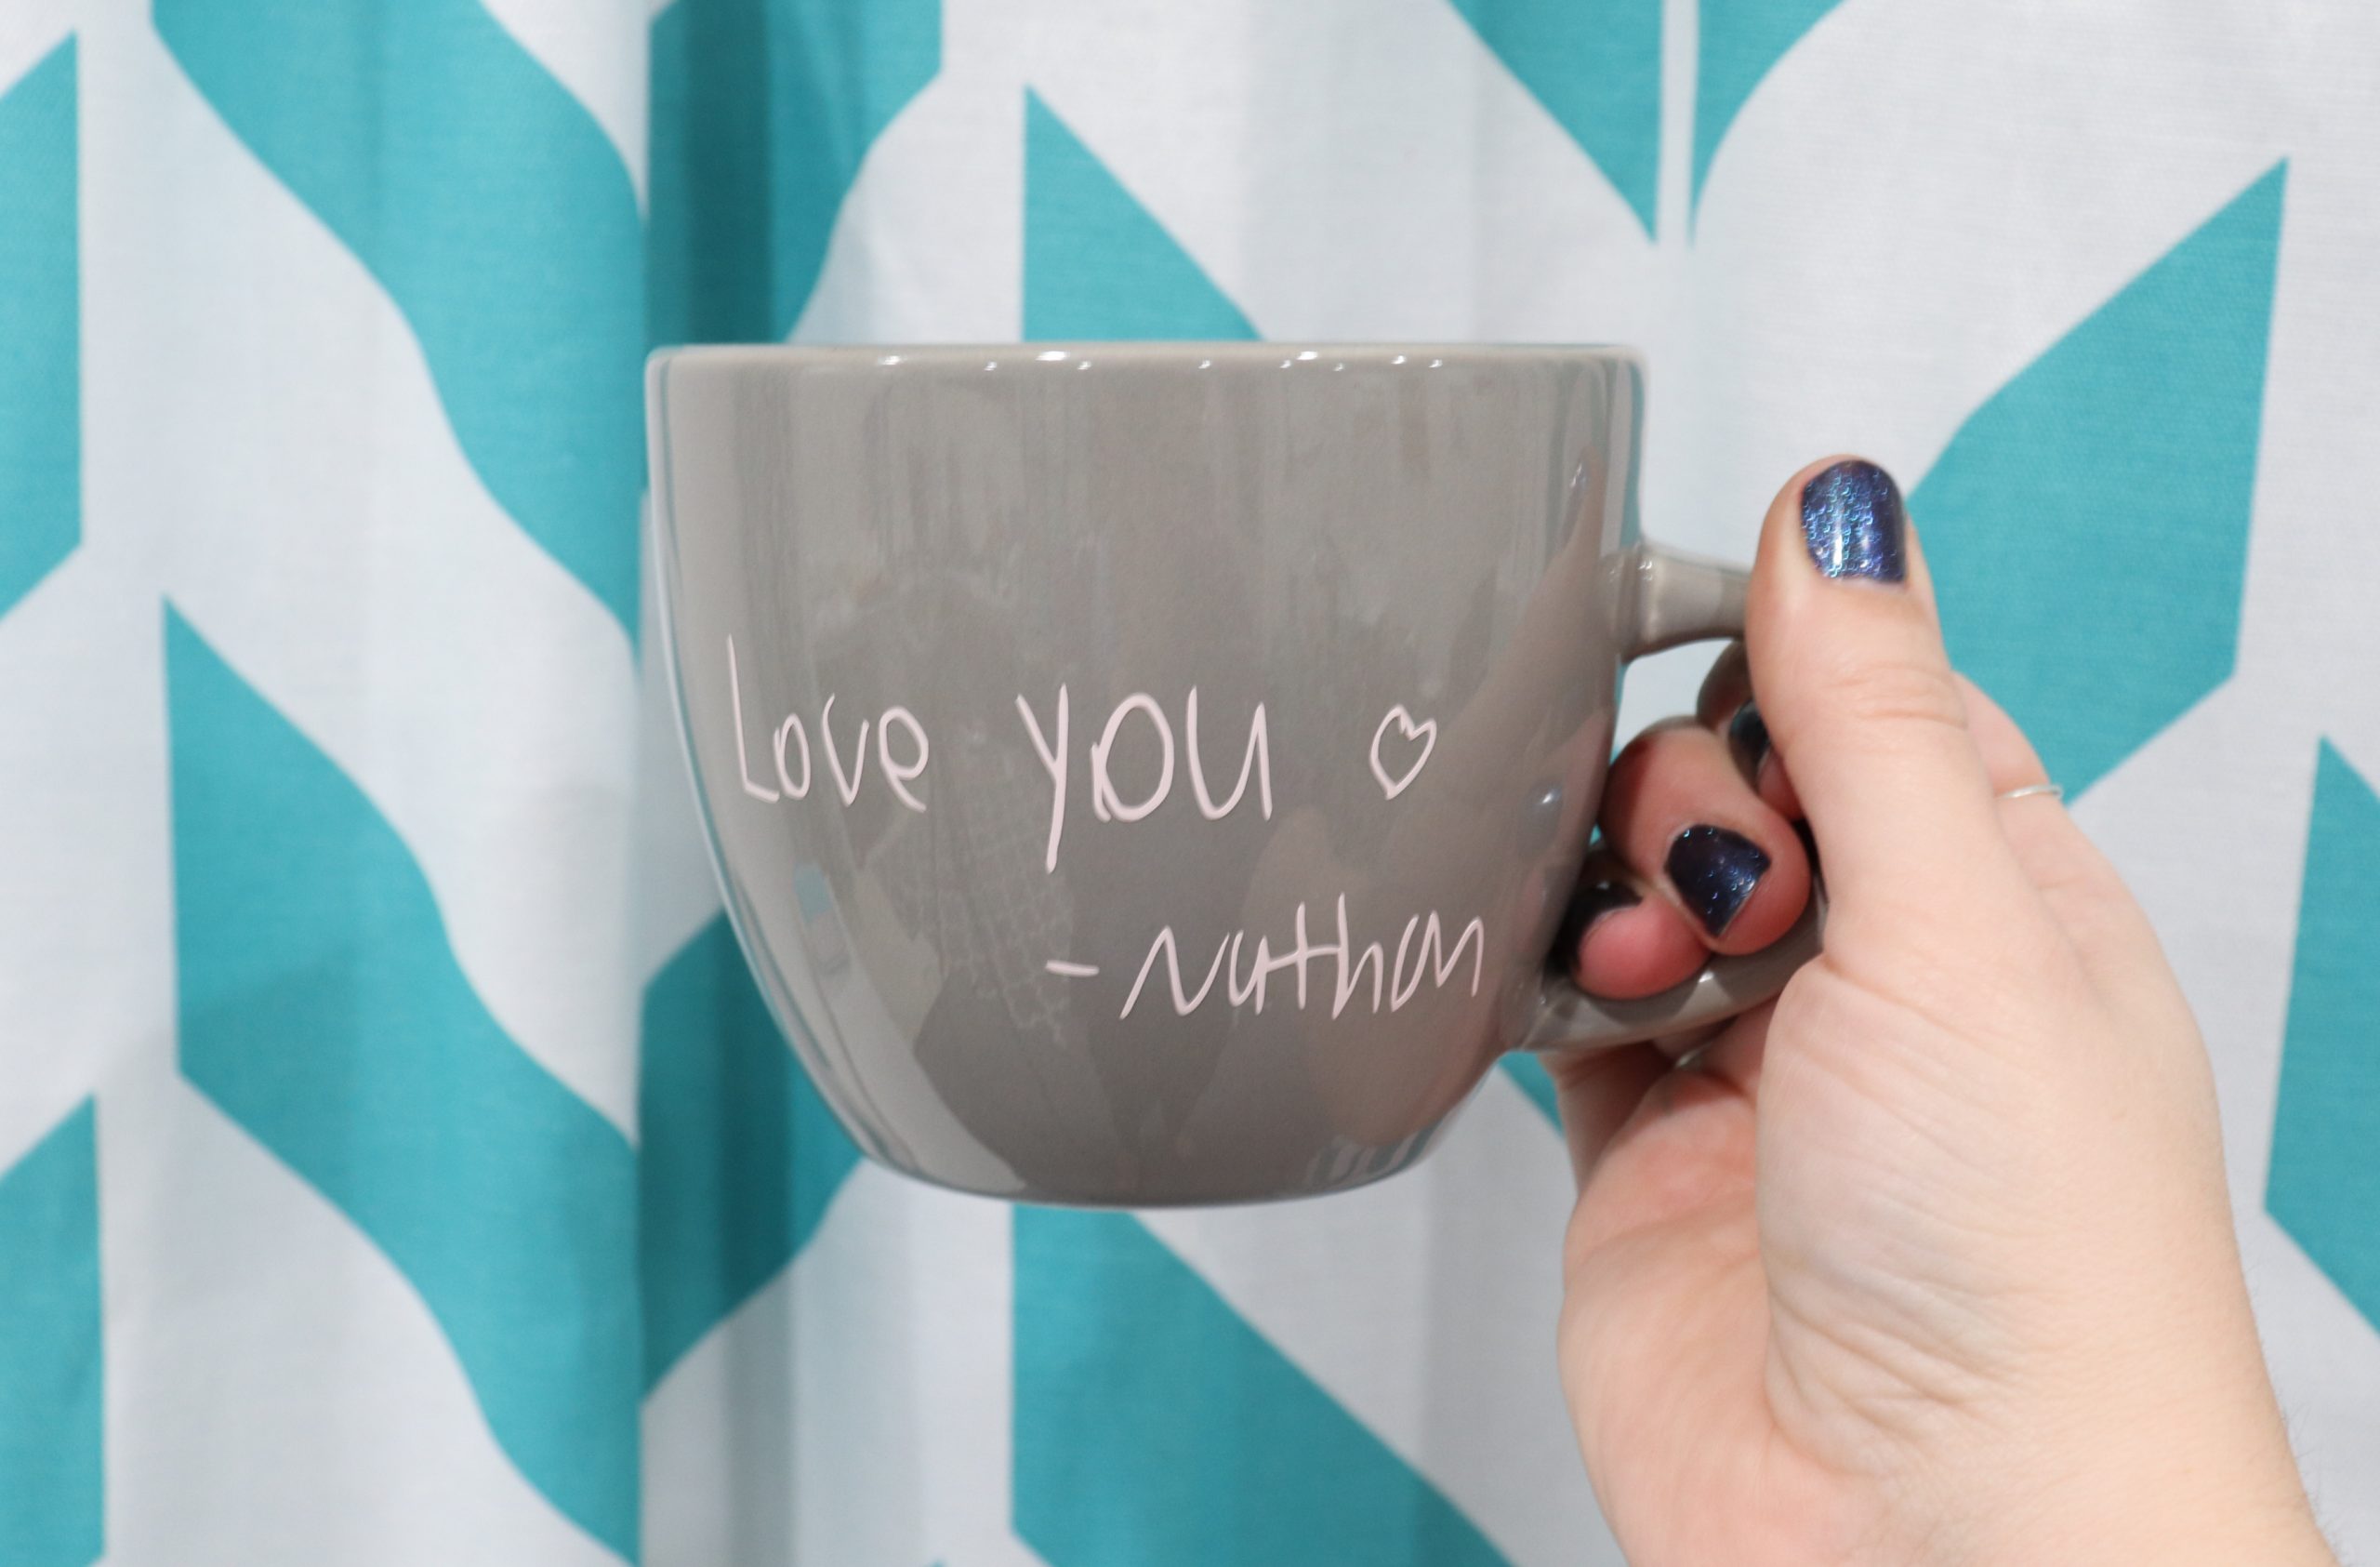
That’s all there is to it! Your vinyl should be adhered permanently. You can use this special mug to hold your favorite beverage or to hold pens, markers, or other keepsakes. This mug is dishwasher safe, but I would personally recommend hand washing since the handwriting is so thin, unlike a large, thick design. I absolutely love how it turned out, and it will be a much-needed reminder that despite the daily arguing and teenage angst, my son really does love his mama.
This process is so easy to do, and is a great way to preserve a special handwritten note or signature. Any written message you have can be converted using these same basic steps. You can apply the vinyl to other surfaces too, like a frame, a sign, a chalkboard, a piece of furniture, a piece of jewelry, or anything else you can think of! What special written message would you like to use to try this project? Be sure to share your masterpieces in the Amy Latta & Friends Facebook Group. See you there!
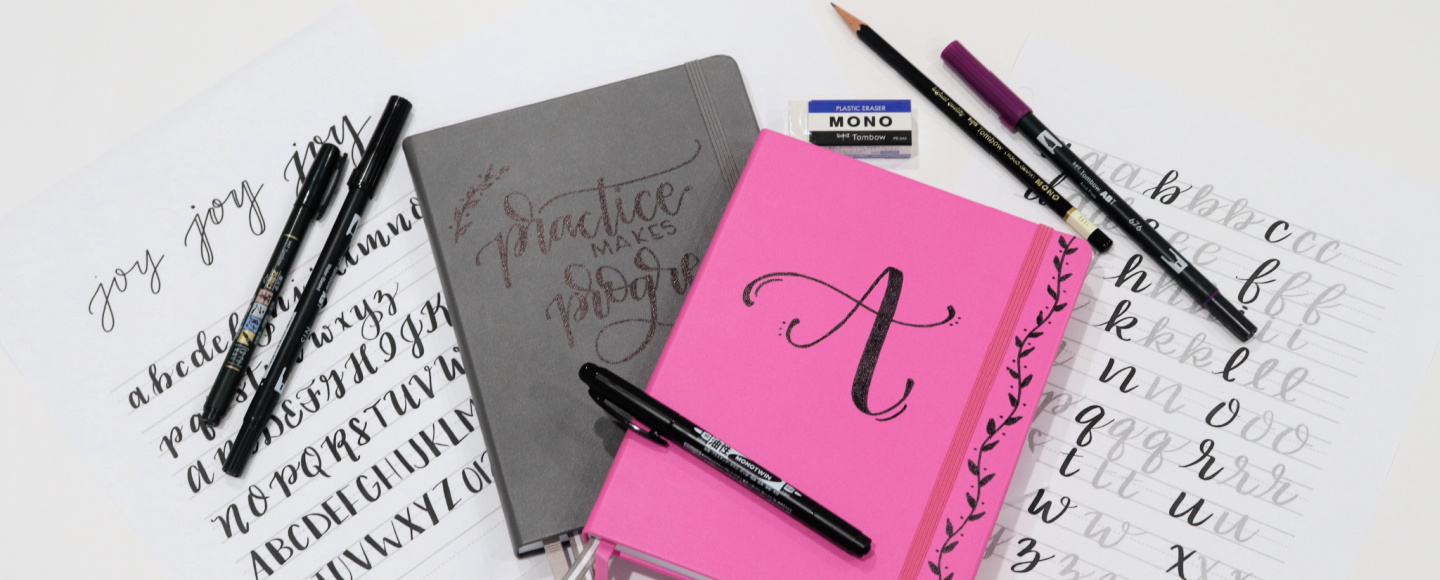
Speaking of National Handwriting Day, I’ll be teaching a free virtual class with Michaels Stores and Tombow on January 23 at 1 PM EST. You can find more information about that and sign up here.
And, don’t miss out on these hand lettering tutorials!


3 Comments