Handwritten Memory Pouch with Cricut Infusible Ink
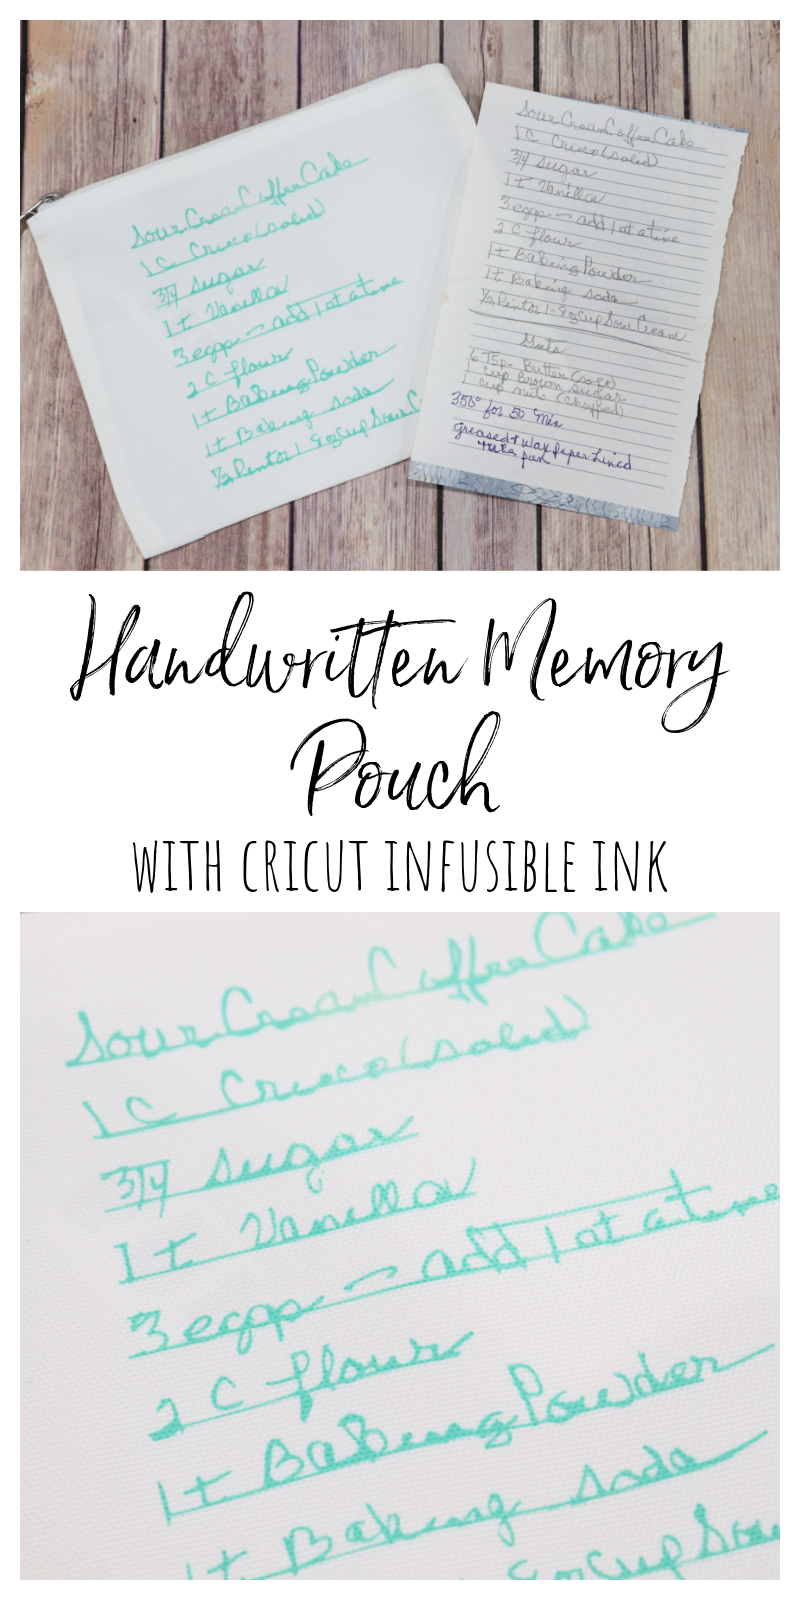
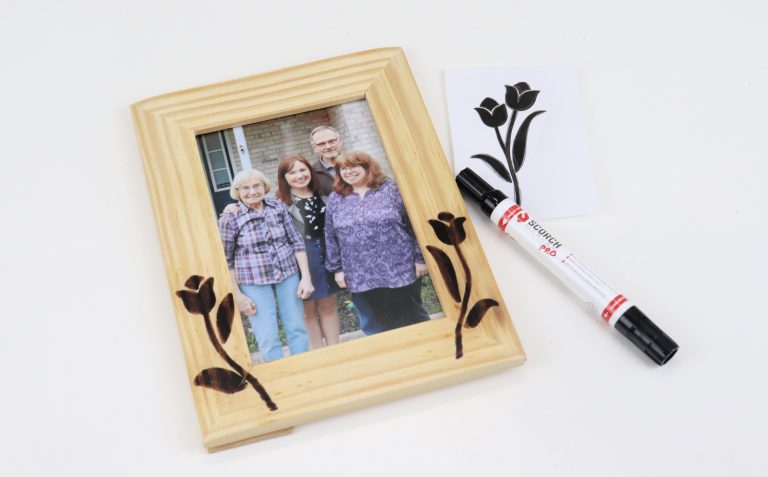
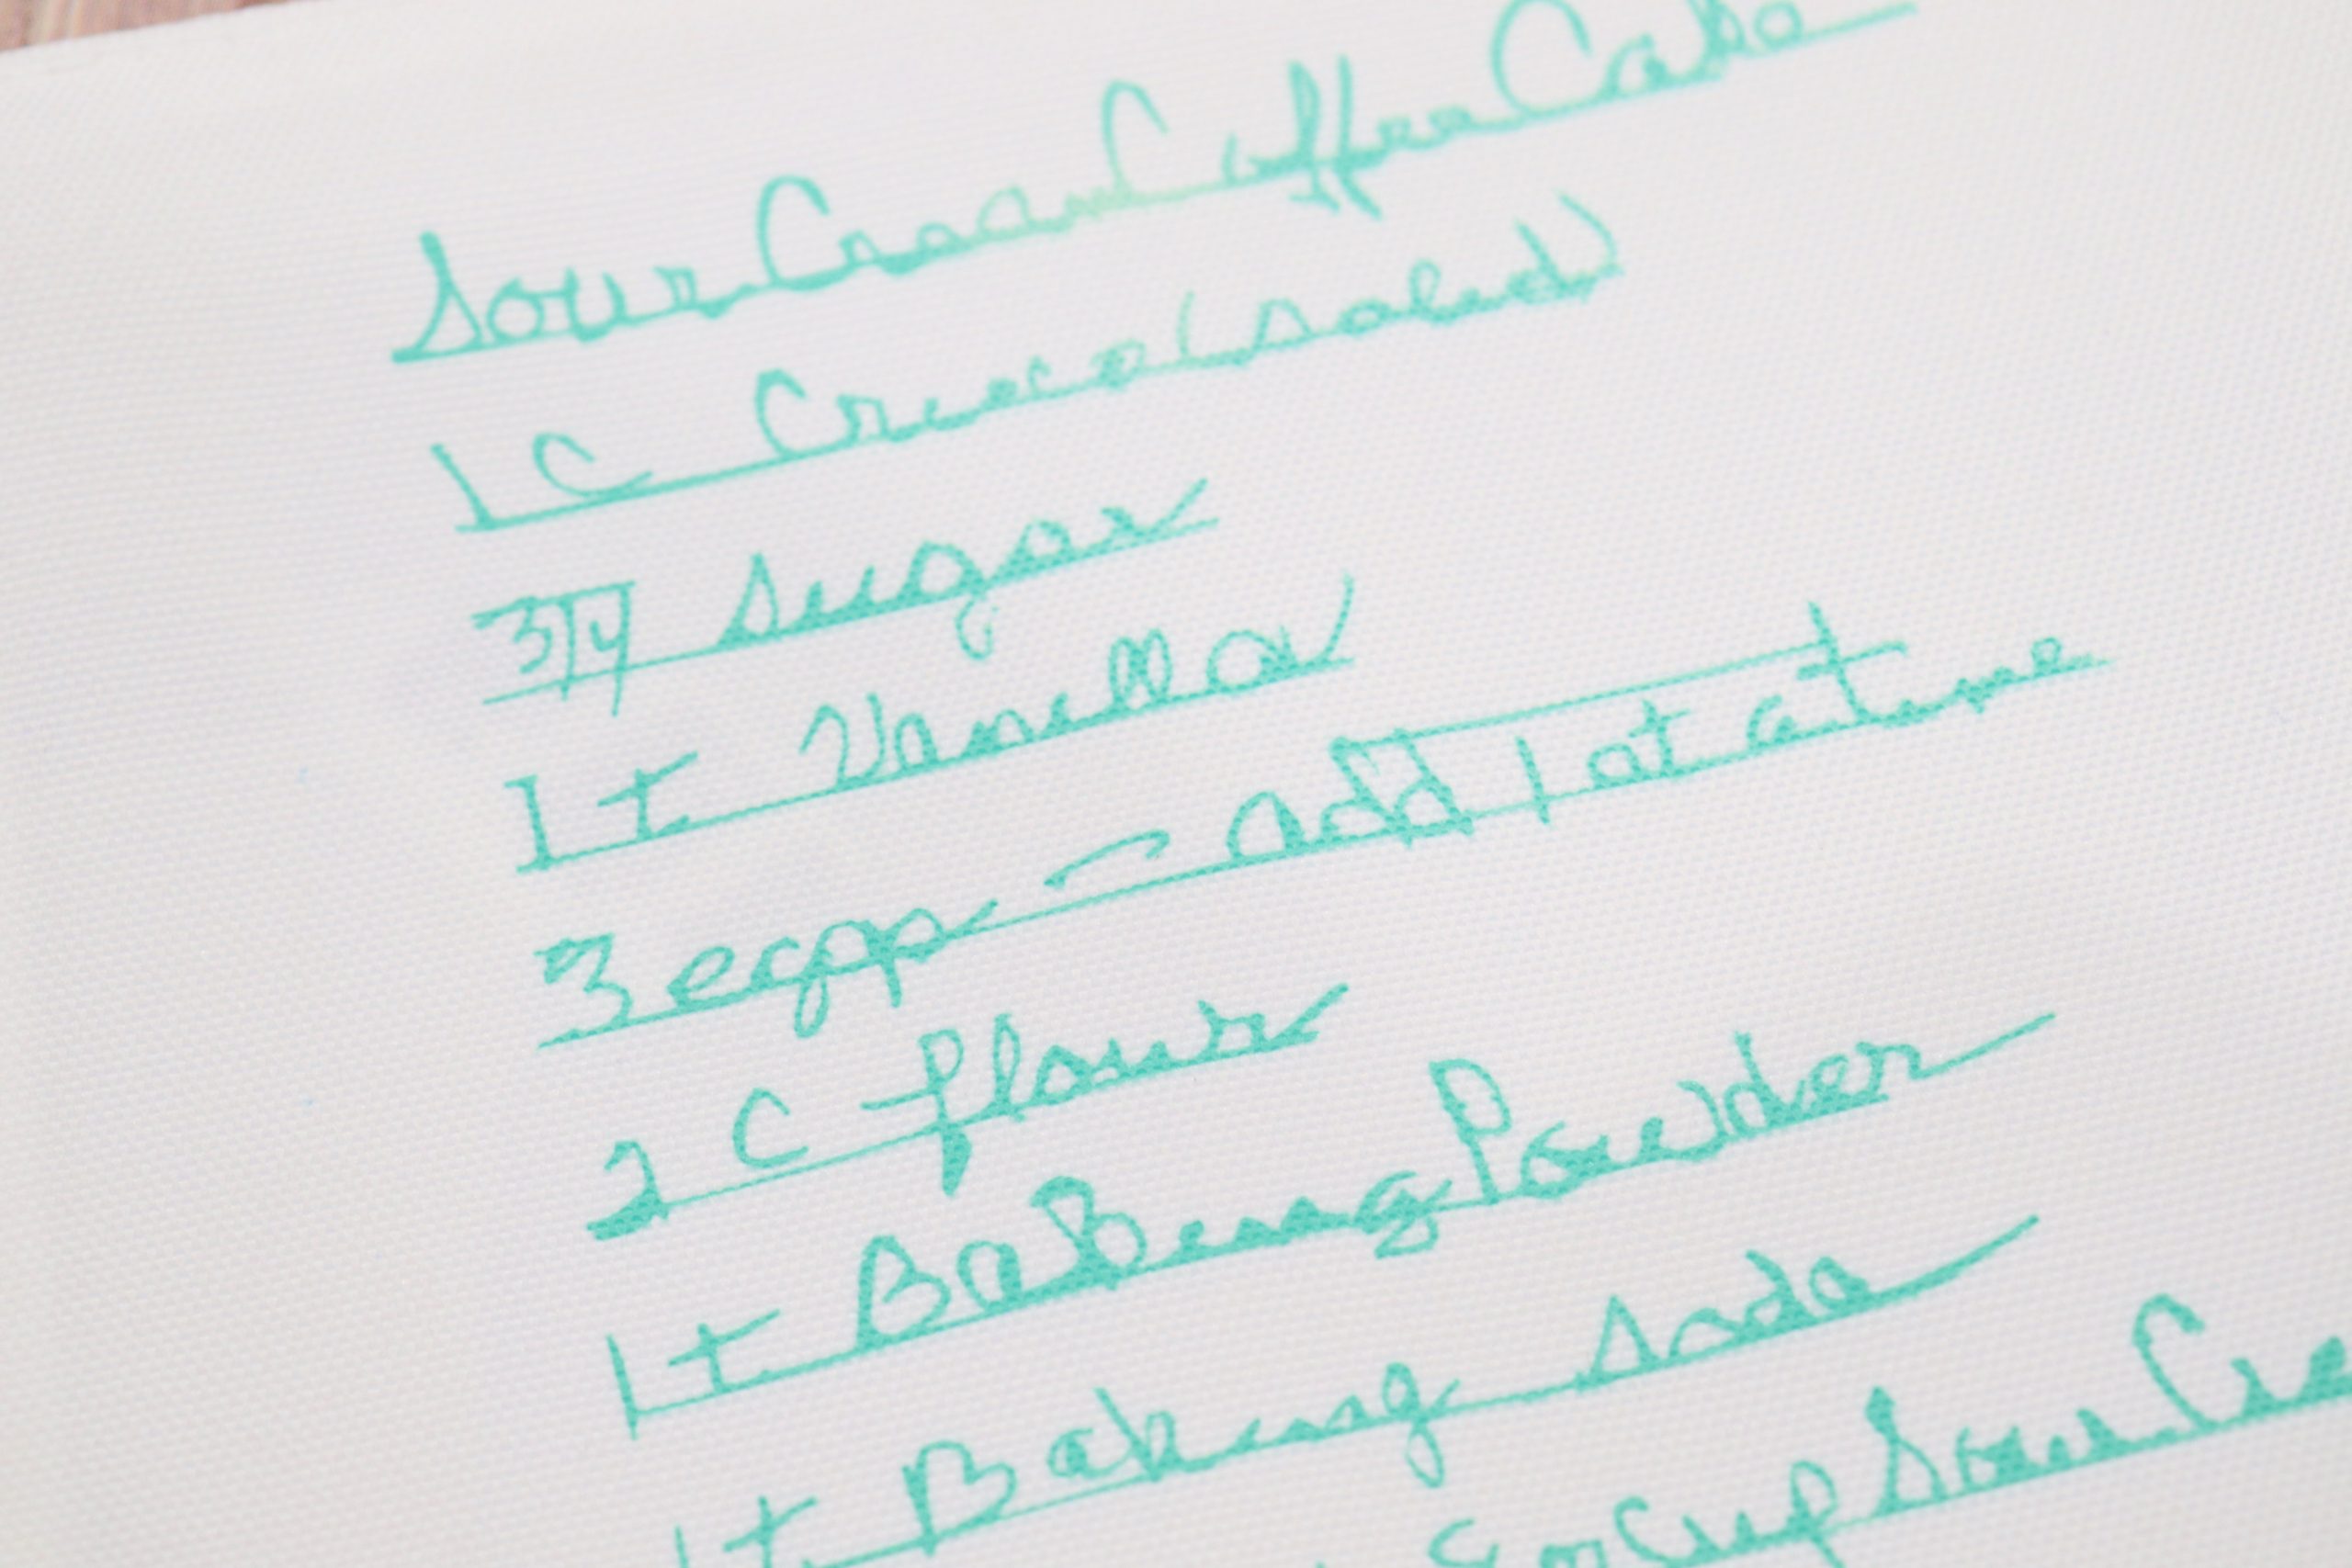
Our handwriting is one of the many unique, personal things about us. That’s why having something written by a person we love is such a treasure. When my grandmother passed away two years ago, I found myself wishing I had more things that reminded me of her, and treasuring the things I do have in her handwriting, like her “famous” Sour Cream Coffee Cake recipe. The only problem is that I’m always afraid it will get ruined, since it’s just a scrap of paper, so I wanted to find a way to preserve it. That’s where my Cricut came in. Here’s how I transferred my Mom-Mom’s handwritten recipe onto a pouch (you could also use an apron, a towel, or anything else you like as a surface). Take a look.
You’ll need:
handwritten sample: a card, note, recipe, etc.
scanner or CamScanner app
Cricut Explore Air 2 or other Cricut machine
Design Space app
Infusible Ink Transfer Sheet (comes with butcher paper)
Cricut EasyPress 2 & EasyPress Mat
Cricut Tool Kit: scissors and weeding tool
Cricut Infusible Ink Blank: Cosmetic Pouch
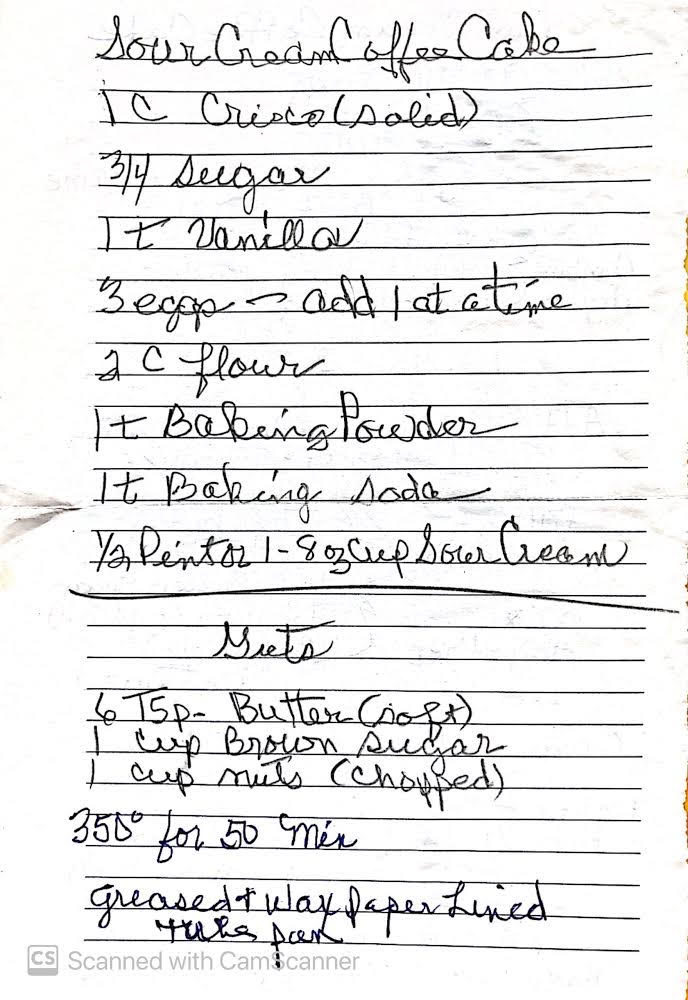
Step 1: Scan your image and upload to Cricut Design Space.
I used the CamScanner app on my phone to take a photo of the recipe page, then it created a scanned image.
Step 2: Clean up your image in Design Space.
Use the “remove” tool to get rid of the background and leave only the handwriting. Make sure to click inside letters like “o,” “a,” and “e.” Use the eraser tool for removing specific areas you don’t want to use. Then, the app will convert the image to a cut file.
I’ll be honest, this step was time consuming, but it was totally worth the effort. I actually did it on my phone while riding my exercise bike…multi-tasking! I think the lines on the paper, combined with the amount of writing I wanted to transfer, made it much more time consuming than it would be to transfer a shorter written image. Something like a signature in a greeting card would take hardly any time at all.
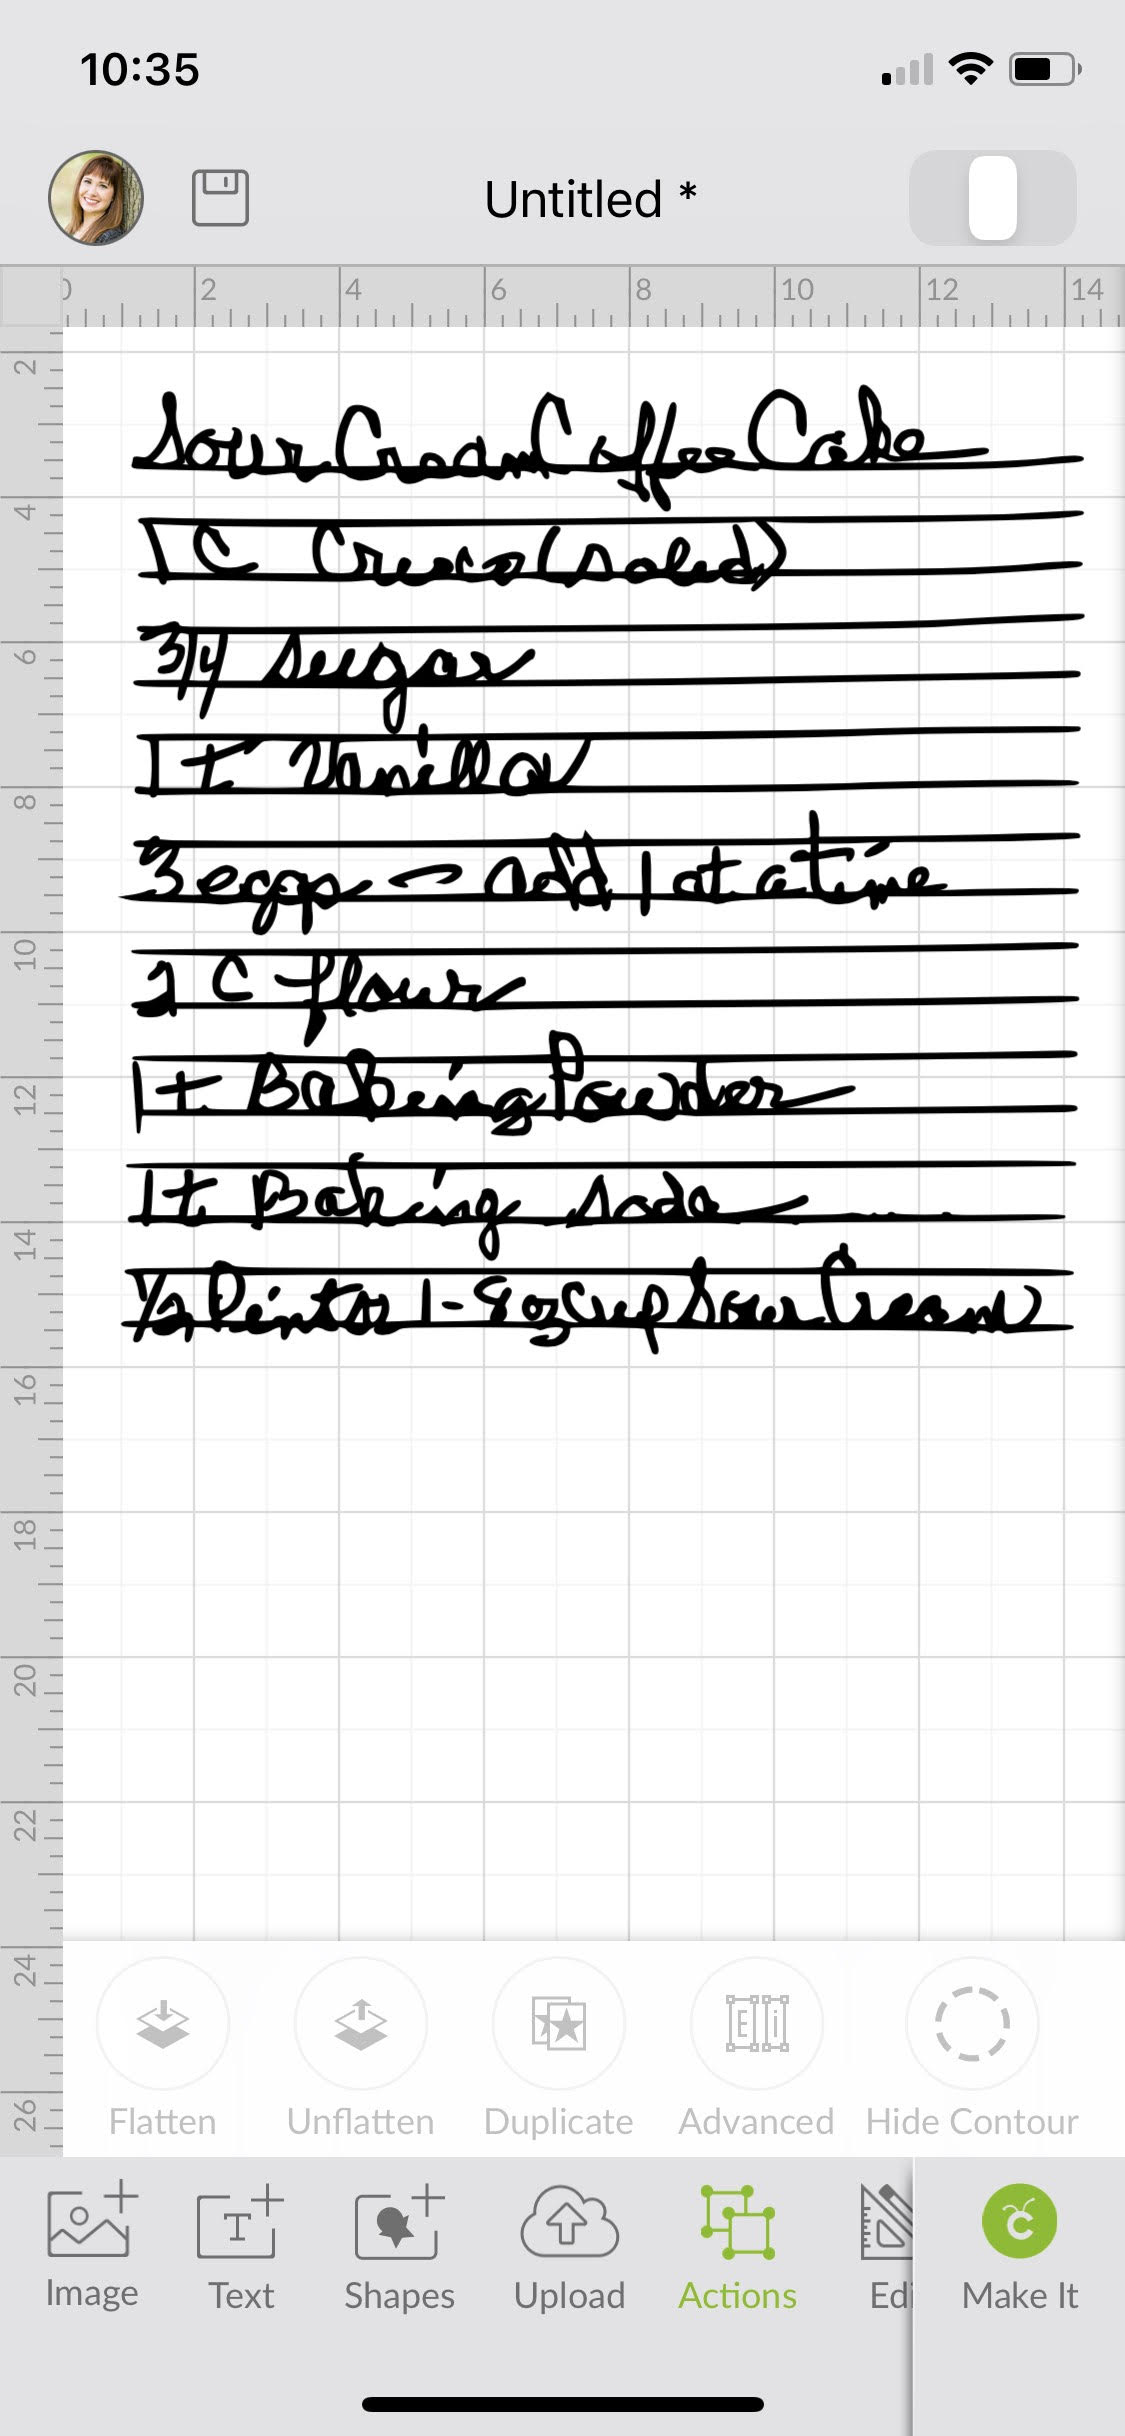
Step 3: Size your image and make sure to mirror it.
The area on my pouch allowed me to make the design up to 6″ tall. I sized it to fit, then mirrored the image because I’m working with infusible ink.
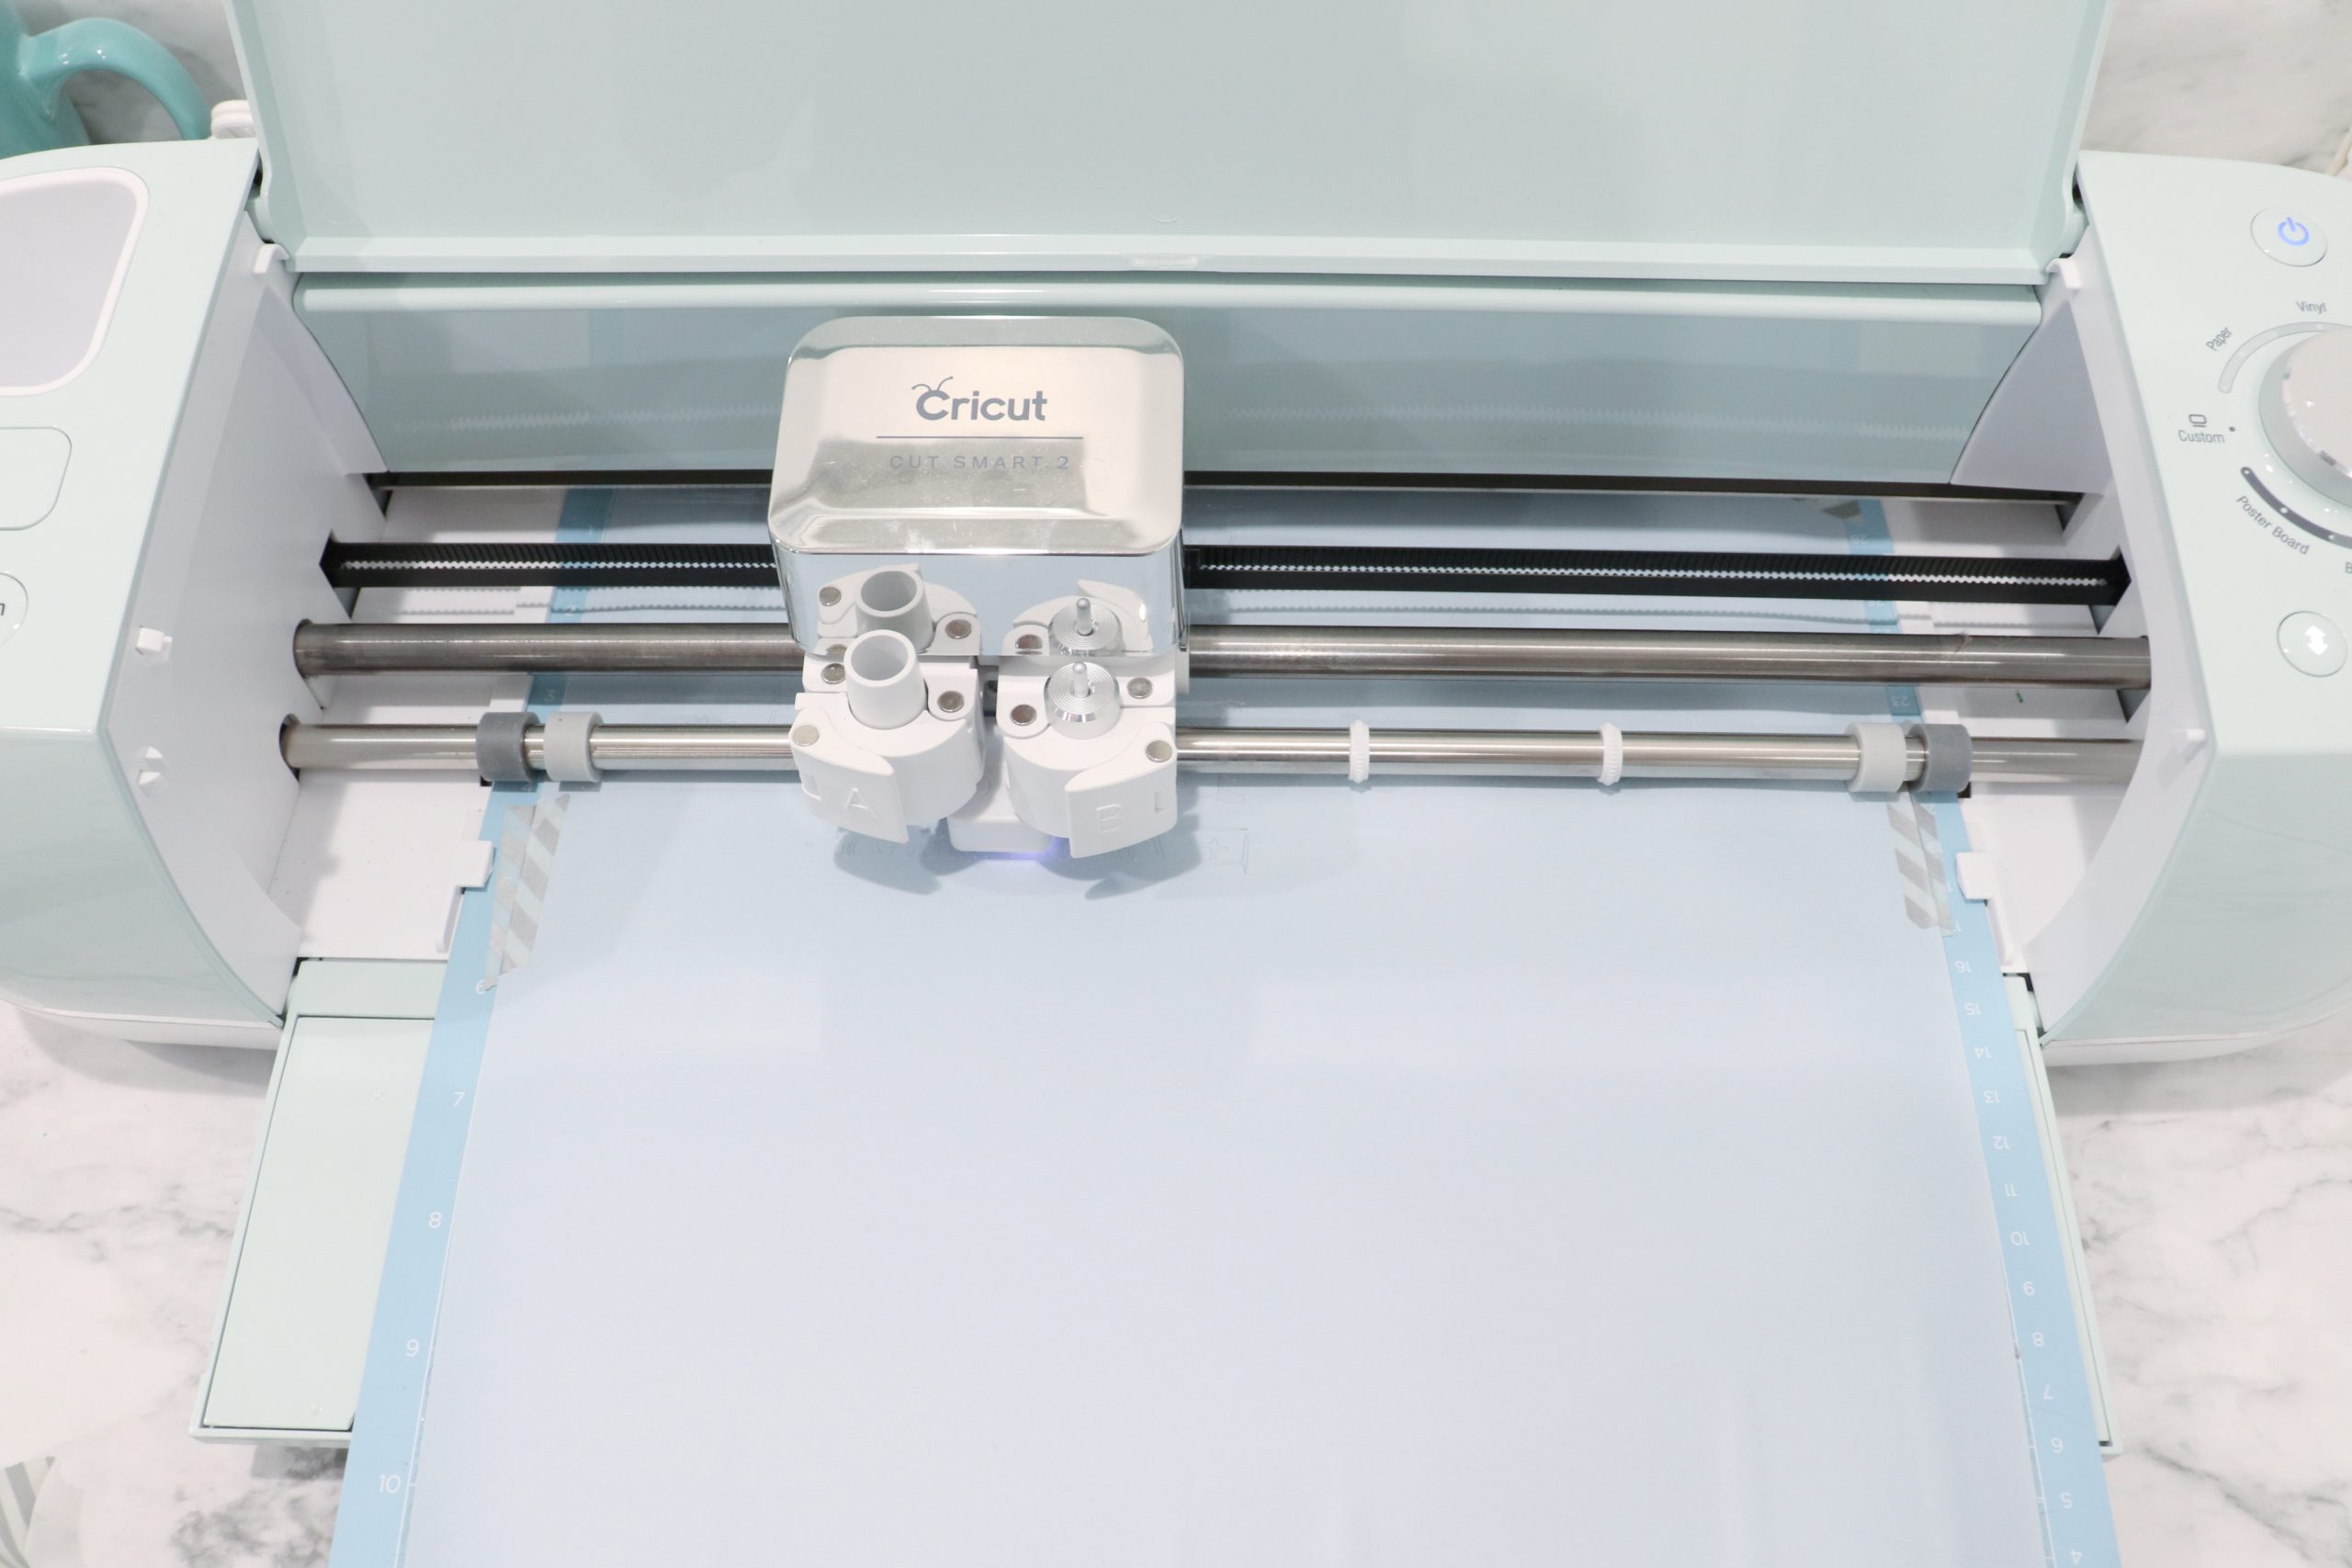
Step 4: Load your machine with an Infusible Ink transfer sheet (colored side up).
You’ll notice that the sheet doesn’t have the same vibrant color you see on the packaging at first, but don’t worry, when heat is applied, it will take on a much richer color.
Step 5: Send the design to your machine and let it cut.
Make sure the dial on the machine is set to “custom” and that you choose “Infusible Ink Transfer Sheet” in the software. From here, the Cricut will work its cutting magic.
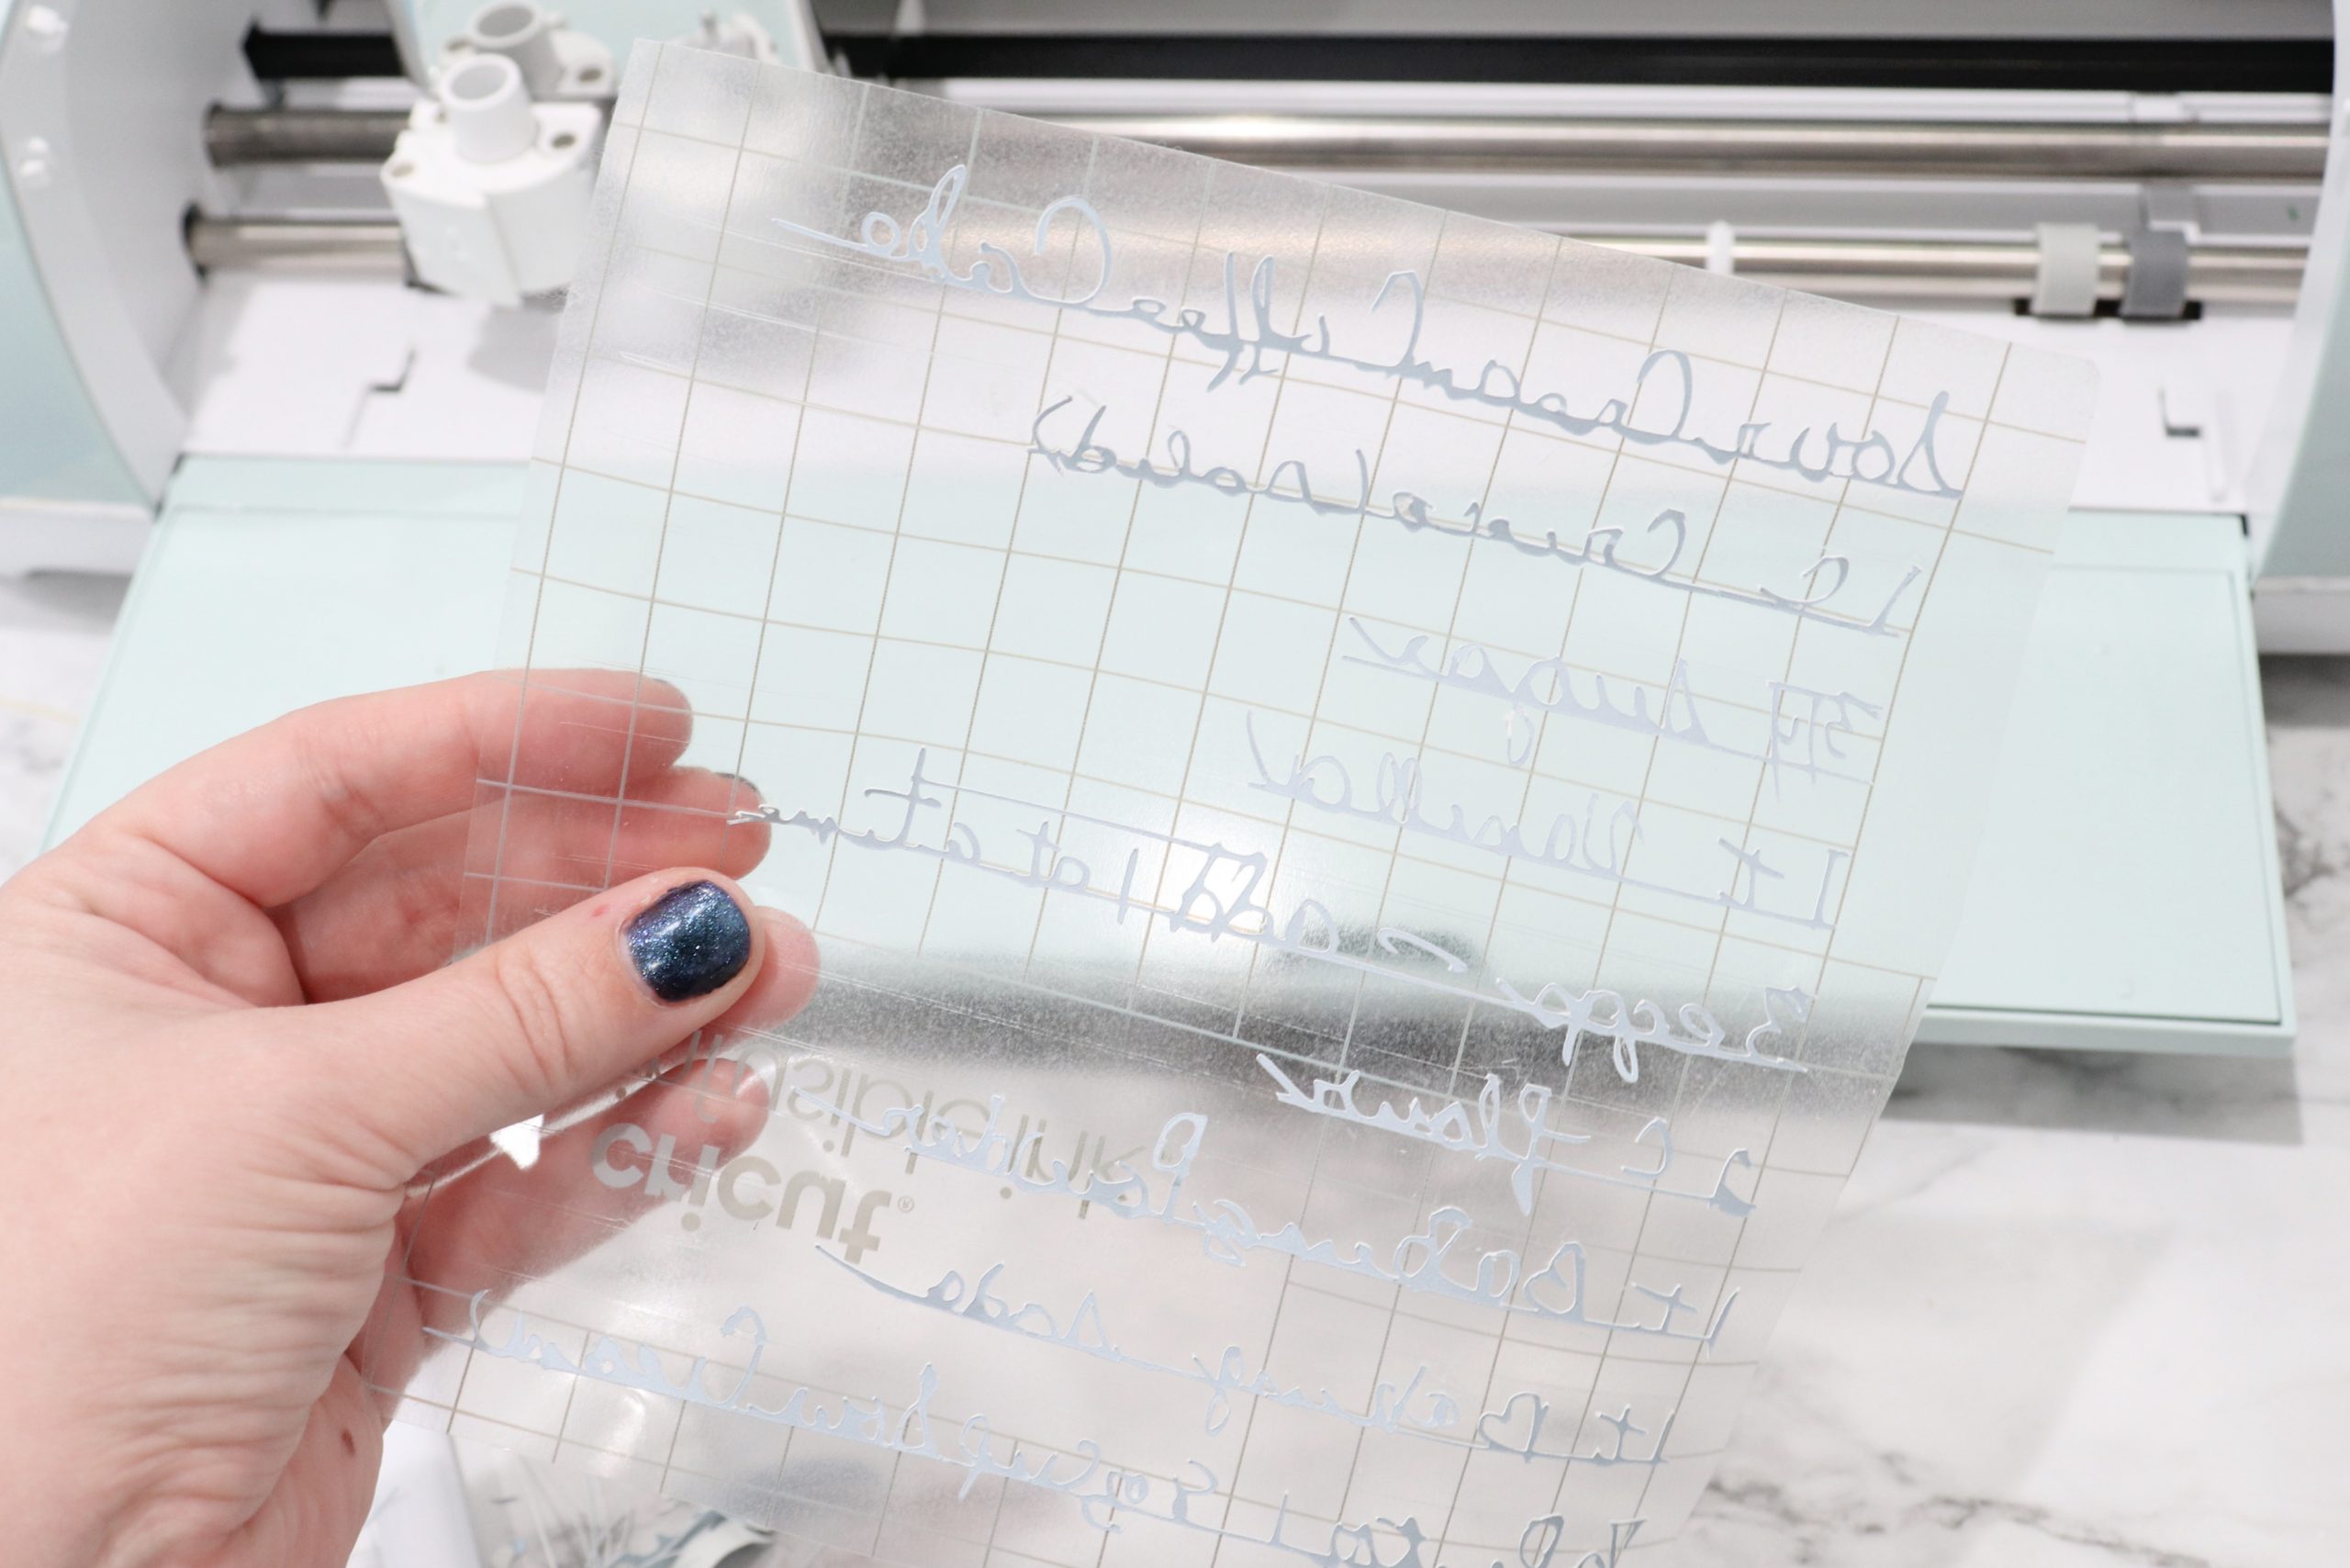
Step 6: Weed your design.
This means peeling away all of the transfer sheet that isn’t part of the design. Once again, it means getting the centers out of those tiny letters, too! Most of the time, I was able to get the pieces out with my fingers, but for the smallest areas, I used the hook tool to help. During this step, I also used scissors to get rid of most of the extra lines from the paper.
Honestly, this step was time consuming as well, and at one point, I considered just giving up. But, I had already invested a lot of time in the project, and I wanted to see how it turned out. I am SO glad I saw it through, because the result is an actual treasure.
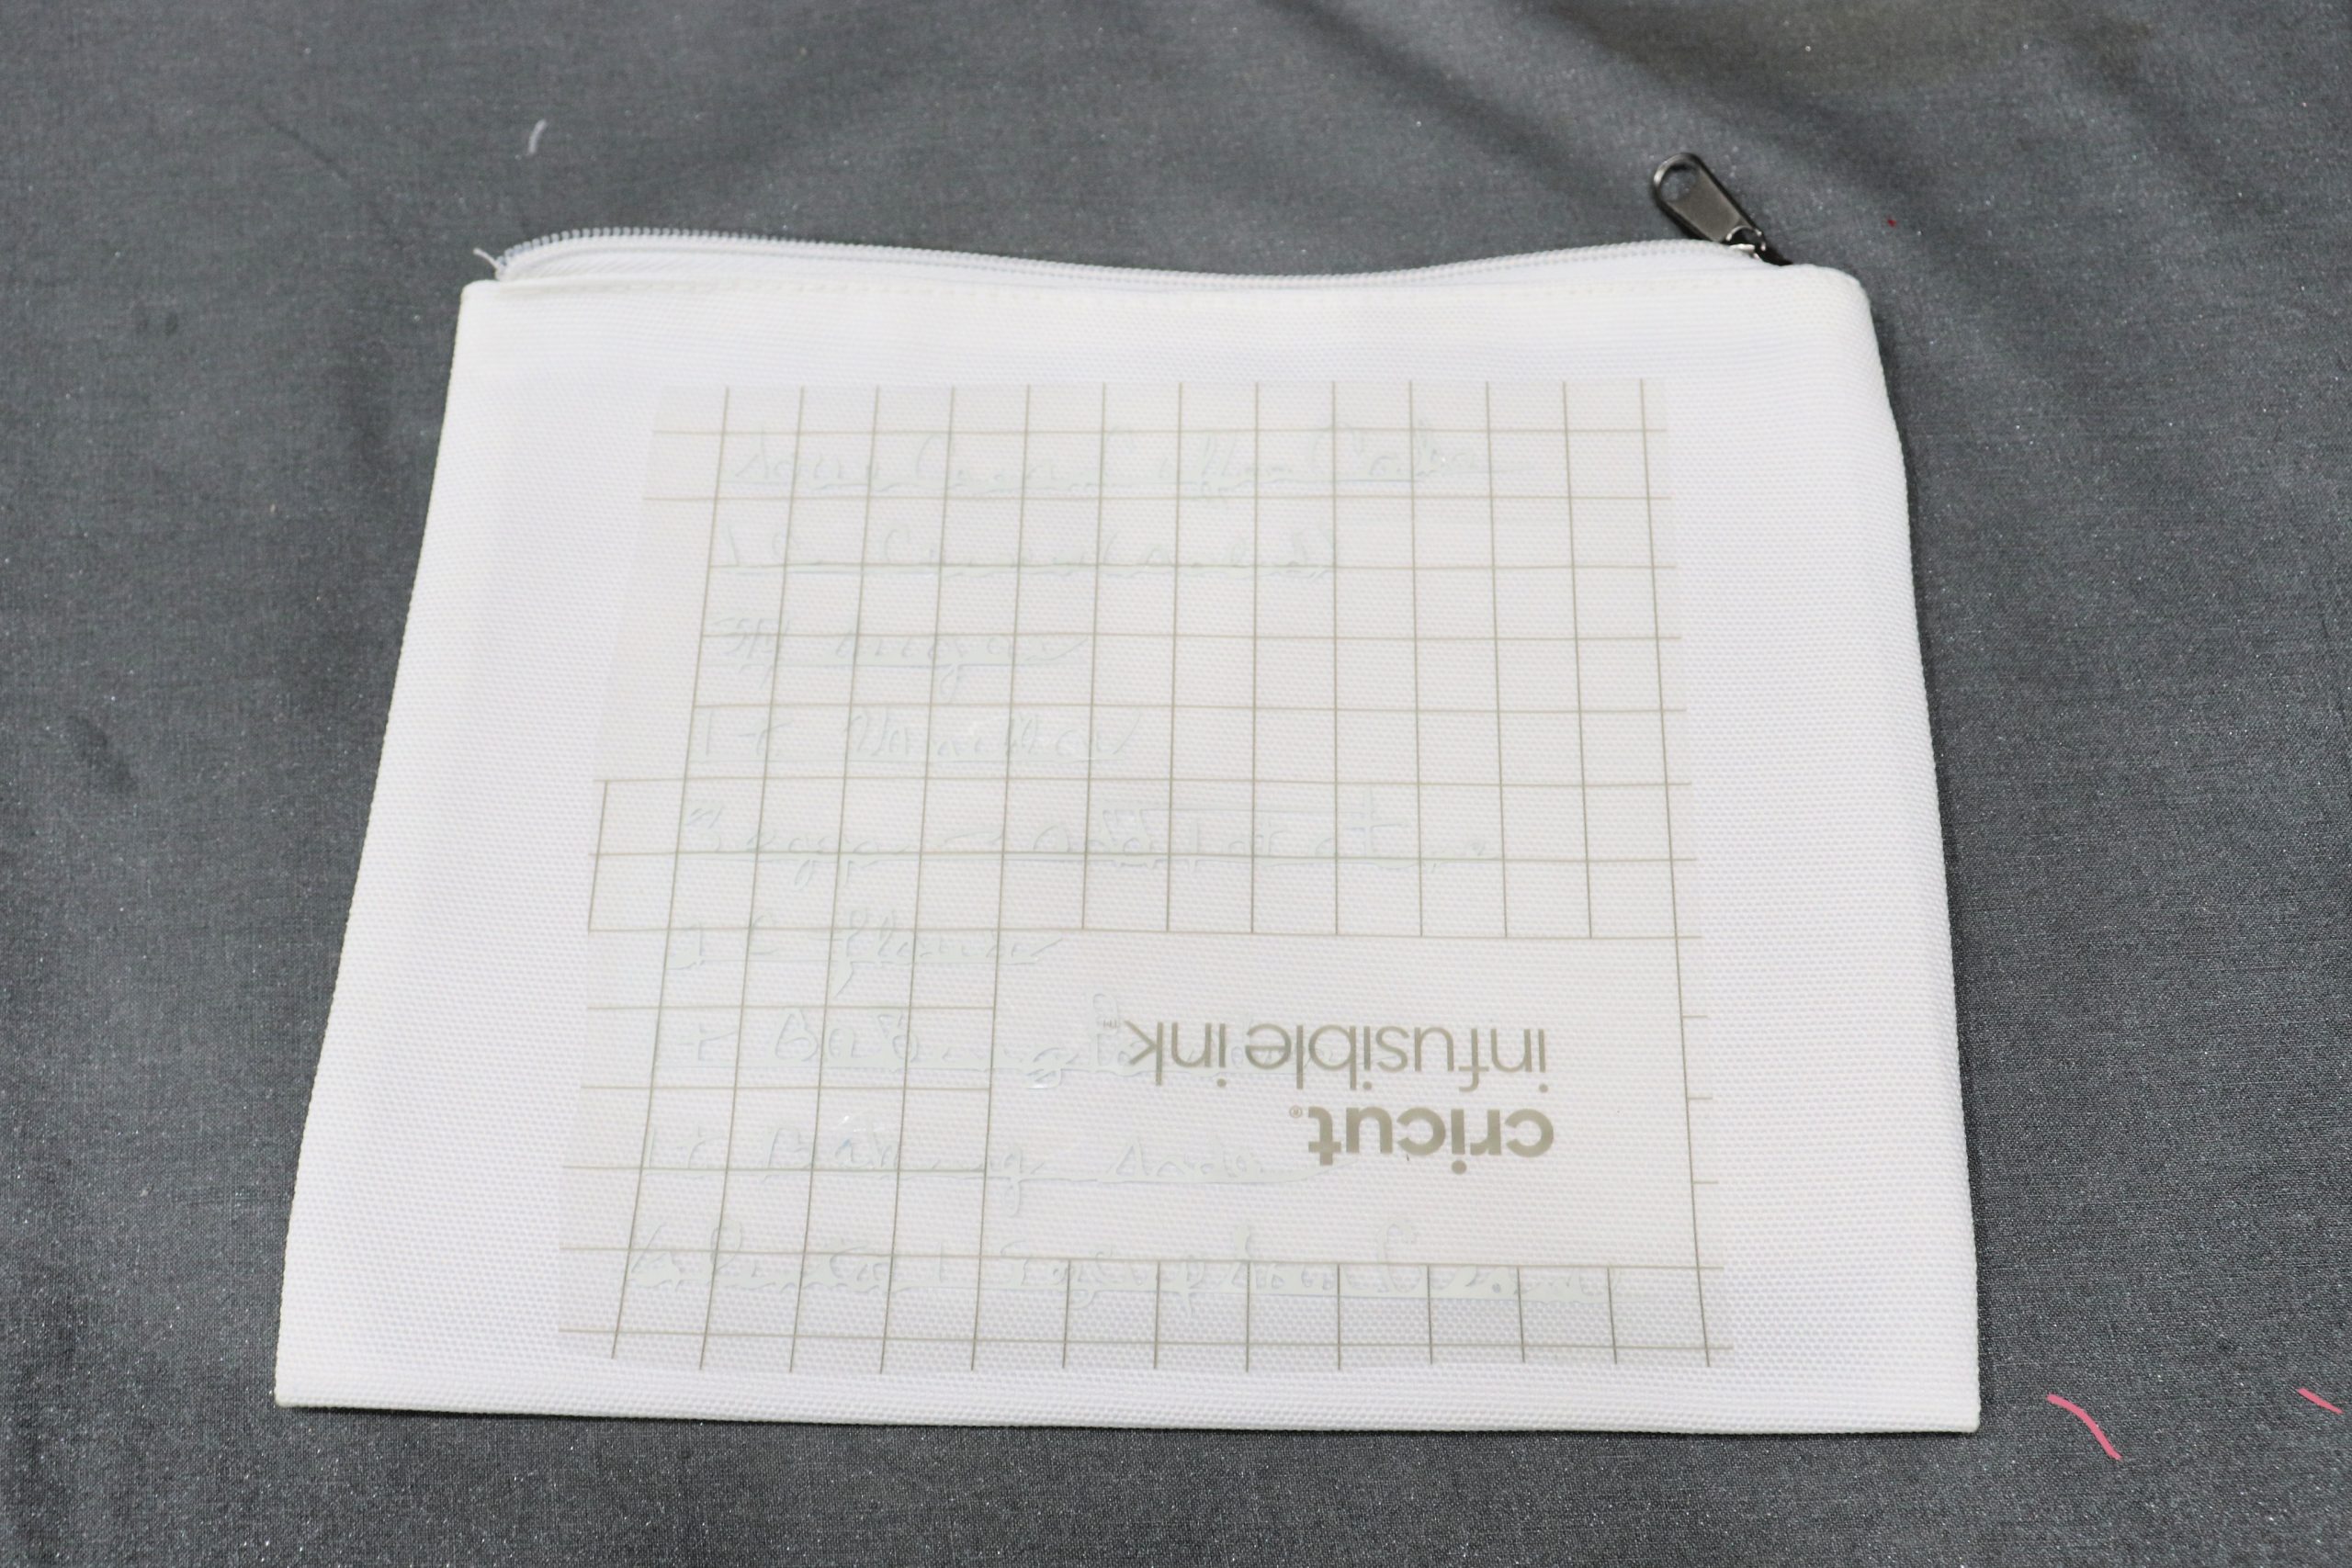
Step 7: Prepare your pouch.
Preheat your EasyPress to 385 degrees. Insert a piece of cardstock or folded paper inside the pouch to keep the ink from going through to the back. Place the pouch on top of an EasyPress mat or folded towel and use a lint roller or a piece of tape to remove anything from the surface. Preheat the pouch for 10 seconds. Then, position your design on top.
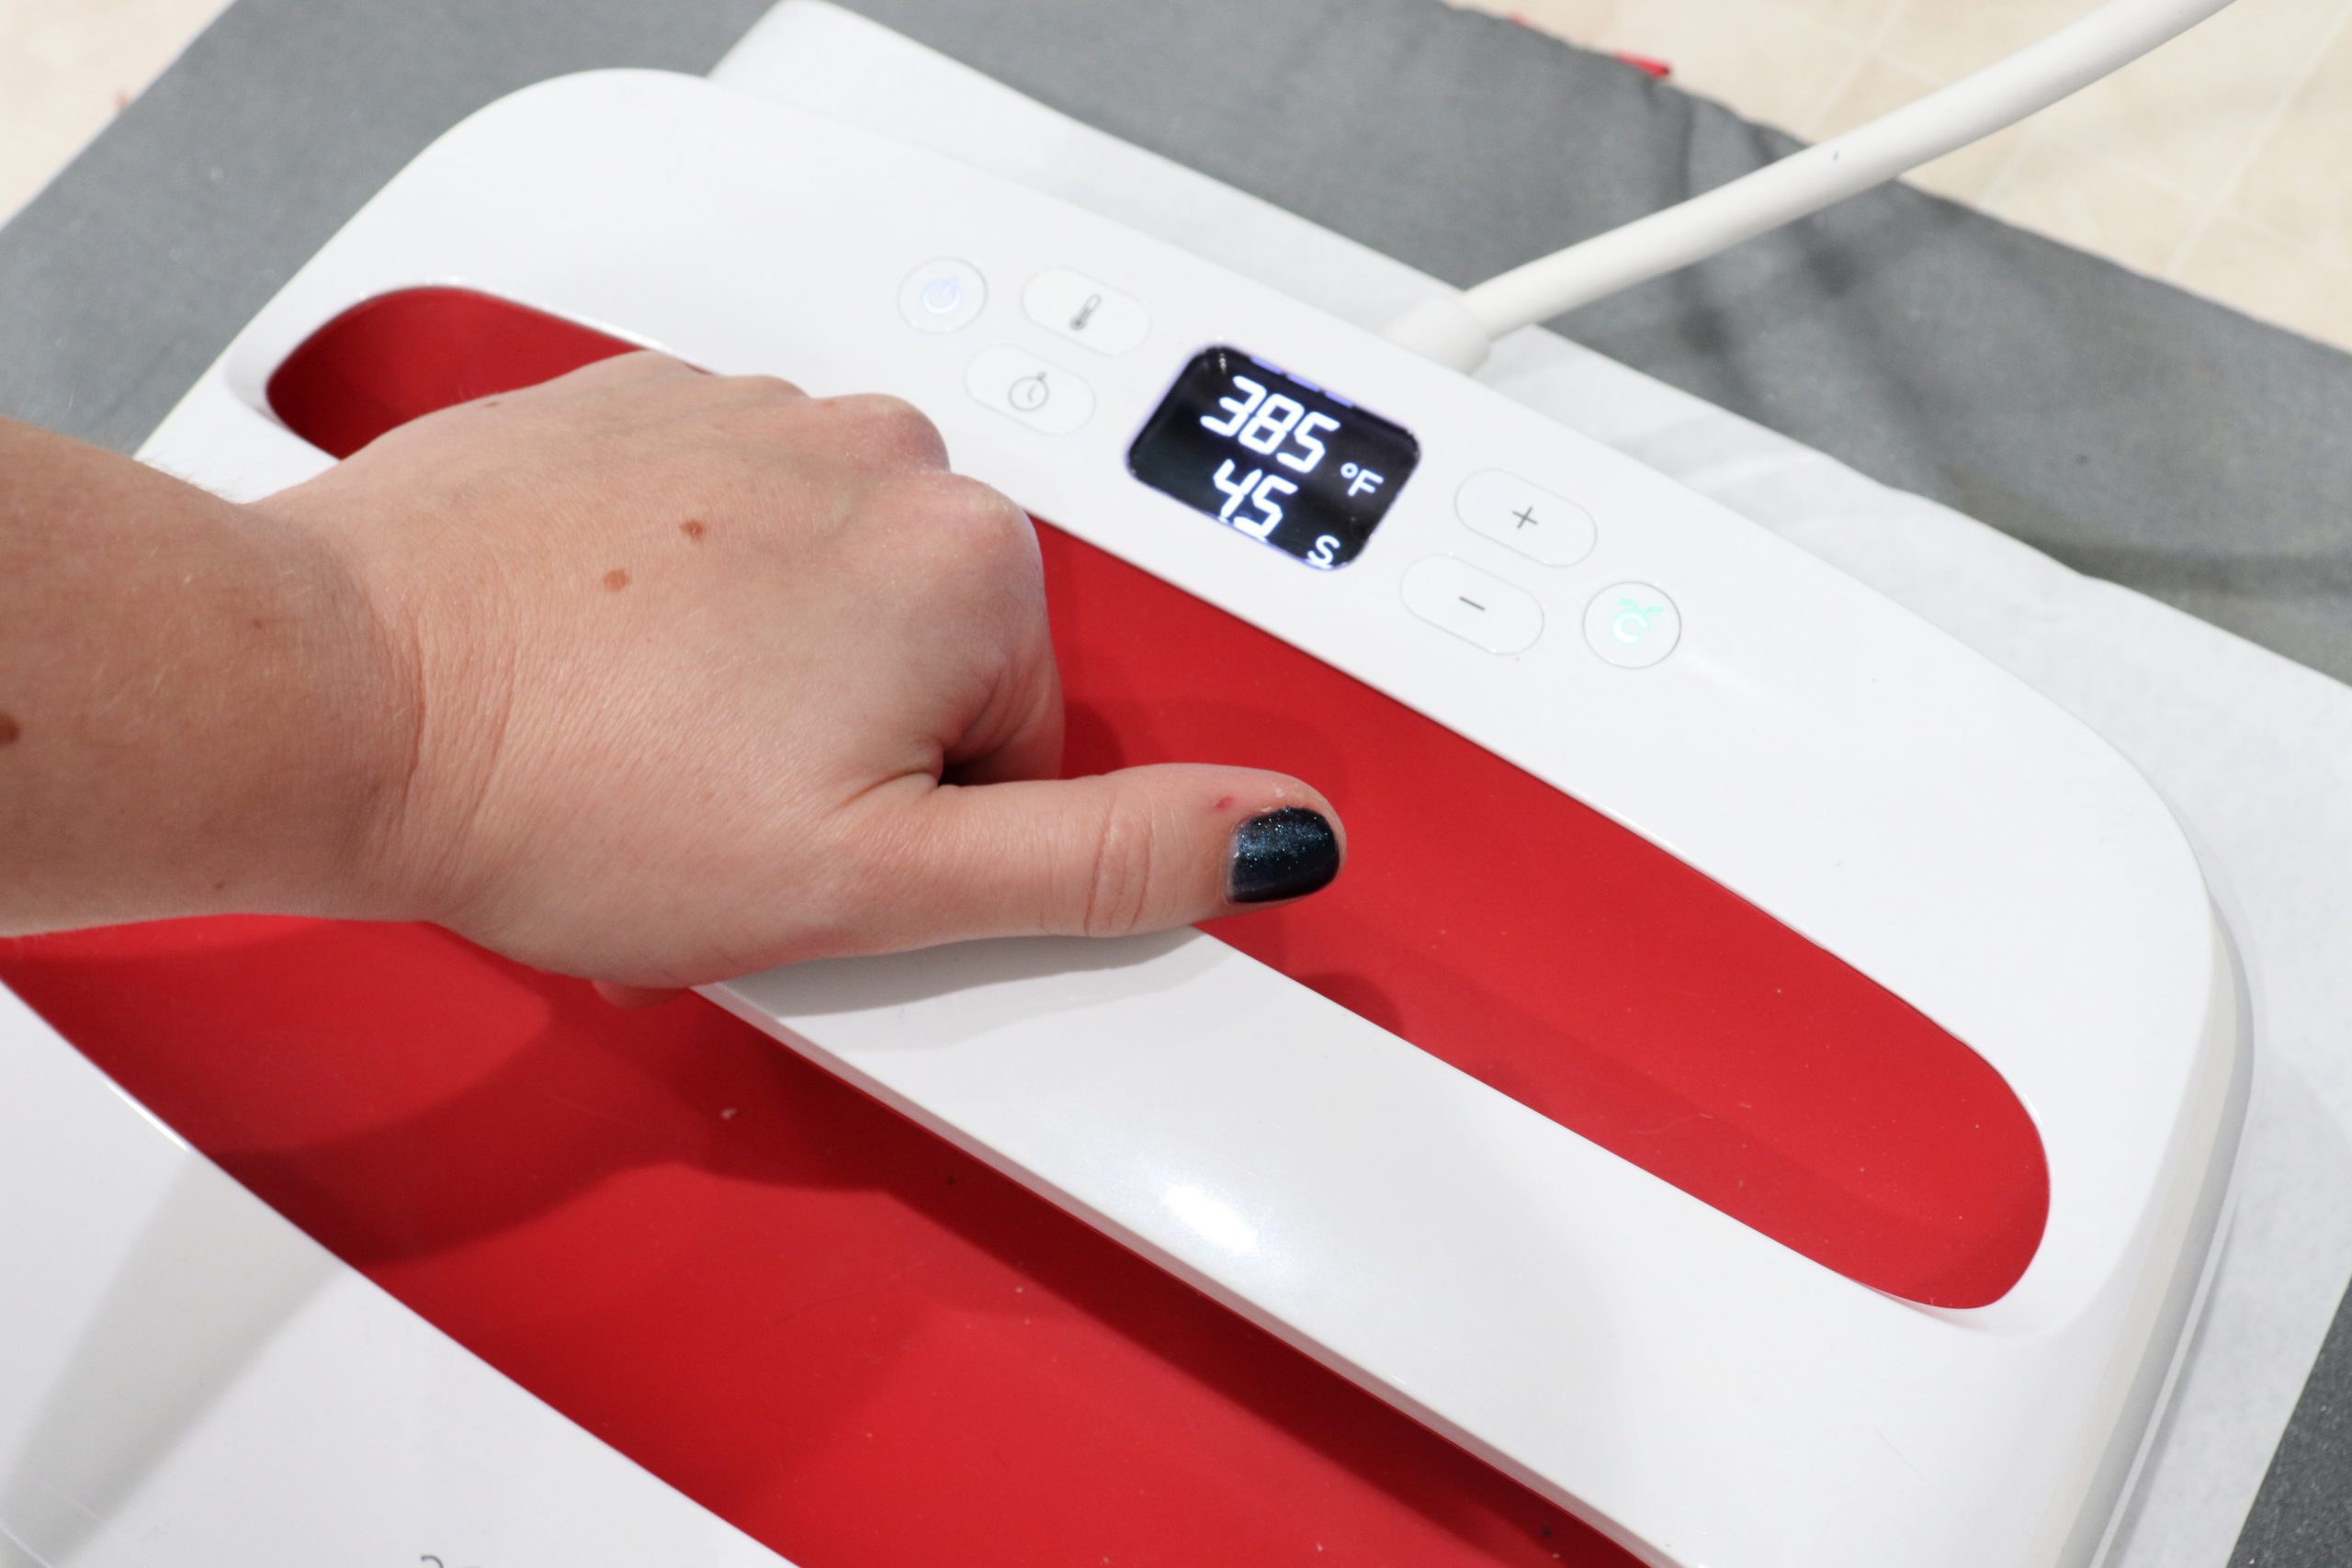
Step 8: Apply heat.
My particular surface combined with the Infusible Ink needs to heat for 60 seconds. If you are using other materials, like Iron-On vinyl or a different surface, check out the Cricut Heat Guide to find the right temperature and time for your project.
Step 9: Peel the adhesive away.
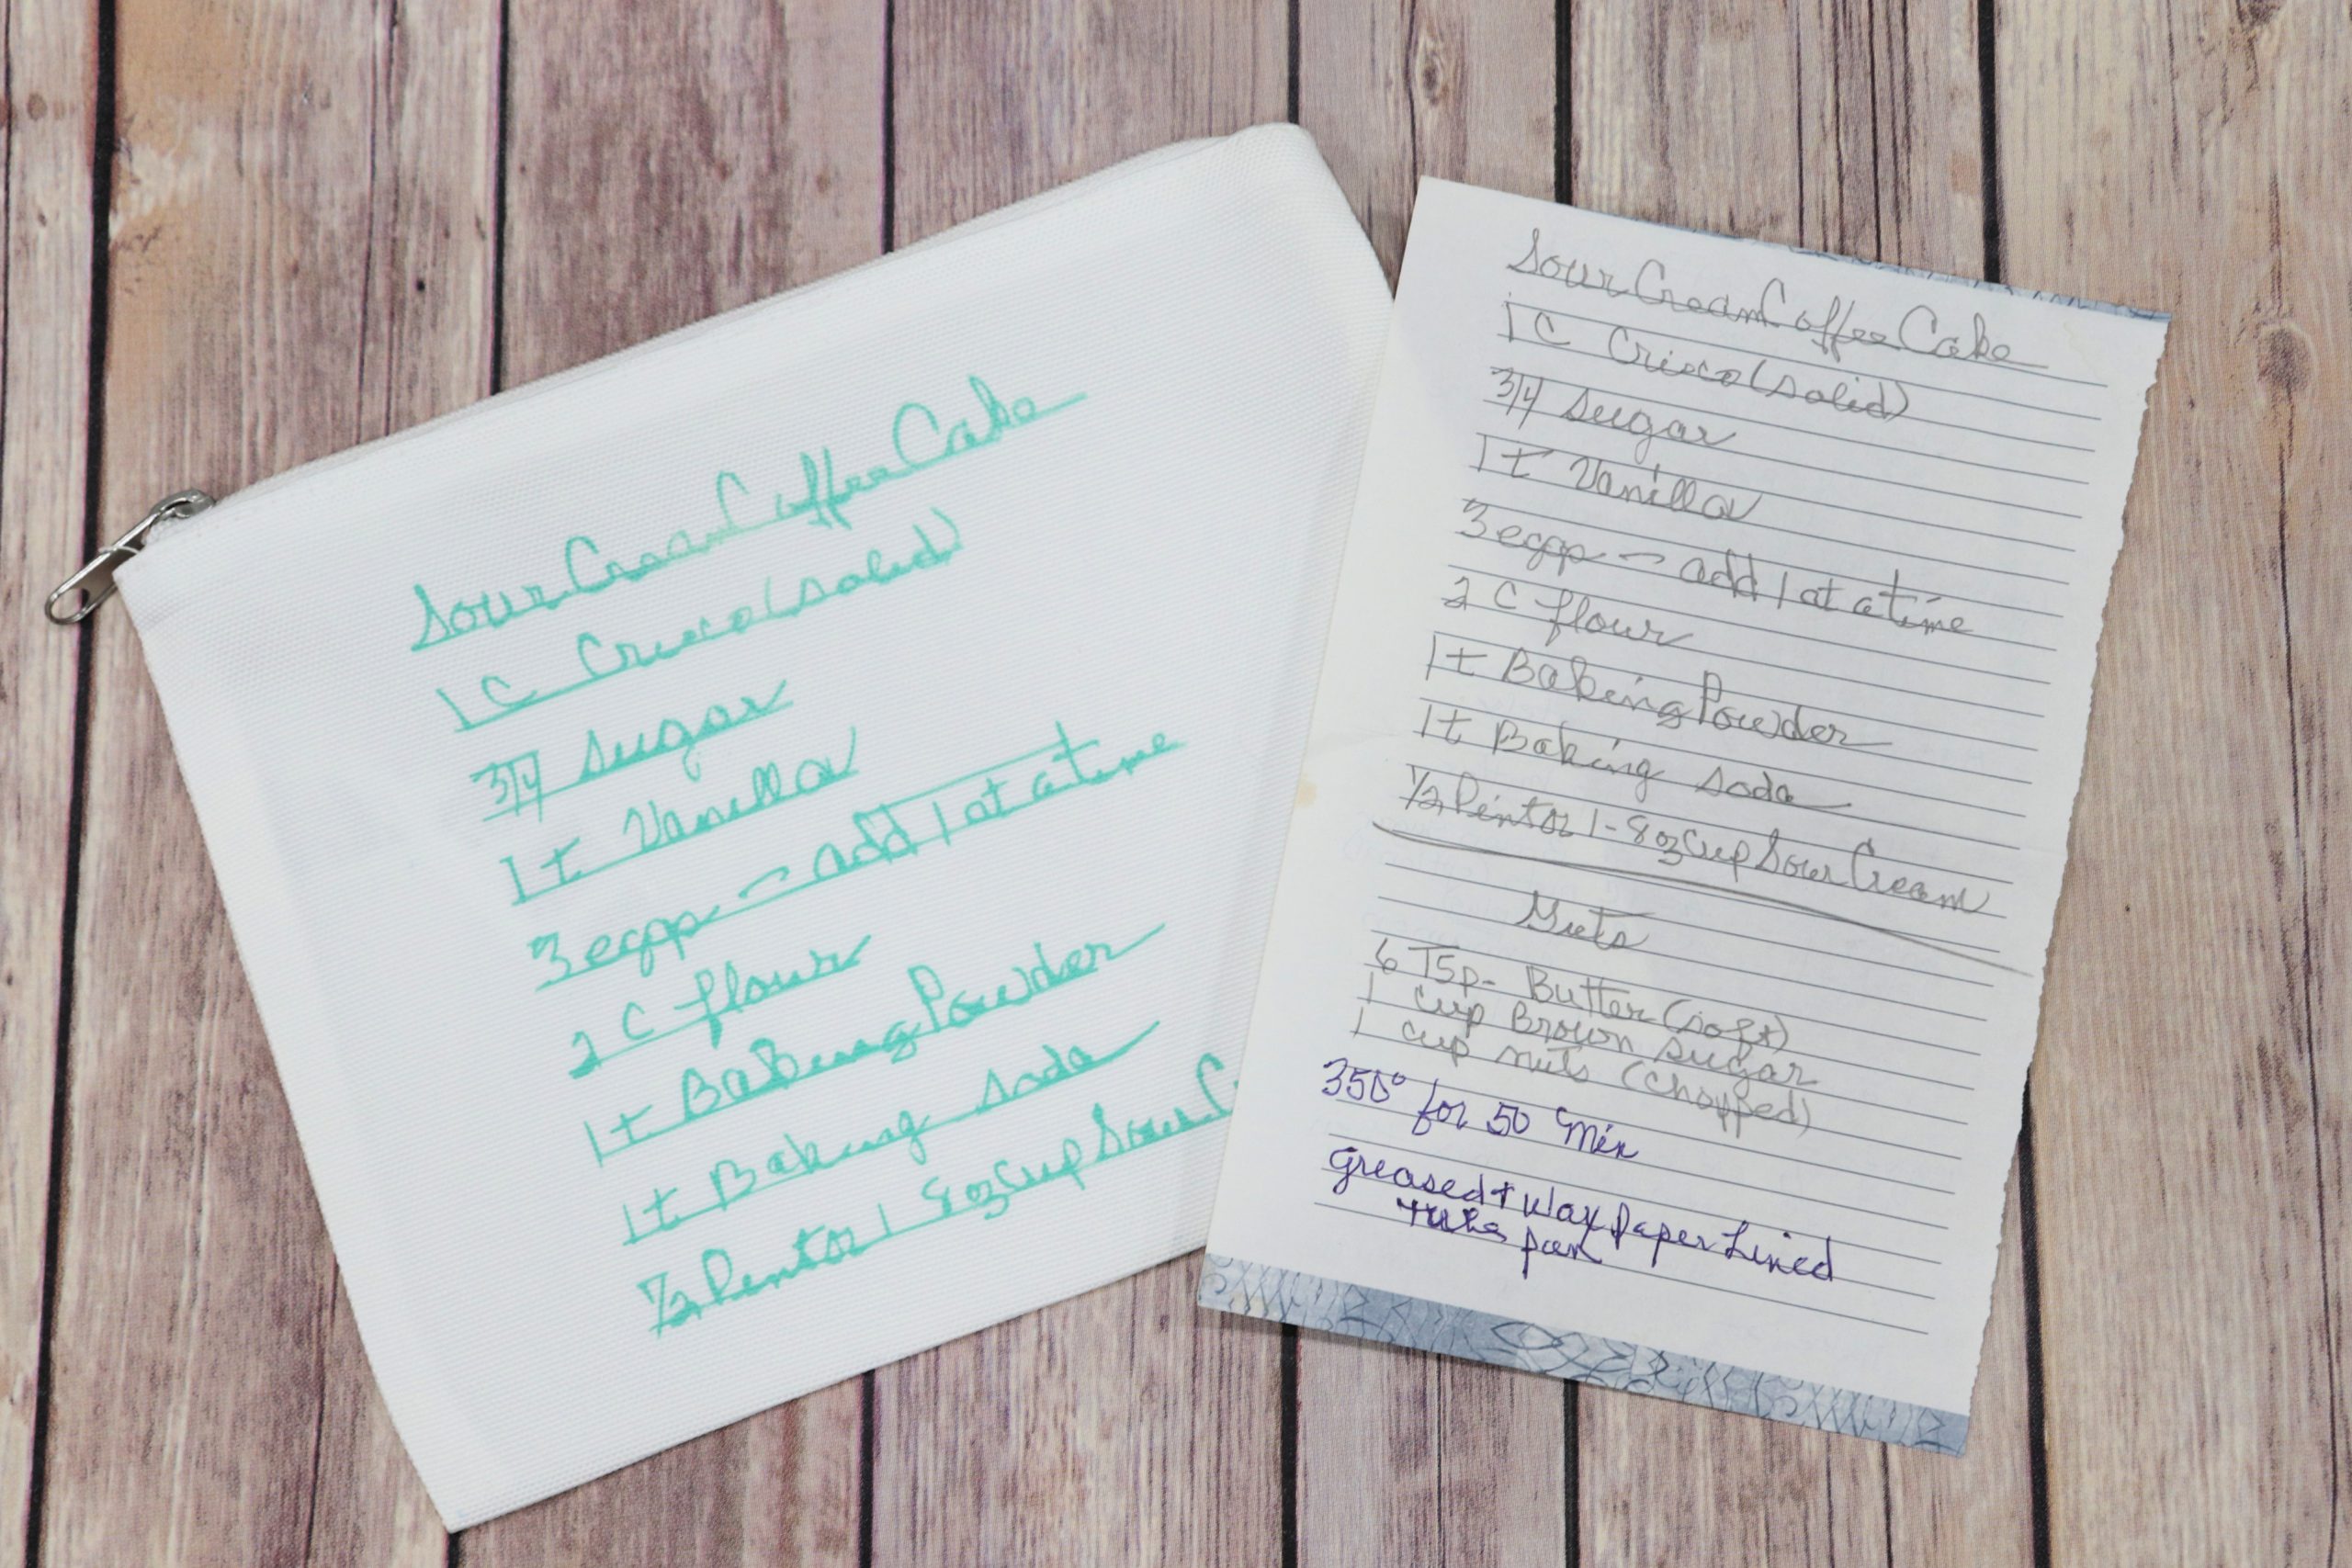
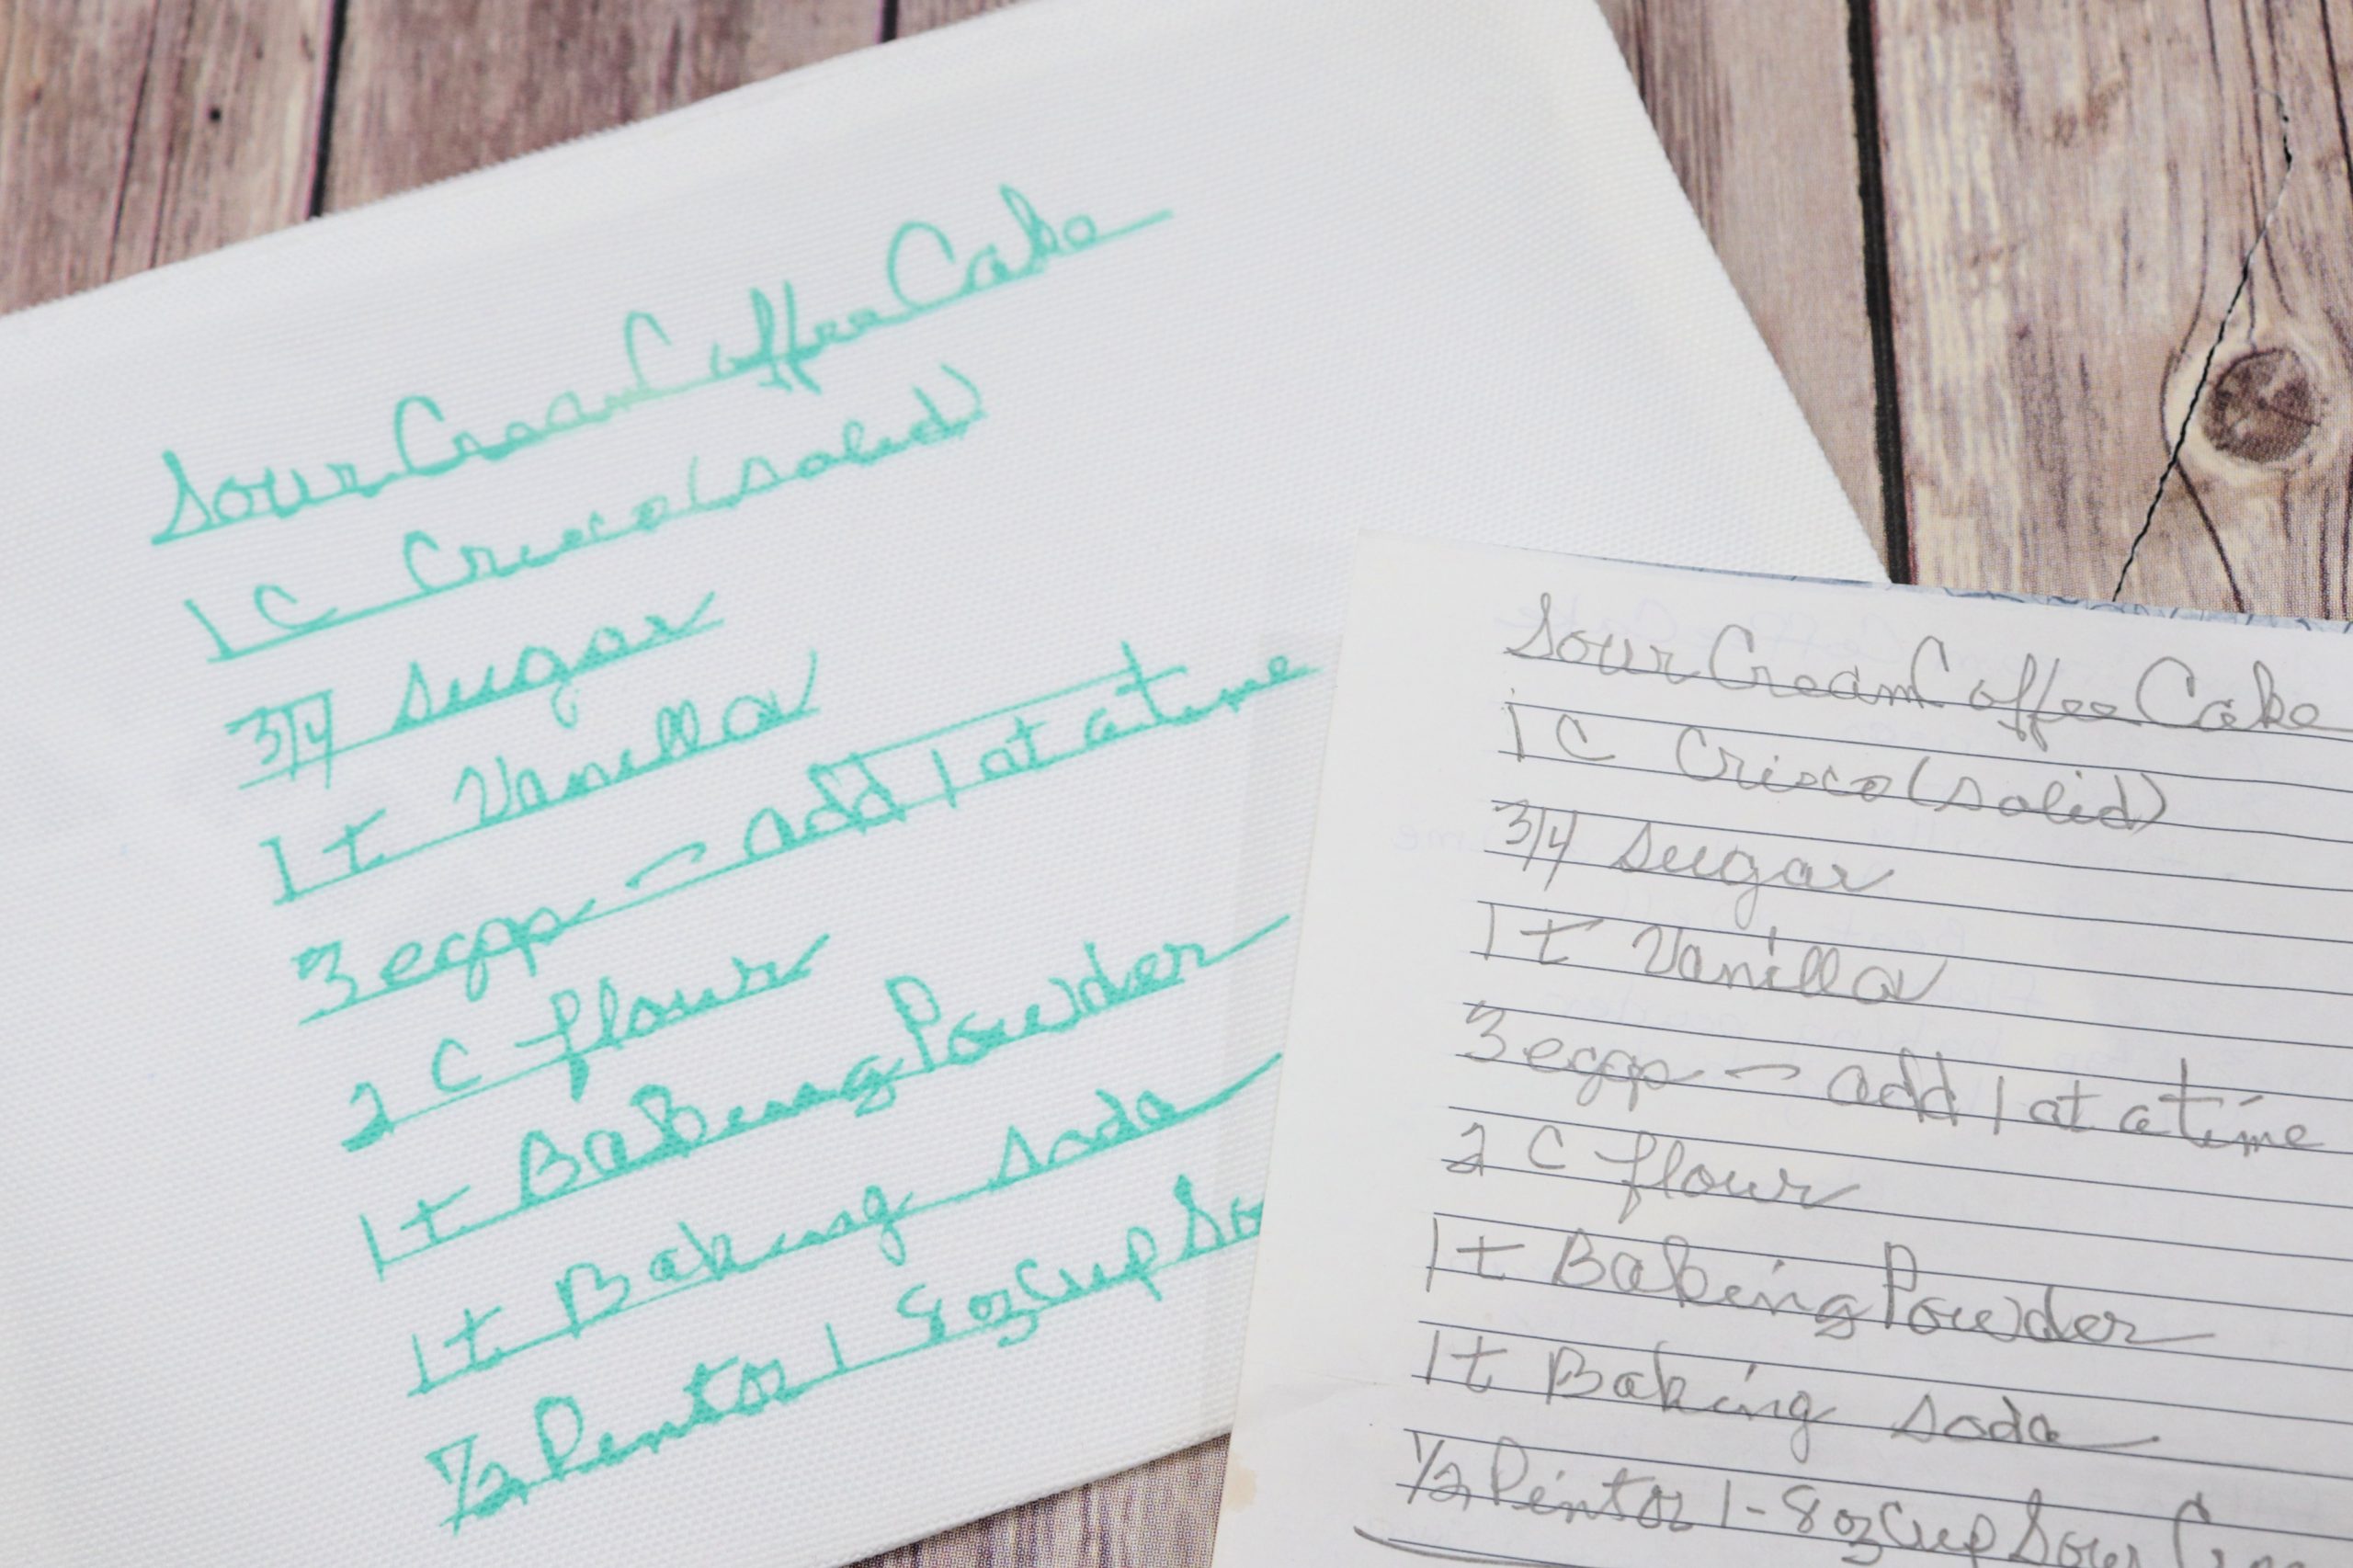
The papery part of the letters will come off with it, leaving just the ink infused into the surface of your fabric. It is now a permanent part of the pouch, infused in the fibers, giving a no-peel, no-flake, smooth appearance. It is also machine washable (you’ll want to turn the pouch inside out just for extra protection).

I may or may not have literally teared up when I peeled the adhesive away and saw the result. Did it take forever? Yes. Is it perfect? No. But it is close enough for me. It’s my grandmother’s familiar handwriting preserved, reminding me of her every time I see it. And that makes it worth all the time and effort in the world.
Now that I know how well this process works, I want to try again, this time maybe using something that wasn’t written on lined paper, and something shorter, like the signature or inscription in a card. I’m thinking a deep dive into my keepsakes box is in order.
The one thing I do know is that my grandmother, who is a source of some of my crafty genes, would absolutely love it. She would have said, “now how did you do that?” and listened with amazement as I tried to explain. She worked in a fabric store for years and loved all things creative, so I have no doubt she’d have been (in her words) “pleased as punch” to see this project. I wish that she could.
If you try this, I’d love to see how your treasured projects turn out. Be sure to share photos of this, or whatever creative things you’re working on in the Amy Latta & Friends Facebook group. See you there!