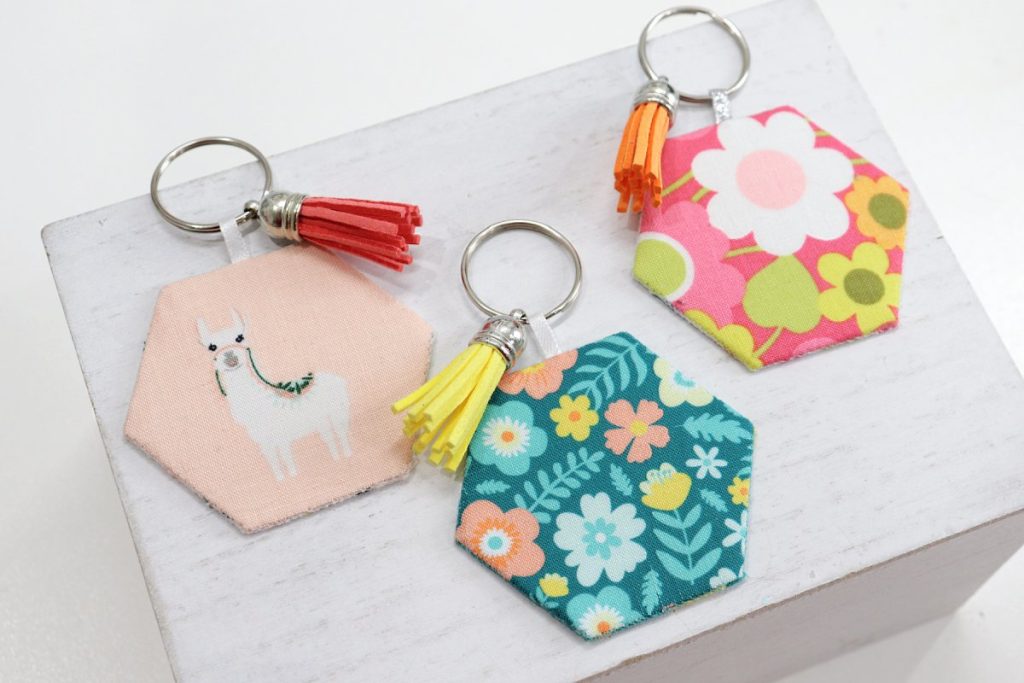
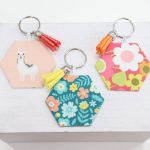
Easy English Paper Piecing Keychain
One of the fun new quilting techniques I learned during my last trip to “Quilt Town, USA” is called English Paper Piecing. Today, I want to show you the basics of how it works, and create a cute, double-sided keychain! Take a look…
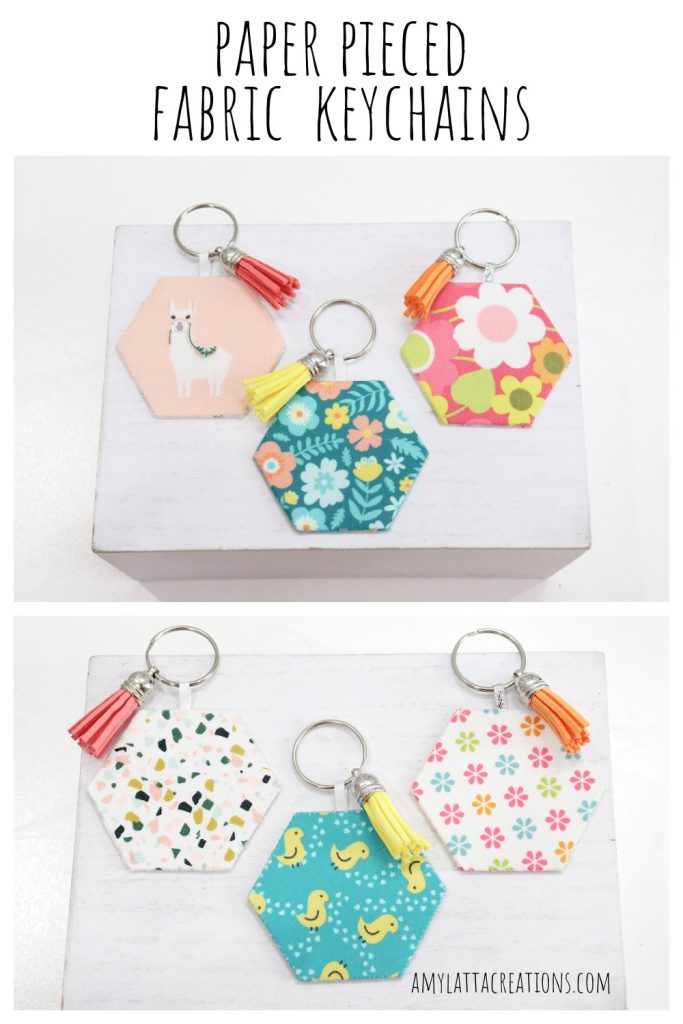
How to Make Paper Pieced Fabric Keychains
English Paper Piecing (EPP) is a technique that uses fabric wrapped around geometric shapes made from cardstock or other heavy paper, then hand sewn together to create a project. Let’s learn the basic skill together using hexagons as our shape. Just grab the supplies below, and let’s get started.
Materials
- fabric – your choice of colors and patterns
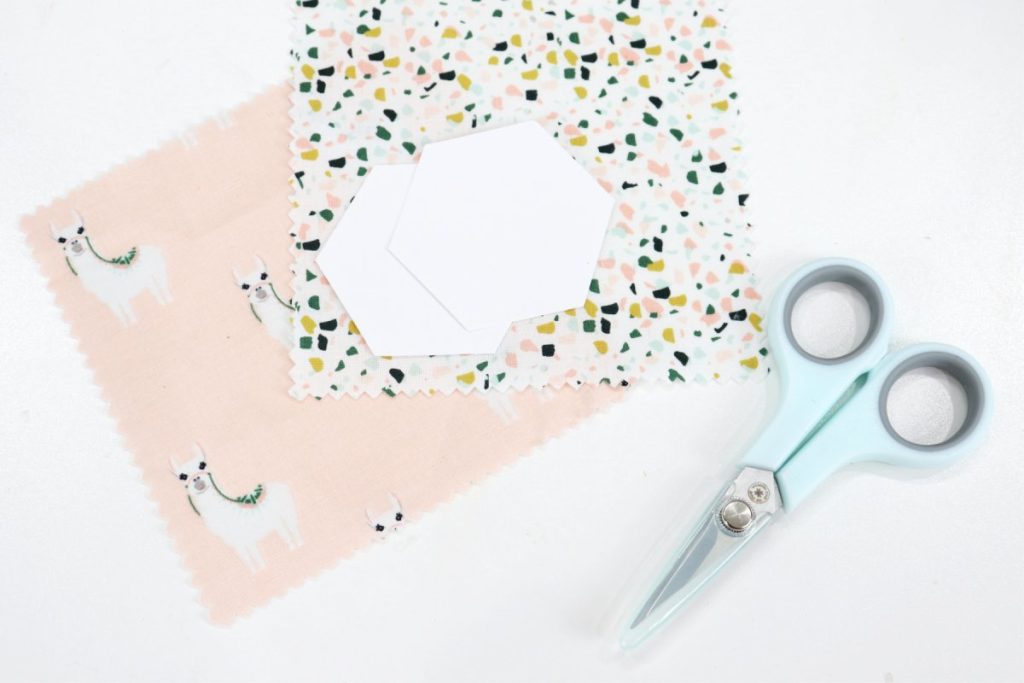
- 2 paper hexagon shapes (each side of mine measured 1 1/4”)
- scissors
- glue
- thin ribbon
- needle and thread
- key ring
- tassel (optional)
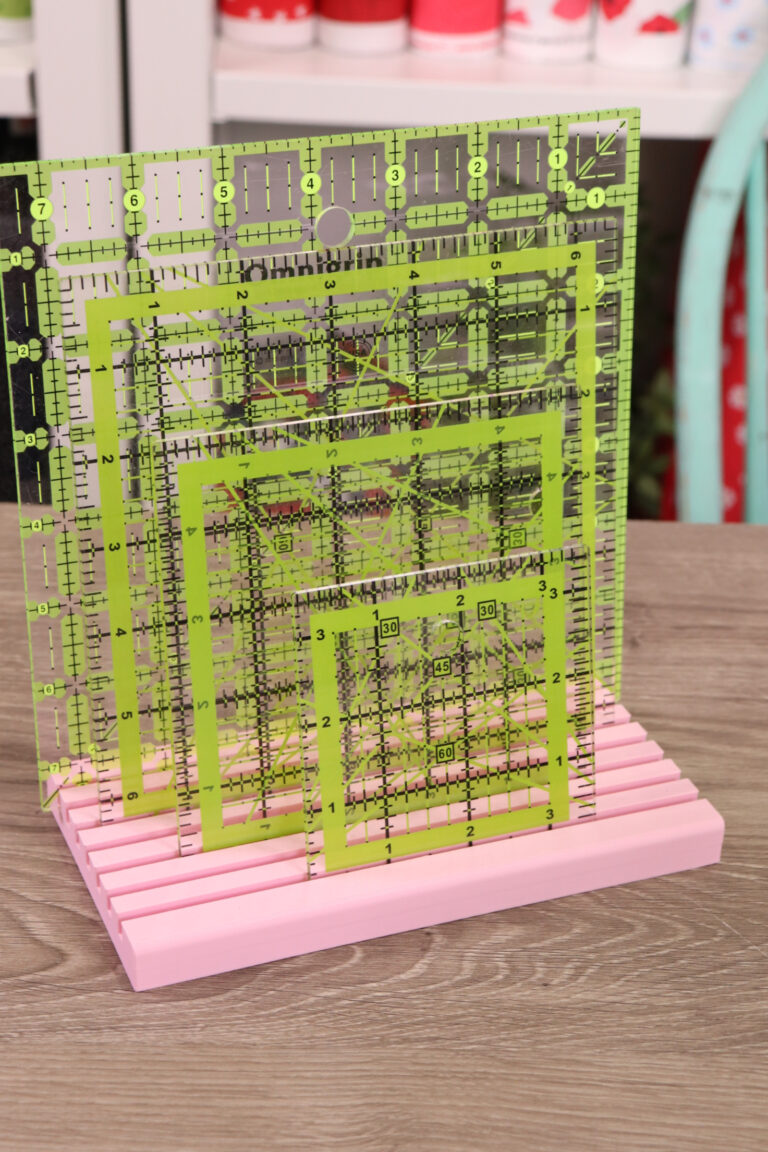
PRO TIP: You can purchase pre-cut shapes, or you can cut your own using cardstock and a Cricut machine.
Instructions
Trim your fabric so it’s just slightly larger than your paper hexagon.
Make sure you have about 1/4” excess on each side.
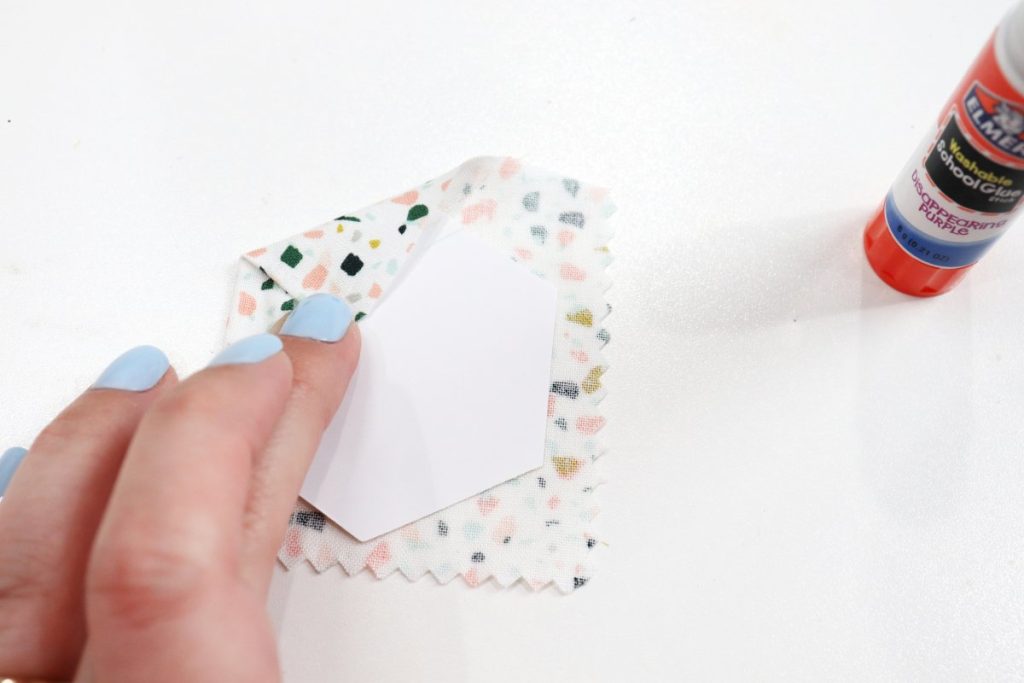
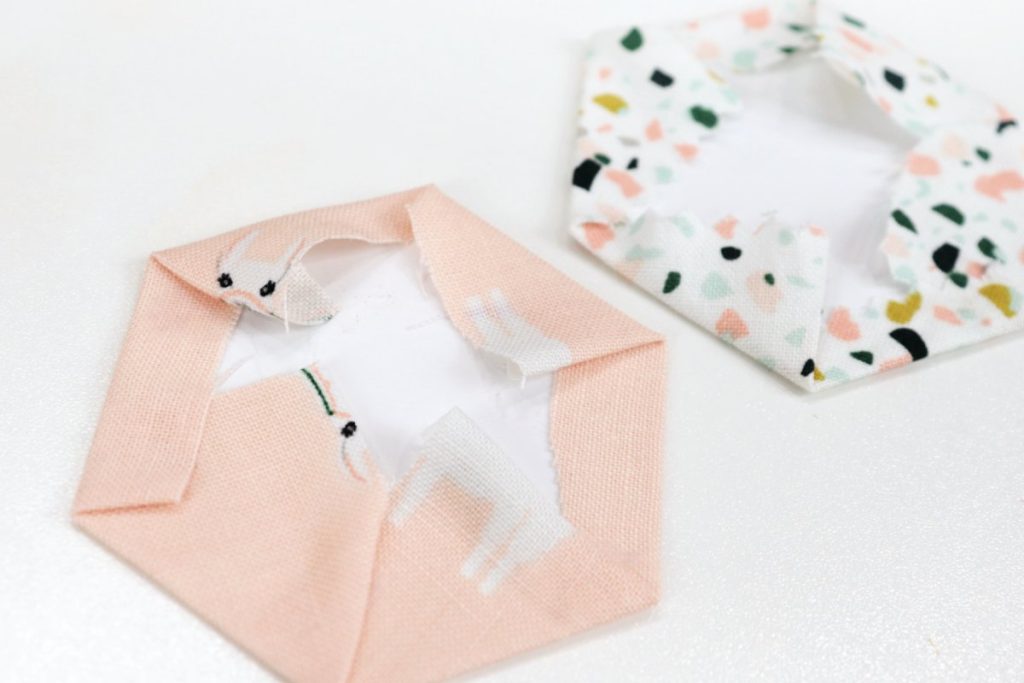
Wrap the edges of the fabric around the paper shape.
Apply glue to the edges of the paper to help hold the fabric place. I also recommend pressing the folded fabric with an iron.
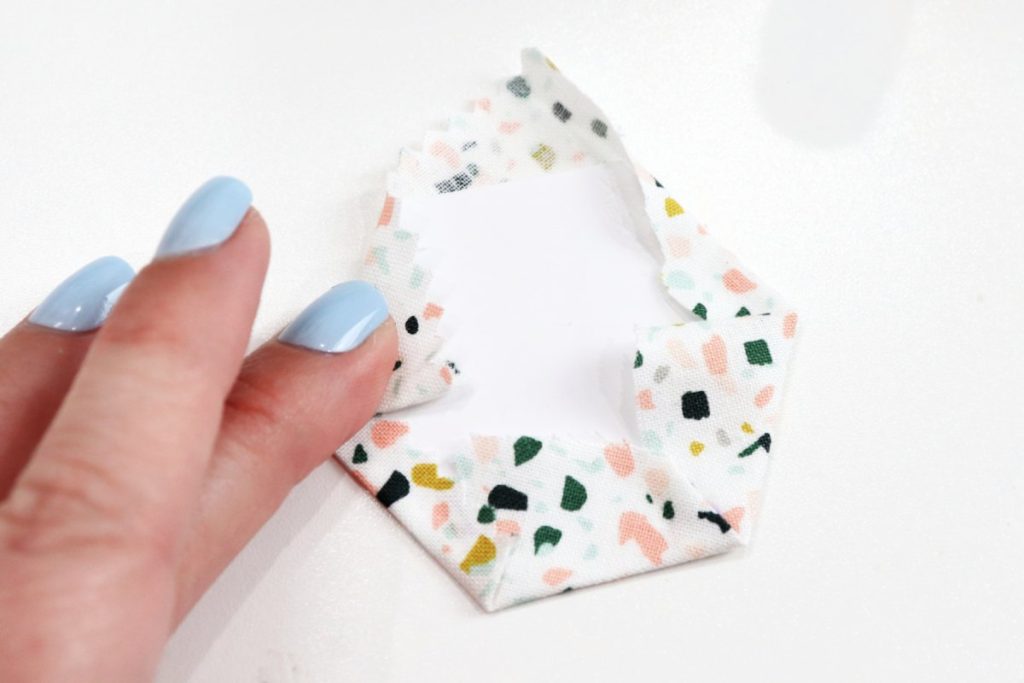
Typically, in paper piecing, the paper gets removed before your project is finished, but for our keychain, we are actually going to leave it in place to help provide structure and sturdiness.
Repeat using a second hexagon and scrap of fabric.
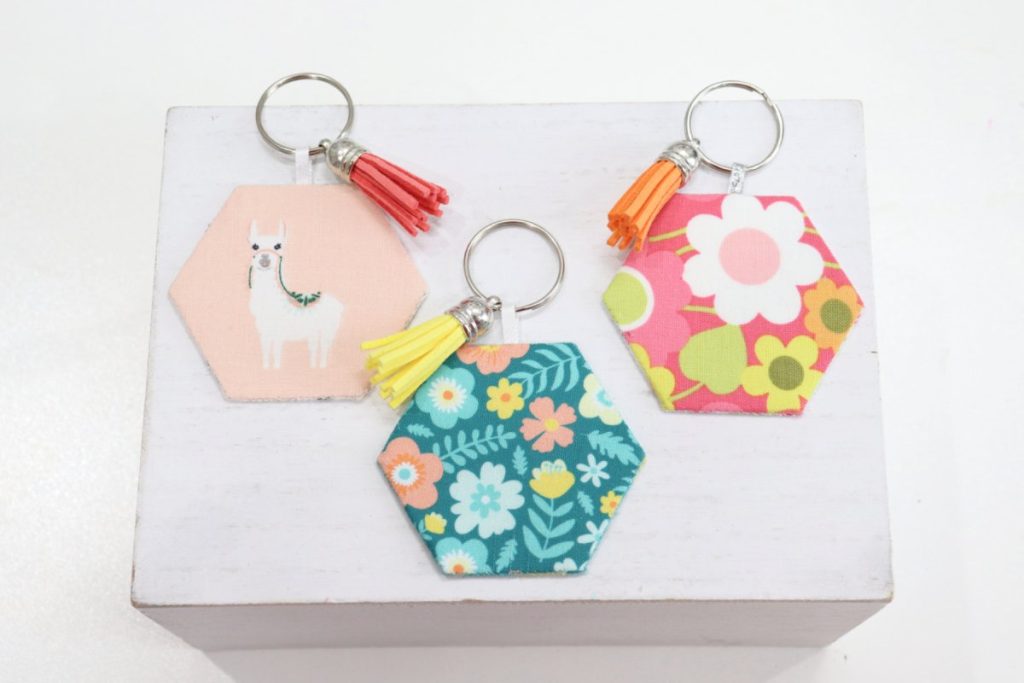
One hexagon will be the front of your keychain and the other will be the back. I like using two different fabrics for variety, but you can use the same fabric on both sides if you prefer.
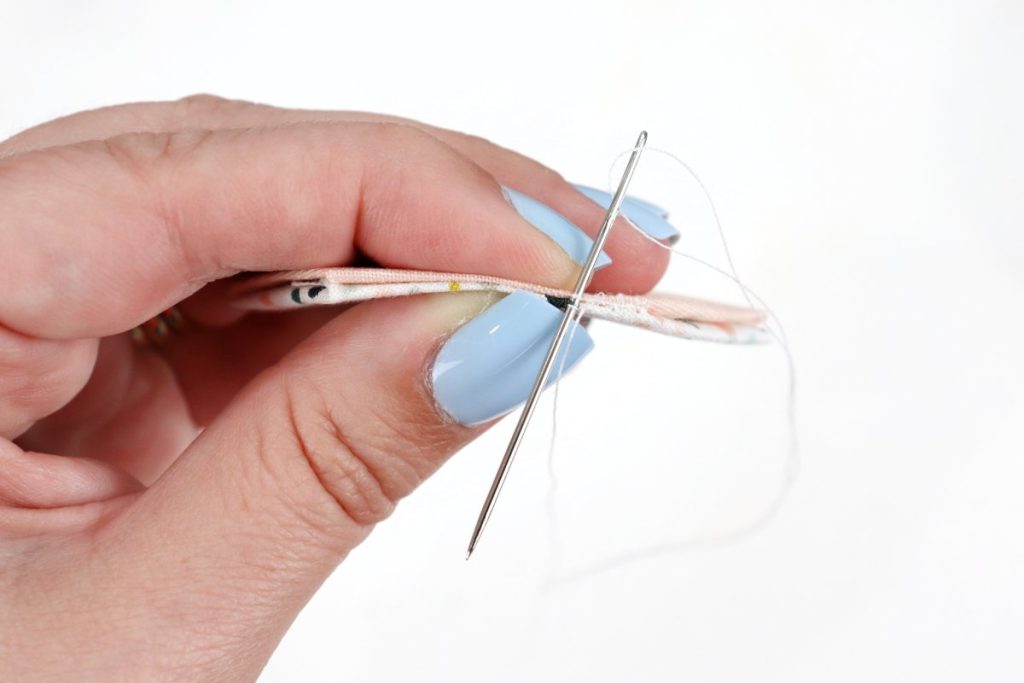
Stack your hexagons with the finished sides facing out and hand stitch around five of the sides, leaving the top open.
Try to catch just the very edges of the fabrics, and your stitches will be almost invisible.
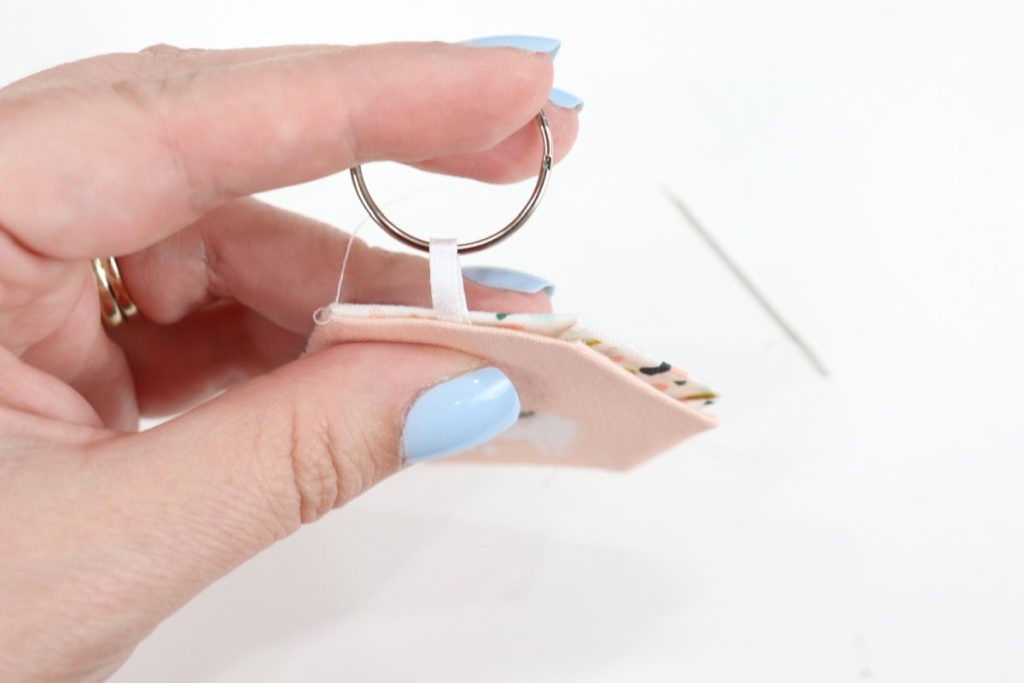
Fold a thin piece of ribbon in half, with a metal keyring inside. Slide the cut ends of the ribbon inside the top opening, and sew the final side shut.
You can also add a drop of glue inside to hold the ribbon in place.
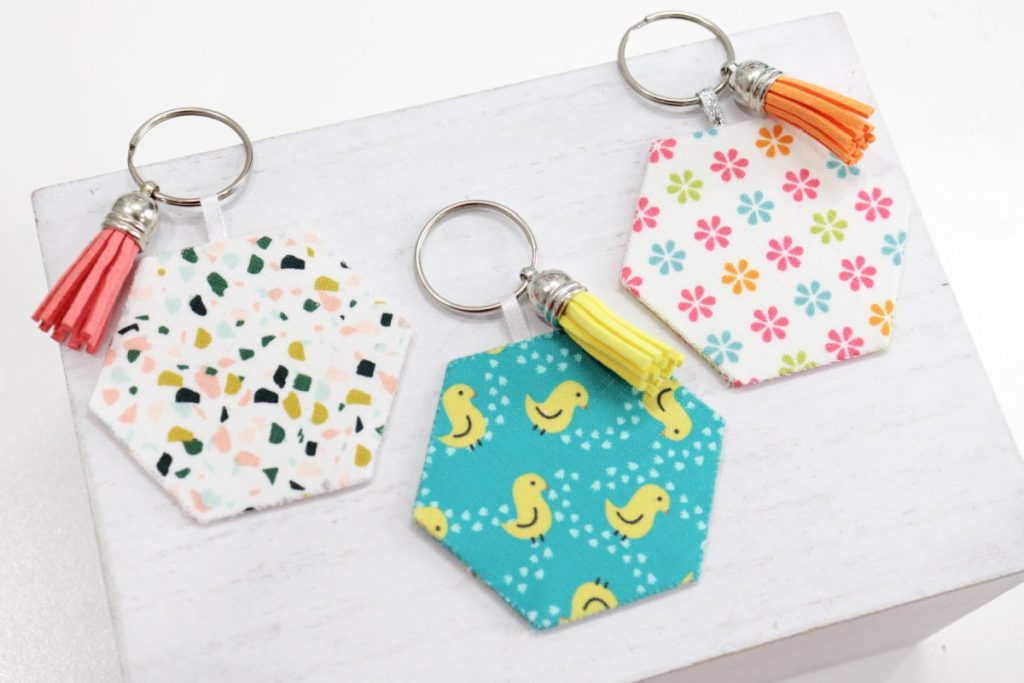
Optional: Add a tassel.
You can find these online or at a craft and hobby store. I like the little pop of color and whimsy they add.
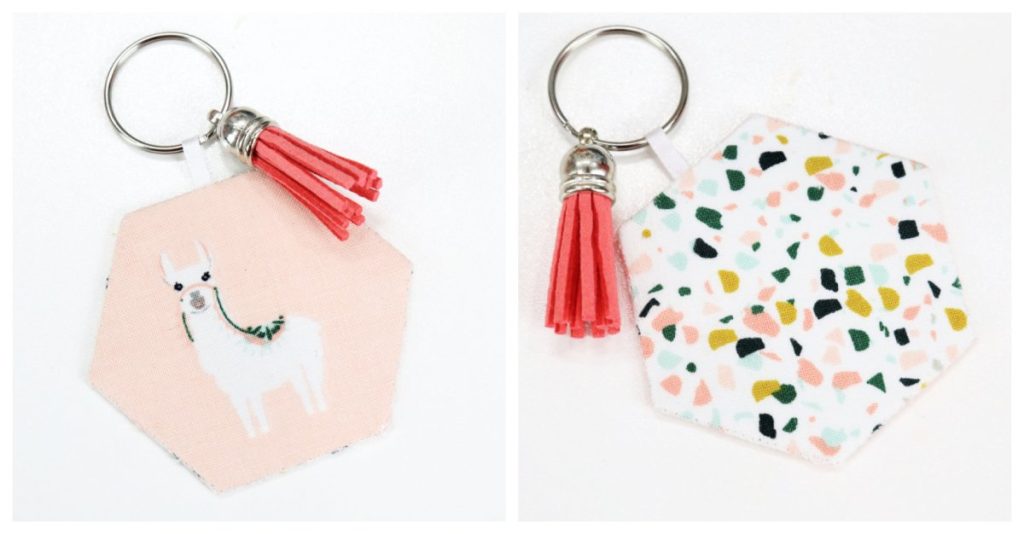
That’s all there is to it! Once you’ve gotten the hang of it, these are really quick and simple to make, and if you’re anything like me, you’ll find yourself wanting to make lots of keychains in different fabrics. They are a great gift for just about anyone, and they look really cute tied onto a package, too. You can make them extra personal by using someone’s favorite colors, patterns, animals, and more.
Crafting Tips
- This technique can be done with any paper shape or combination of shapes you like! Check out English Paper Piecing on Pinterest for tons of free pattern and project ideas.
- Create your own paper templates by loading a shape into Cricut Design Space, sizing it as desired, and duplicating it multiple times. Then, use your machine to cut the shapes from cardstock.
- Once you’ve gotten the hang of making hexagons, you can sew seven of them together to form larger projects. One of my favorites is a flower with a center and six petals! Stay tuned for that full tutorial, coming soon.
Frequently Asked Questions
Most of my fabric comes from Missouri Star Quilt Company. They have a huge variety of pre-cut fabrics and fabric by the yard. (Plus, if you order through this affiliate link, you’ll get a discount!)
You’ll need a piece that’s 1/4” larger than your paper template on all sides. For this project, a 3” square scrap for each side should be plenty.
For most EPP projects, you’ll want a water soluble glue, but since we aren’t worried about removing the paper for this keychain, you can use any type of glue you like. I used a regular school glue stick.
More Quilting Projects
If you enjoyed learning about paper piecing, you might also like these other quilting projects.

What do you think? What fabrics would you use? If you try this project, I would love to see what you create! Make sure you’re part of the Amy Latta & Friends Facebook Group so you can share all your latest photos and we can all inspire each other. Hope to see you there!
Paper Pieced Fabric Keychains
Equipment
- scissors
- sewing needle and thread
Materials
- fabric (3” square per side)
- paper shape templates
- glue
- thin ribbon
- key ring
- tassel (optional)
Instructions
- Cut your fabric so it’s 1/4” larger than your shape on all sides.
- Wrap each side of the fabric around the paper template and glue in place.
- Repeat for a second hexagon/shape.
- Stack shapes wrong sides together and hand stitch around edges, leaving top open.
- Fold ribbon in half with keyring inside. Slide into opening and glue to secure. Finish sewing around edges.
- Add tassel (optional).

2 Comments