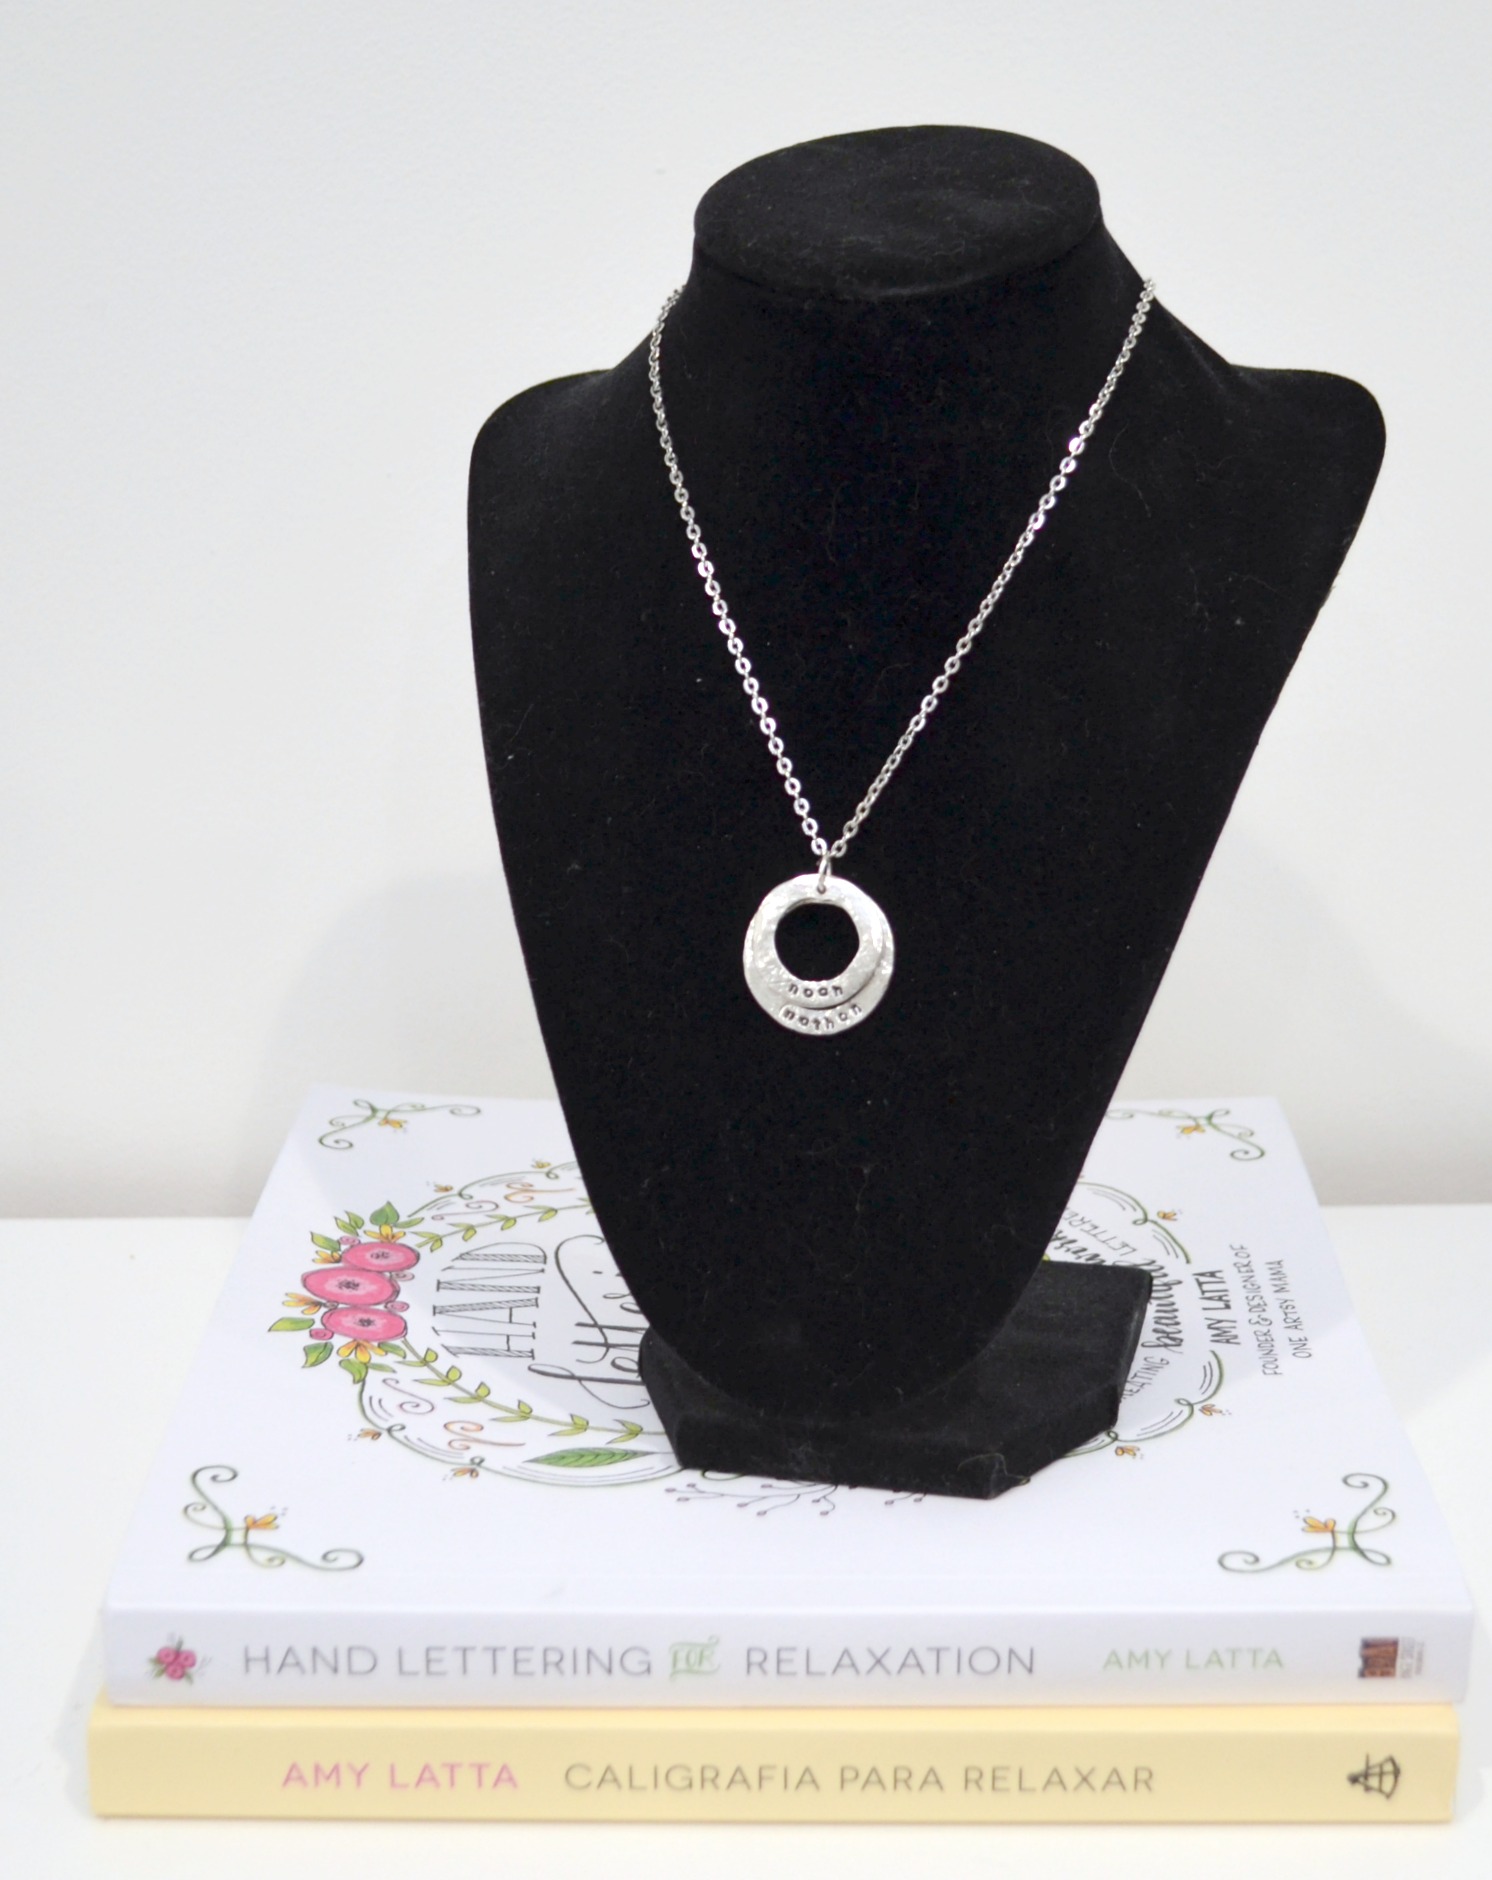
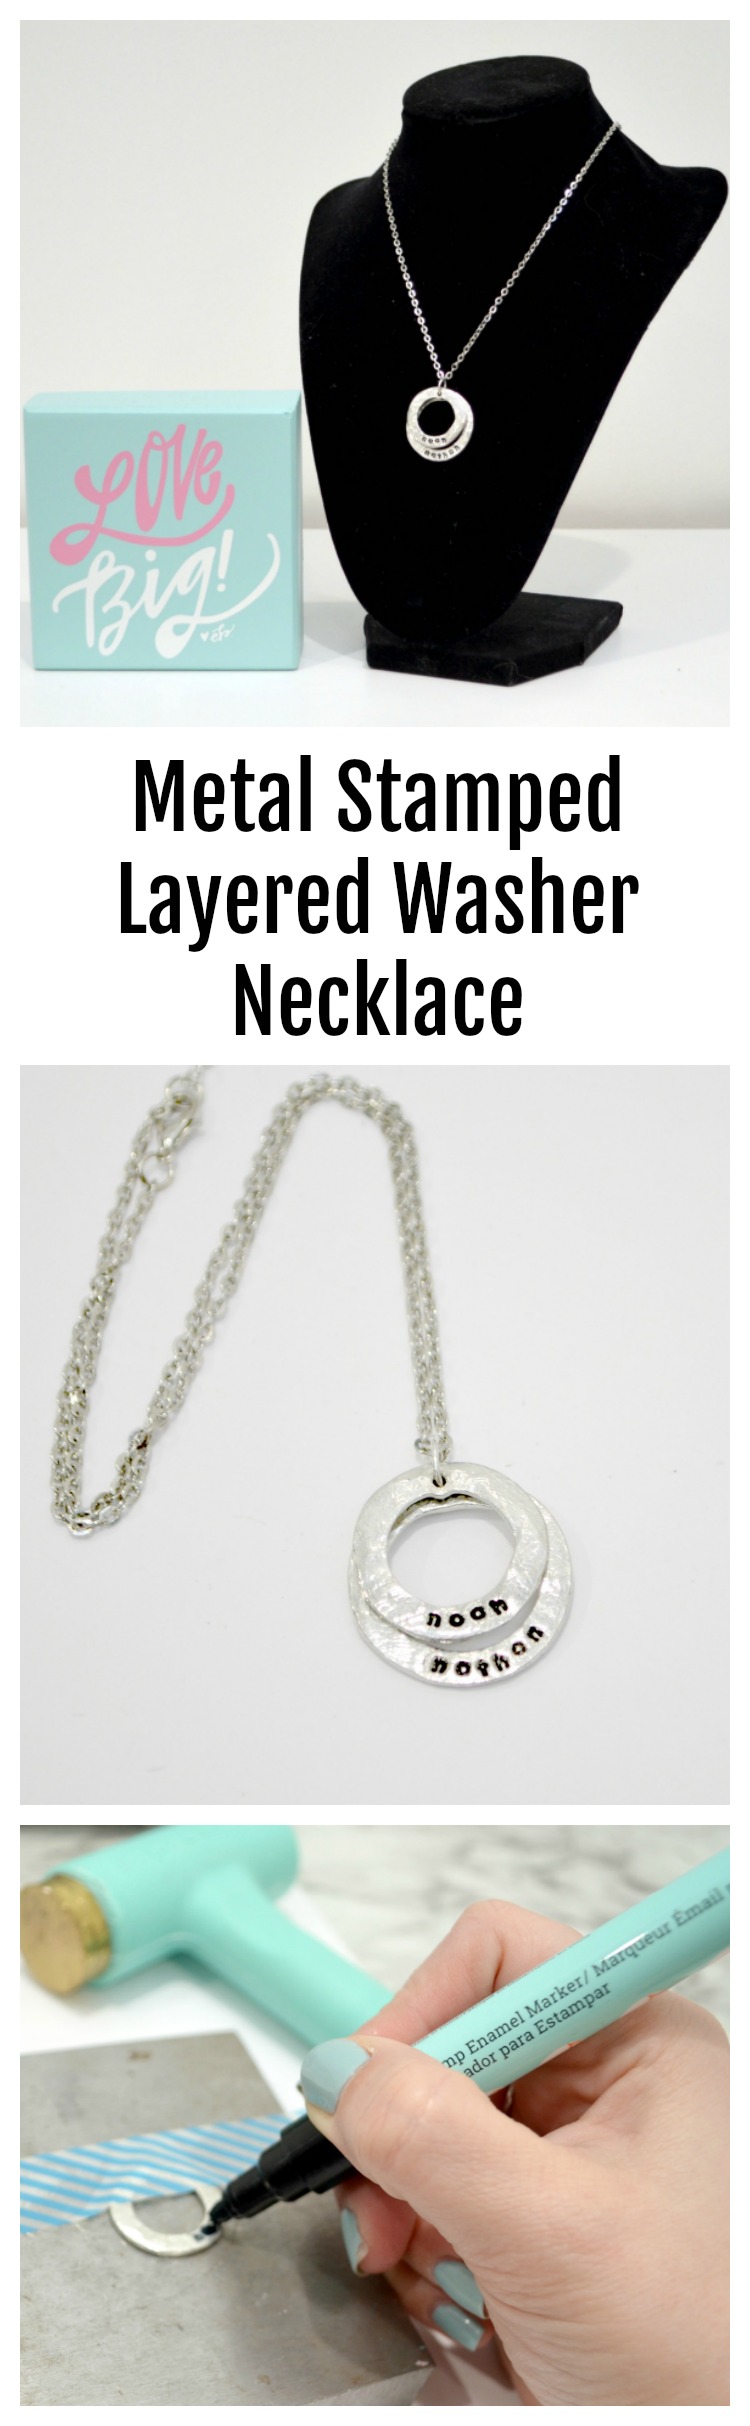
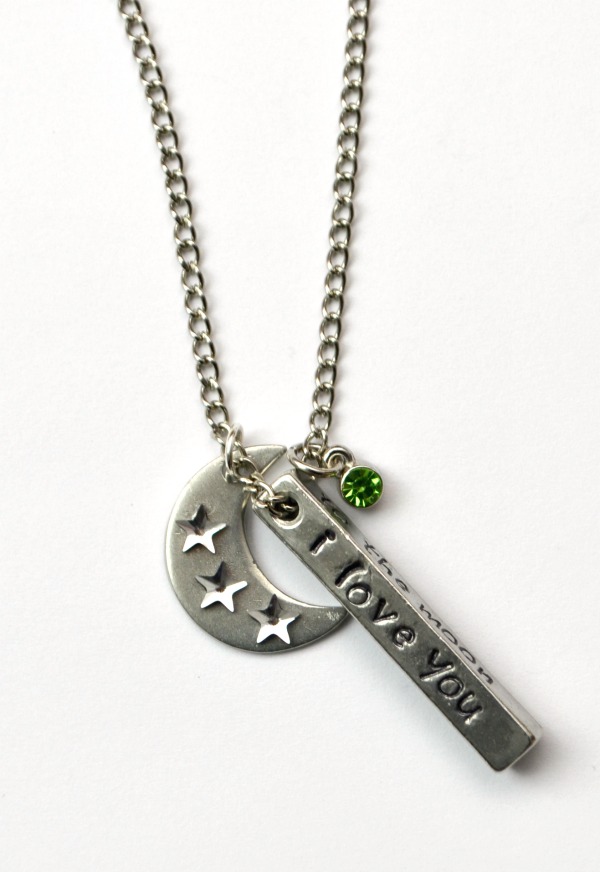
Metal Stamped Layered Washers Necklace
Friends, one of my favorite things to create and wear is metal stamped jewelry. Not only is it fun and sort of therapeutic to do the stamping itself, you can personalize each piece in any way you like! Recently, my favorite stamping supply company, ImpressArt, came out with a new series of stamping blanks, so naturally I couldn’t wait to get my hands on some of them and see what I could create. Here’s the first thing I made: my Metal Stamped Layered Washers Necklace. Take a look!
Metal Stamped Layered Washers Necklace
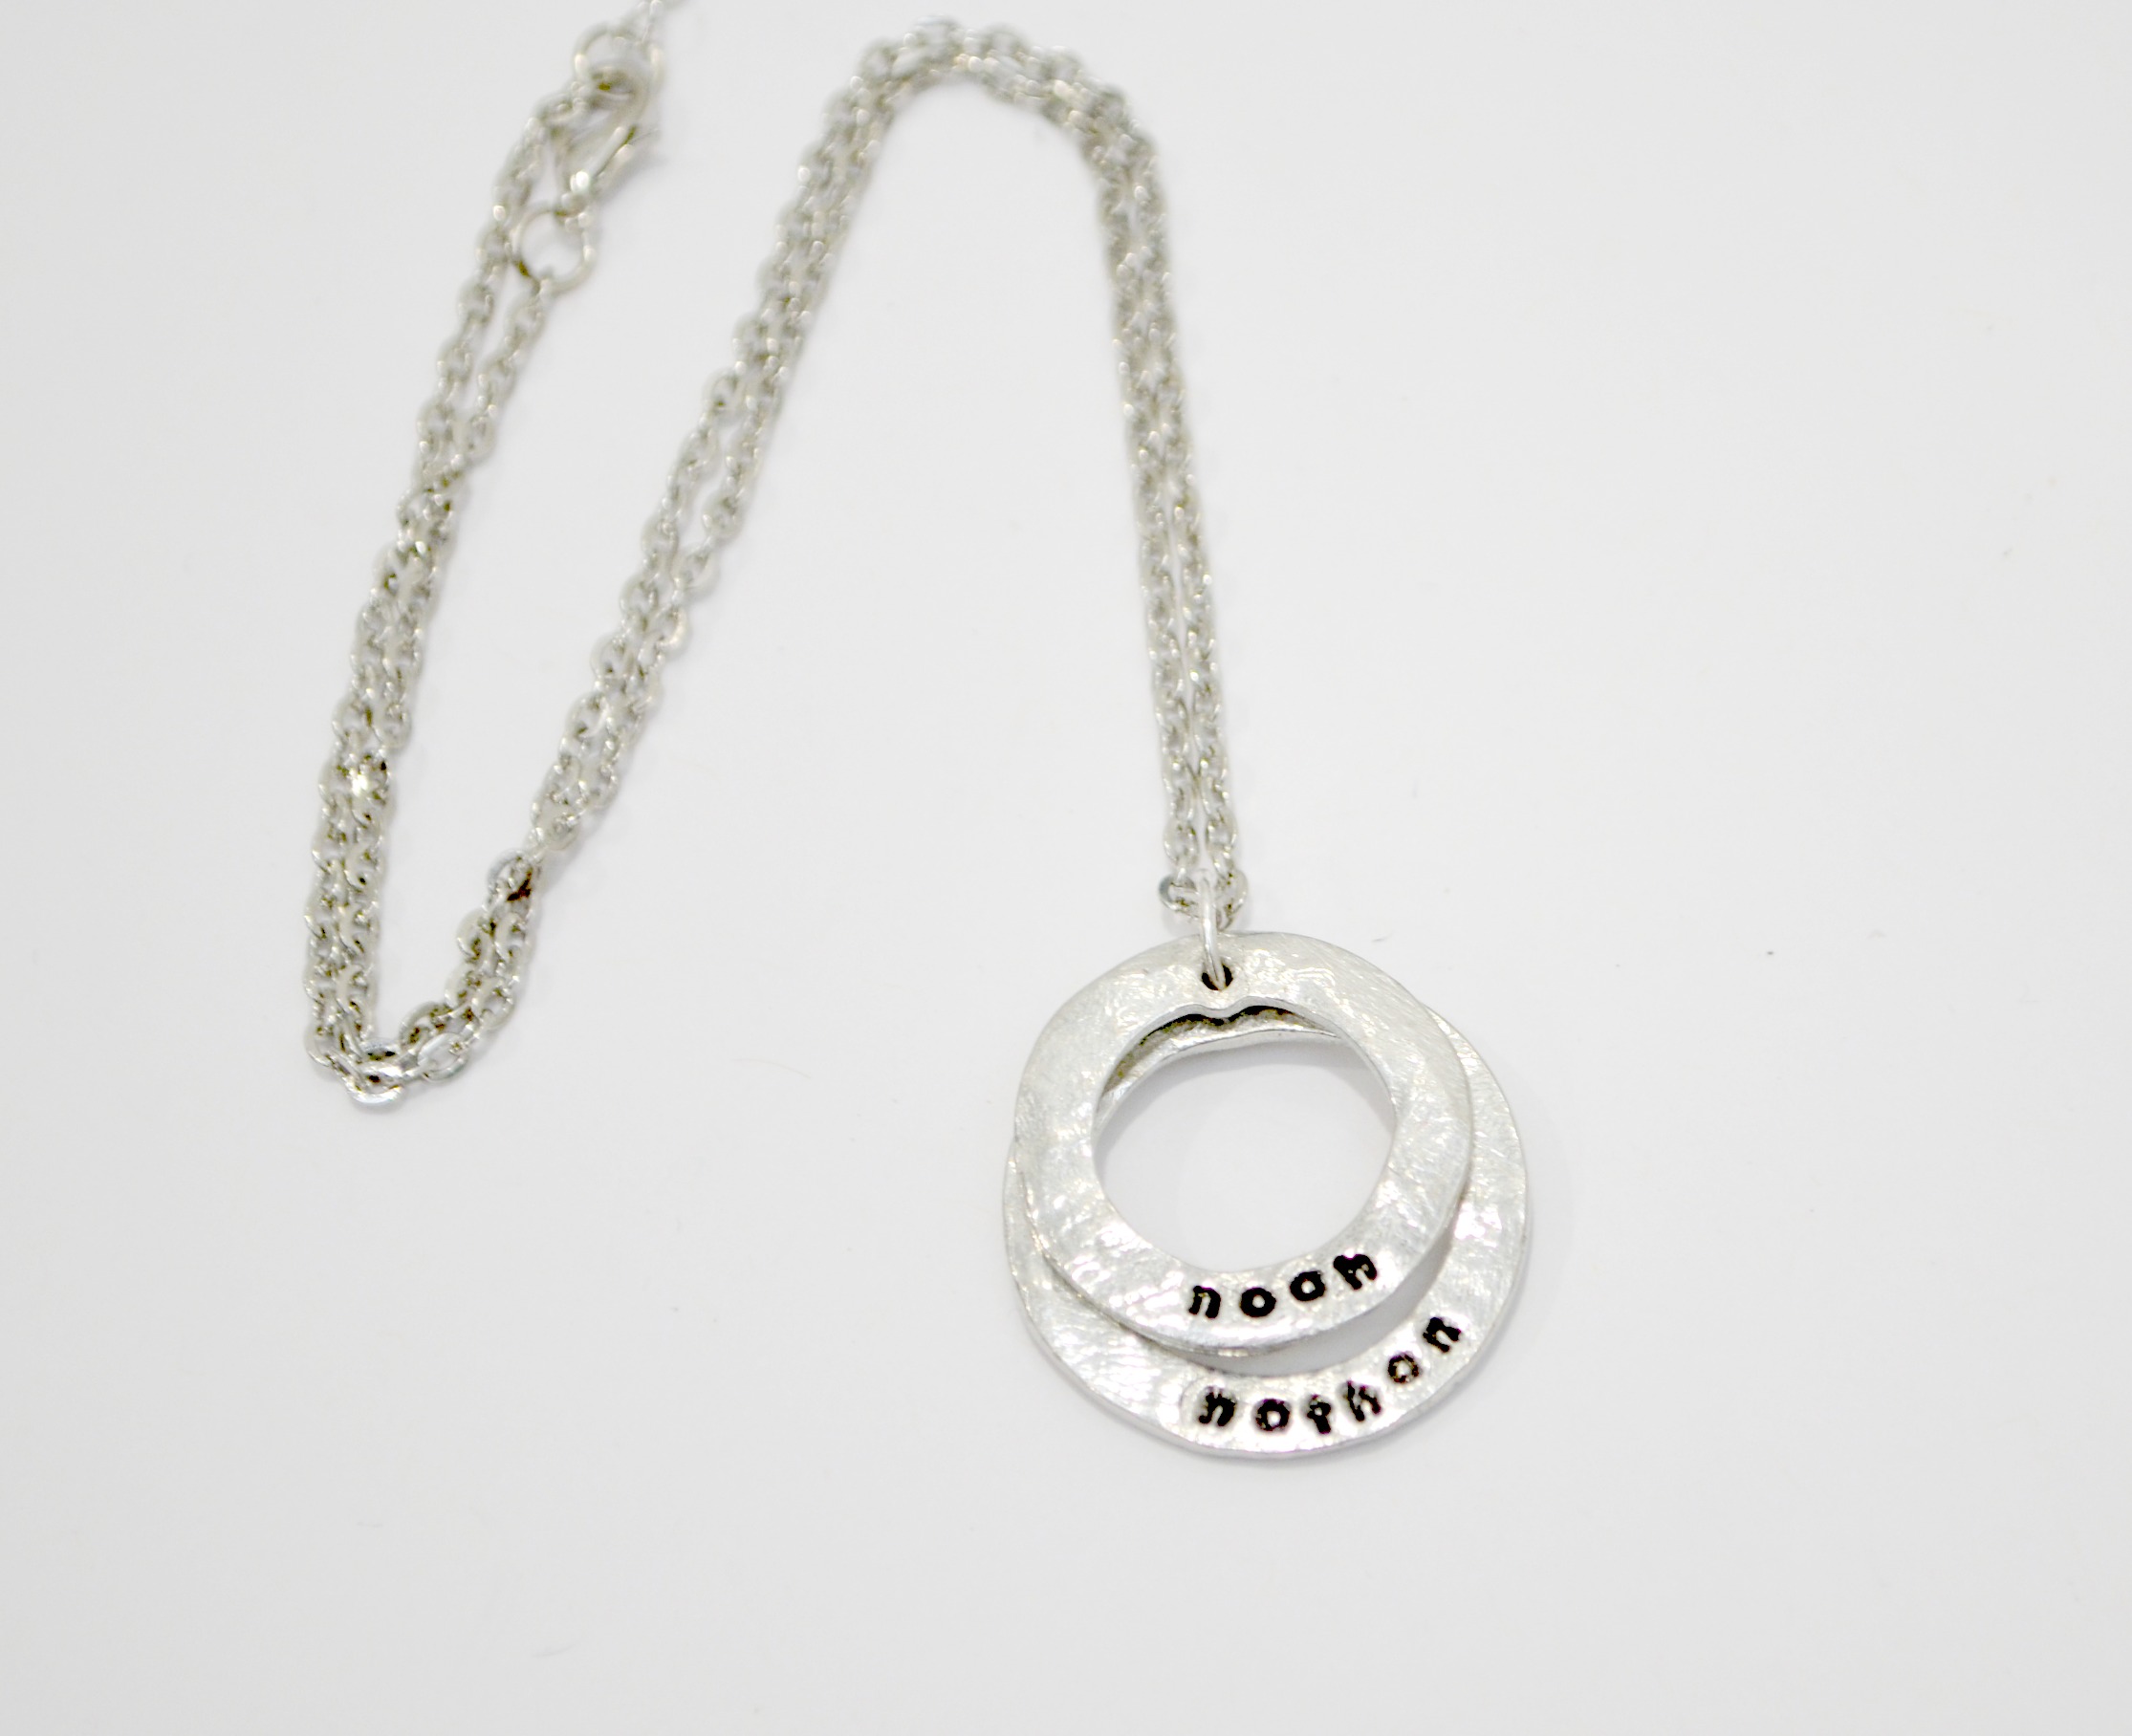
The new blanks are called the Organic Washer Blanks, and they come in a variety of shapes and sizes; circles, ovals, squares, and triangles. You can stamp and use just one at a time, or you can layer and connect them together to make all kinds of beautiful statement jewelry. I chose to layer the small and medium circle blanks and to stamp a name on each one. Another idea would be to stamp important dates, geographic coordinates, or any phrase you like.
![]()
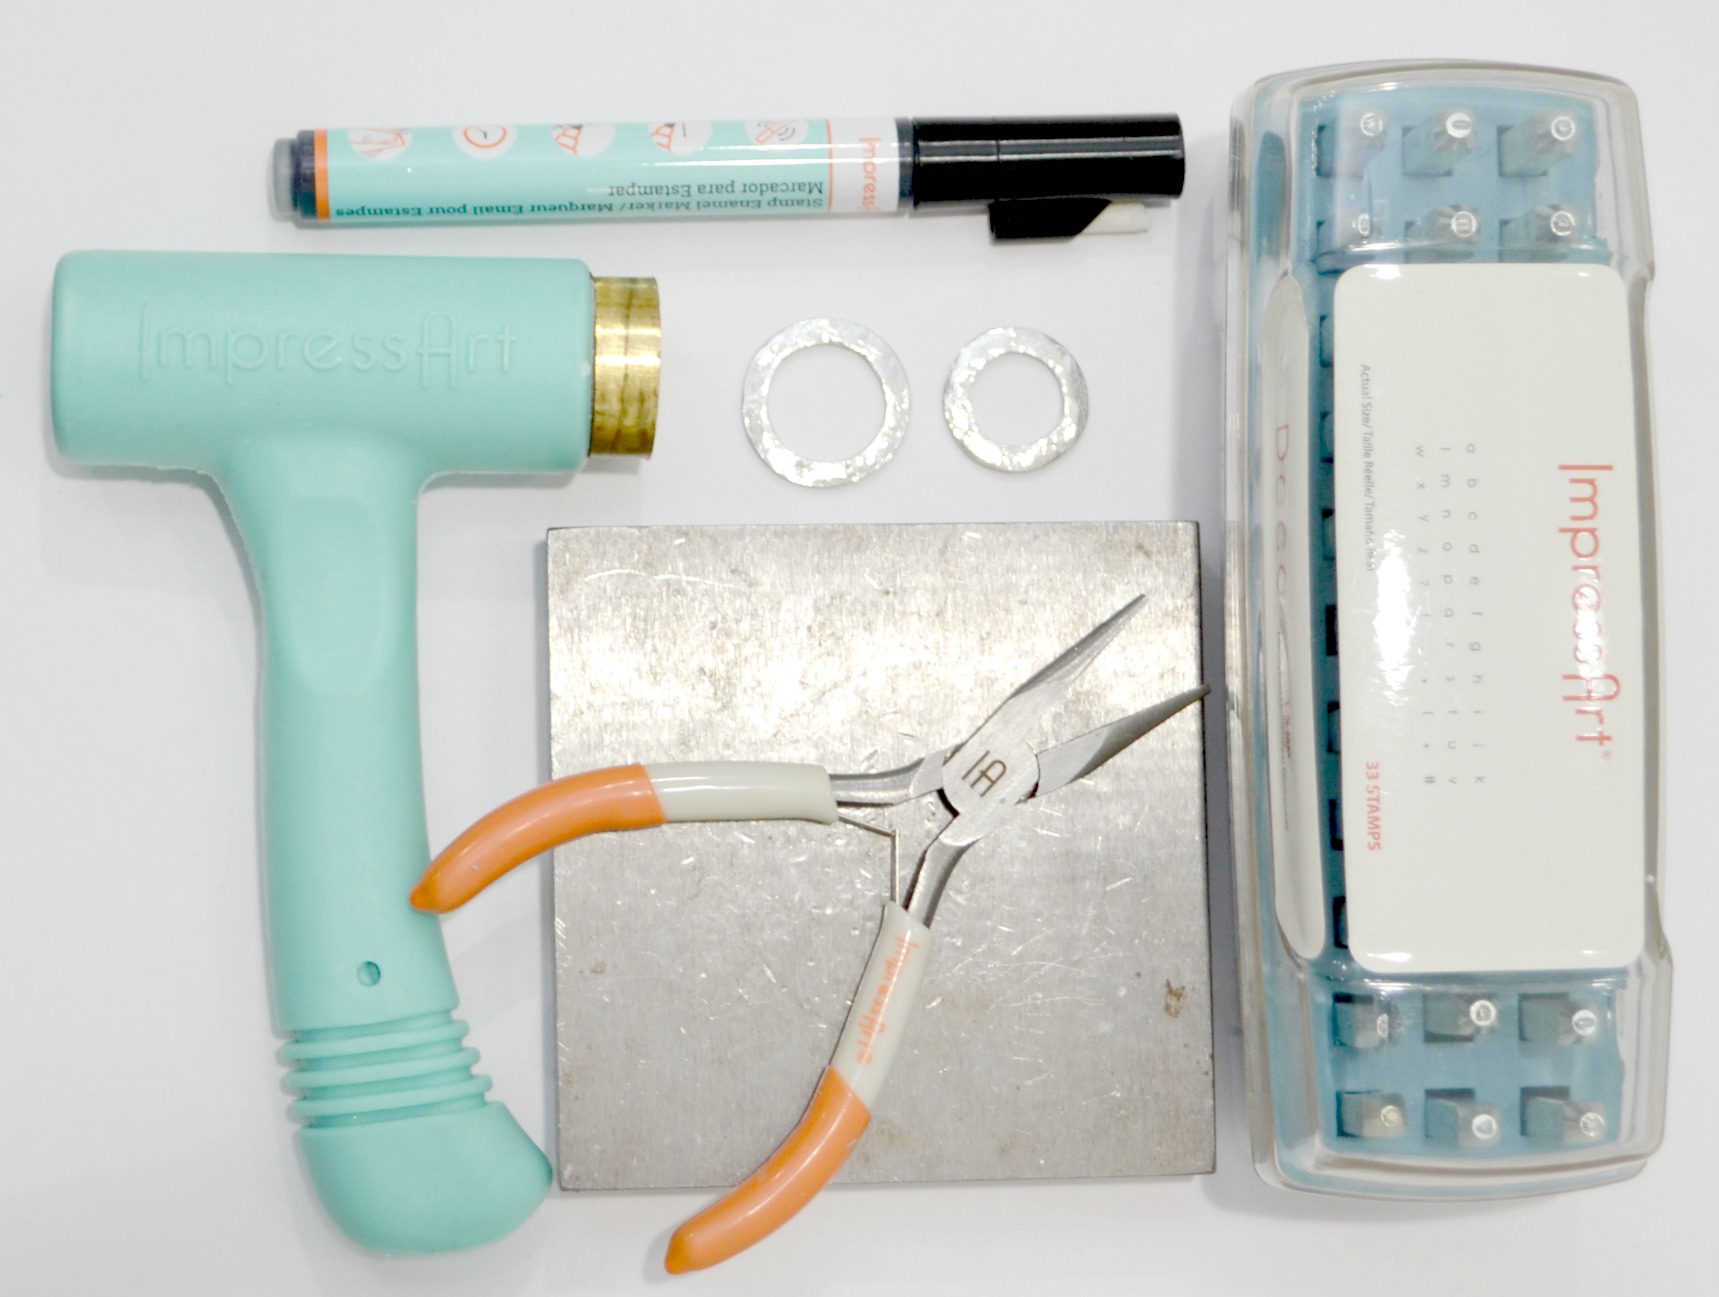
Metal Stamped Layered Washers Necklace Supplies:
ImpressArt Circle Organic Pewter Washer Blanks: Small & Medium
ImpressArt Deco Lowercase Alphabet Stamps, 1.5mm
ImpressArt Stamp Enamel Marker, Black
Chain with clasp
Jewelry polishing cloth
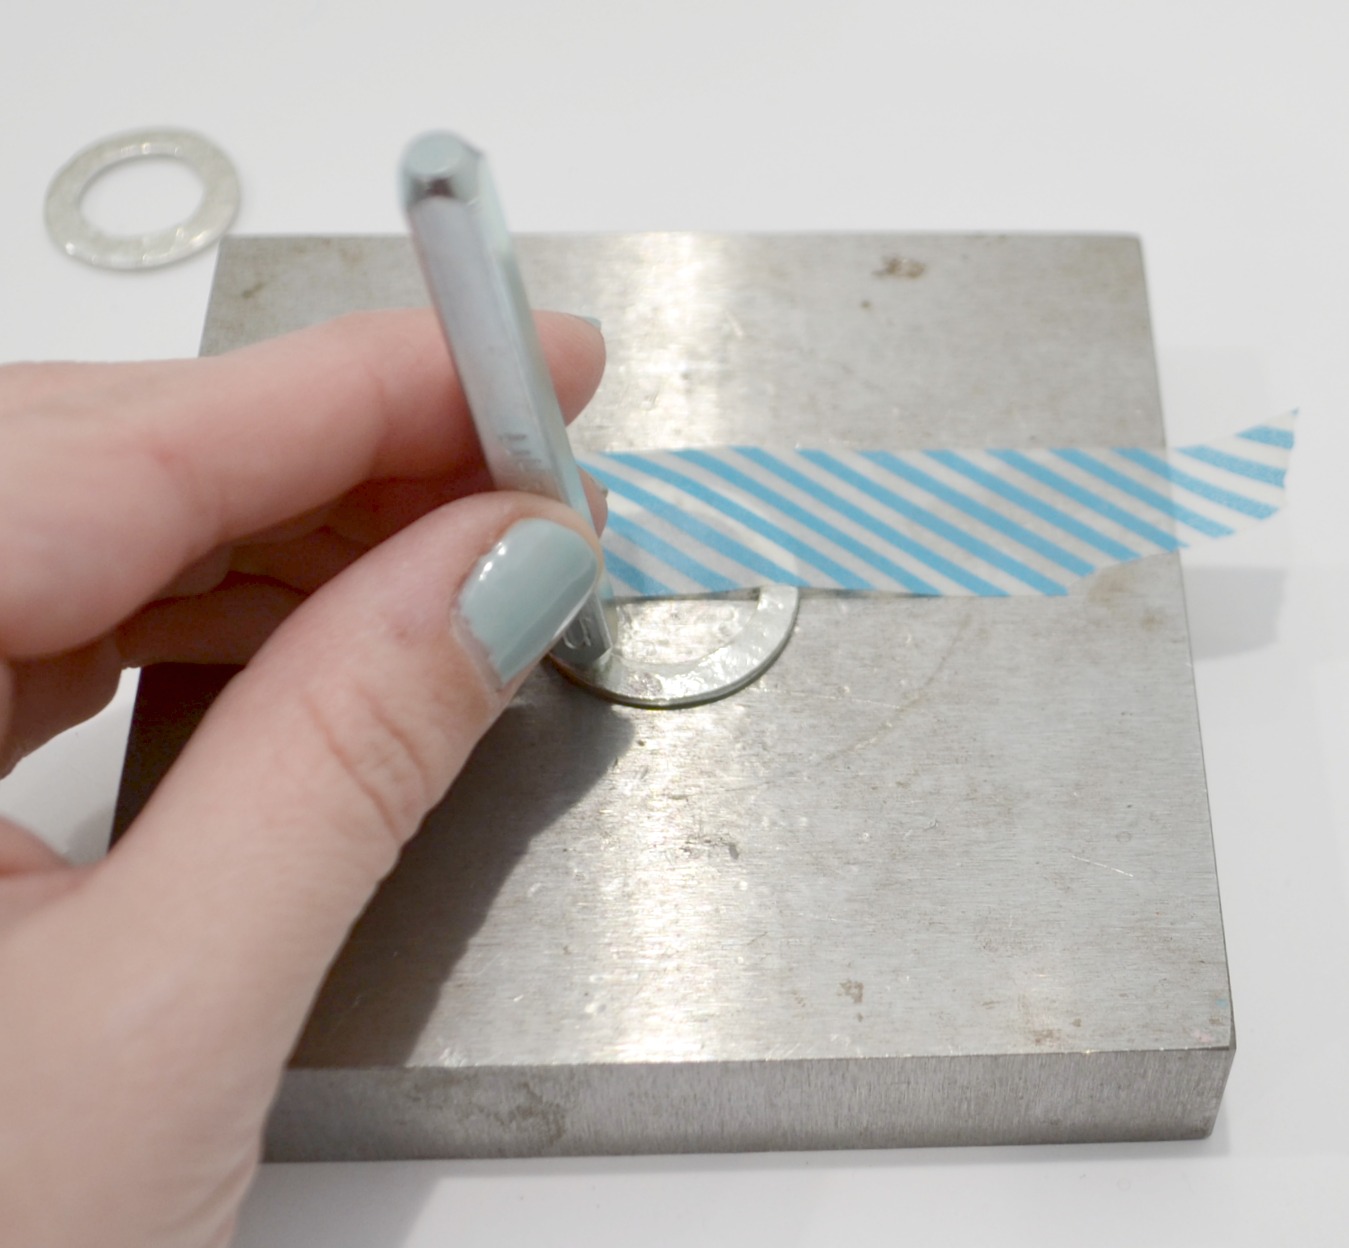
Step1: Tape your washer blank to the steel stamping block.
I wanted to stamp around the bottom, so I taped the top half down. I started with the larger of the two washers first.
Step 2: Place one letter stamp at a time on the surface of the blank and firmly tap the top of the stamp with your hammer.
One good tap will give you a nice, clean impression. This metal is very soft, so you don’t need to worry about it not stamping. ImpressArt stamps have the brand logo as well as the letter written on one side of the stamp. If that is facing you, you’ll always know that your stamp is aligned in the proper direction.
Continue stamping letters until your names or phrases are complete. You could also use numerals to symbolize dates, geographic locations, or anything else you like.
Step 3: Color in the stamped areas with a Stamp Enamel Marker.
I chose black, but these are also available in Green, Gold, Brown, & Silver. Let the enamel dry for a few minutes, then gently rub the excess off with a jewelry polishing cloth. The enamel on the surface should come off, while the enamel down in the stamped grooves should stay.

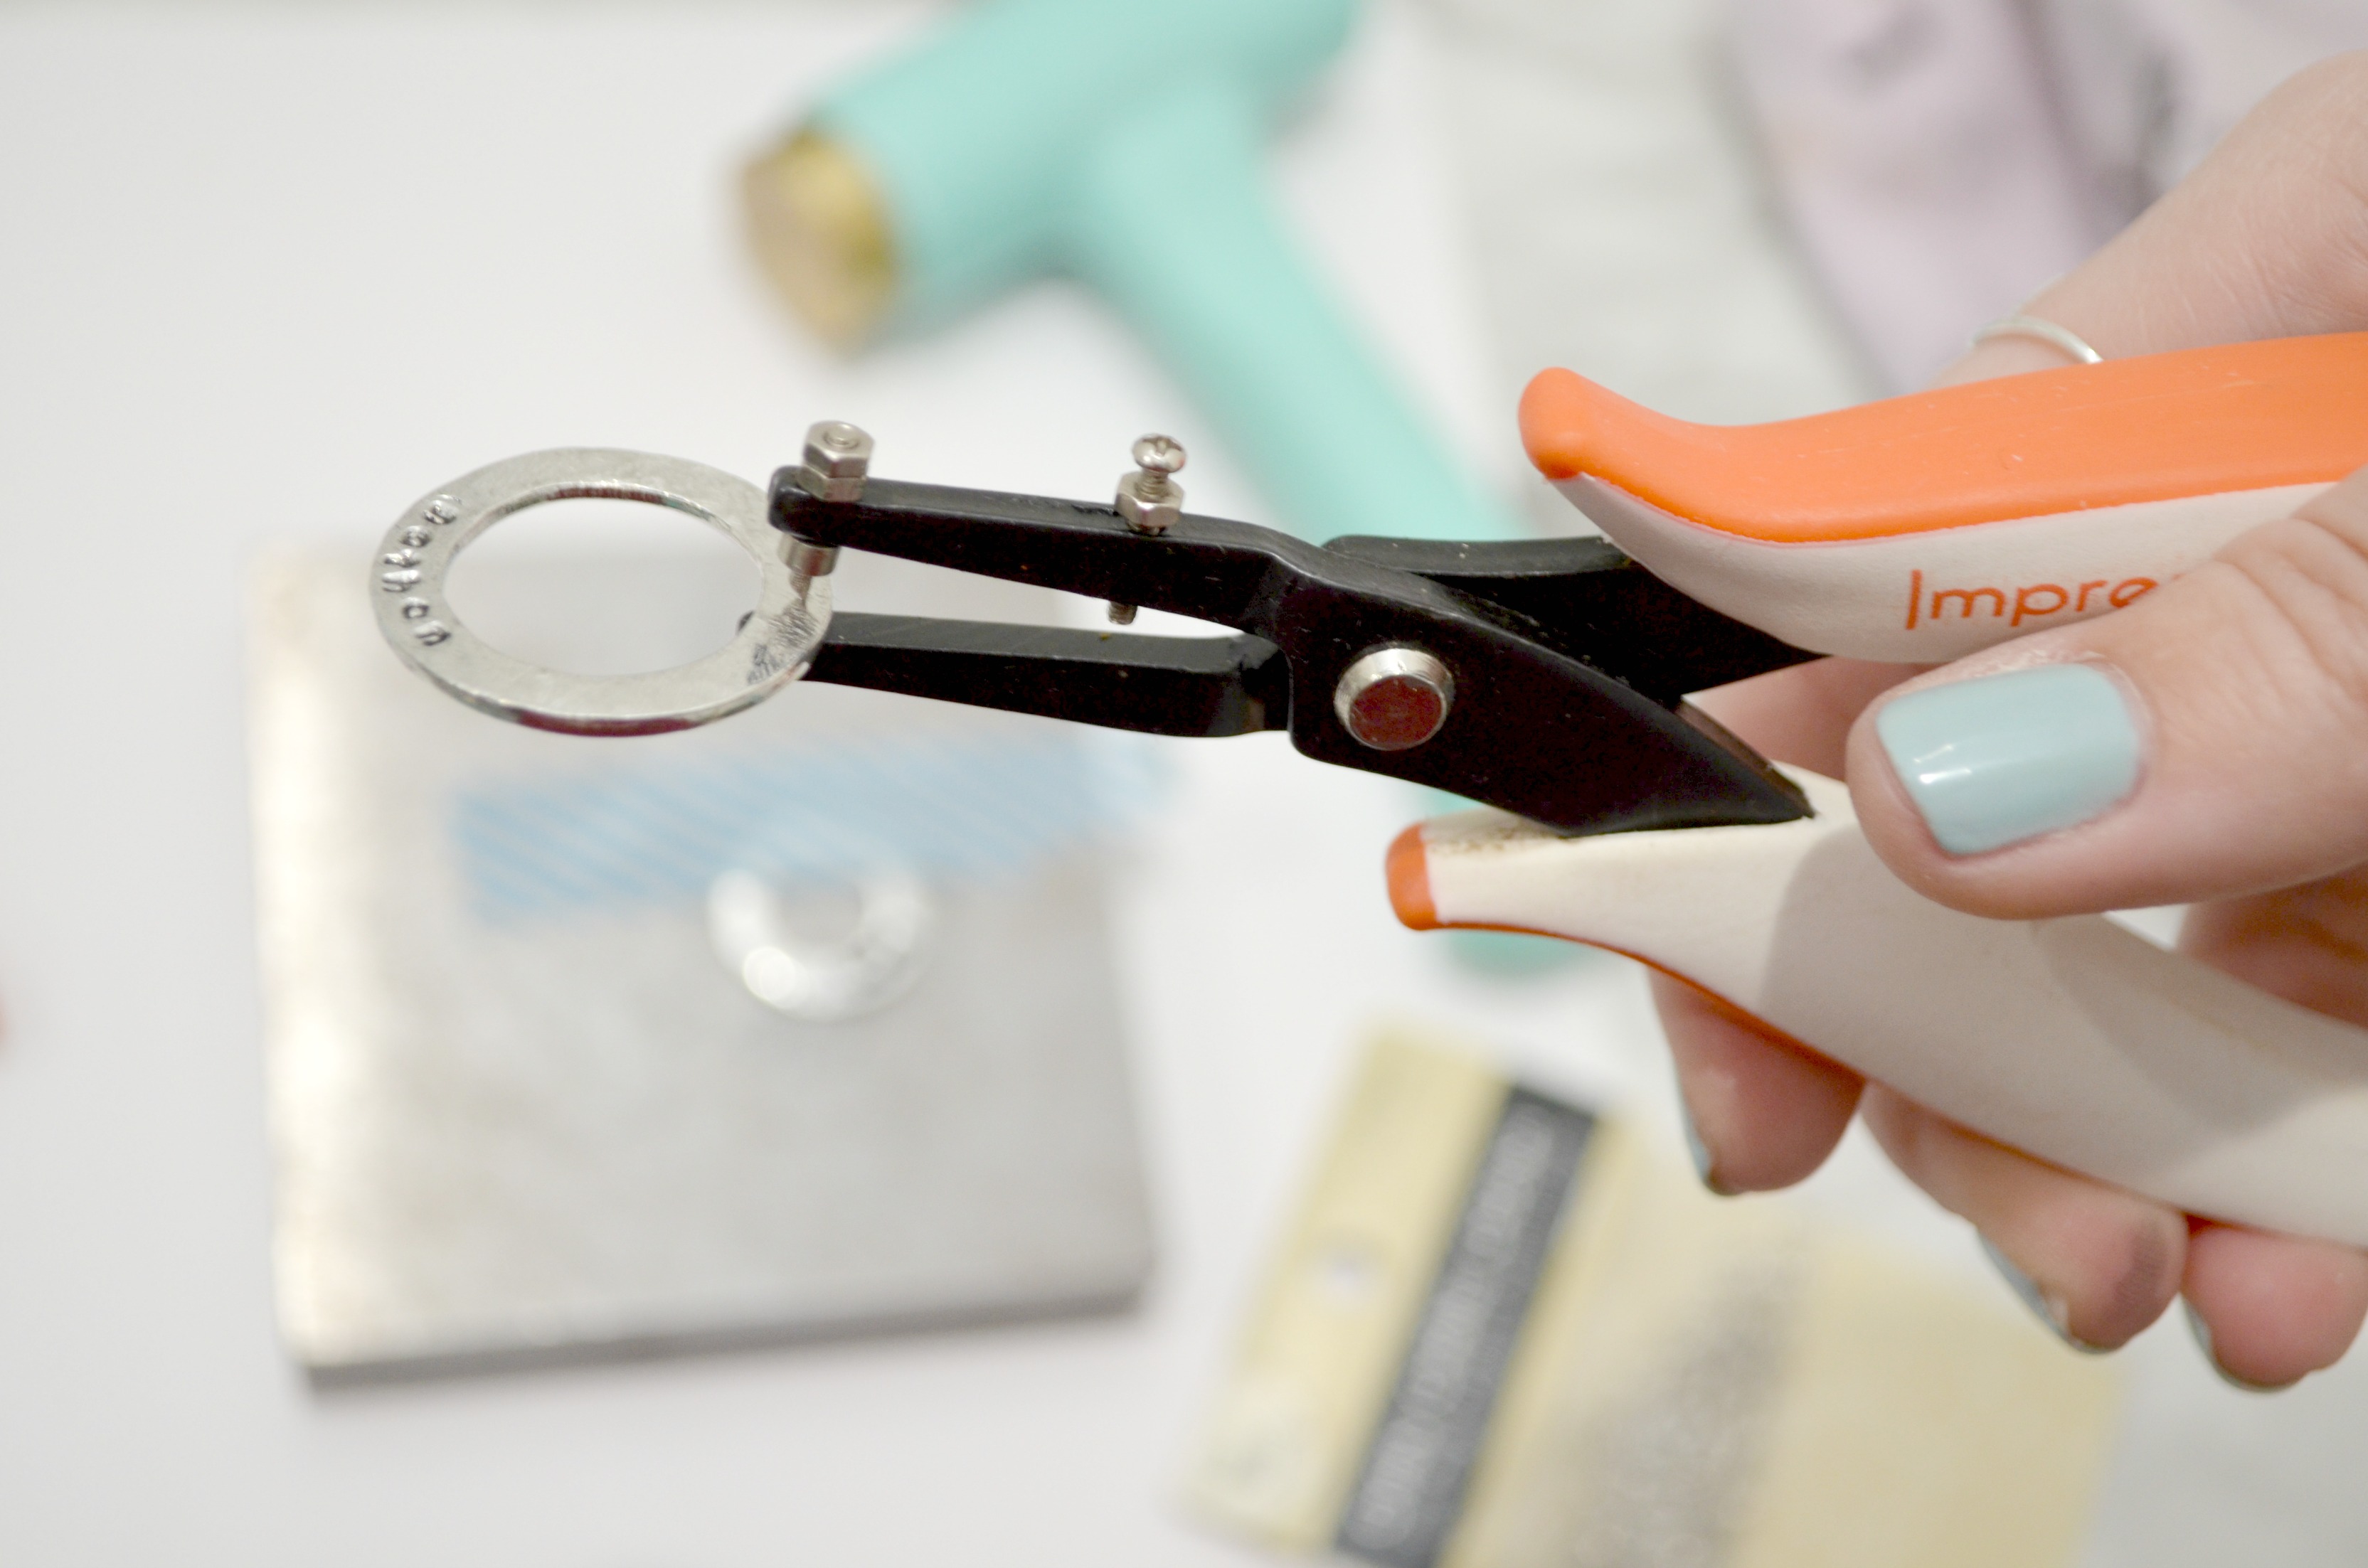
Step 4: Use metal hole punch pliers to punch a hole in the top of each washer.
If you don’t have these, you can still make the necklace; you’ll just need to put an extra large jump ring around the whole top of the ring instead. If there are any rough edges where the metal punches through, be sure to file them before wearing or giving the necklace as a gift!
Step 5: Join the washers together by inserting a jump ring through both punched holes.
Again, you could just put a big jump ring around both washers, but I like punching the holes because then the names will always stay at the bottom rather than sliding around when you wear the necklace.
Step 6: Attach a chain.
If you’ve never made jewelry before and are unsure how to do this, check out this post for more in-depth instructions.
That’s all there is to it. I love the look of this necklace and have already gotten compliments on it. I think the washers would make fun earrings as well, which I plan on trying out soon.

What about you? Is this necklace something you would enjoy wearing? How about a great gift idea for a mom, sister, aunt, grandmother, or friend in your life? It’s so easy to personalize with names, dates, locations, or favorite phrases. What would yours say?
Don’t forget, if you like it, then you oughta put a Pin on it!
Such a beautiful and meaningful necklace! Love it!