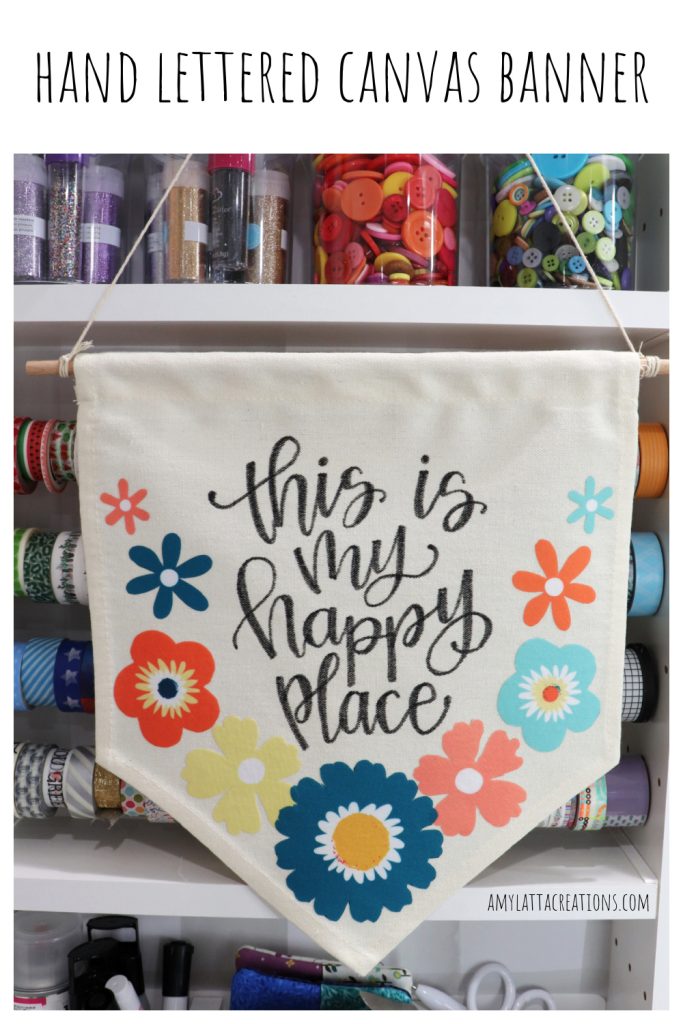
Hand Lettered Canvas Banner
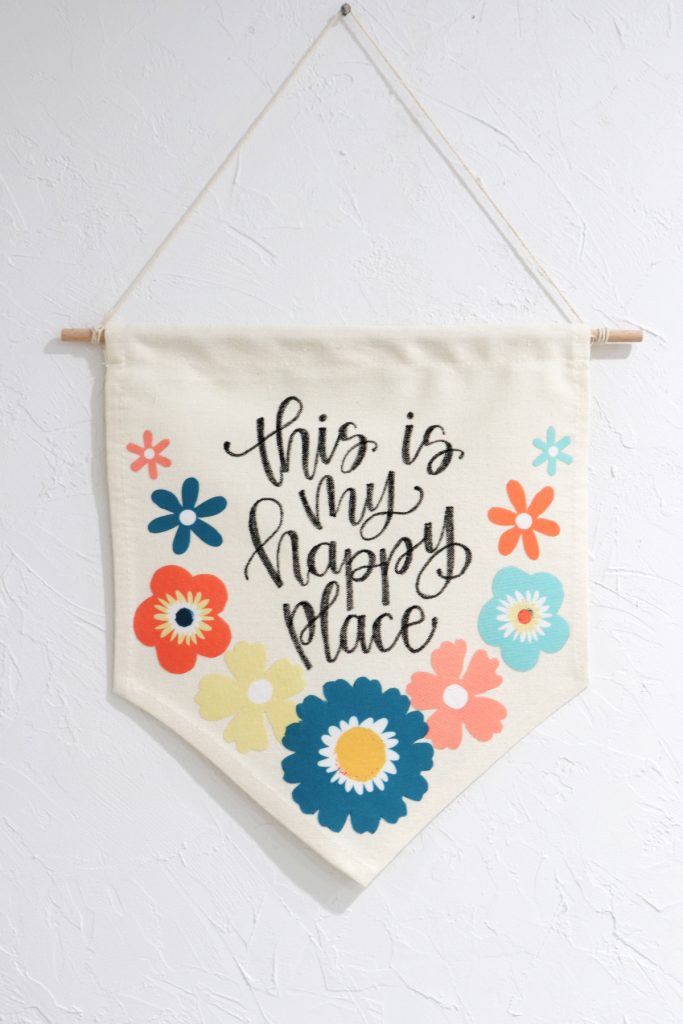
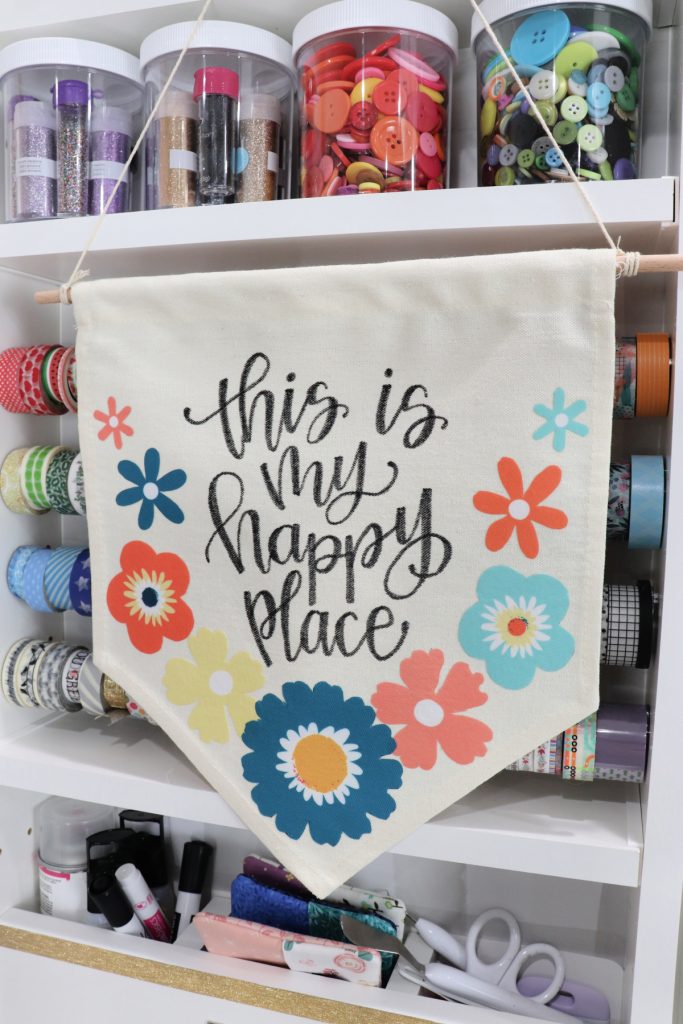
Bring some cheer to any space with this bright, hand lettered canvas banner! It’s perfect for decorating a craft room, a dorm room, a home office, a vacation home, or wherever your happy place might be.
How to Make a Hand Lettered Canvas Banner
This banner is simple to make and only requires a few basic supplies. The best part is that you can customize it in any way you like by using your own message and hand lettering. Let’s get started!
Bonus: Want to see this project demo in person? I’ll be celebrating at the Missouri Star Quilt Company Birthday Bash in Hamilton, MO and sharing this project in the demo tent on Wednesday 9/20! I’ll also be sharing it live on the MSQC YouTube channel on Friday 9/22!

Materials
- canvas banner
- Iron-On fabric flowers
- heat-erase pen or pencil
- fabric markers
- iron
Note: My banner, iron-ons, and markers are all from Missouri Star Quilt Company. Shop from this link and save 15%!

Instructions
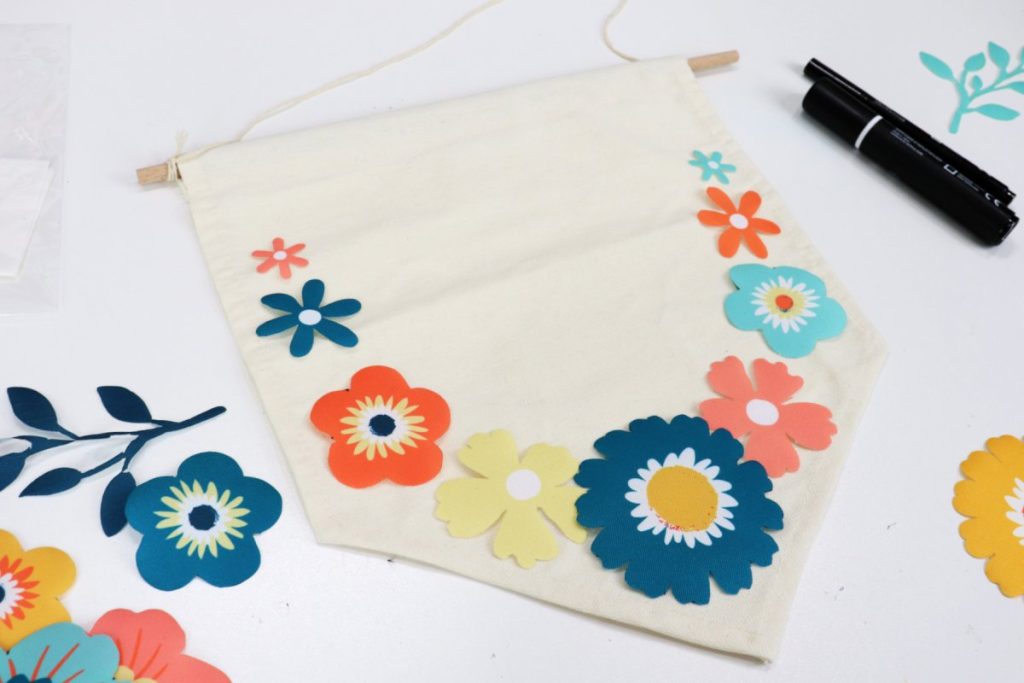
Lay out your flowers.
Choose how you want your flowers (or other iron-on designs) to appear on the banner. I started with the largest flower in the bottom center, then worked my way up the sides, decreasing in size. I used the same types of flowers on each side, but in different colors. You can lay out your iron-on images however you like best.
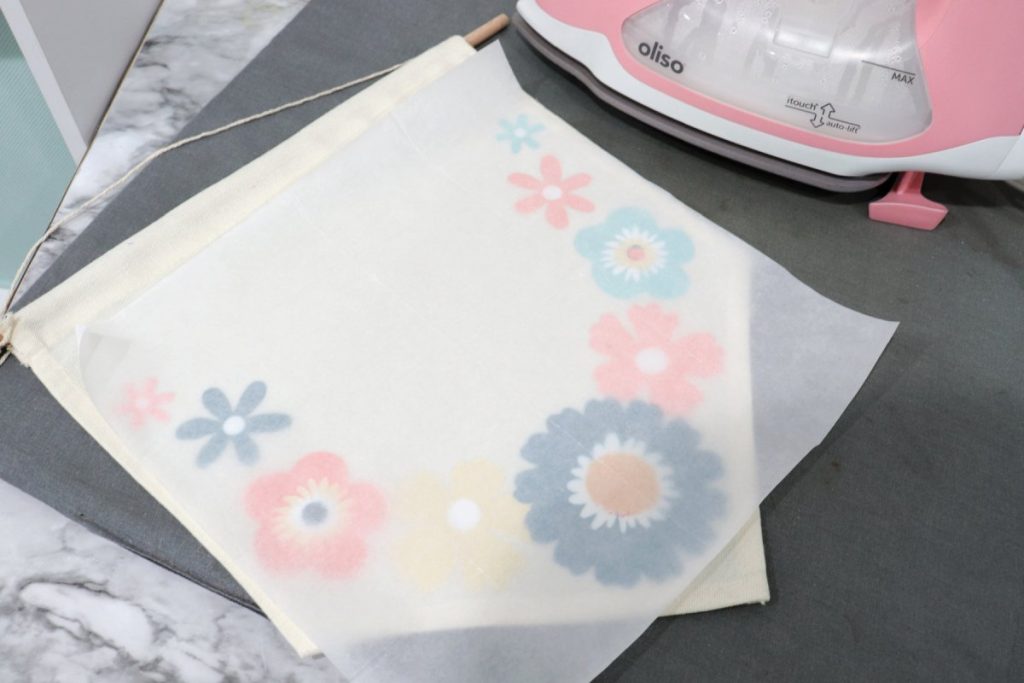
Iron your designs onto the banner.
Follow the manufacturer’s instructions for your particular iron-ons. Mine came with a paper to cover the project while ironing. I applied heat for about 20 seconds on the front side, then flipped the banner over, and applied heat to the back for another 20 seconds.
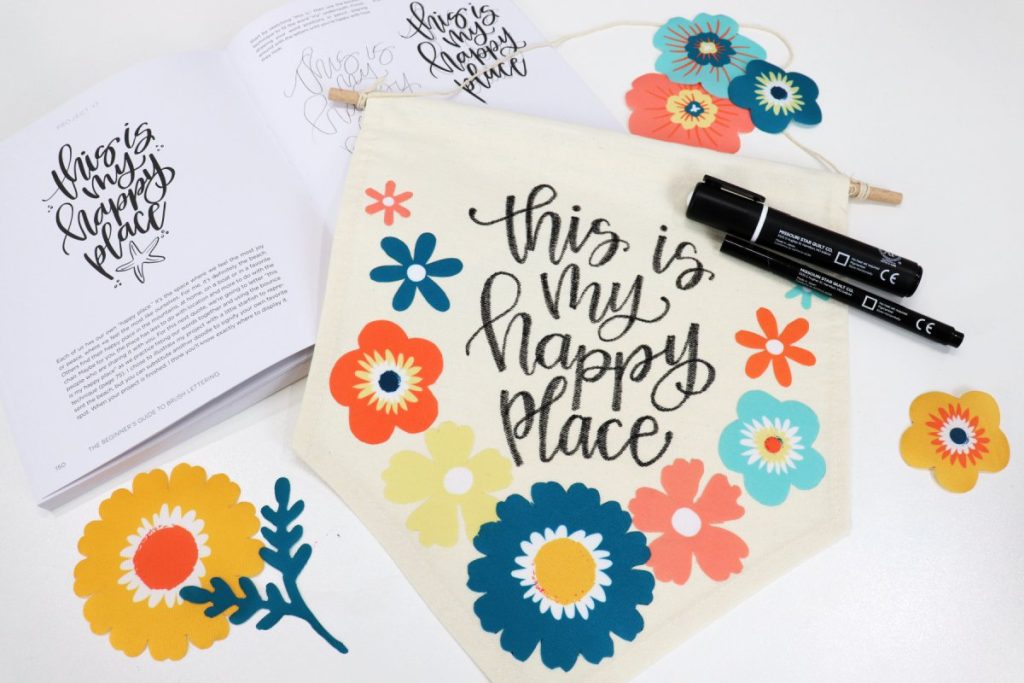
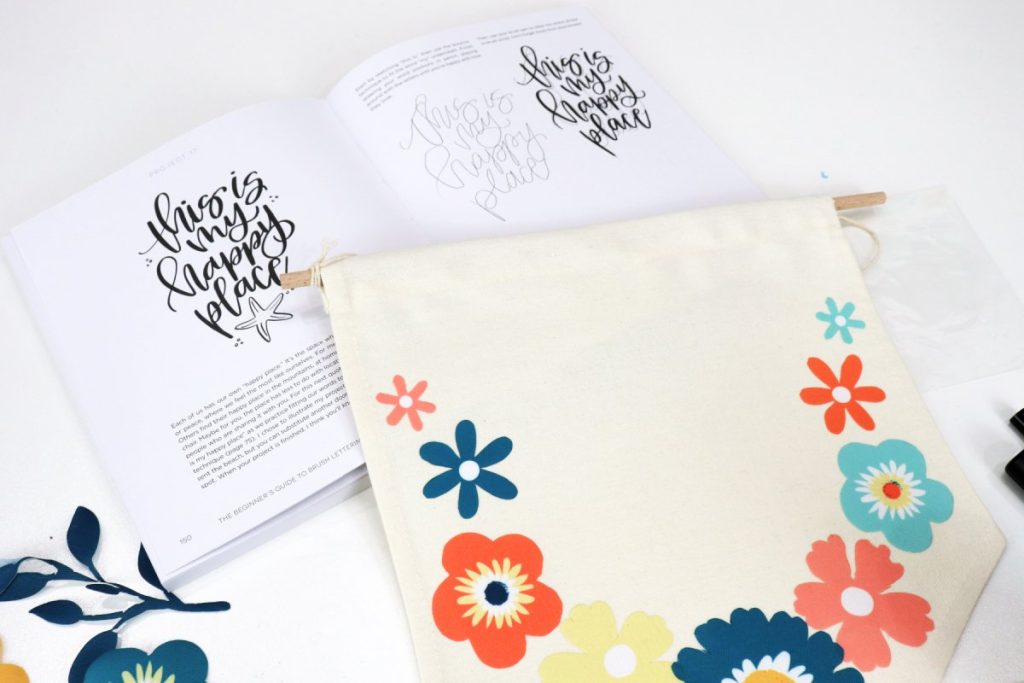
Choose your phrase and sketch a layout for the words.
I decided on “this is my happy place,” which is one of the traceable projects in my book, The Beginner’s Guide to Brush Lettering. There are lots of other quotes in the book as well that are already laid out for you to trace and practice. You can also browse Pinterest for hand lettered quote inspiration, or try coming up with your own phrase and layout.
Sketch your words with heat-erase pen or a pencil.
Once you’ve chosen your quote and layout, sketch it onto the canvas. I like to use heat-erase pen, because later, all I have to do is run an iron over the surface and all of my markings disappear.

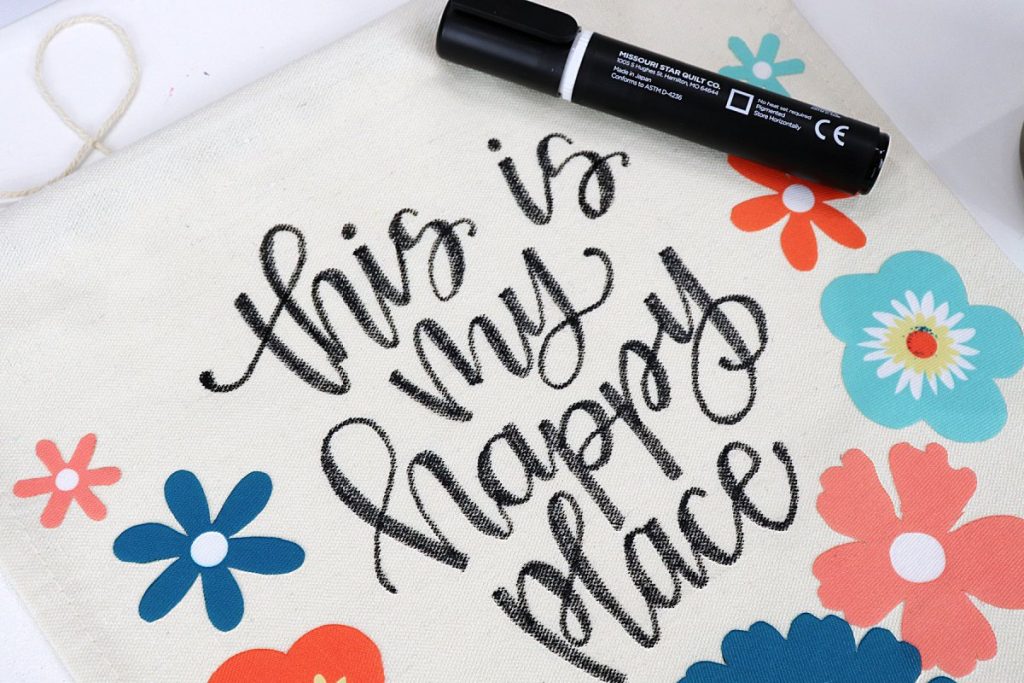
Trace your words with fabric marker.
I used the Missouri Star Quilt Company fine point black fabric marker, because it has the least bleed of any fabric marker I’ve worked with.
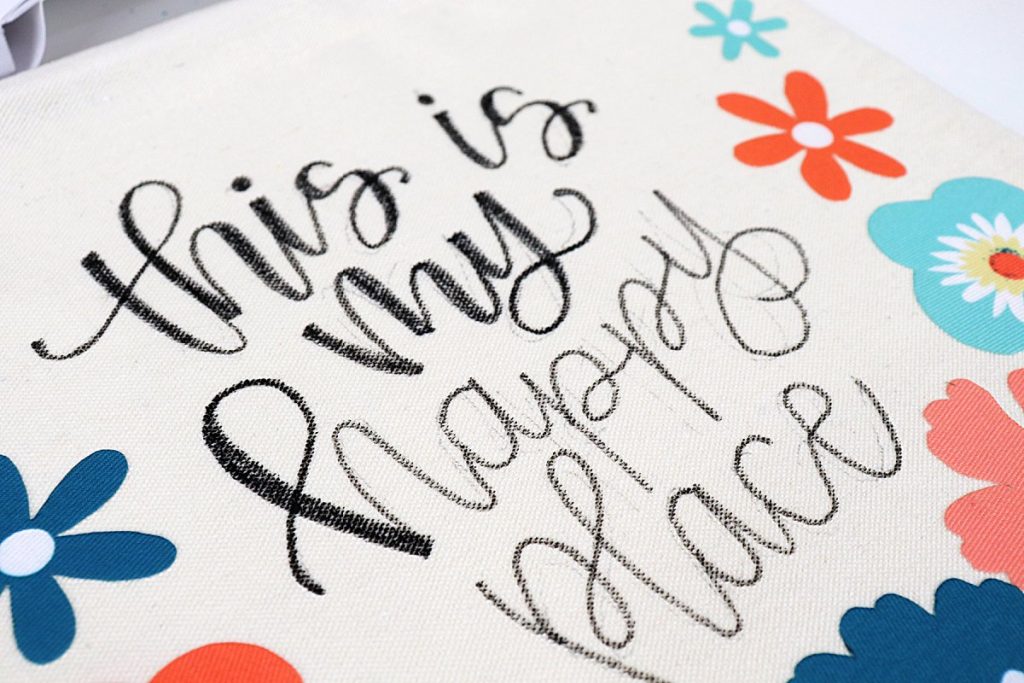
Thicken the downstrokes of each letter to create the faux calligraphy look.
To get that gorgeous brush script effect, we’re going to go back into our words and find each spot where our pen was moving down when we wrote the letters. Those are called the downstrokes. Use the fabric marker to make those lines thicker and darker than the rest.
New to lettering? Check out this quick how-to post on faux calligraphy!
Erase your sketch lines.
Once your phrase is completely traced, it’s time to get rid of any sketch marks you can still see. Either iron the lettered section (if you used a heat-erase pen), or use an eraser (if you used pencil) to remove the unwanted lines.
Display your banner where it brings you joy!
All that’s left to do is hang up your project and enjoy it every day.
Crafting Tips
- For another fun variation on this project, follow the same basic steps, but replace the banner with a canvas pouch, tote bag, or other surface.
- There are lots of other fun and even seasonal iron-ons you can use. Try making a holiday themed banner using the Missouri Star gnome and tree cutouts, or another variation using your favorite iron-on designs.
Frequently Asked Questions
Another option, besides hand lettering your message, is to use iron-on letters or phrases. You can cut your own custom words from iron-on vinyl using a Cricut or other electronic cutting machine, or purchase something that’s already prepared.
Personally, I only use Missouri Star Quilt Company fabric markers. They are my favorite because they have the least bleed of any fabric marker I’ve ever tried. They are also permanent, even when washed, and they do not need to be heat set.
You can save 15% on them on the MSQC website when you use this link.
More Hand Lettered Projects
If you like this project, make sure to check out these other totally custom crafts you can make using hand lettering!


If you try making your own hand lettered canvas banner, or any other projects, I’d love to see! Make sure you’re part of the Amy Latta & Friends Facebook Group so you can share your photos in our weekly show and tell thread and we can all be inspired. See you there!

Hand Lettered Canvas Banner
Equipment
- iron
Materials
- canvas banner
- iron-on flowers
- black fabric marker
- heat erase pen (or pencil)
Instructions
- Lay out your flowers.
- Iron your flowers onto the banner.
- Choose your phrase and sketch a layout for the words.
- Sketch your words with heat-erase pen or a pencil.
- Trace your words with fabric marker.
- Thicken the downstrokes of each letter to create the faux calligraphy look.
- Erase your sketch lines.
- Display your banner!