Sock Pumpkins
If you’re looking for simple seasonal decor to create this fall, try making your own Sock Pumpkins!
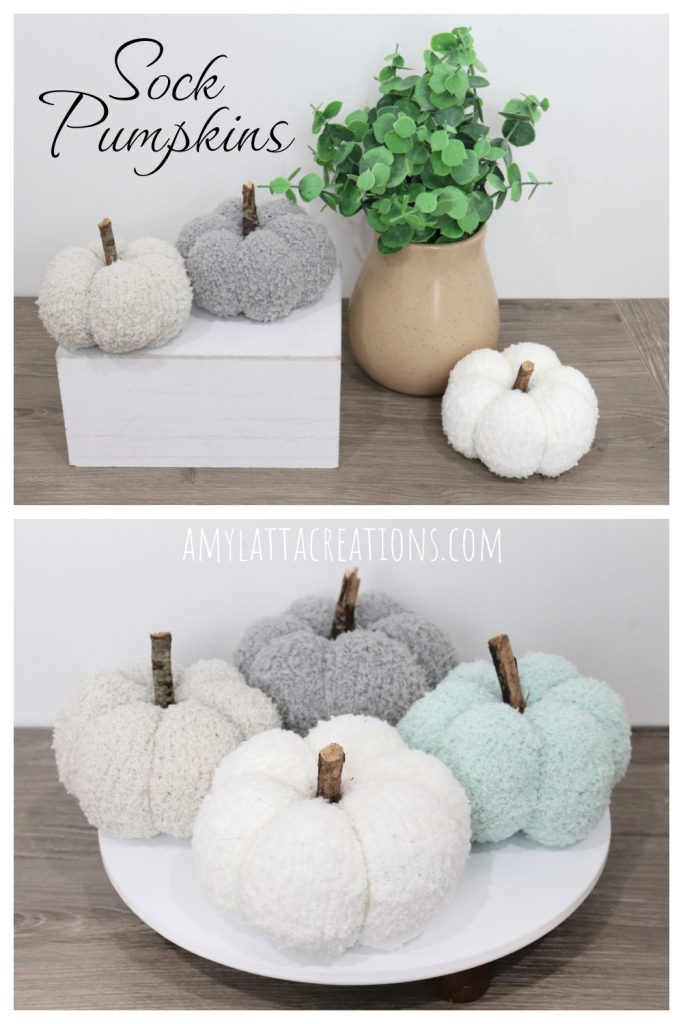
How to Make Sock Pumpkins
This is a quick and easy project that only requires a few basic supplies. You can make your own sock pumpkin in less than 15 minutes. Here’s how to get started.
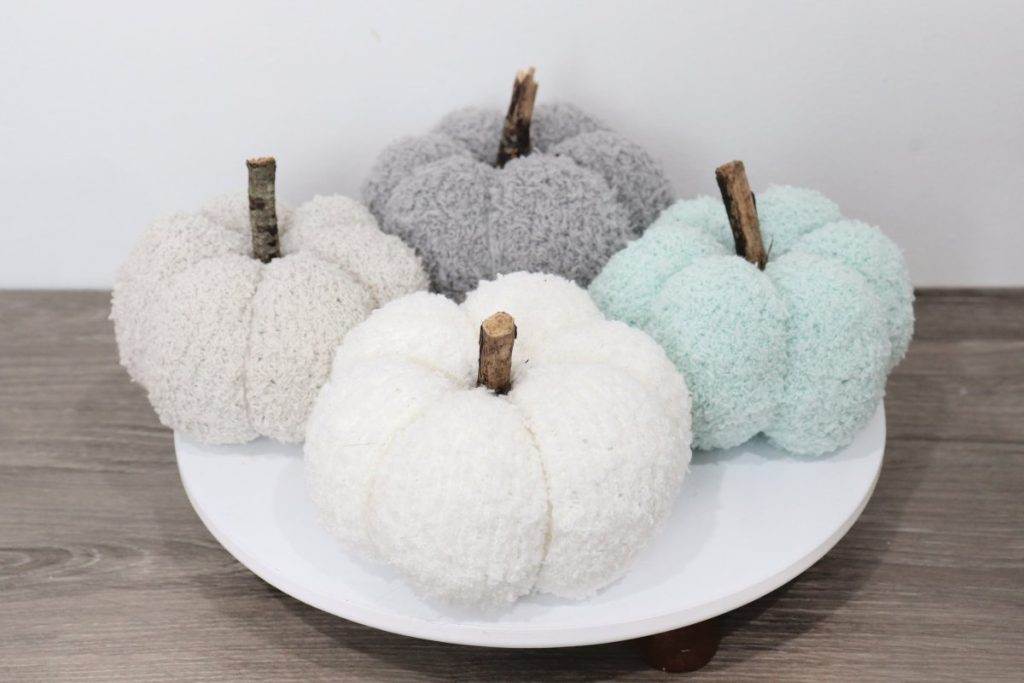
Materials
- fuzzy sock, your choice of color
- scissors
- branch/stick
- yarn
- thread
- sewing needle and large-eye sewing needle
- Poly-Fil
- Poly Pellets
- hot glue gun and glue sticks
Instructions
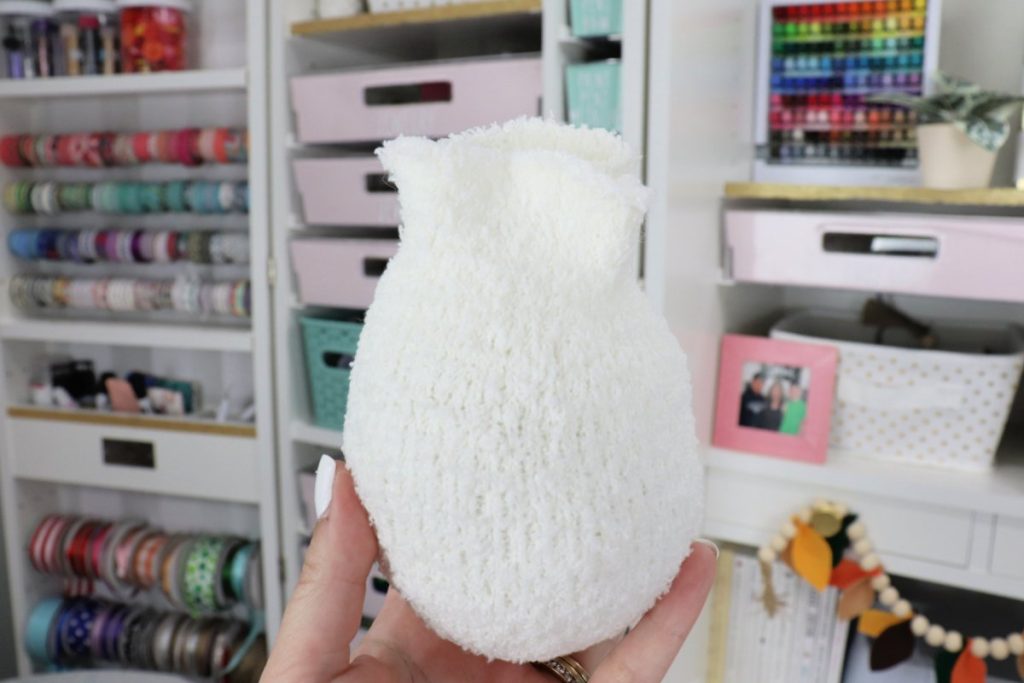
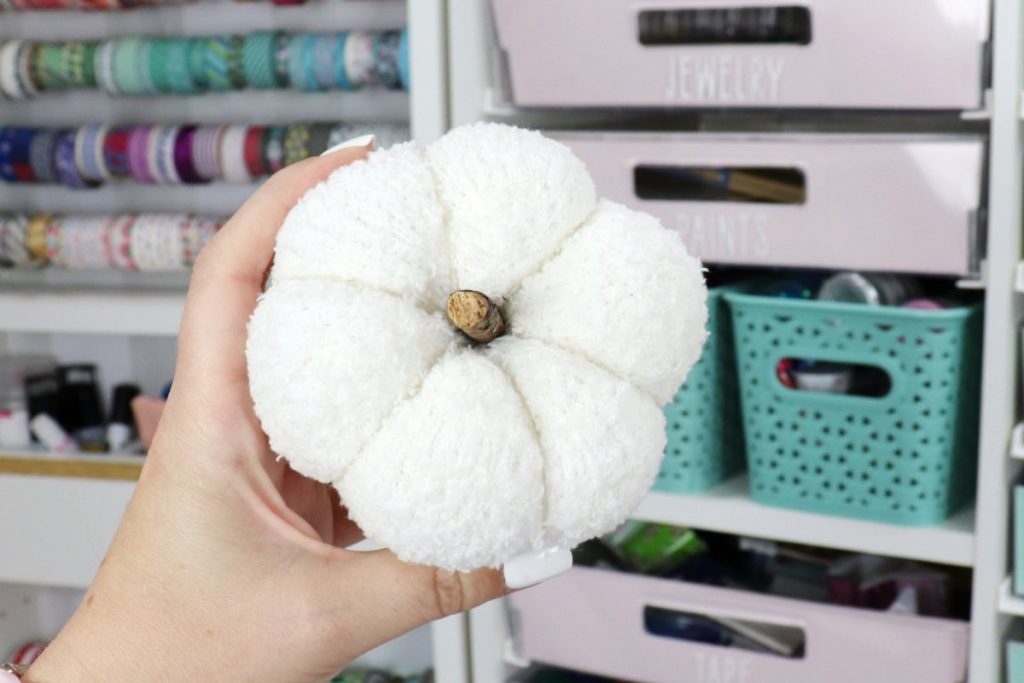
Cut your sock near the heel to form a tube.
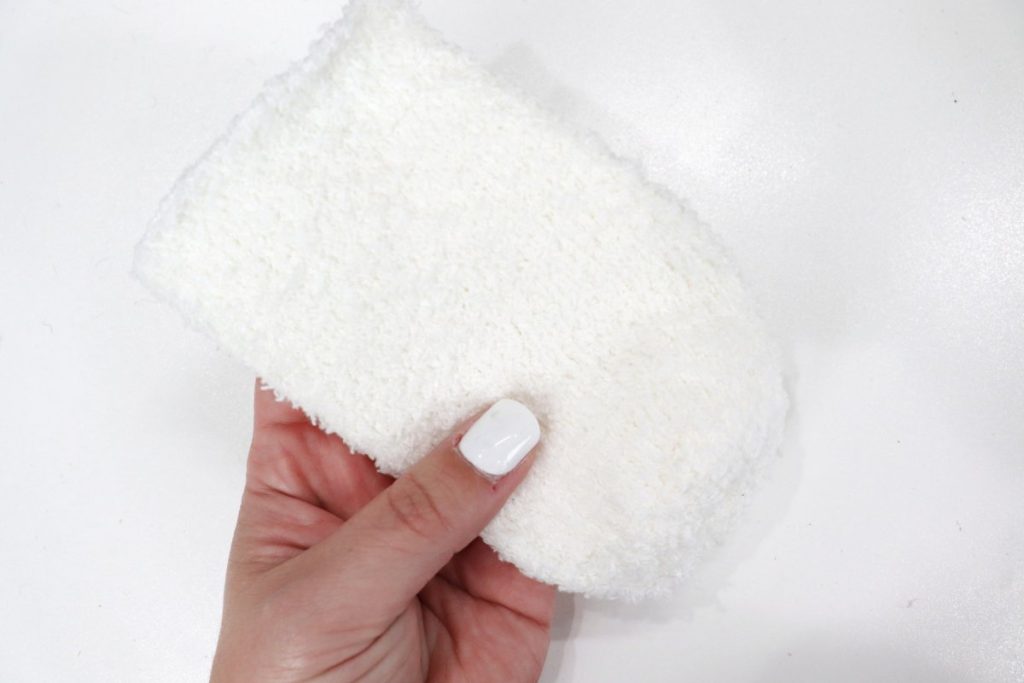
Fill the tube with a mixture of Poly Pellets and Poly-Fil.
Poly Pellets are weighted stuffing beads. The more of these you add, the heavier your pumpkin will be. They will give your project a beanbag-like feel.
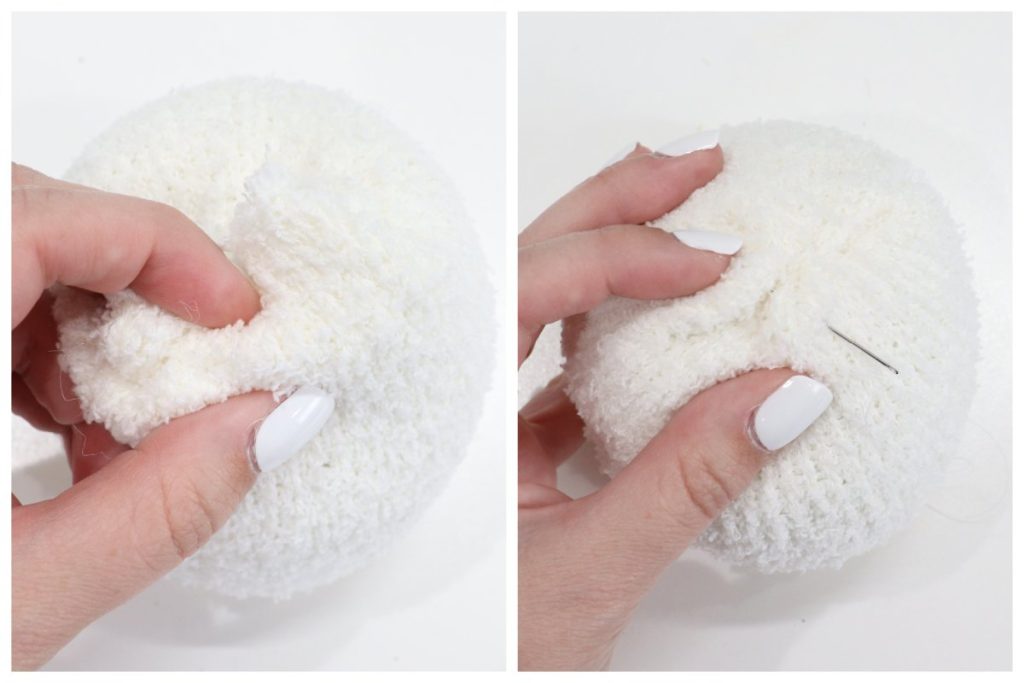
Gather the top of the sock and glue or sew shut using a needle and thread.
I like to do a running stitch around the neck of the gathered area. Then I gently push the excess fabric down inside the opening and pull the thread to gather the area shut. I finish by sewing a few stitches across the opening to make sure it remains closed.
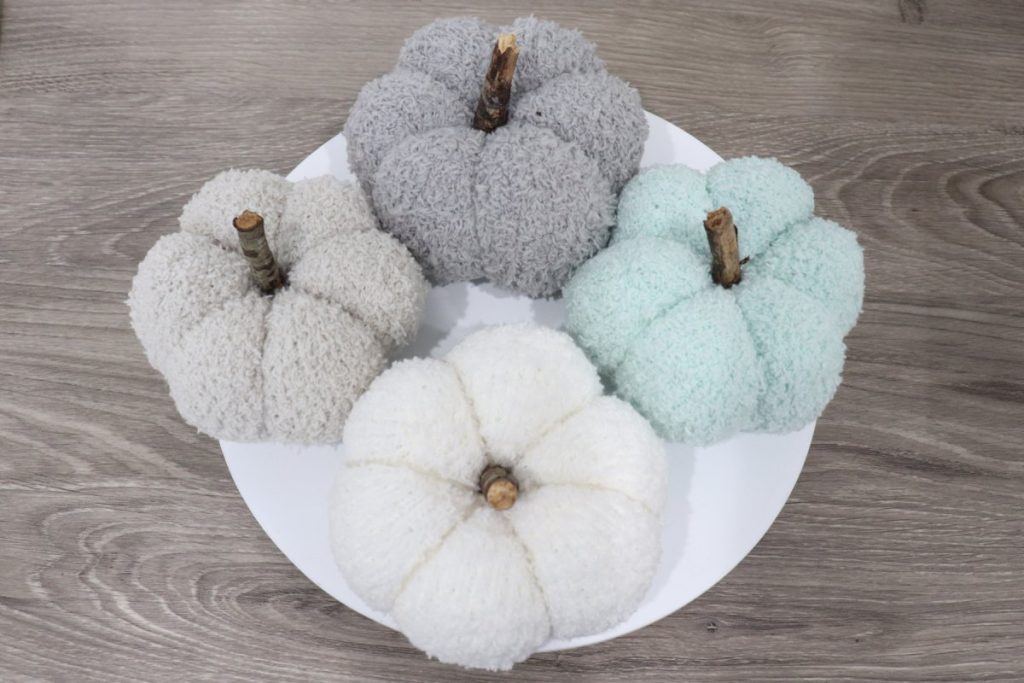
Divide the pumpkin into sections with about 36” of yarn.
Take your piece of yarn and find the center. Place the center section over the middle of your pumpkin and use it to divide the ball in half. Tie it tightly. This will give you two pieces of yarn that are about equal in length.

Flip your ball over, and bring the yarn back up over the top, dividing off 1/3 of each half. This gives you two large sections and two smaller ones. Tie tightly. Again, you should have two long strings left.
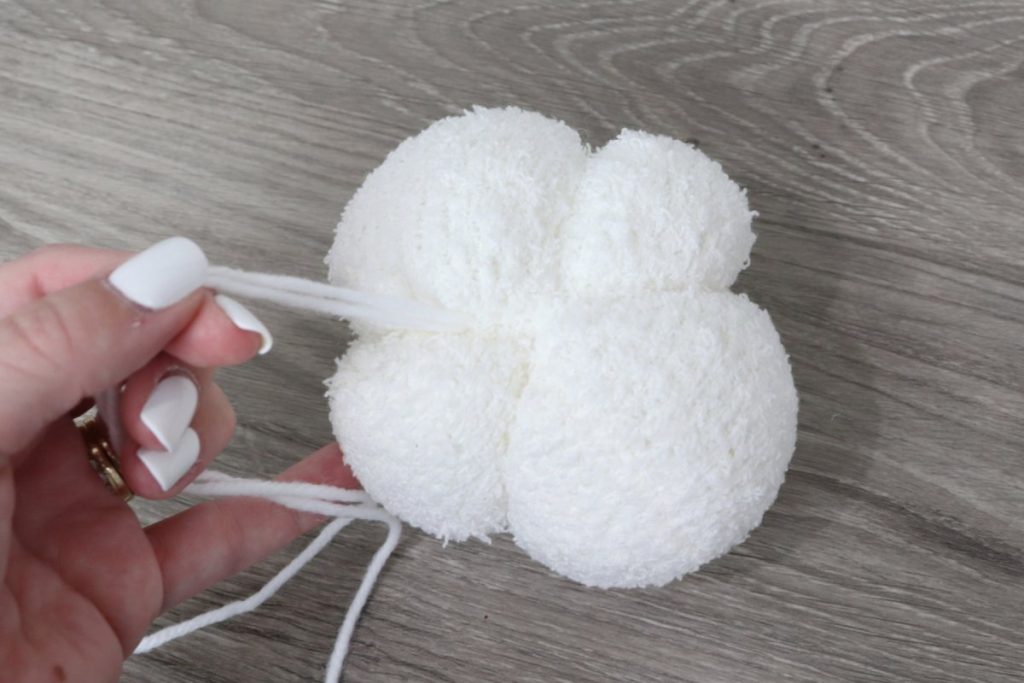
Flip your pumpkin over and bring the yarn back to the bottom, dividing the larger sections in half. This should give you six sections that are somewhat equal in size. Tie at the bottom.
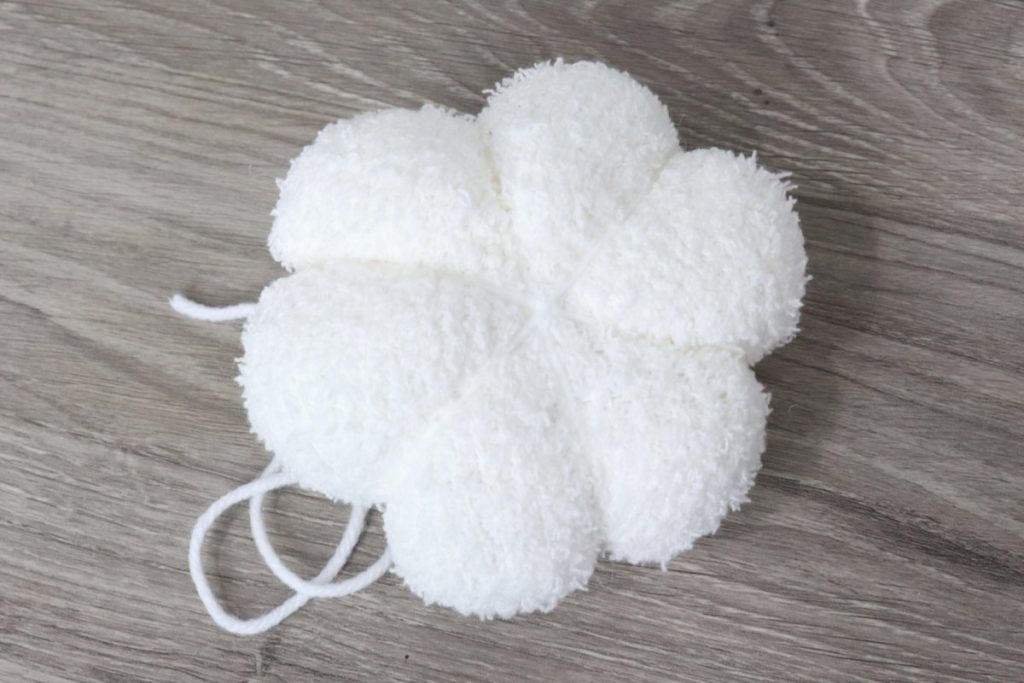
Take one of the long strings and thread it onto a large-eye sewing needle. Push the needle up through the center of the pumpkin from the bottom to the top. Then, send it back down from top to bottom and pull. This will draw the center of the pumpkin down inside, creating a space for the stem and making that classic pumpkin shape. Tie the two pieces of yarn in a tight knot and trim the excess.
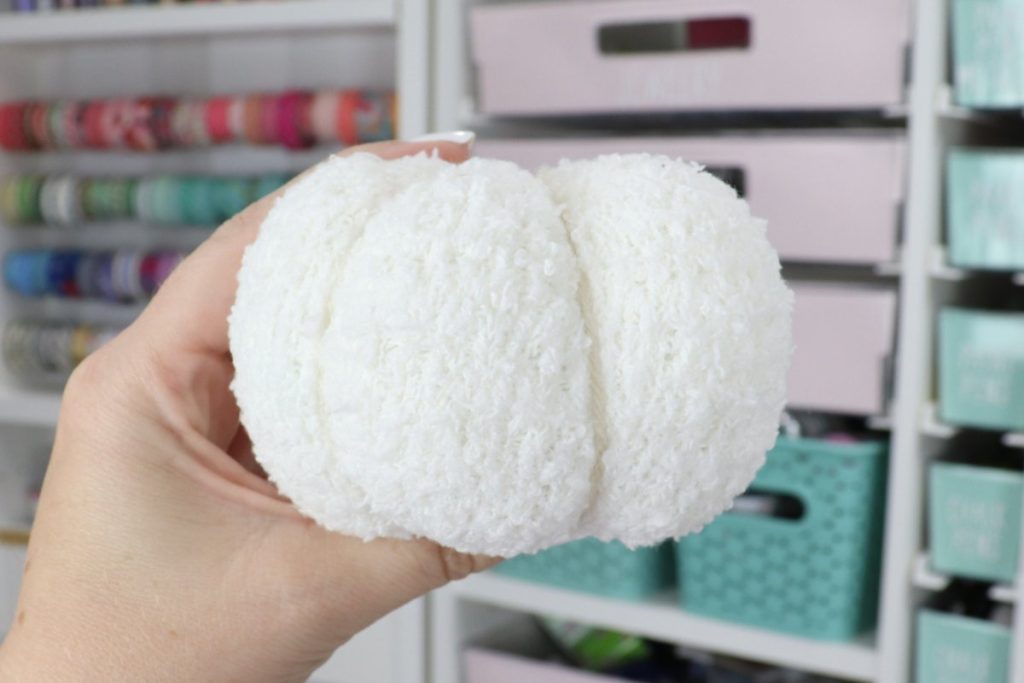
Glue a branch/stick in the center as a stem.
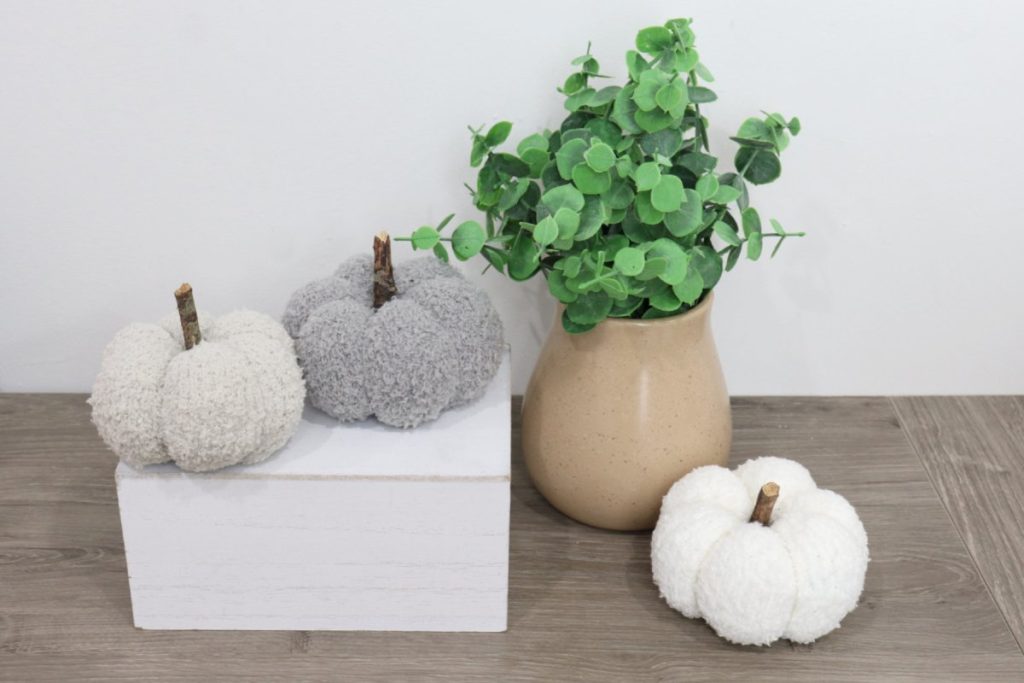
Now your pumpkin is ready to display! These are so quick and easy to make that I bet you’ll want to create more than one. I sure did!

Crafting Tips
- Try using a variety of sock colors to create pumpkins that will match your home decor.
- Check your local thrift store for socks, as well as for gently used sweaters. A sweater sleeve can also be used for this project!
- Want your pumpkin to have more weight? Substitute Glasslets Glass Micro Beads for the Poly Pellets.
- Feel free to glue a felt or other faux leaf next to the stem if you want your pumpkin to have one.
Frequently Asked Questions
Sure, they’ll just have a different look. Personally, I really like the fuzzy texture, but any sock will work.
They will vary slightly based on the size of the sock you use and how much Poly-Fil you add. Mine are about 4-5.”
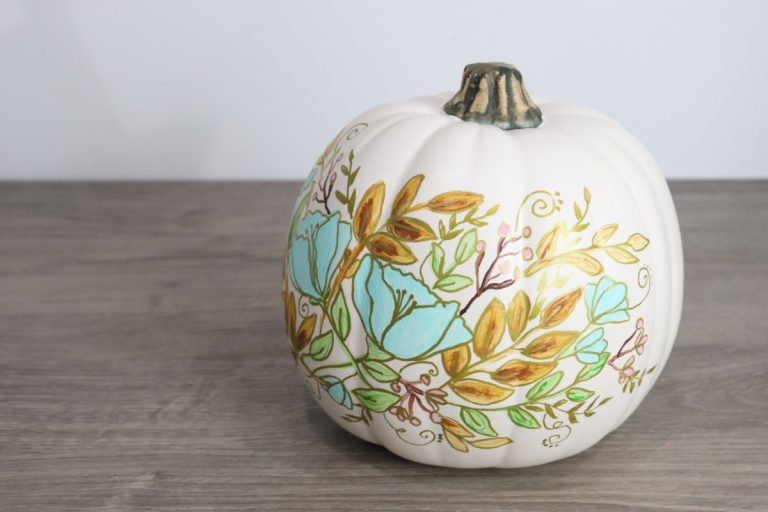
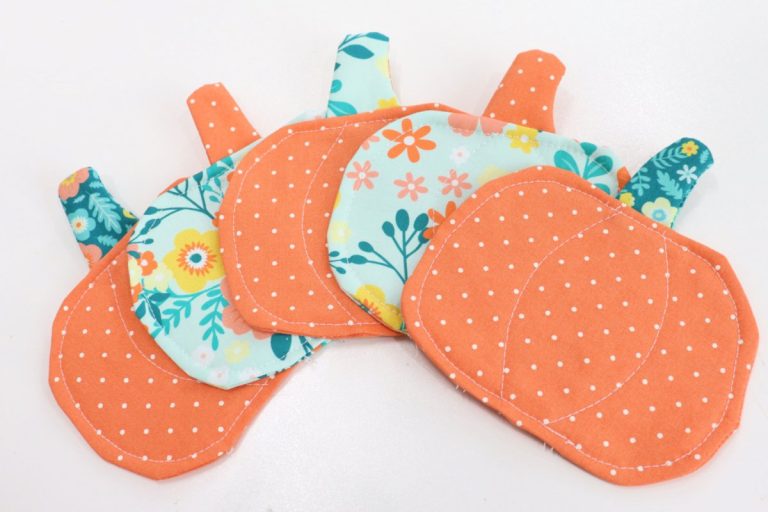
More Pumpkin Projects
If you enjoyed this project idea, make sure to check out these other fun ways to craft and decorate with pumpkins!


If you try any of these projects, I’d love to see how they turn out! Make sure you’ve joined the Amy Latta & Friends Facebook Group so you can share your project photos and we can all be inspired! Hope to see you there.

Sock Pumpkin
Equipment
- scissors
- hot glue gun and glue sticks
- sewing needle and large-eye sewing needle
Materials
- fuzzy sock
- thread
- yarn
- Poly-Fil
- Poly Pellets
Instructions
- Cut your sock near the heel to form a tube.
- Fill the tube with a mixture of Poly Pellets and Poly-Fil.
- Gather the top of the sock and glue or sew shut using a needle and thread.
- Divide the pumpkin into sections with about 36” of yarn.
- Glue a branch/stick in the center as a stem.


too cute. Not sure where to cut. Is toe of the sock the bottom of the pumpkin? Thanks