Rust & Moss Mongram with Painted Finishes
Thanks to AC Moore for sponsoring today’s post; all opinions are, as always, honestly my own.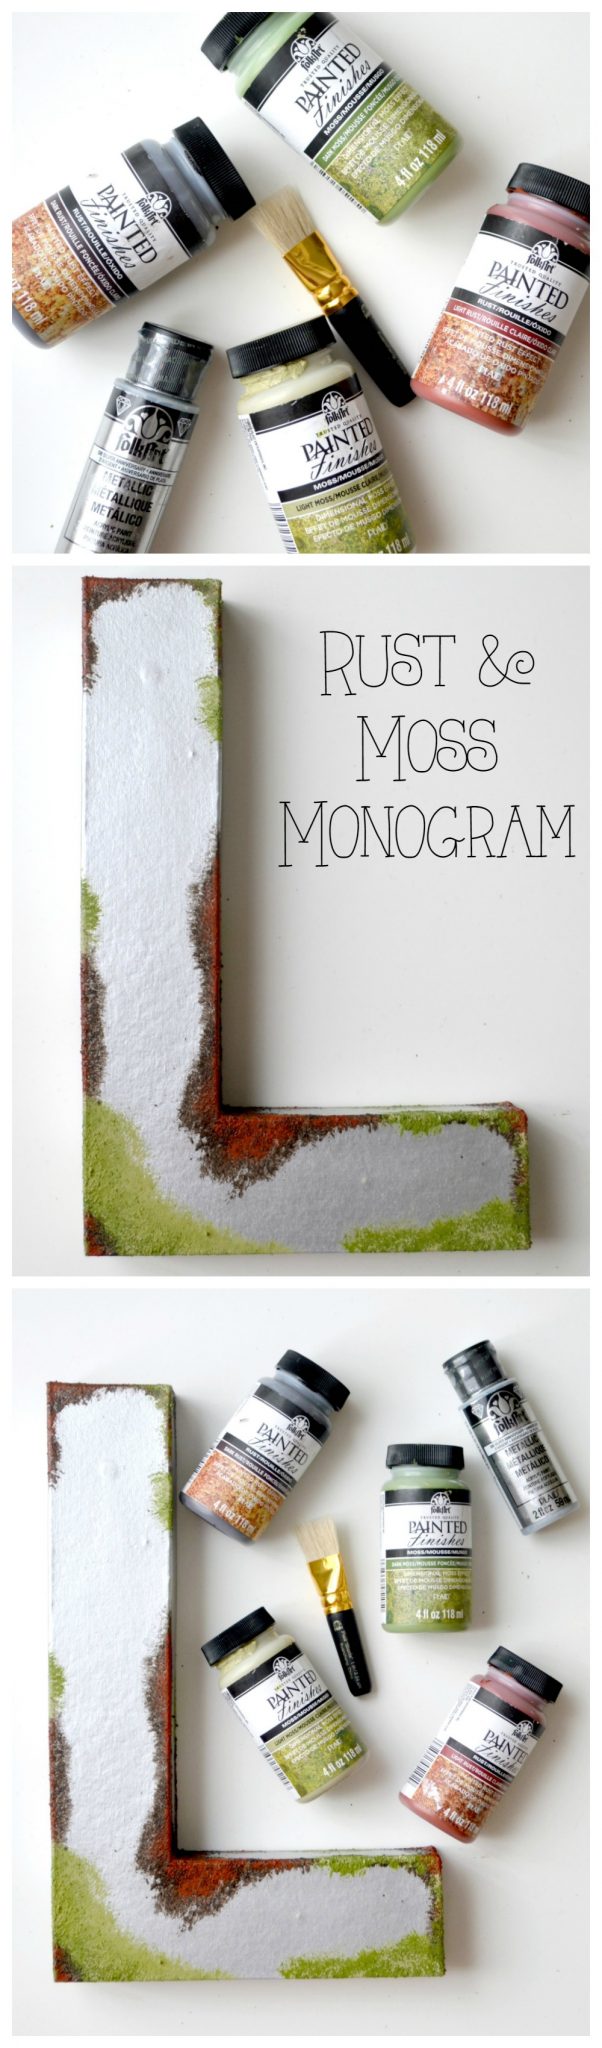
Friends, I am a total sucker for anything monogrammed! So, it should come as no surprise that you can find decorative “L”s in various places around our house. Recently, I decided to put my fun new FolkArt Painted Finishes to work and create a new one.
I wanted to create the illusion of an old, rusted metal letter that had some moss growing on it as well. Here’s how I did it and how you can create your own decorative Rust & Moss Monogram!
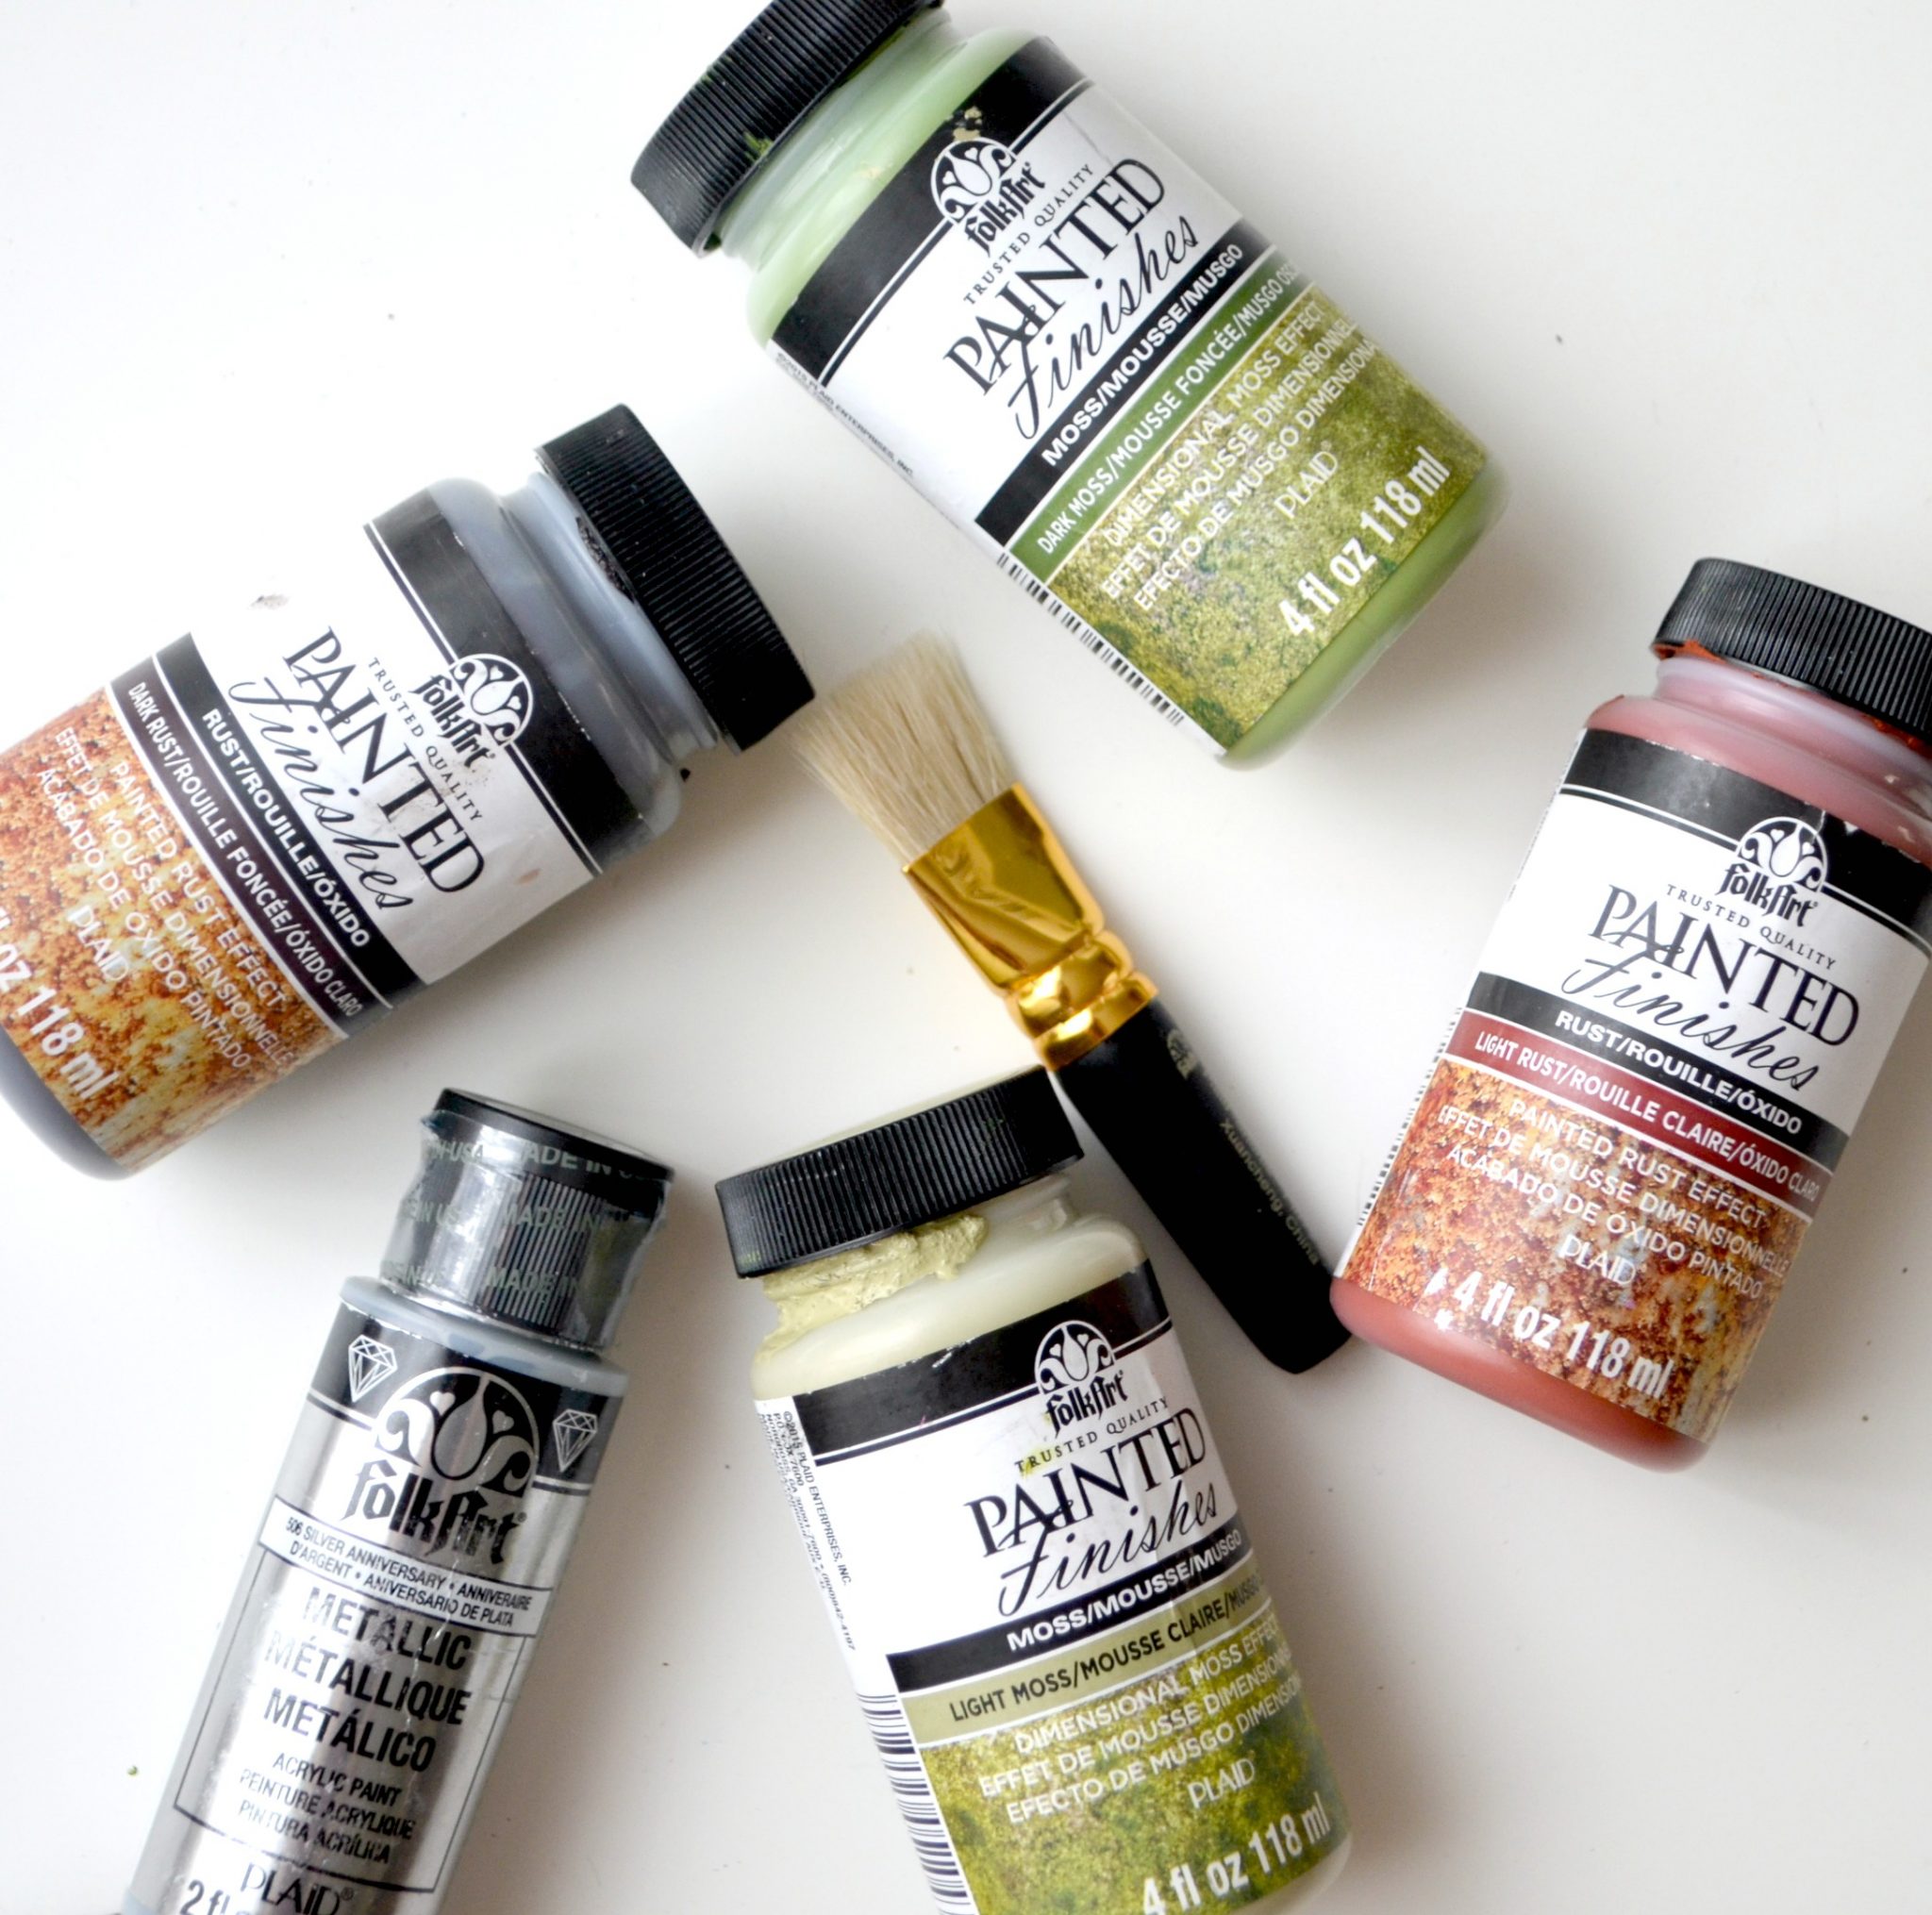
You’ll need:
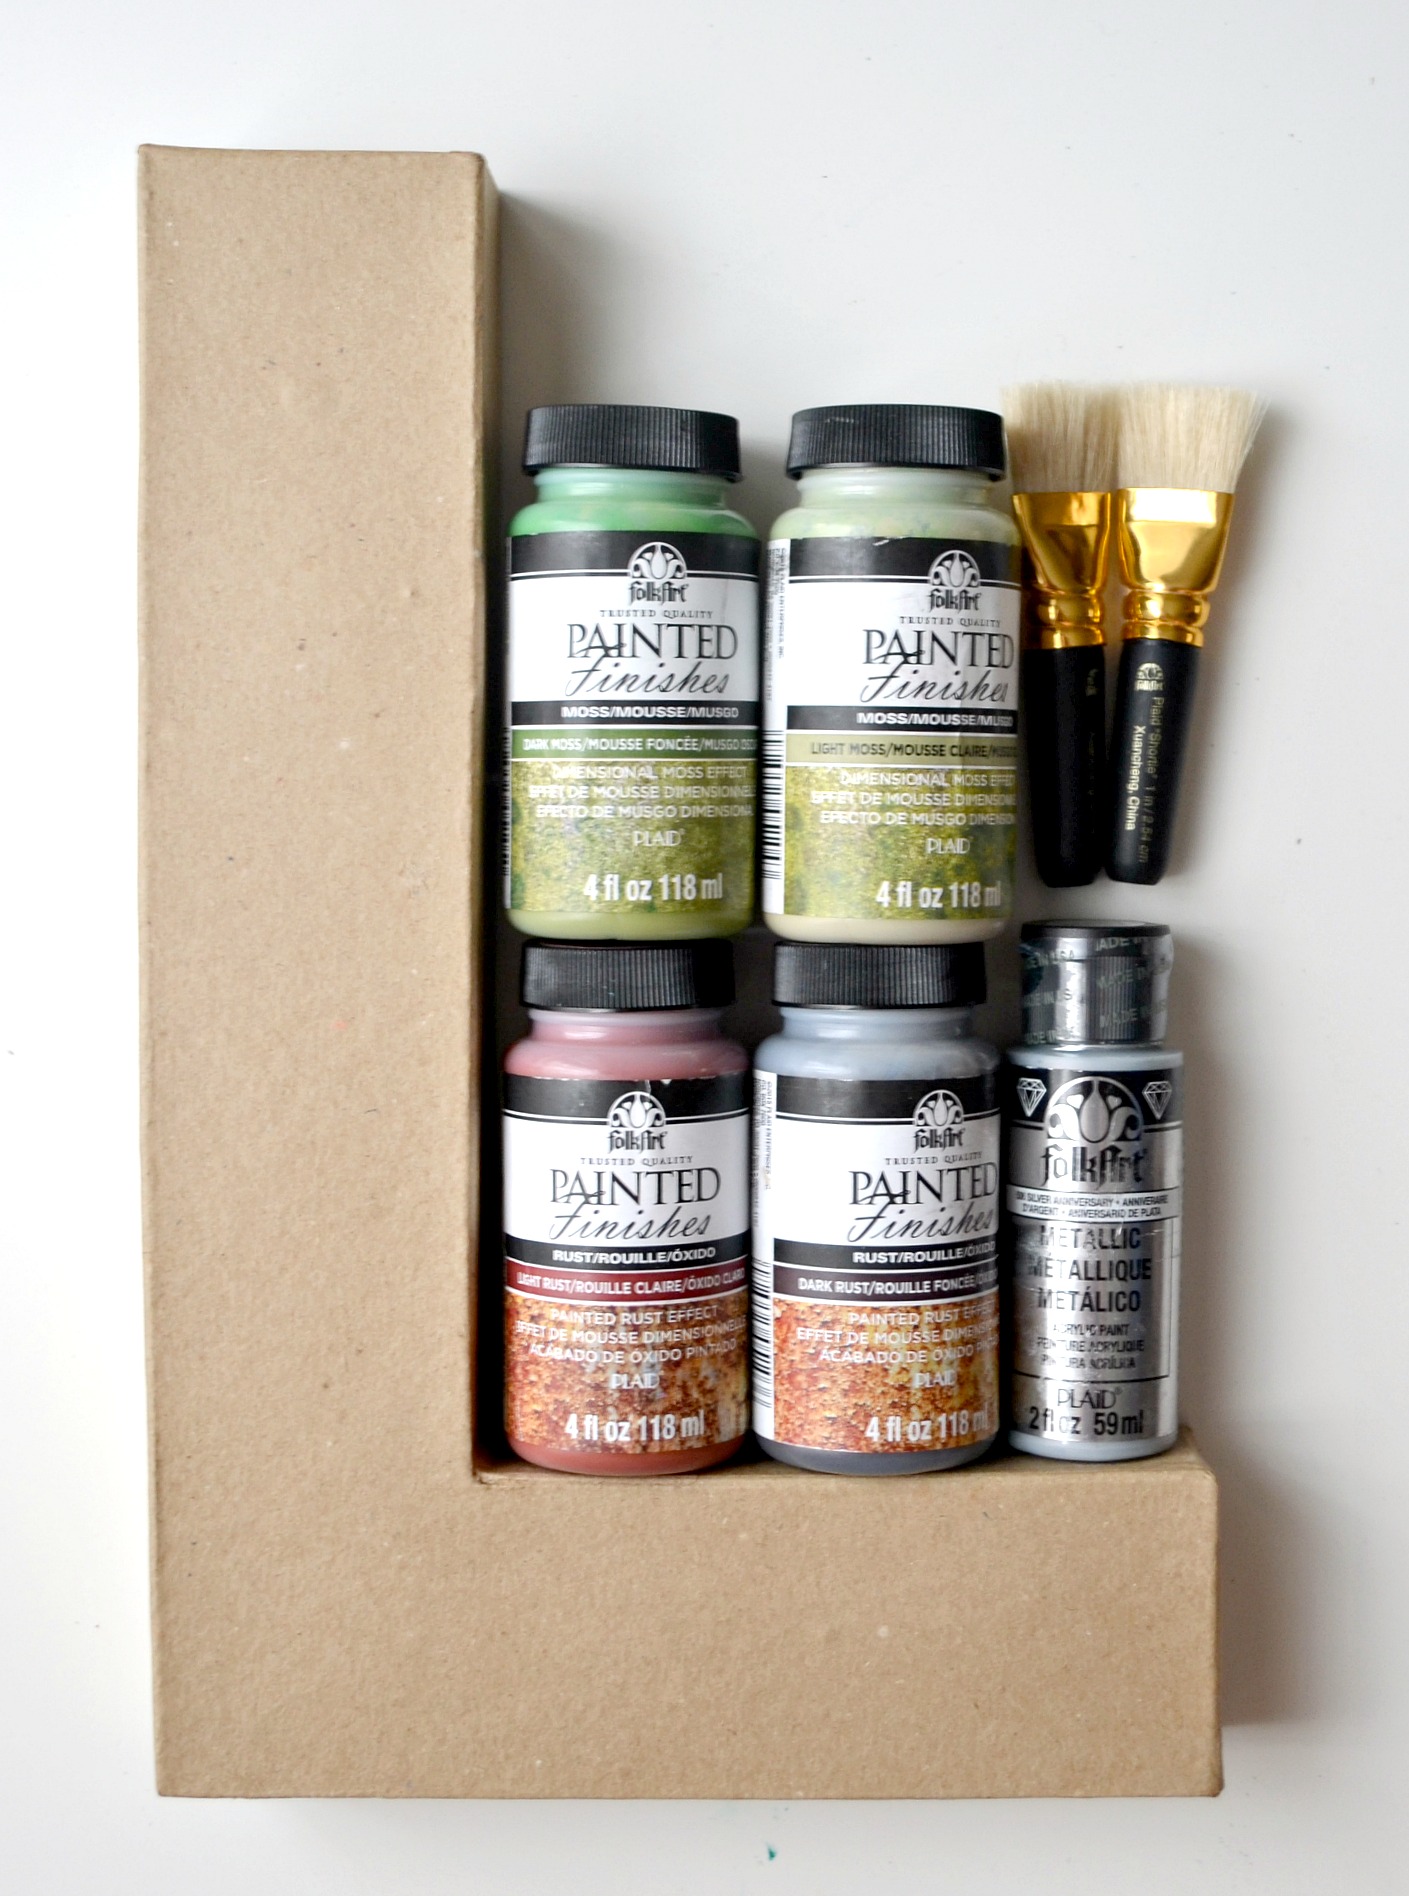
Paper Mache Letter
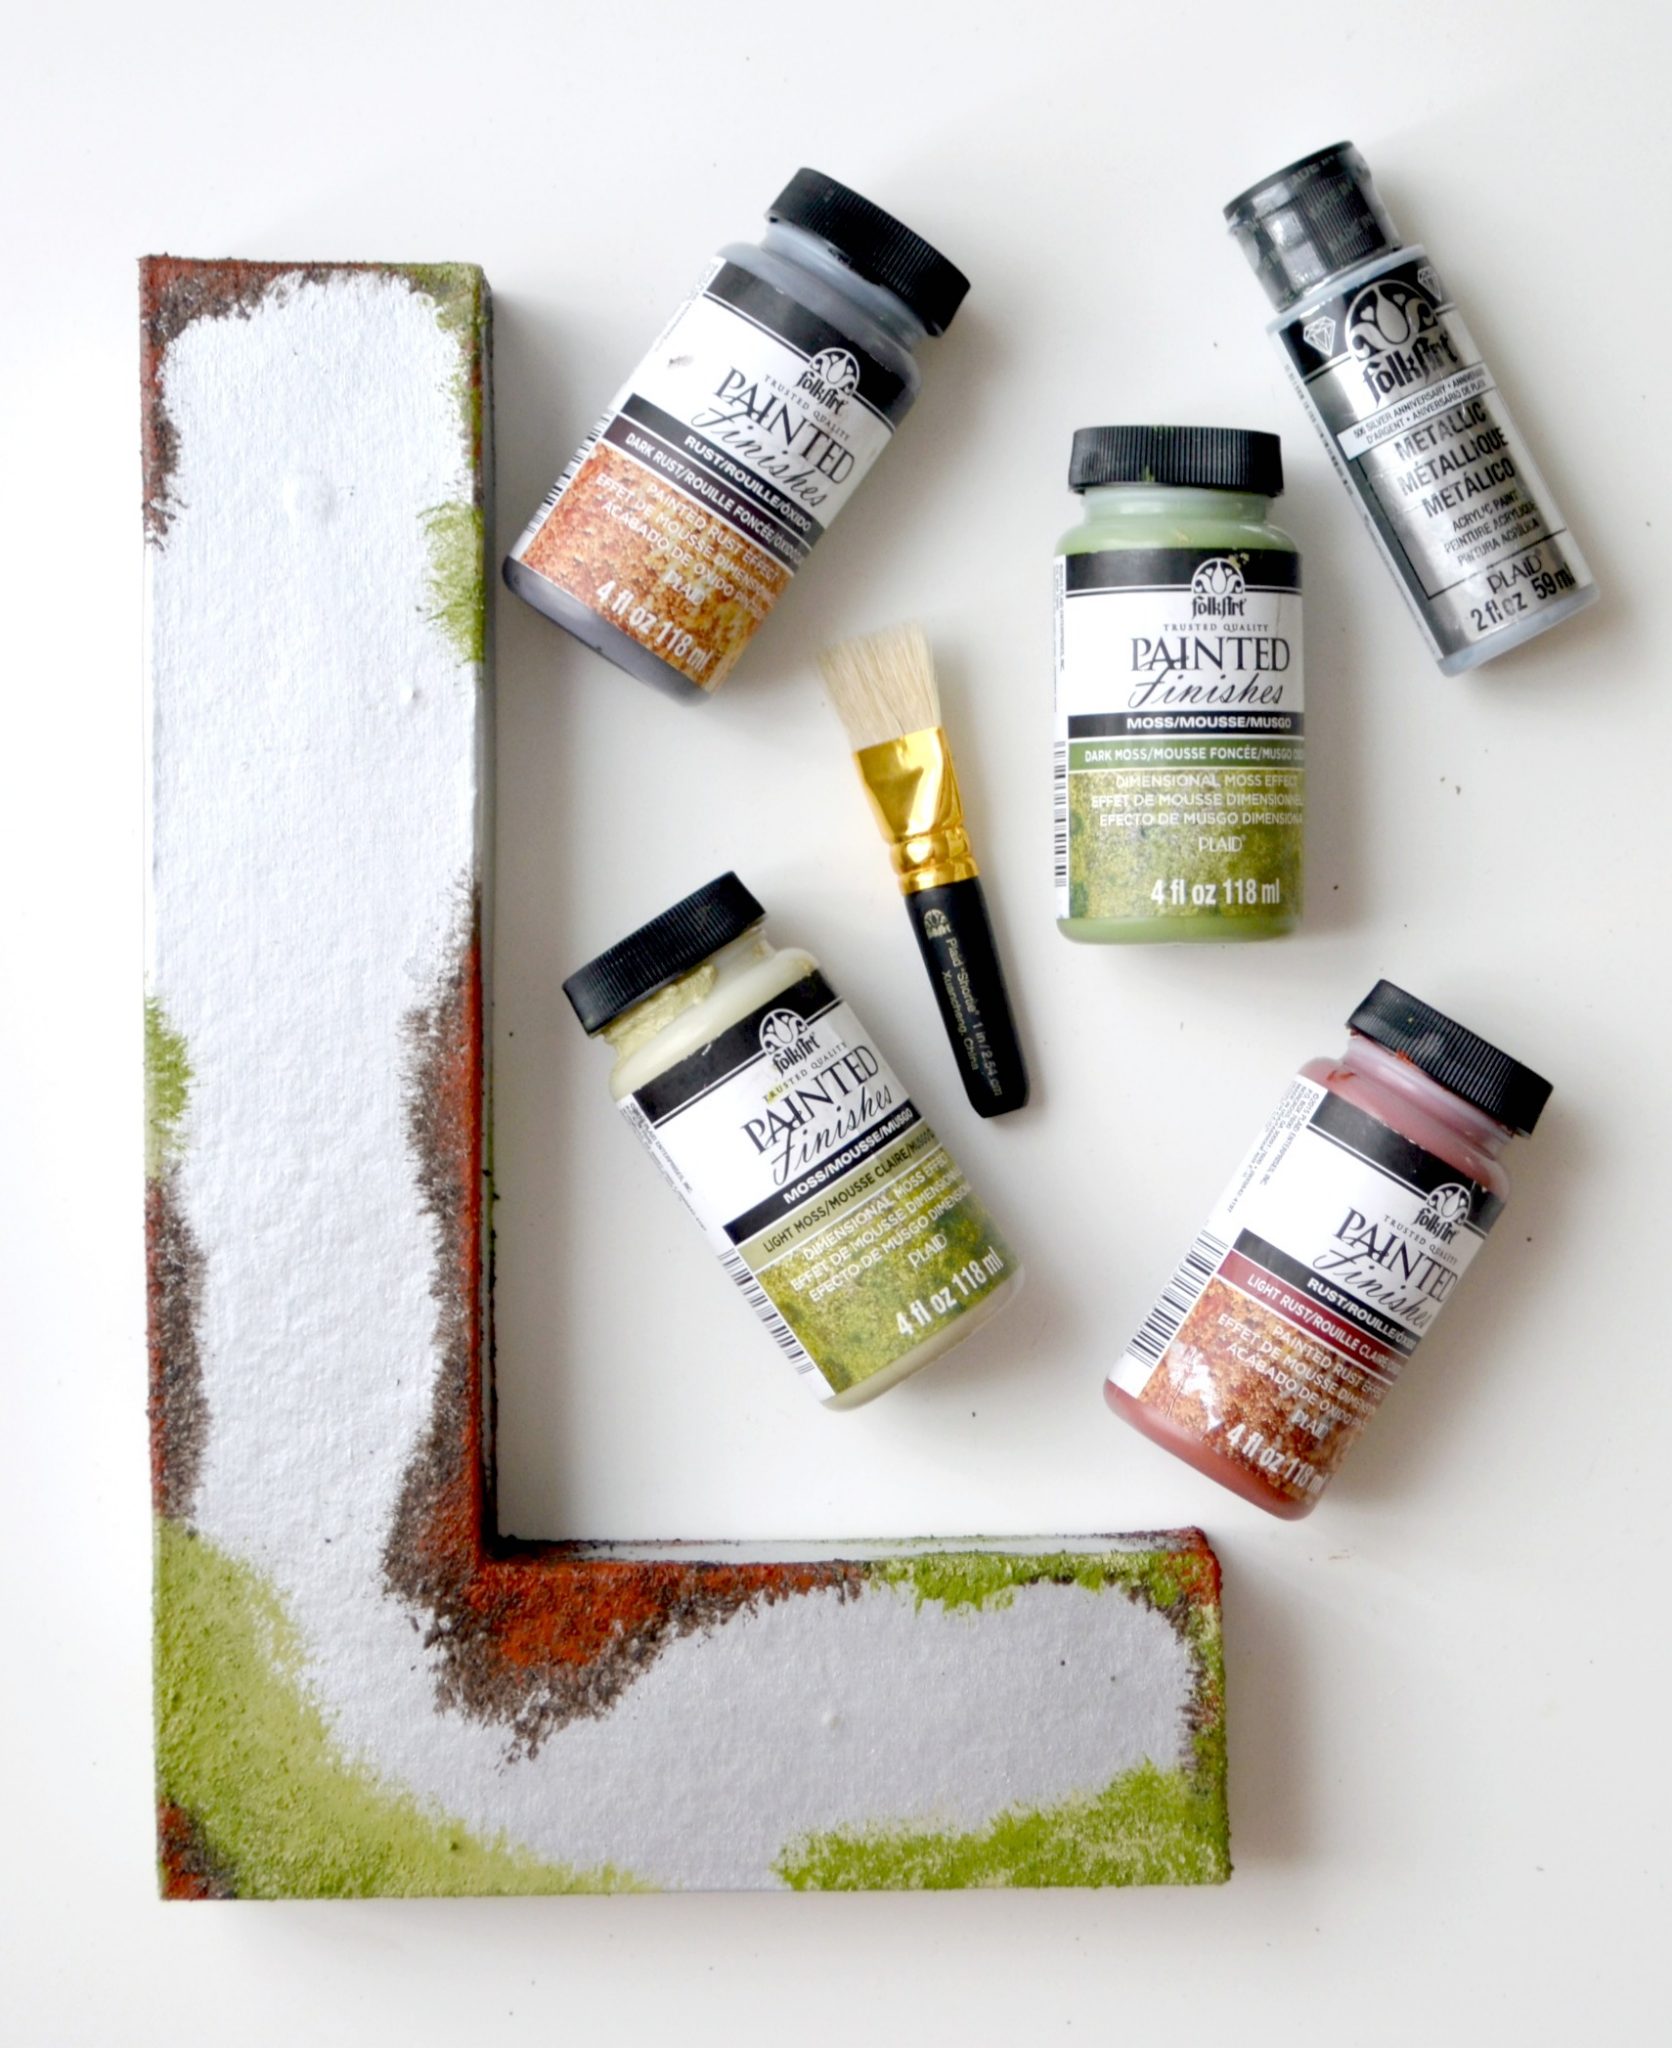
FolkArt Painted Finishes Dark Rust
FolkArt Painted Finishes Light Rust
FolkArt Painted Finishes Dark Moss
FolkArt Painted Finishes Light Moss
FolkArt Shortie Brushes
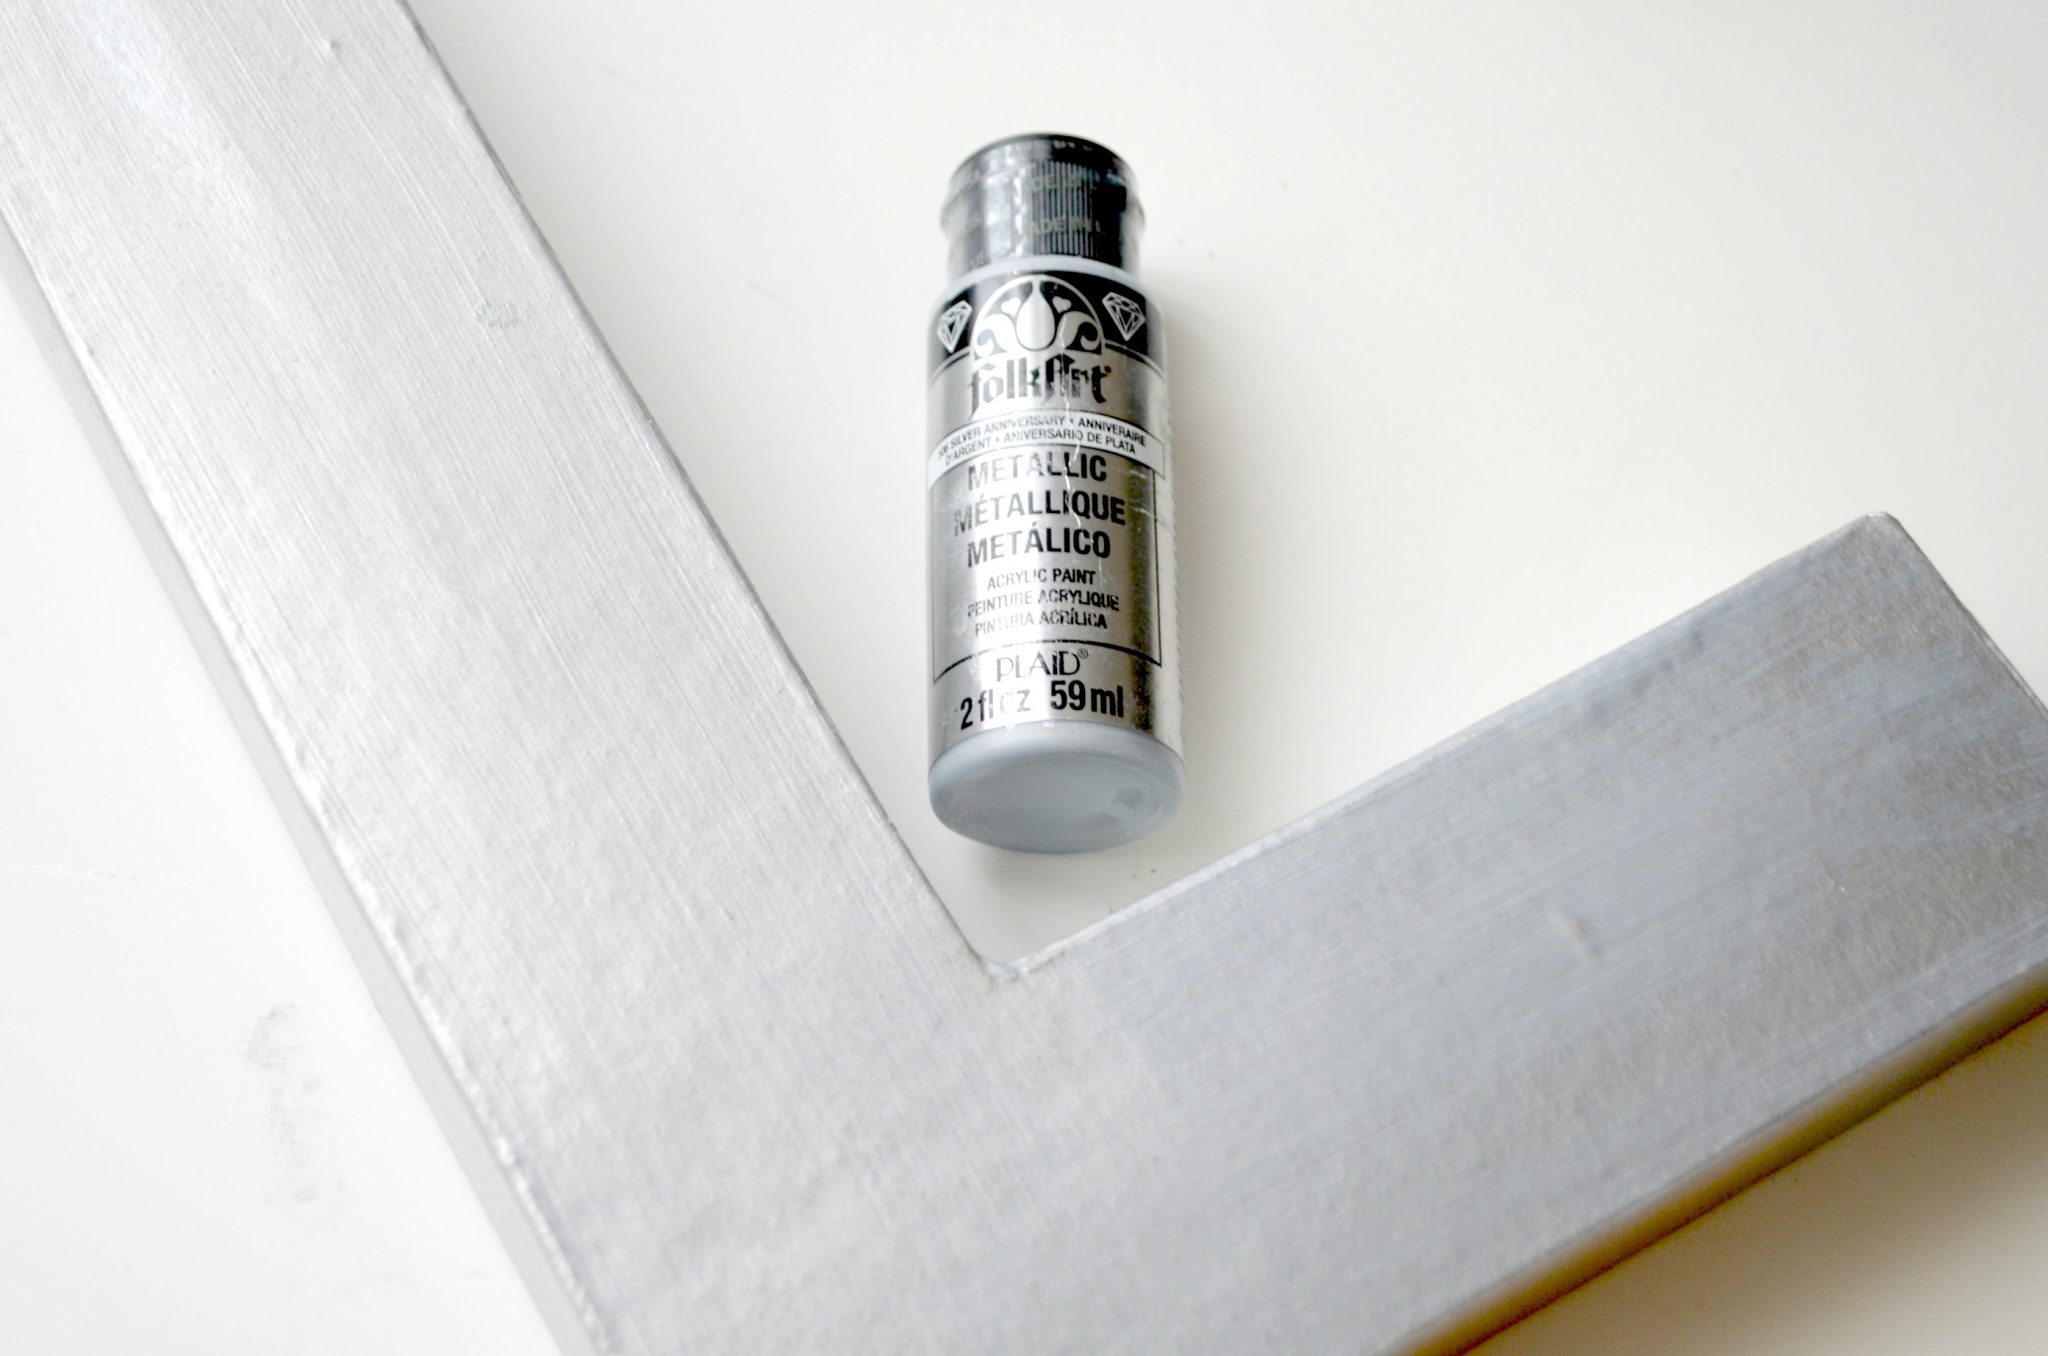
FolkArt Metallic Silver Anniversary Paint
Paintbrush
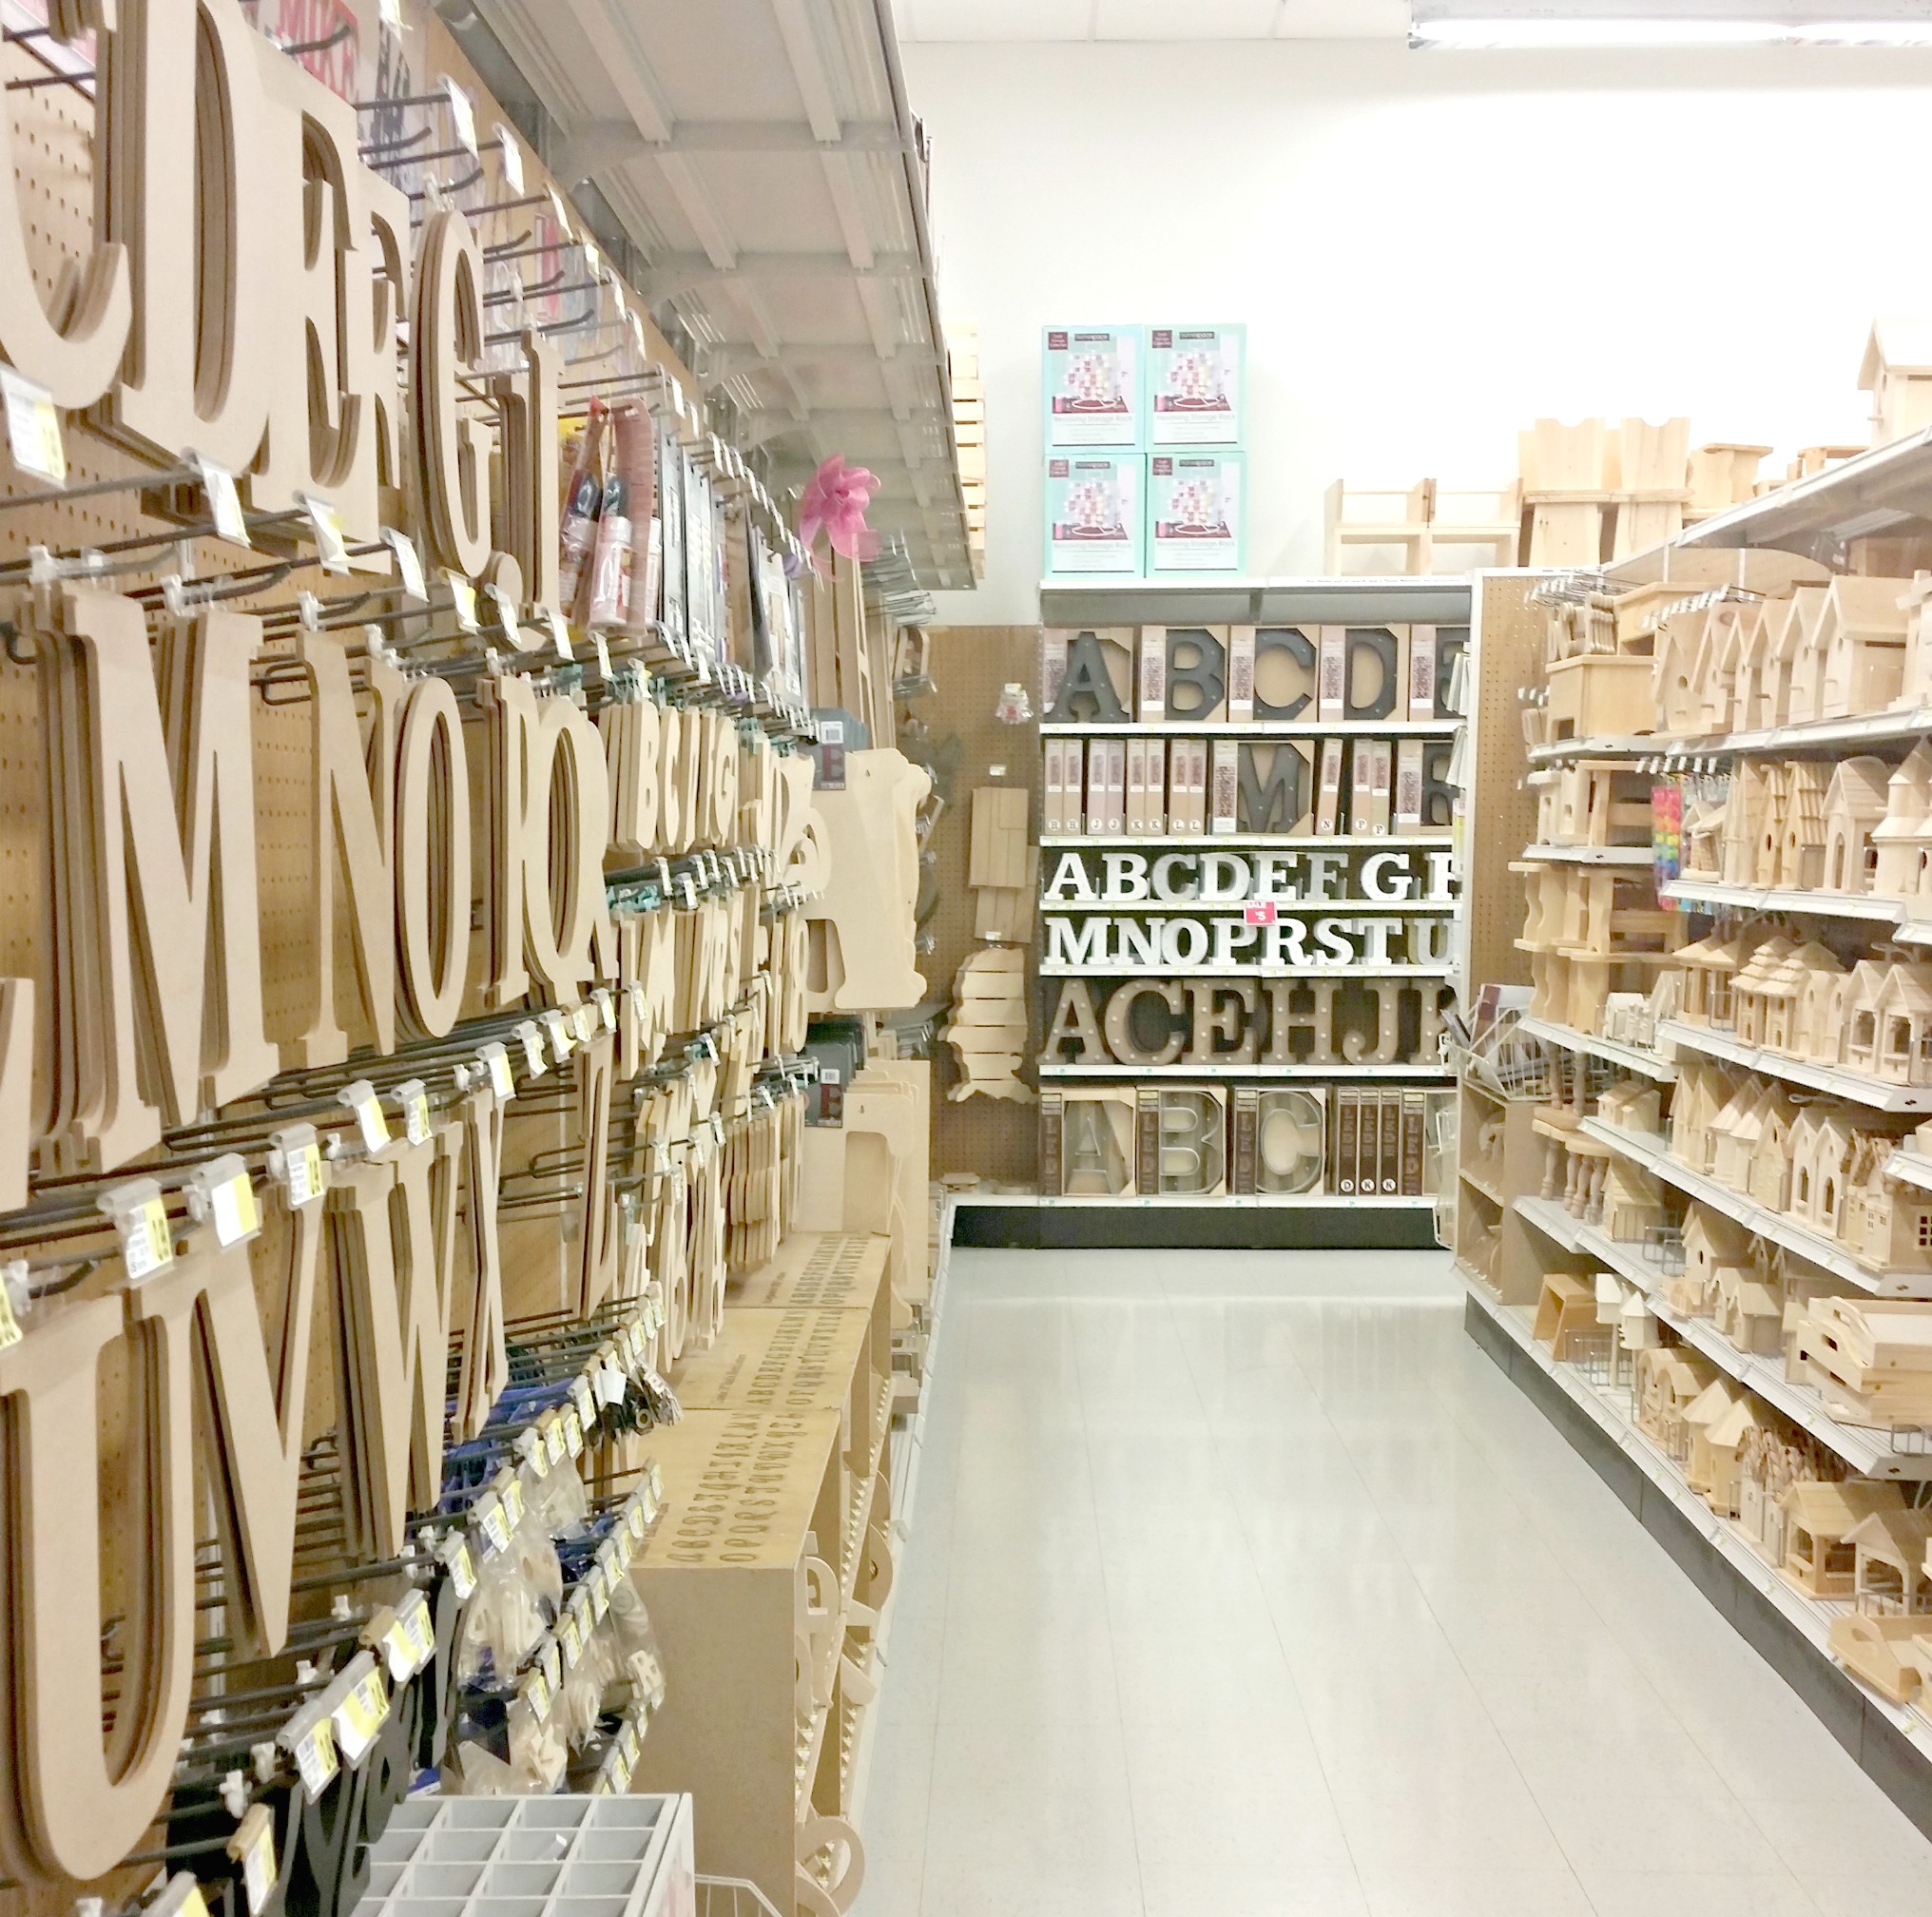
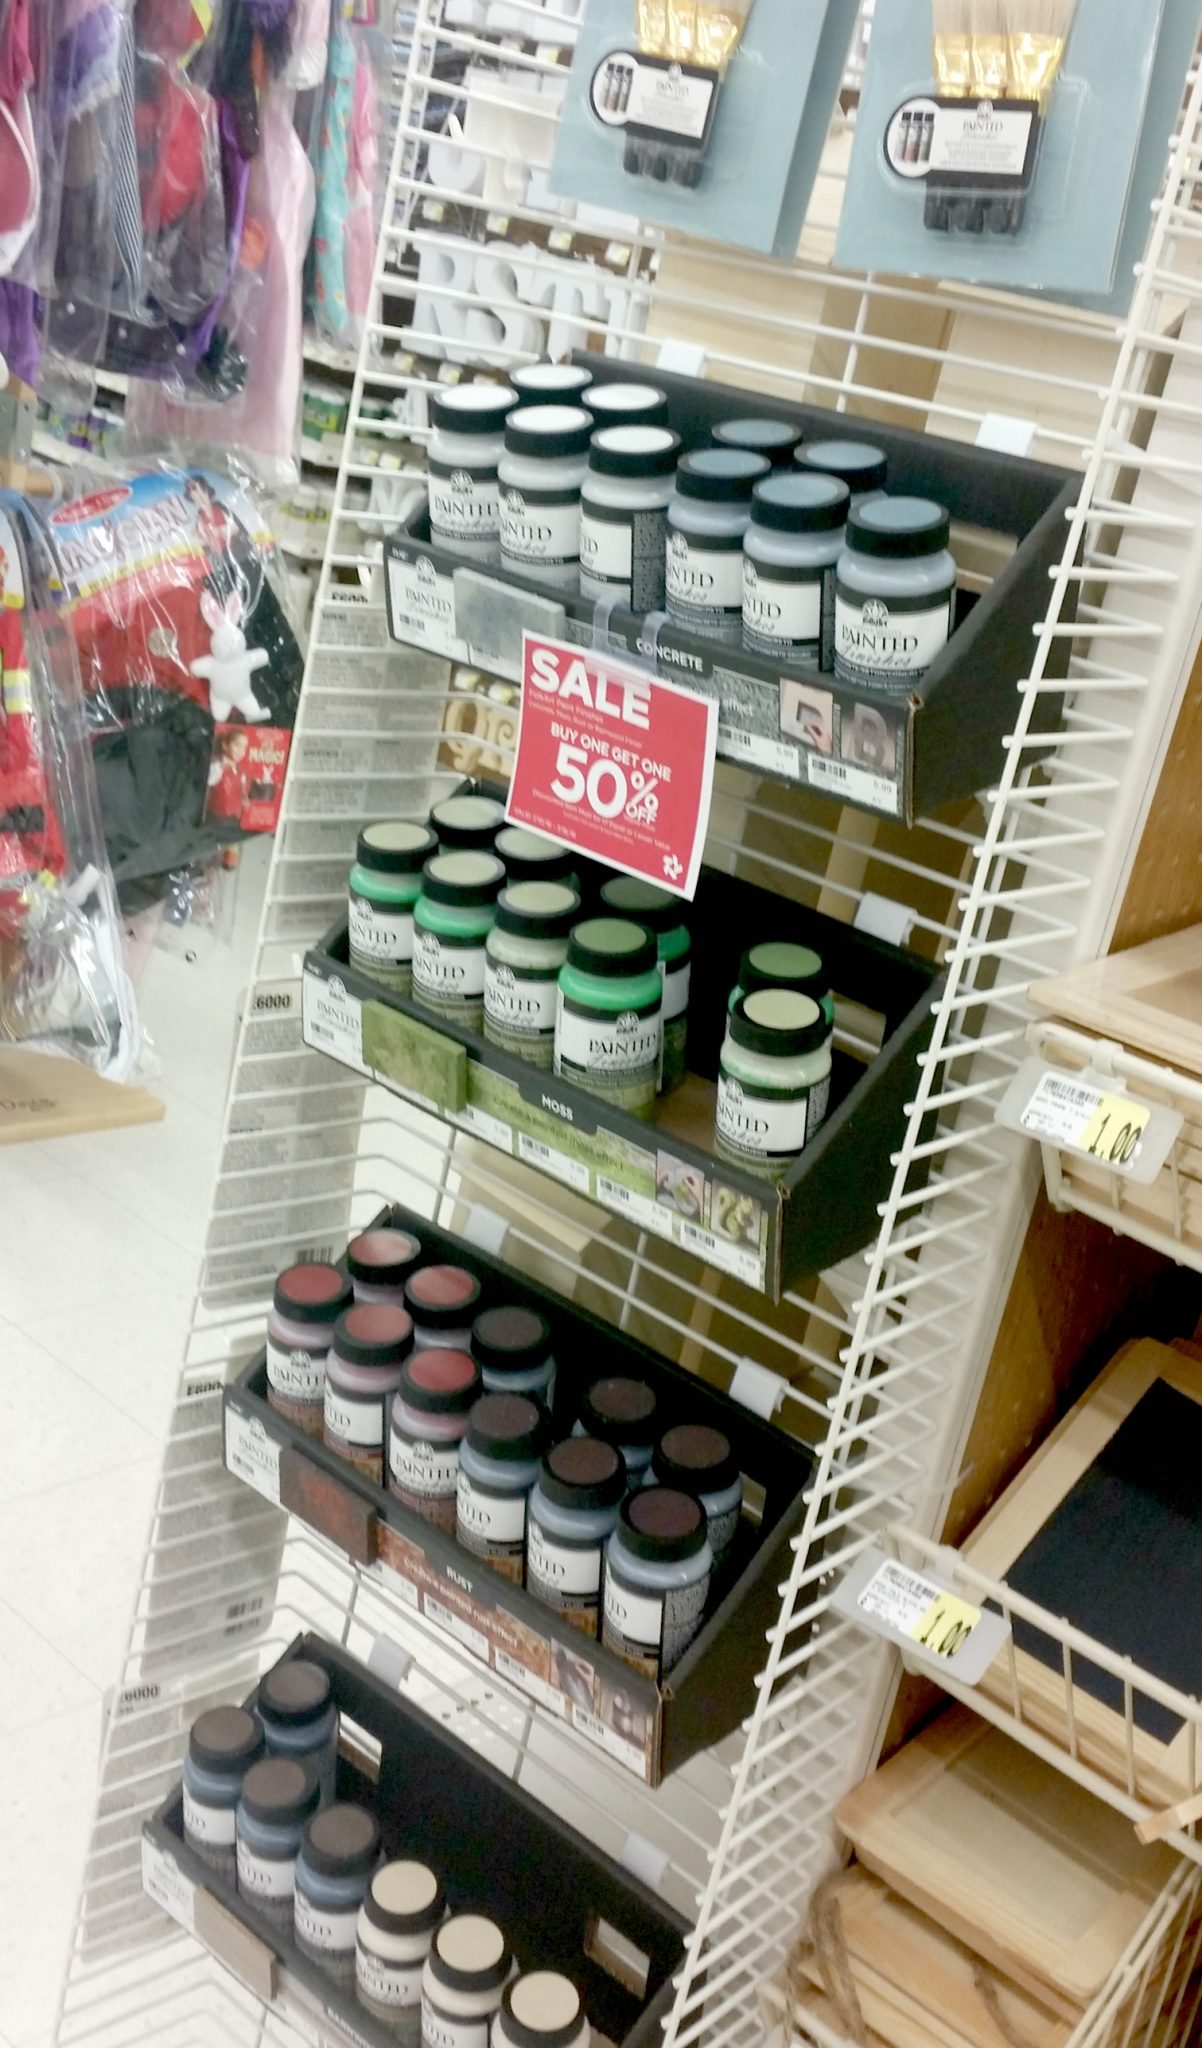
I found my letter in the wood section of my local AC Moore craft store. There were tons to choose from in various styles and sizes. I went for a medium sized, three-dimensional one that’s able to stand up on its own. I also grabbed a few other wooden surfaces for future projects while I was there; a tray, a mini crate, a sign, and a mirror with a wooden frame. The FolkArt Painted Finishes were on a special end cap display in the same section, along with the Shorties brushes that are perfect for using with these textured paints.
Creating Your Monogram
Step 1: Paint your letter silver.
I gave mine three coats of this metallic paint, allowing it to dry in between.
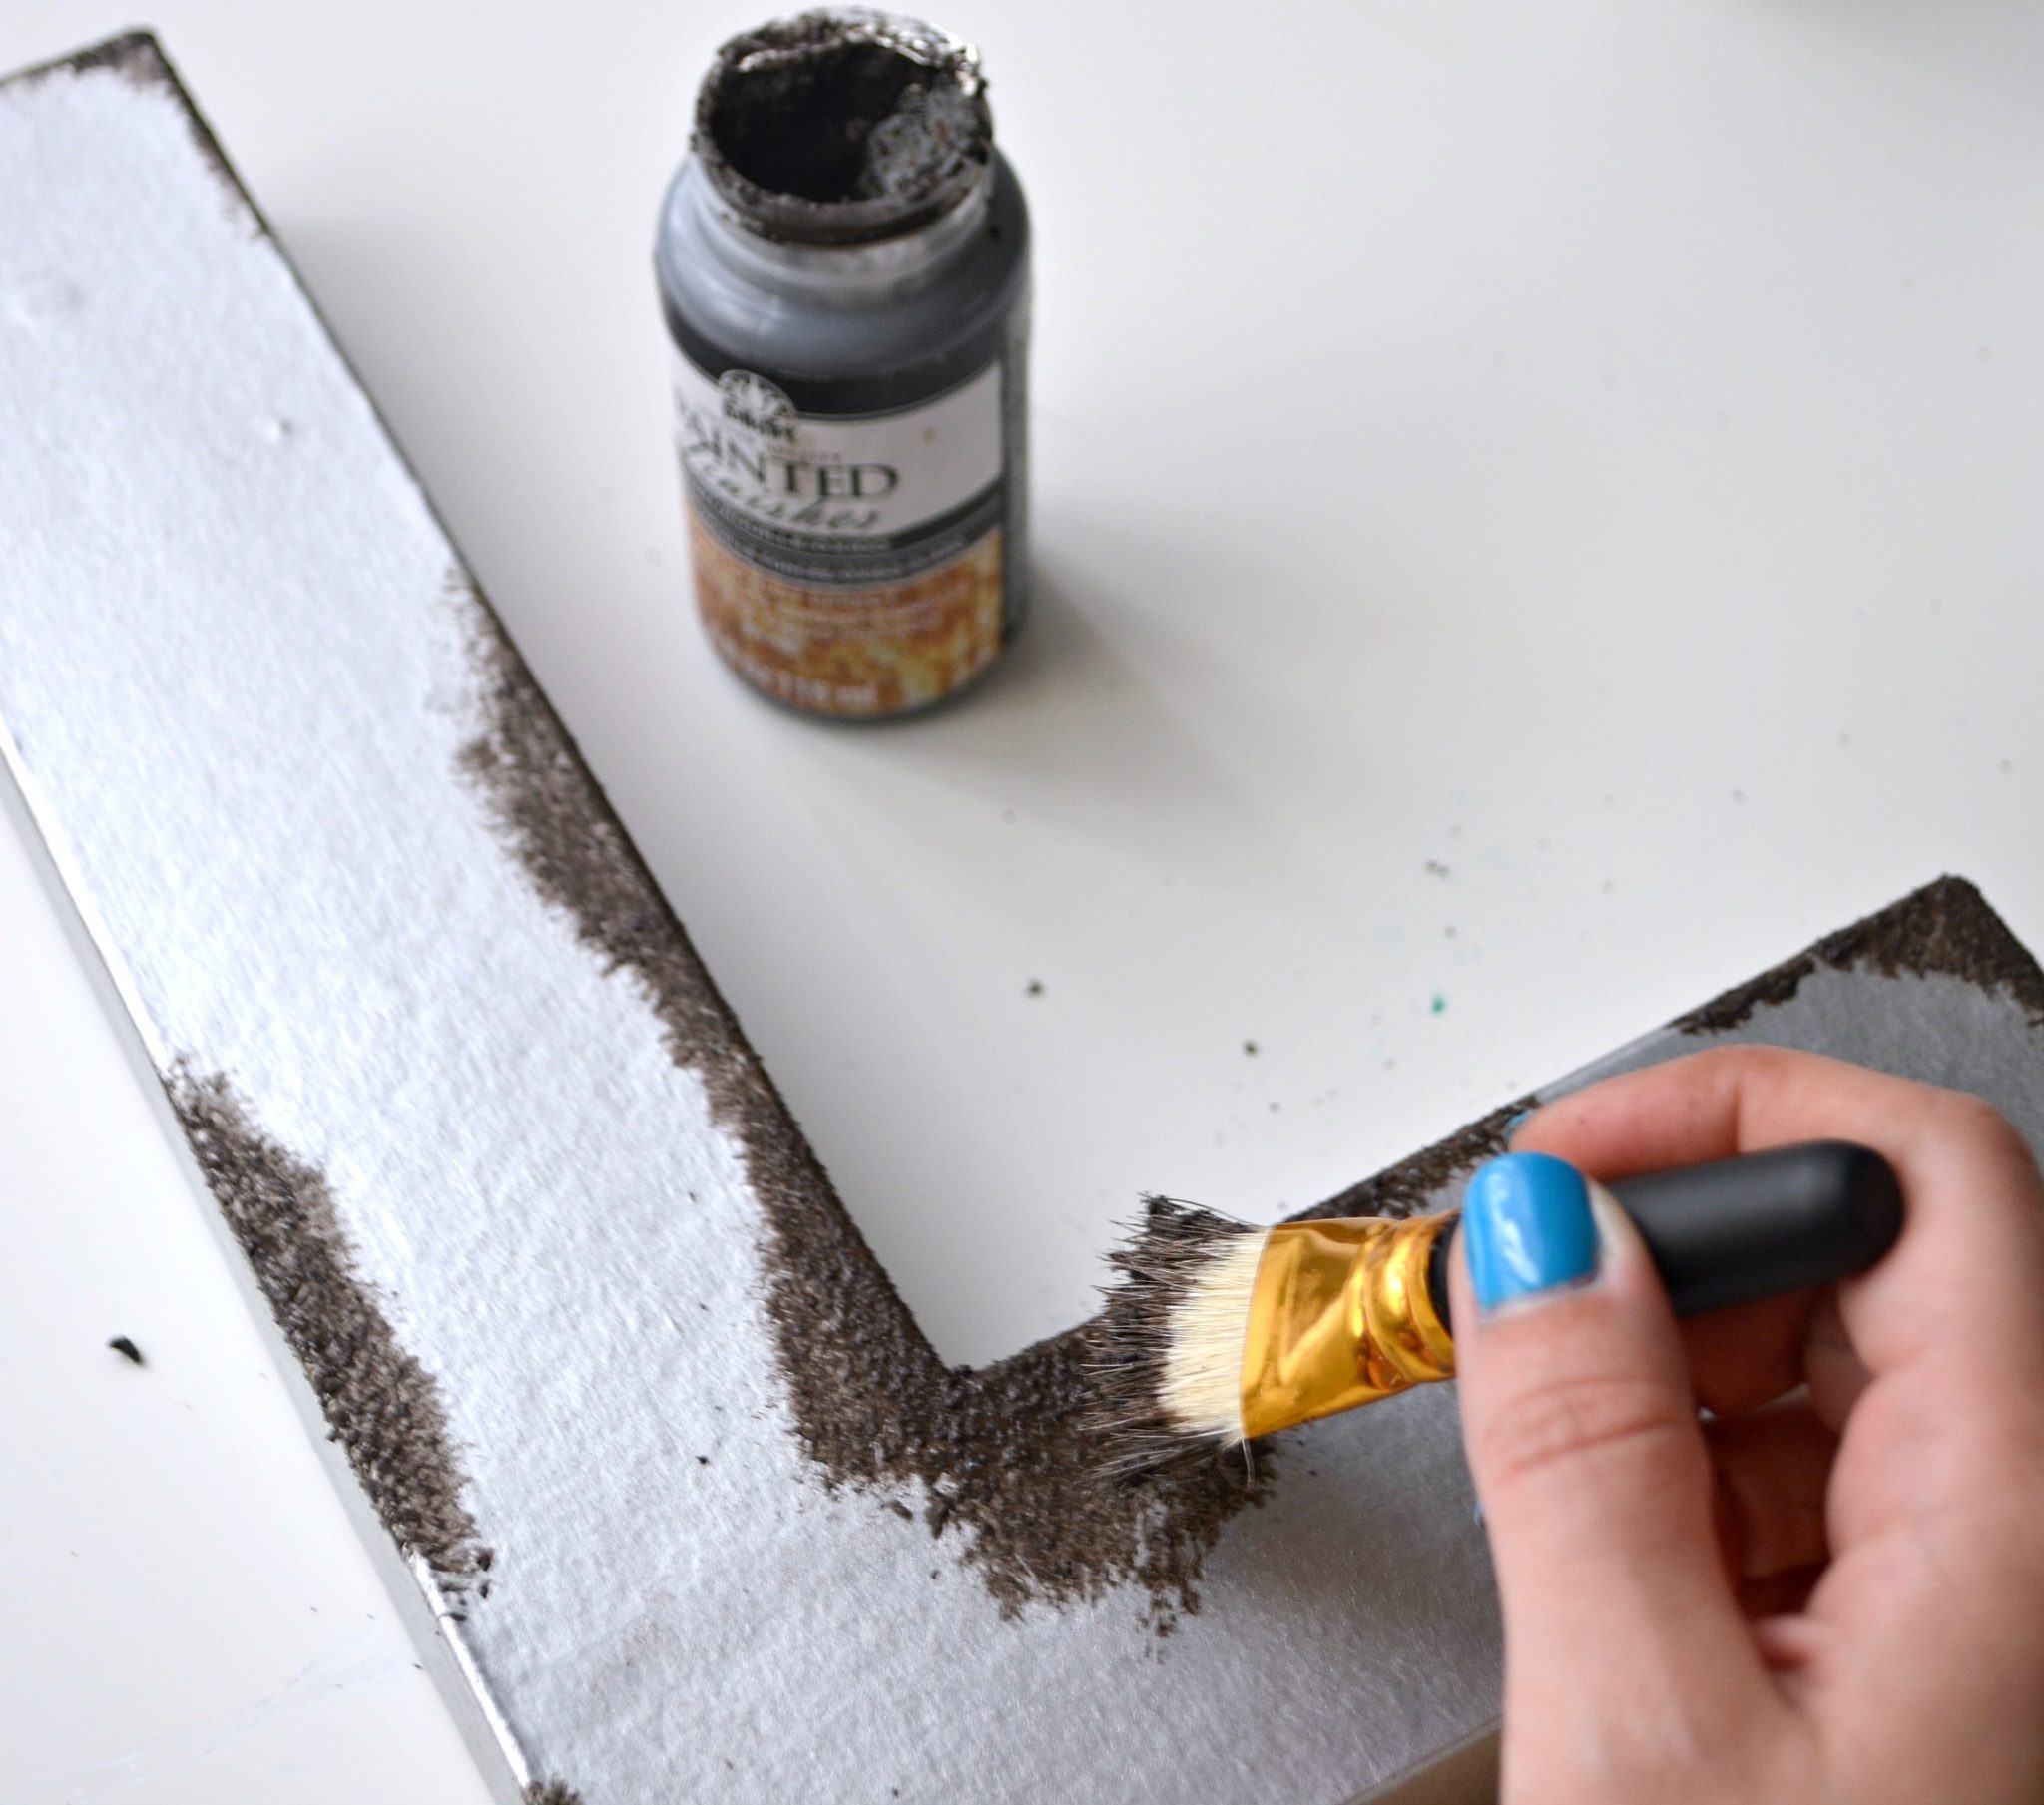
Step 2: Dab Dark Rust onto the surface of the letter in areas where it would naturally accumulate over time.
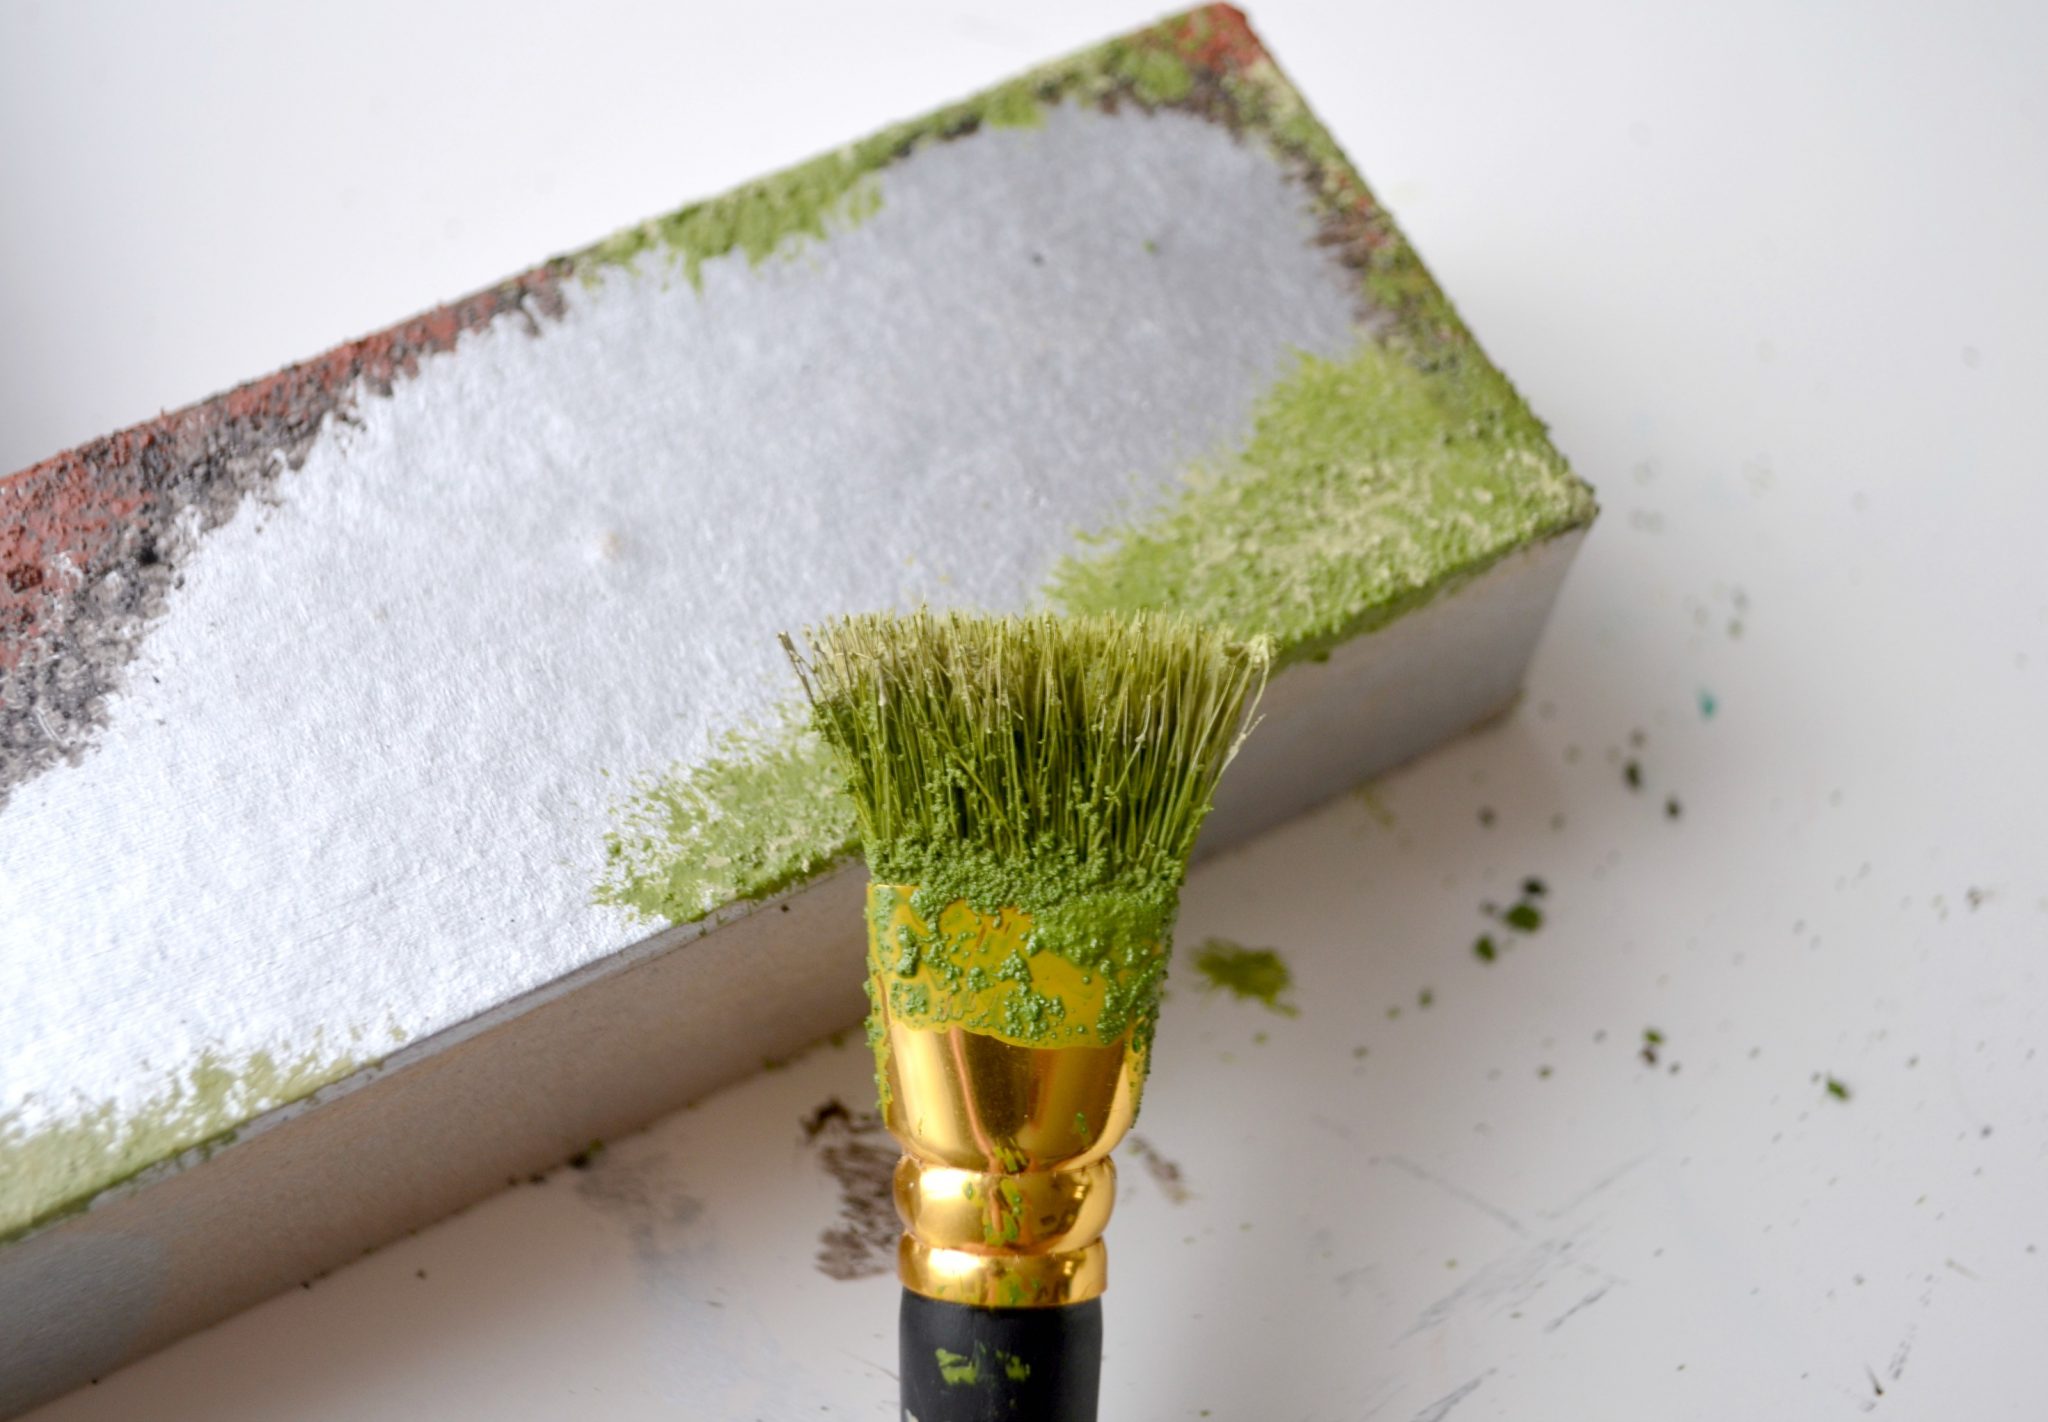
I stuck to edges and crevices to give it a natural look, but you can use as much or as little of this as you like to get your desired effect. The paint has a thick, gritty texture to make it look authentic, so rather than spreading it in normal brush strokes, you want to use the Shorties brush to dab it exactly where you want it to go.
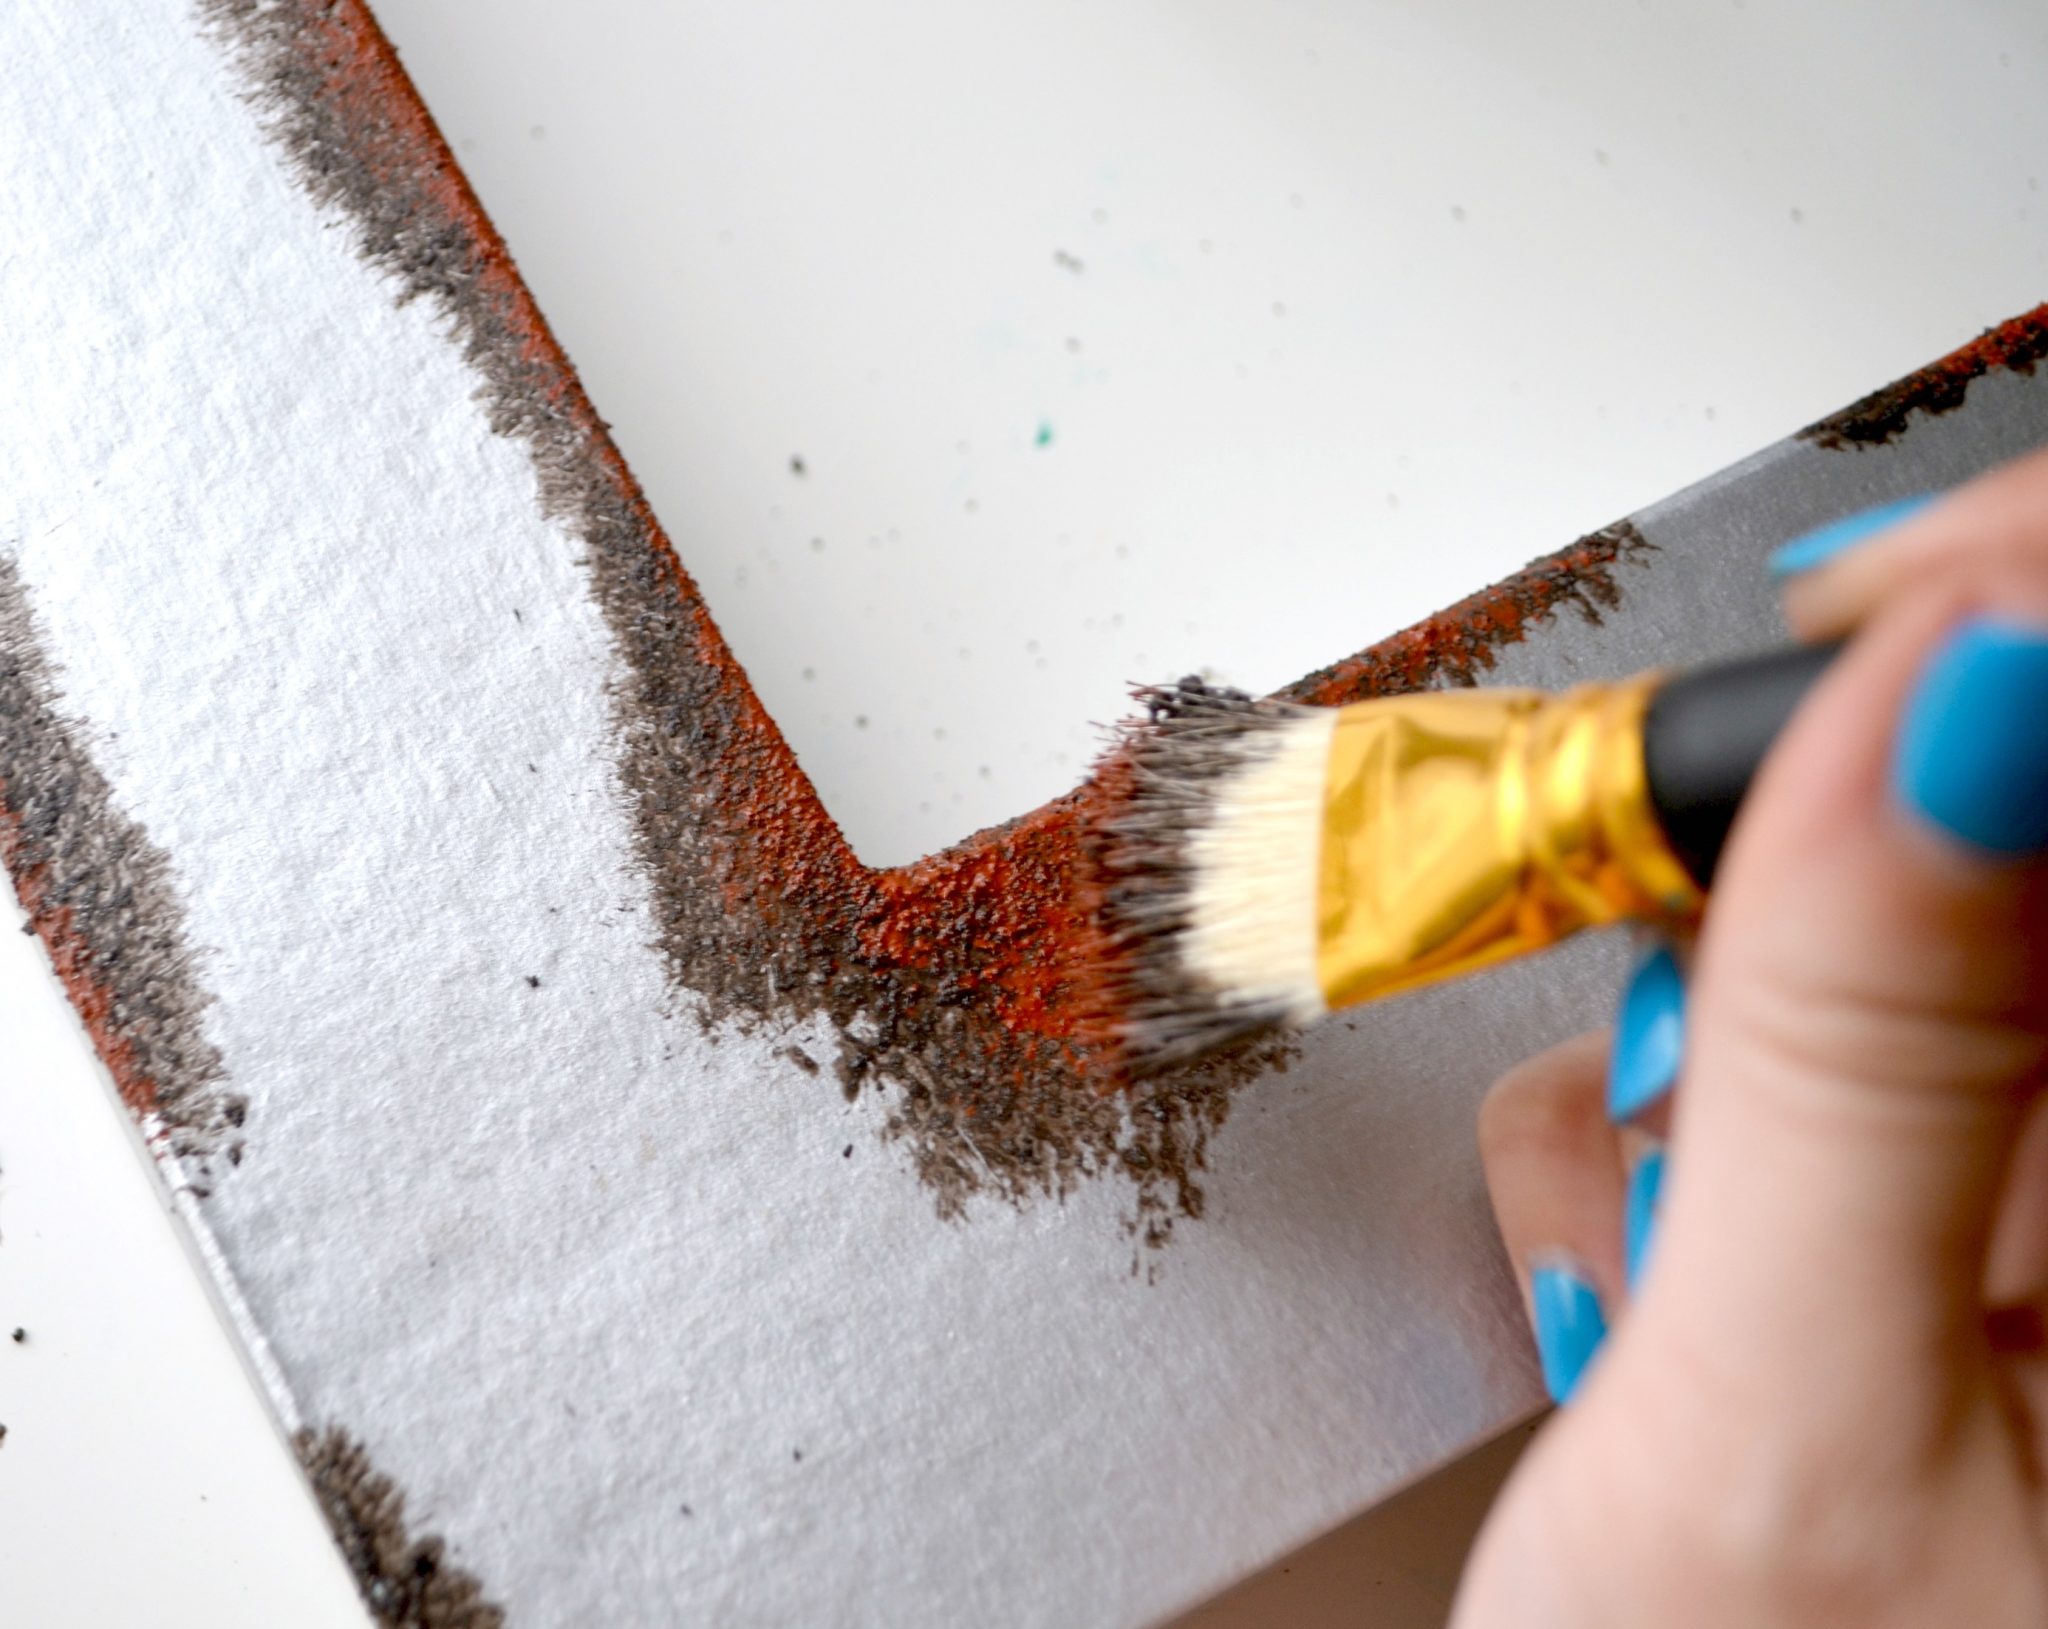
Step 3: Apply small amounts of Light Rust on top of the Dark Rust spots, making sure not to cover them completely.
You want to be able to see a good combination of the two colors for the most realistic finish. Let it dry completely before moving to the moss.
Step 4: Dab Dark Moss in areas where moss might grow.
Once again, I stuck to edges. Sometimes, I filled in between rusty spots, while other times I actually had the moss grow over top of some of the rusted areas.
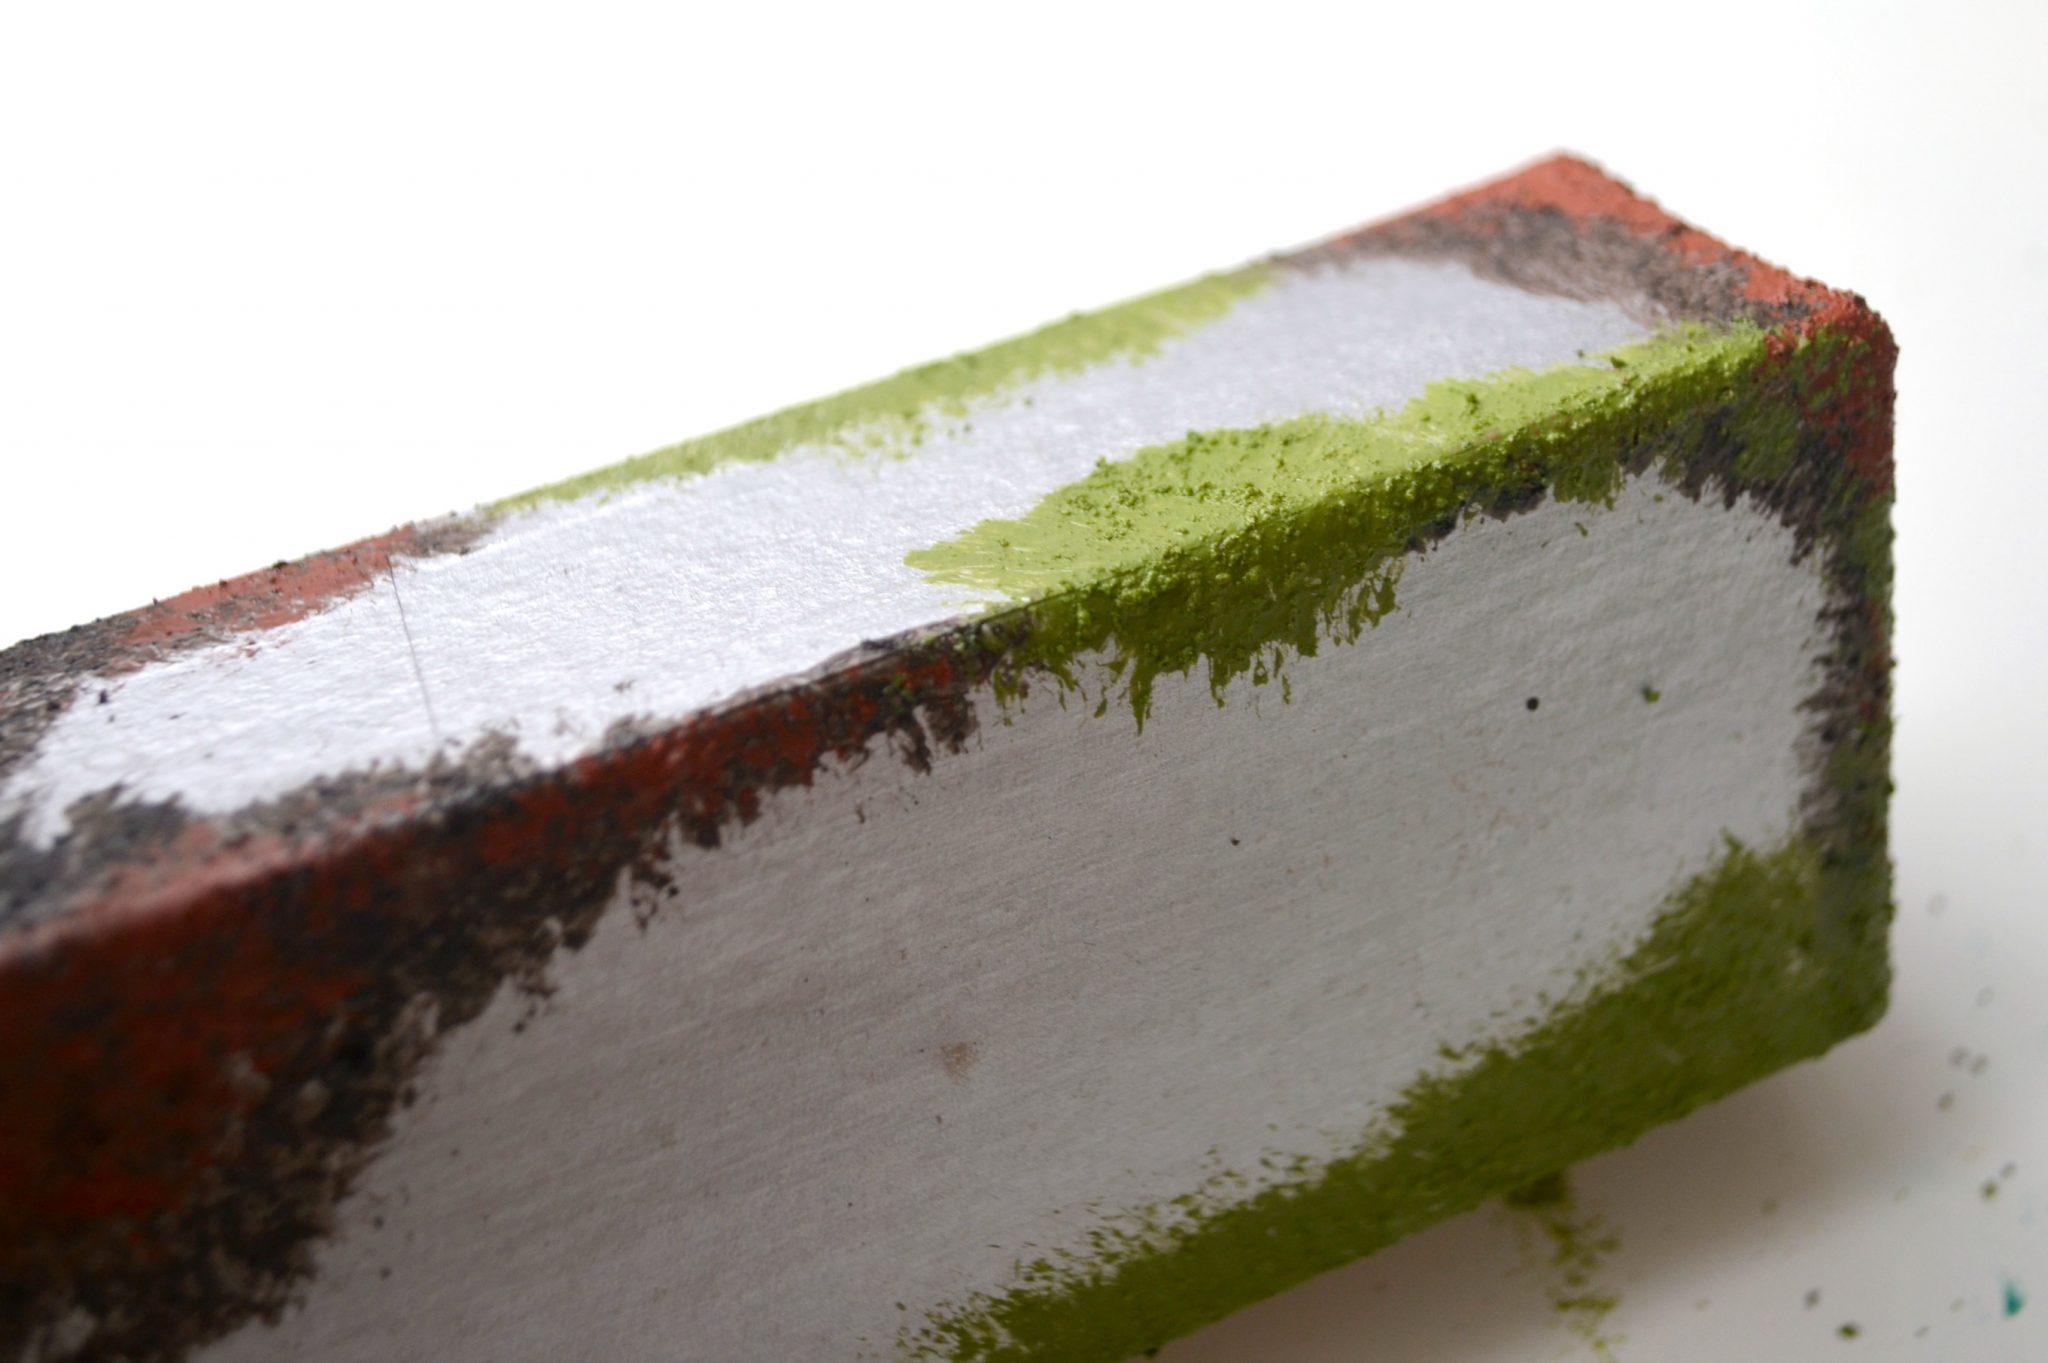
Step 5: Add Light Moss highlights.
I like to offload my brush first so that I get just the smallest touch of highlights. You can do as much or as little of this as you prefer. You can also do the light moss first, followed by dark moss shadows to create a different effect.
Now you have a pretty monogram that looks like old rusted metal!
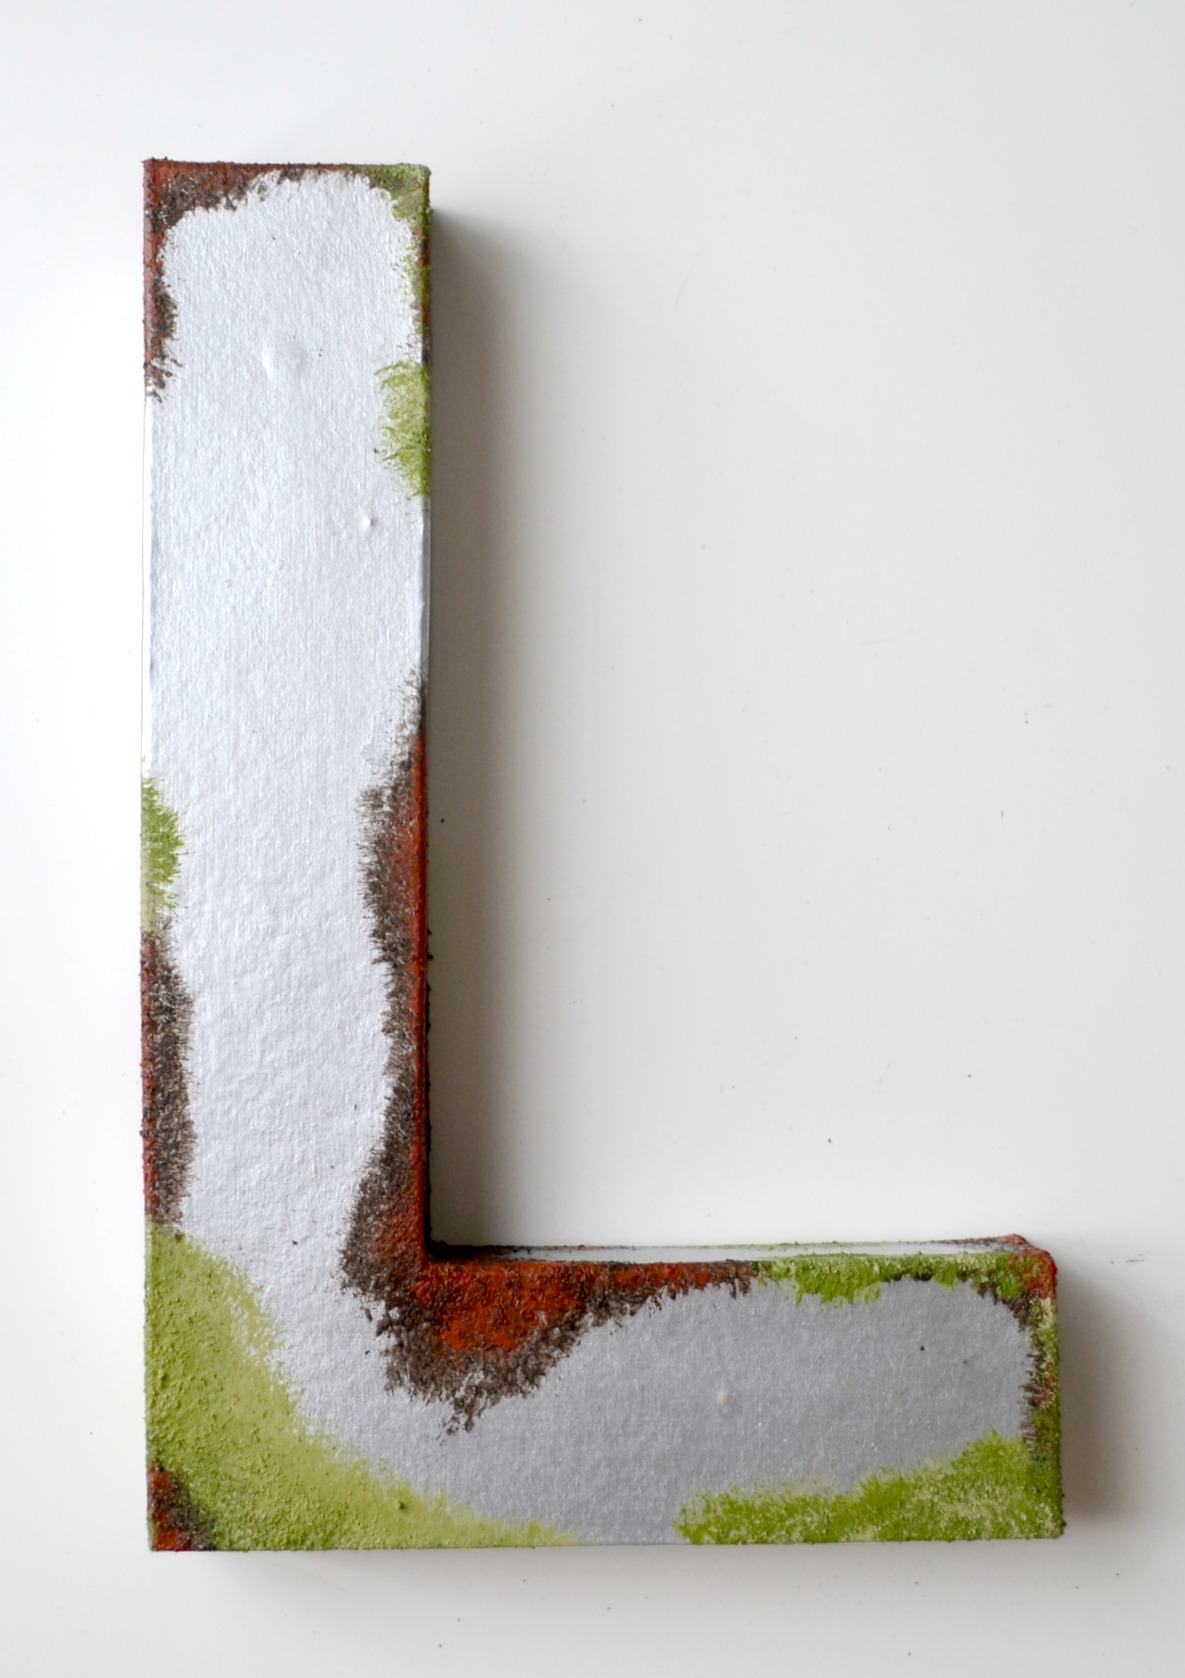
Every time I use these Painted Finishes, I’m amazed by how real the effects appear to be. What do you think? Is this a project you’d enjoy creating for your home? Grab your supplies, available at AC Moore craft stores, today!

So cute!! I love monogram everything too!! I need to try out some of that paint!!
WOW.. those are unique paints!