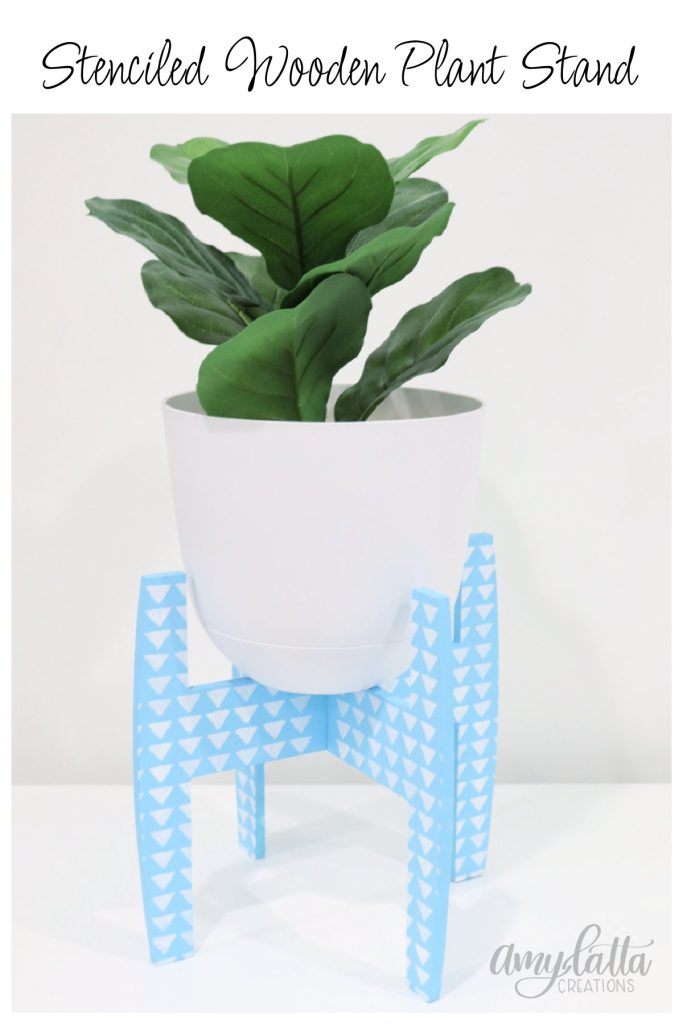
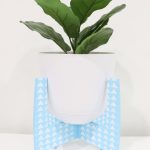
Stenciled Plant Stand
Potted plants are a great way to bring color and life into your home decor. In addition to the plant itself, a decorative holder can make a statement and reflect your personal style. Here’s a fun stenciled plant stand project that anyone can create, and it costs less than $10!
How to Make a Stenciled Plant Stand
This project is simple and fun for crafters of all ages! All you need are a few basic supplies, most of which can be found at Walmart. You can recreate my design, or you can put your own spin on it by using different colors and stencils.
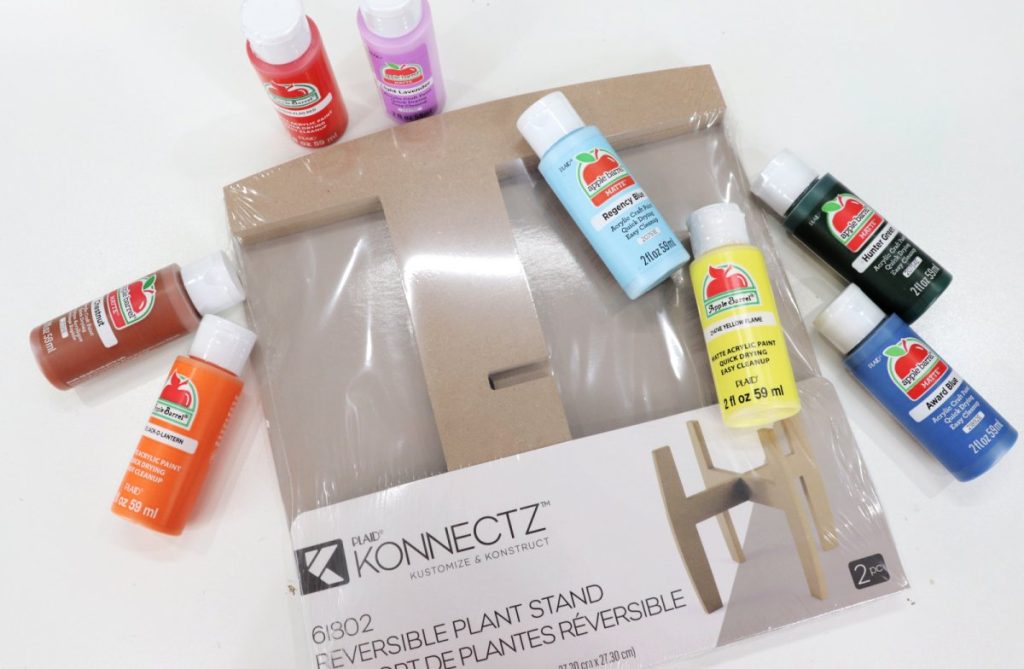
Materials
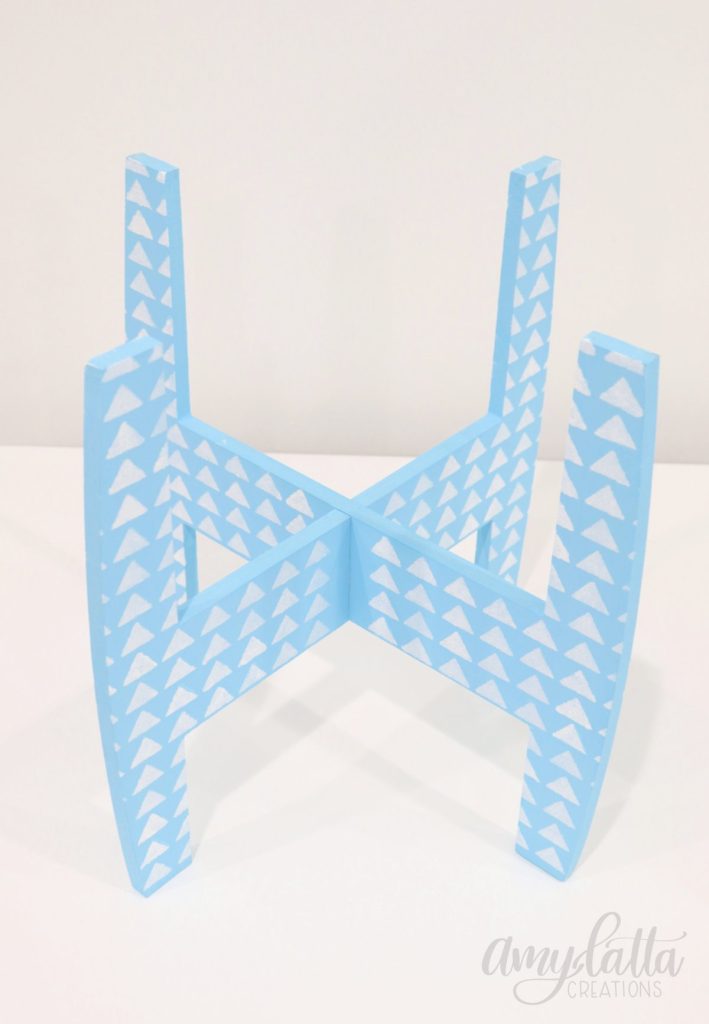
- Konnectz Reversible Plant Stand
- Apple Barrel Matte Paint (I used Regency Blue and White)
- Paintbrush
- Stencil (I used a geometric triangle pattern)
- Small Stencil Brush
- Painter’s Tape
Instructions
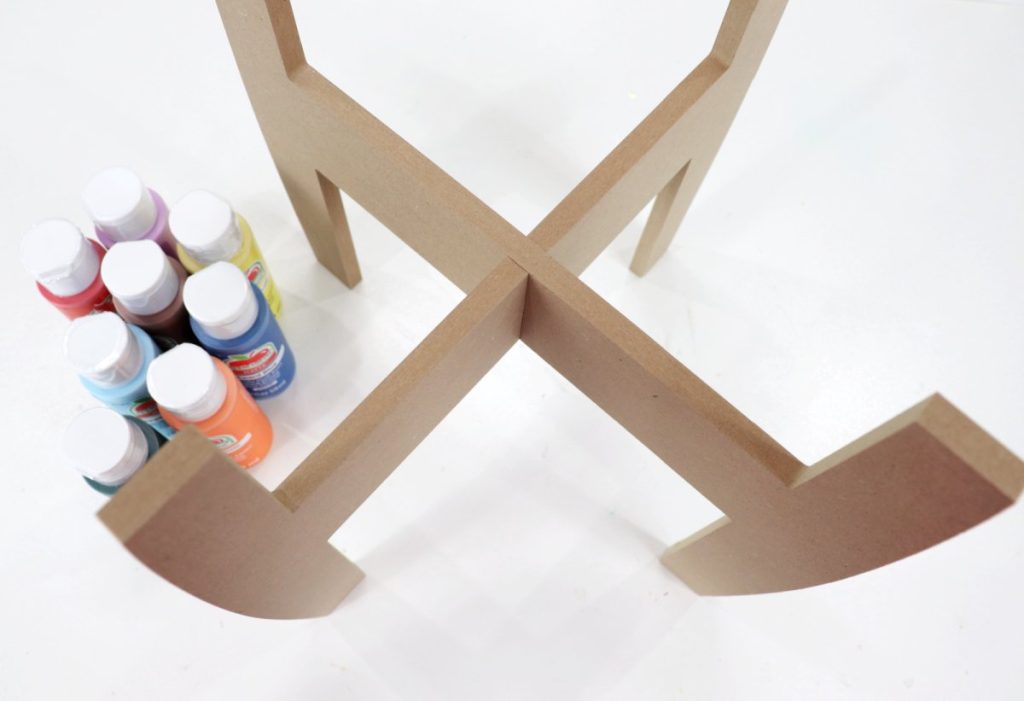
Paint both pieces of the plant stand on all sides using your choice of Apple Barrel Matte paint.
The only spots to avoid painting are the inside areas of the slots in the center of each piece. I found that if these are painted, you may have difficulty sliding the pieces together later to assemble the stand.
I gave my stand three coats of color to get total coverage. Make sure to let the paint dry between coats.
Tape your stencil to the plant stand, then use a stencil brush to fill in the open areas with paint.
When you finish a section, let it dry, then move the stencil to the next area and repeat.
Pro Tip: When it comes to stenciling, less paint is better! Offload your brush until it’s almost dry before applying it to your project. That way, you won’t have excess paint bleeding under the stencil and messing up your design.
Touch up any problem areas.
Use a fine detail brush to touch up any mistakes.
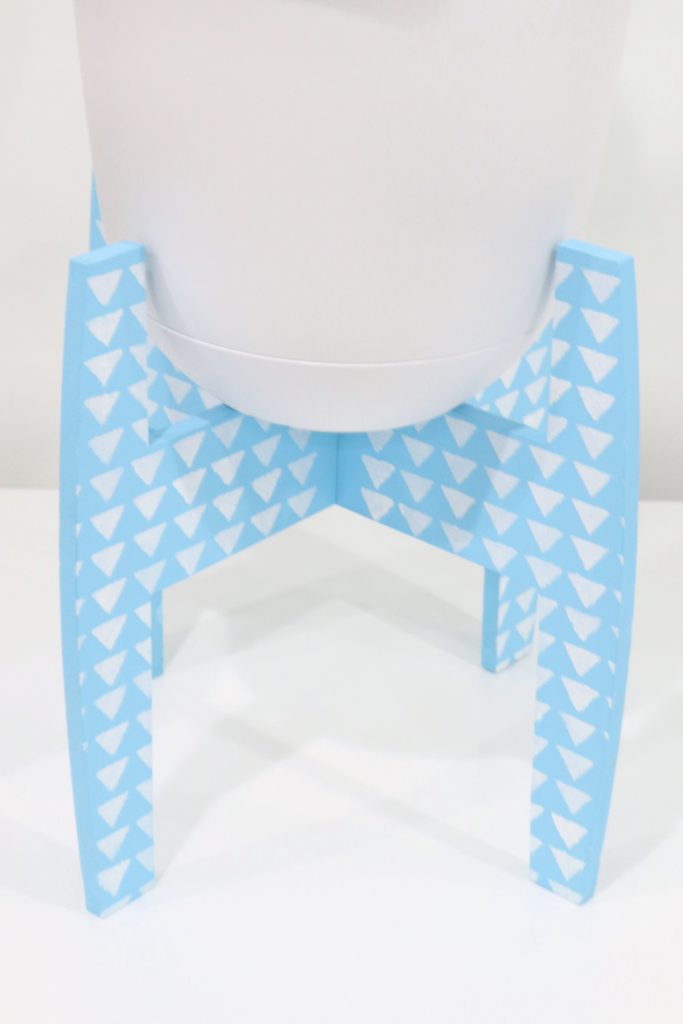
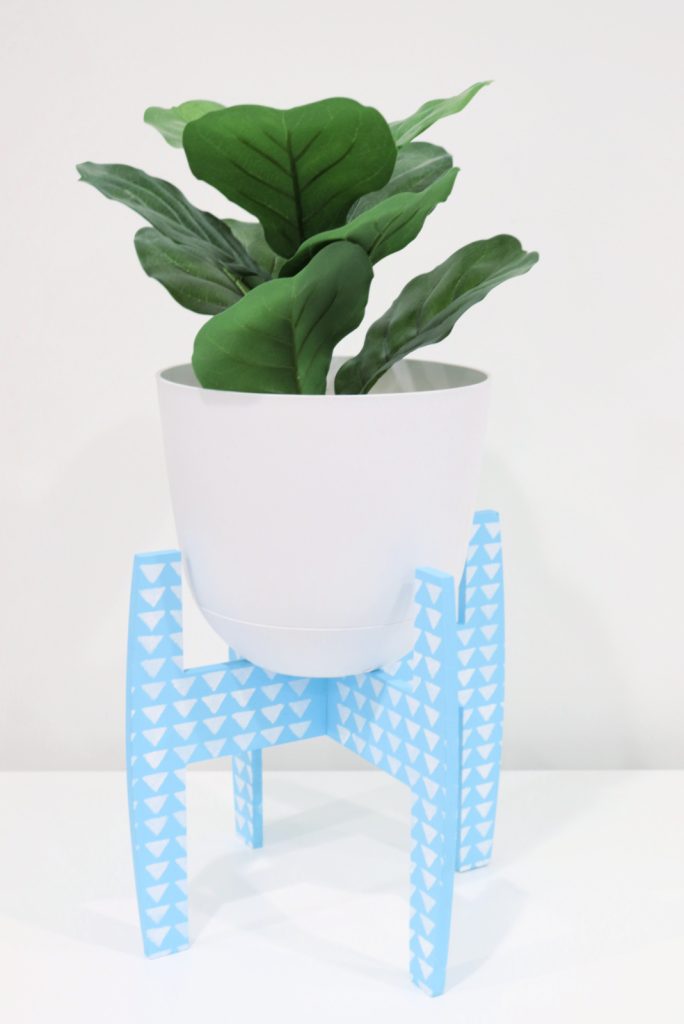
Add your plant and decorate your home!
Once your planter stand is dry, all that’s left to do is add your favorite potted plant and put it on display. This stand is reversible, so you can choose whether you want the shorter part or the longer part holding your plant!
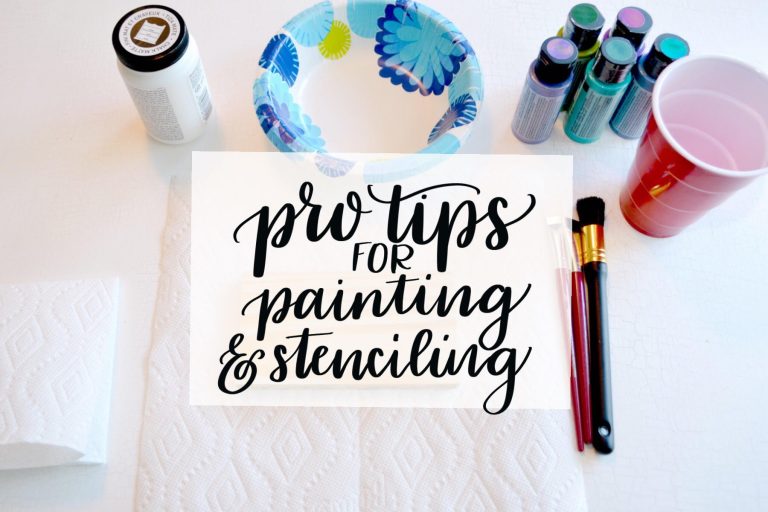
Stenciling Tips
- Securely tape your stencil in place. The more it can move, the more likely you are to get paint where you don’t want it to be.
- Use a stencil brush – You’ll always get the best results when you use the right tool for the job. This kind of brush is full and round, with a flat top that’s designed just for the purpose of evenly applying paint to a stenciled area.
- Tap your brush into your paint, then offload it onto a paper plate or paper towel to remove the excess. The more dry your brush is, the less paint you have to leak under the stencil.
- Hold your brush vertically and use a stippling/tapping motion to apply the paint rather than making up and down strokes like you would for “normal” painting.

Frequently Asked Questions
This particular stand is 10” tall and 10 3/4” wide. It’s perfect for an 8” wide flowerpot.
If you’re using a faux plant, there’s no need for sealing your project. However, if you will be watering a live plant while in the stand, it would be smart to apply a waterproof acrylic sealer.
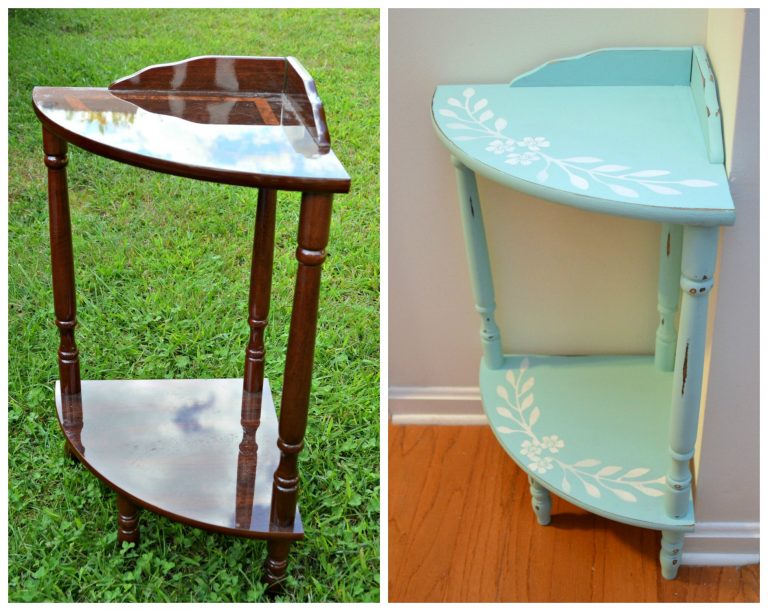
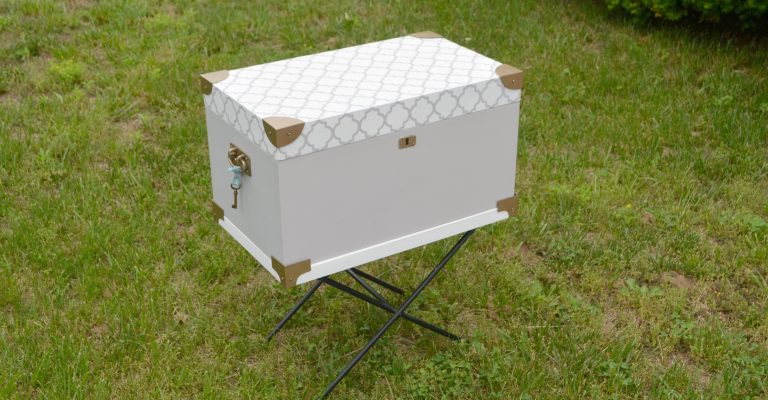
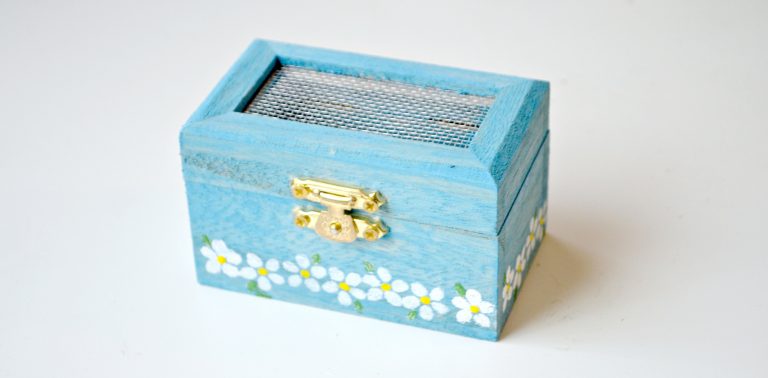
More Stenciled Craft Projects
If you enjoyed this project, there are tons of other fun ways you can use stencils to create original decor for your home. Take a look at these other stenciled craft projects for more inspiration.

Stenciled Wooden Plant Stand
Materials
- Konnectz Reversible Plant Stand
- Apple Barrel Matte Paint
- geometric stencil
- paintbrush
- stencil brush
- painter’s tape
Instructions
- Paint all surfaces of the plant stand a base color. I used three coats of paint.
- Tape your stencil to the surface and begin to stencil the pattern. Make sure to use an almost-dry brush so excess paint doesn’t bleed under the stencil.
- Continue moving the stencil and applying paint to the open areas until all surfaces are stenciled.
- Assemble your plant stand and add a plant for display.
Before you go, make sure you save this project to Pinterest and/or share it with a friend! Also, don’t forget to join the Amy Latta & Friends Facebook Group so you can get the latest updates, share your project photos, and we can all inspire each other. See you there!