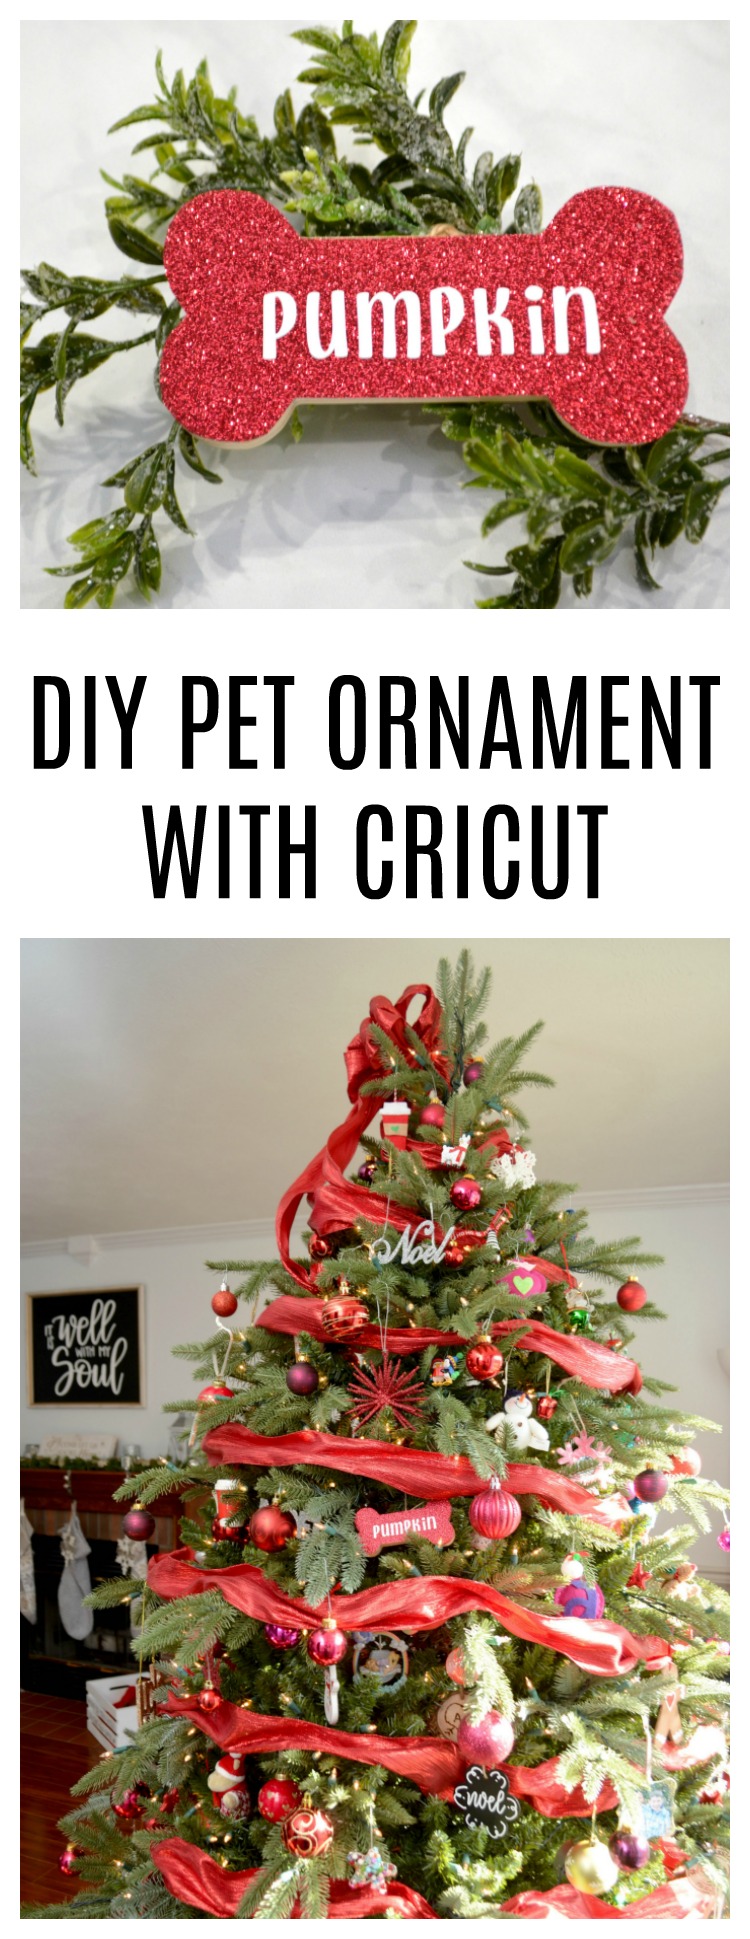
DIY Pet Ornament with Cricut
This is a sponsored conversation written by me on behalf of Cricut. The opinions and text are all mine.
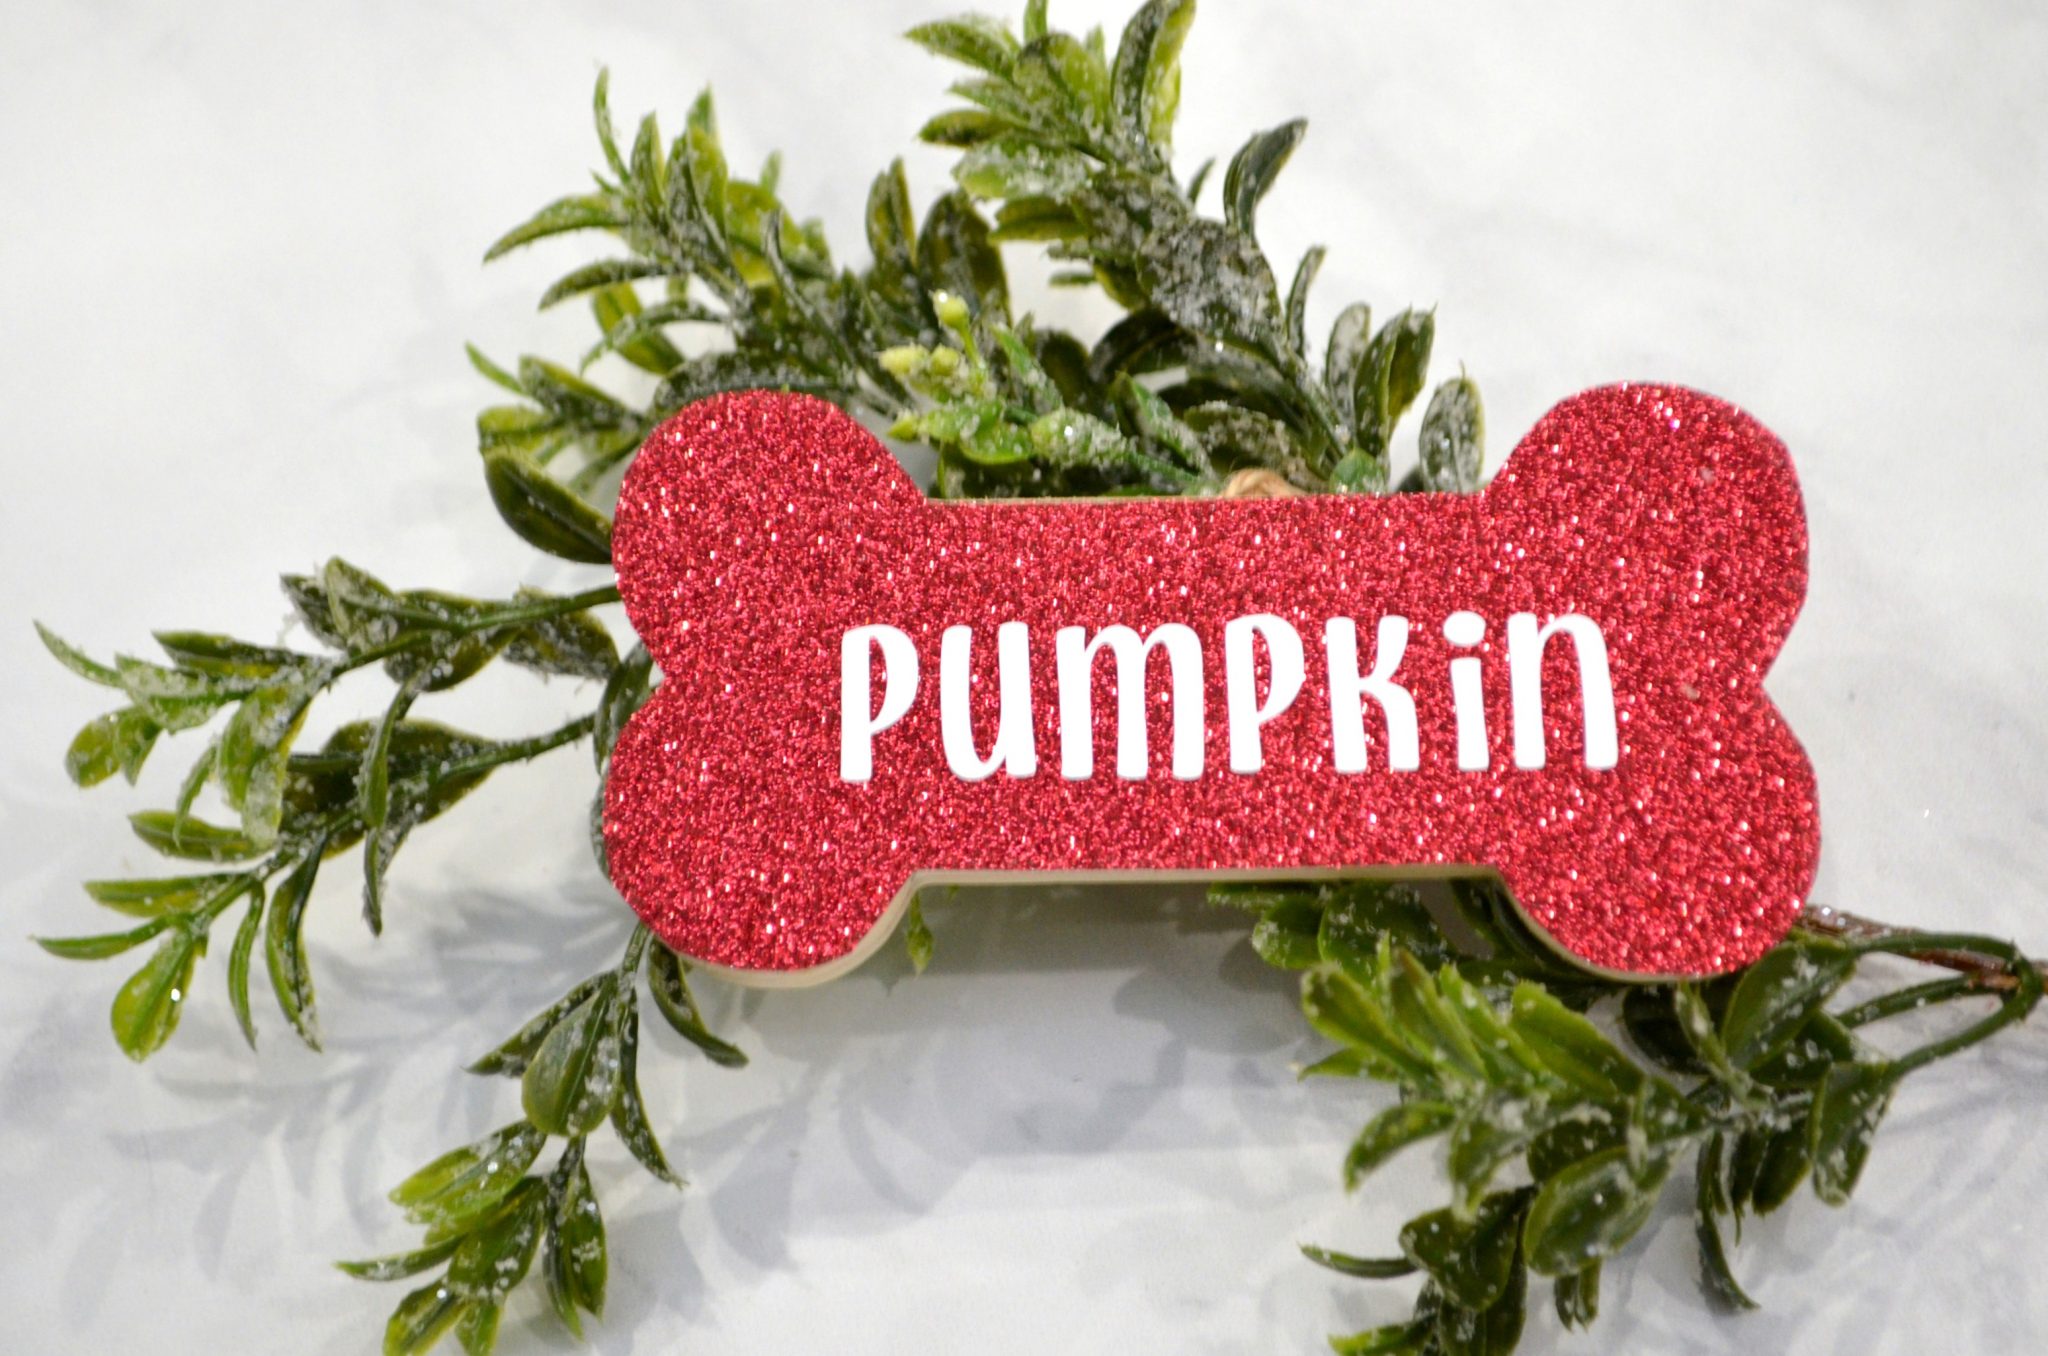
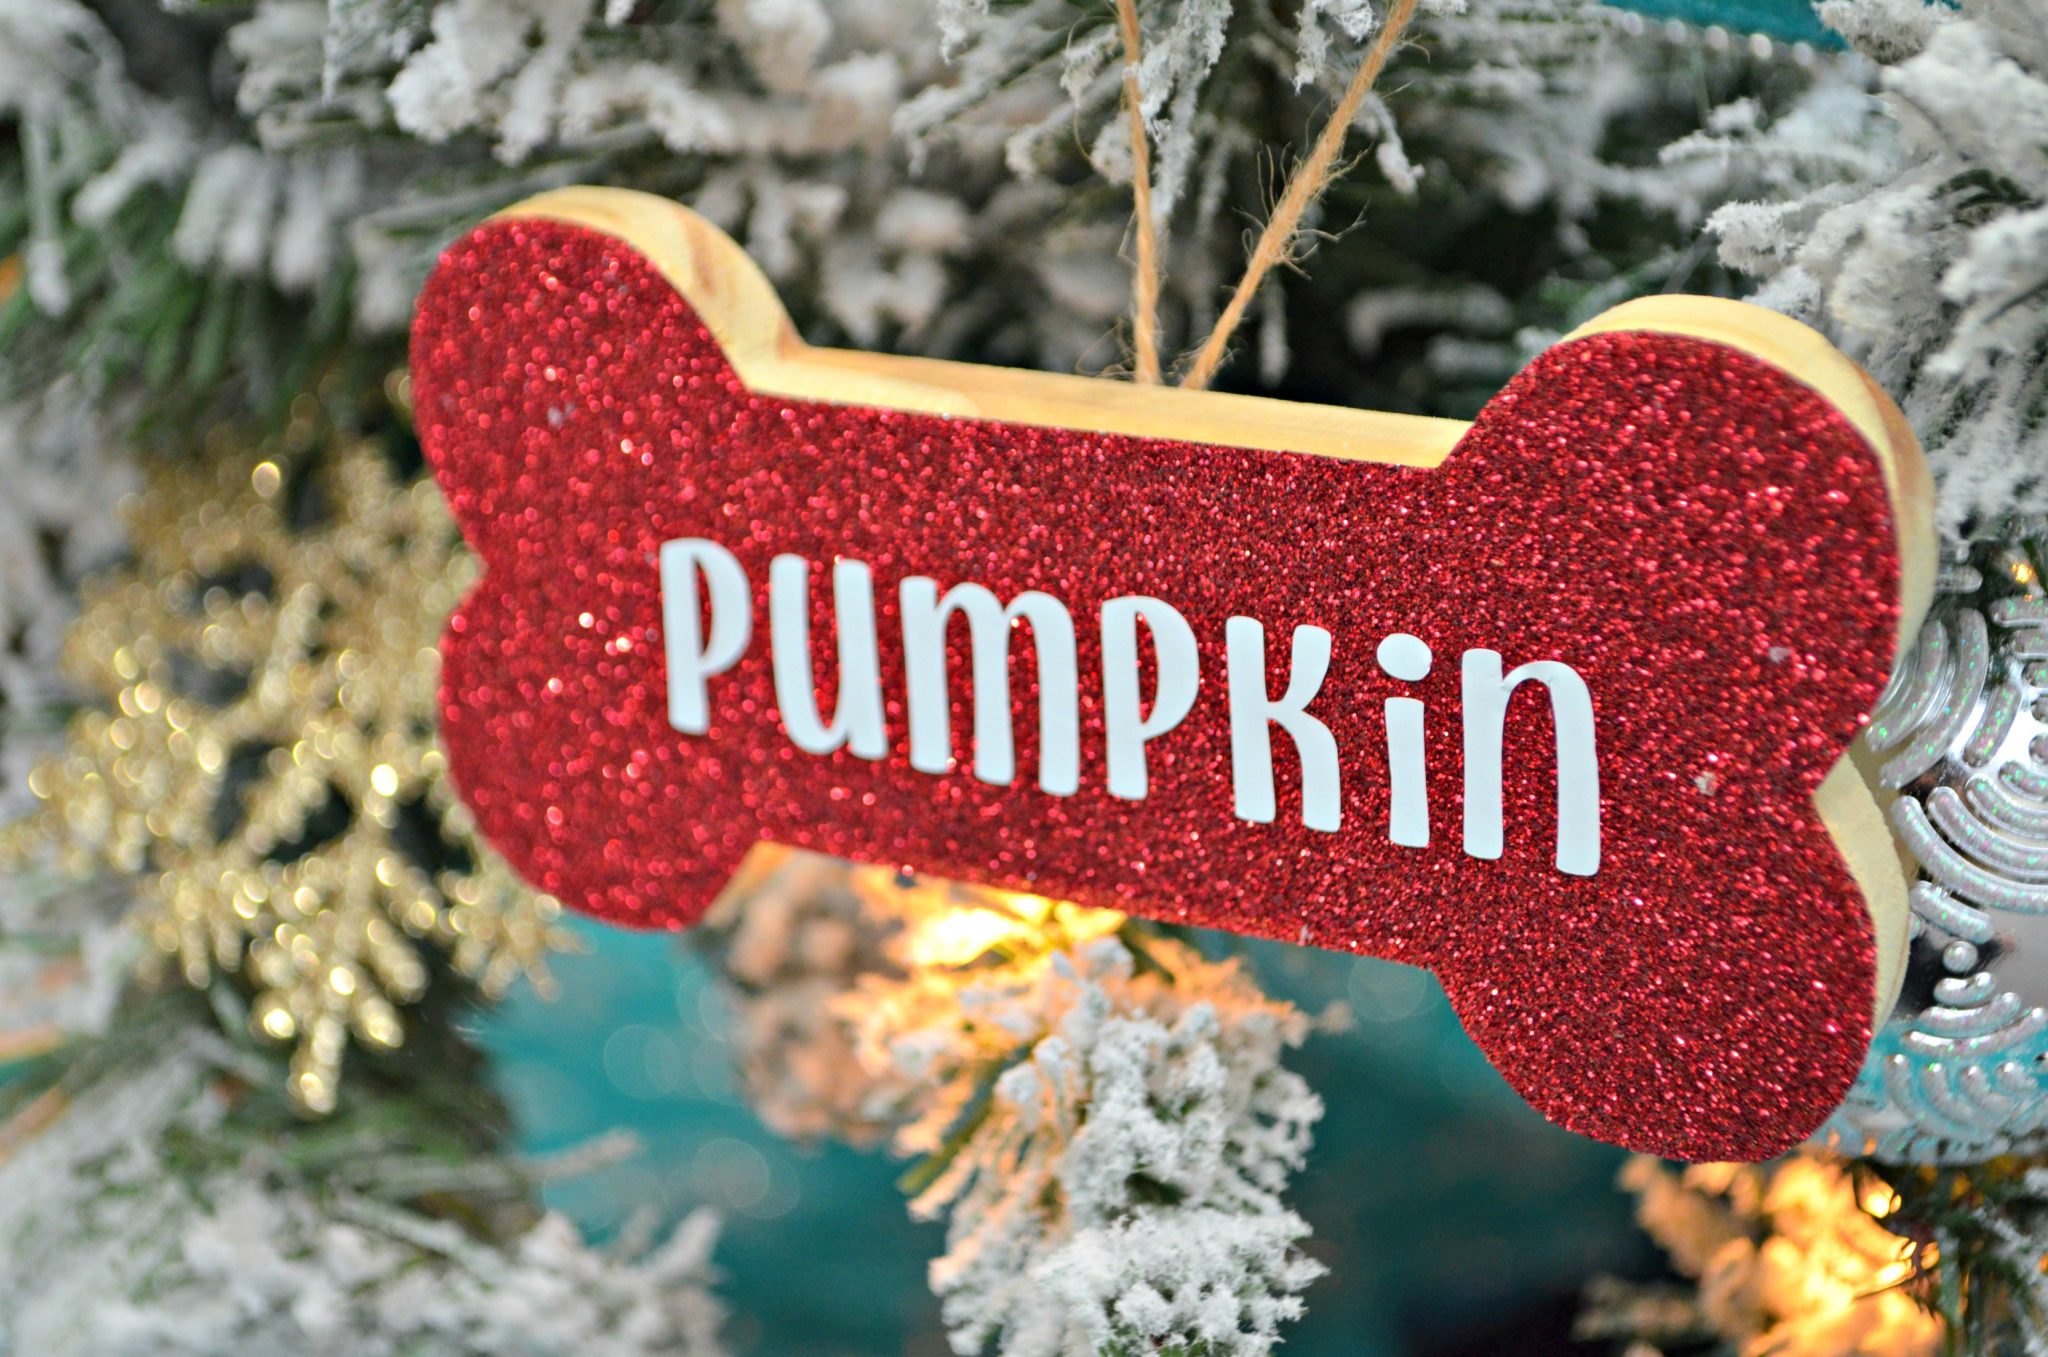
It’s no secret that Christmas is my favorite holiday! I absolutely love all the traditions and decorations, especially putting up the Christmas tree. It always brings up wonderful memories since many of our ornaments are personal ones, including lots that we’ve handmade over the years. This year, we added a new member to our family, Pumpkin the puppy, so of course we needed to create a special ornament just for him. Here’s how I made it with a little help from Cricut!

Materials:
Unfinished wooden ornament (any shape is fine; I chose a bone)
Standard Grip Machine Mat
Glitter Iro-On Vinyl
Premium Vinyl, Permanent
Scissors
Transfer Tape
Cricut EasyPress Mat
Making Your Pet Ornament
Step 1: Cut Glitter Iron-On Vinyl into the same shape as your wooden ornament.
If your shape is a basic one, like a circle or rectangle, you can create it in DesignSpace and cut the vinyl using your Cricut machine. Since my ornament was in the shape of a bone and I wanted the glitter to cover it exactly, I went old-school and just flipped the vinyl upside down, then traced the shape of the ornament onto it with a pen. I cut it out with scissors and had a perfect fit.
Step 2: Use the EasyPress 2 to adhere the Glitter Iron-On Vinyl to your ornament.
Can we pause for a second here? Did you know you can use Iron-On Vinyl directly on wood?! Mind blown, right? Just preheat your EasyPress 2 to 300 degrees Farenheit and place the ornament on top of a folded towel or your EasyPress Mat. Sit the cut vinyl on top of the ornament with the glittery side facing up. Then, apply the EasyPress 2 with firm pressure for 40 seconds. When you’re done, peel off the shiny adhesive from the top and you’ll have a sparkly ornament!
Step 3: Type your pet’s name in DesignSpace and cut it from Premium Permanent Vinyl.
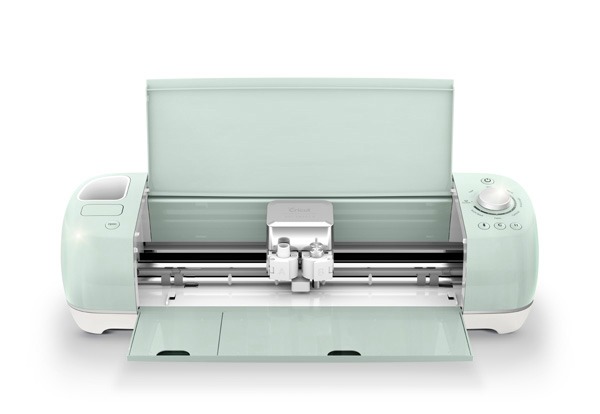
I used the Cricut font called DonJuan, because it’s fun and playful, just like Pumpkin! Once you type the name, size it to fit your ornament. My text was about 4″ wide by 0.75″ high. When everything is how you want it, just send the design to your Cricut Explore Air 2. Make sure the knob on the machine is turned to the vinyl setting, place the vinyl shiny side up on the Machine Mat, load the mat, and let the Explore Air 2 do its cutting magic.
Step 4: Peel all of the excess vinyl away from the adhesive backing, leaving just the cut letters of your pet’s name.
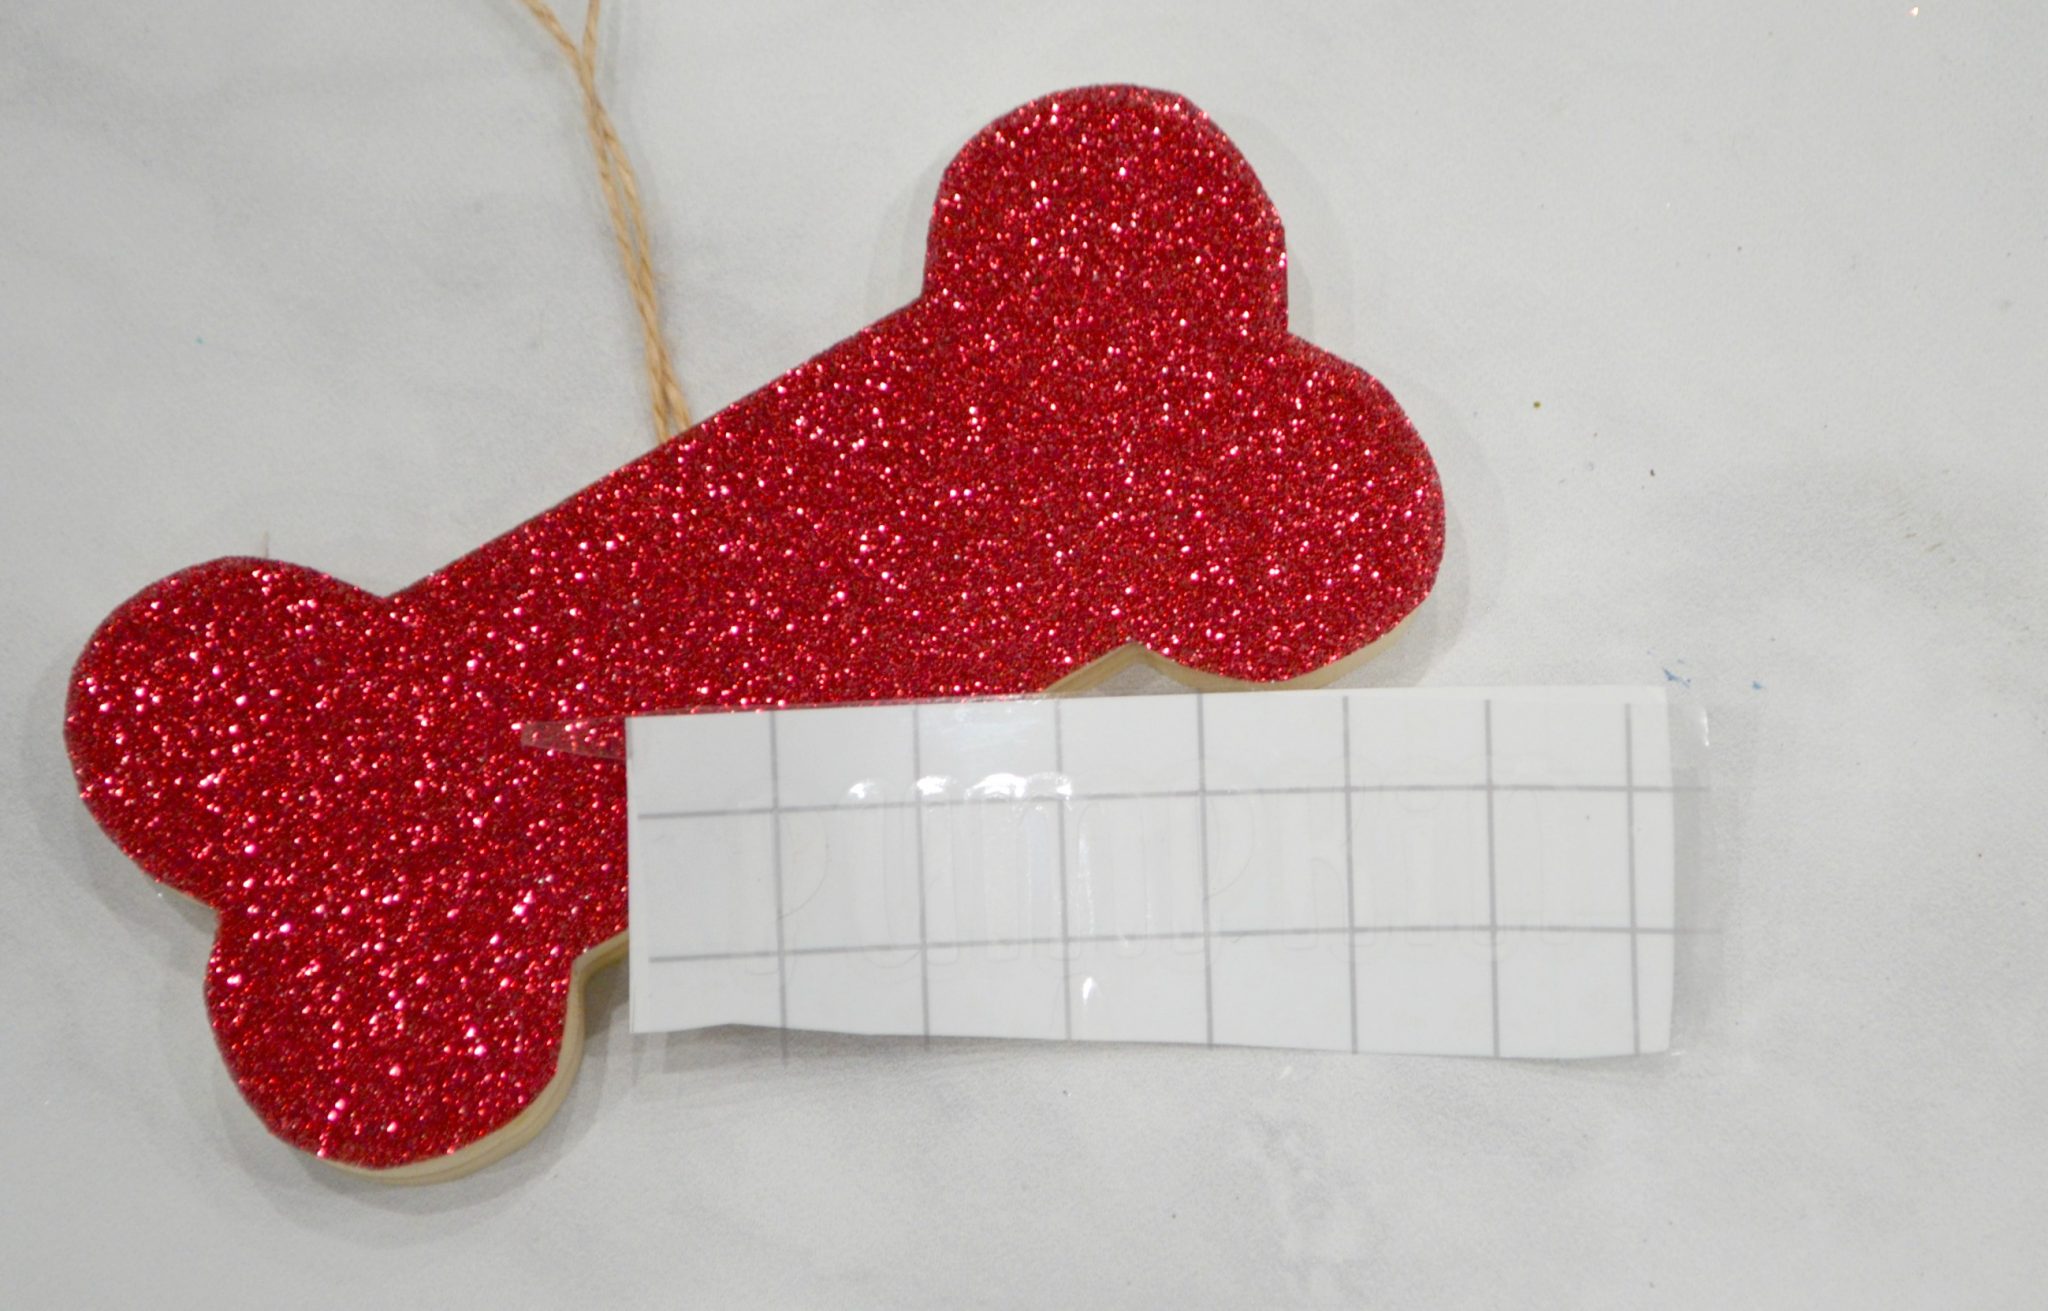
Step 5: Apply a piece of transfer tape on top of the cut vinyl.
This clear lined adhesive will help you keep the letters perfectly aligned while your transfer it to the ornament. Peel off the backing, place the tape on top of the cut vinyl, and press firmly to make sure all the letters stick. Peel the tape back up and the letters should come off of their backing.
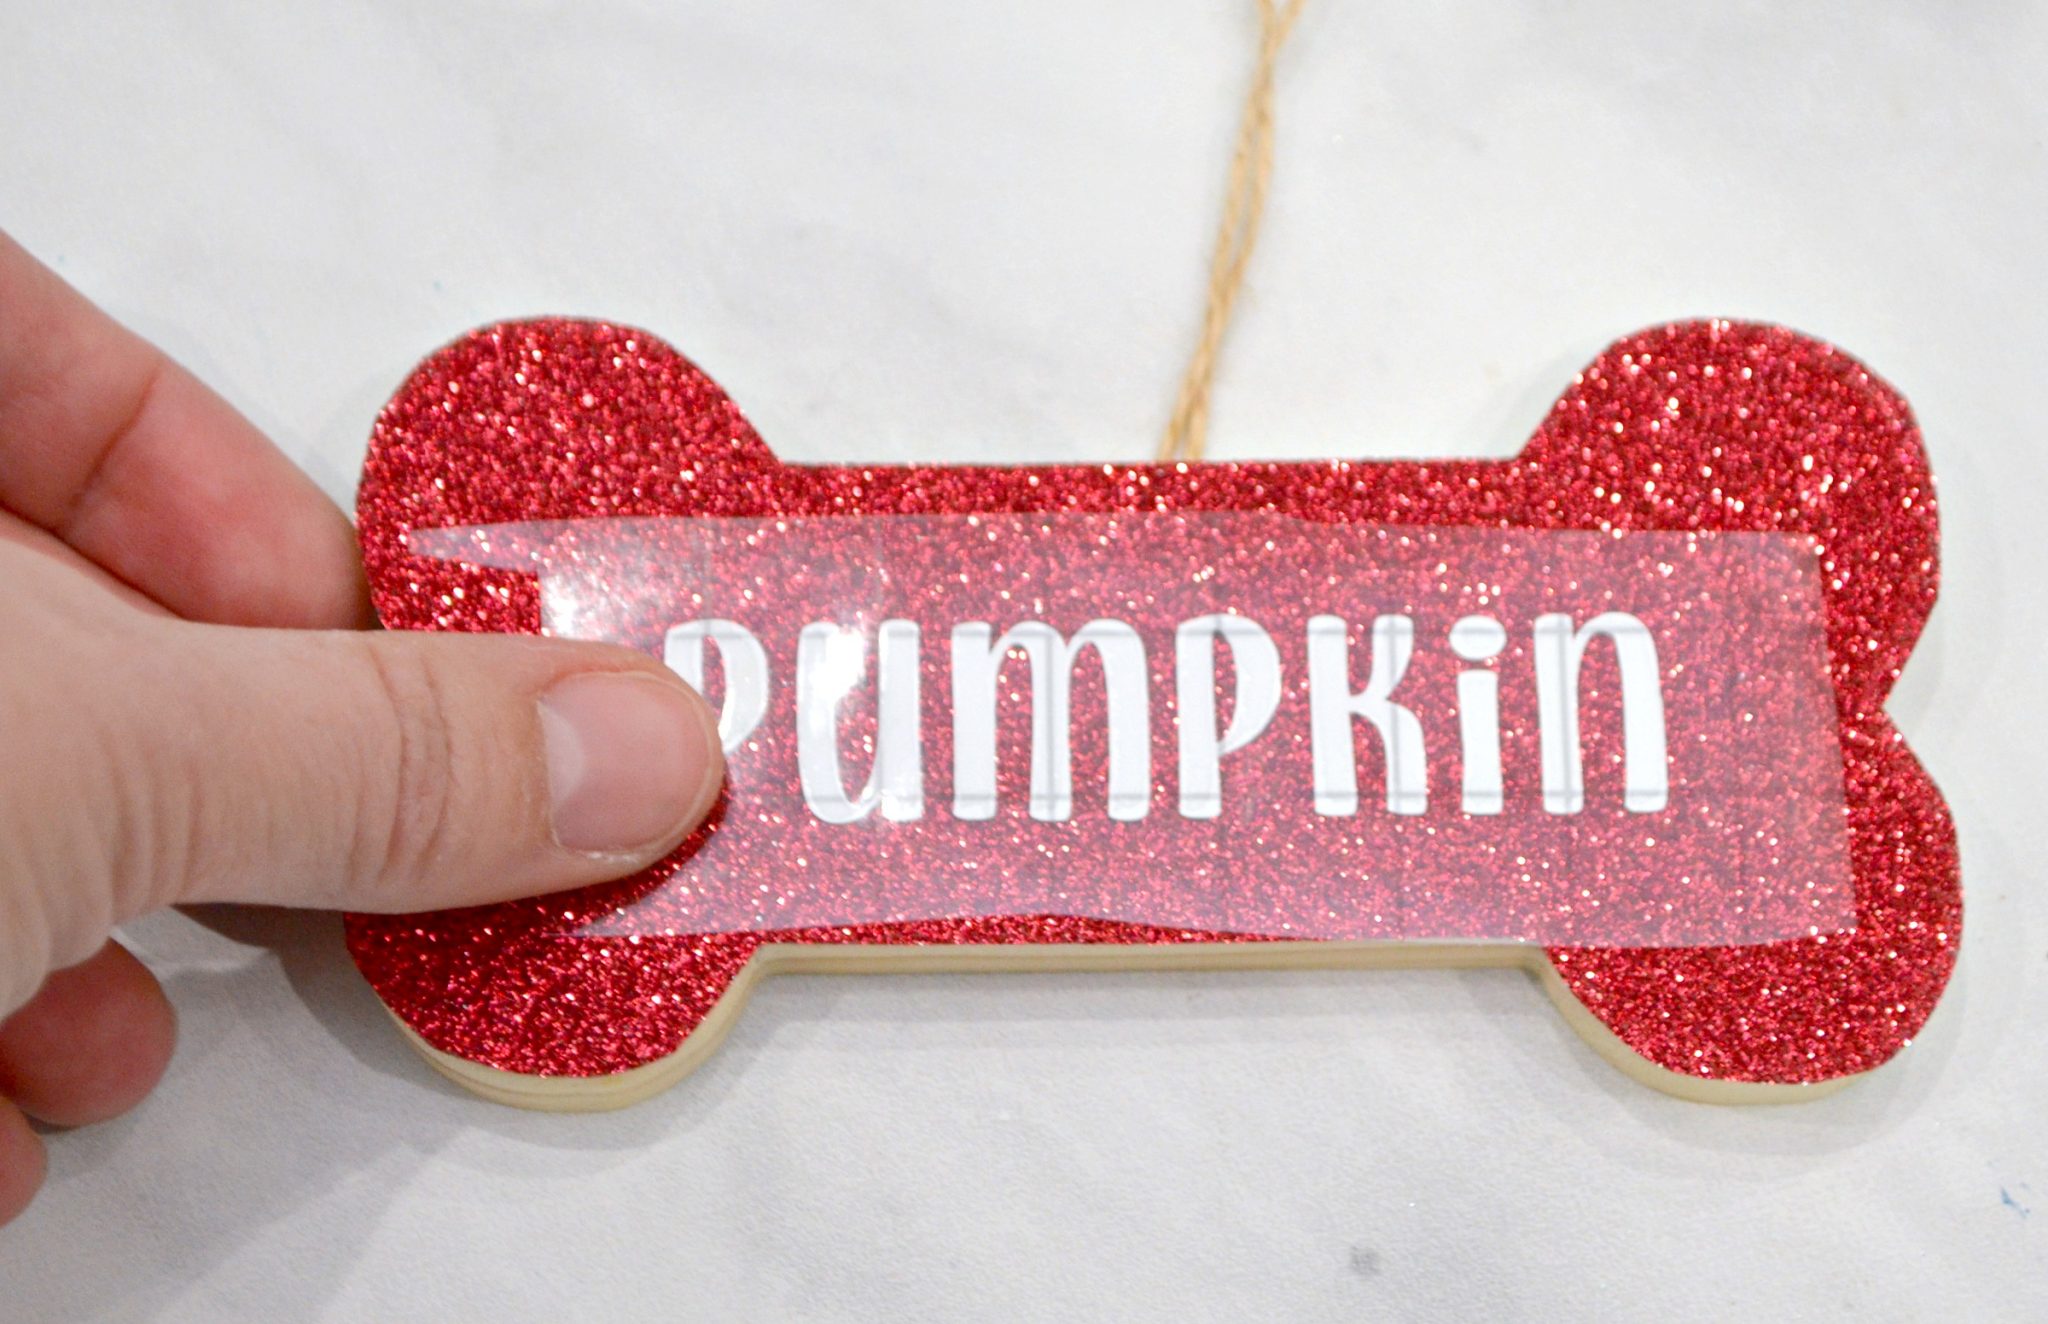
Step 6: Place the name on top of your glitter ornament and press firmly to adhere.
Carefully remove the transfer tape, leaving the letters on the glitter background.

Once your pet’s name is applied, your ornament is complete! If you’d like to add paint, glitter, or any other embellishment to the sides, feel free. I liked mine just the way it is, so I left the sides as natural wood.
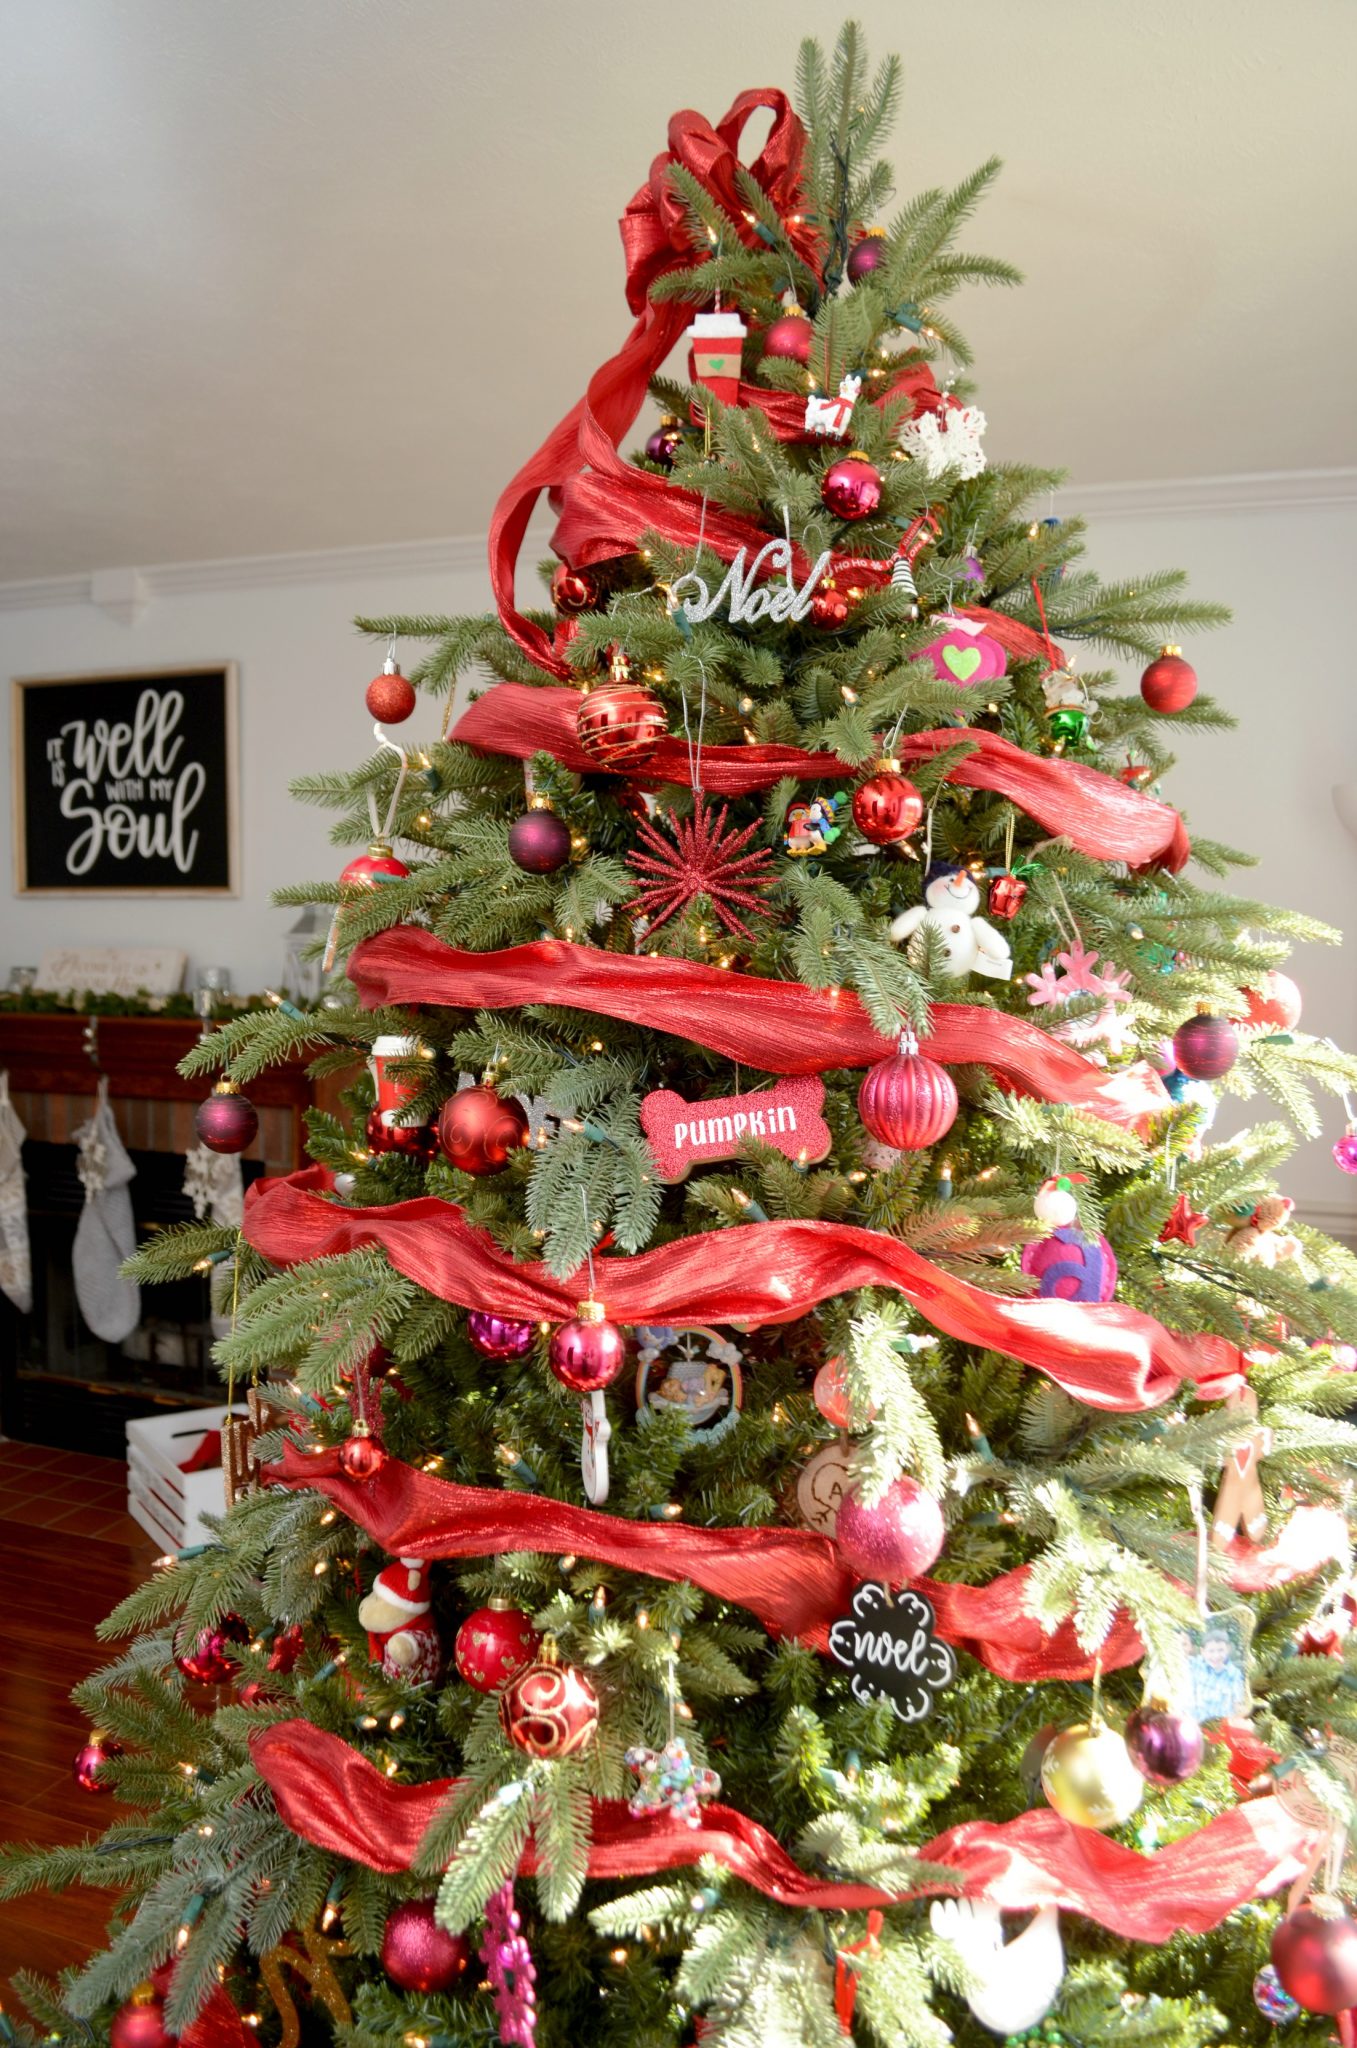
I love the way this ornament turned out, and it coordinates perfectly with our tree! Can you spot it?
Now it’s your turn! Why not make a pet ornament for each of the special furry friends in your life? You can totally customize this project by using your favorite colors of Glitter Iron-On Vinyl and Premium Vinyl, as well as choosing different ornament shapes. Don’t forget to Pin this post so you can find the instructions after you’ve gotten your supplies together.
Also, be sure to check out these other holiday project ideas and DIY ornaments. Happy creating!