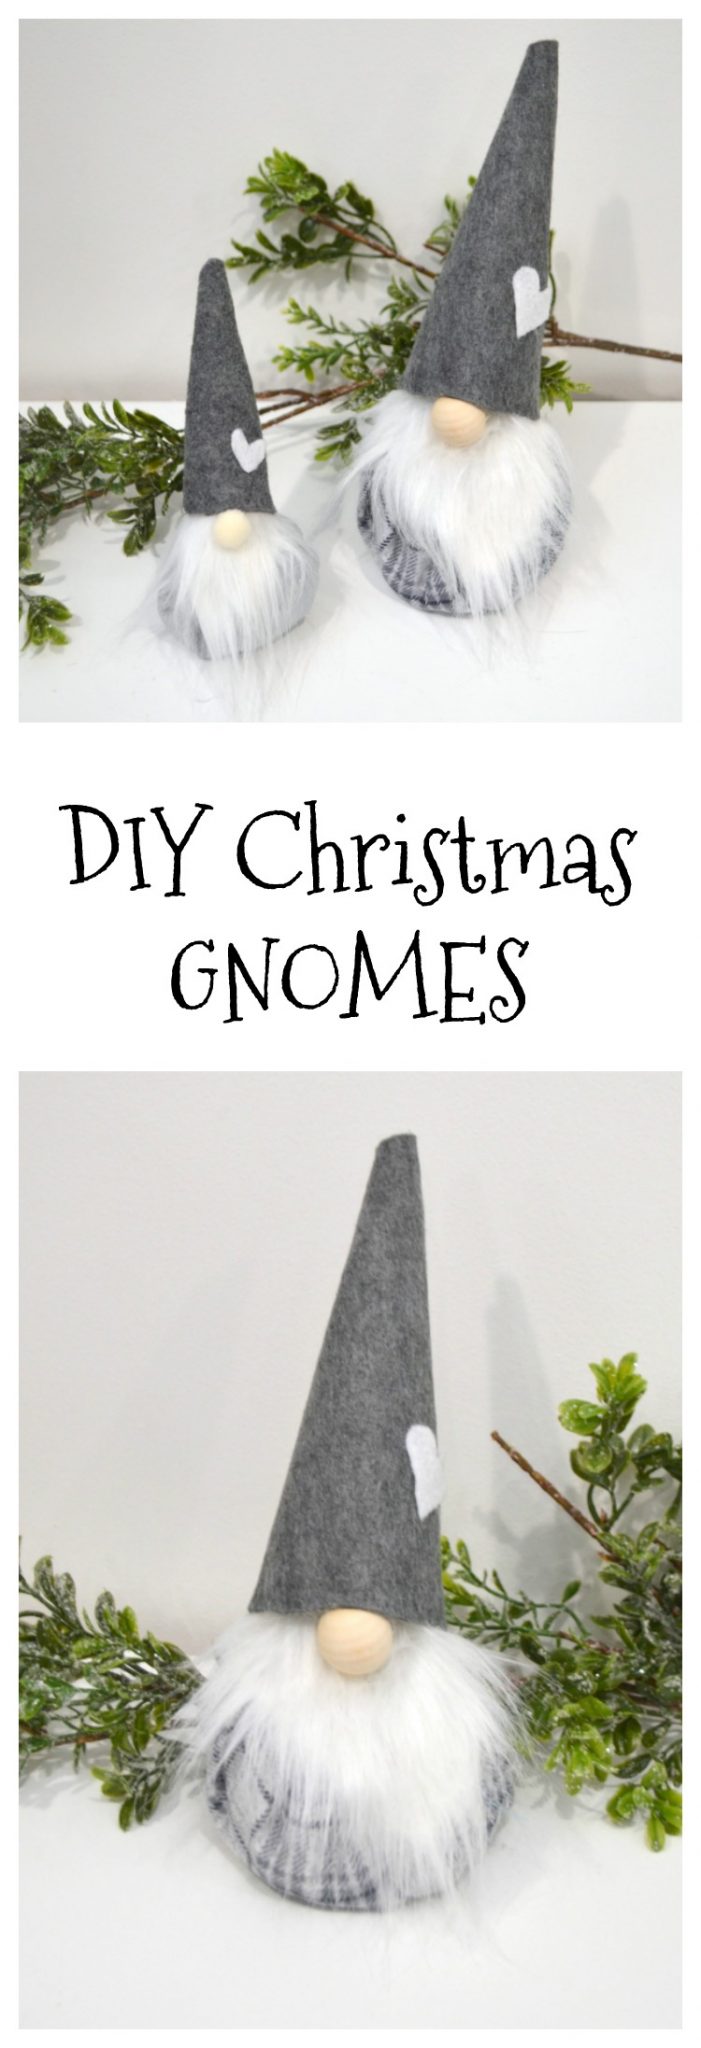
Easy DIY Christmas Gnomes
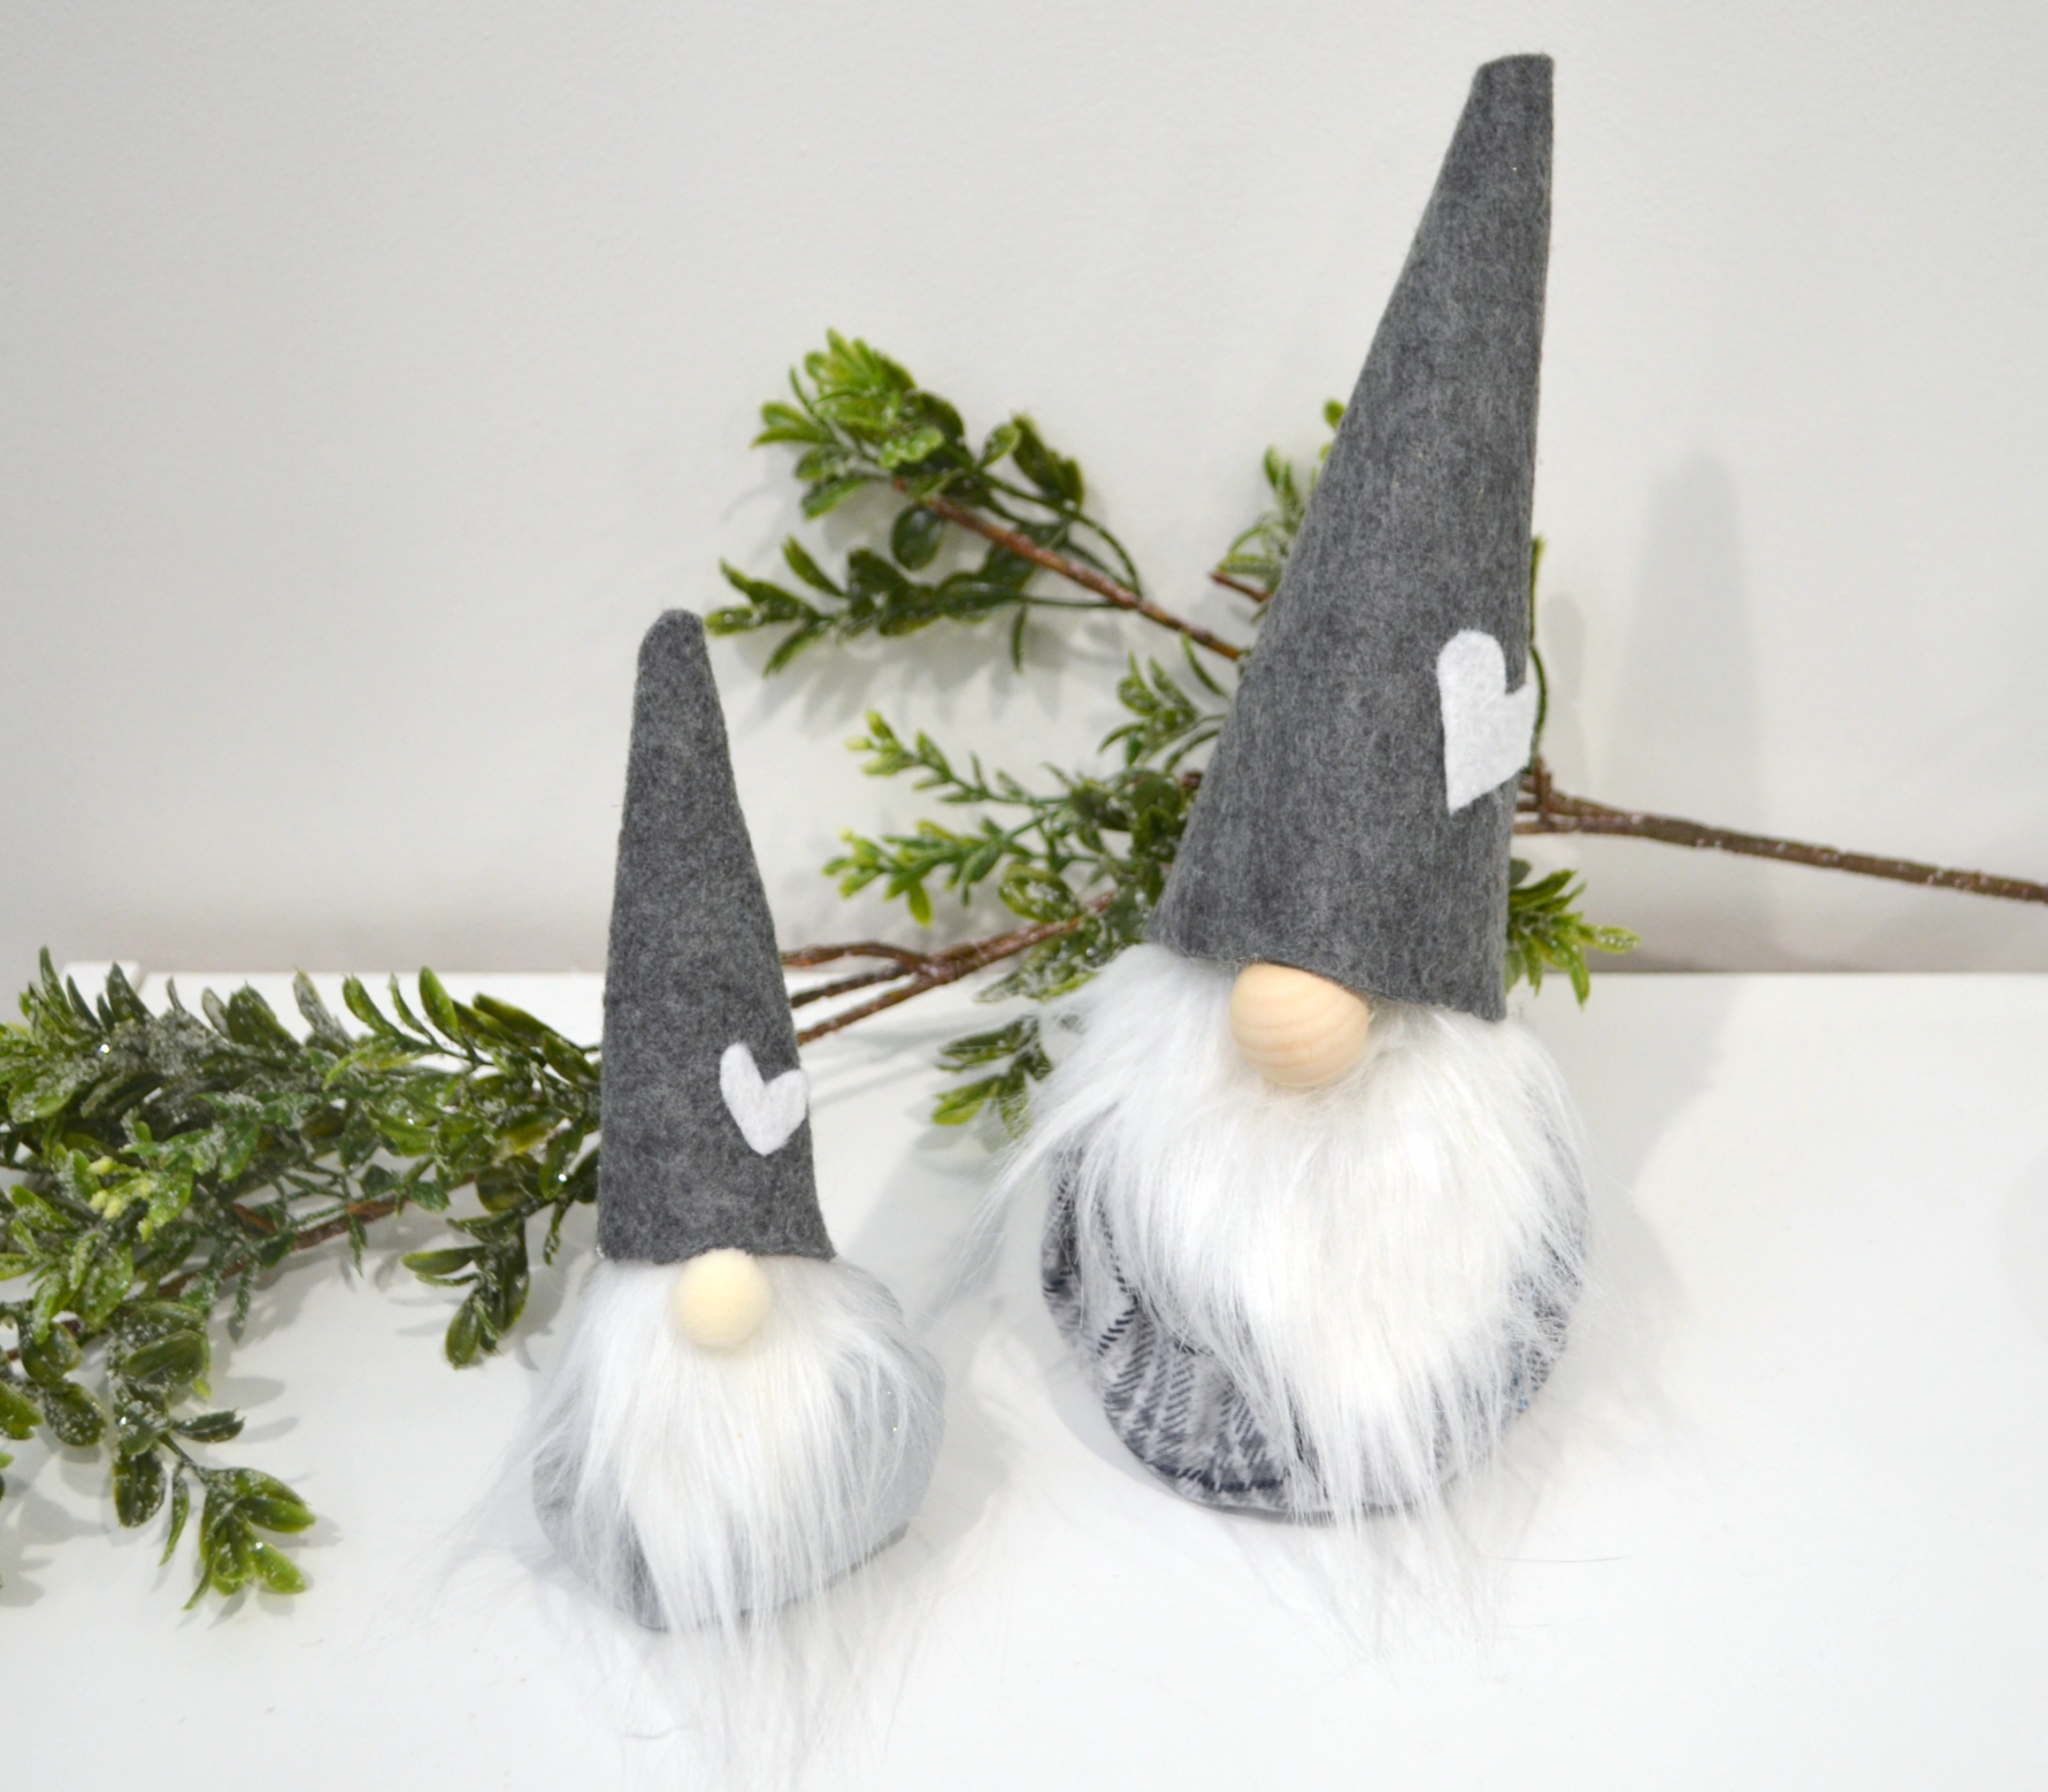
Everywhere I go, I keep seeing the cutest little Scandinavian Christmas Gnomes for sale! They’re just adorable with their beards and those big noses, so naturally, I decided I “needed” a few to add to my holiday decor. My mom absolutely loves them too, so we decided to put our heads together and figure out how to make our own. Here’s how we created our Christmas Gnomes and you can too!
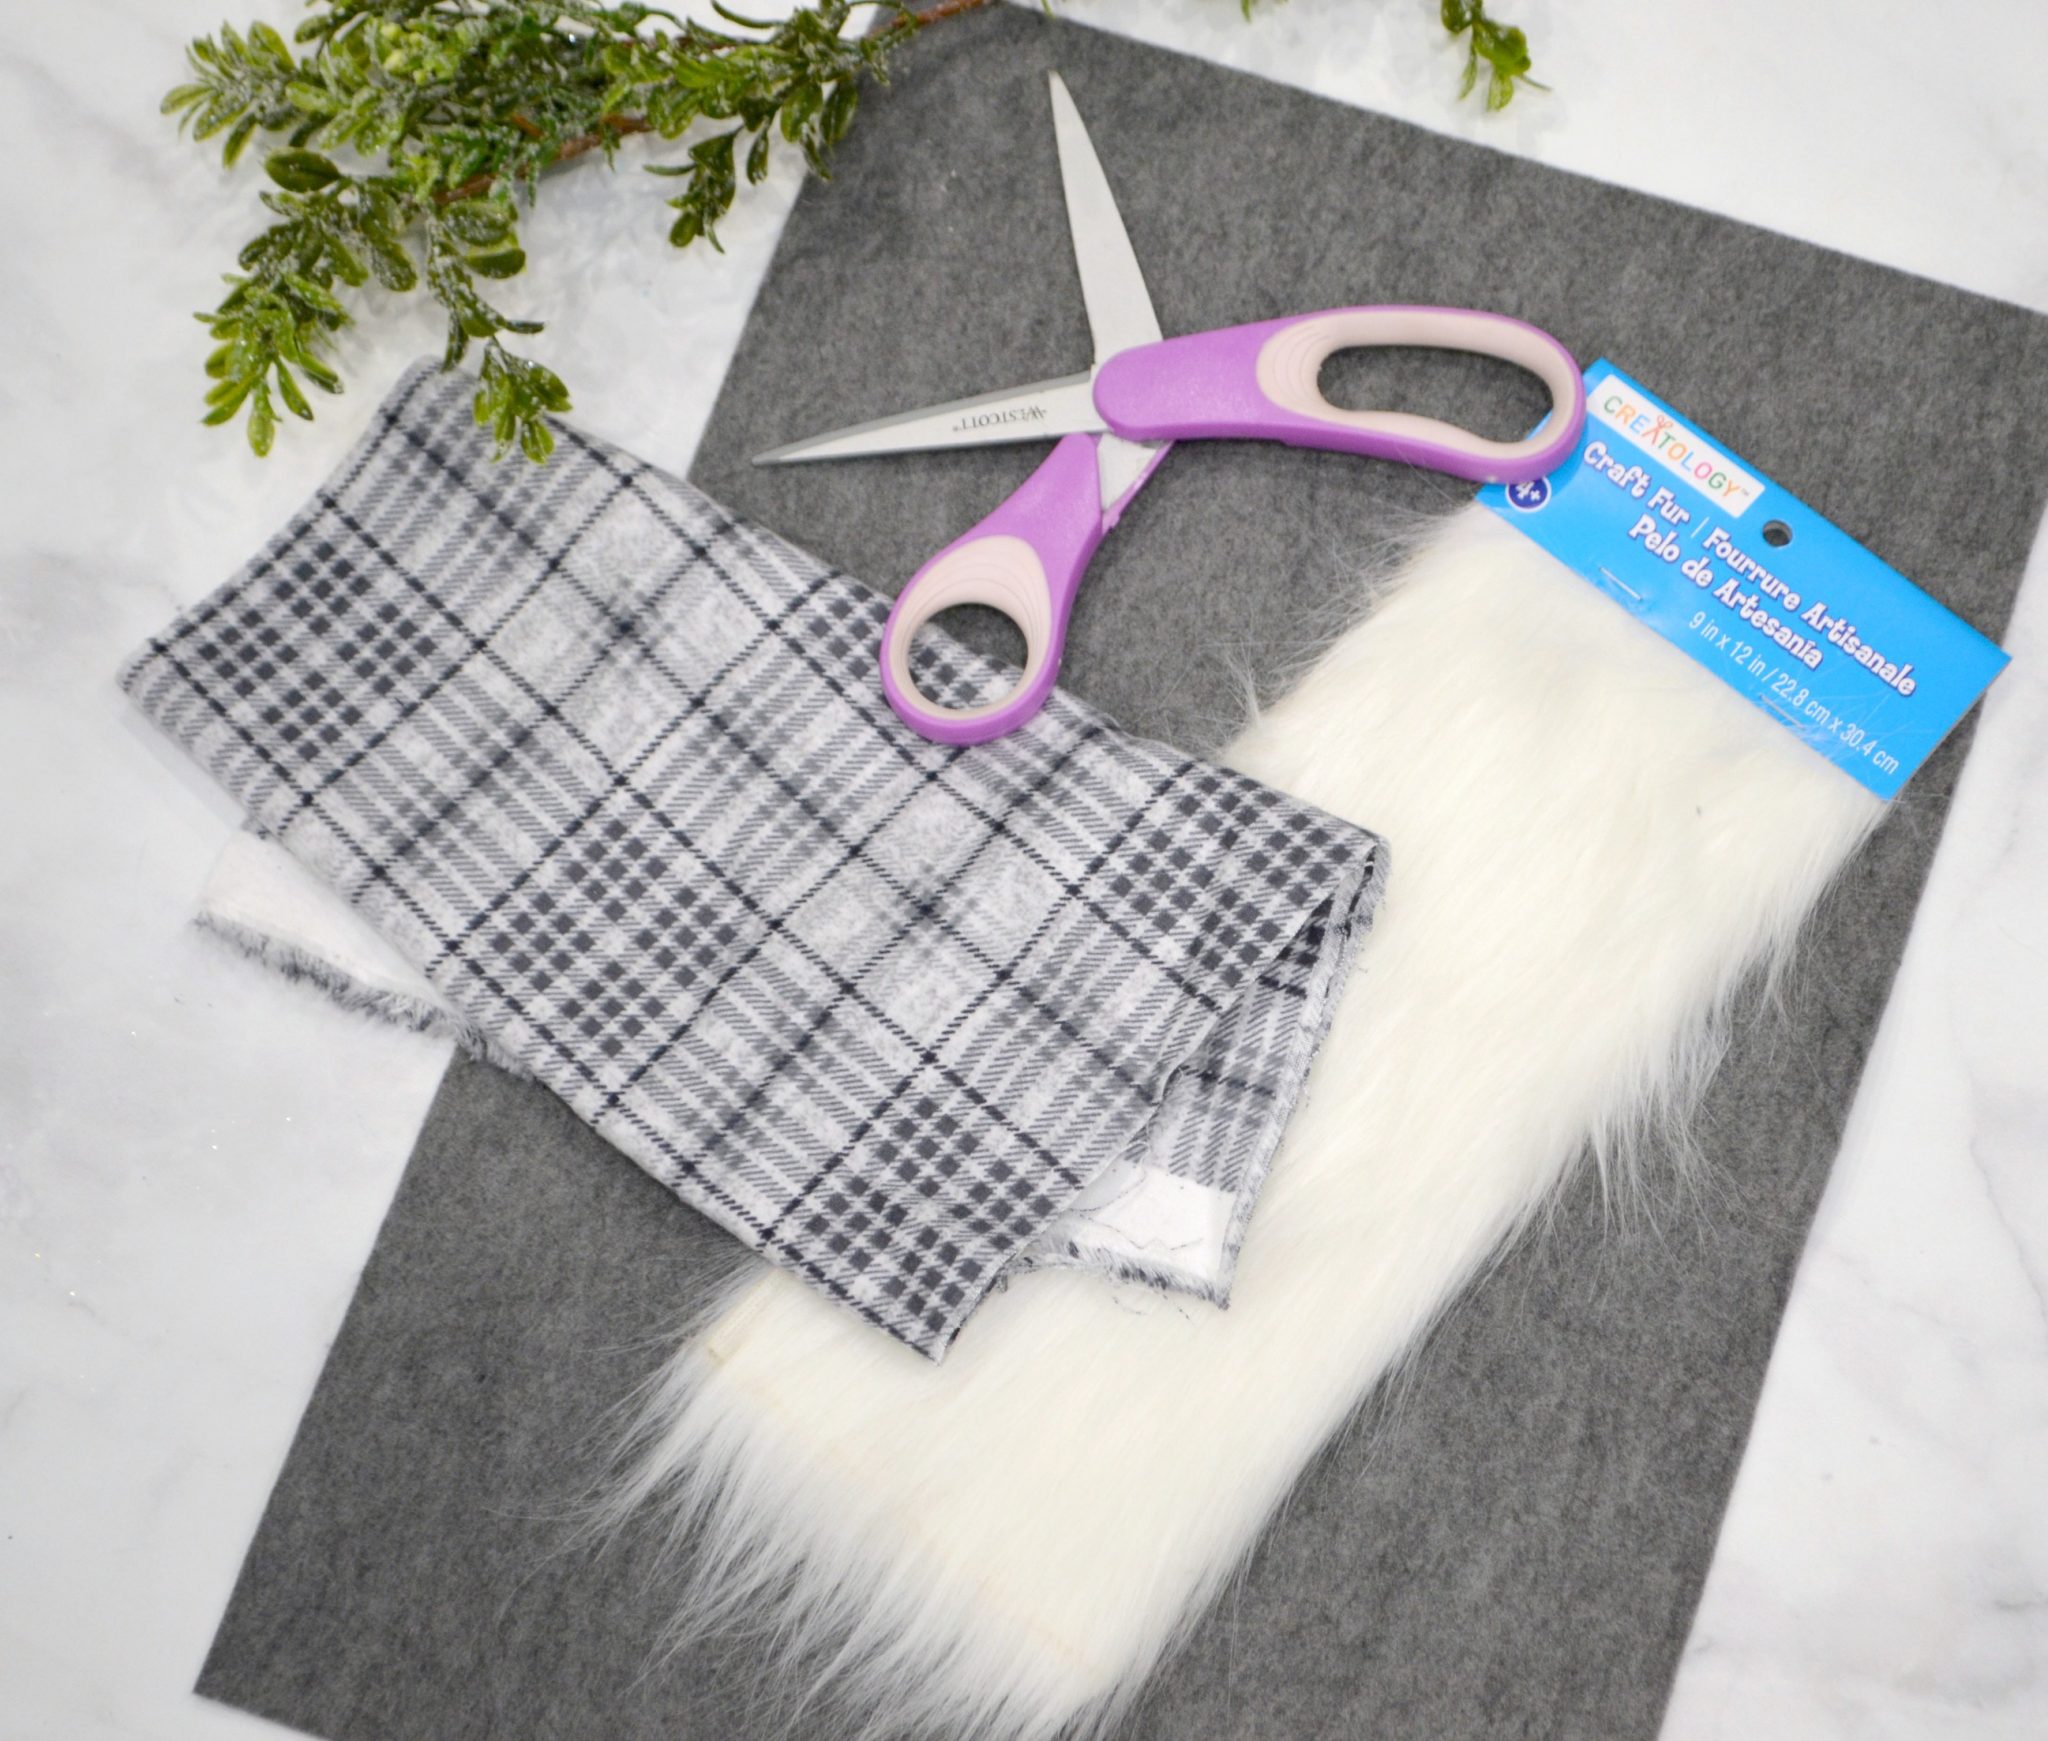
Materials
1/4 yard fabric, any color and pattern, for the body
1 piece of coordinating felt for the hat (additional felt for accents optional)
Craft fur
Scissors
Uncooked rice or dried beans
Polyfil
Thread and sewing needle
Wooden bead or flesh colored pom pom for nose
Larger wooden bead or styrofoam ball for head
Hot glue and glue gun
Making Your Christmas Gnomes
STEP 1: Cut a circle from your fabric and hand sew a running stitch around the edges.
The size of the circle will determine how big your gnome is. For the larger of the two gnomes, I traced a 10 inch dinner plate. To do a running stitch, all you do is thread your needle and tie a knot in the end of the thread. Place the needle through the fabric and bring it back up to the top side from the bottom side of the fabric, weaving the needle in and out. Keep running the needle in and out of the fabric all the way around the outer edge of the circle. When done correctly if you pull the thread tight, your fabric will start to gather, as shown below.
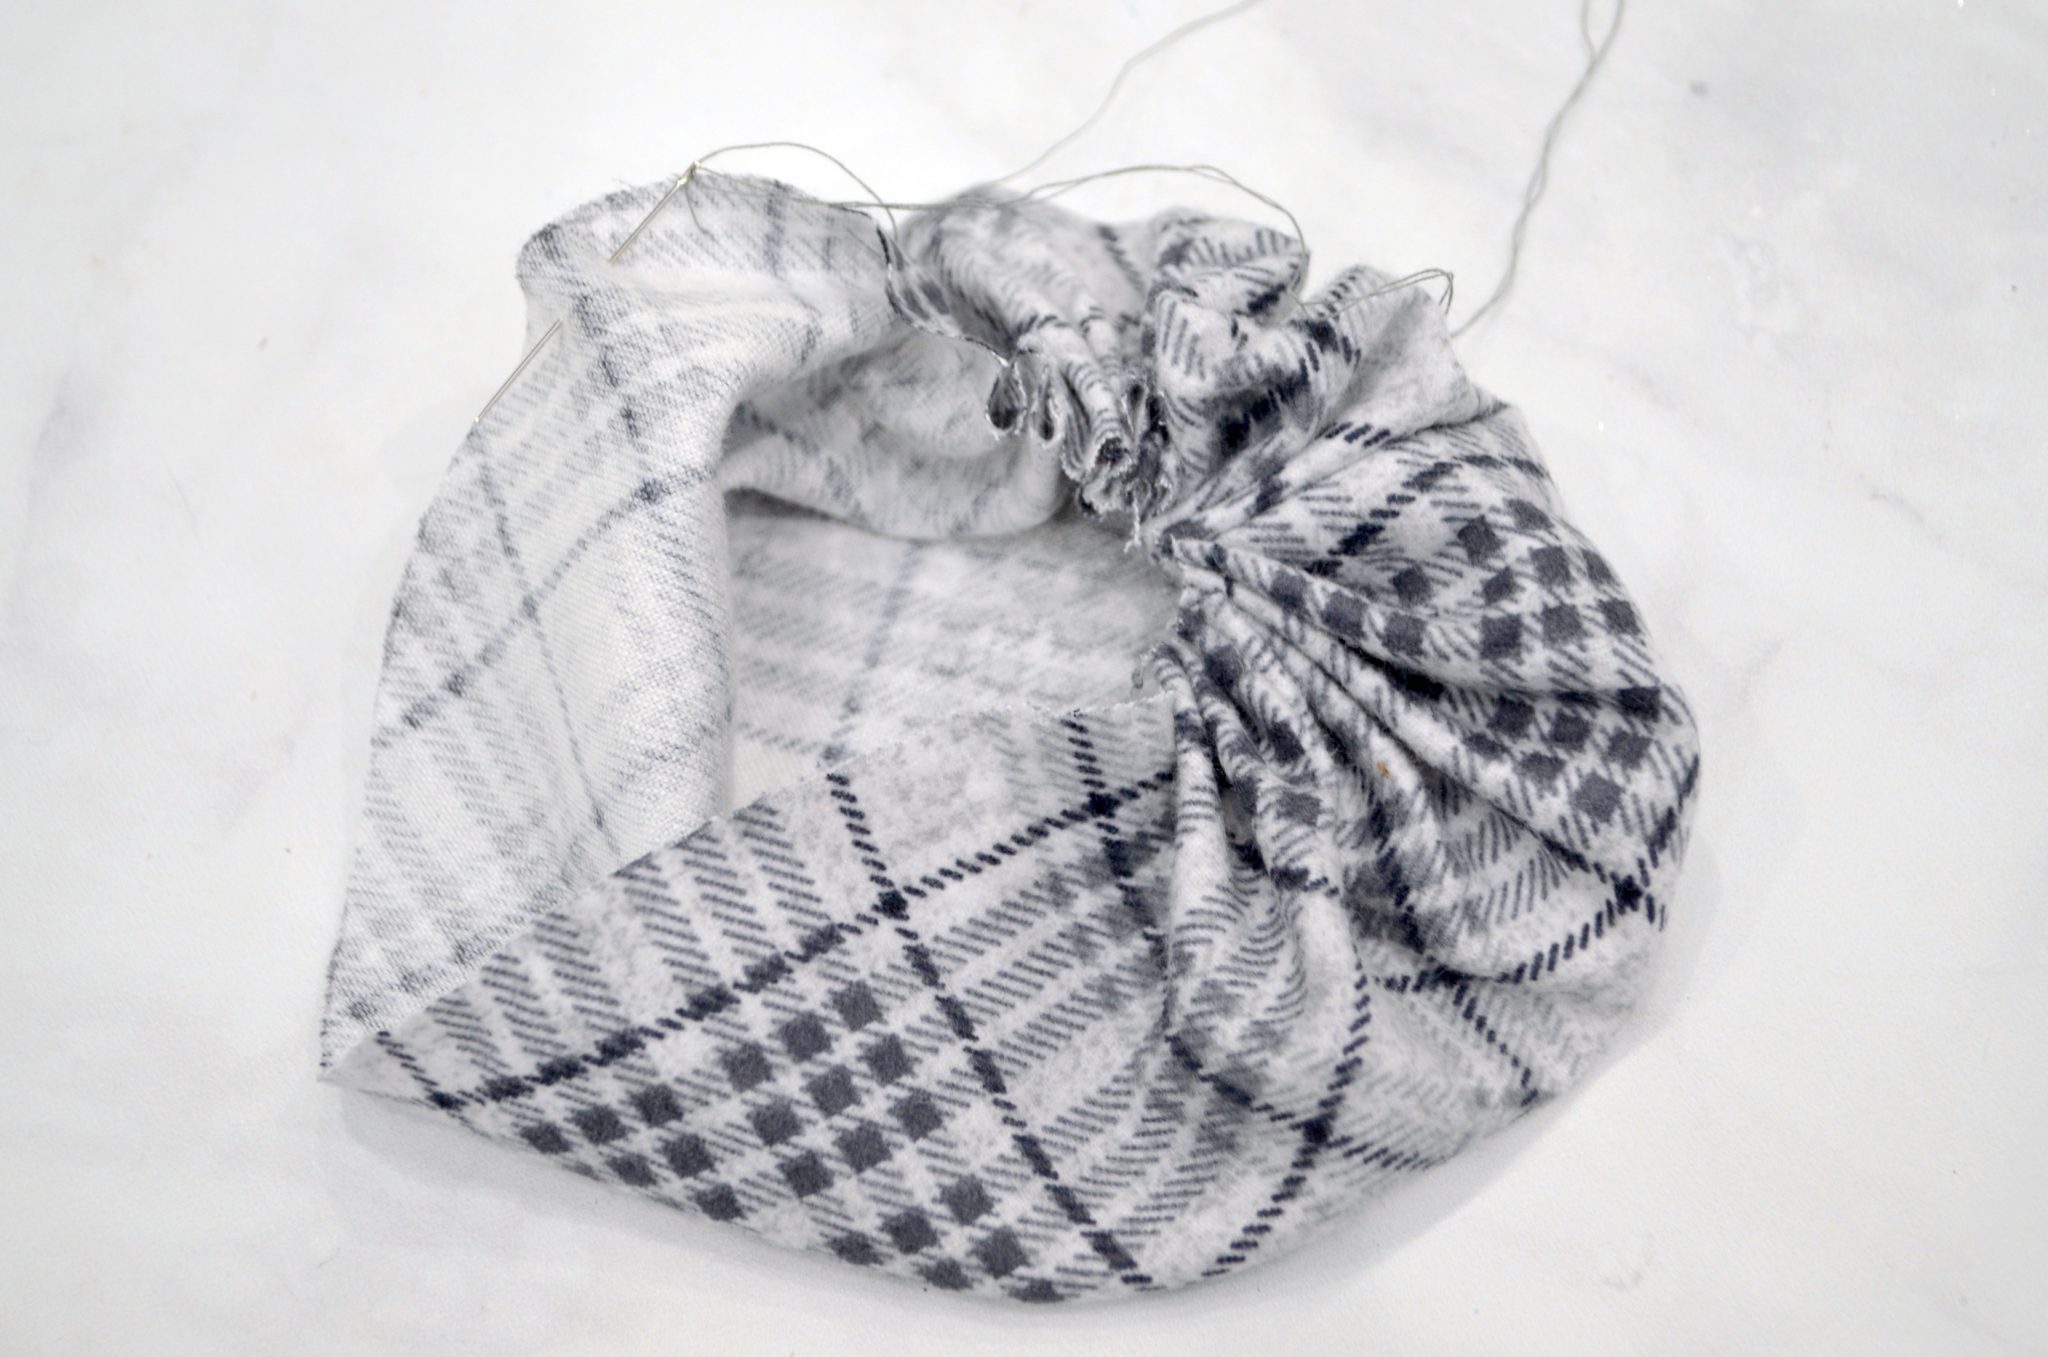
STEP 2: Fill your gathered fabric circle with rice or dried beans and polyfil.
This will give it a bit of weight to help it stand. Once it’s filled, pull the thread tight to close the base and knot it.
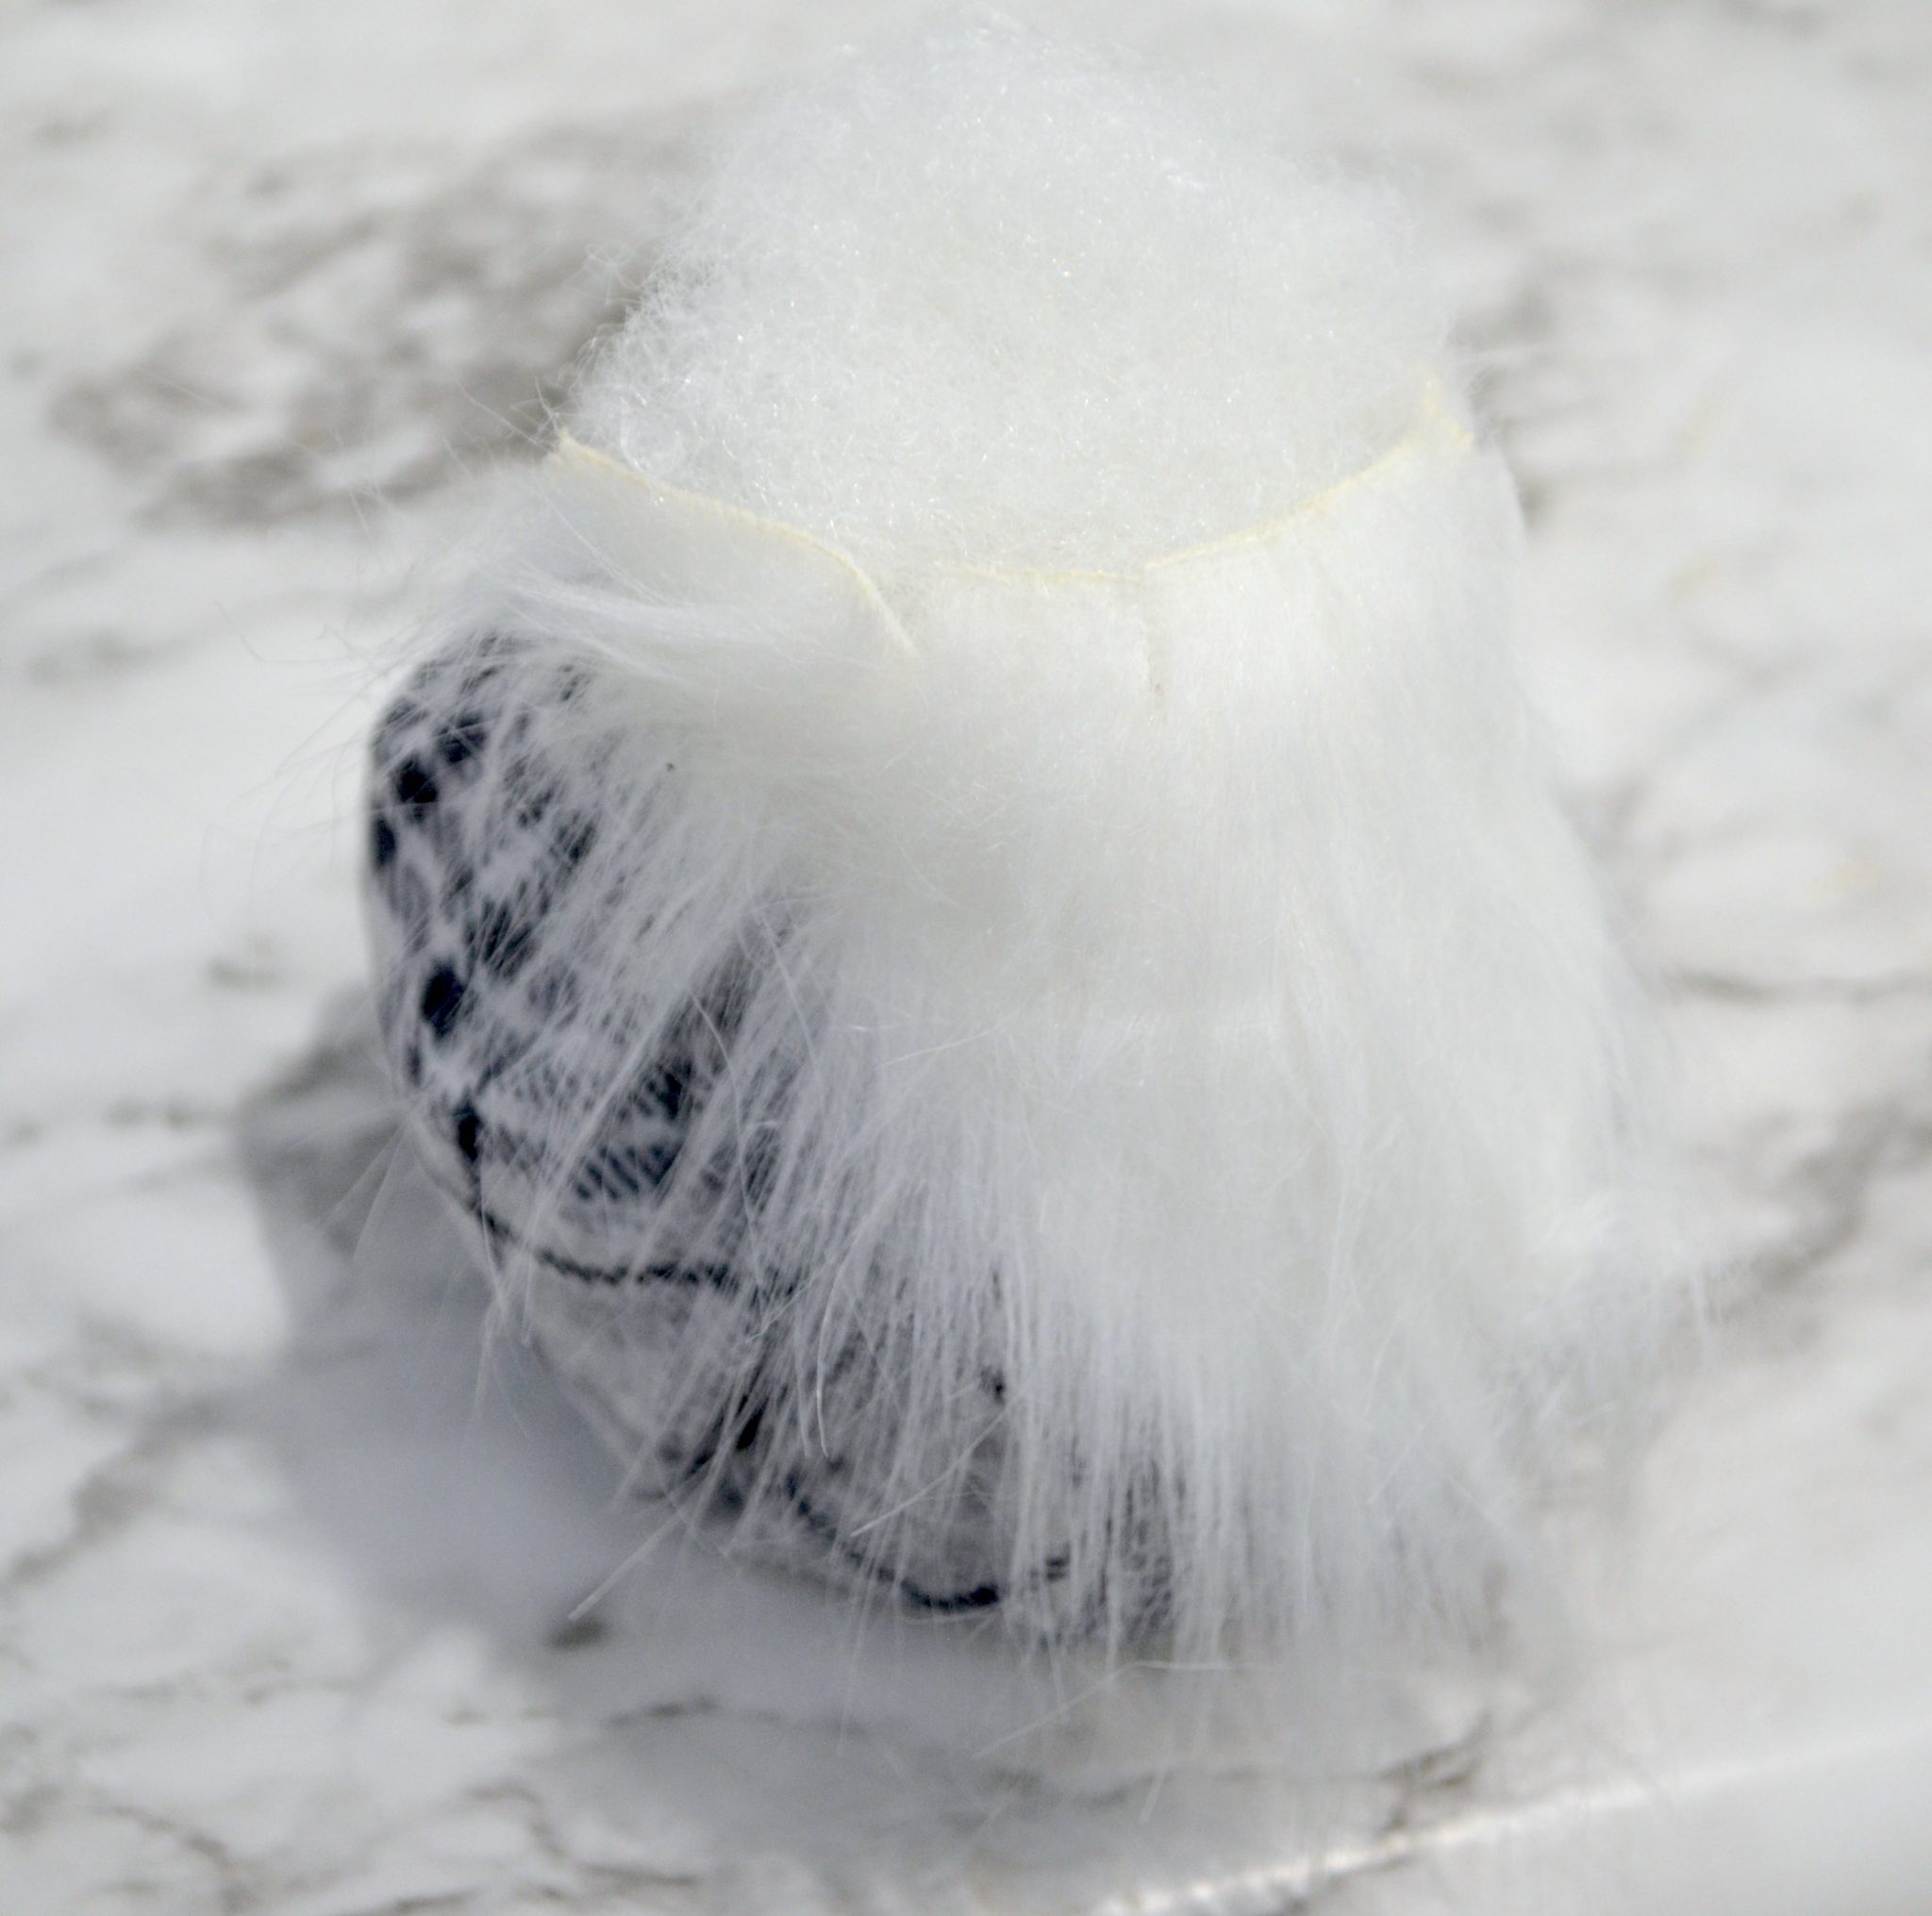
STEP 3: Glue a wooden bead, styrofoam ball, or blob of polyfil on top of your base to be the head.
This part won’t show, it will just be a place to secure the beard and hat.
STEP 4: Cut a triangle of craft fur and glue it around the head.
Pro tip: Try to cut just the backing, not the actual fur. This will allow the fur around the edges of your shape to remain long and natural looking.
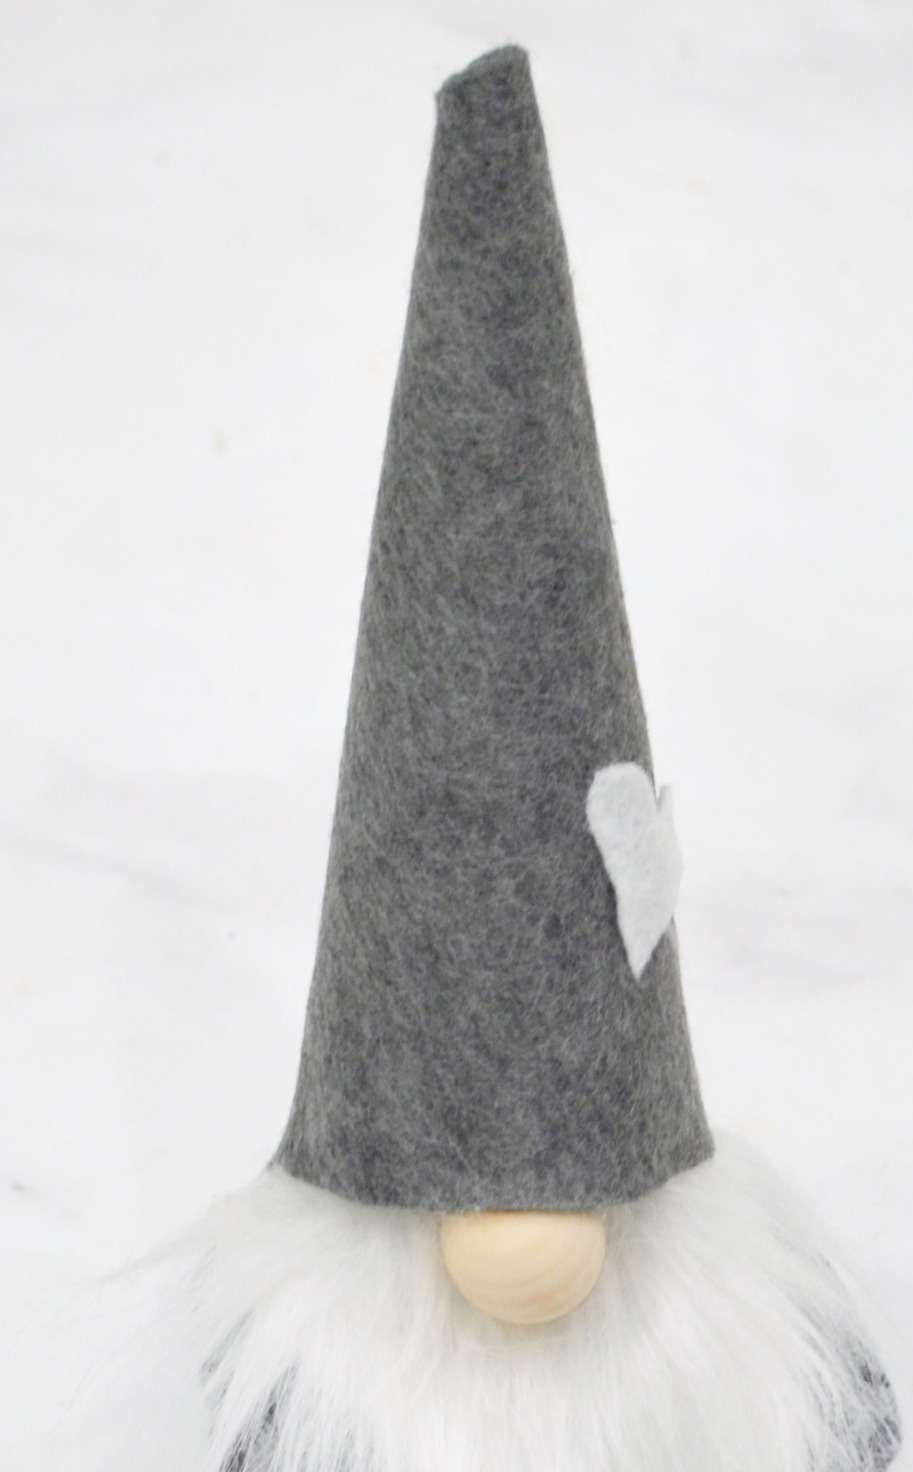
STEP 5: Form a cone shape from felt and trim it to fit the head.
Your hat can be as tall or short as you like. If you prefer a floppy style hat, you can use an old sock instead.
STEP 6: Glue the hat on top of the head, making sure to cover the top of the beard.
Feel free to add accents, like a little heart or snowflake made from coordinating felt.
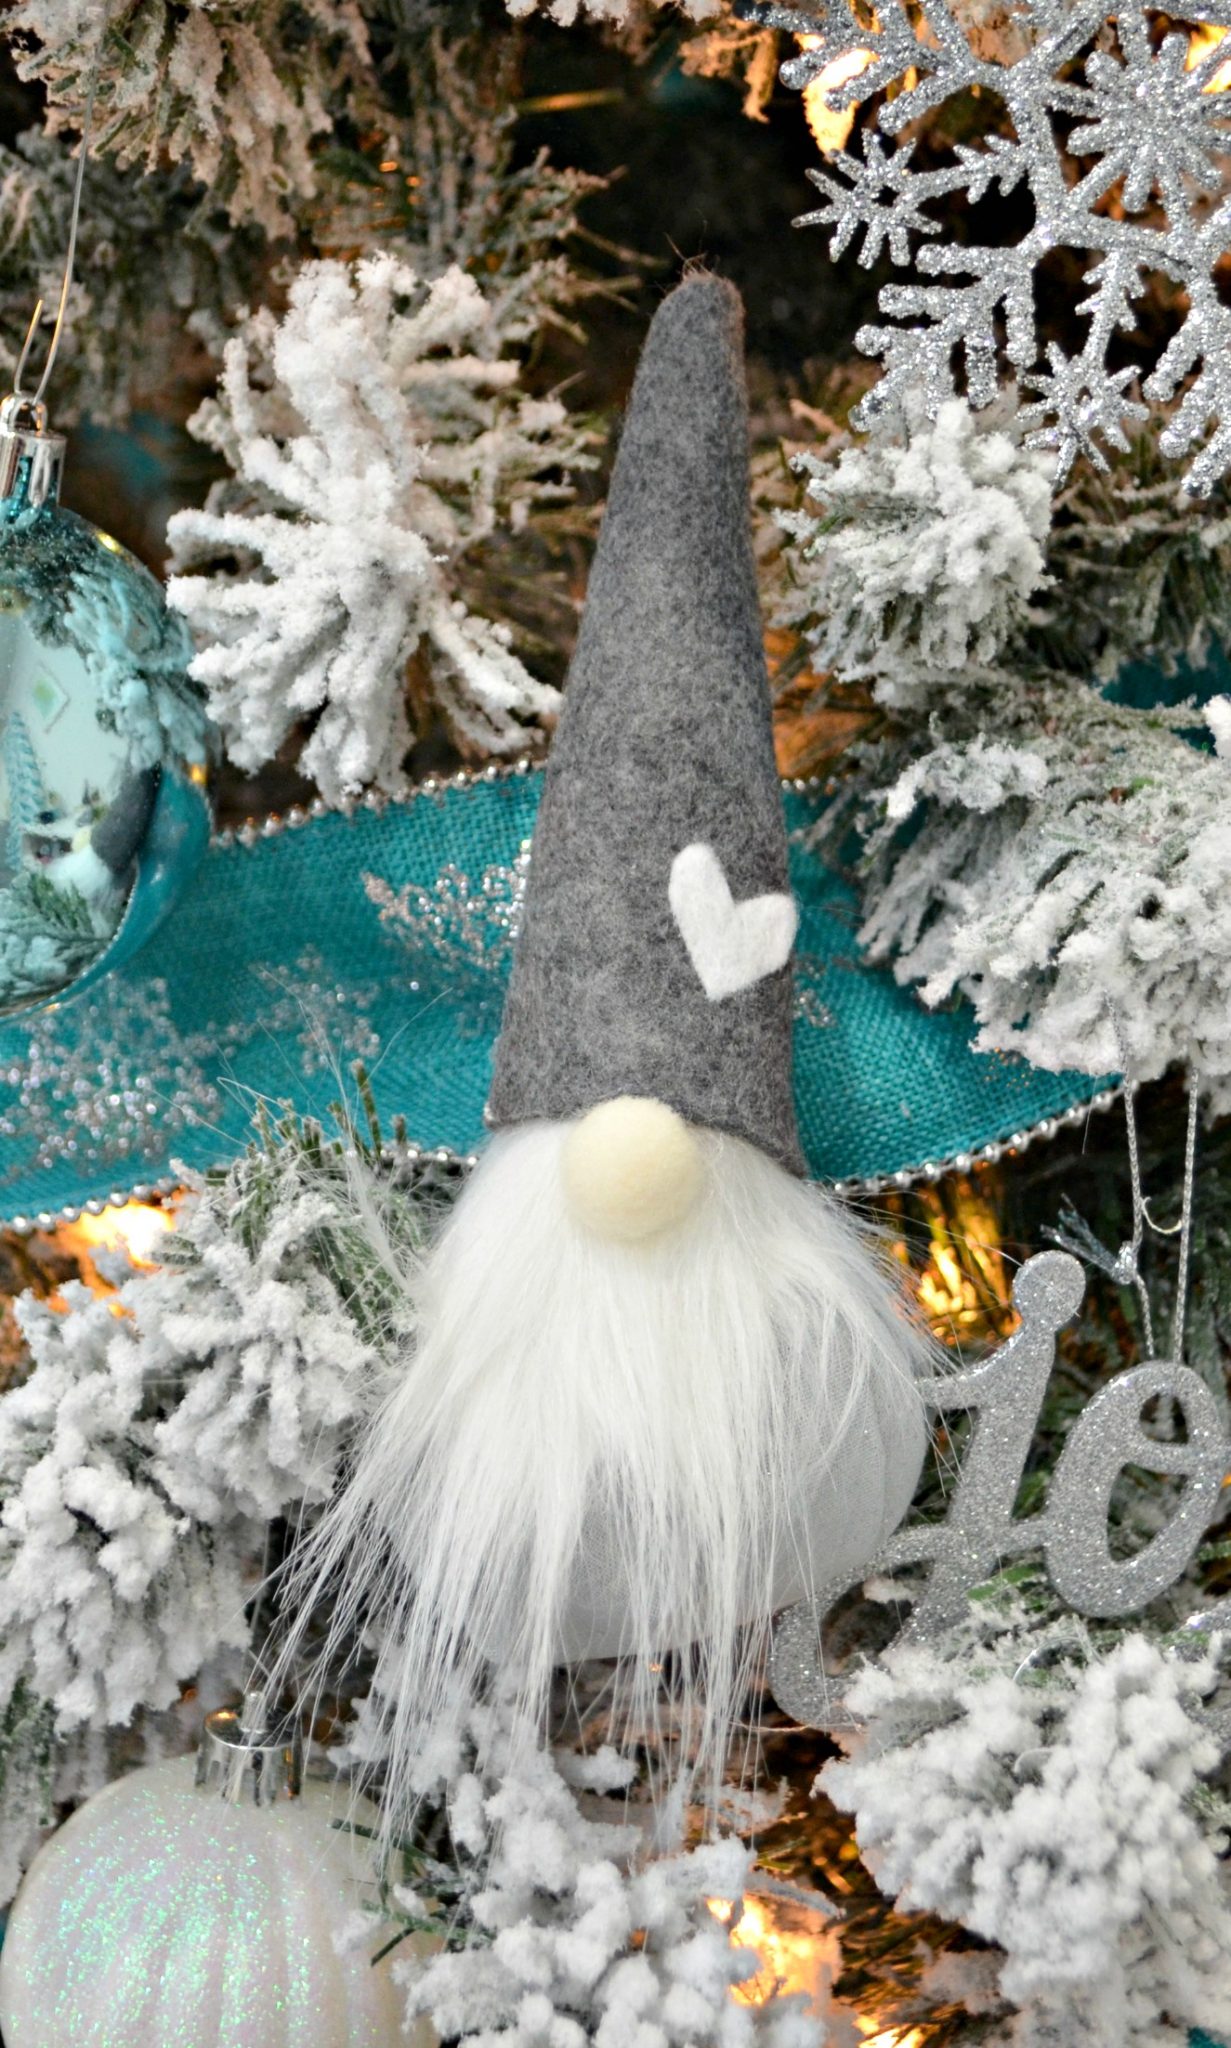
STEP 7: Add a nose.
I like to tuck mine slightly under the edge of the hat before gluing it in place.
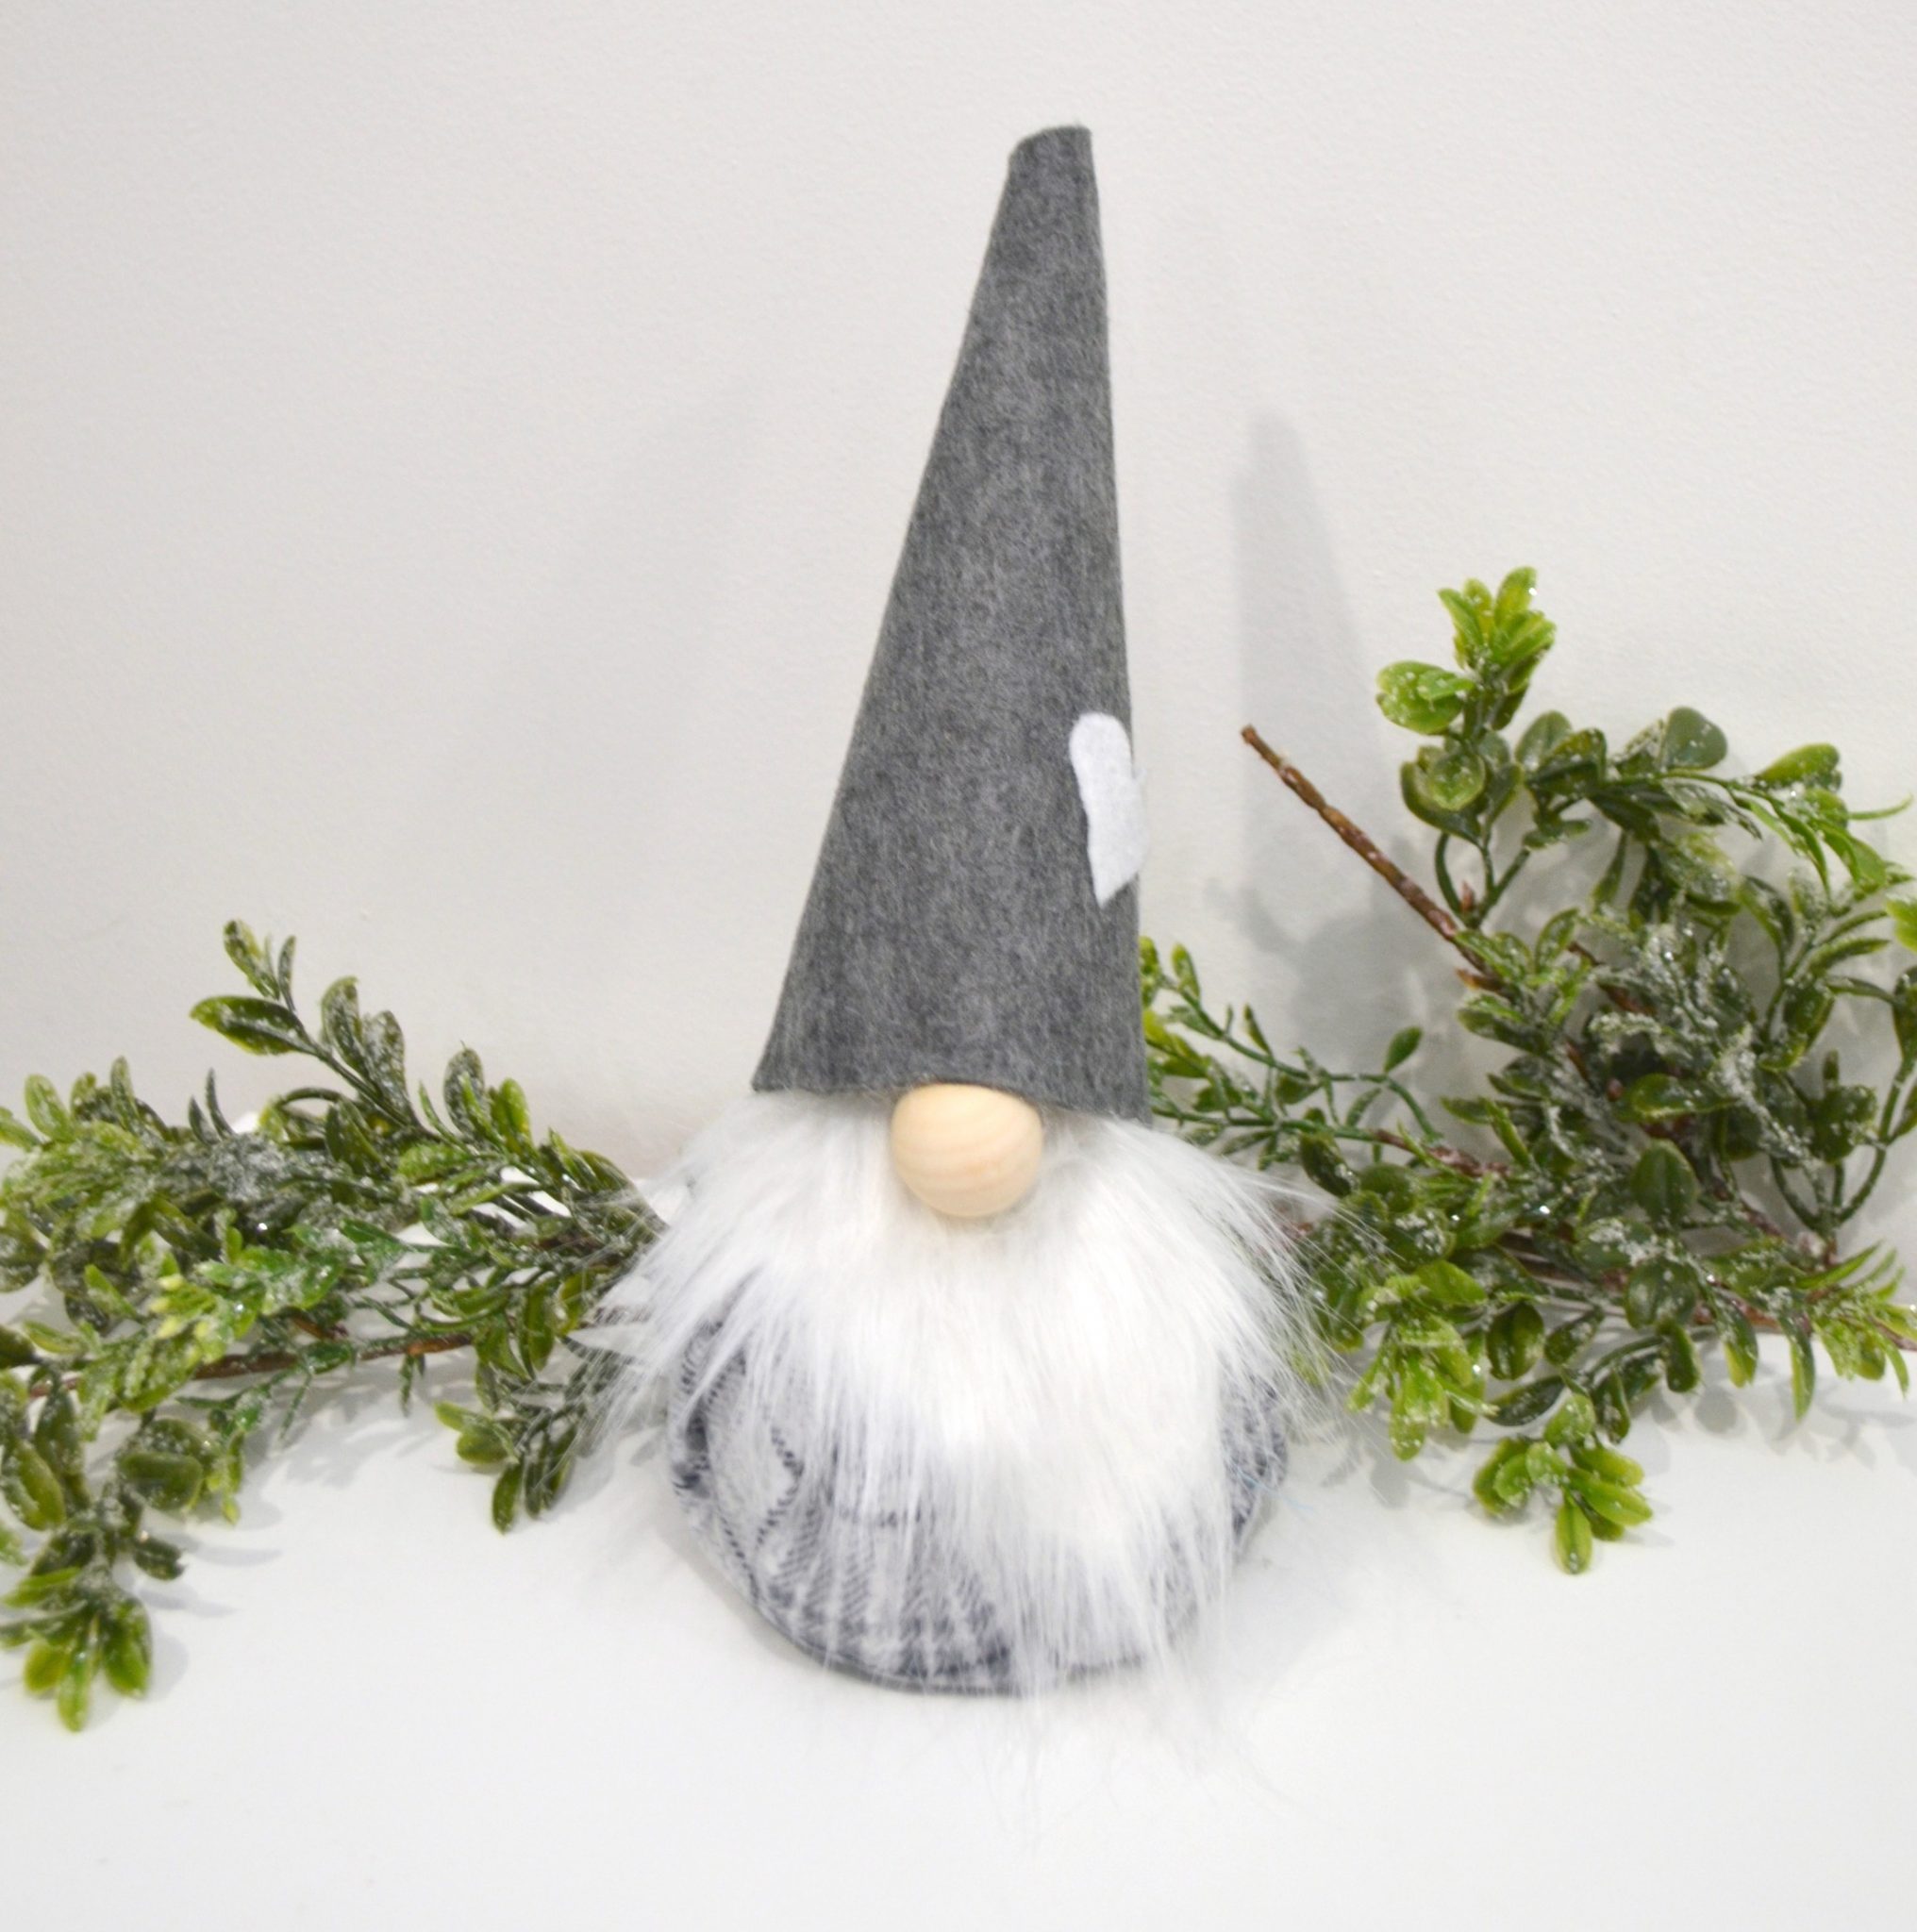
See? It’s super-simple to do, and when you make your own, you can use whatever colors, patterns, and other decorative touches you like! Mine is a gray flannel, while my mom chose to use a printed cotton fabric for hers. She also chose to give her gnome a taller hat, which gives him a totally different personality!

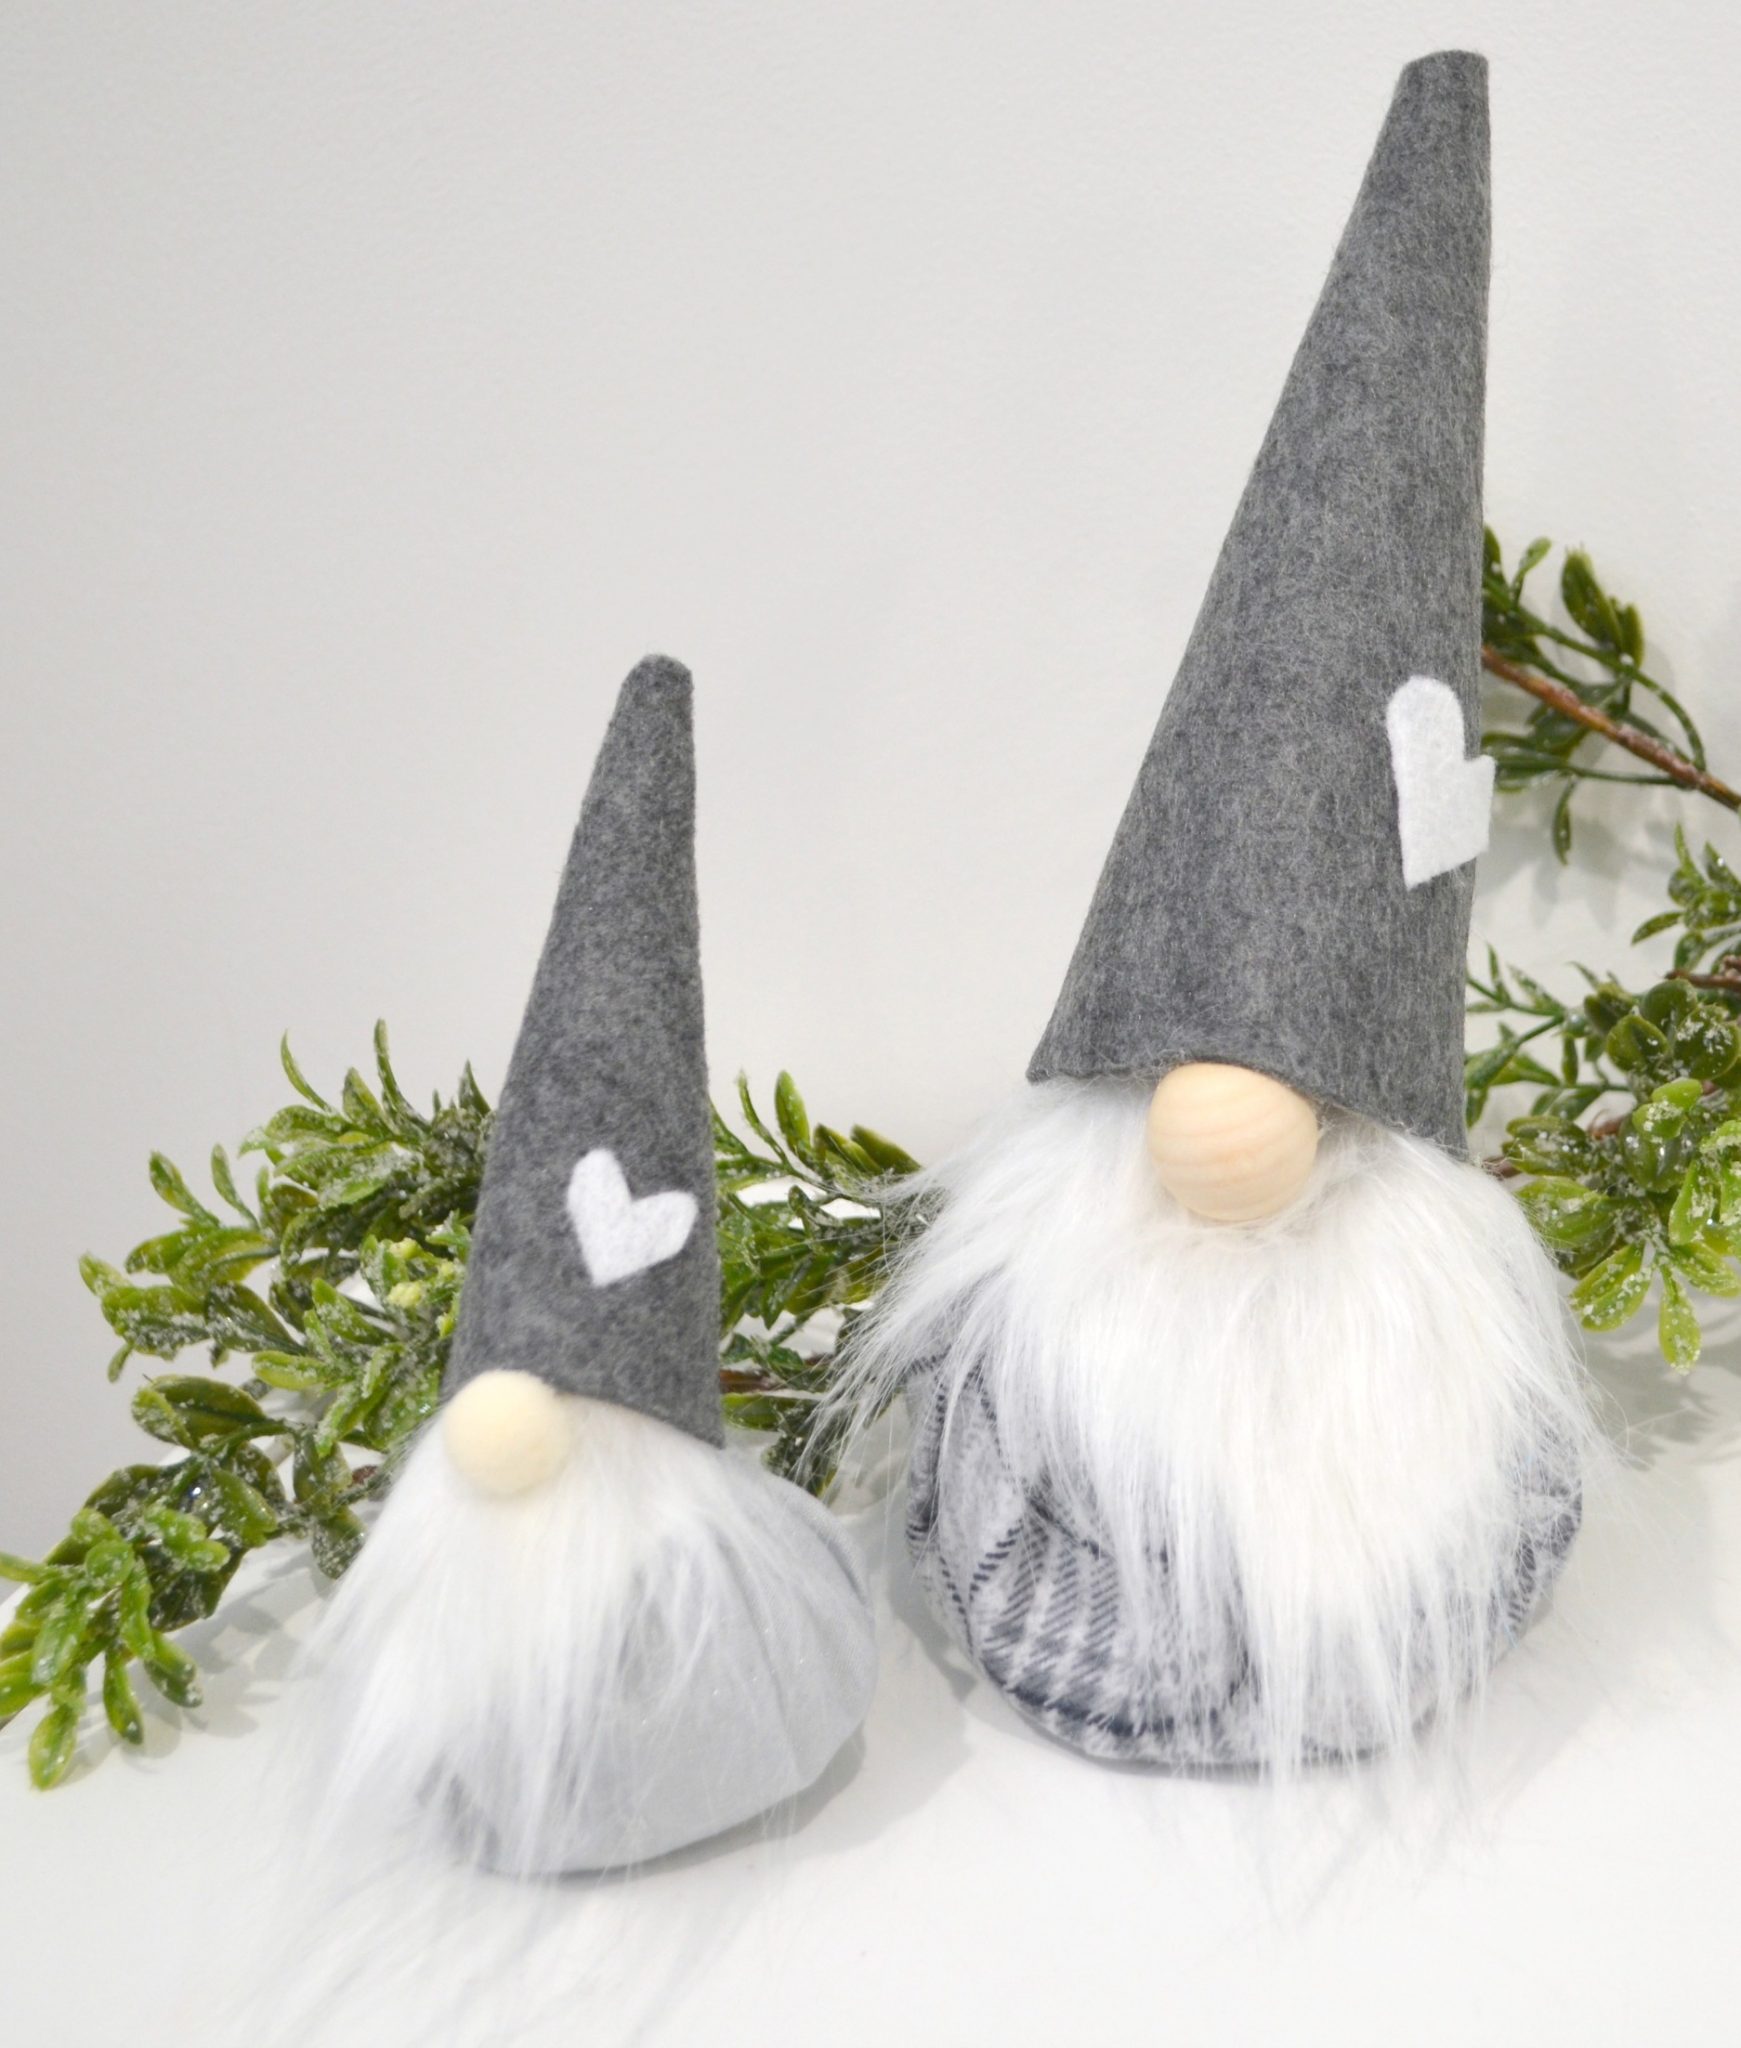
Once you’ve made one, you won’t want to stop…and the good news is that your supplies should be enough to create several. After making the larger gnome, I wanted to try making one in a smaller size. This time, I traced a paper dessert plate that was about 7″ in diameter. I repeated all the same steps, just cutting a smaller triangle for the beard and a smaller hat. I used a wooden bead the size of the larger gnome’s nose as the head, and used a pom pom for the nose.
Instead of the plaid flannel, my fabric for the small gnome was a gray cotton fabric with glitter. I absolutely love how both of them turned out, and I can’t wait to make more! I’m looking forward to experimenting with some other colors and fabrics, and I think they’d make excellent Christmas gifts, don’t you?
What color would your Christmas Gnomes be? If you try them, I’d love to see! Share a photo in the Amy Latta & Friends Facebook group so we can all be inspired!
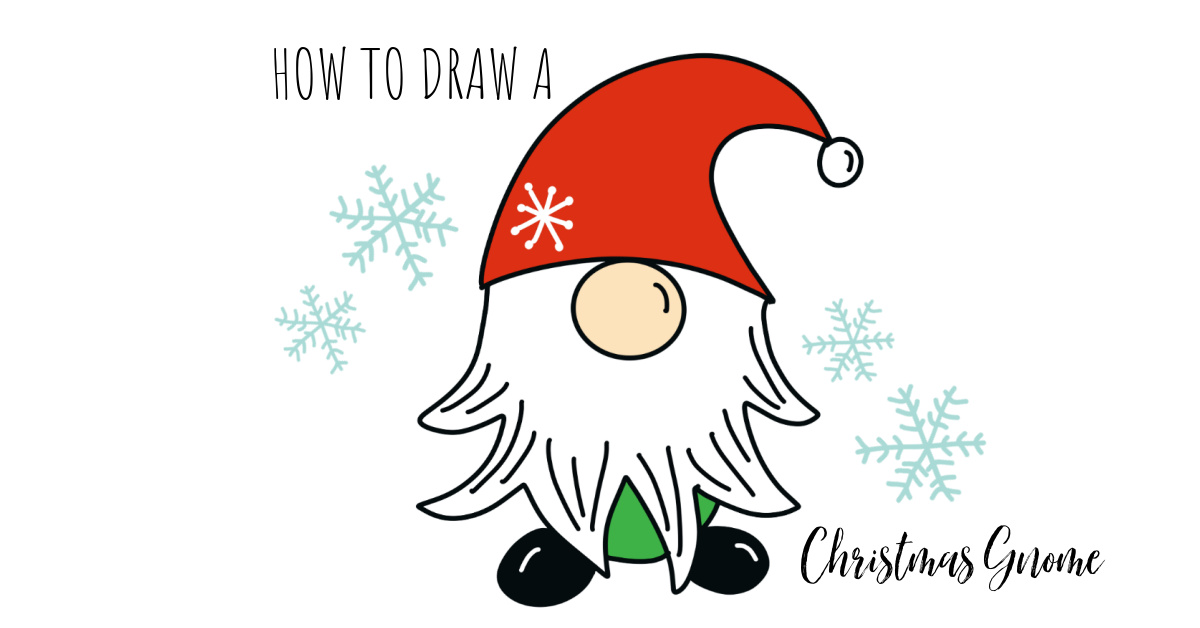
Love gnomes? Why not learn to draw them too? Check out this post:
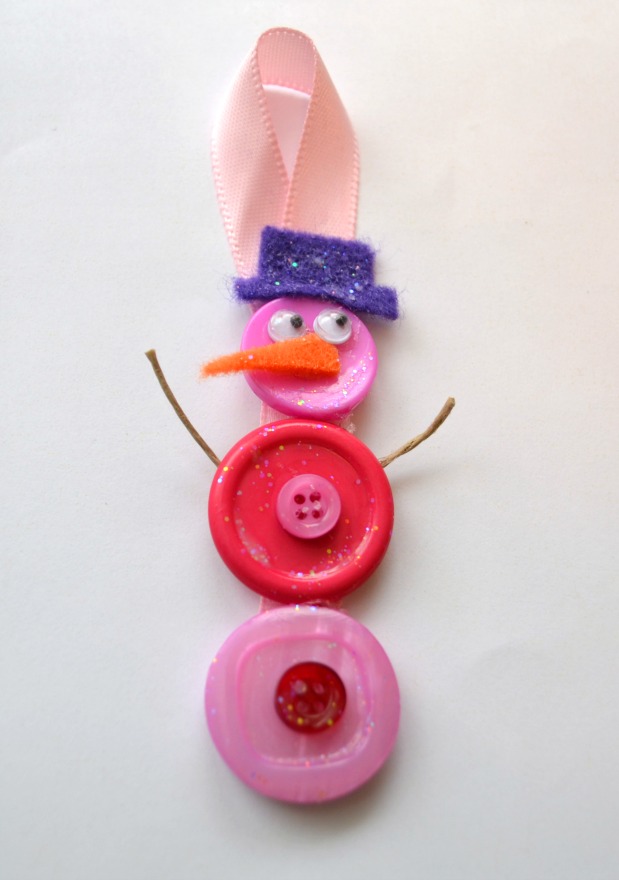
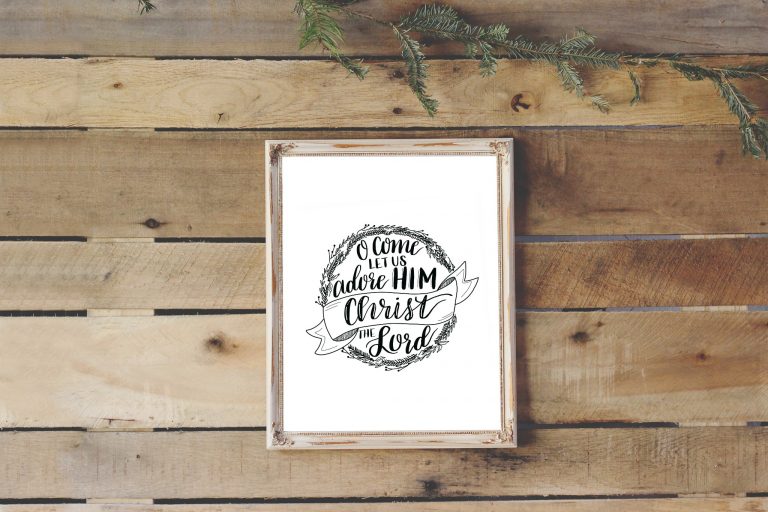
Before you go, be sure to check out these other fun DIY holiday decor project ideas!


6 Comments