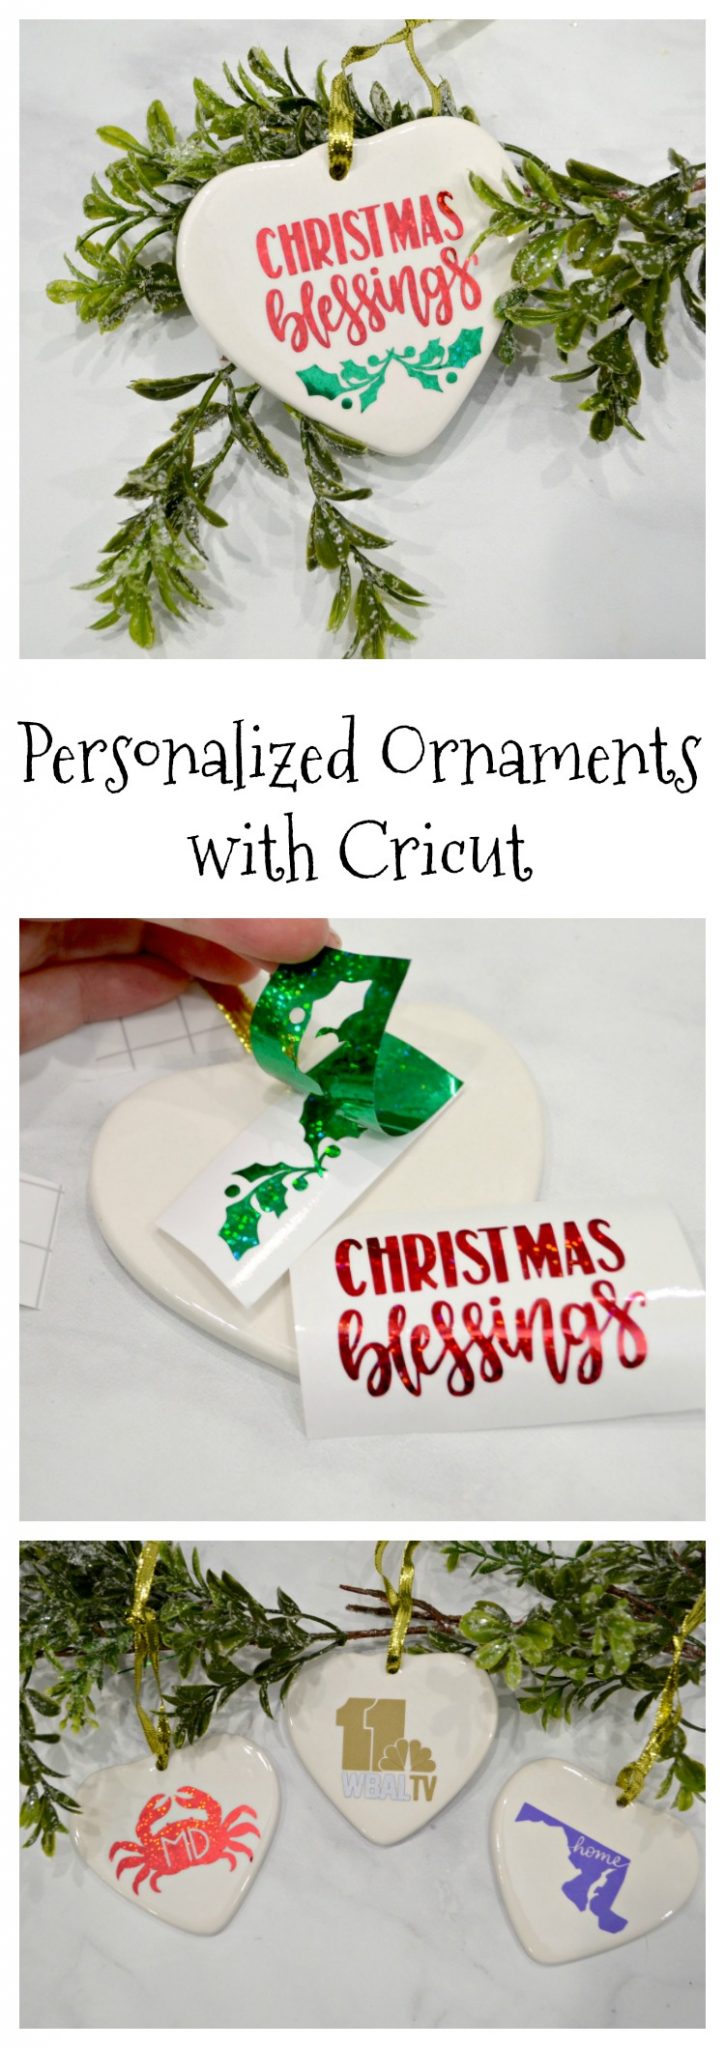
Personalized Ornaments
It’s the most wonderful time of year! Time to decorate the tree and to think of gifts for the special people in our lives. You can do both with today’s project: Personalized Ornaments! With a little help from a Cricut Explore Air 2 or other electronic cutting machine, it’s super-easy to DIY meaningful and beautiful ornaments that anyone in your life will love. Here’s how:
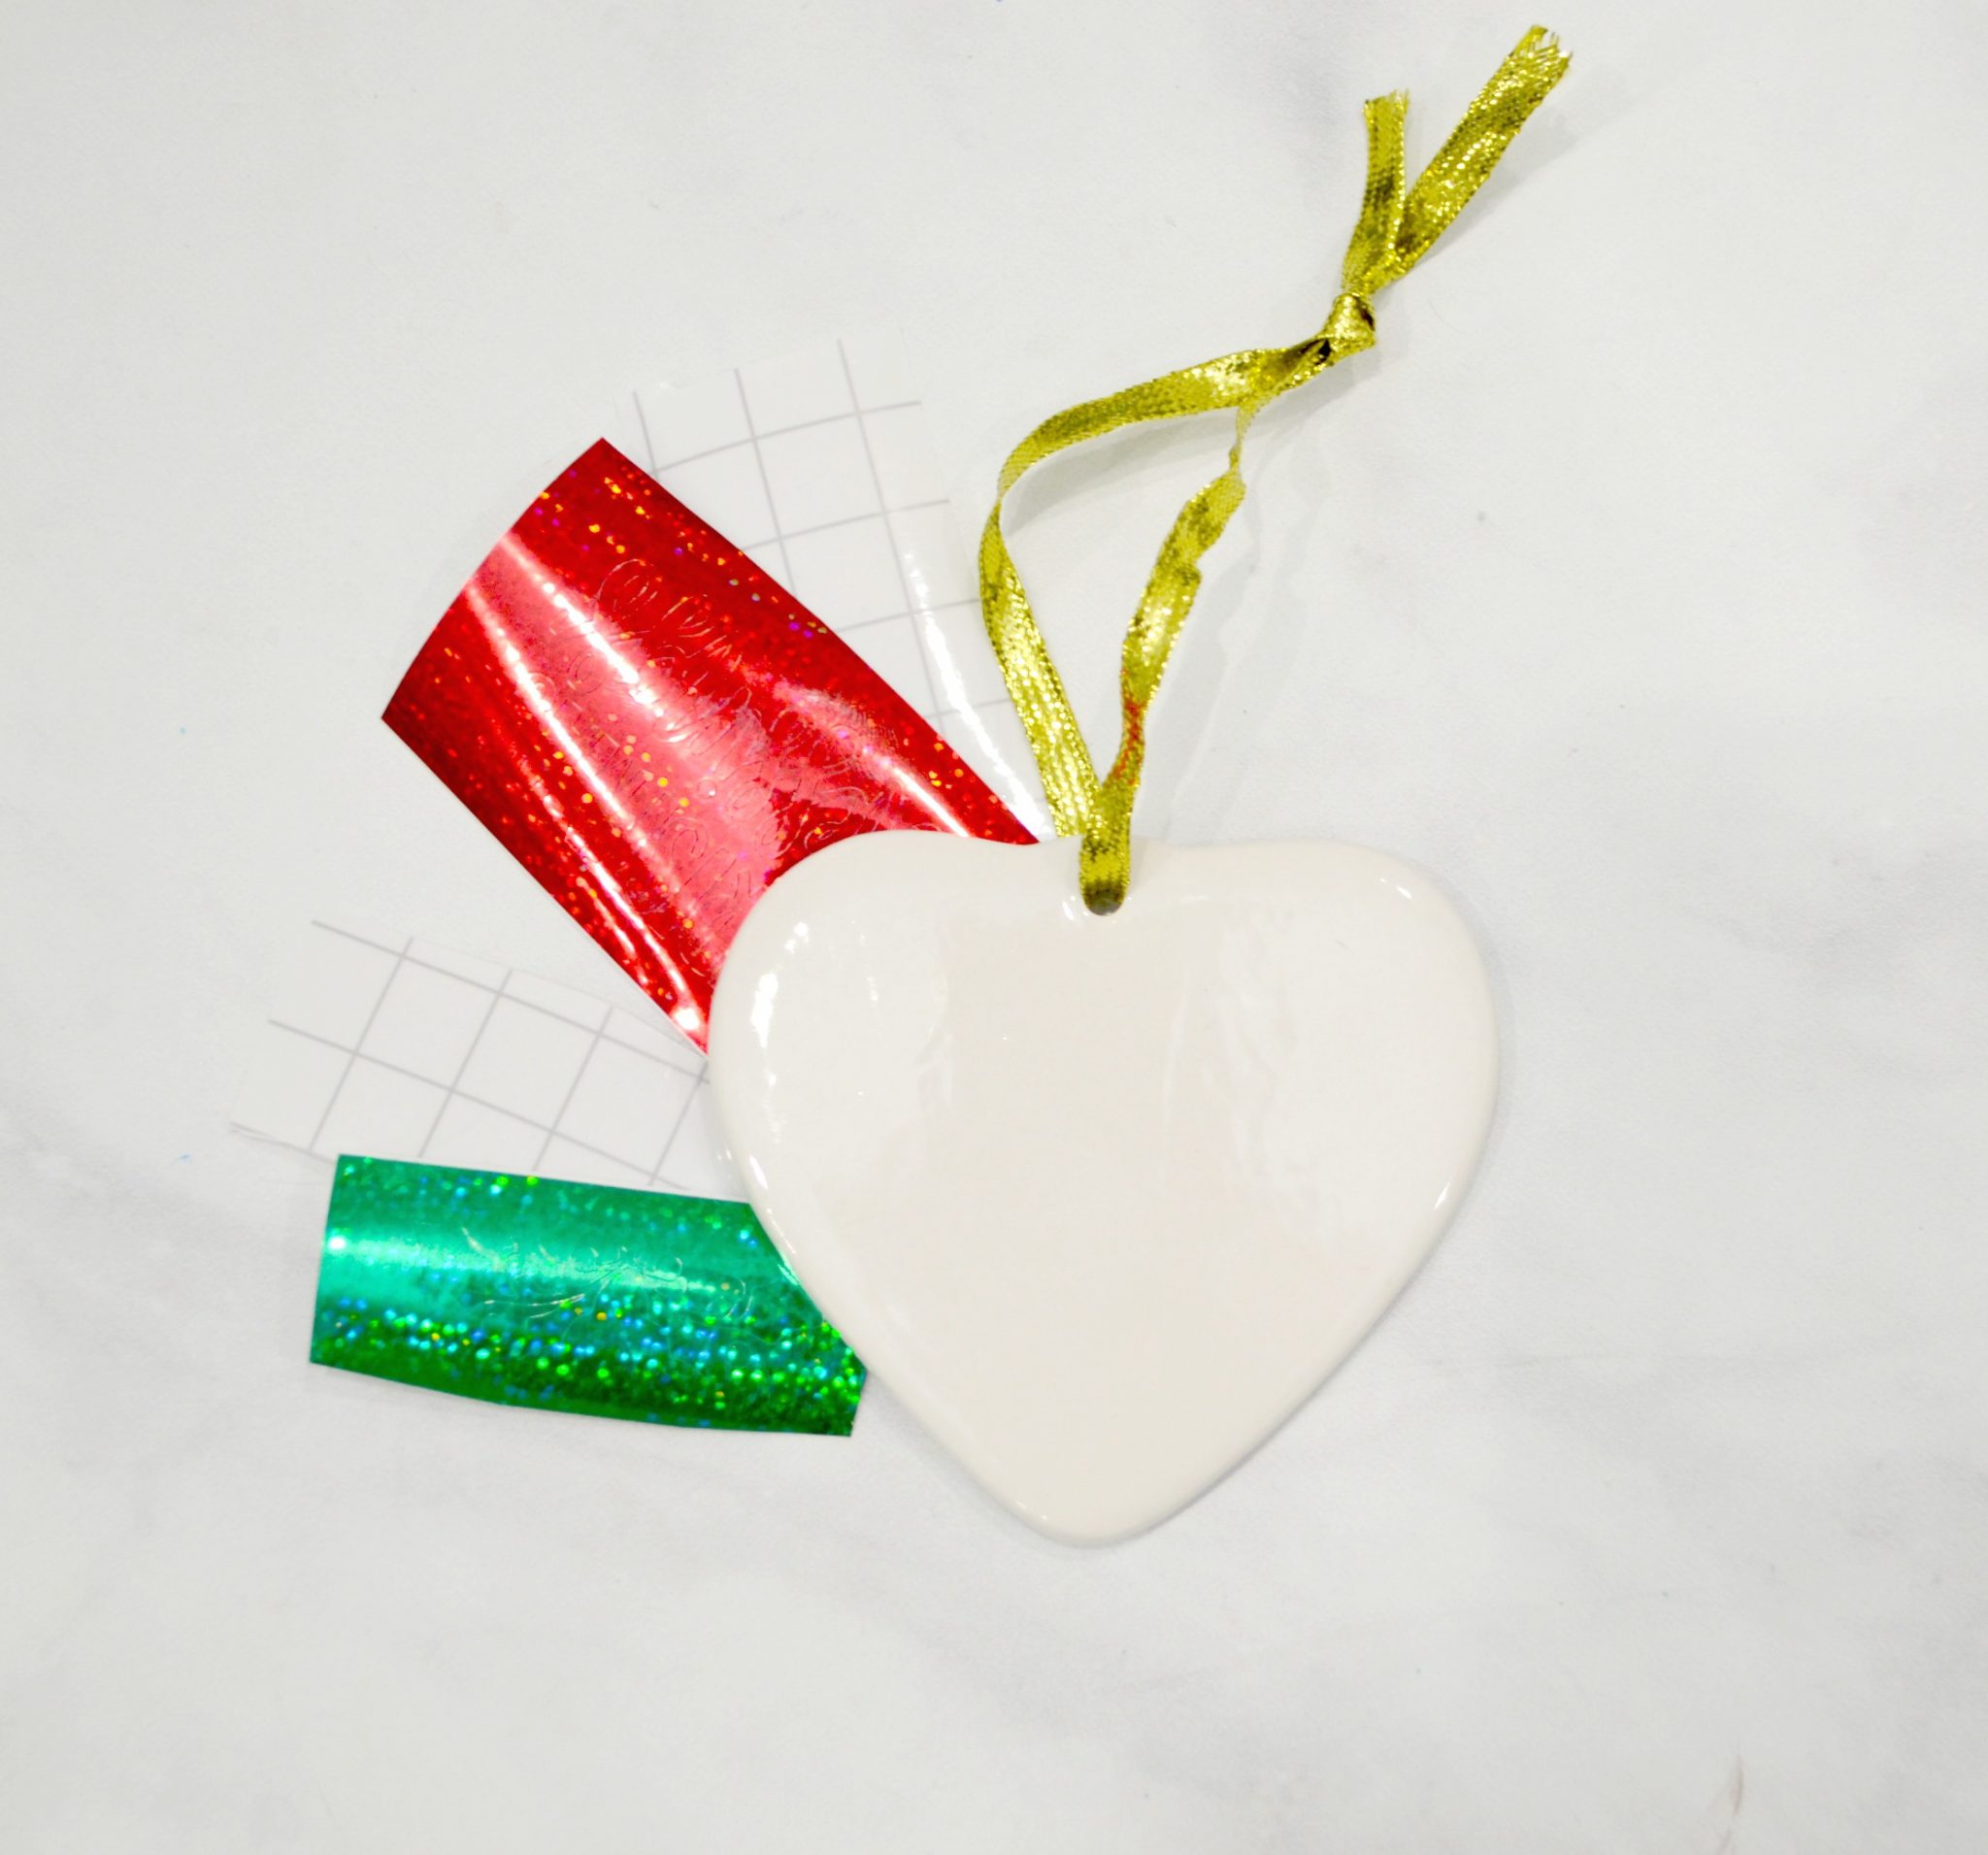
Materials
Premium Vinyl (I used Holographic Sparkle Vinyl)
Cricut Explore Air 2 or other cutting machine
Scissors
Making Your Personalized Ornaments
Step 1: Create/choose your image(s) in DesignSpace.
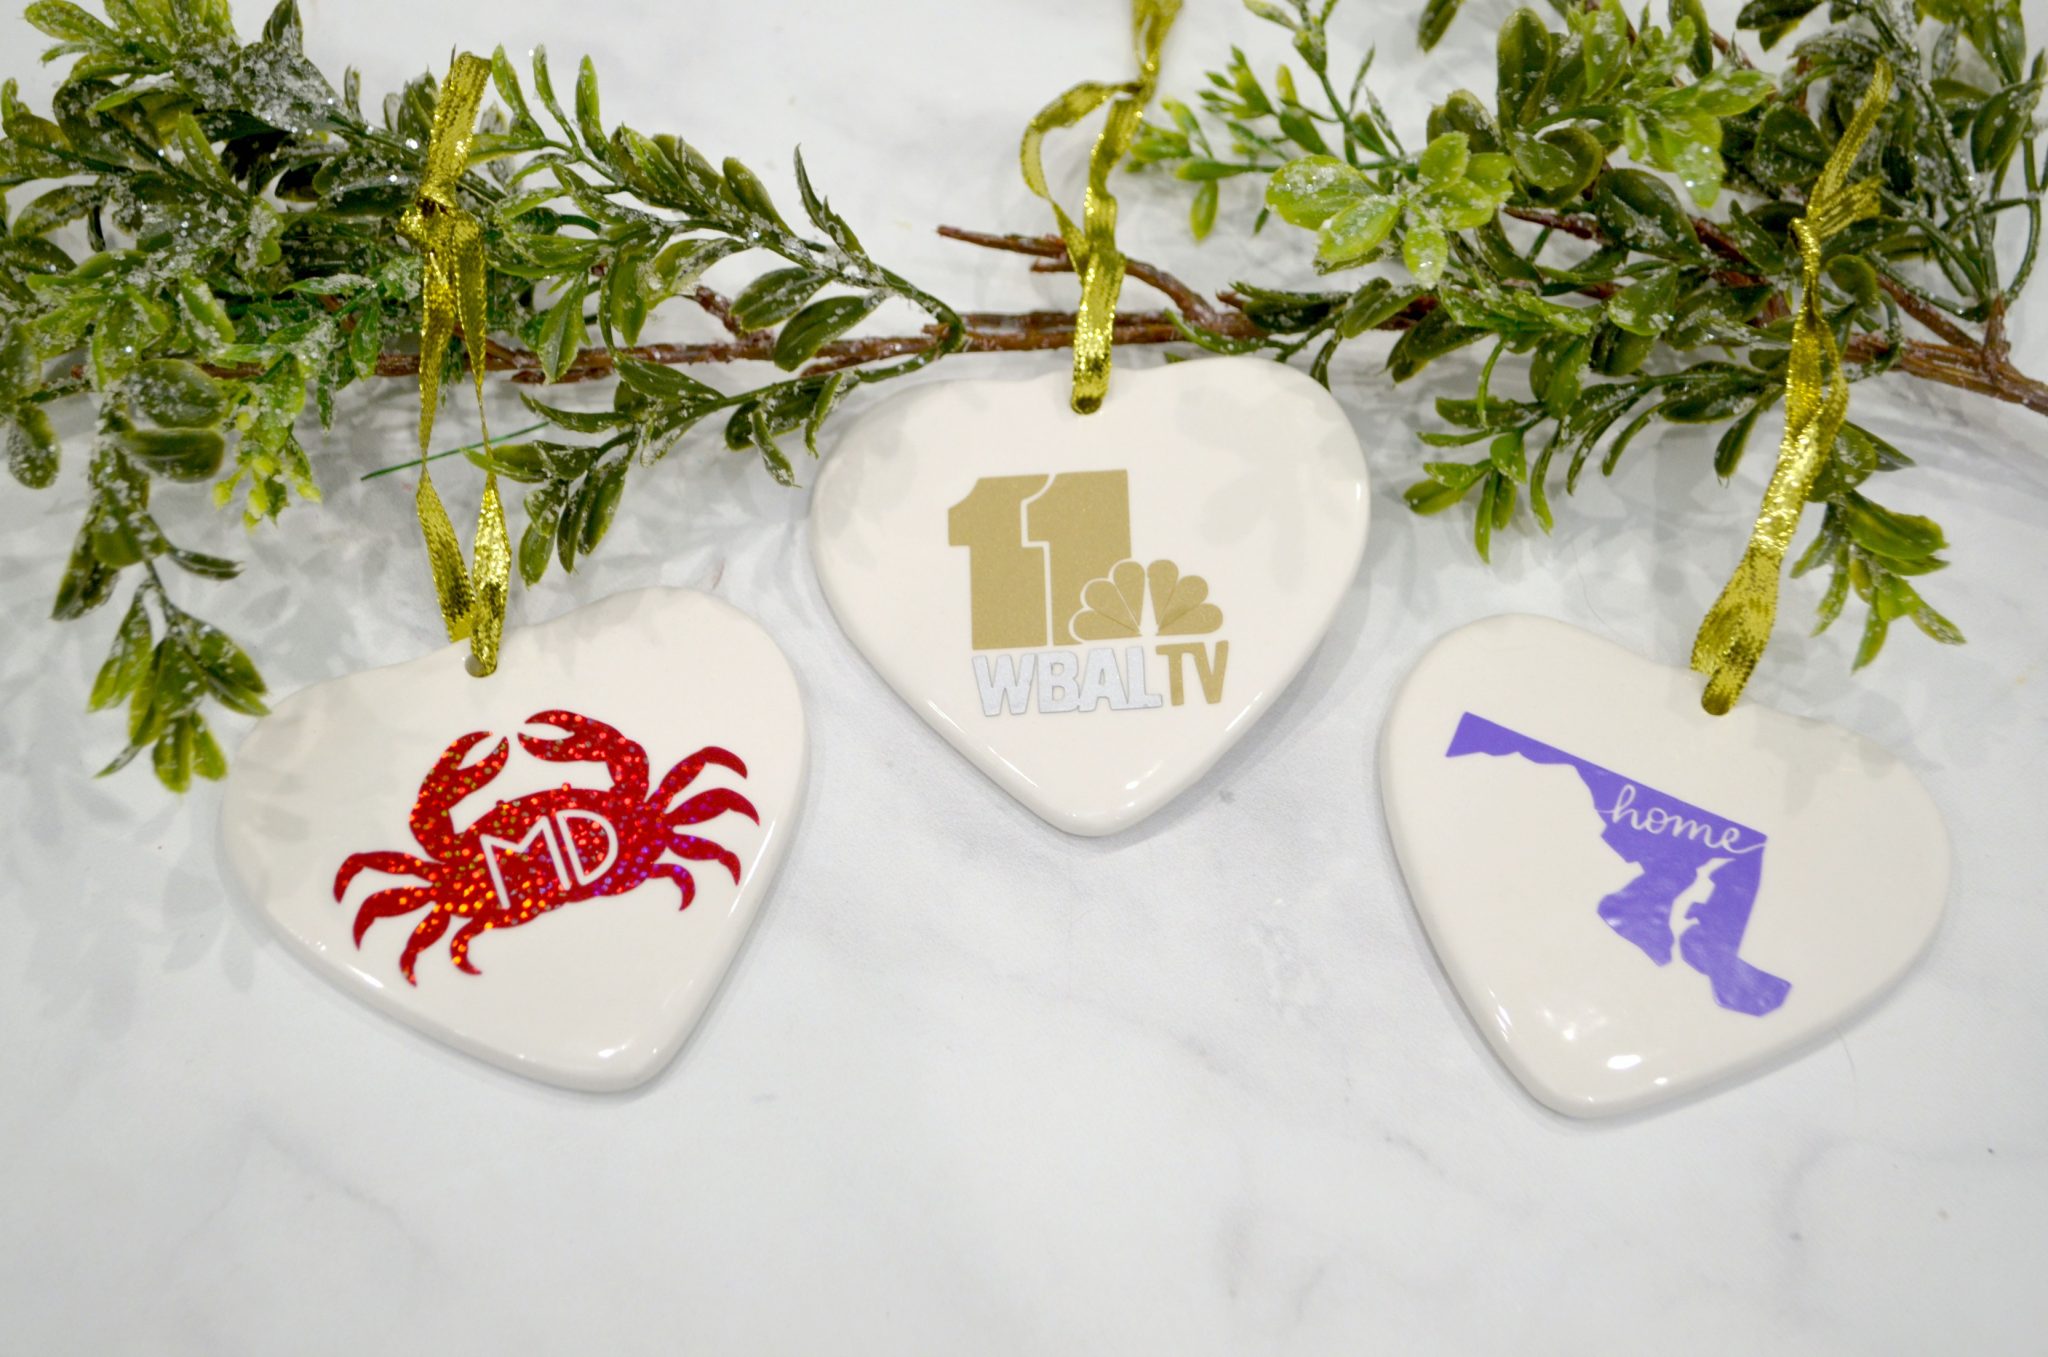
There are tons of Christmas themed designs to choose from, as well as local and regional images, like the Maryland crab I found, and the outline of our state. You can also create or import your own design, like a company logo or a name.
Step 2: Cut your image from Permanent Premium Vinyl.
To do this, just choose “Make It” in DesignSpace and the image will be sent to your Cricut machine. Make sure the knob on the machine is turned to the Vinyl setting. Adhere the vinyl, shiny side up, to your Machine Mat and follow the prompts to load the mat and start cutting.
Step 3: Weed your vinyl.
Once the cut is complete, remove the vinyl from the mat and trim around the image. Peel away all the vinyl that isn’t part of the design, as shown below.
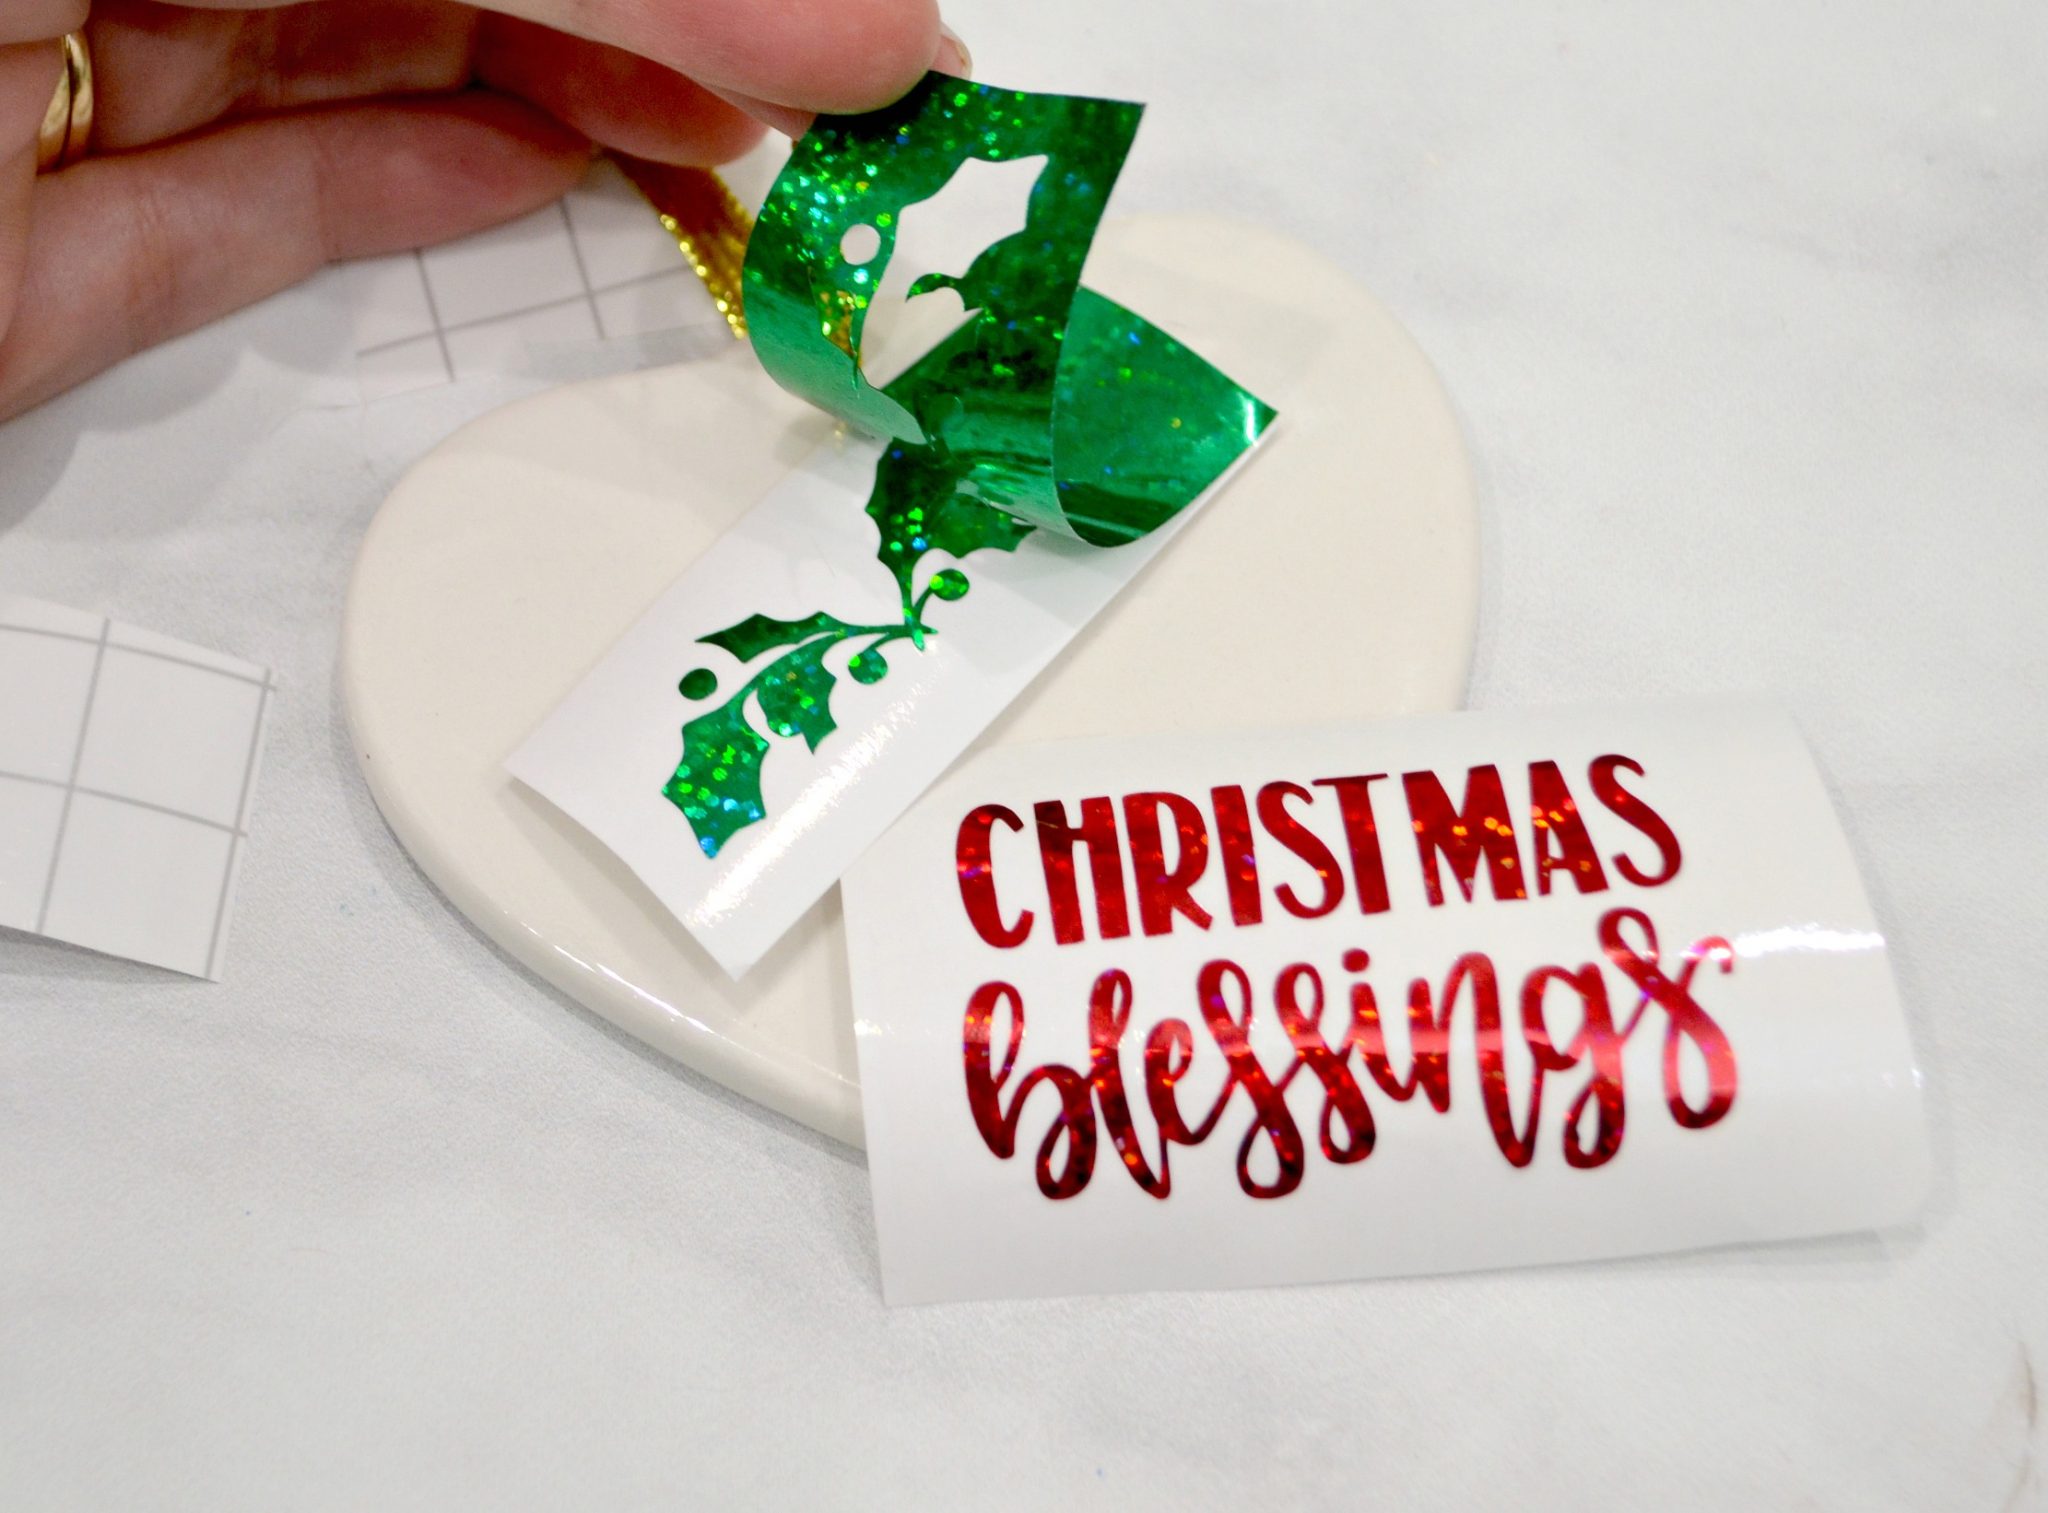
Step 4: Apply Transfer Tape.
This is what allows you to transfer the image as a whole, keeping all your letters lined up. Cut a piece of Transfer Tape slightly larger than your design. Remove it from its backing and press it down firmly on top of your vinyl image. Carefully peel it back up and the design should be attached.
Step 5: Place the design (and Transfer Tape) on the blank ornament and press firmly.
When you remove the Transfer Tape, the vinyl should be stuck to the ornament.
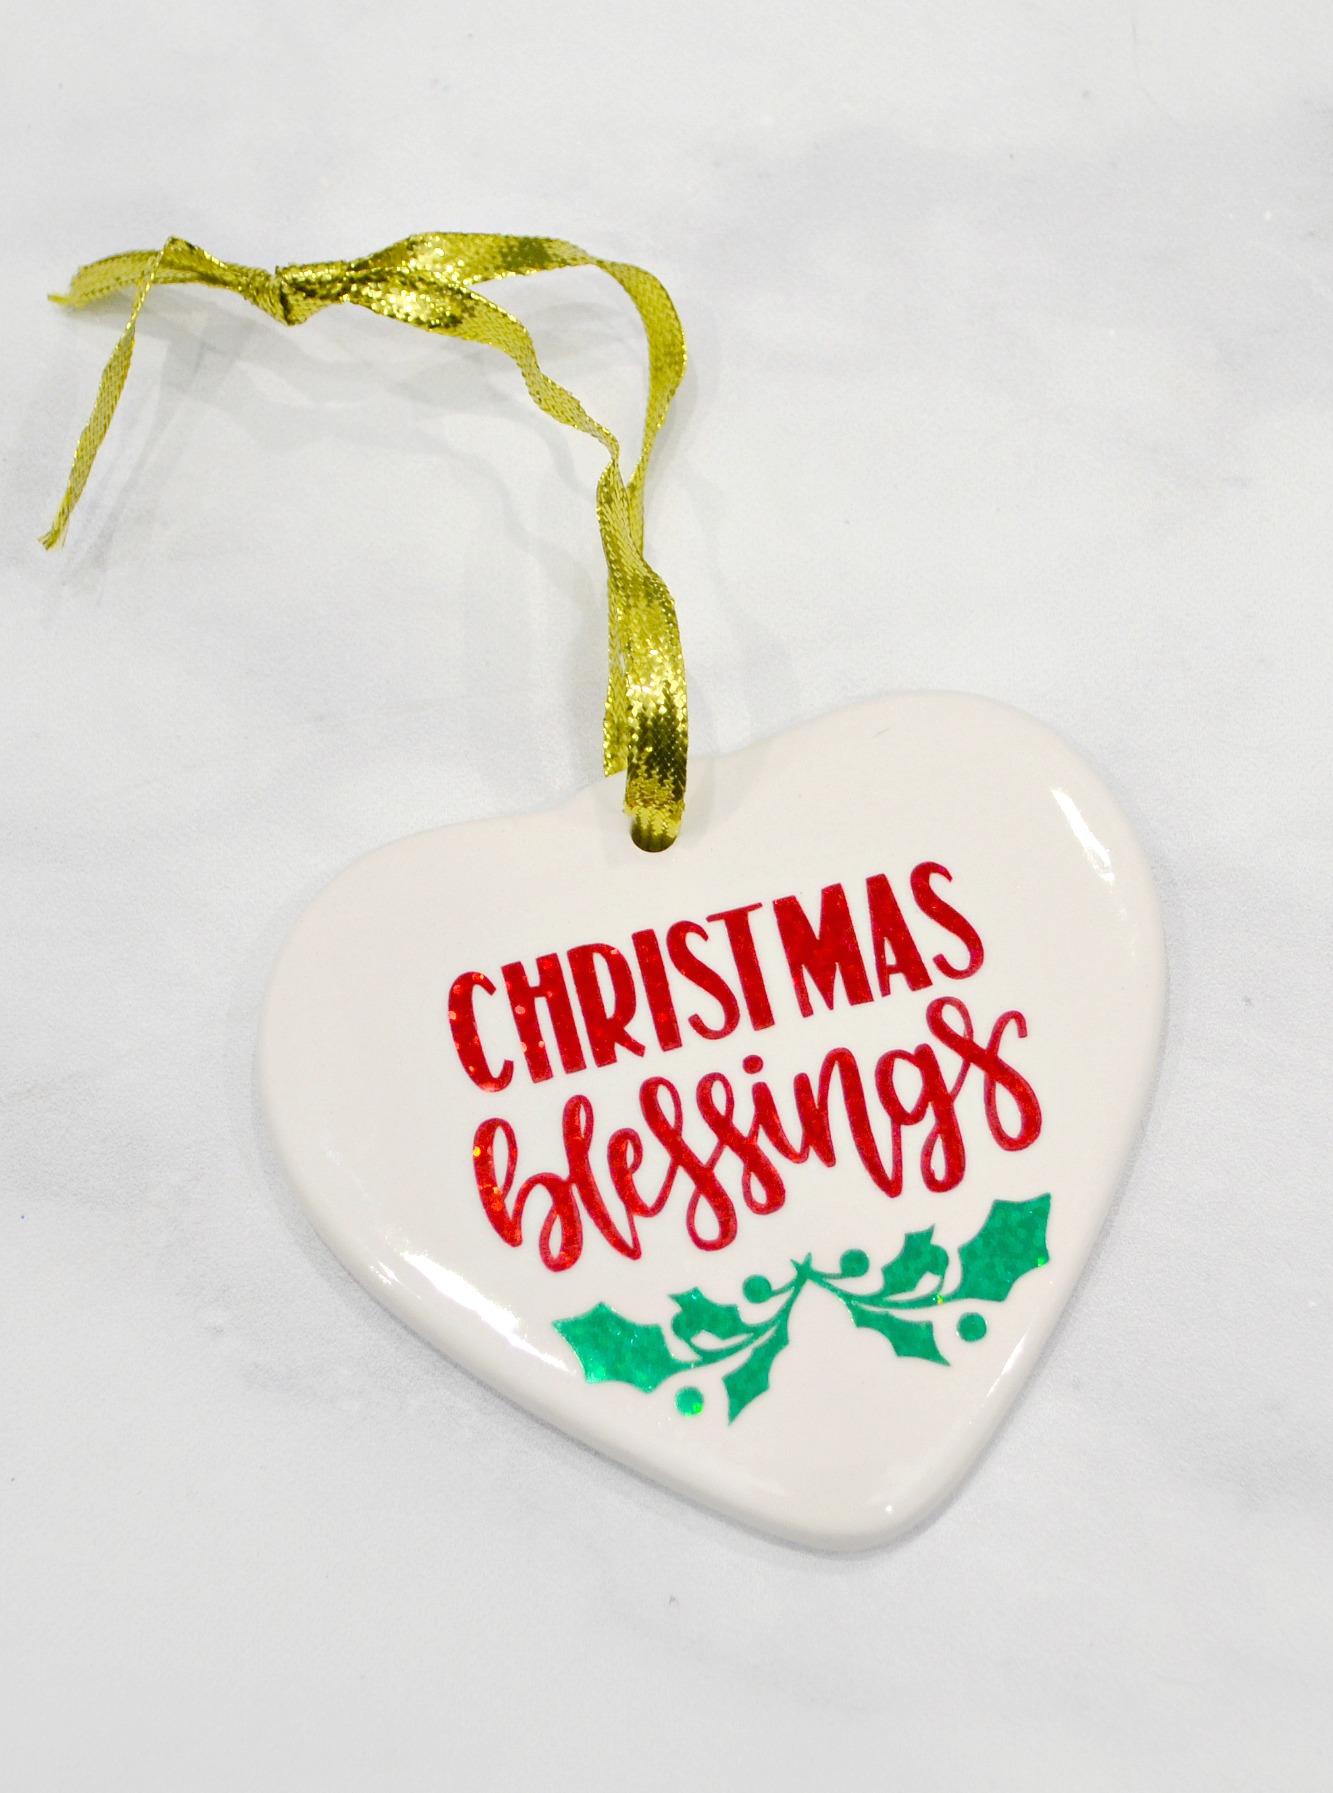
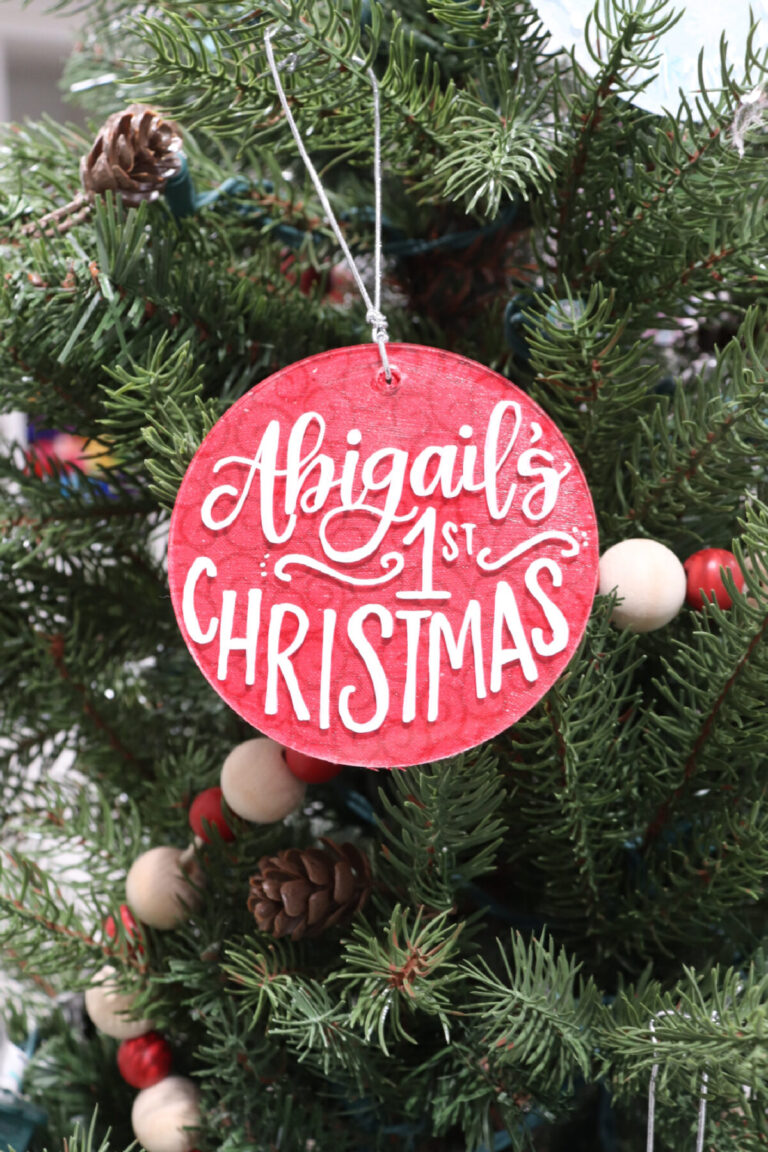
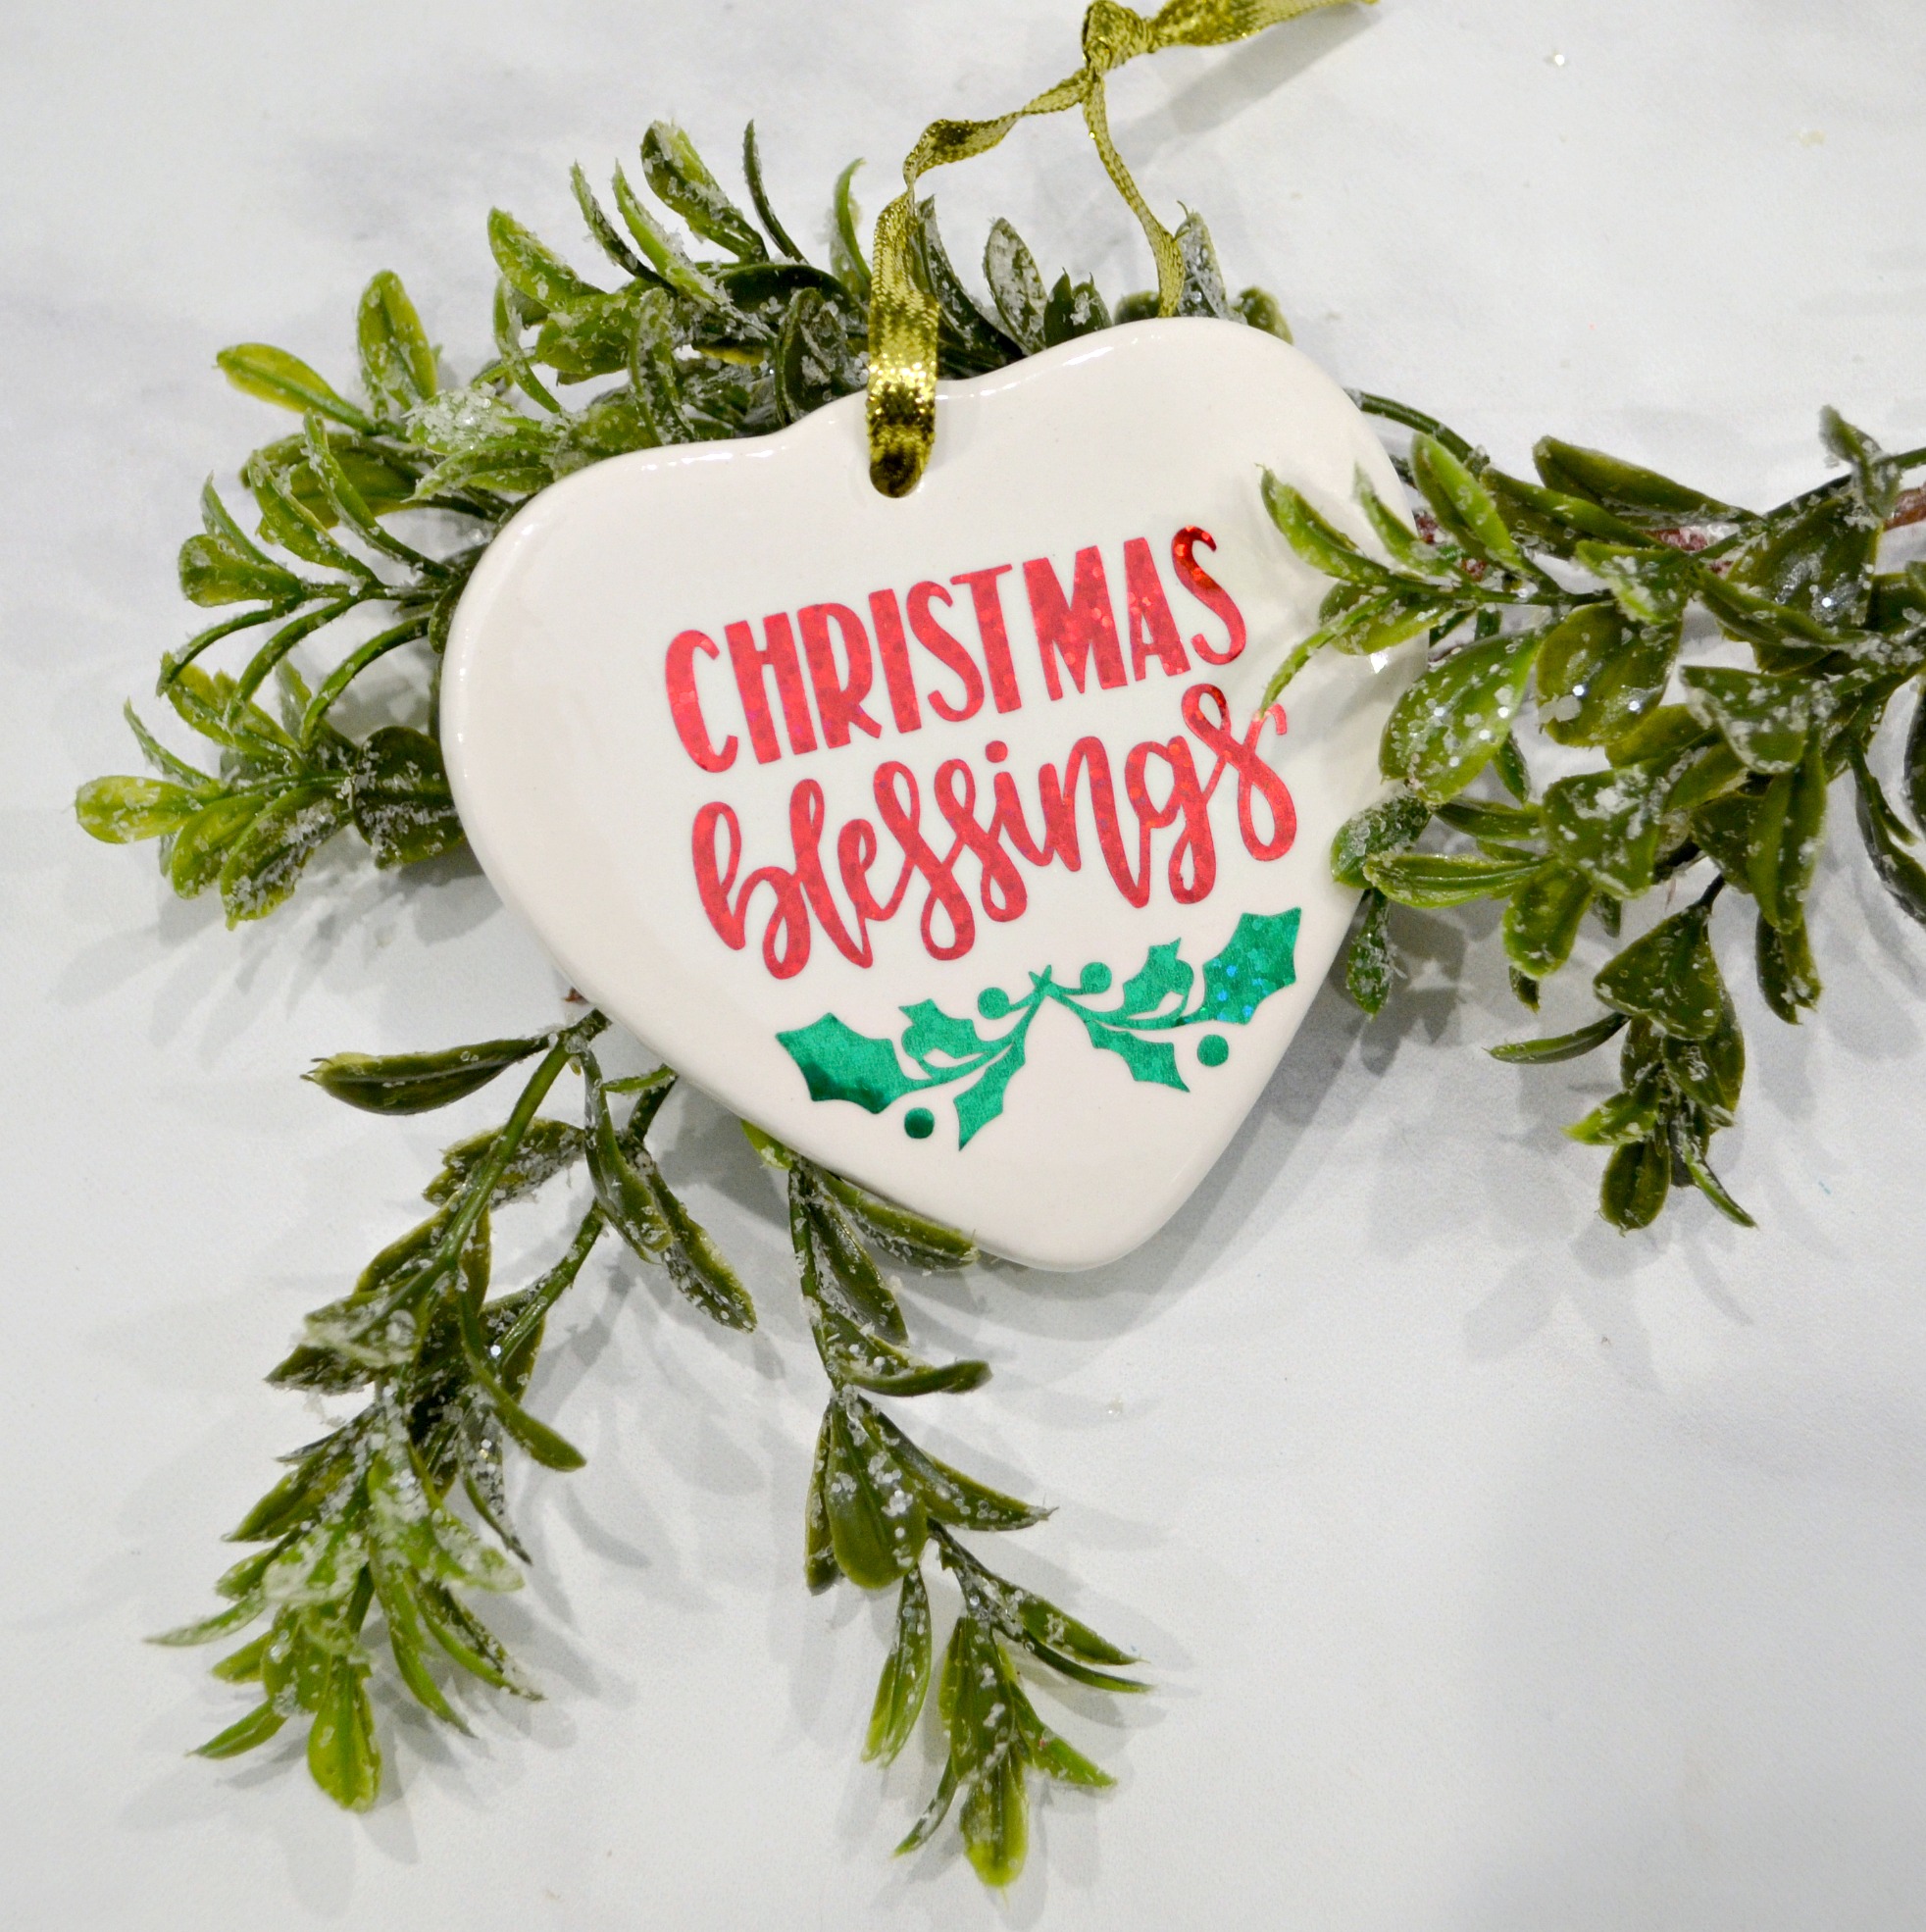
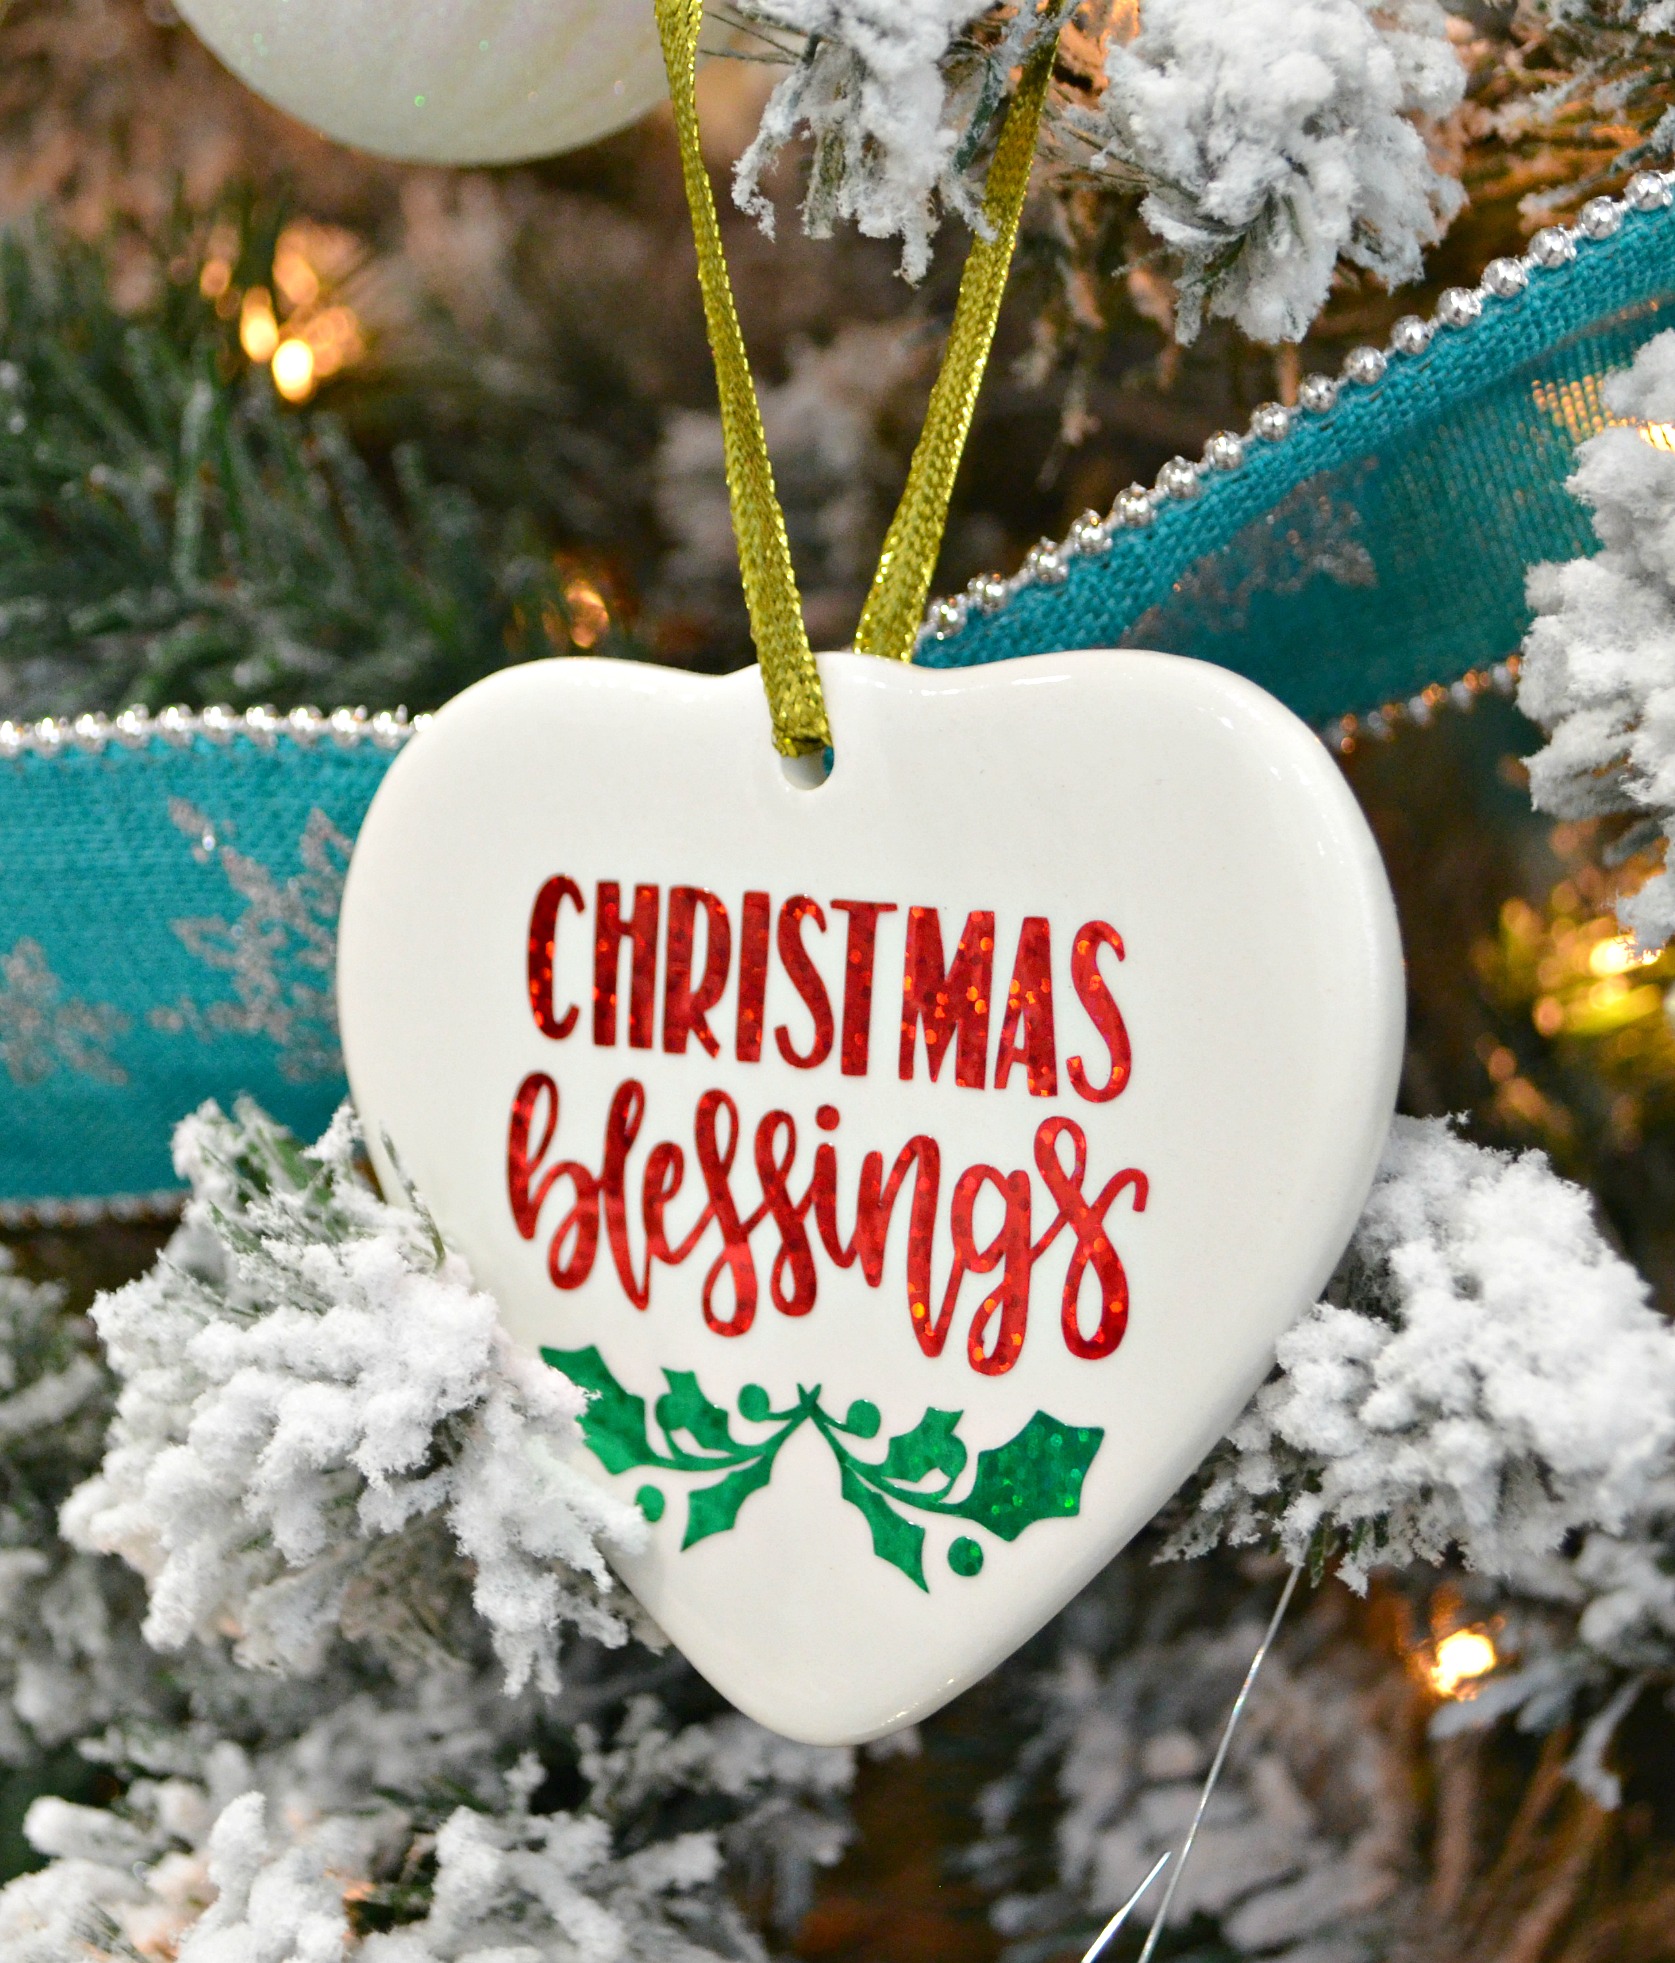
It’s that simple! Now you have a personalized ornament that’s ready to display on your tree or gift to a friend. You can do this with any shape, size, and color of blank ornament. These flat ceramic ones are my favorite, but you can also use more traditional ball-shaped ornaments, as well as ornaments made from plastic, wood, plaster, and more.
I love having the ability to create ornaments that are totally personal, using the designs and colors I want. These Maryland themed ornaments are perfect for those of us in the Old Line state, but you can easily customize your own for wherever you live and whatever you love!
What do you think? What would you choose to put on your own ornaments? Share them with us in the Amy Latta & Friends Facebook group! Don’t forget to Pin this project for later and to share with a friend.
Before you go, check out these other fun and easy ideas for DIY-ing your own holiday!
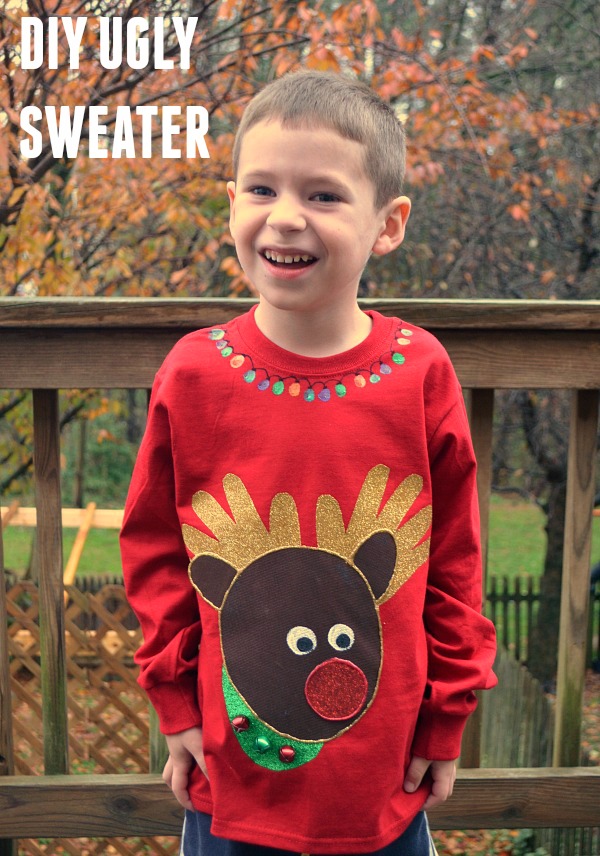
DIY UGLY SWEATER: STOCKINGS & STUFF

DIY UGLY SWEATER: O CHRISTMAS TREE


DIY UGLY CHRISTMAS SWEATER: REINDEER EDITION
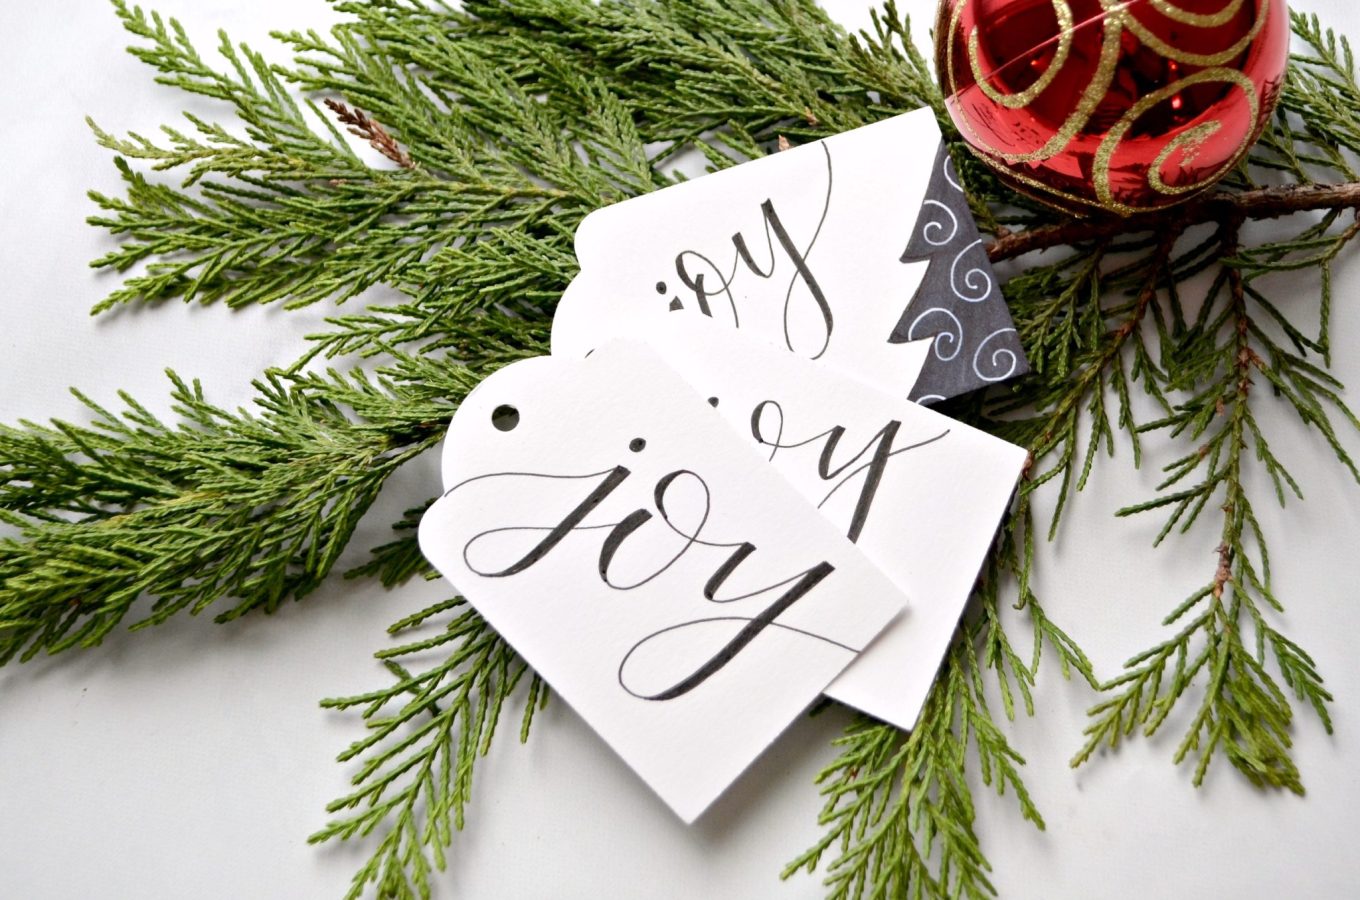
DIY HAND LETTERED GIFT TAGS (& FREE PRINTABLE)