Countdown to Christmas Ornament: Christmas Waltz

Of all the 2020 Hallmark Christmas movie premieres, this one, Christmas Waltz, is the one I have been most looking forward to watching. Not only does it star one of my favorite leading ladies, Lacey Chabert, it features ballroom dancing!
You may not know this, but my husband and I have taken years of dance lessons (although we haven’t gotten to do much dancing in the last year!), and I was actually a ballroom, latin, and swing dance instructor from 2006-2010. Dancing holds a special place in my heart, and I’ve been anxious to see it come into one of my other favorite things, a Hallmark Christmas movie. Lacey Chabert and Will Kemp worked hard to master the choreography for this film and the result is something truly beautiful. (Learn more about the movie and see previews here).
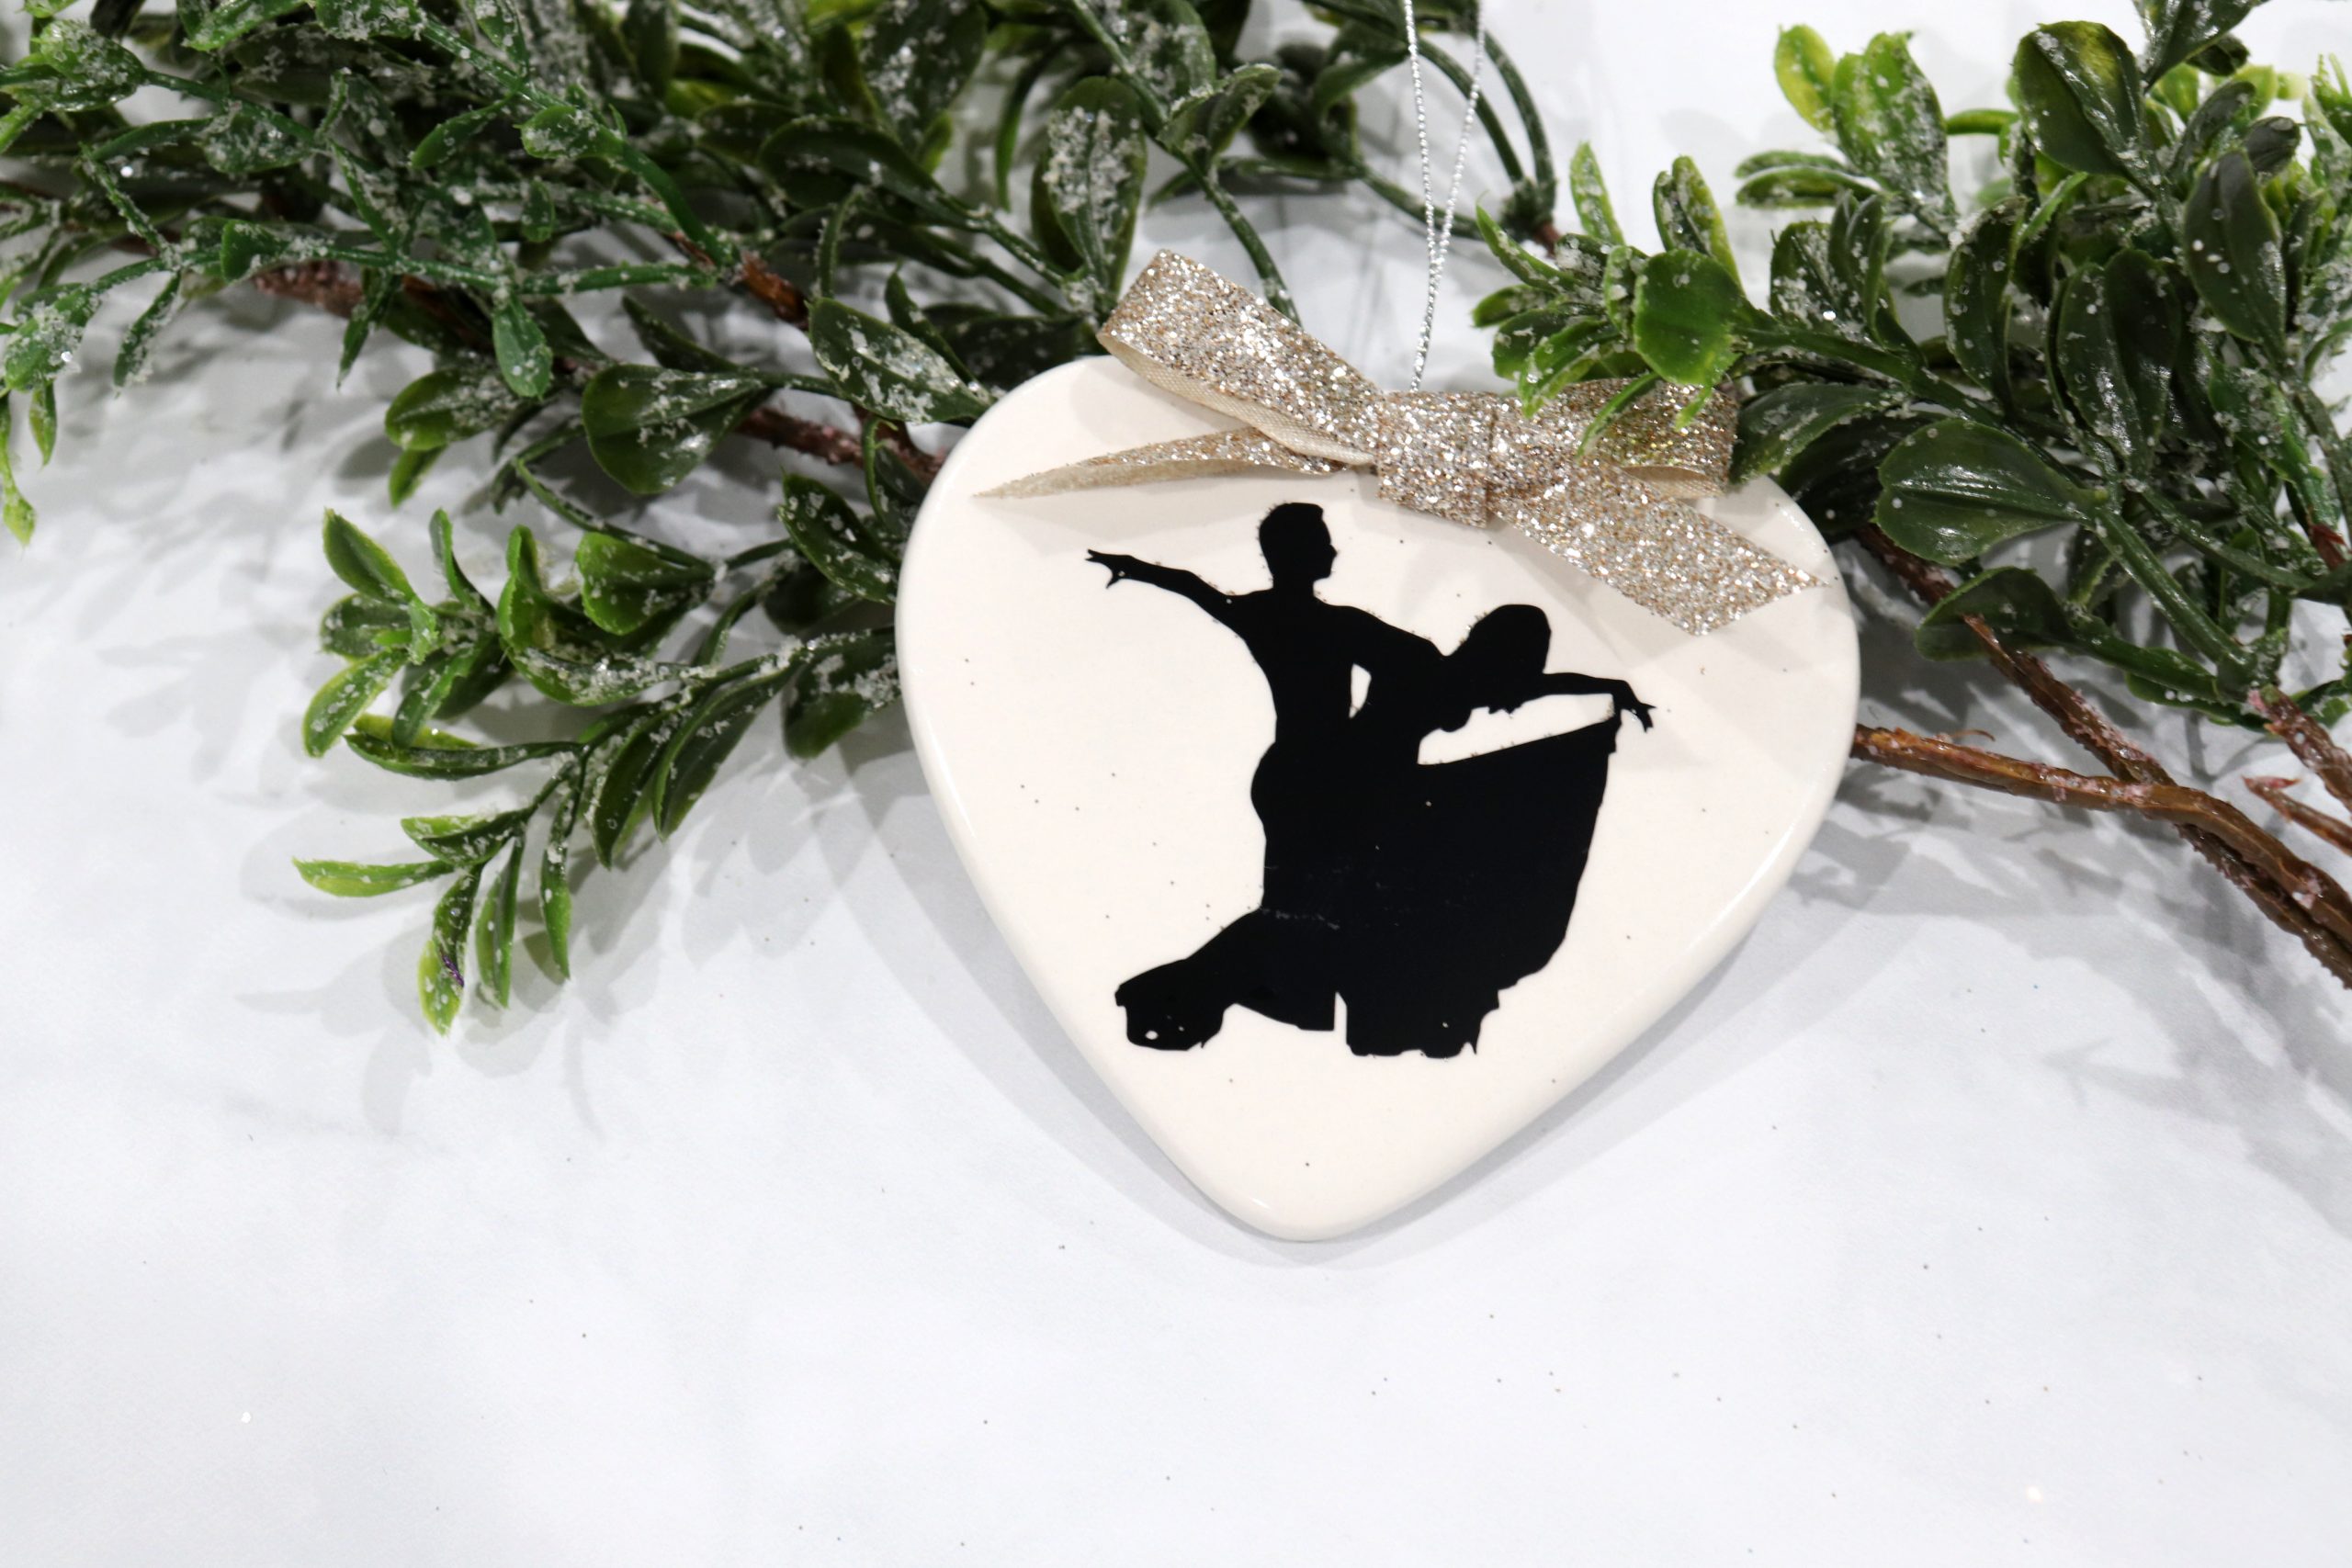
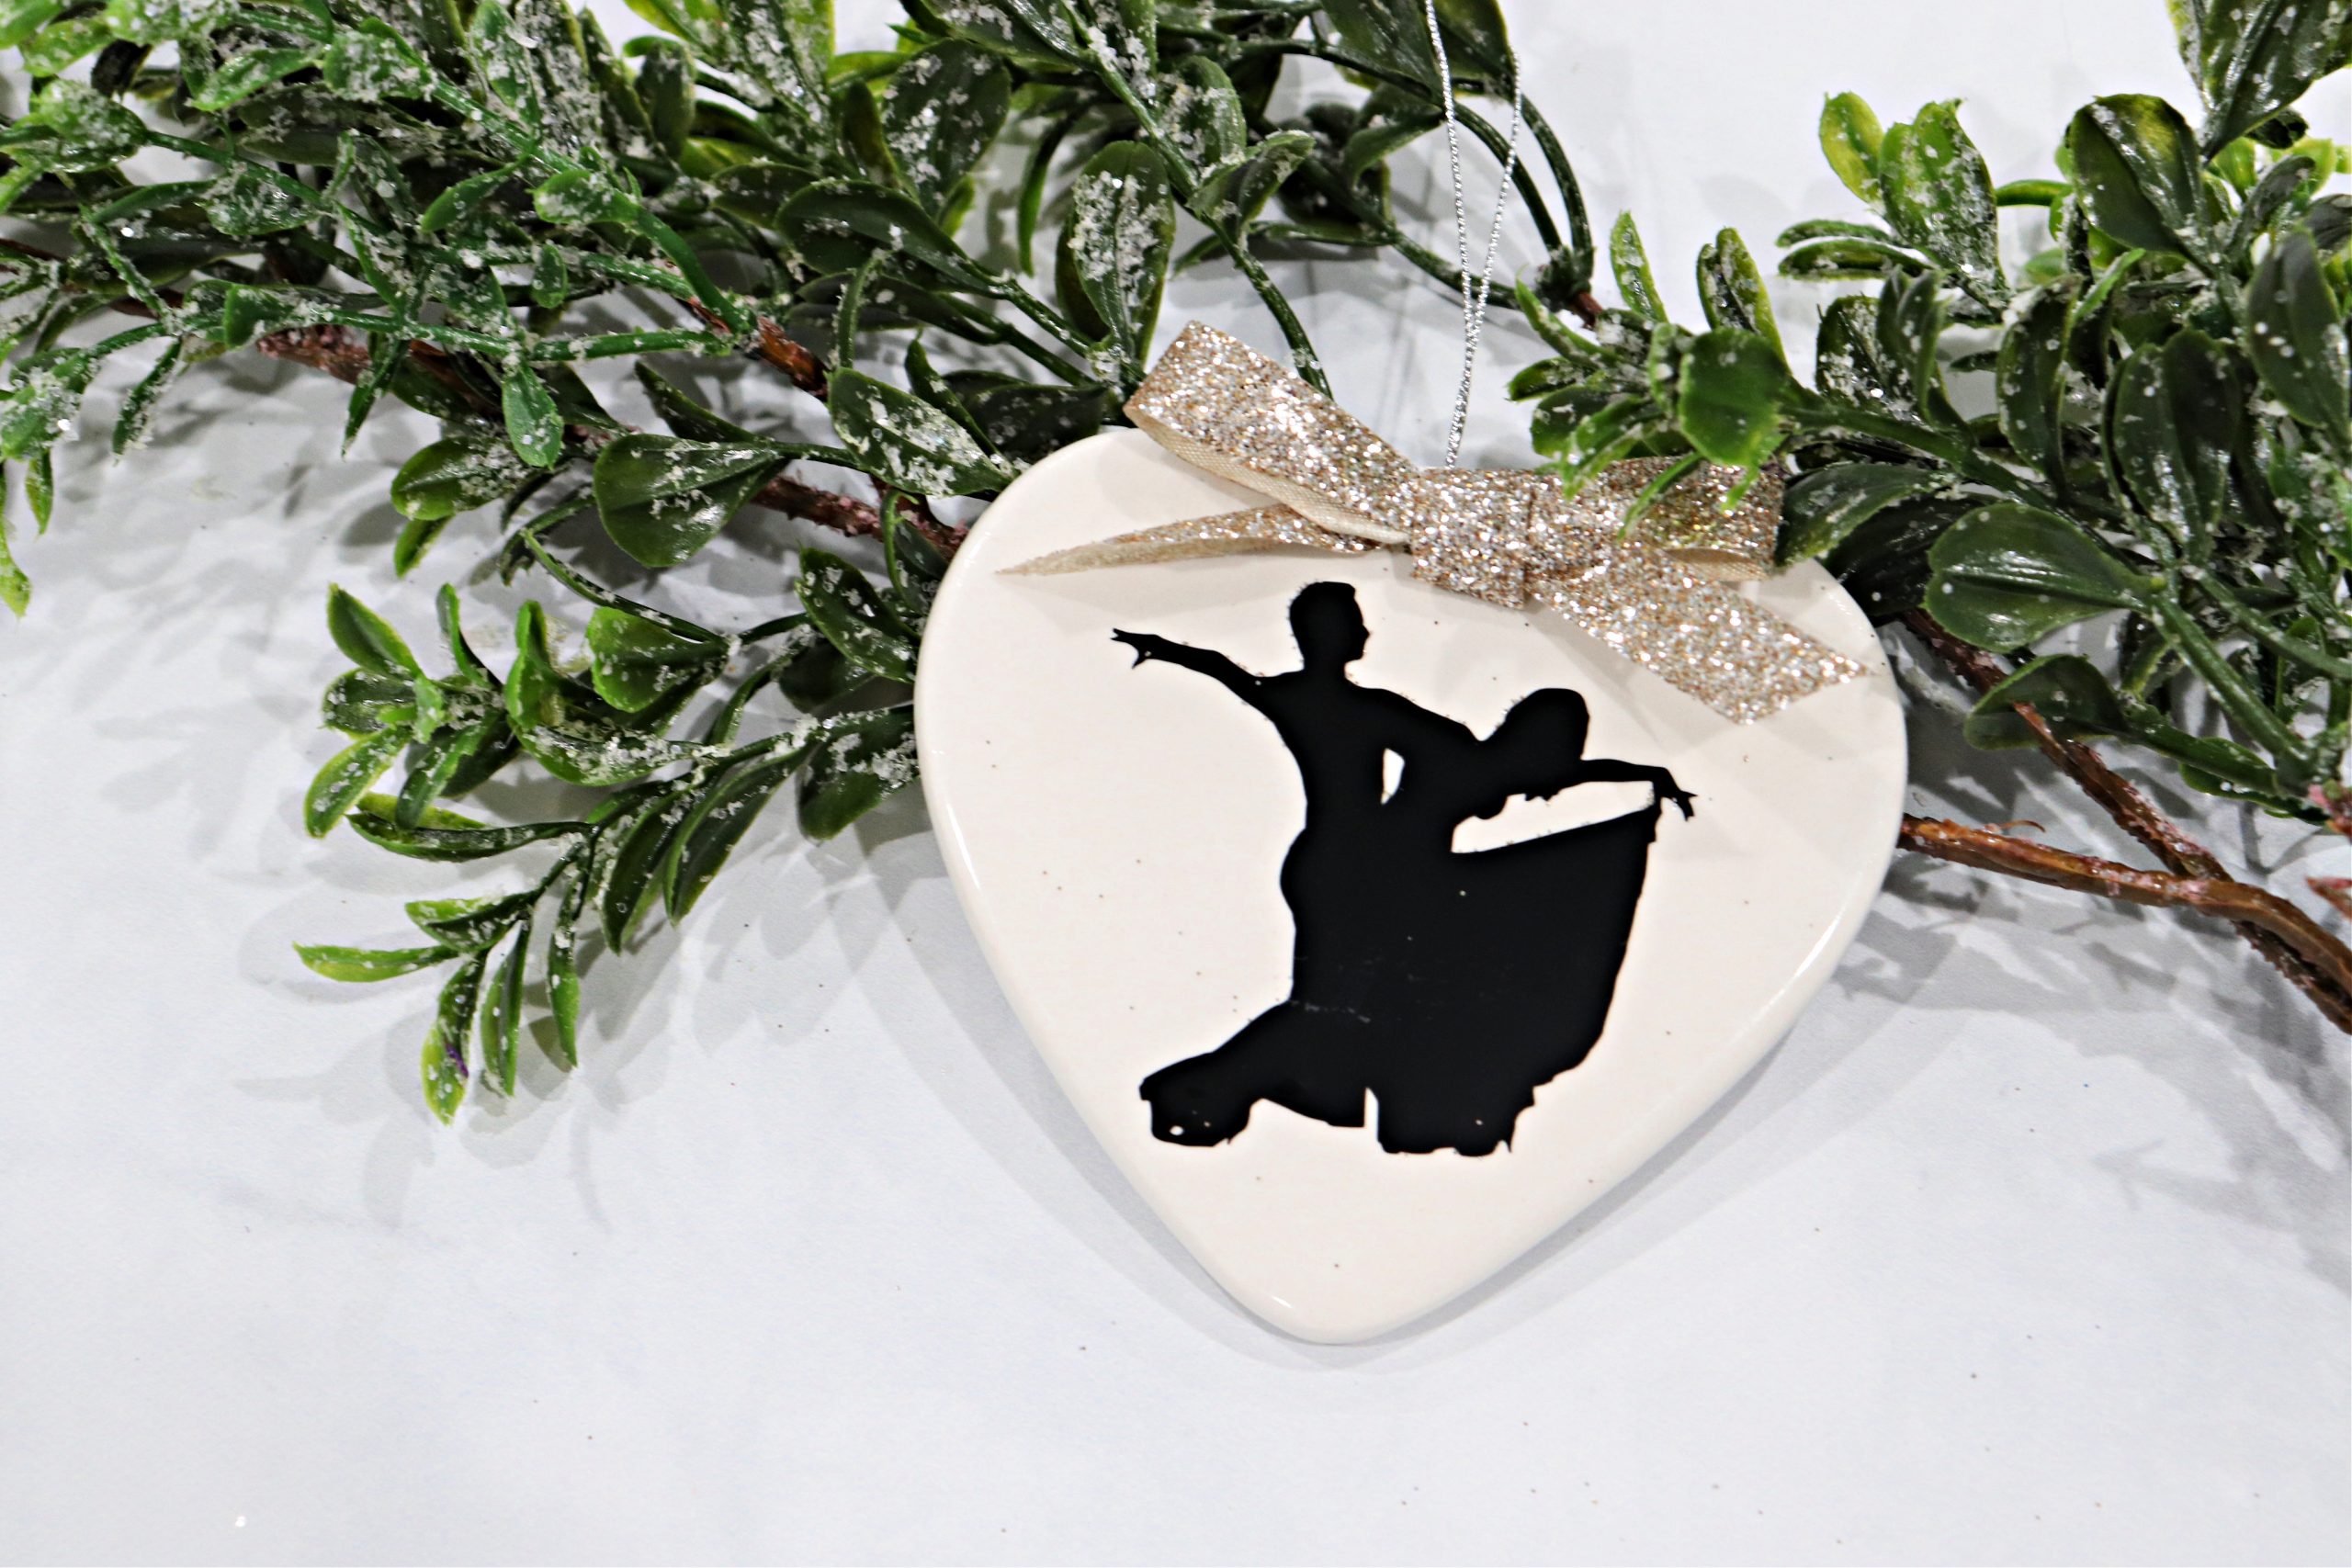
As soon as I decided to make ornaments for the movie premieres this year, I knew exactly what I wanted to do for this one. I found a silhouette of a waltzing couple and together with my Cricut Joy, was able to cut it from permanent vinyl to adhere on a ceramic heart.
CHRISTMAS WALTZ ORNAMENT
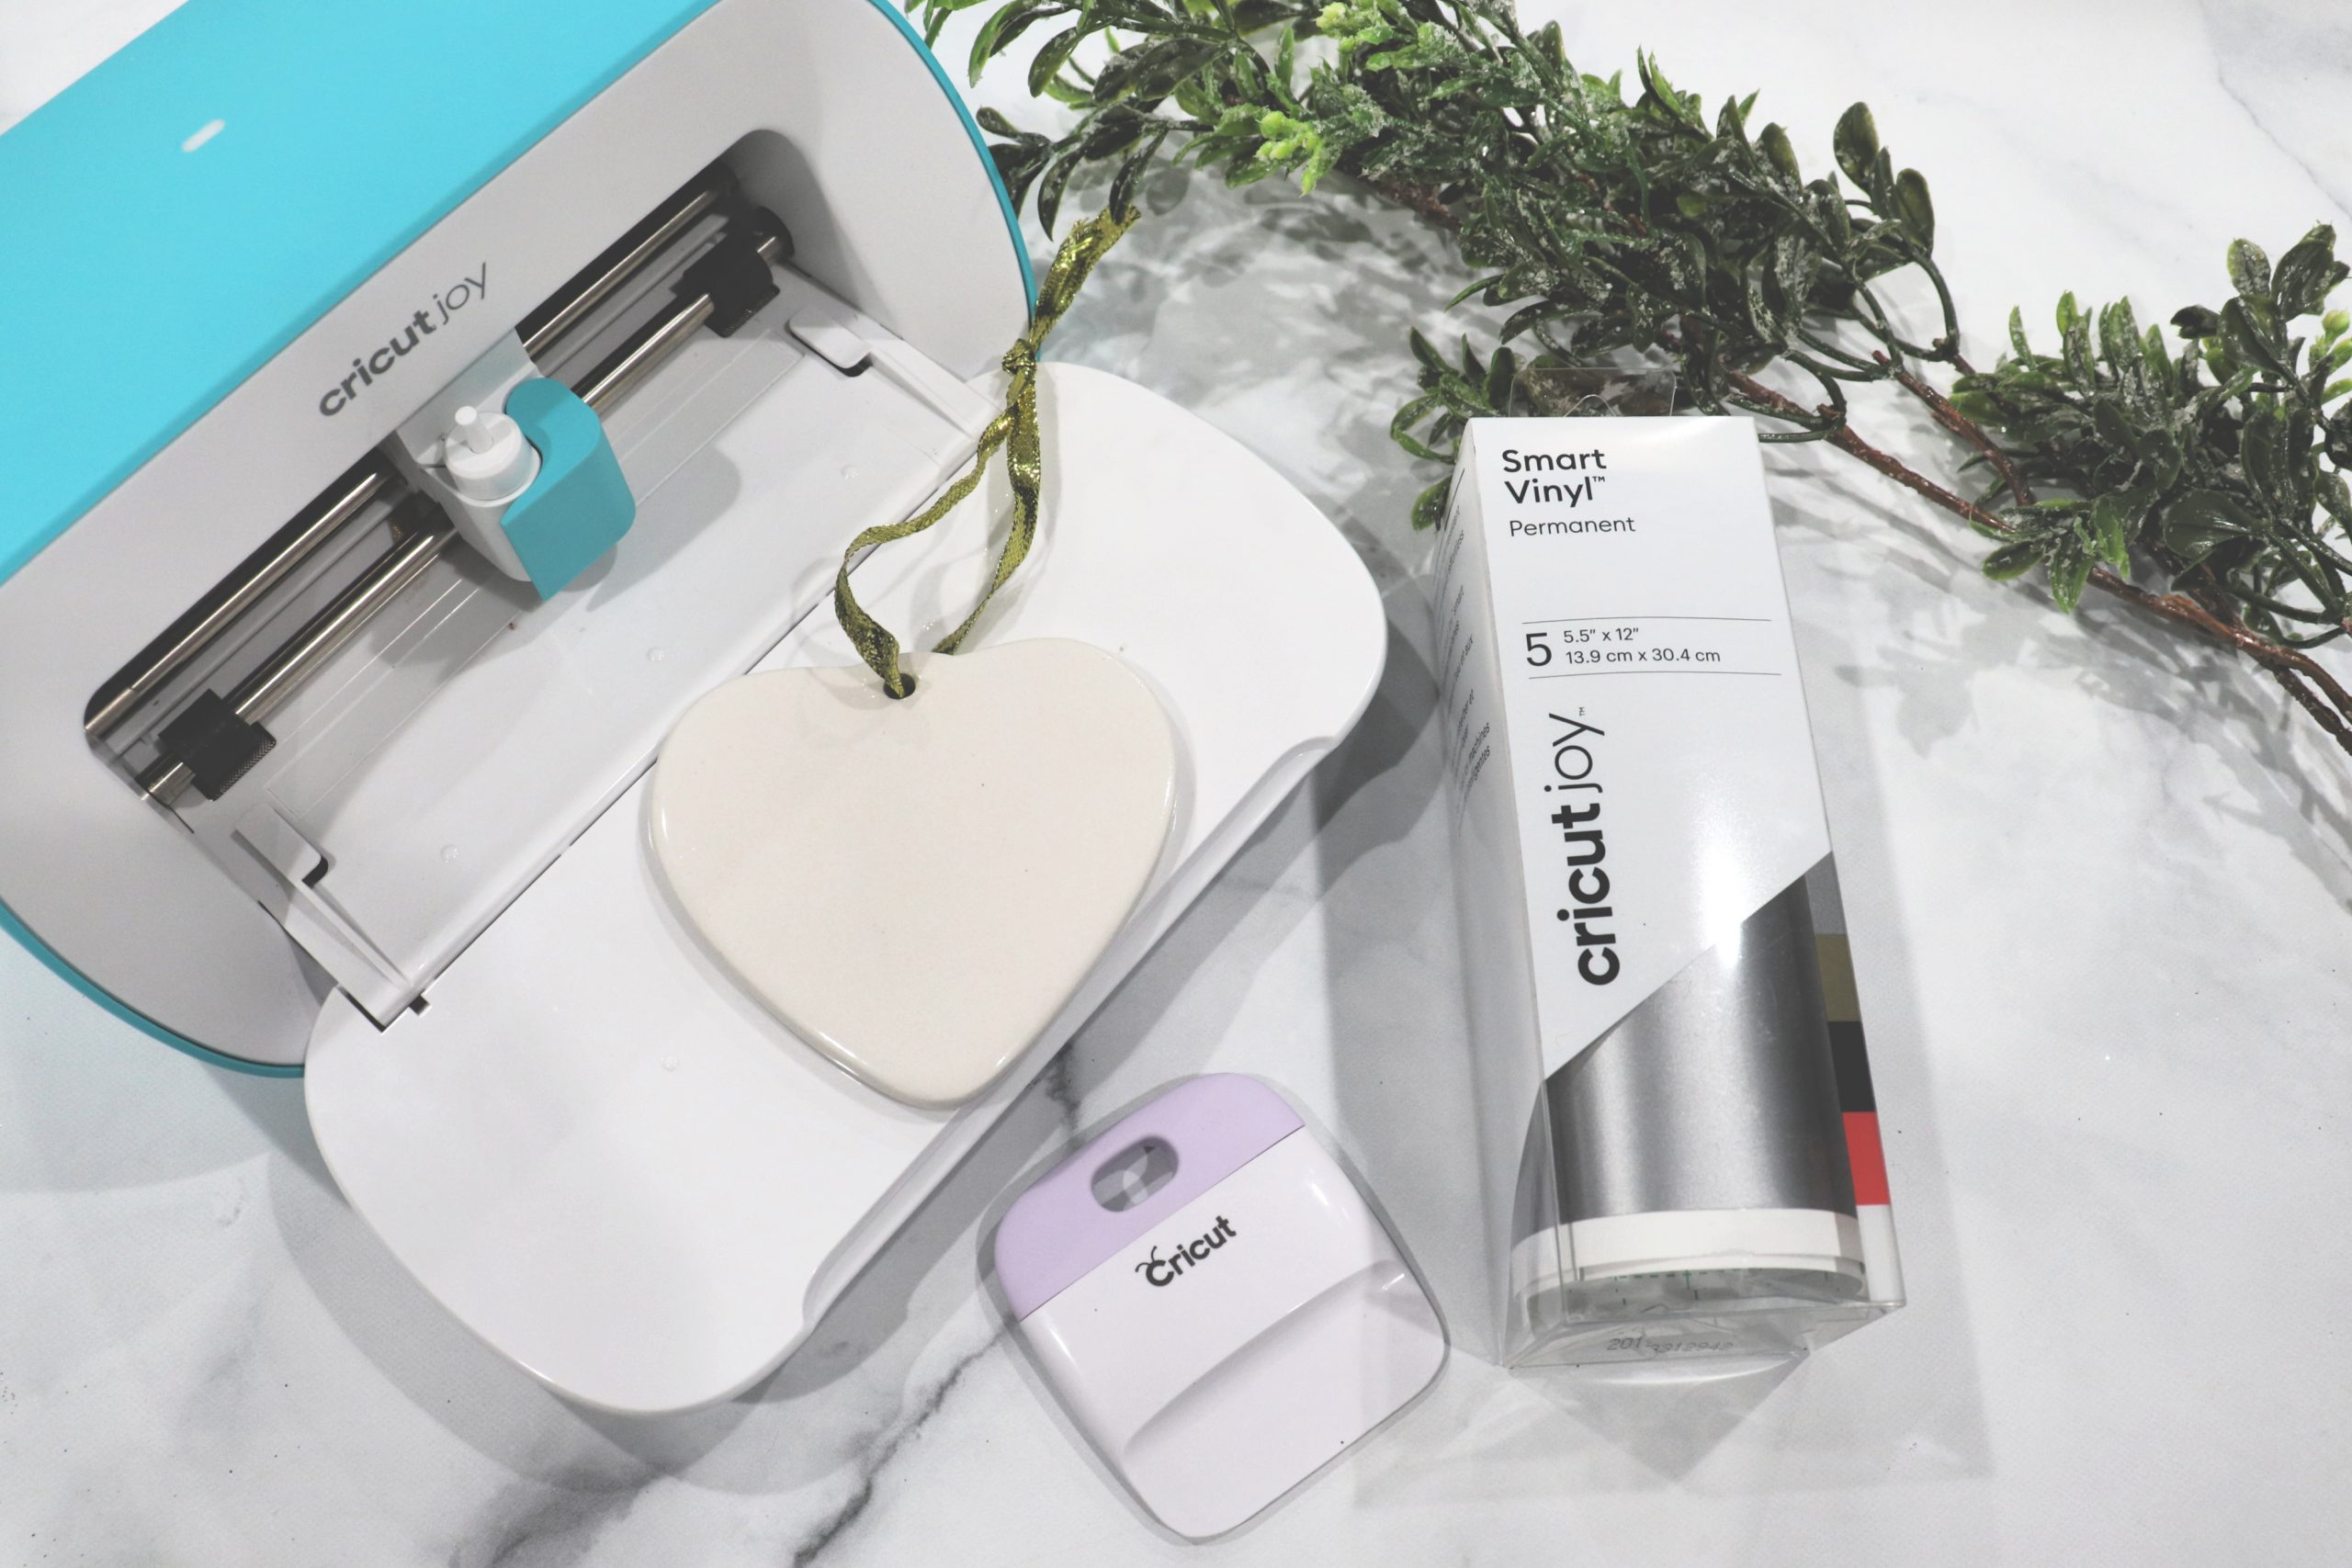
You’ll need:
Heart shaped ornament
Cricut Joy or other Cricut machine
Smart Vinyl, permanent (I used black)
Scissors
Burnishing Tool (optional)
Ribbon
Glue or adhesive tape
Step 1: Open the waltzing couple file in Cricut Design Space.
Choose “customize” in the bottom right corner, then size the image to fit your ornament. Mine was approximately 2″ square.
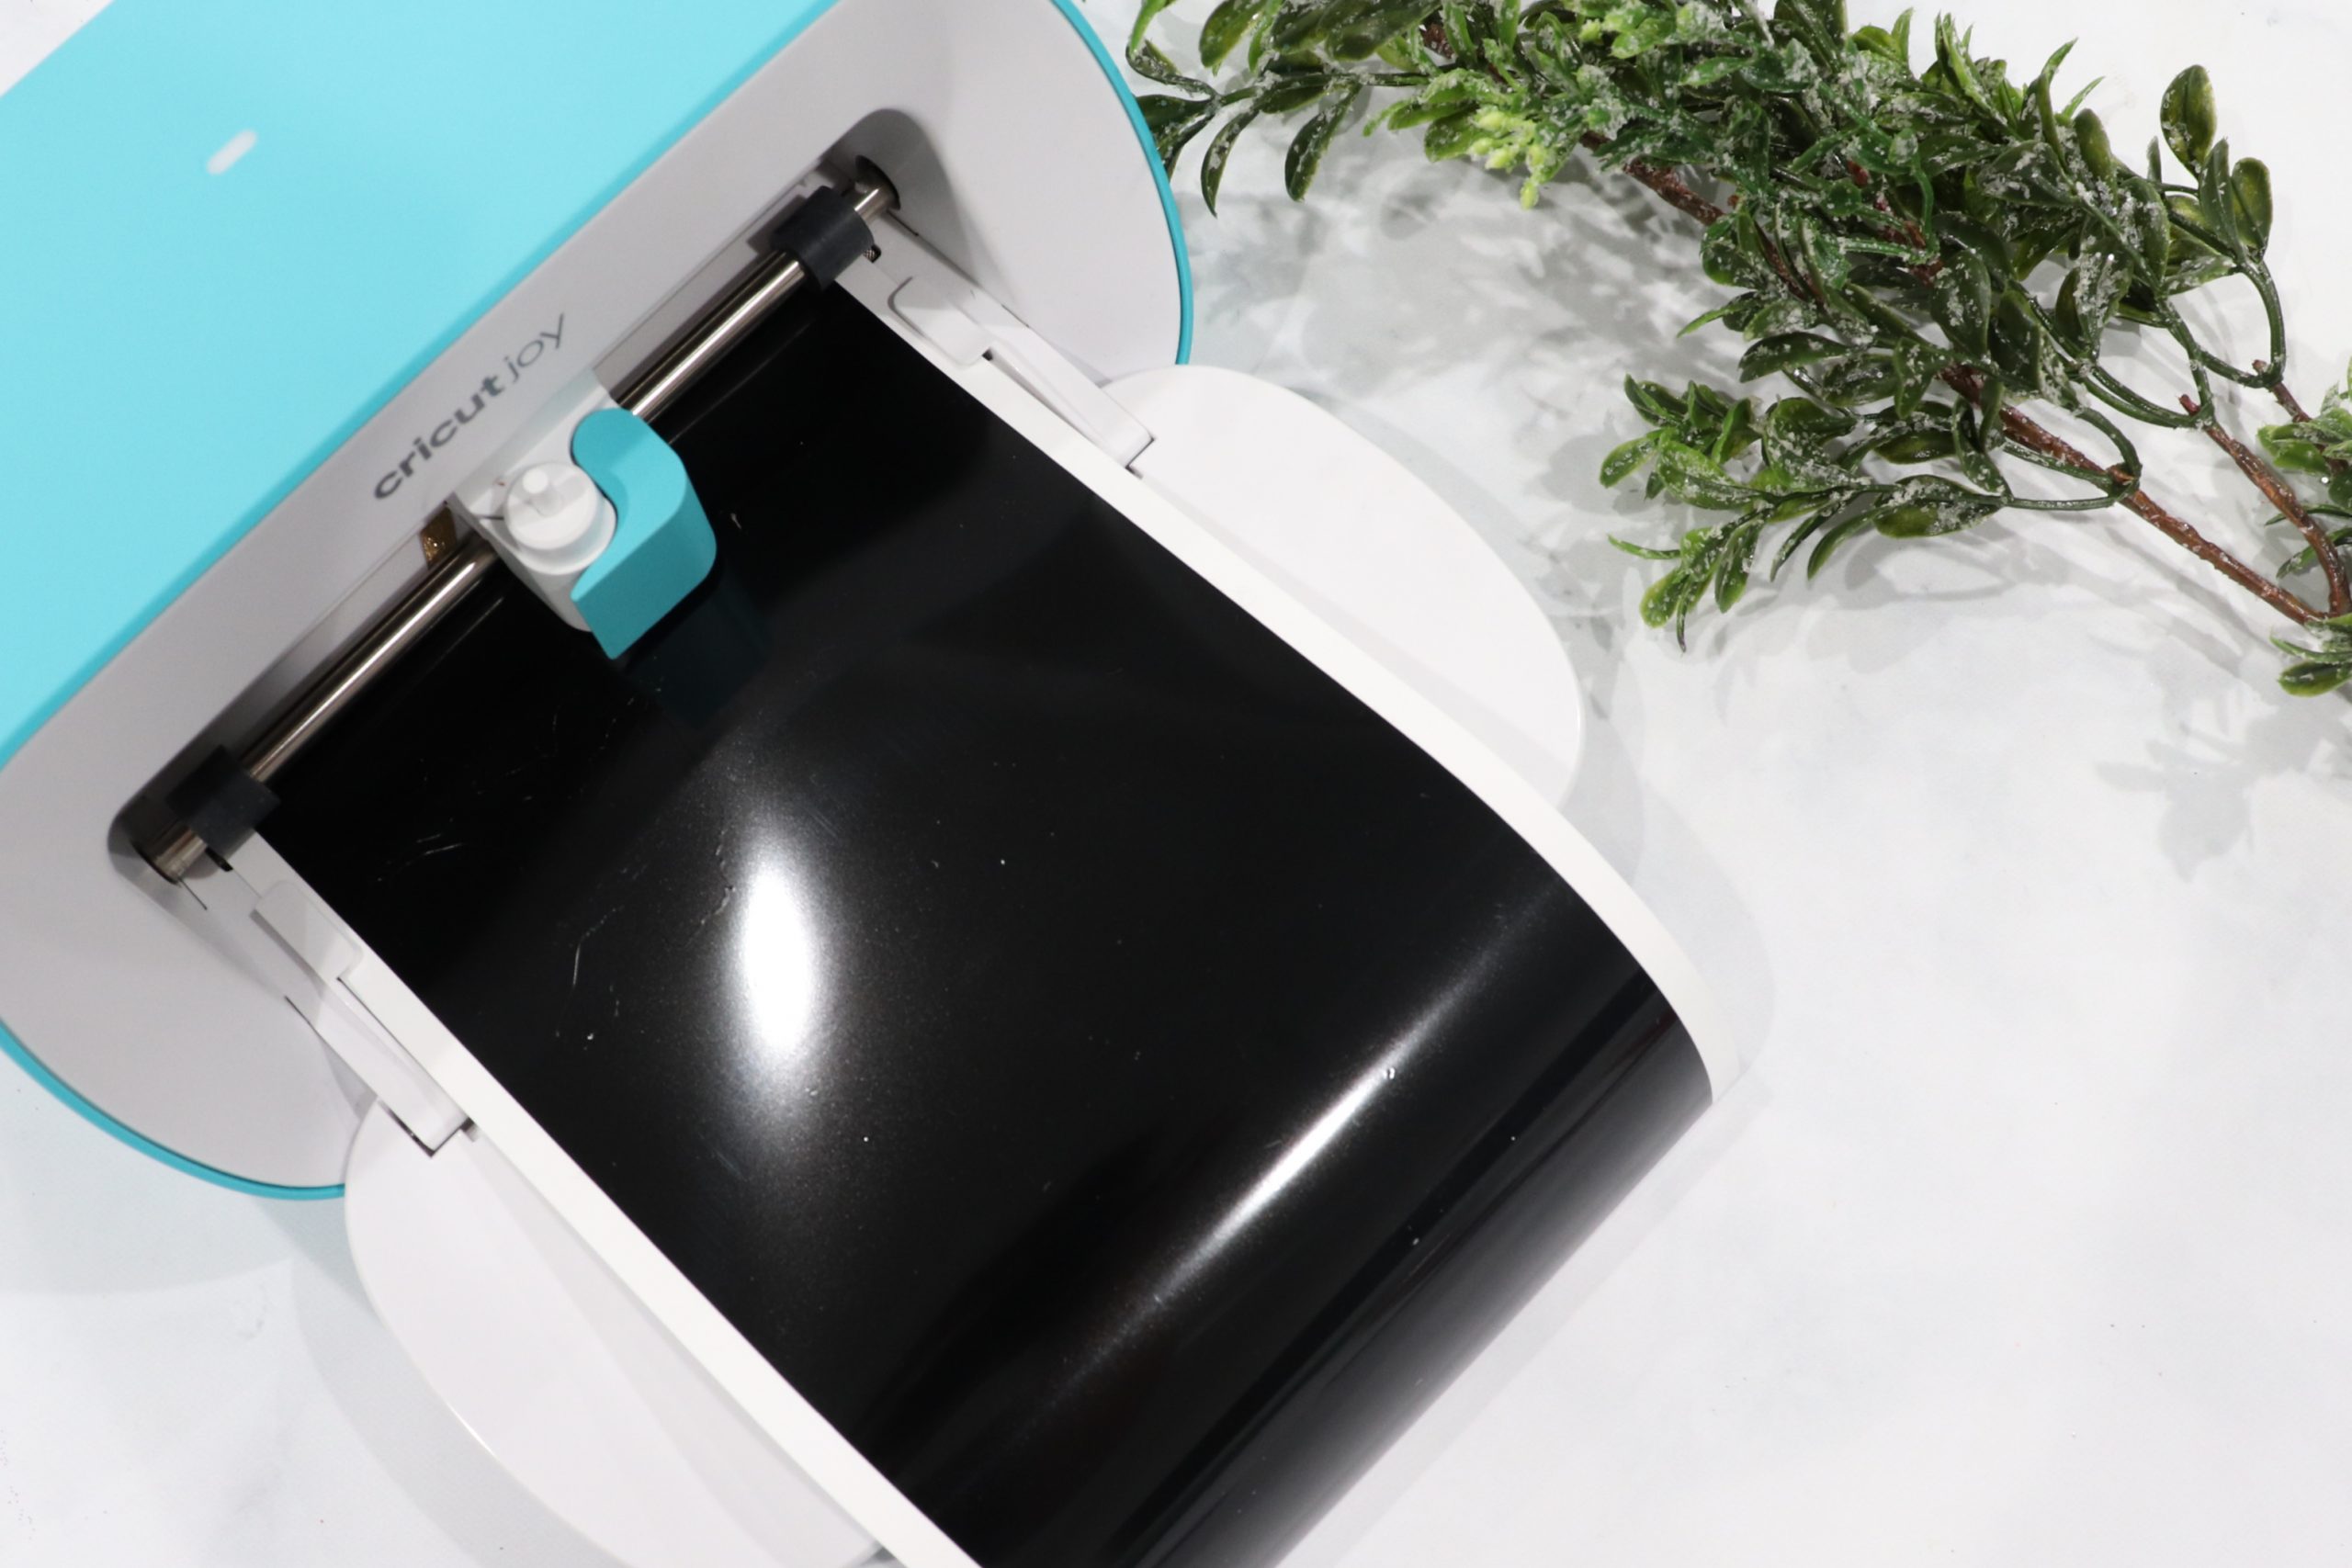
Step 2: Choose “make it” and send the file to your machine.
Follow the prompts to load the vinyl and begin the cut, then let the Cricut work its magic!
Step 3: Weed your design.
Once the cut is finished, trim around it, then peel away all the vinyl that isn’t part of your image. All that’s left on the backing should be your dancers.
Step 4: Apply transfer tape.
Cut a piece of transfer tape the size of your design and place it on top of your image. Rub it firmly so the vinyl adheres to the tape and peels up off the backing paper easily.
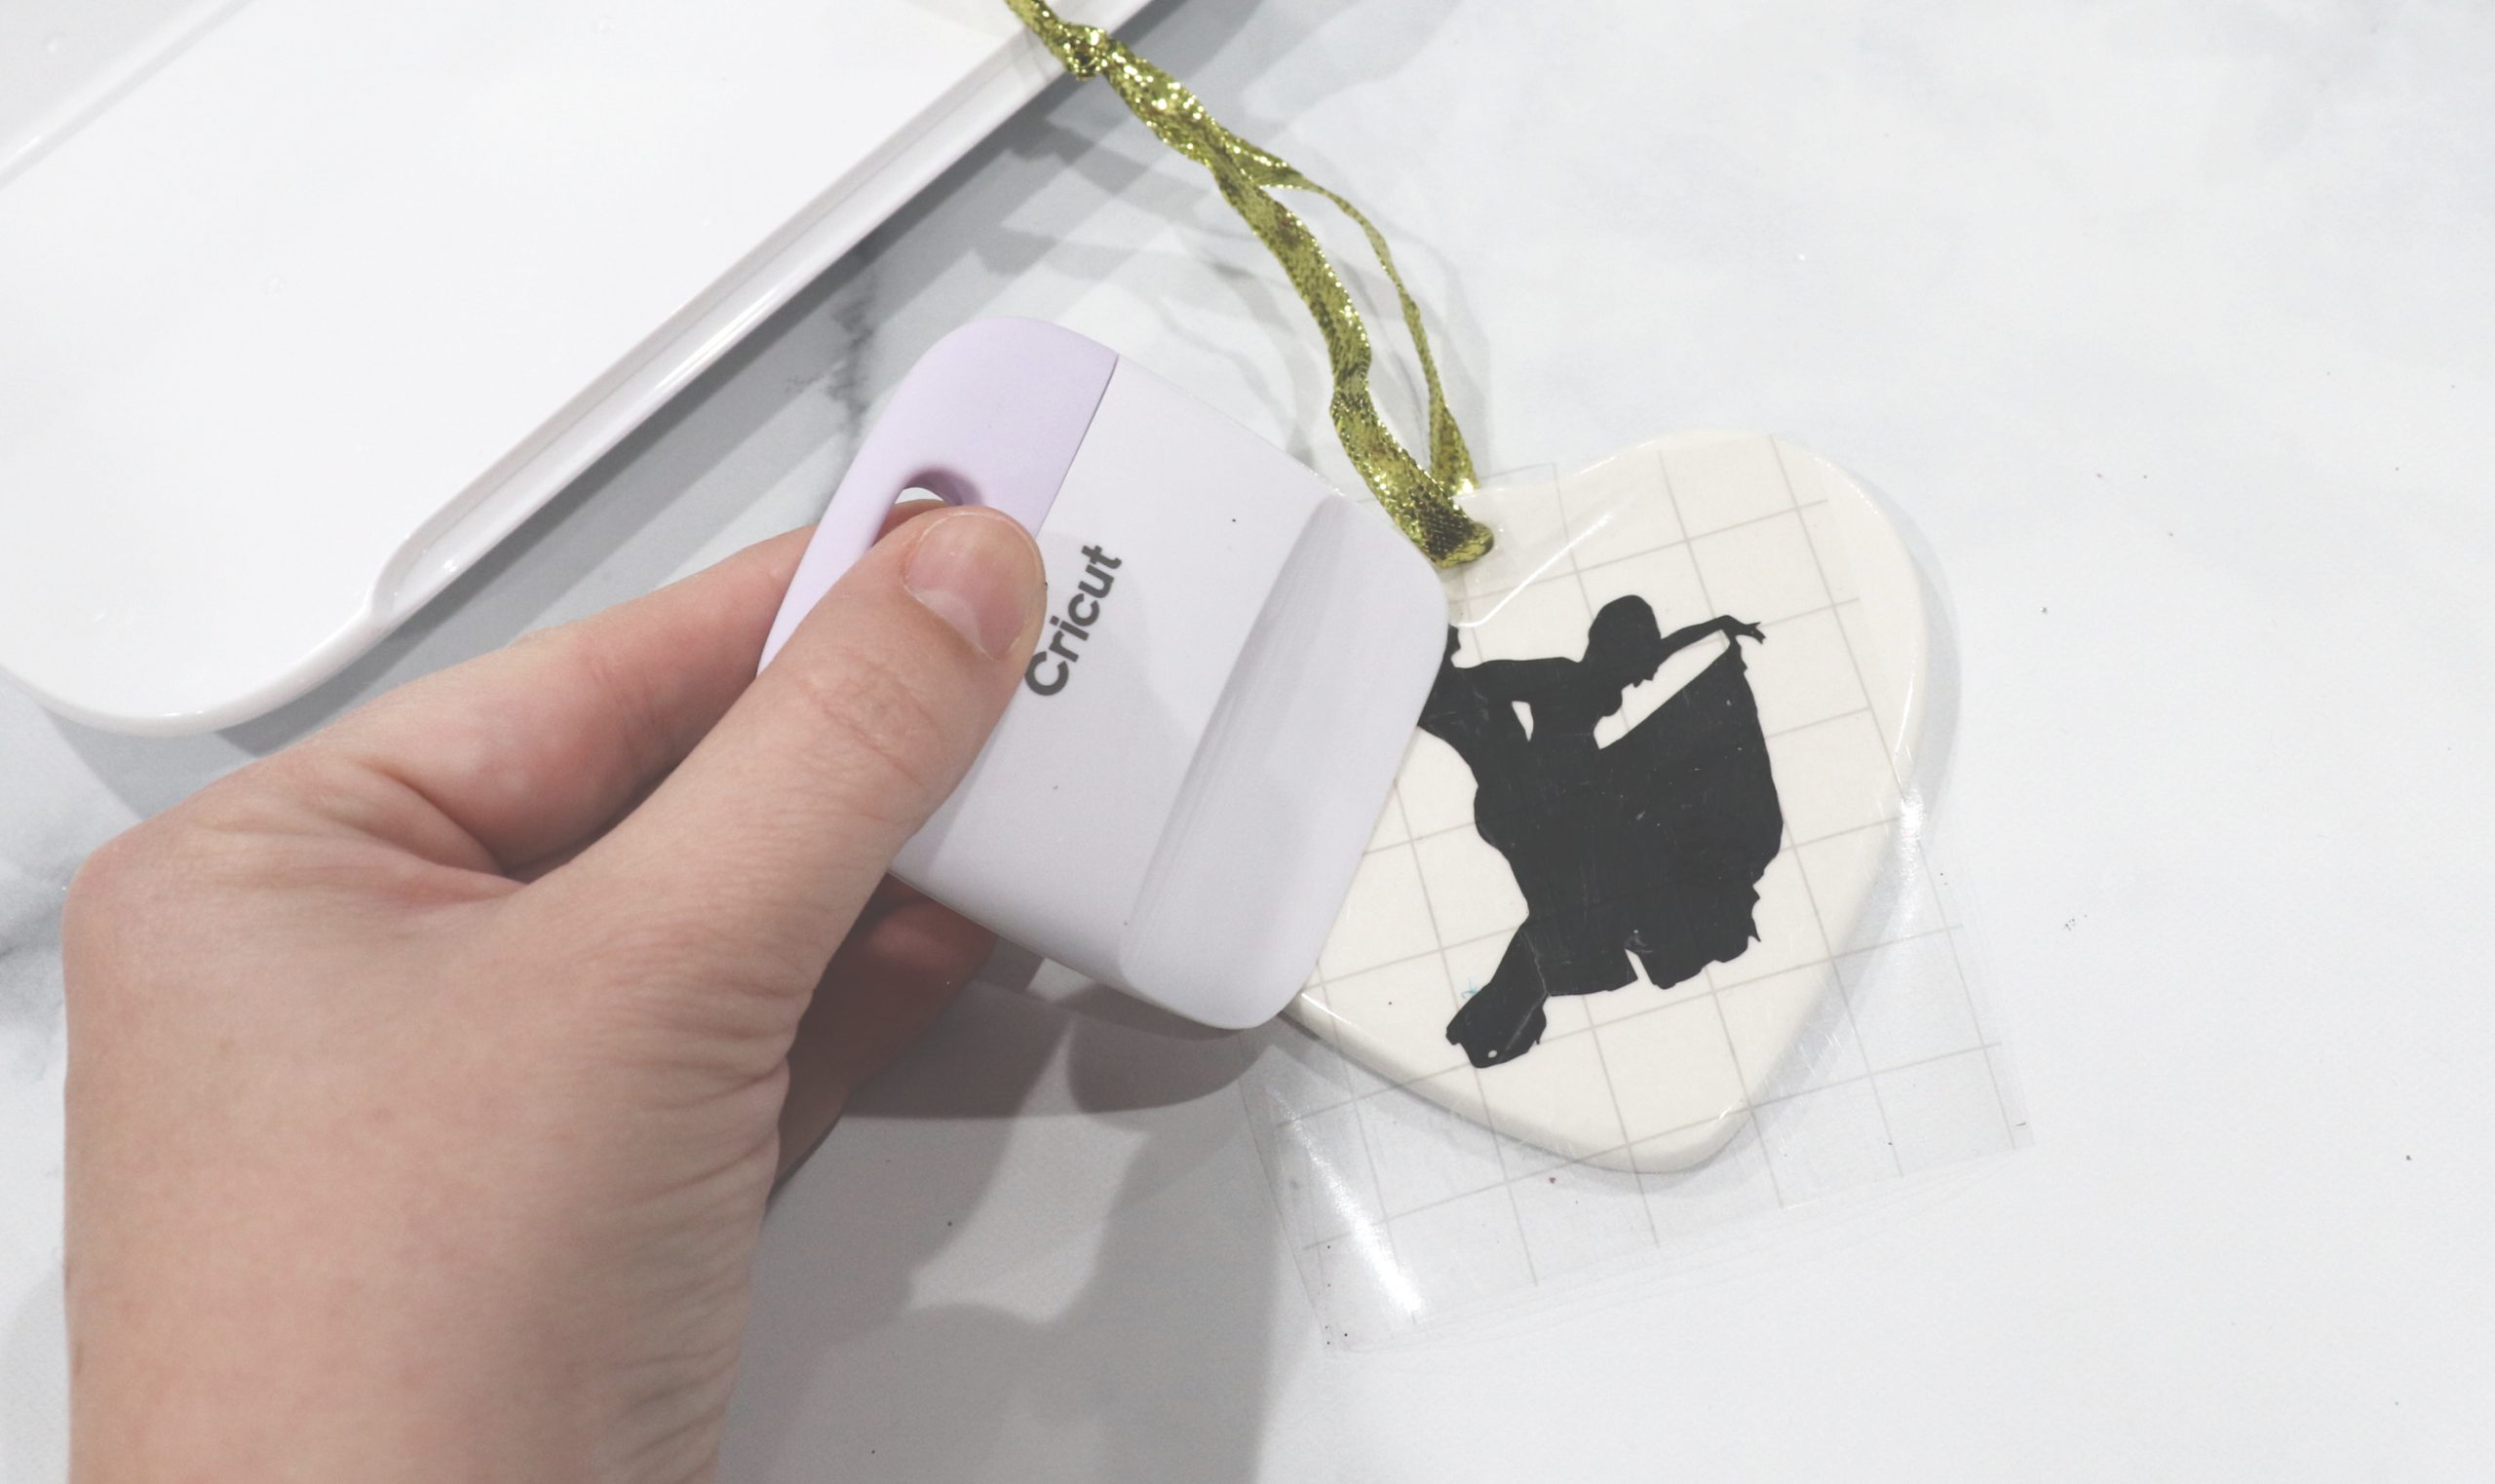
Step 5: Place the image on the ornament.
Once again, rub firmly (a burnishing tool helps!) to adhere the vinyl, this time to the surface of the ornament. Peel off the transfer tape and your dancers should stay in place on the ornament front.
Step 6: Add a bow.
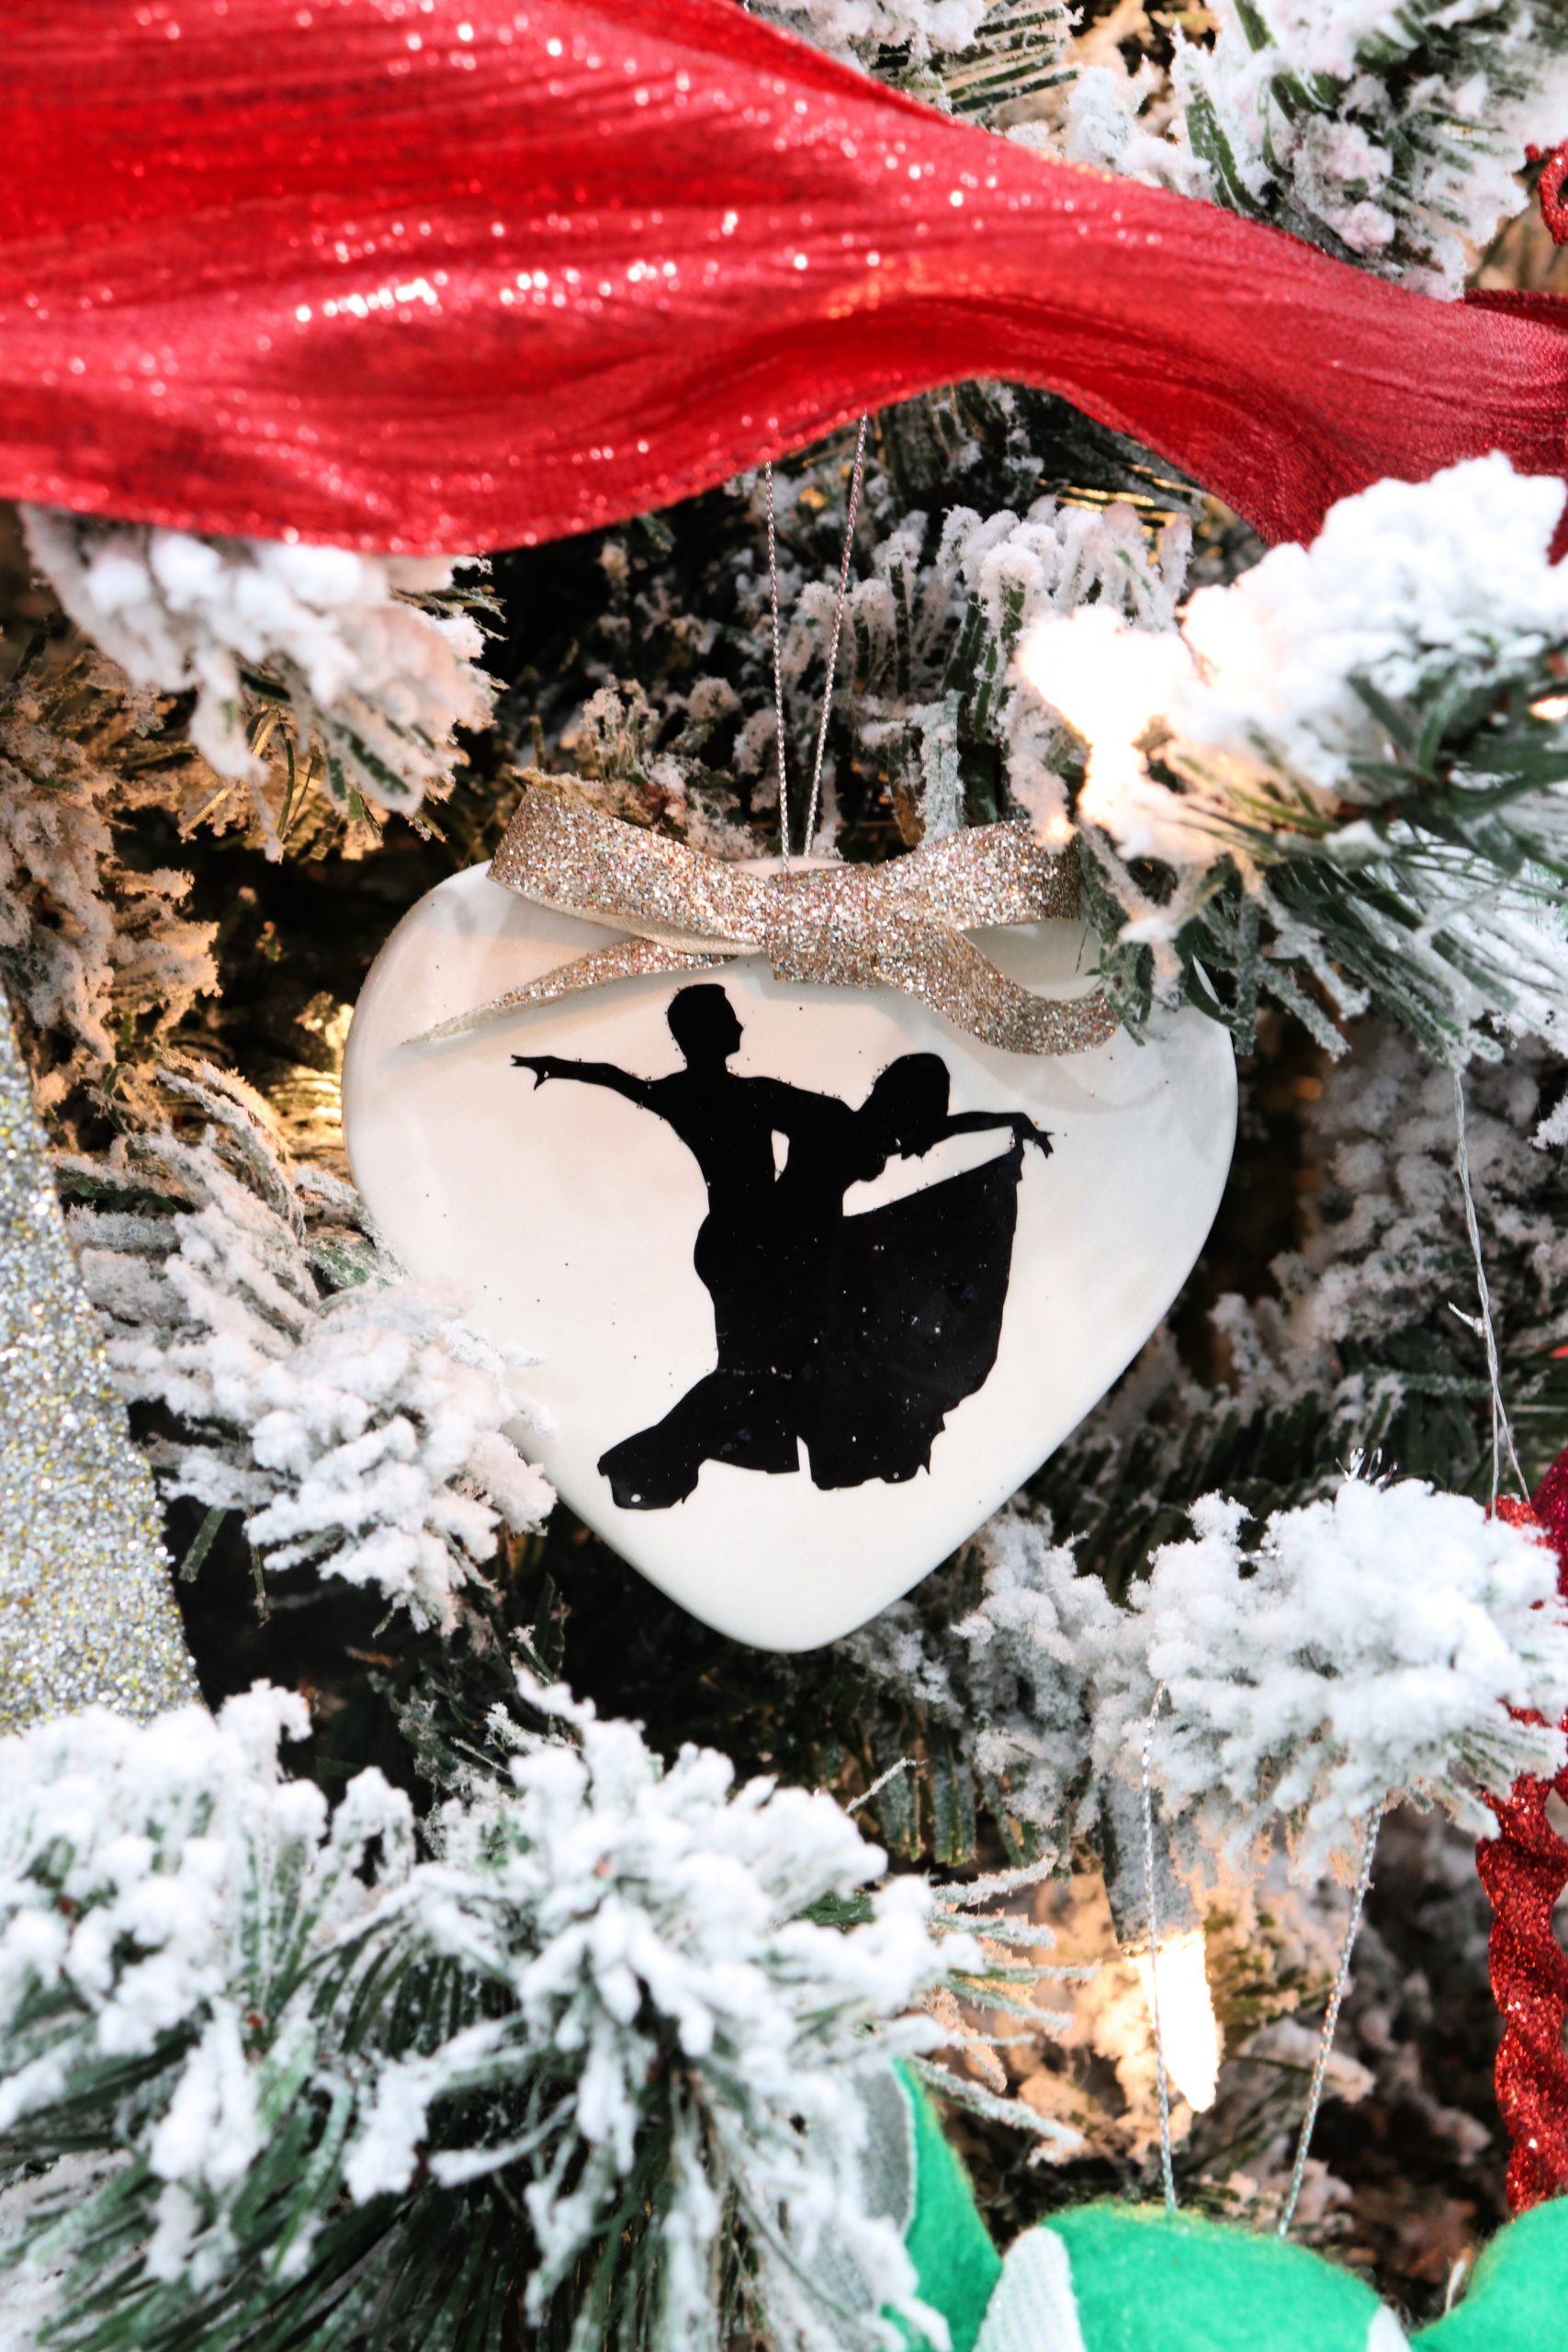
I wanted to add a bit of sparkle, so I made a bow out of glitter ribbon and glued it to the top of the heart.
Now your ornament is ready to hang on the tree and remind you of the beautiful dance scene in Christmas Waltz…maybe it will even inspire you to take some dance lessons yourself! It’s a wonderful hobby that you can enjoy for the rest of your life. Hubby and I know a 100 year old lady who can still get out on the dance floor and do every ballroom dance there is.
If you try making this ornament, I’d love to see. Be sure to join the Amy Latta & Friends Facebook group if you haven’t already, and share photos of all your latest holiday DIY projects so we can all be inspired. Don’t forget to check out all the other ornaments in the Countdown to Christmas series!
JINGLE BELL BRIDE CHATEAU CHRISTMAS
ONE ROYAL HOLIDAY ON THE 12TH DATE OF CHRISTMAS
NEVER KISS A MAN IN A CHRISTMAS SWEATER
CHRISTMAS WITH THE DARLINGS CHRISTMAS IN VIENNA
A TIMELESS CHRISTMAS A NASHVILLE CHRISTMAS CAROL
THE CHRISTMAS HOUSE HEART OF THE HOLIDAYS
A CHRISTMAS TREE GROWS IN COLORADO
GOOD MORNING, CHRISTMAS CHRISTMAS BY STARLIGHT
FIVE STAR CHRISTMAS
IF I ONLY HAD CHRISTMAS
CHRISTMAS IN EVERGREEN: BELLS ARE RINGING
CHRISTMAS SHE WROTE LOVE, LIGHTS, HANUKKAH
CHRISTMAS COMES TWICE A CHRISTMAS CAROUSEL
CROSS COUNTRY CHRISTMAS


5 Comments