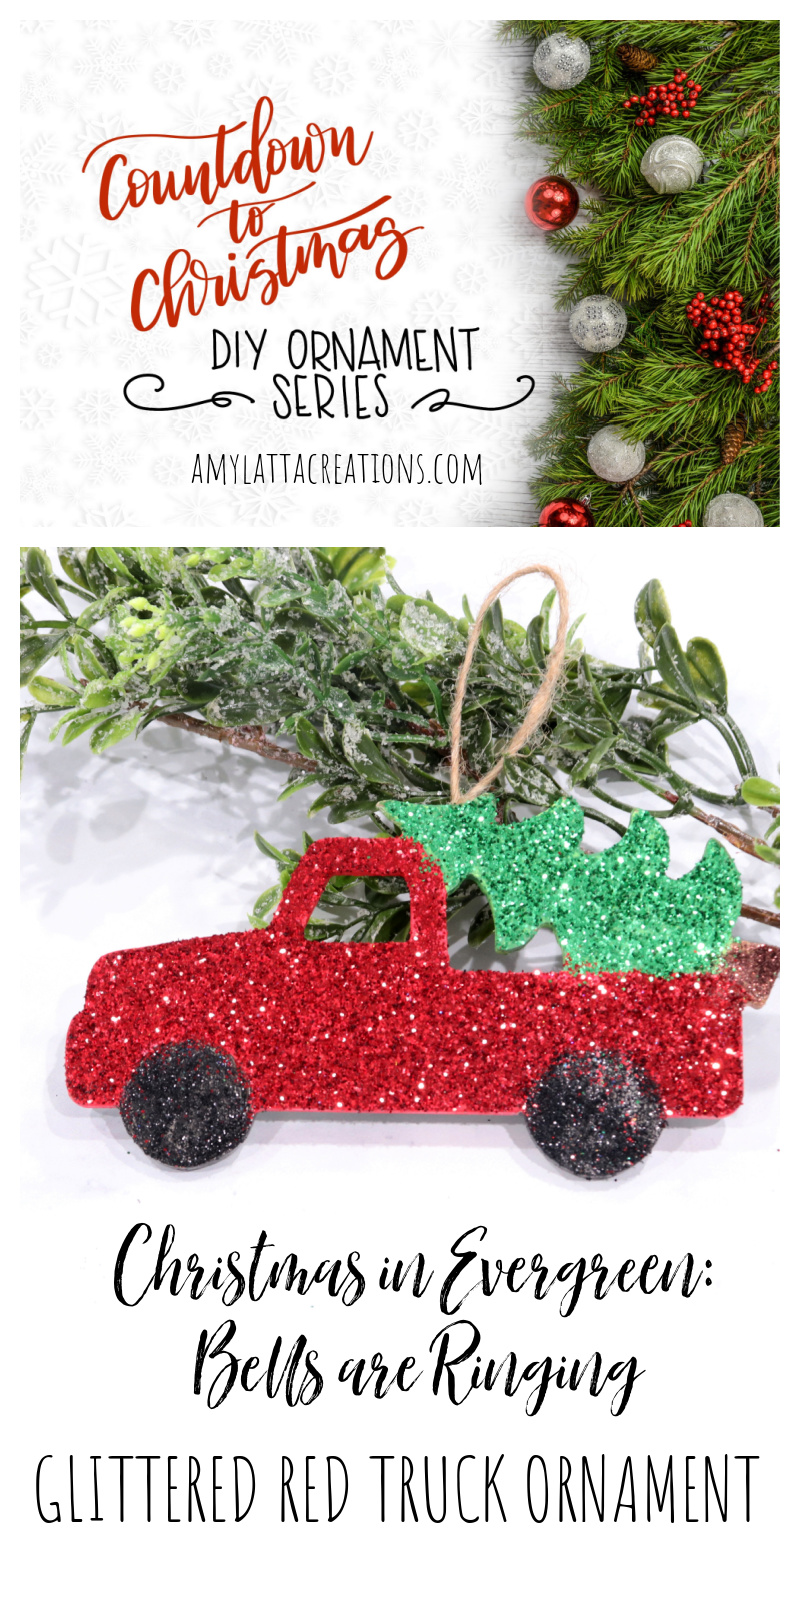
Countdown to Christmas Ornament: Christmas in Evergreen: Bells Are Ringing
Christmas in Evergreen: Bells Are Ringing is the much-anticipated fourth movie in what has become a Hallmark Holiday Tradition. The three previous Christmas in Evergreen movies are favorites here in our family; the kind we re-watch together from year to year. This new installment takes us back to the charming town of Evergreen with its friends who become family and, of course, its magical snow globe. Rather than introducing new lead characters, this movie focuses on two of the women we’ve gotten to know pretty well over the course of the series: Michelle (played by Holly Robinson Peete) and Hannah (Rukiya Bernard). Michelle, now the town’s mayor, is preparing for her upcoming wedding, while Hannah works to prepare the brand new Evergreen Christmas Museum…and figure out her relationship with Elliot. Of course the red truck is back in action, and so are some returning favorite characters including Allie (Ashley Williams) and her mother (Barbara Niven). You won’t want to miss this special trip back to the magical world of Evergreen!
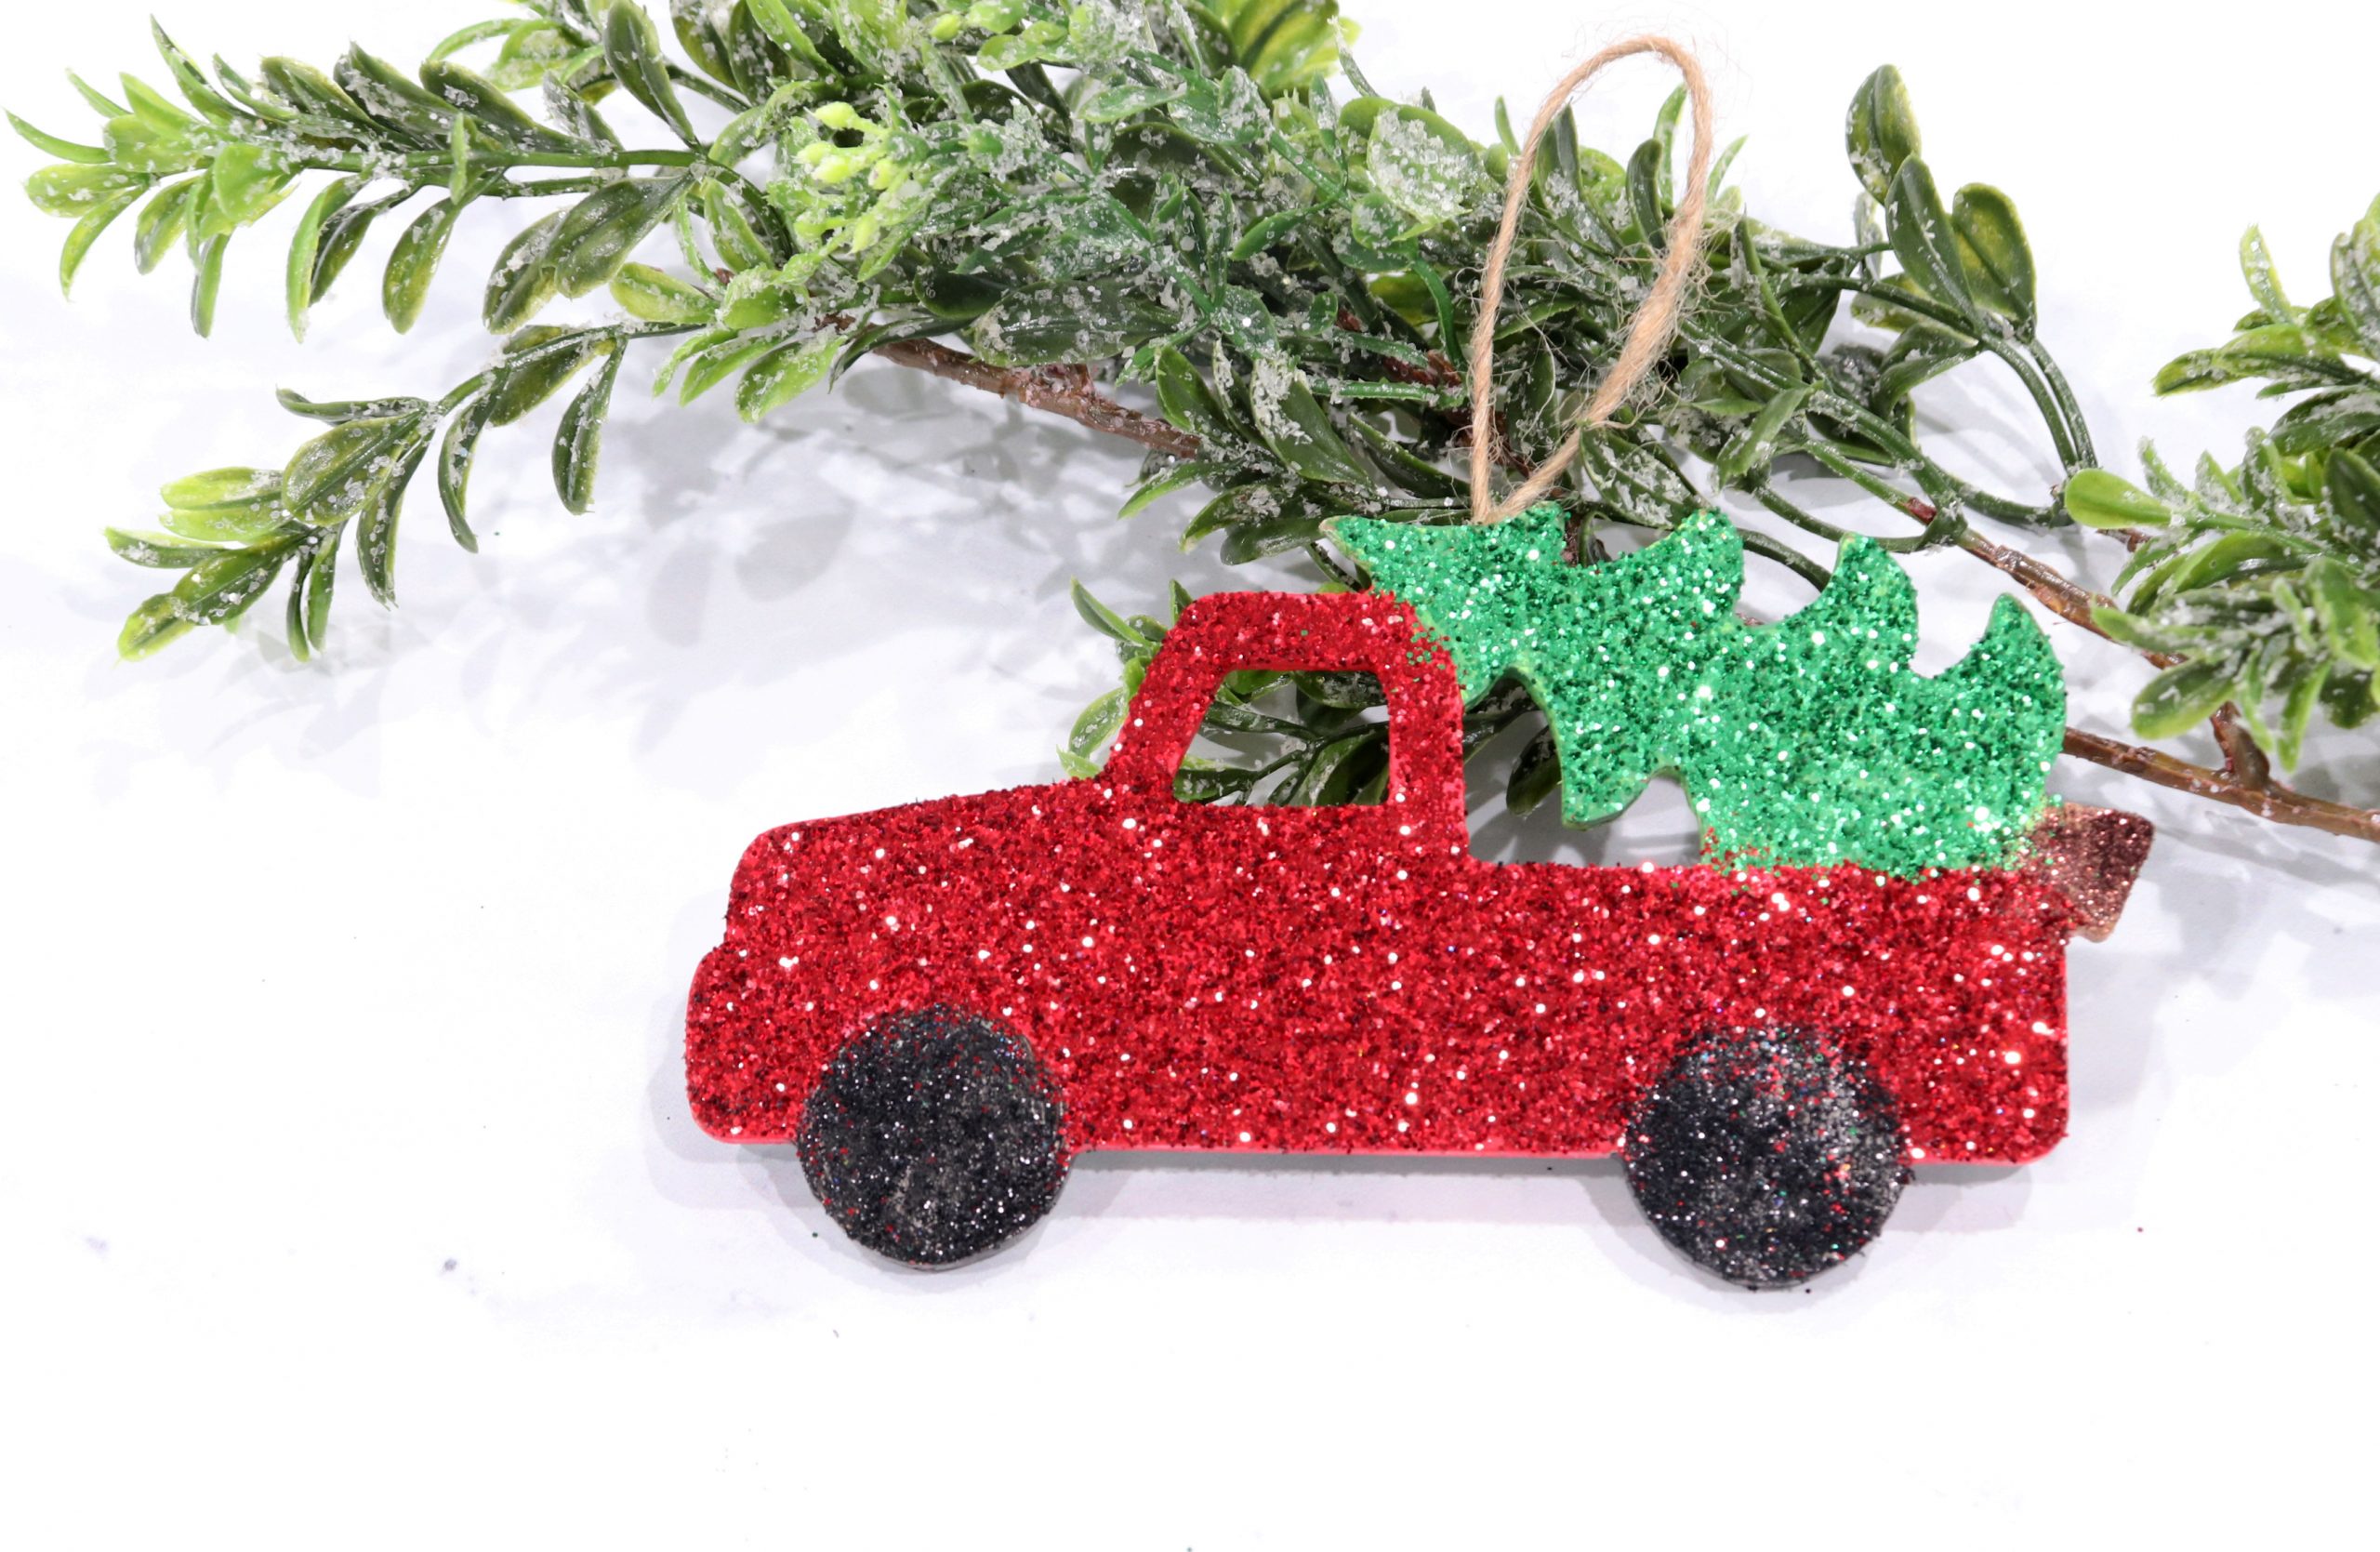
My 12-year-old is a huge fan of these movies, and he absolutely insisted that the ornament for this one be the iconic red truck. So, I found a wood cutout of the truck with a tree at my local craft store and set to work painting it and making it sparkle. Take a look…
GLITTERED RED TRUCK ORNAMENT
You’ll need:
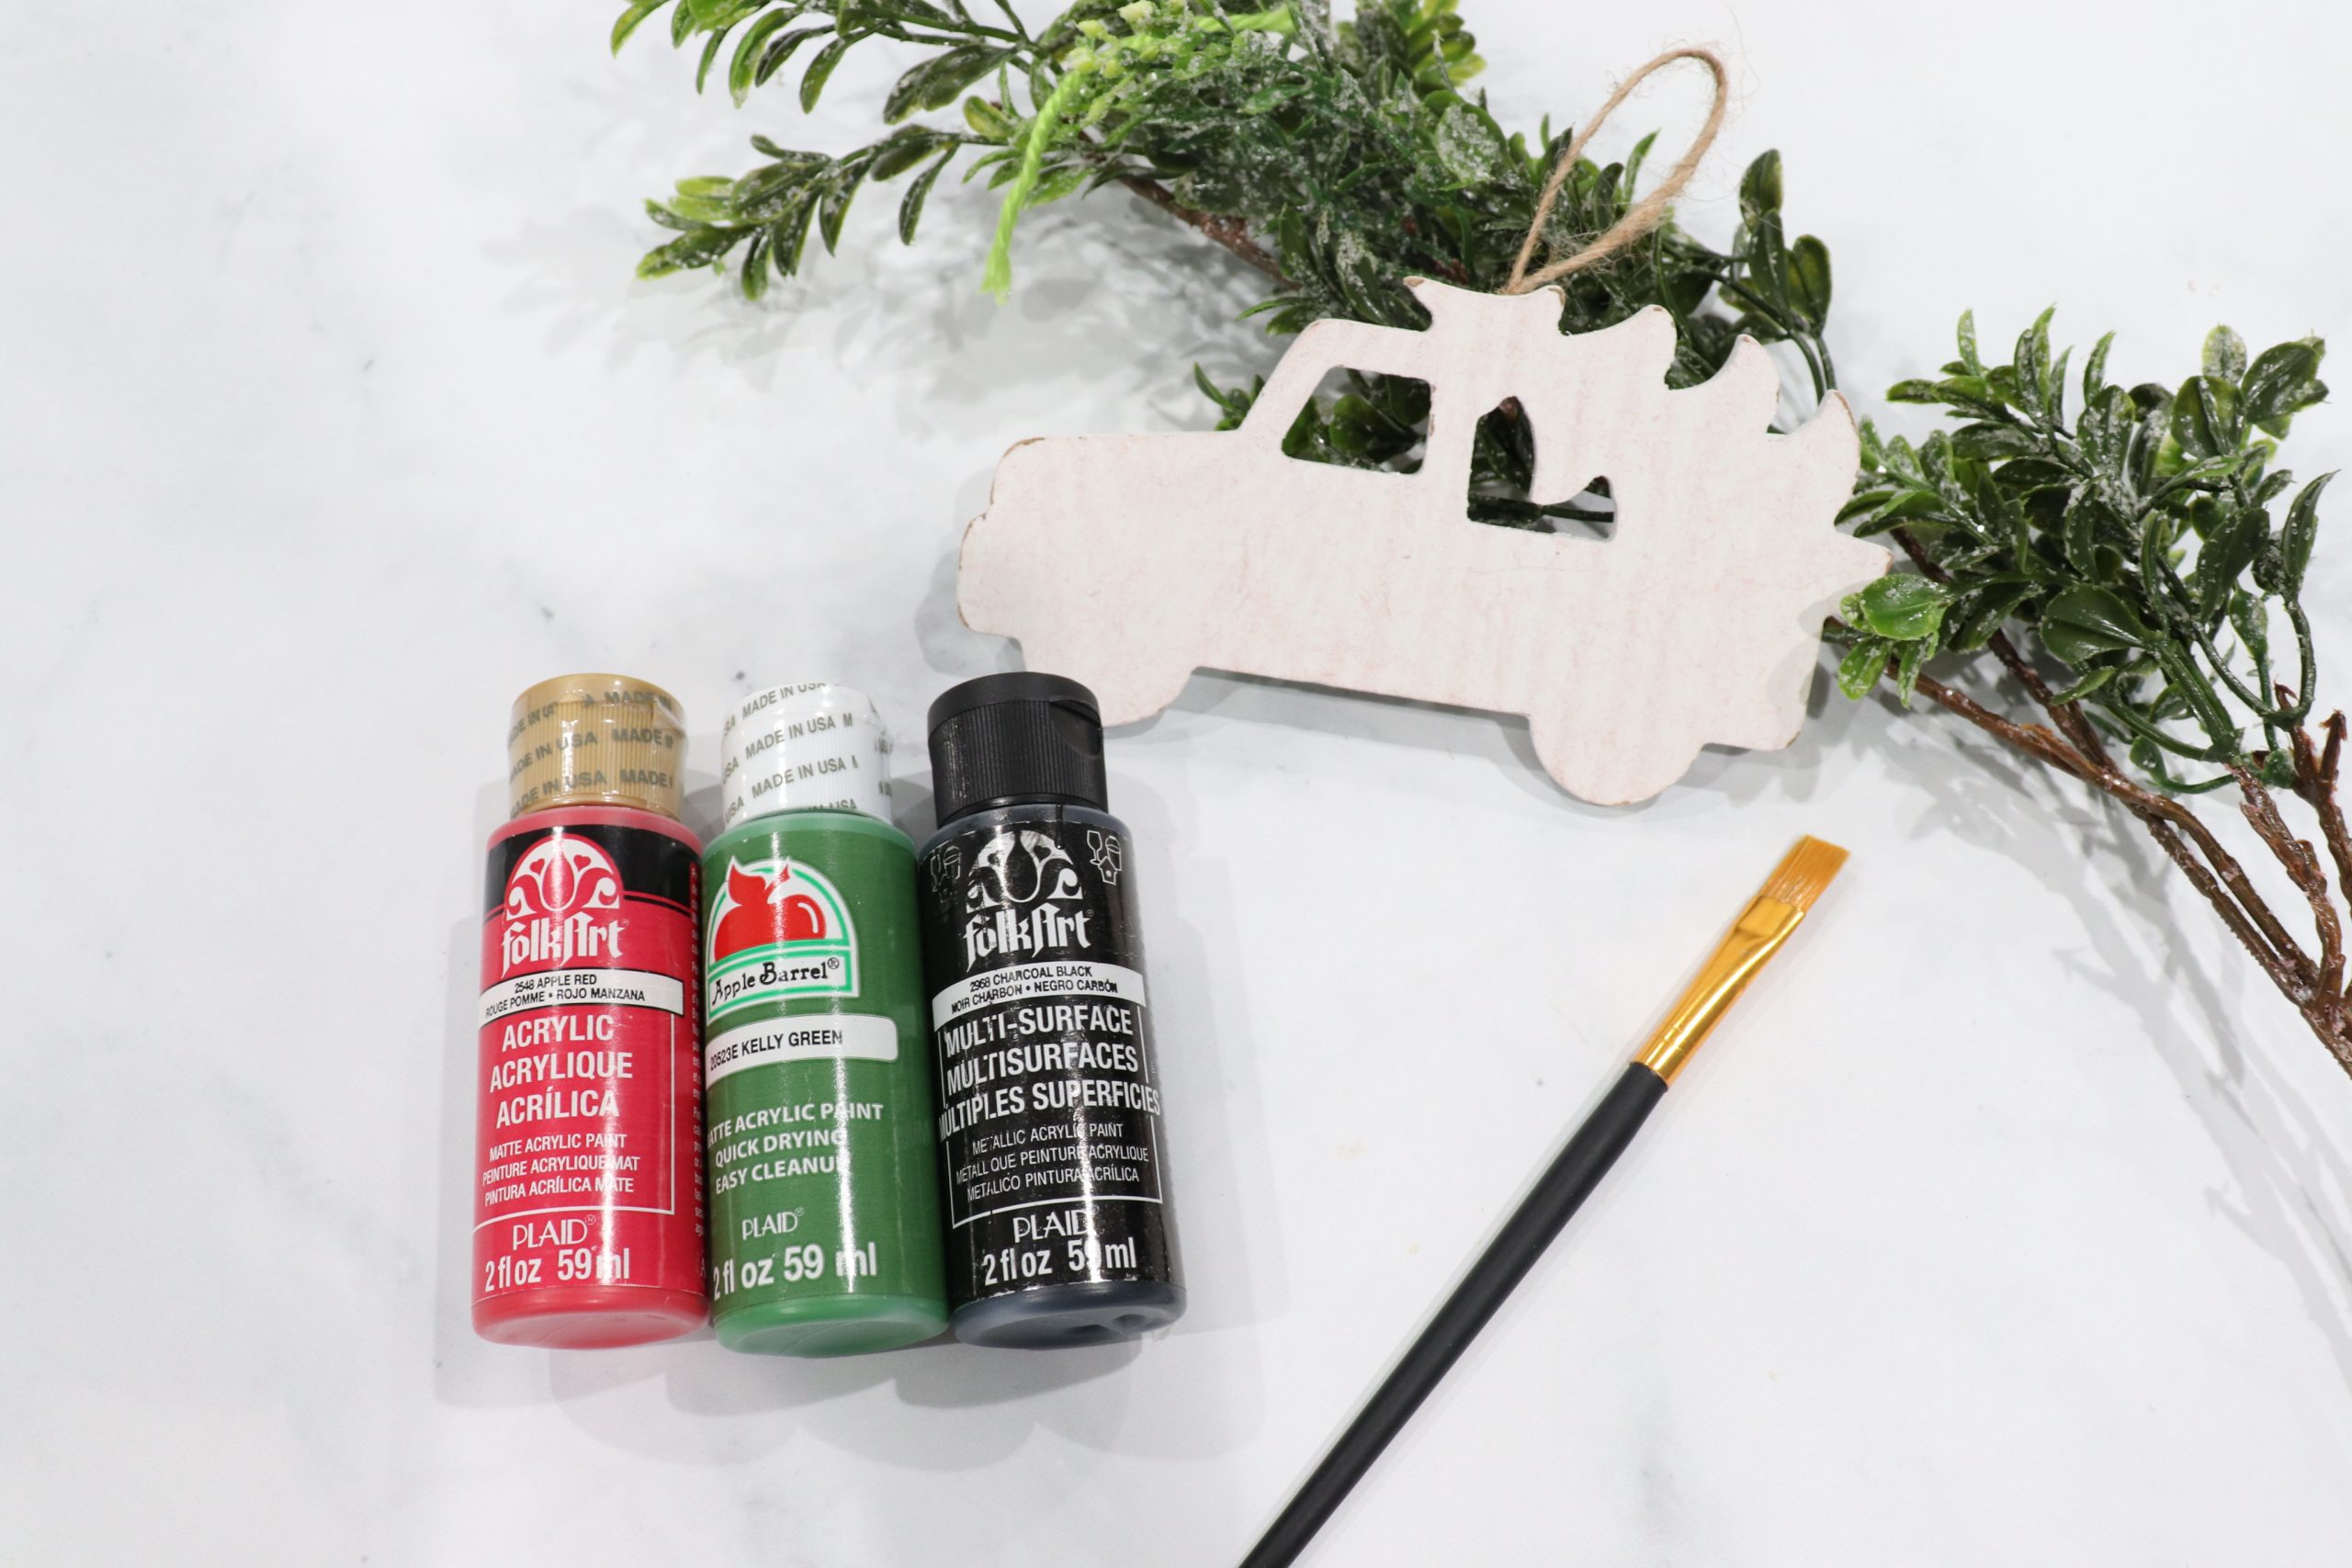
wooden ornament cutout
acrylic or multi-surface paint: red, black, green, brown
paint brushes
glue or Mod Podge
glitter: red, black, green, brown
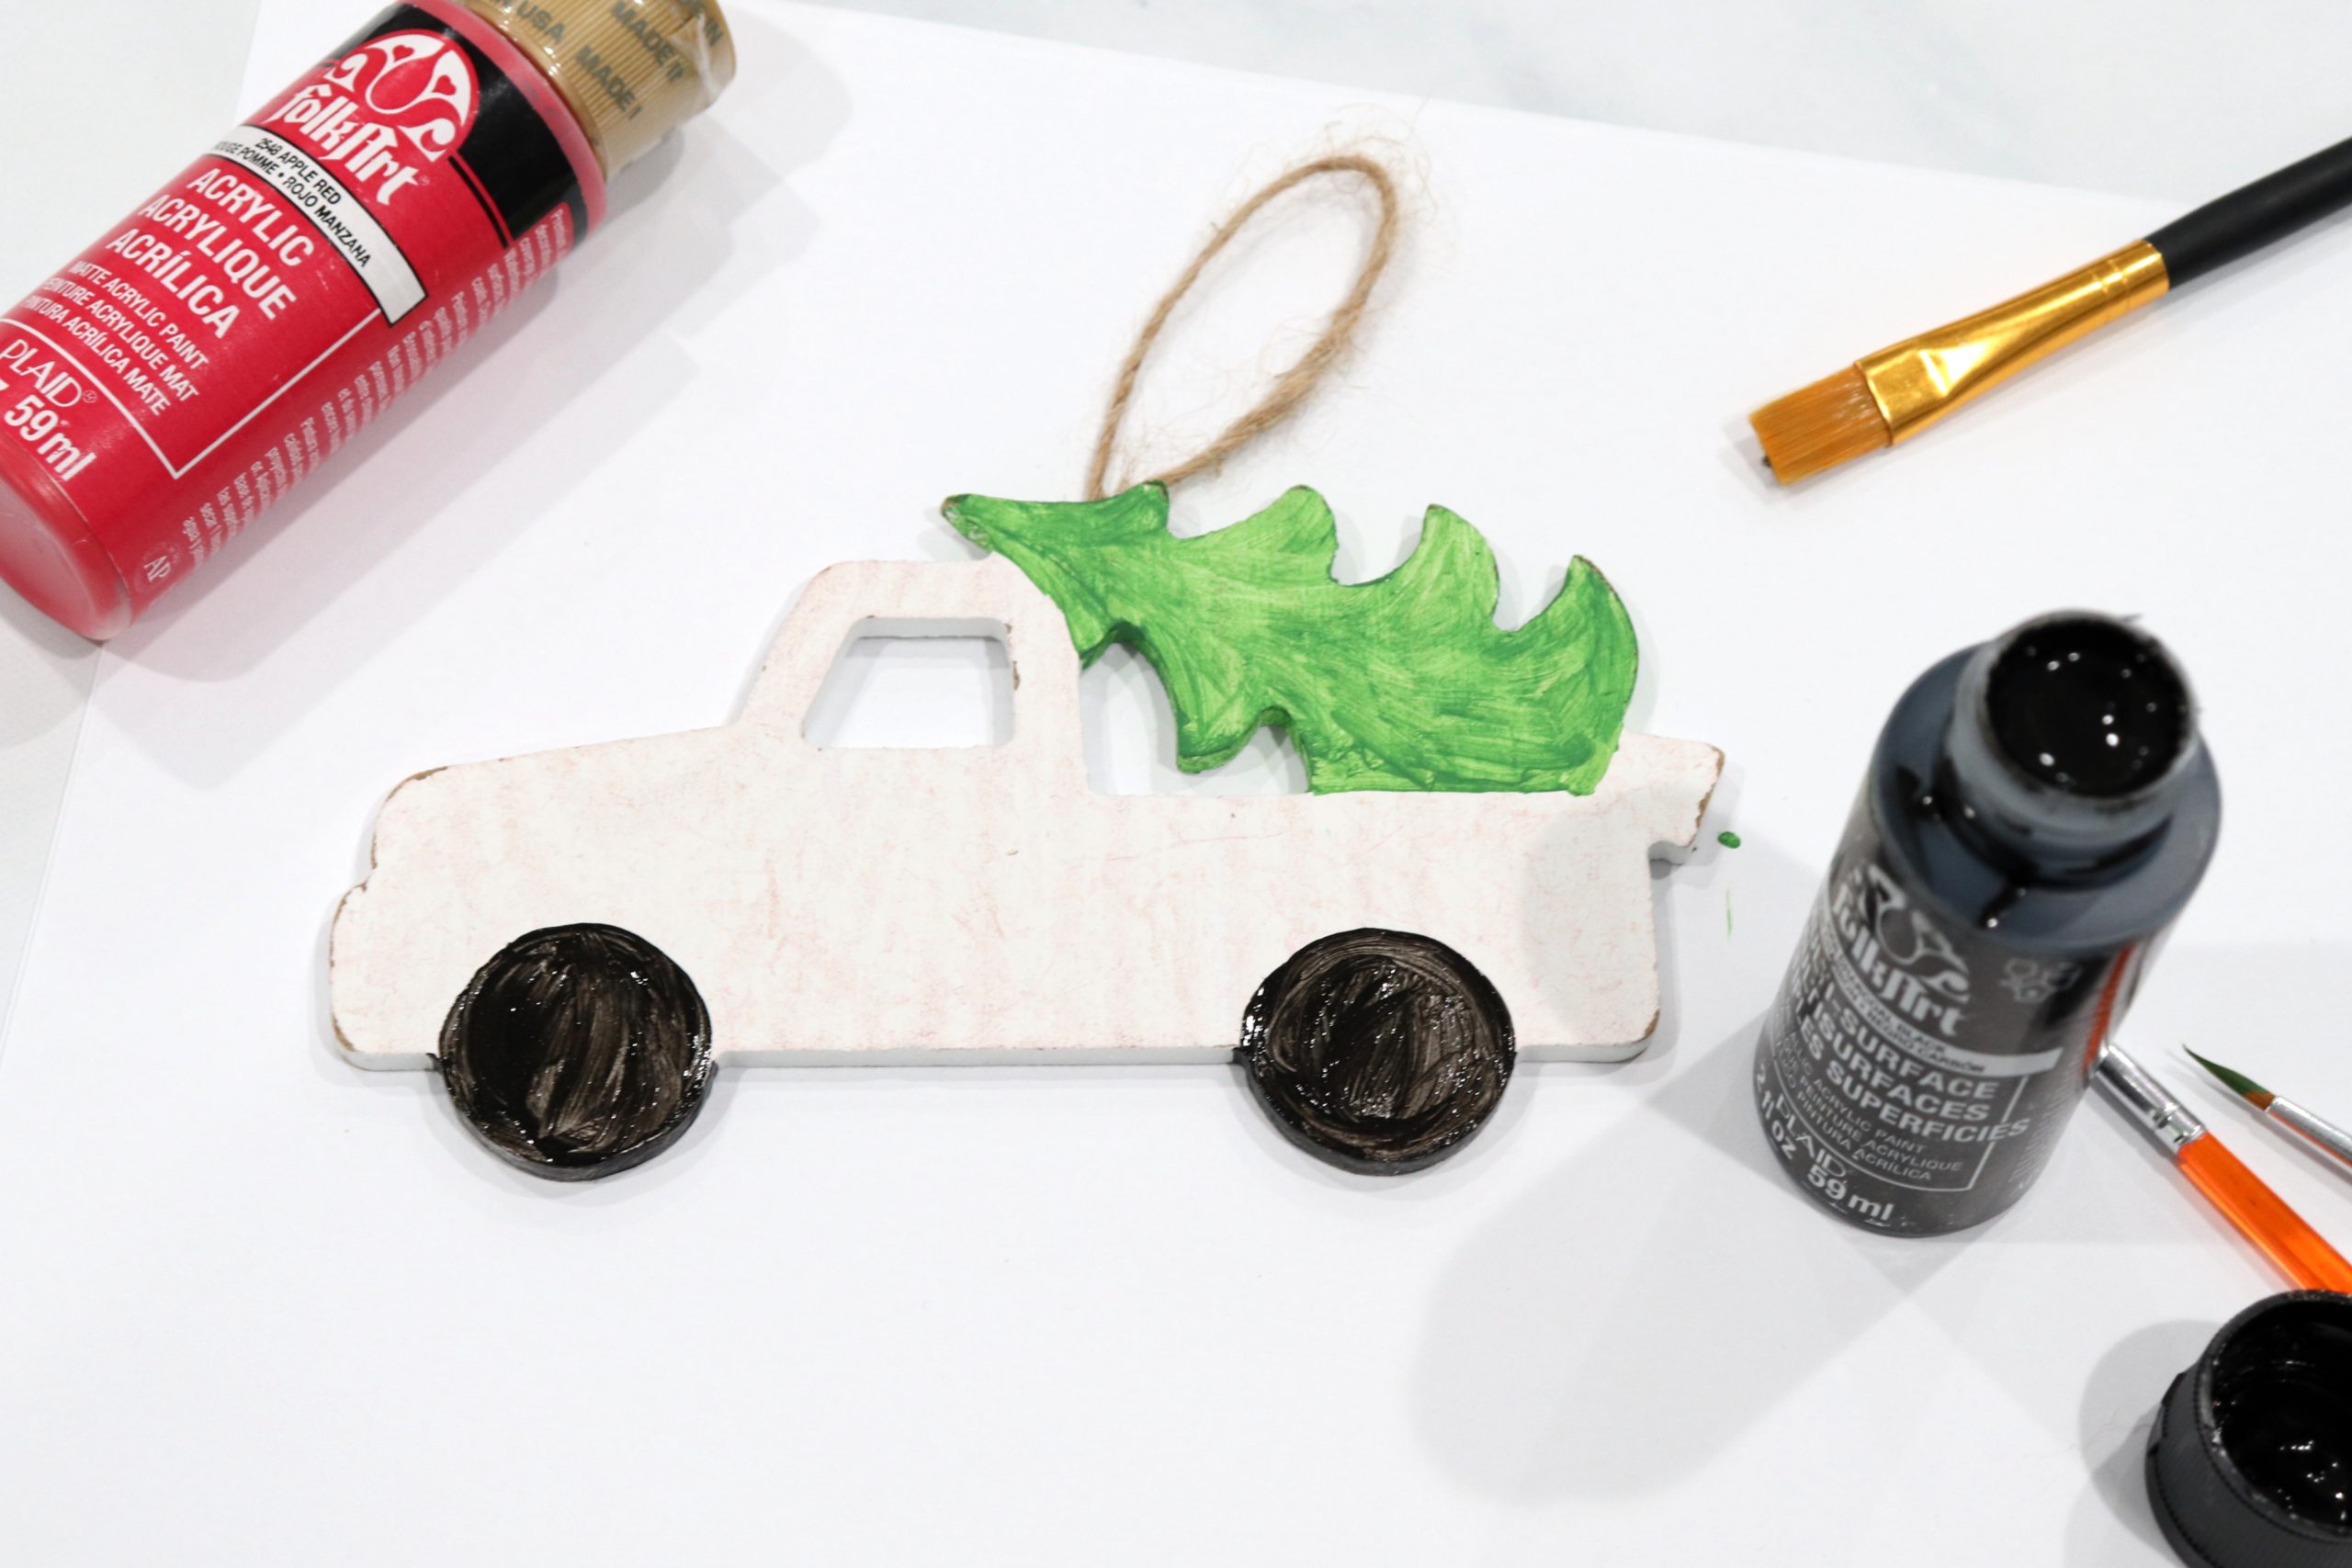
Step 1: Paint the ornament.
Even though we’re going to be covering everything with glitter, we’ll still be able to see through that layer to the wood, so we need to first paint everything the color we want it to appear. I used small brushes to paint the tree green, the trunk brown, the wheels black, and the rest of the truck red. Make sure to let the paint dry before moving to the next step.
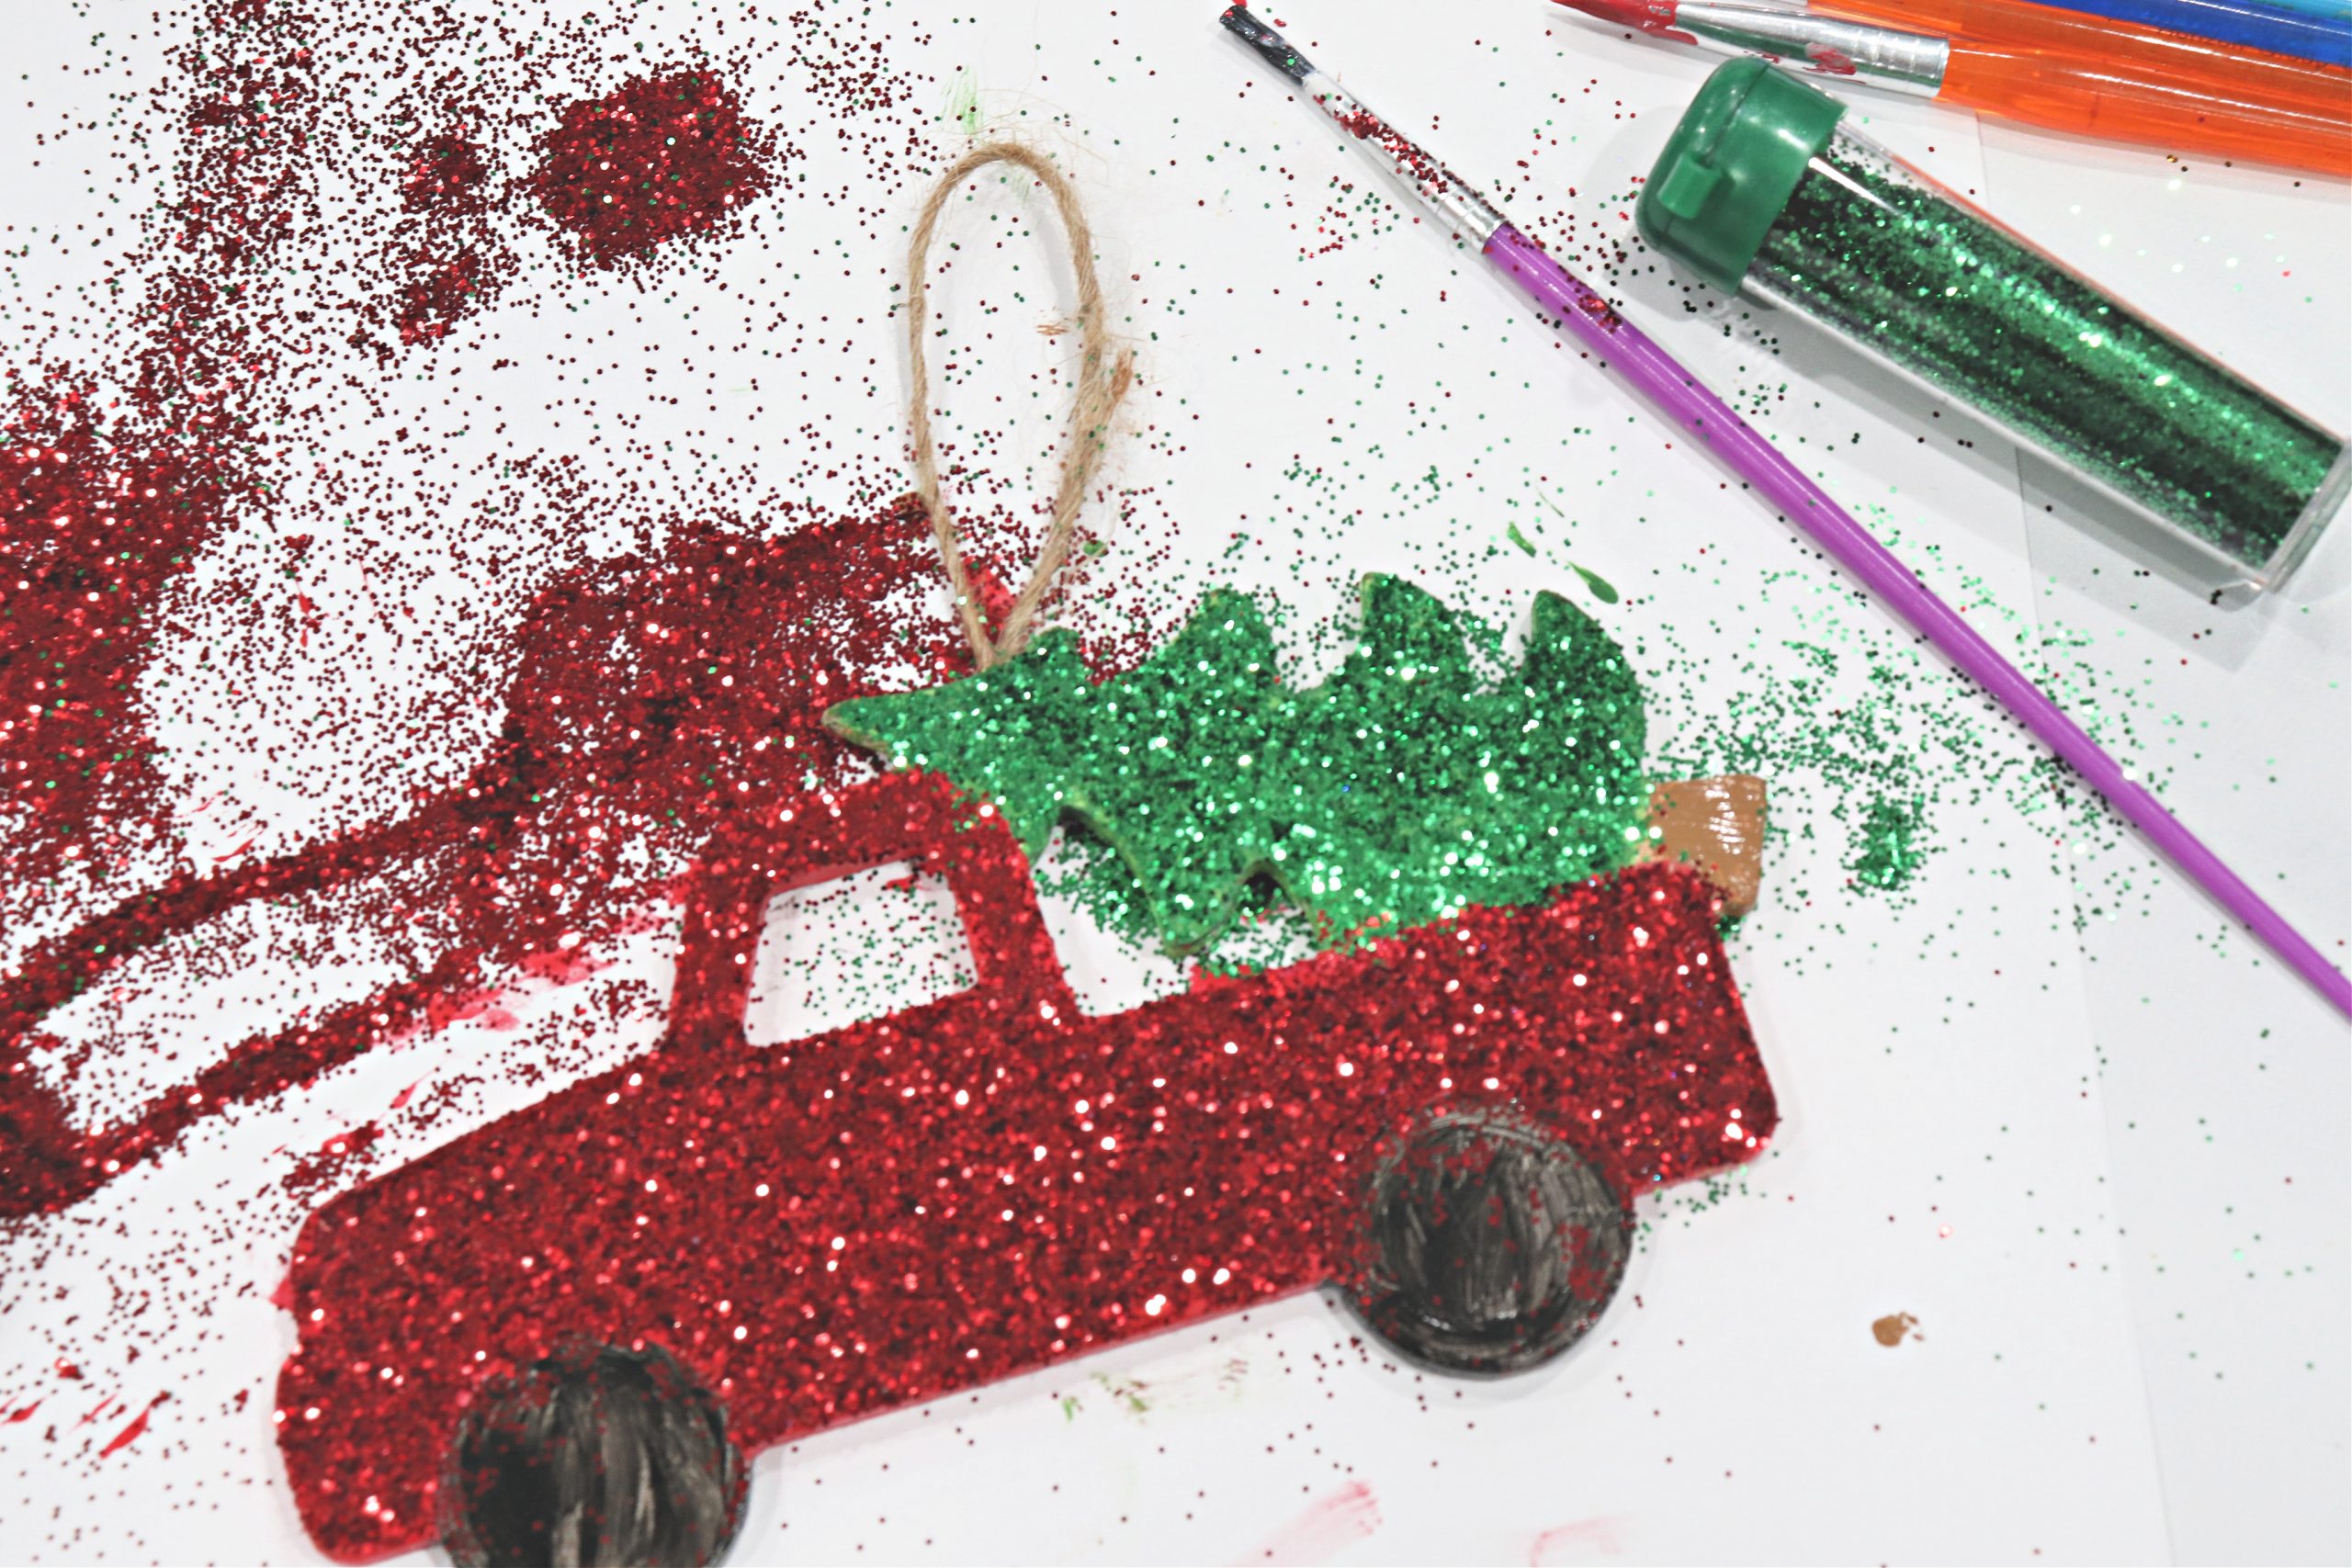
Step 2: Add glitter!
Use a paint brush to apply a thin coat of glue or Mod Podge to small areas of the ornament at a time. Carefully sprinkle glitter onto just those wet areas. Shake off the excess, then continue to a new section of the ornament. As you shake/tap off the extra, try to do so in a direction that won’t send it into your other colors.
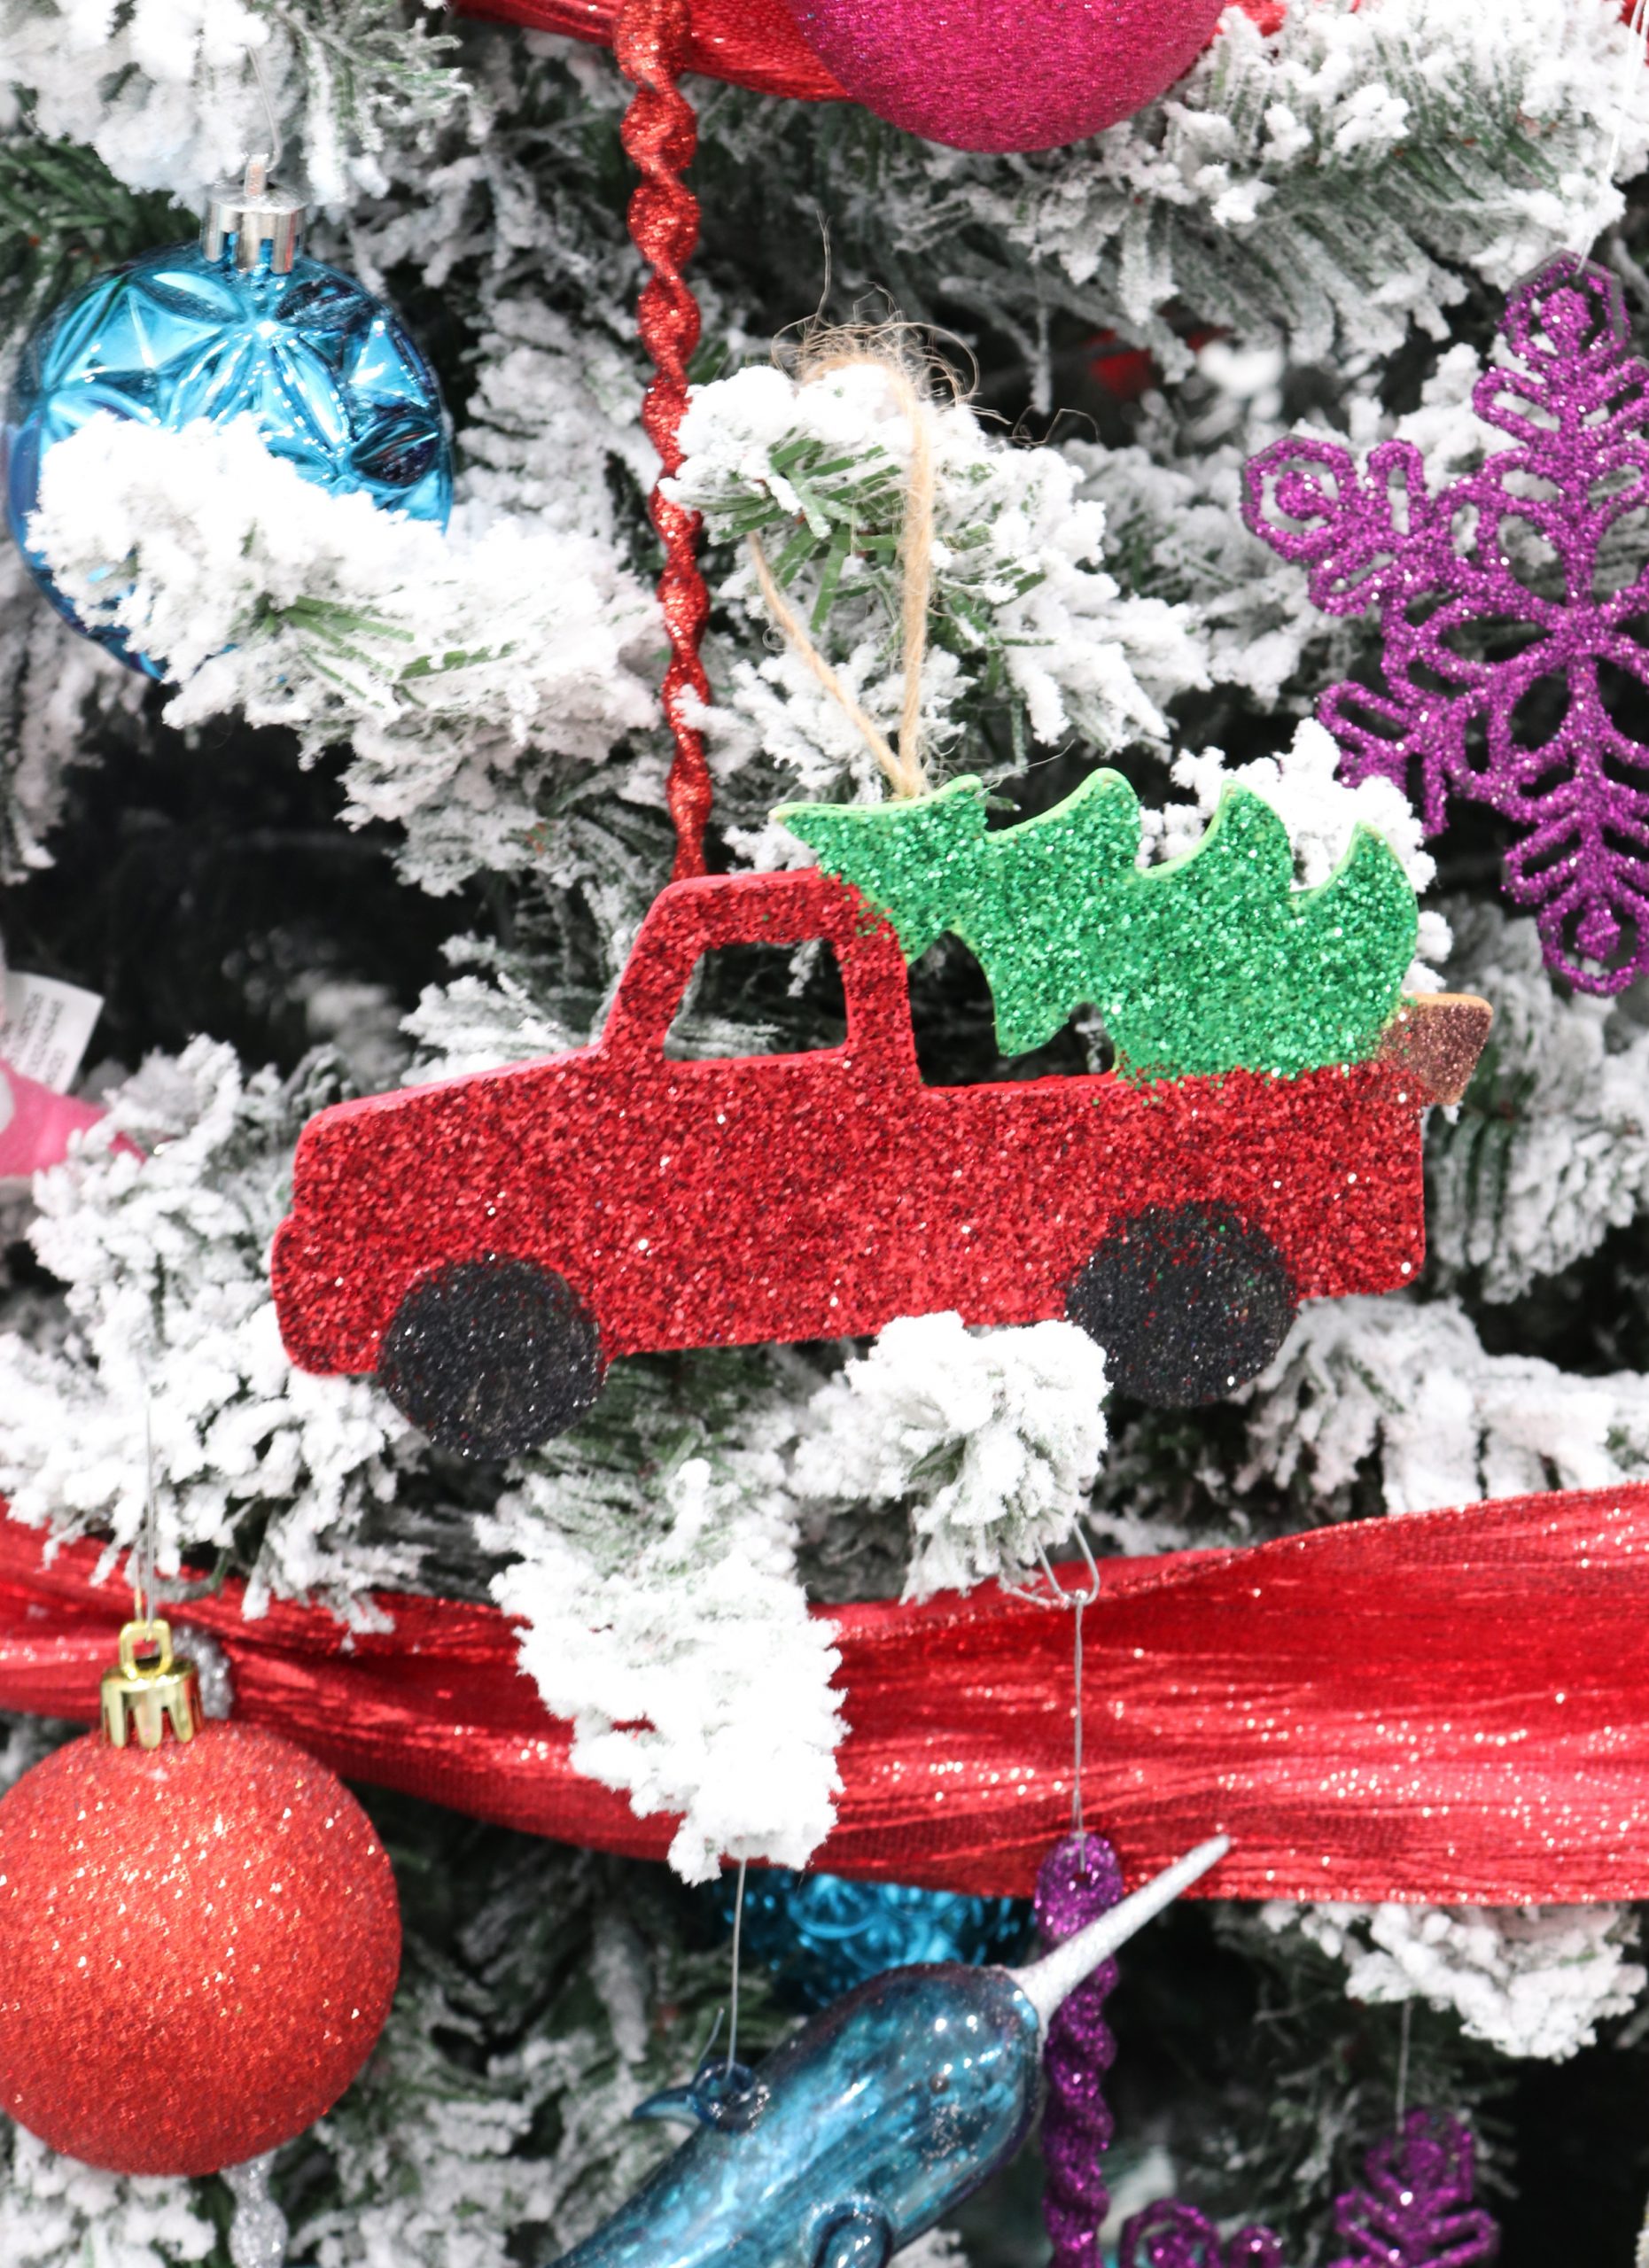
Once your glue is dry, the ornament is finished and ready to display! I am thrilled with how it turned out, and I love how it looks on my craft studio tree. (You can see the whole tree and learn more about how I decorate it in my Theme Tree post.)
If you try this ornament, I’d love to see how it turns out. In fact, I’m excited to see any and all of your holiday DIY and craft projects. Be sure to share your photos in the Amy Latta & Friends Facebook group so we can all be inspired. We even have a thread just for sharing your Christmas tree pics. Hope to see you there!
Don’t forget to check out the other ornaments in the Countdown to Christmas series, as we celebrate all of these movie premieres on Hallmark Channel.
JINGLE BELL BRIDE CHATEAU CHRISTMAS
ONE ROYAL HOLIDAY ON THE 12TH DATE OF CHRISTMAS
NEVER KISS A MAN IN A CHRISTMAS SWEATER
CHRISTMAS WITH THE DARLINGS CHRISTMAS IN VIENNA
A TIMELESS CHRISTMAS A NASHVILLE CHRISTMAS CAROL
THE CHRISTMAS HOUSE HEART OF THE HOLIDAYS
A CHRISTMAS TREE GROWS IN COLORADO
GOOD MORNING, CHRISTMAS CHRISTMAS BY STARLIGHT
FIVE STAR CHRISTMAS CHRISTMAS WALTZ IF I ONLY HAD CHRISTMAS
CHRISTMAS SHE WROTE LOVE, LIGHTS, HANUKKAH
CHRISTMAS COMES TWICE A CHRISTMAS CAROUSEL
CROSS COUNTRY CHRISTMAS


2 Comments