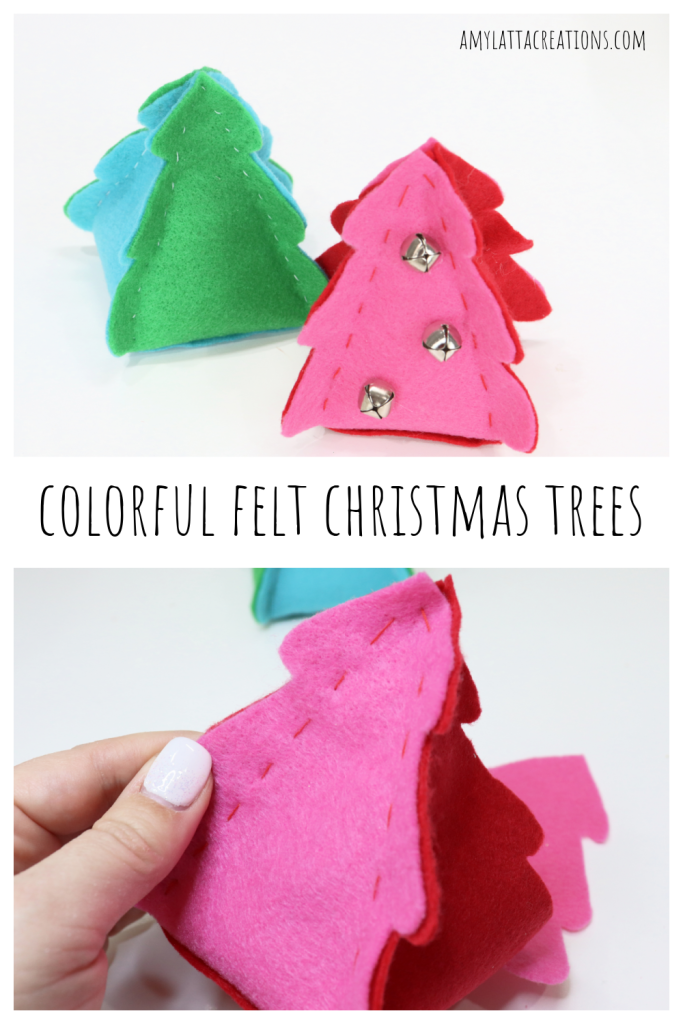
Colorful Felt Christmas Trees
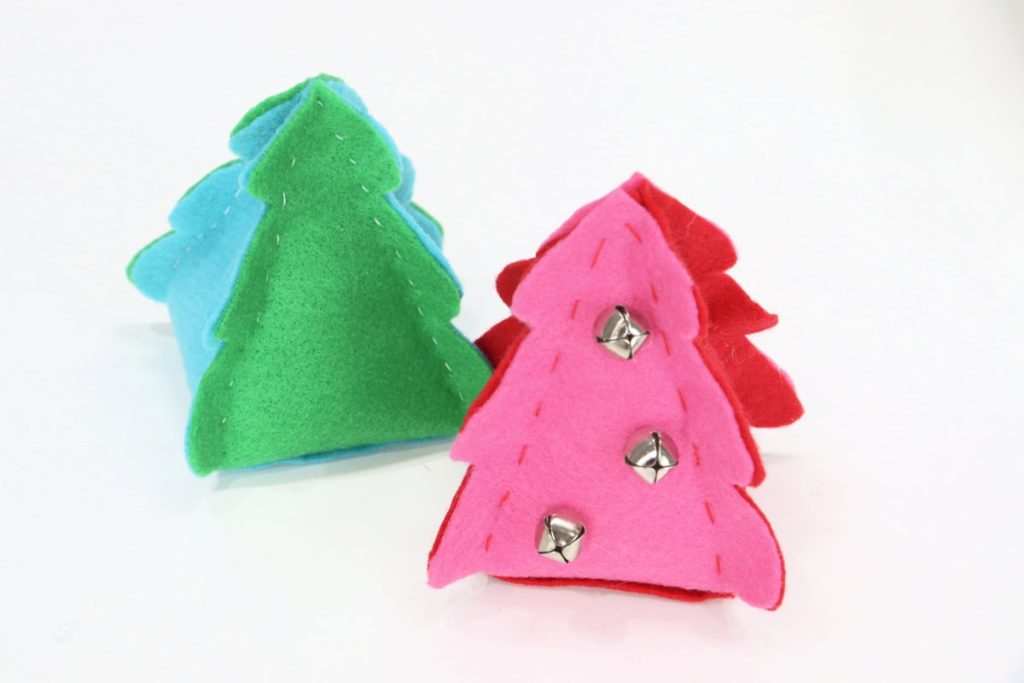
Colorful trees are a huge decorating trend this holiday season, and I’m loving them! Here’s a quick and easy way to make some of your own, using whatever colors you like.
You’ll need:
Craft Felt, assorted colors
Scissors
Glue (I used hot glue)
Needle and thread
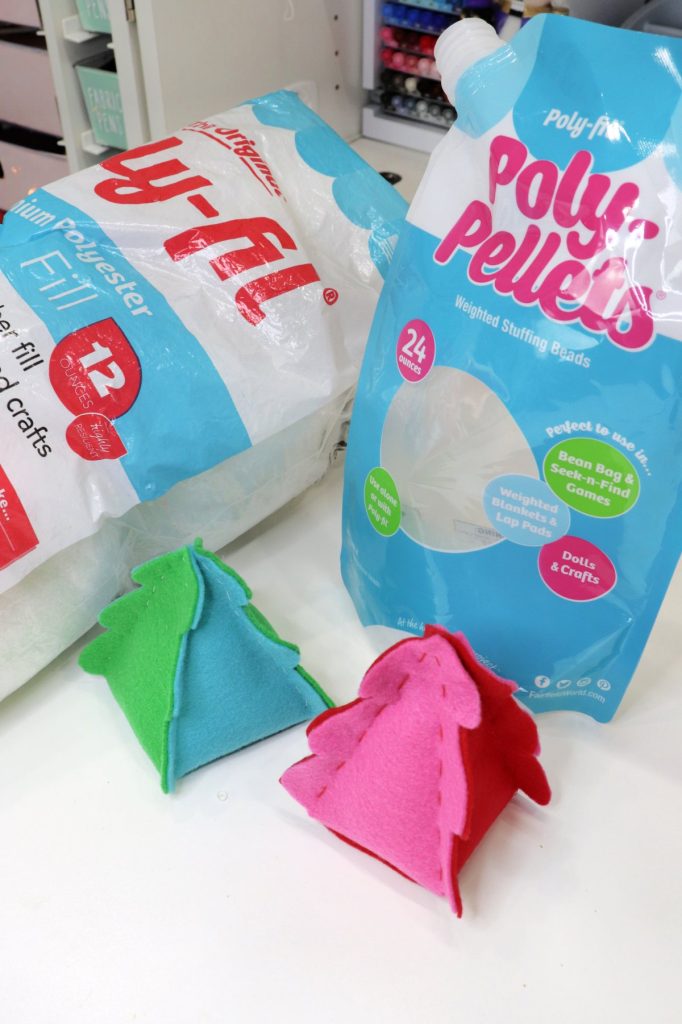
Poly Pellets and/or Poly-Fil
Jingle bells or other decorations (optional)
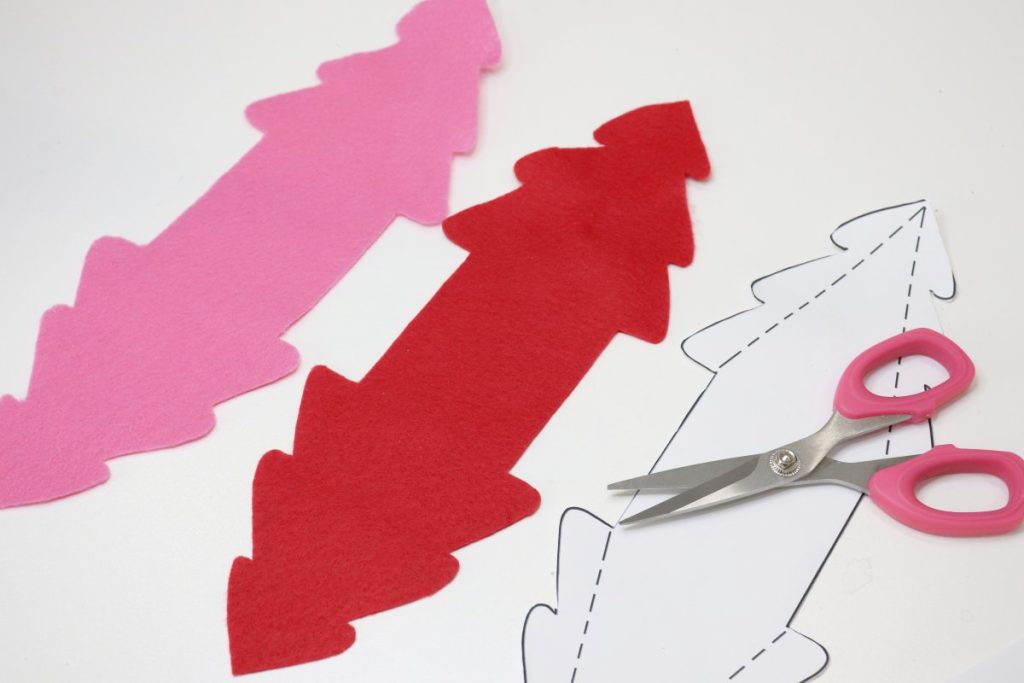
Step 1: Print the tree template.
It’s sized for an 8.5 x 11″ sheet of paper. It’s helpful if you can turn off the margins on your printer.
Step 2: Cut two tree pieces from felt.
I like to use two different colors, which gives me a multi-colored tree. If you prefer, though, you can make your tree all one color by cutting both pieces from the same color felt.
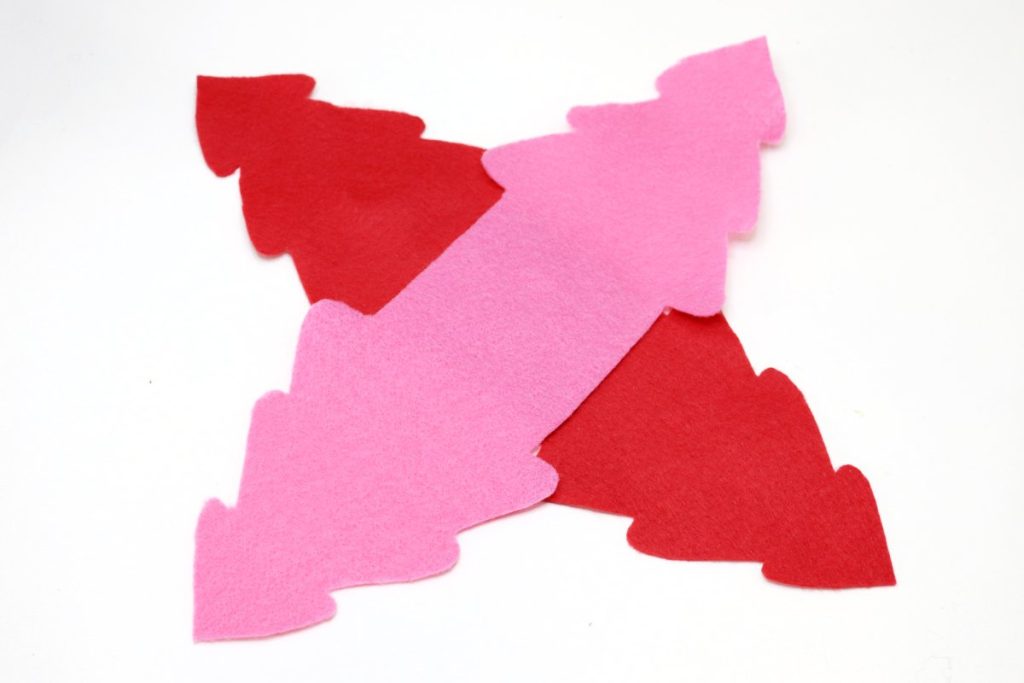
Step 3: Overlap the two pieces in the center and glue together.
I like to use hot glue for this part, because it dries so quickly, but you can also use craft glue.
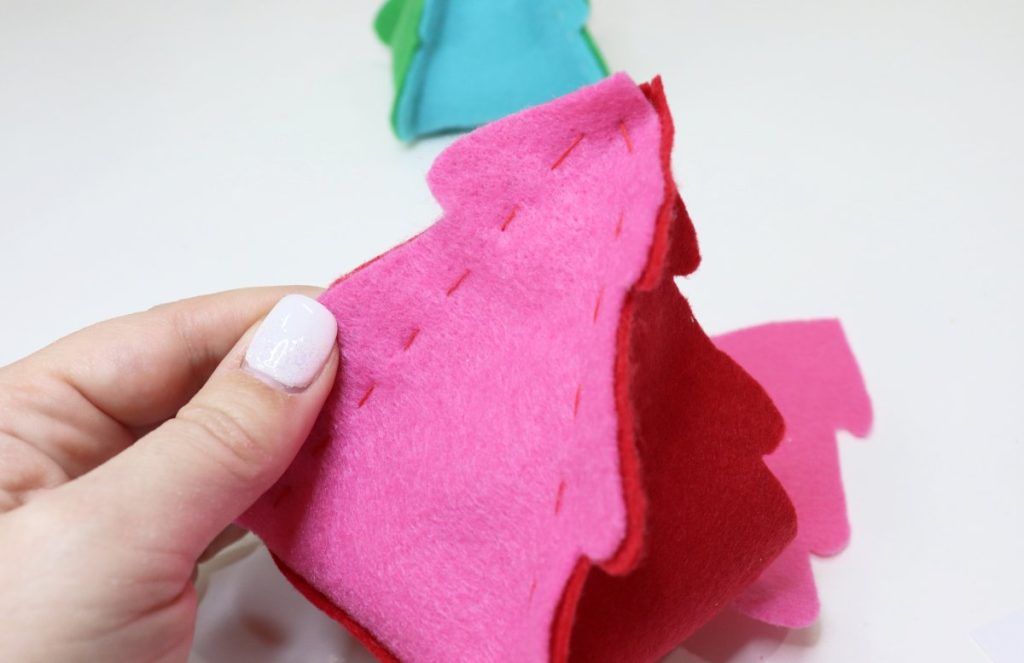
Step 4: Fold one of your tree shapes up, as well as the tree shape right next to it. Match the edges and stitch them together.
I like to stitch a straight line instead of outlining the bumps. Hand stitching will give your tree a homemade feel, or you can machine stitch if you prefer.
Don’t like sewing, or making this with little elves? Use glue to hold the sides together instead!
Step 5: Repeat until all but one edge is sewn.
Step 6: Add Poly-Pellets and Poly-fil to the inside.
I like to start by filling mine about halfway with Poly-Pellets, because they add weight and help my trees stand up. Then, I fill in the rest of the open space with Poly-fil.
Step 7: Finish sewing the final side.
If you like, you can call your tree finished and put it on display. Or, if you want to add some bling, continue on to step 8.
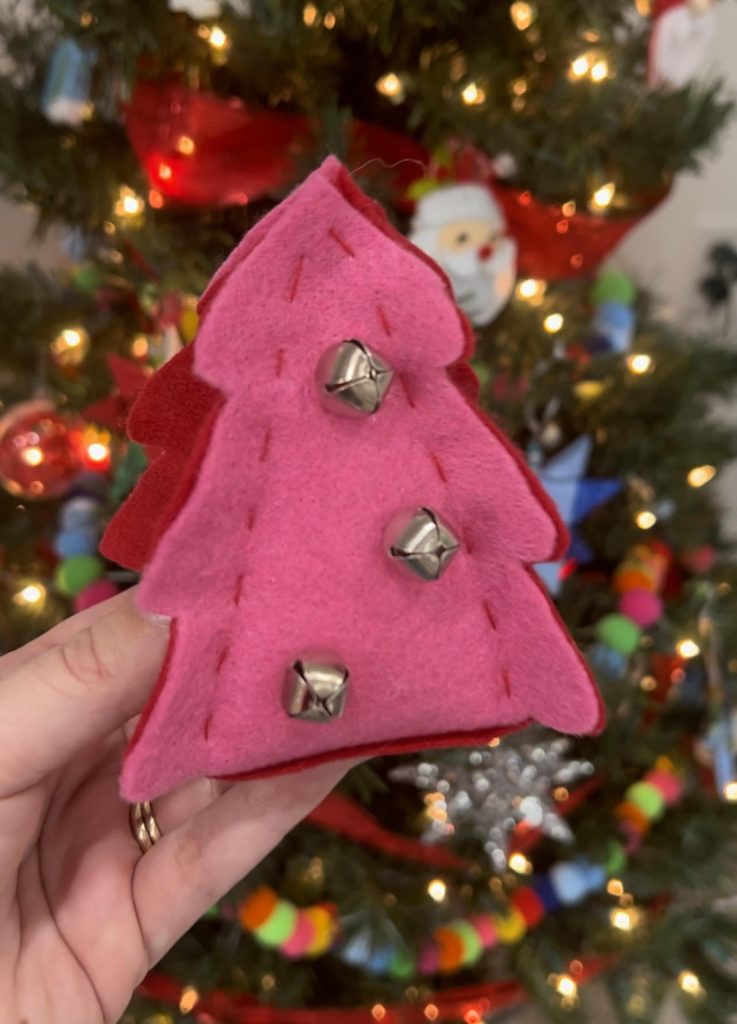
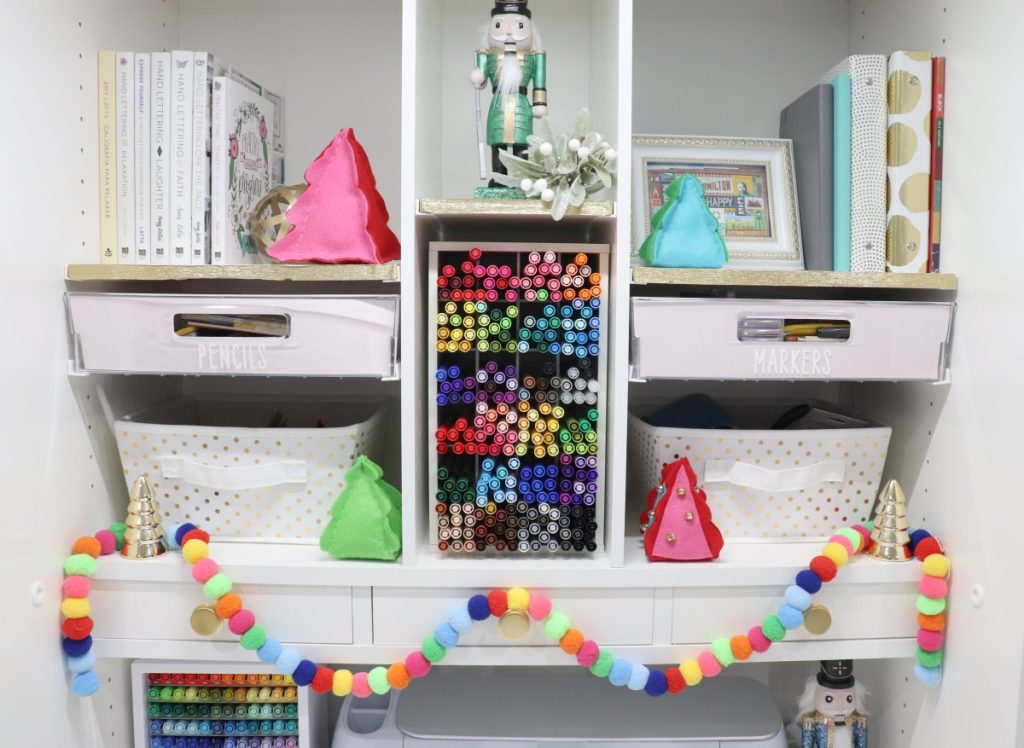
These little trees are so bright and cheerful, and can be made to match whatever existing decor you have. The template is sized to print on an 8.5 x 11″ sheet of paper, but if you want to make a larger tree, you can resize the template to any size you like. If it’s too big for your page, just print half of it, then fold your felt in half and cut both halves at the same time, like I did to make my larger tree.
This is a fun and easy project for crafters of all ages! If you try it, I’d love to see your trees; be sure you’re part of the Amy Latta & Friends Facebook Group so you can share your project photos and we can all inspire one another. See you there! Also, make sure to check out these other holiday project ideas. Happy creating!


These little trees are adorable!! My new friend Amber G just told me about you.
Thank you so much!