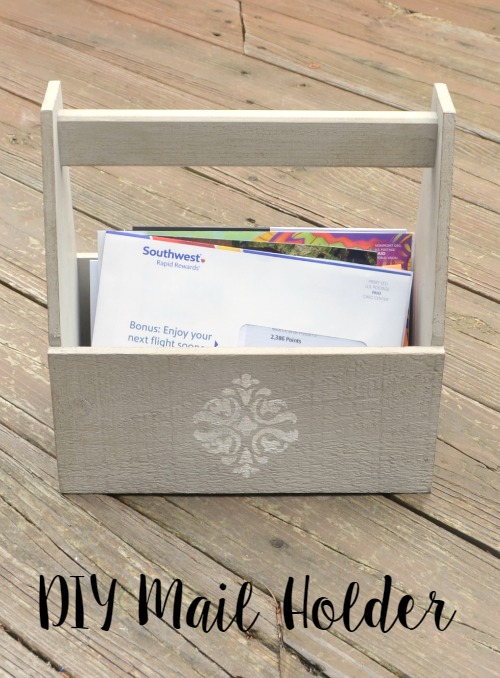
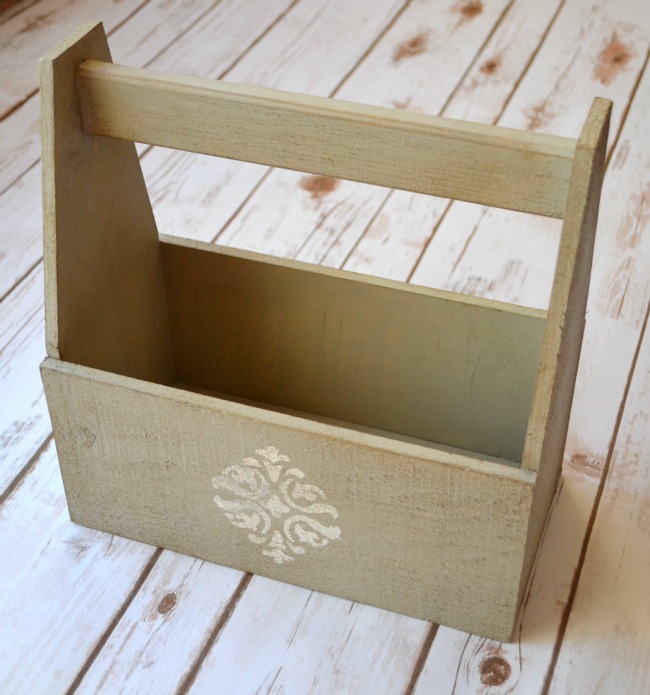
Decorative Mail Holder
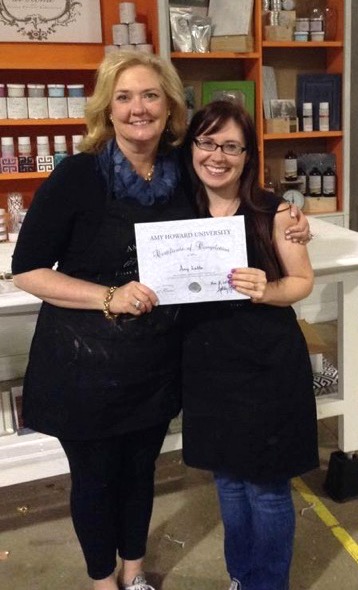
Friends, remember when I got to take a special trip to Memphis back in November to meet Amy Howard and her team? I had the opportunity to spend a day in her amazing {and huge!} studio and receive training for how to use her line of products.
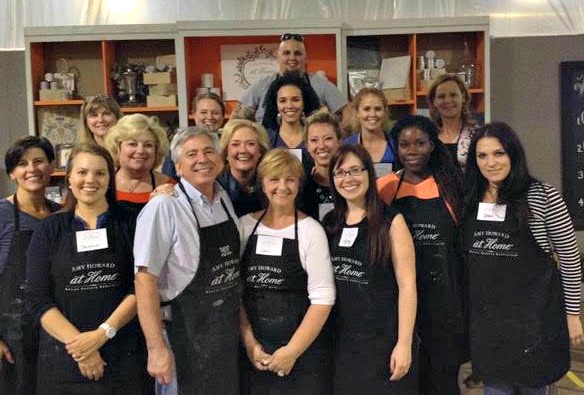
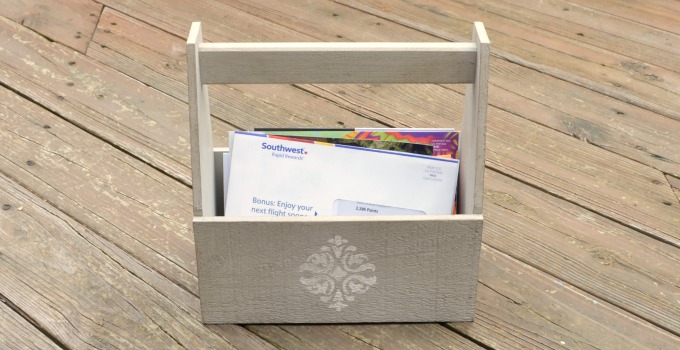
Amy Howard’s specialty is her finishes, and I was anxious to try them out at home on a project of my own. One of the things I have been wanting for our home is something to hold the mail and other papers that tend to accumulate on the end of the kitchen counter. I decided to put some of the Amy Howard at Home products to the test making my own Decorative Mail Holder. Here’s how I did it and you can too.
You’ll Need:
{my Amy Howard at Home materials were provided, but all opinions are my own.}
Wooden Box {Mine is the Rustic Tote from Walnut Hollow.}
Sandpaper or Power Sander
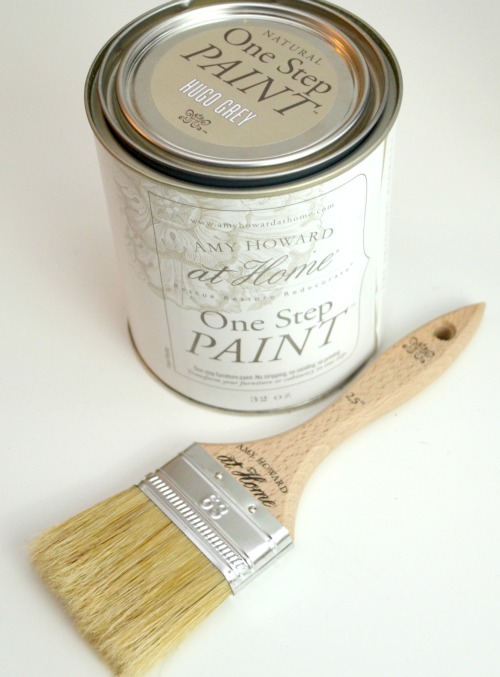
Amy Howard At Home® One Step Paint™: Hugo Grey, Ballet White
Amy Howard at Home® Light Antique Wax™
Amy Howard at Home® Dark Antique Wax™
Amy Howard at Home® Dust of Ages™
Small Decorative Stencil
Paintbrushes
Soft Lint-free Cloth
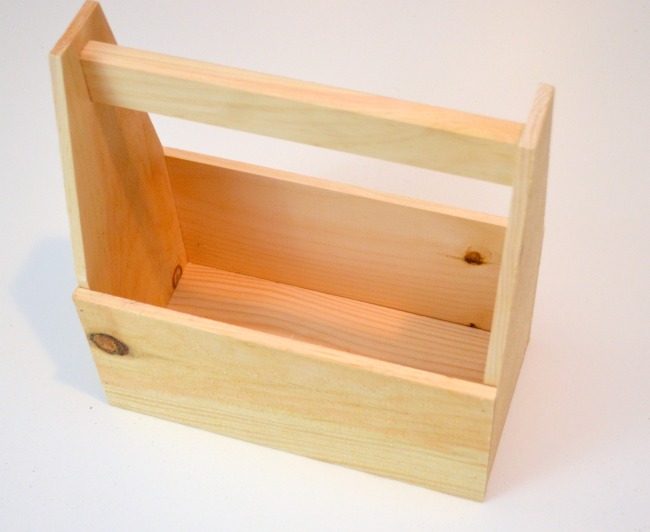
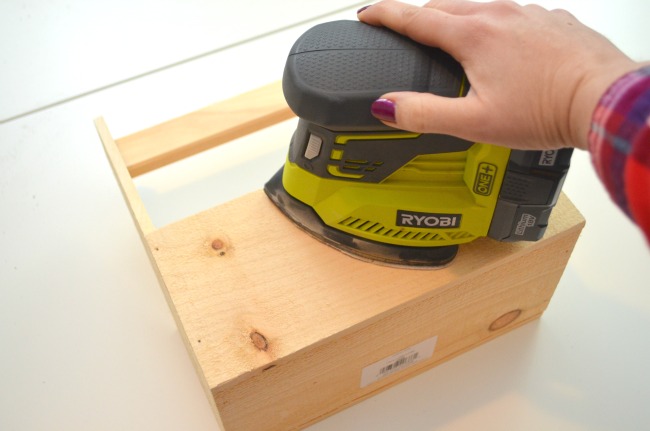
Step 1: Prep your surface by sanding it, if necessary.
The One Step Paint does not require any prep work like sanding or priming, but my surface happened to be pretty rough. I used my RYOBI 18V+ Corner Cat Sander to smooth it out some. I didn’t make it completely smooth, though, because I wanted there to be little imperfections that the wax could settle into later.
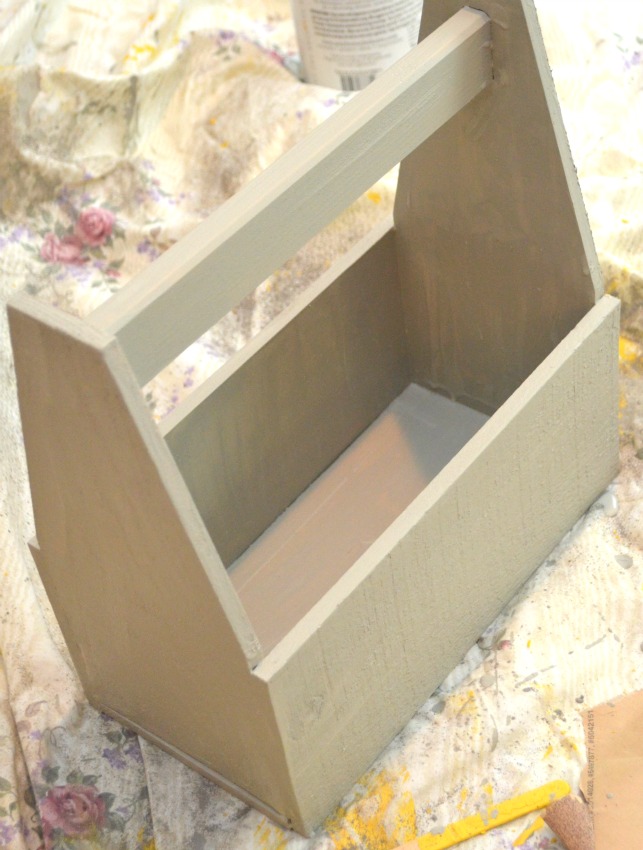
Step 2: Apply an even coat of Amy Howard At Home® One Step Paint™ .
I have a lot of grey and teal in my house, so I chose Hugo Grey for my project. There are 52 colors to choose from, plus you can always mix them to create your own ideal shades. This one step furniture paint {now available at Ace Hardware stores} is s a water-based paint that adheres to most any surface. You can apply it directly to old wood finishes, concrete, iron, stone, or formica and it dries to a flat chalky finish.
Since my wood was light colored, I got good coverage with just one coat of the paint. Then, I waited for it to dry completely before moving to the next step.
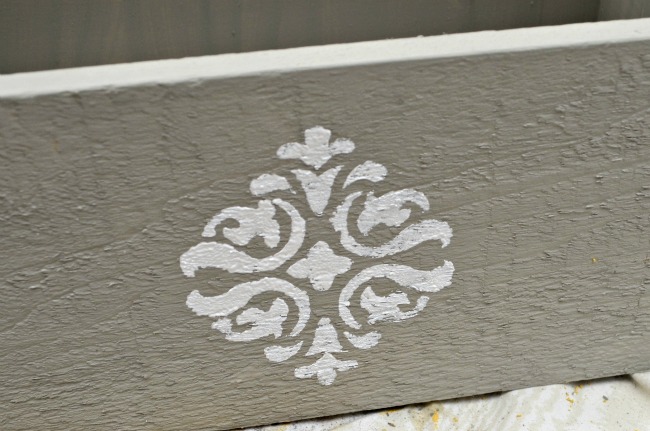
Step 3: Add a stenciled design if you like.
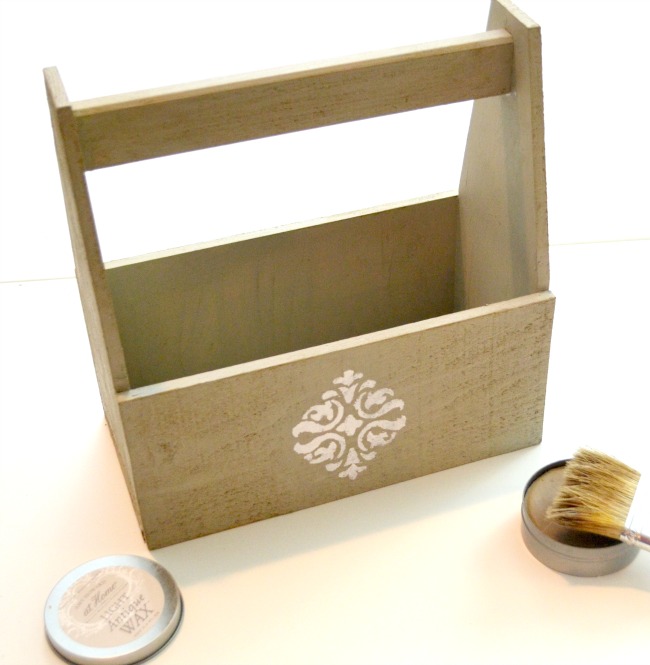
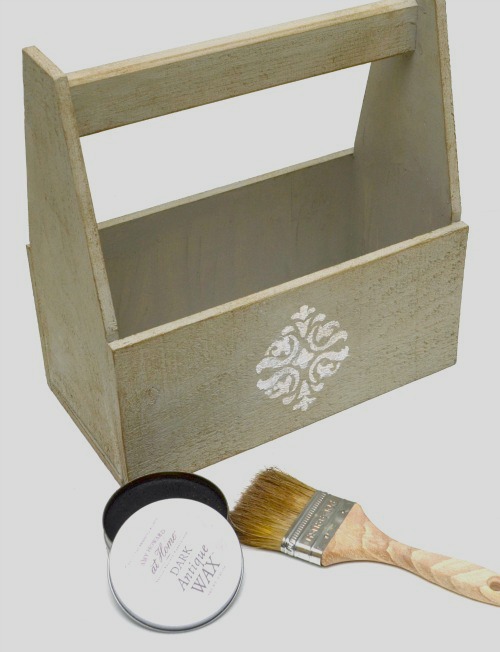
This part is totally optional, but I had the perfect little stencil for the front of my box. I stenciled it white, then let the design dry completely. I could have stopped here, but I wanted to seal my project as well as make it look aged.
Step 4: Apply Light Antique Wax™.
It’s designed to work as both a sealer and a decorative finish; it will give a slight dark tint to your painted piece to help you achieve a more realistic, antique look.
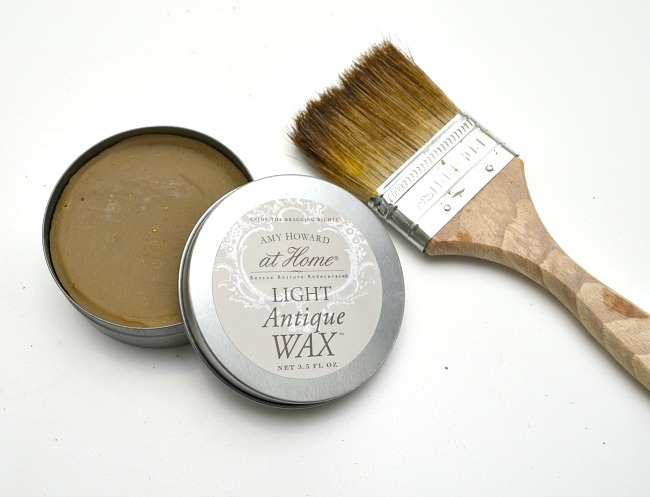
To apply it, load your brush with the wax, then offload the excess onto a piece of spare cardboard. Then, gently apply it all over the surface of your product using strokes in an “X” motion.
Step 5: Apply Dark Antique Wax™ sparingly.
This wax is designed to give a more heavily distressed look is desired and will darken the piece considerably more than the light wax does.
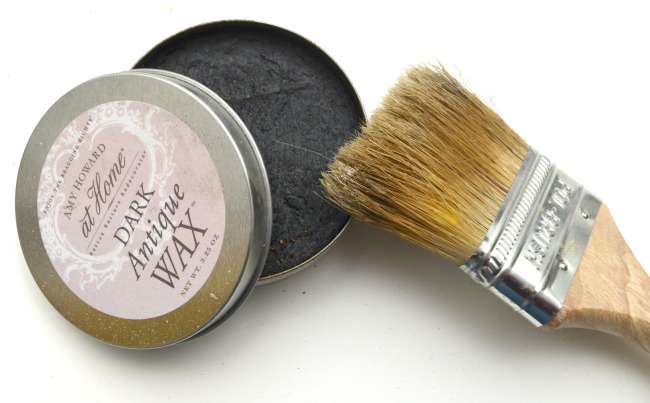
I didn’t want to go overboard, just to highlight certain areas, so I only applied the dark wax to edge areas rather than all over. Once again, I got a good bit on my brush, offloaded the extra by making a few brush strokes on a piece of cardboard, then applied it to the specific places I wanted to darken.
Step 6: Apply Dust of Ages™ Powder.
It may seem counter-intuitive to apply something called “dust” to your furniture pieces, but his powder actually aids in polishing wax topcoats to a subtle sheen, and settles into crevices as if collected over hundreds of years to give a naturally aged look.
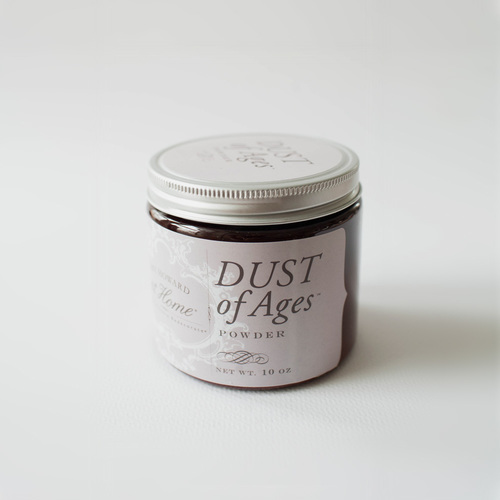
I gently applied it to my project, then buffed with a soft cloth. I love the way the finished product turned out! I think my favorite thing about the Amy Howard finishes are the way they make a project look naturally aged and distressed, but not like they’ve been dragged down a gravel road behind a pickup truck…know what I’m saying? There’s not even any sand paper involved, just the waxes and dust, but instead of looking new, it looks like a piece that’s been cared for over the years.
I love having a designated place for our mail and papers now, and I’m thrilled that the counter is staying clean. What do you think? Could you use something like this in your home?
Thanks to Amy Howard for the amazing trip and for teaching me a great new way to “age” my projects!
I could certainly use one of these pretty mail holders in my house Amy! I love how the Amy Howard products provide such a beautiful aged appearance without sanding. Nicely done!!! Pinning!
Loving your mail tote! We need one of these to collect ours and keep it neat too! I’m in love with the Amy Howard paint line and all the fabulous color choices too. That class was such fun, looking forward to doing another one!