Hand Lettering: Shop Window
Friends, I am so excited about sharing this latest project with you! Recently, I contacted a local boutique called Cultivated about the possibility of selling a few designs from my t-shirt line in their shop. The great news is that they said yes! The even more fun news is that I was asked to create a new design for the front window. I’d never worked on a window before, so it was definitely a learning experience. Today, I want to share tips and best practices for creating a painted shop window…these are things you can use whether you plan to decorate the windows of your business, businesses or schools in your community, or even just your own home windows for the holidays!
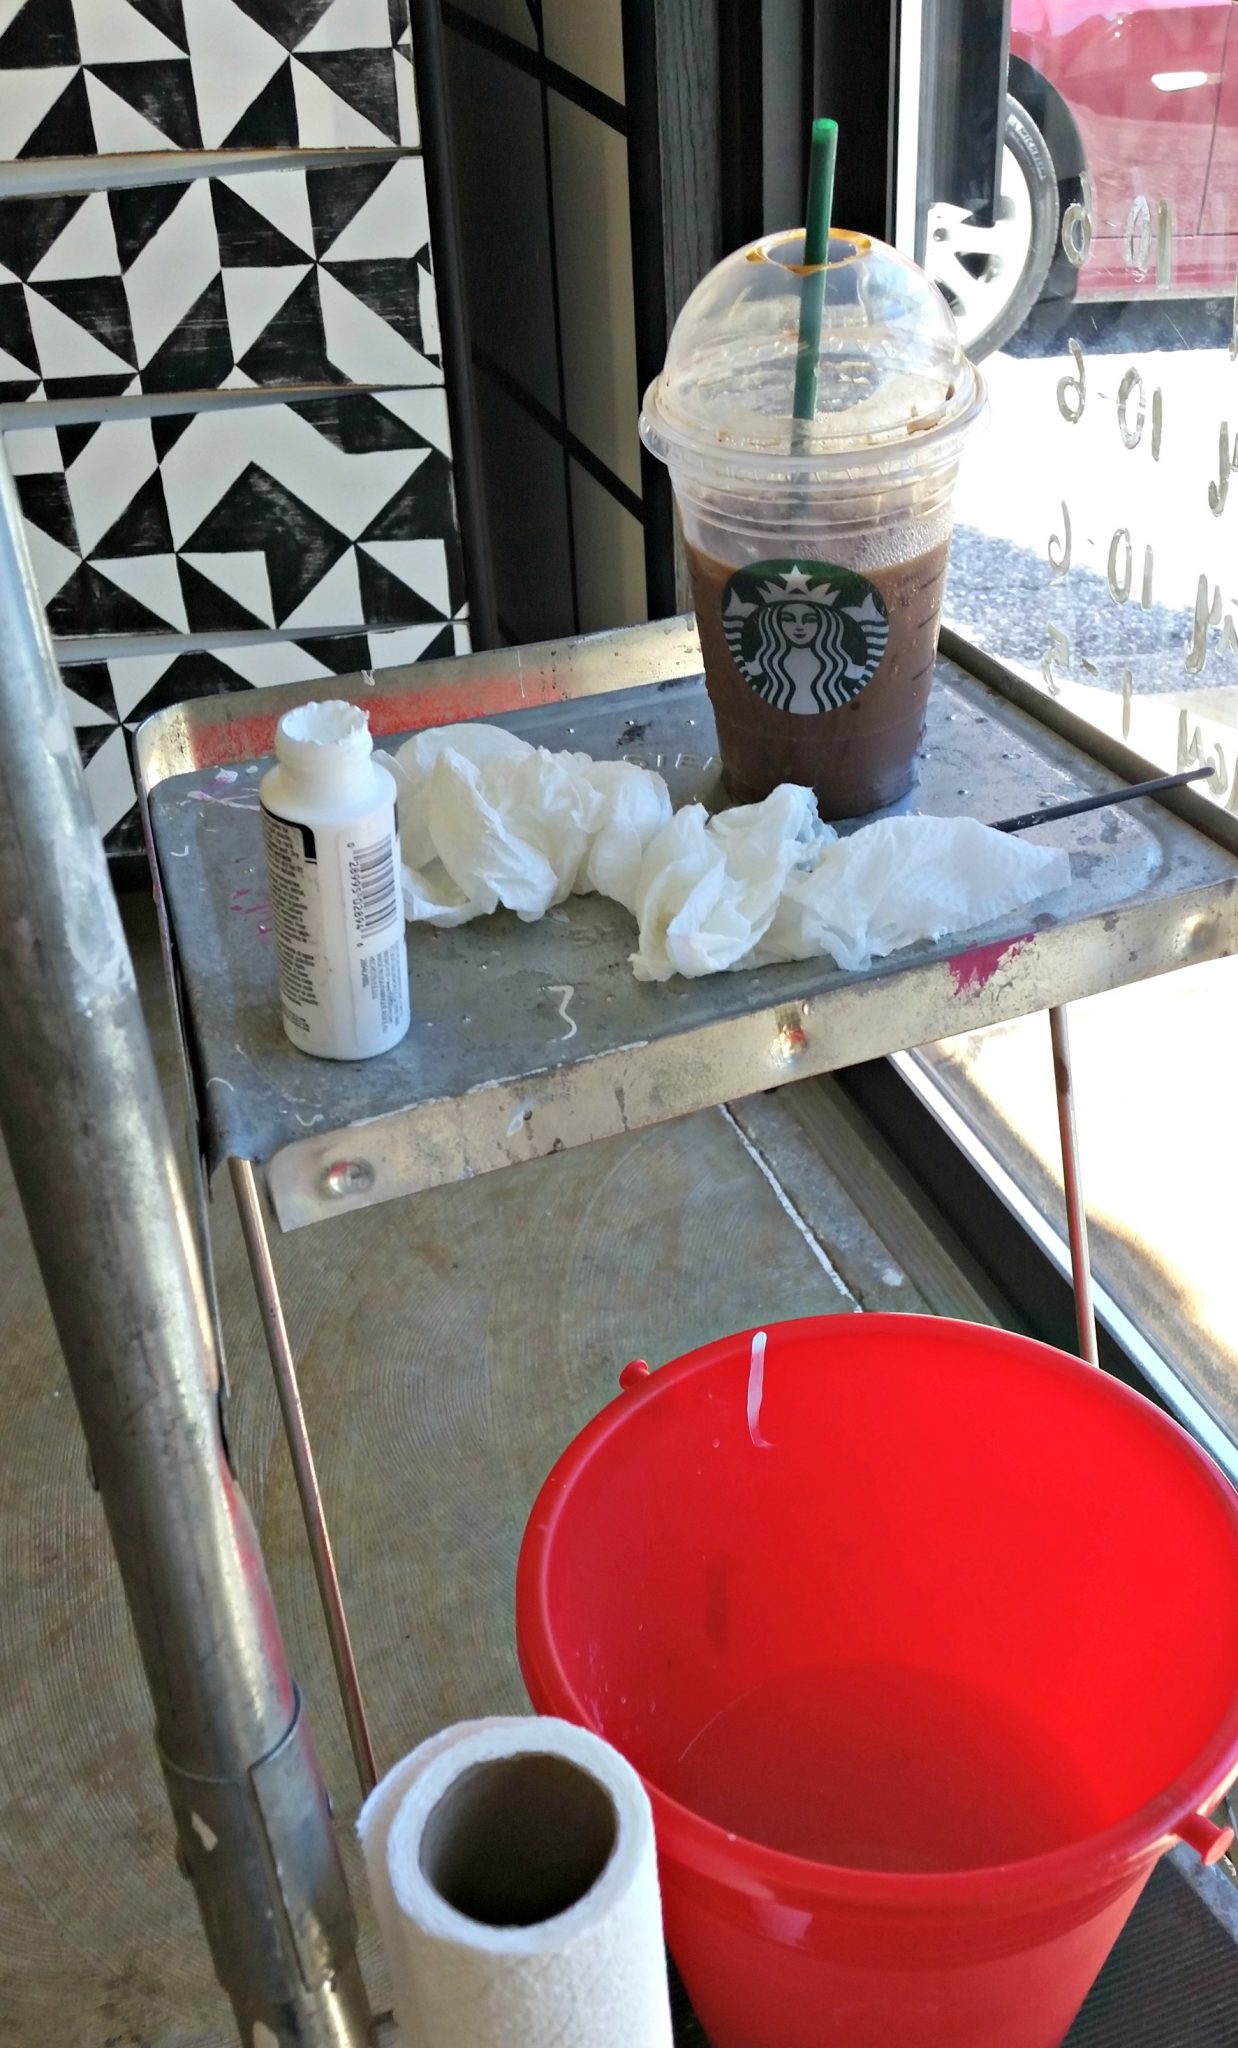
Supplies:
white paint pen
white FolkArt multi-surface paint
paintbrushes, various sizes
stencils {optional}
painters’ tape
water, paper towels, glass cleaner
measuring tape
coffee {optional, but strongly suggested}
Step 1: Plan and sketch your design.
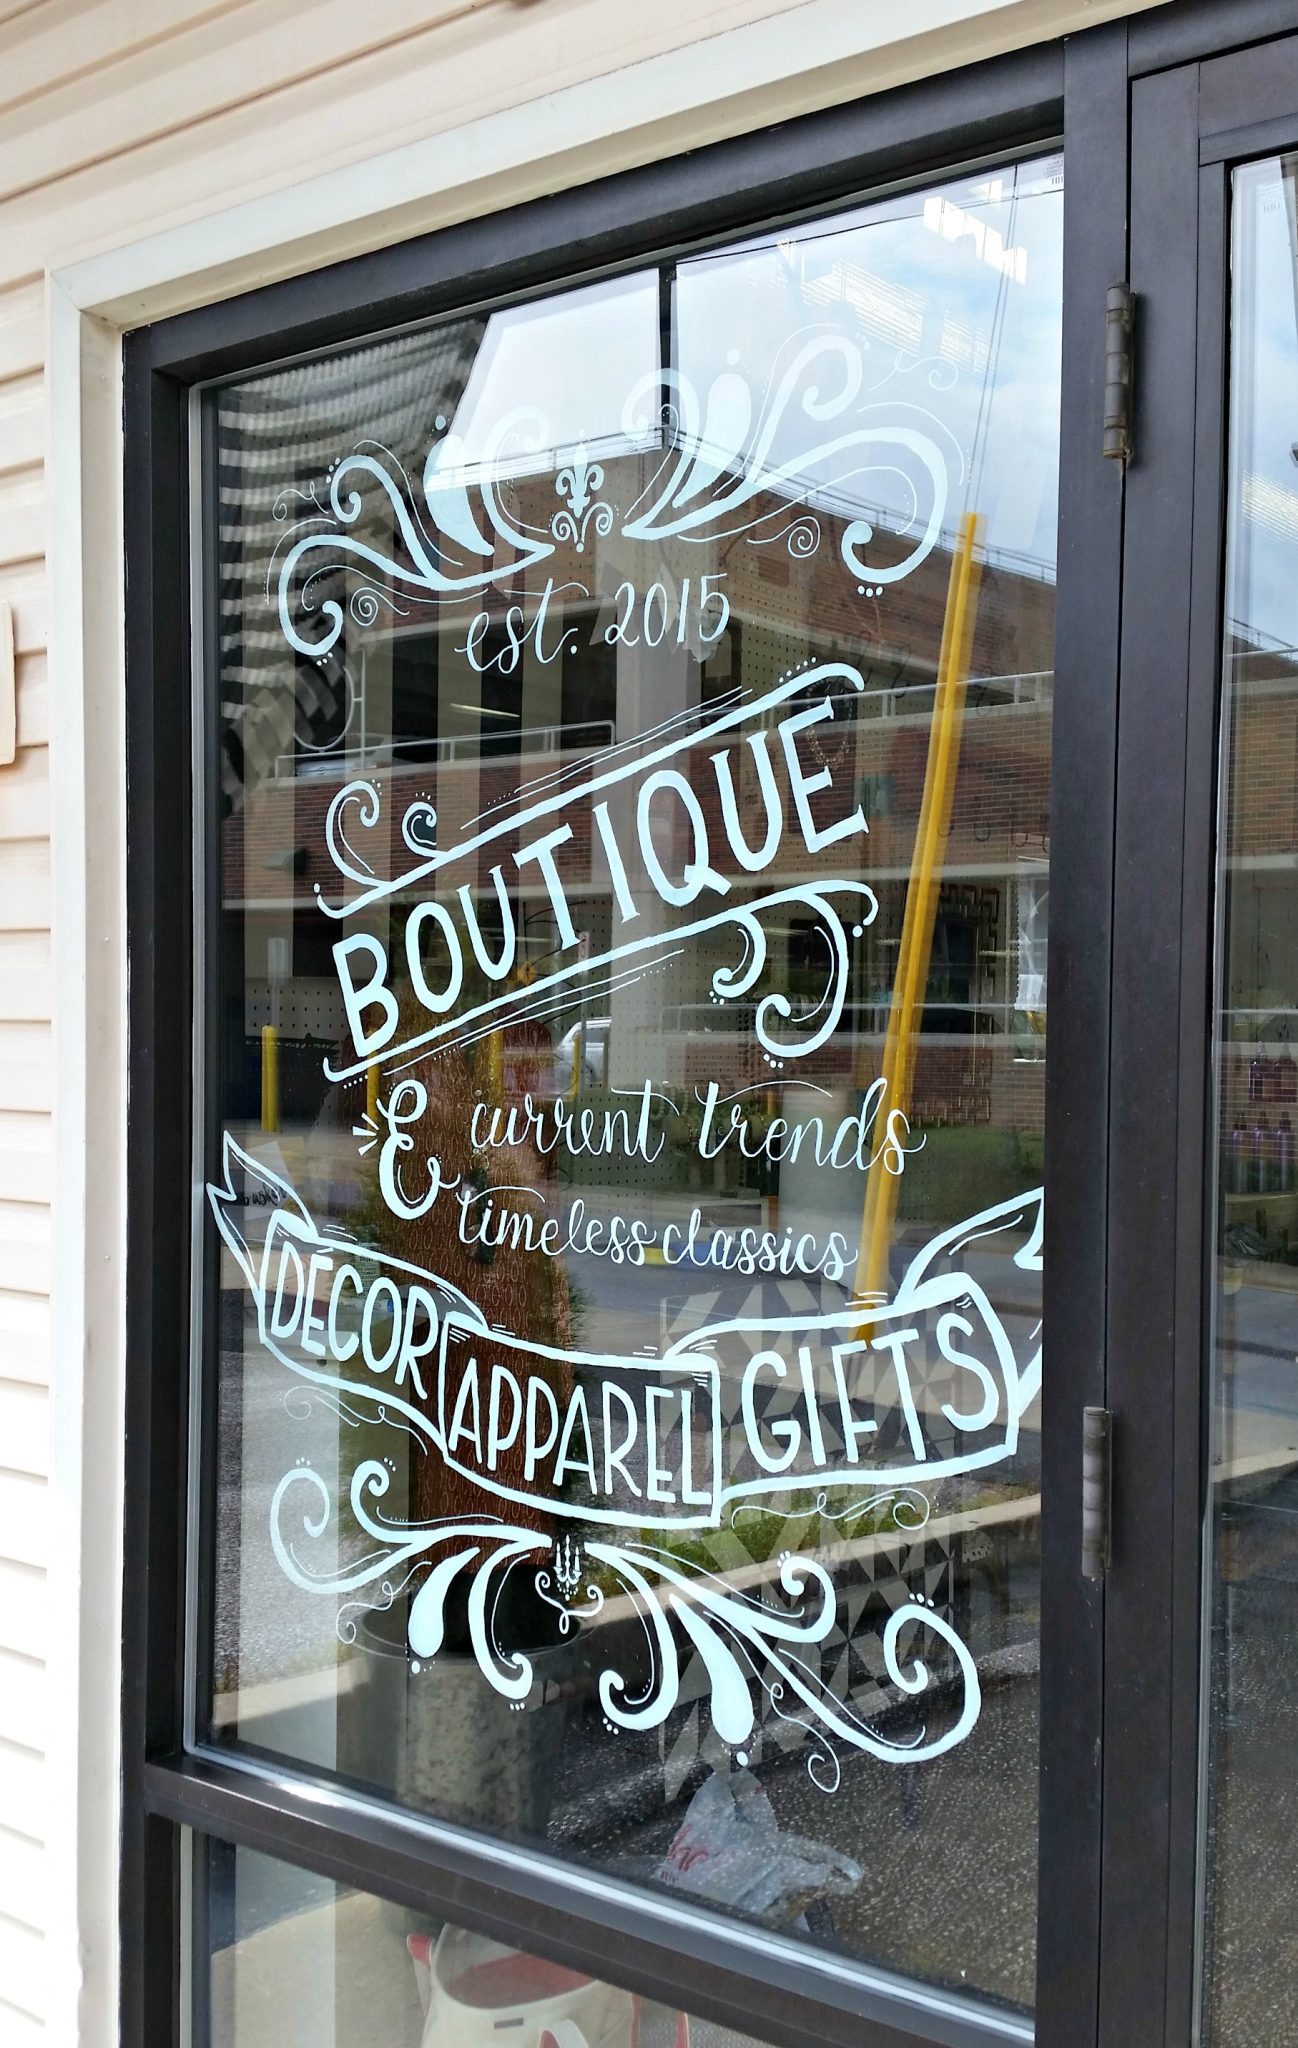
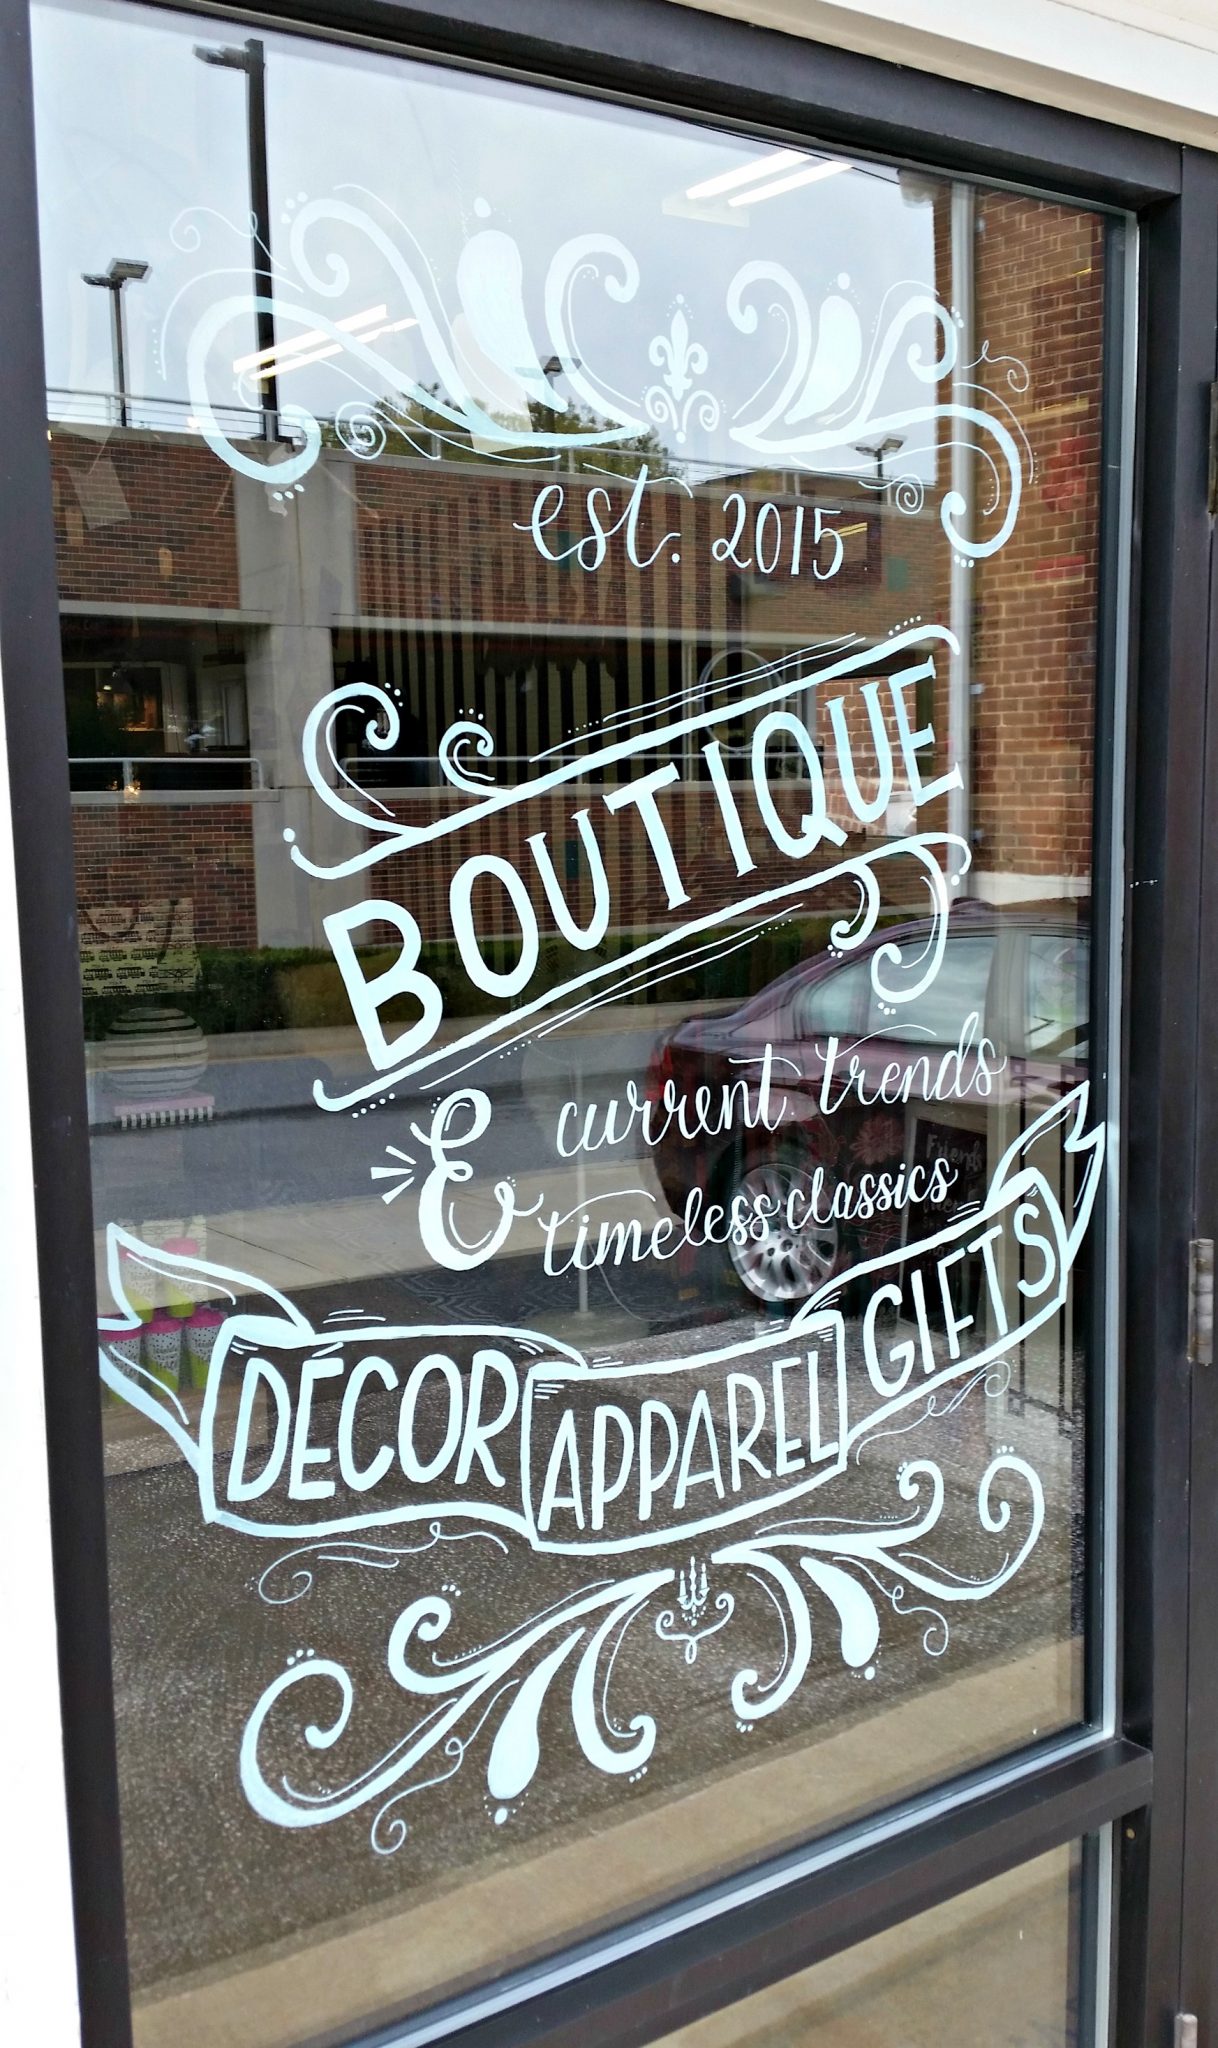
First, the shop owner Tiombe Paige sat down with me and we chatted about her vision for the window. She wanted something elegant and modern with lots of swirls and banners. We looked at a few designs she liked from Pinterest, for inspiration, then I wrote down the key words and phrases she wanted to incorporate. The shop sells decor, apparel, and gifts, so we wanted that to be a focal point. Tiombe also wanted to point out that she has current trends as well as timeless classics. Finally, she wanted to note that the shop was established in 2015. Once I had a sketch, I showed it to Tiombe for approval, then it was time to get to work!
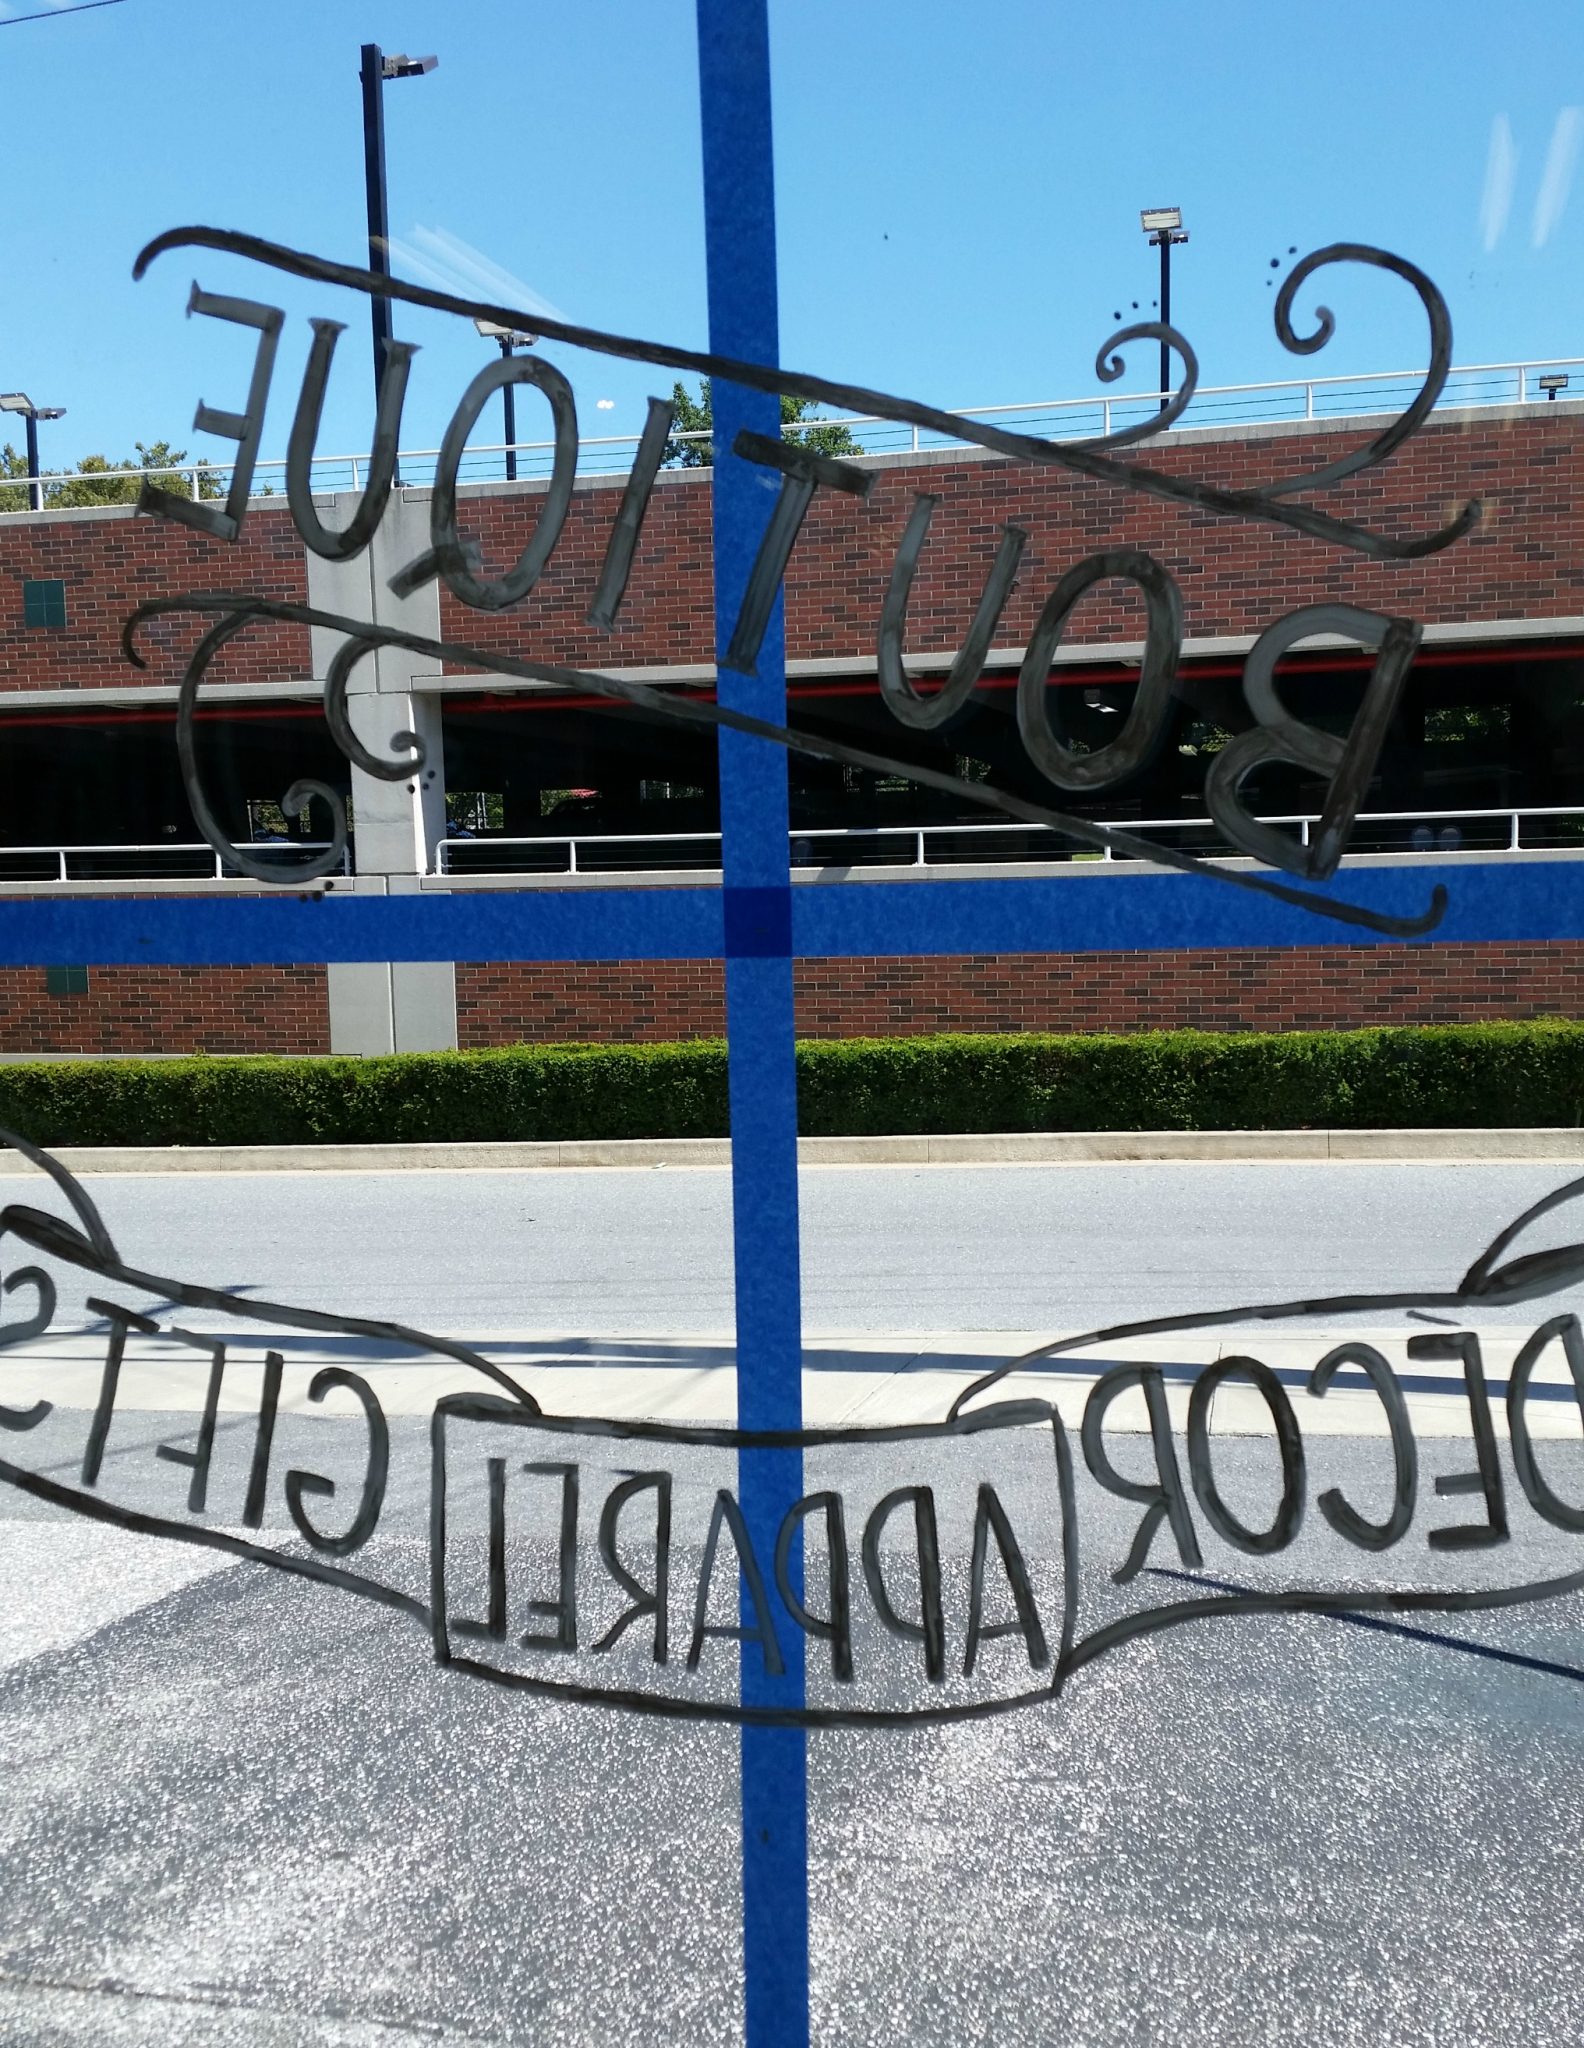
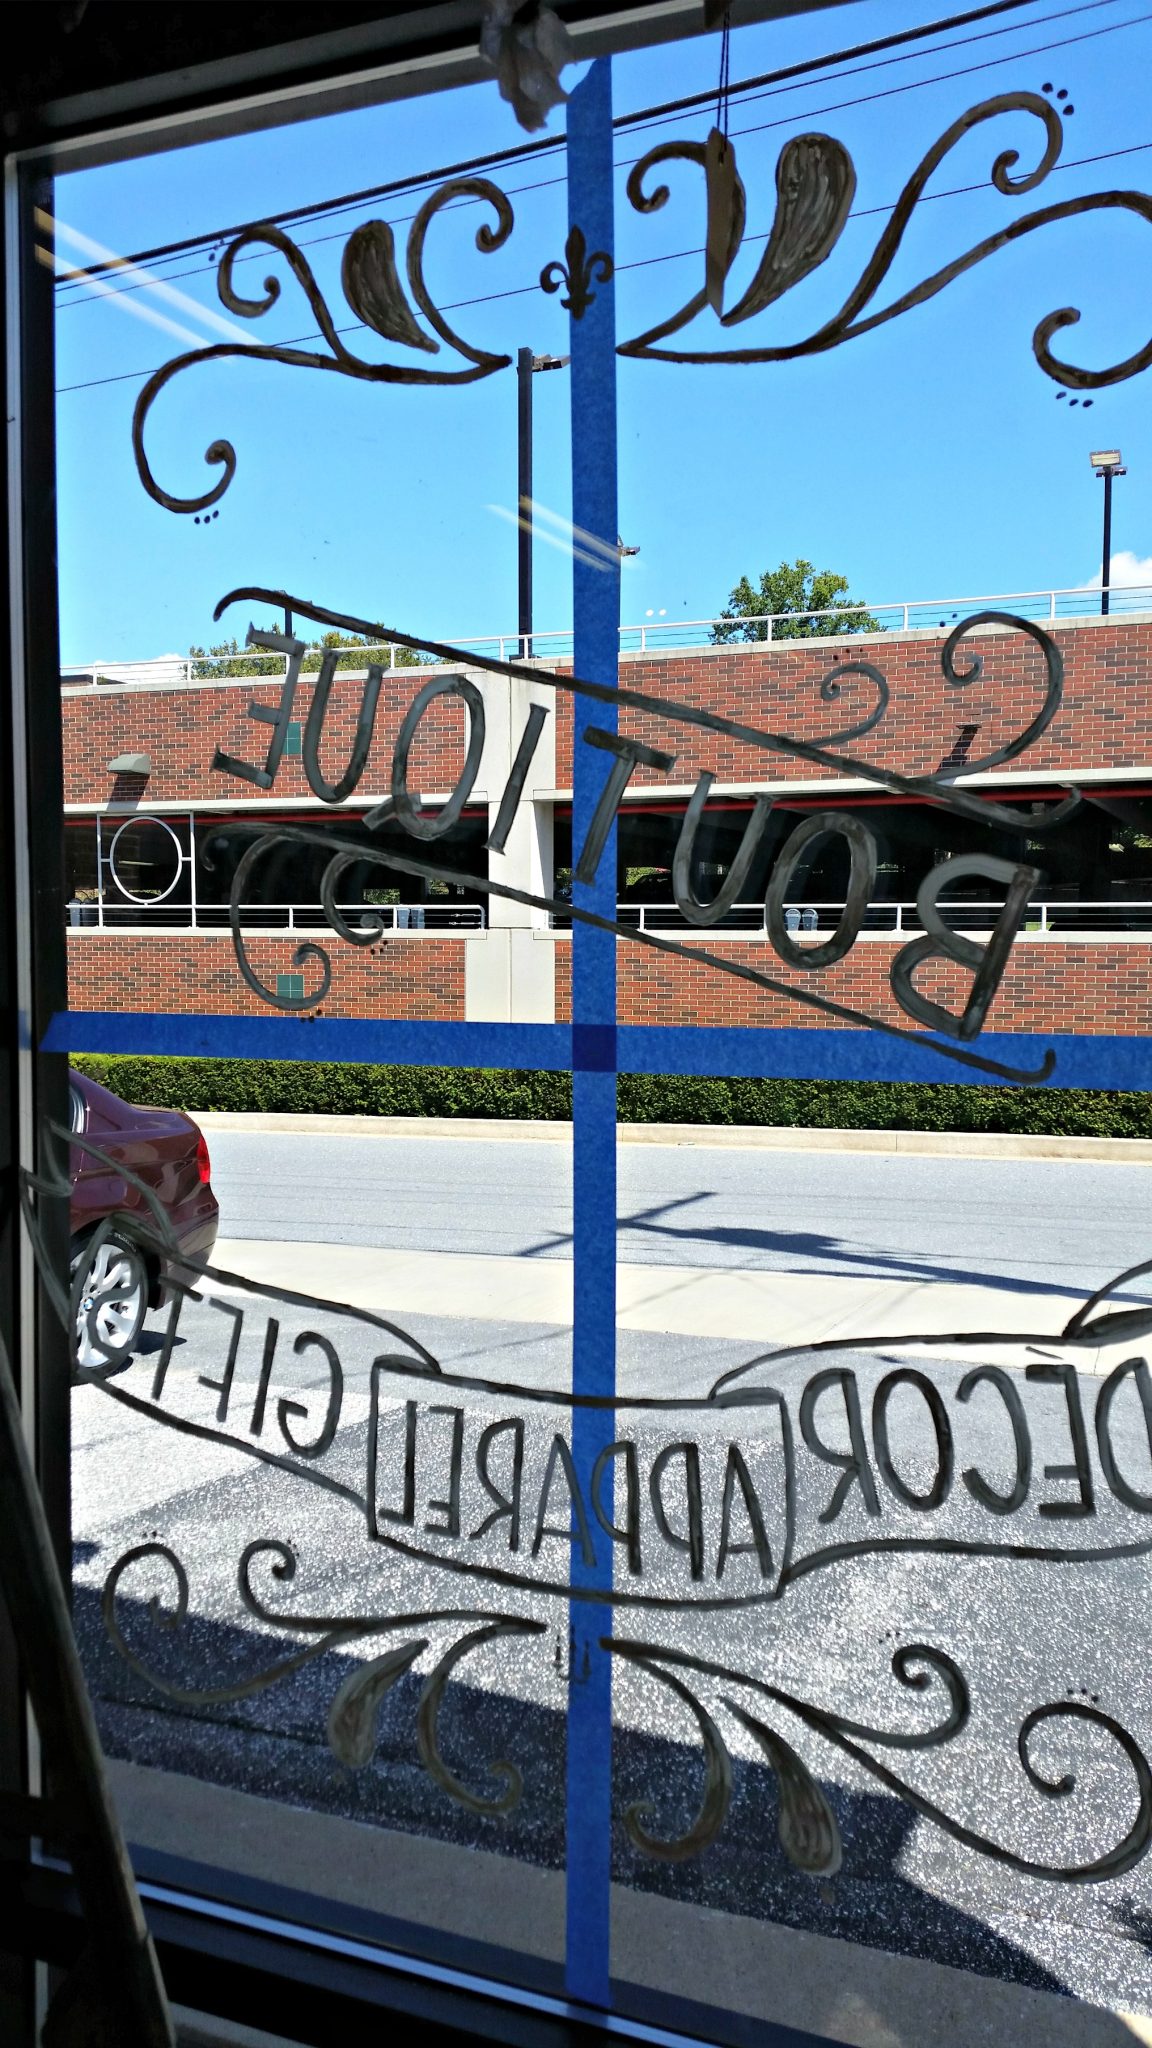
Step 2: Measure your window and tape off the center lines on the outside, both horizontally and vertically.
One way to do this is to measure from the inside and make tiny paint marks every so often, just like you’d do with a pencil on a piece of poster board. Then, go outside and line up the tape so it covers up all the marks. Now your window should be divided into four quadrants.
Step 3: Mark the same lines on your design sketch.
You can either draw lines to indicate the same four quadrants, or just fold your paper in quarters and use the creases as a guide.

Now you’re ready to start painting! I decided to begin with the large banner reading “BOUTIQUE” because it’s the closest part of the design to the center.
Step 4: Paint your design, beginning in the center and working your way out!
Now, here’s the tricky thing. In order to protect your design from the elements, it needs to be painted from the inside. That means you will be doing your painting backwards!!
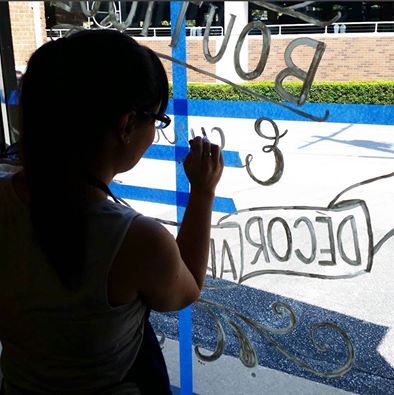
Sound impossible? Well, it certainly doesn’t come naturally, but there are a few tricks you can use to help.
Trick #1:
Remember what we say when we talk about lettering…letters themselves are just shapes. Instead of thinking about them the way you always write them, just think about the shape itself that you need to paint.
Trick #2:
Use a paint pen to lightly mark your lines and letters from the front of the window first, then use those as a guide for creating your actual design from the inside. When you’re finished, just clean the front of the window.
Trick #3:
Take your design to an office supply store and get it blown up to window size. Print it out, then tape the papers to the front of the window and use that as your guide for where to paint.
I did 90% of the design freehand, partly just because of who I am as a person {impulsive}, and partly because I’m unusually skilled at backwards writing. I used to get a kick out of signing people’s yearbooks backwards for fun back in the day. I’m particularly good at, “have a great summer.”
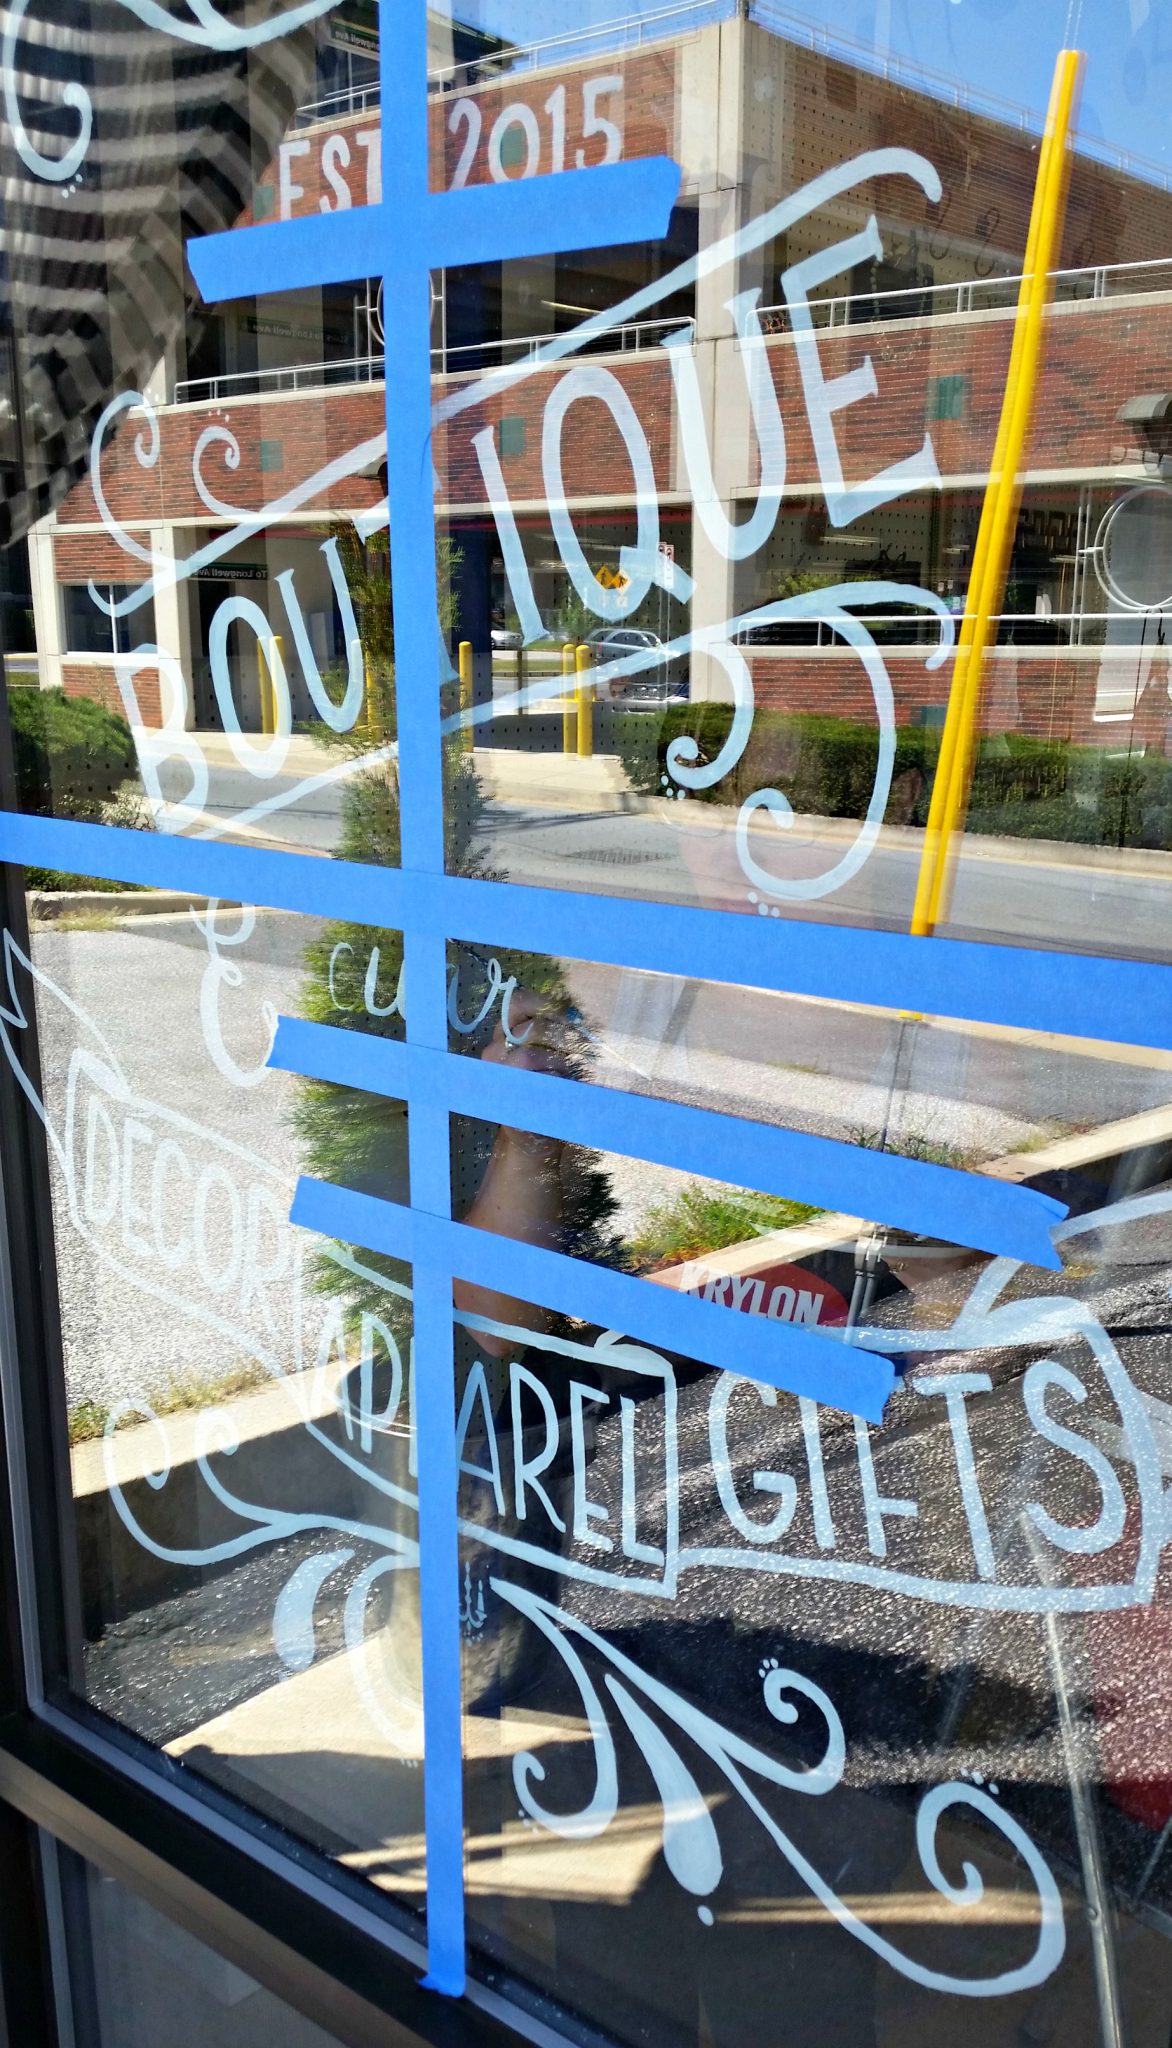
When I got to the parts that are actually supposed to look like brush calligraphy, though, that proved to be a real challenge. For those particular areas, I taped guide lines on the outside of the window and wrote the words without doing the double lines or shading from the front. Then, I followed the basic lines from the other side. {In the photo below, you can see my awkward attempt to freehand it just under the center tape line. Nope! No dice.}
The biggest thing I learned from this process is…are you ready…
USE A PAINT PEN!
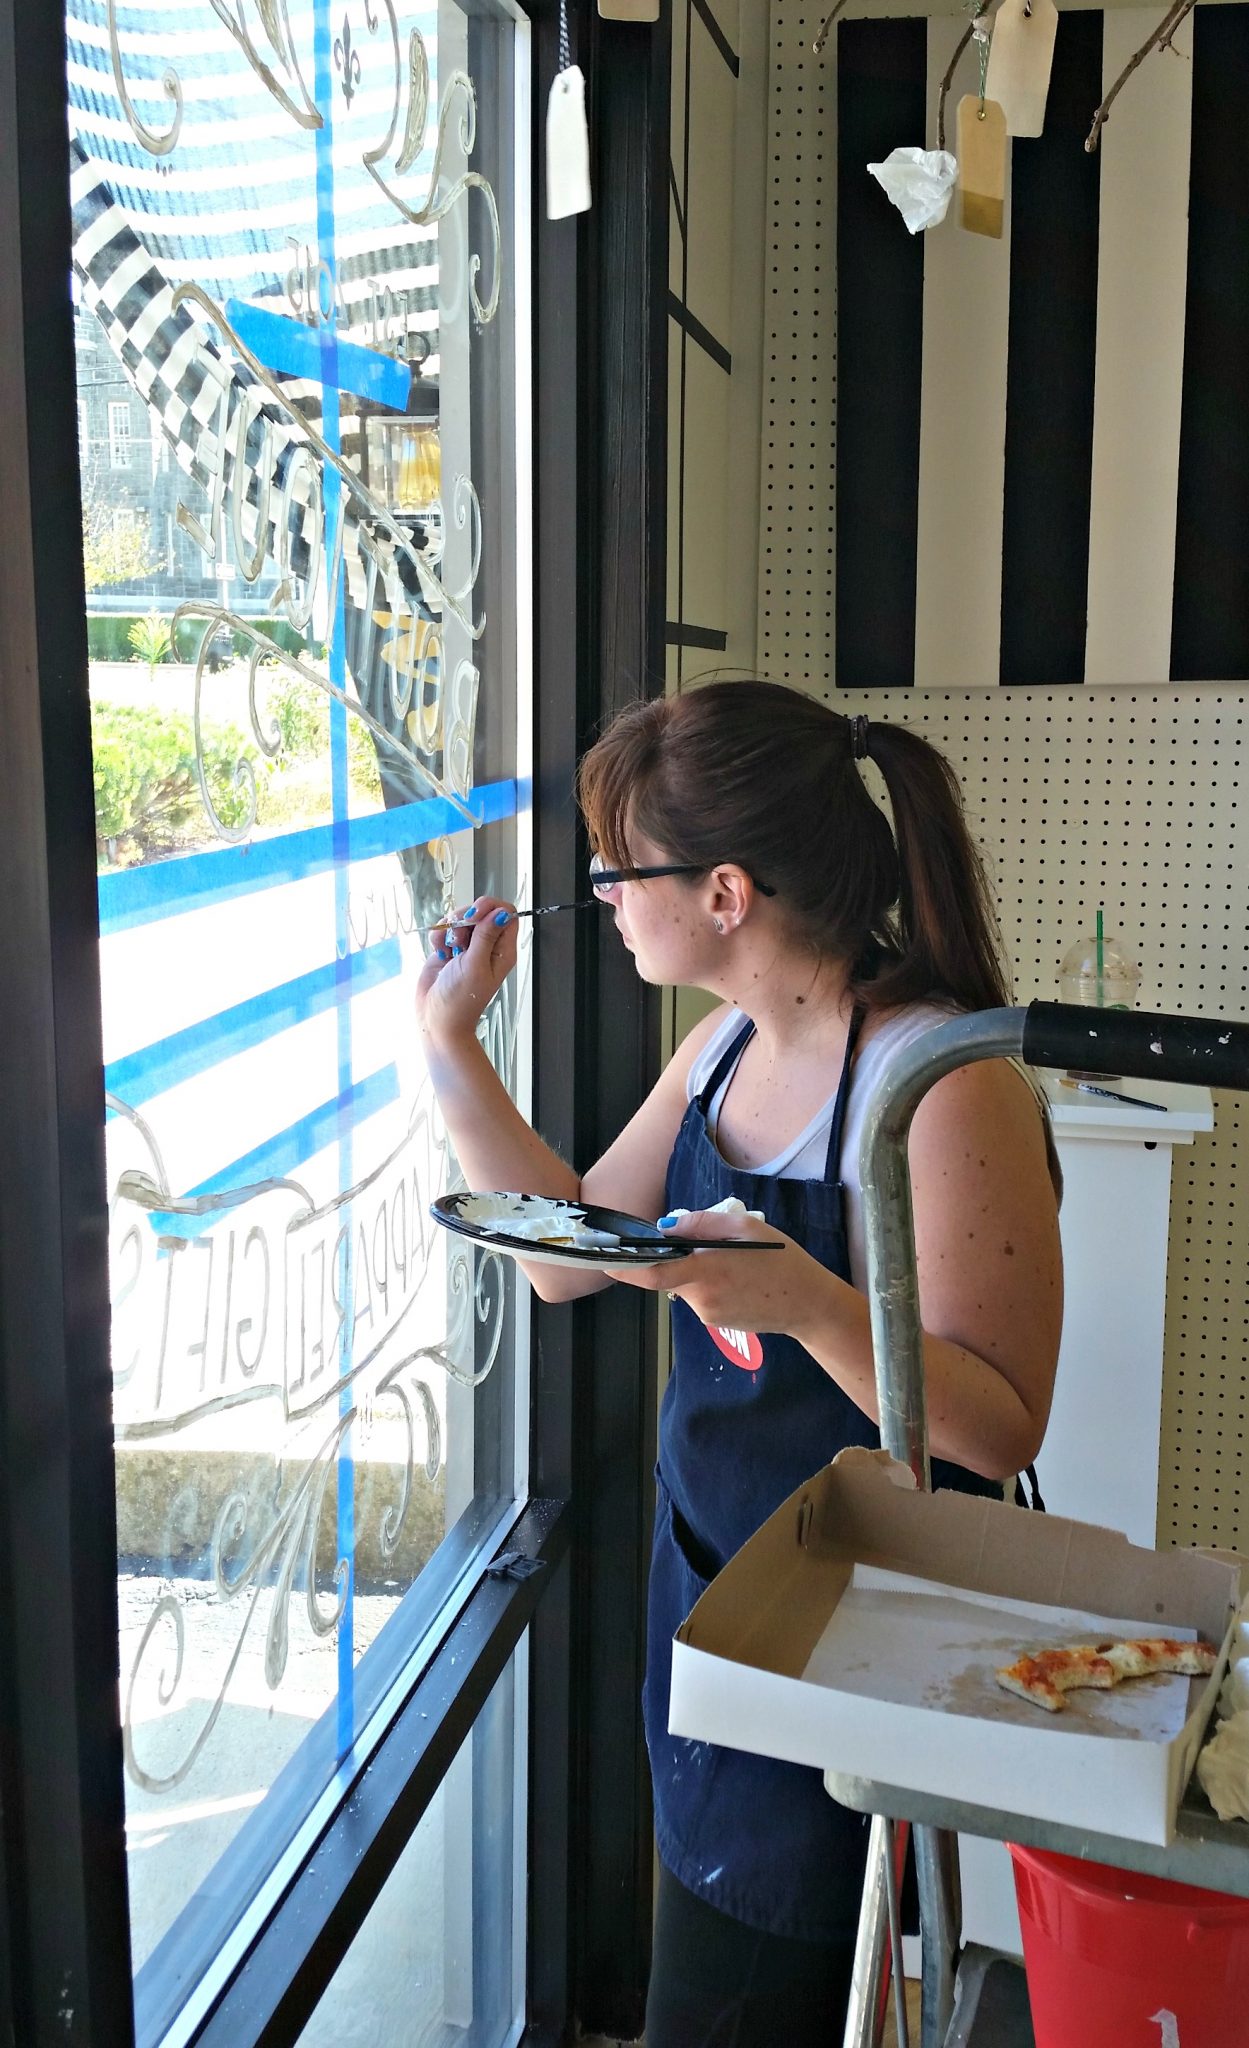
I worked for three and a half hours on Tuesday with a little brush and a plate full of paint and it was exhausting! A brush didn’t give me the control I wanted because, like most of you, I’m used to doing this stuff with a pen. I missed the control my Tombows give. As I was working on the final part of the window, it suddenly occurred to me…PAINT PEN! At which point, I wanted to smack myself in the head. I texted Erin, “I’m an idiot,” then I went to Michaels and bought myself one. Pen, that is…they don’t sell idiots.
I went back, equipped with my new pen, to finish it up and, you guys, it was SO. MUCH. EASIER. That pen just glides across the surface allowing me to do all the swoops and swirls and dots and flourishes my little heart desired.
You’ll notice, though, that the lines done with the paint pen are much finer than the designs and letters I did with a brush. What I would do next time is draw an outline of the thicker areas and letters with the paint pen, then just fill them in with my trusty brush and FolkArt paint.
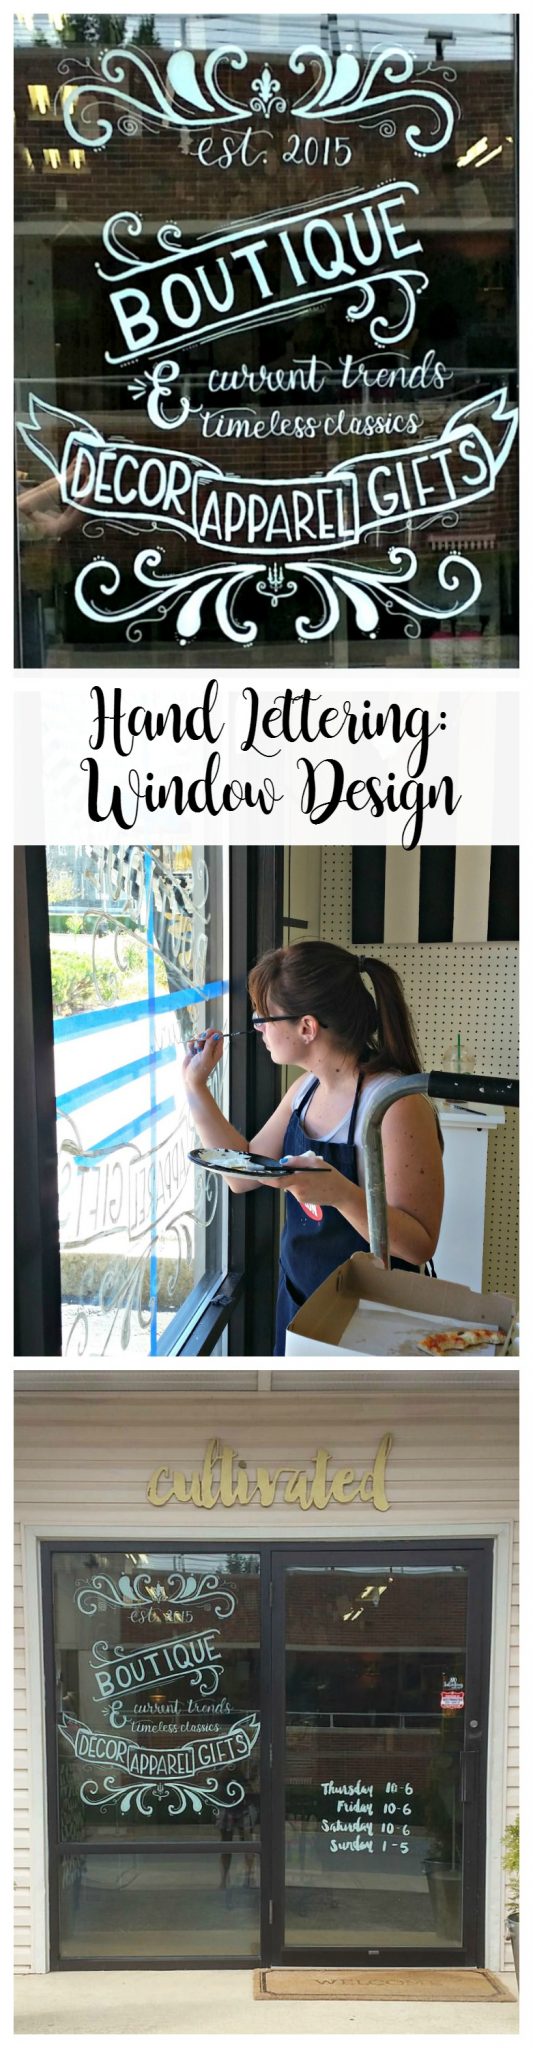
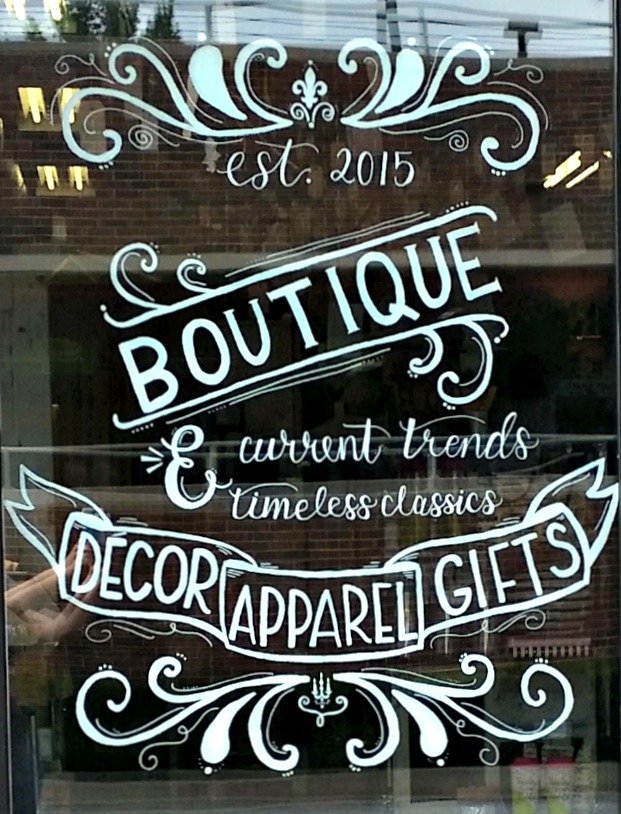
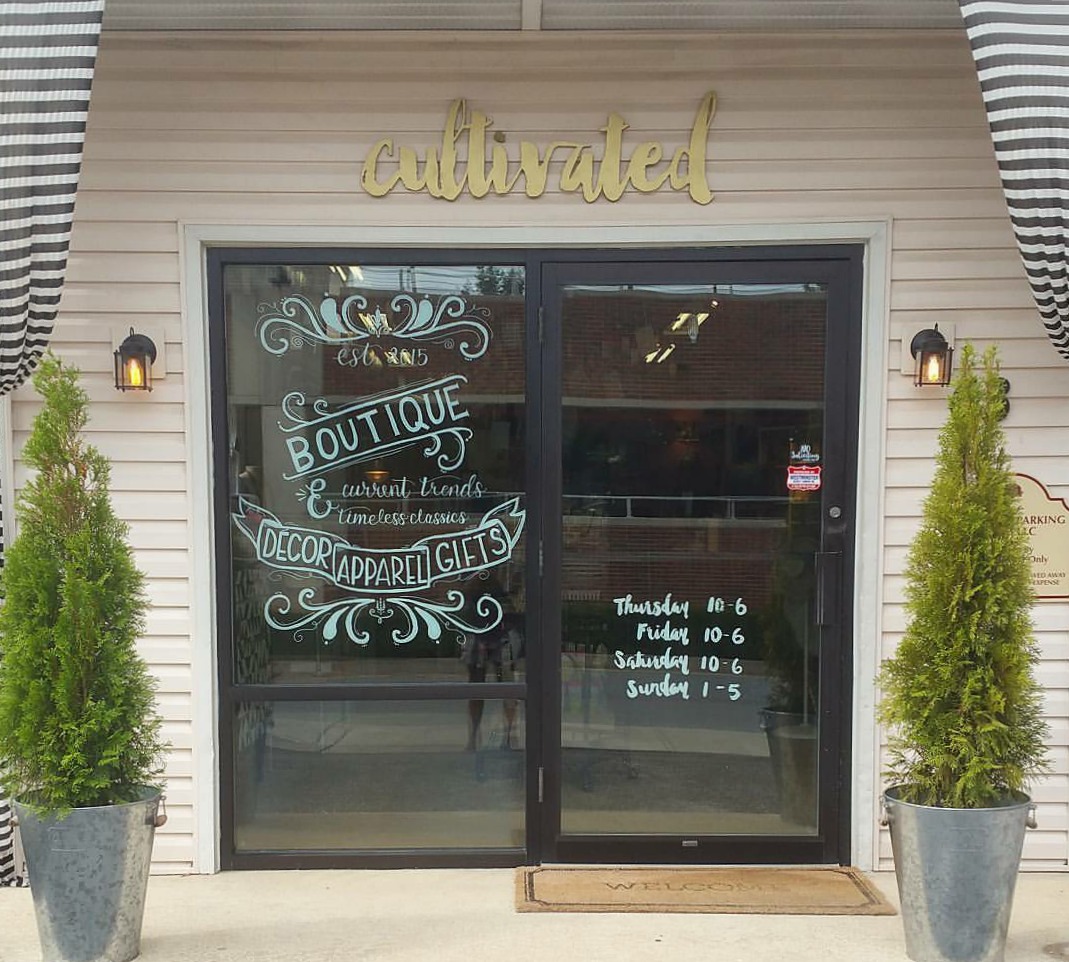
Here’s a look at the finished window {boy are windows a pain in the you-know-what to photograph!!}. There are two things I did with a stencil: the fleur de lis at the top center, and the candlesticks in the very bottom. Both were adhesive stencils, so I just stuck them to the inside of the window and filled them in with paint using a brush. Everything else is done freehand. Whew!
What do you think?! I am beyond excited about this because, it’s kind of a huge deal for me to have my art on display like this right in the heart of a local community!
Cultivated is on East Main Street, in the rear of one of the buildings right across from the municipal garage if you live in the area. It’s full of fun decor and apparel…including two of my tee designs, starting soon! I definitely recommend checking it out!
Whaddya think?!

It looks beautiful! Congratulations! You have a lot to be proud of.
Thank you so much!!
Mi piace moltissimo Amy, ottimo lavoro!!! Grazie per il tutorial e i suggerimenti!!!
Michaels doesn’t sell idiots–ha! What a great job. It’s definitely not something I would want to tackle.
What a GREAT JOB !! And, what a great (side) job. I love the ‘can-do’ attitude you clearly had from the beginning. Your tips are truly helpful, too.
This is gorgeous! Can I ask what this sort of thing would cost a business and how long it took?
Thanks!
I charged $100 for the job, which was also in conjunction with putting some of my tshirts in the shop for sale. It took me 5-6 hours, but it would go MUCH faster a second time because now I know that paint markers are the secret. I bet I could do it in an hour or two now.
Hey there, Do you by chance remember exactly what type/brand paint pen you used? Was it a chalk marker? Or maybe acrylic paint? Thanks so much!
You want a Sharpie oil based paint pen. Acrylic paint works also, but you don’t want chalk.
I’d love to know why you wouldn’t want chalk? Wouldn’t that make it easier to erase to change it like from season to season? Thanks!
Chalk won’t stick on glass. 😉
Love this, its perfect!! Can it be washed off the window?
Sure can!!
Hi there! Would it be okay if we could share this blog post on our social media to give our customers some inspo?- we absolutely love it!
Sure! Thanks!
Thank you so much for the tricks and sharing your work, looks lovely!
I was wondering if the inside glass didn’t got dirty while doing the job and if so, how did you clean it up? thanks!
We cleaned the glass thoroughly before the project, then removed any new smudges with wipes.
Looks lovely!!
What paint did you use when you were using the paint brush? Is there a special glass paint?
I’ve noticed chalk pens don’t work well on vertical glass and don’t fill in without chipping off and have to be continually pumped.
Any tips? Am I missing something?
It was acrylic paint. The pens were paint pens rather than chalk.