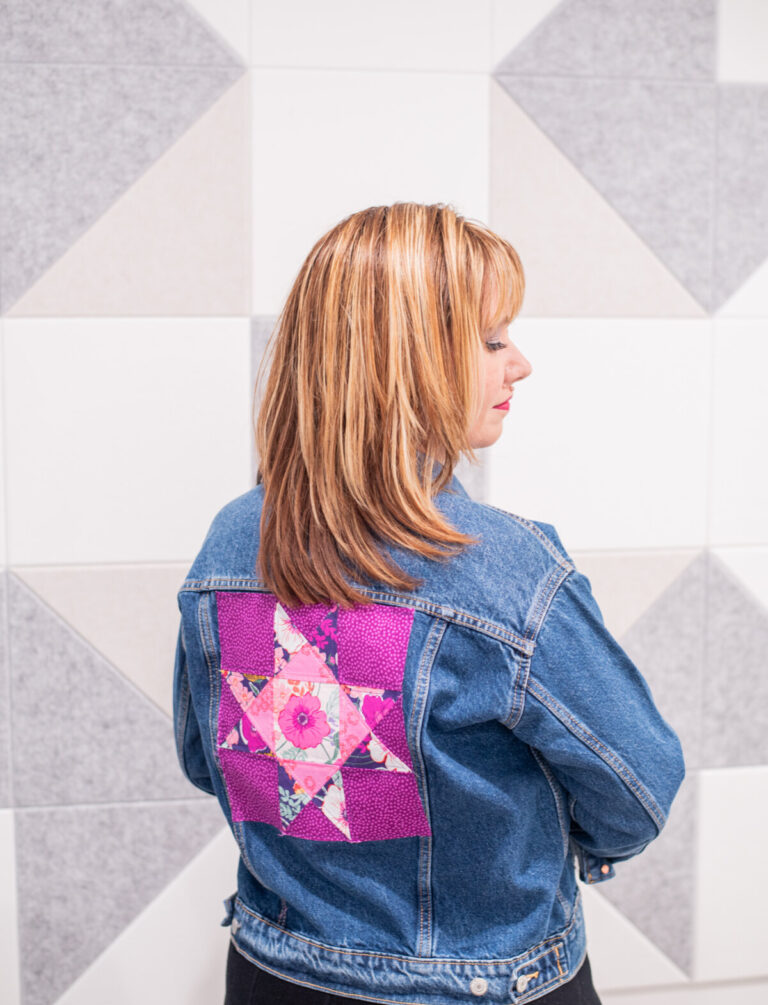
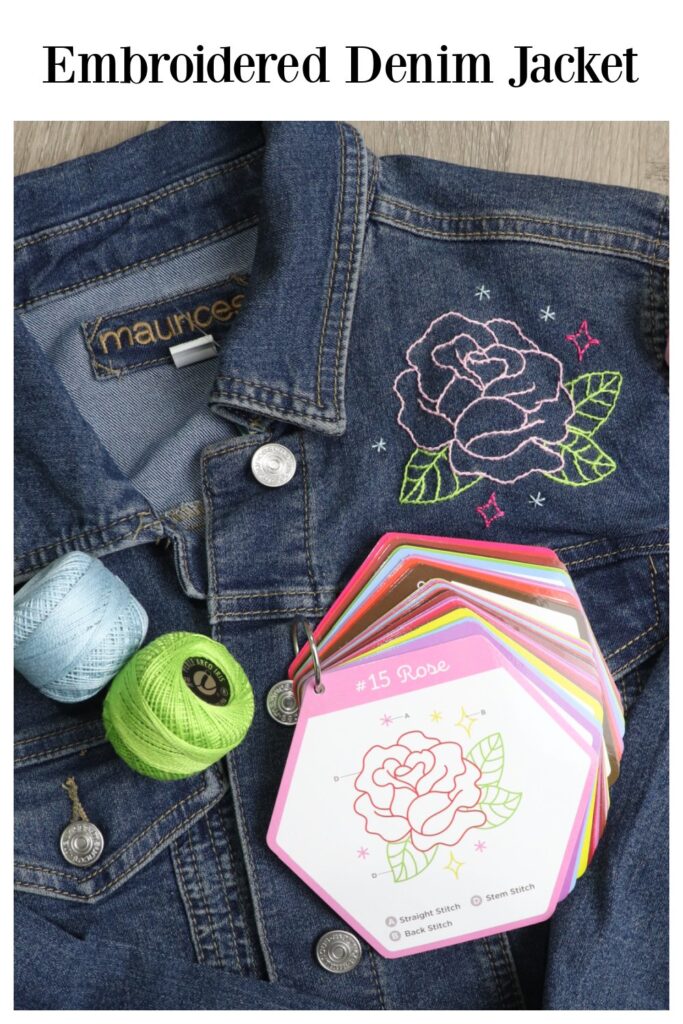
Embroidered Denim Jacket
Add a personal touch to your apparel with a fun embroidered design! The new Sew in Love Kits from Misssouri Star Quilt Company make this such a quick and easy project.
How to Make an Embroidered Denim Jacket
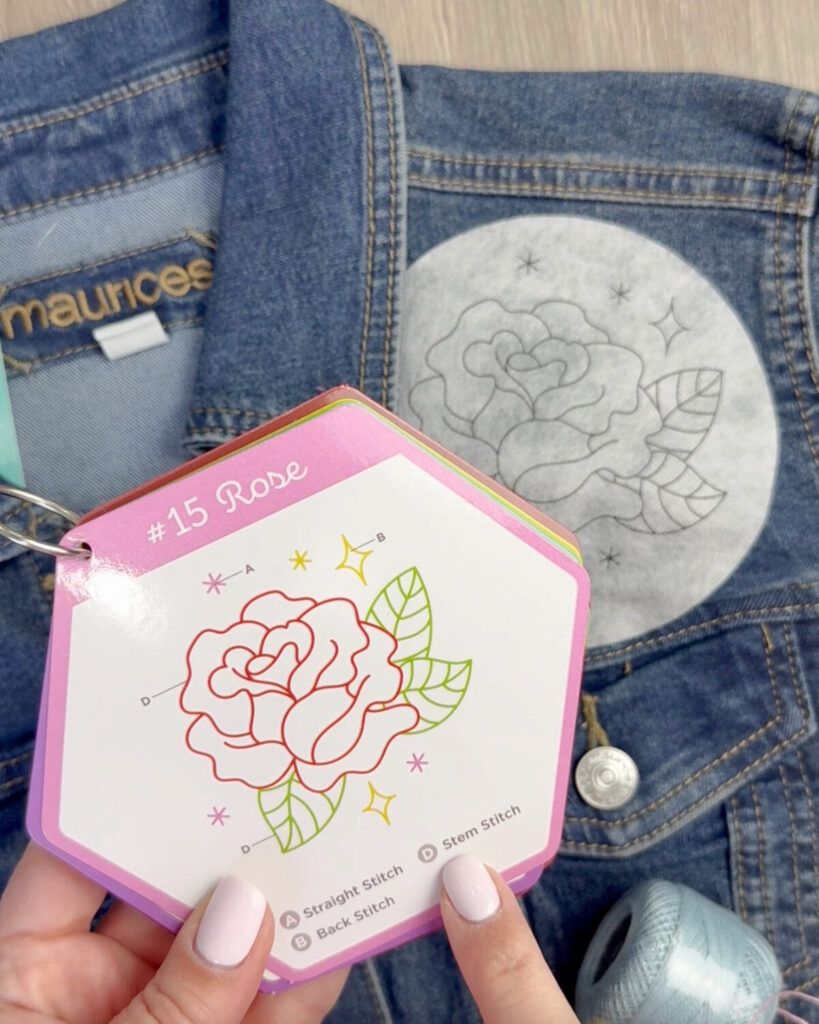
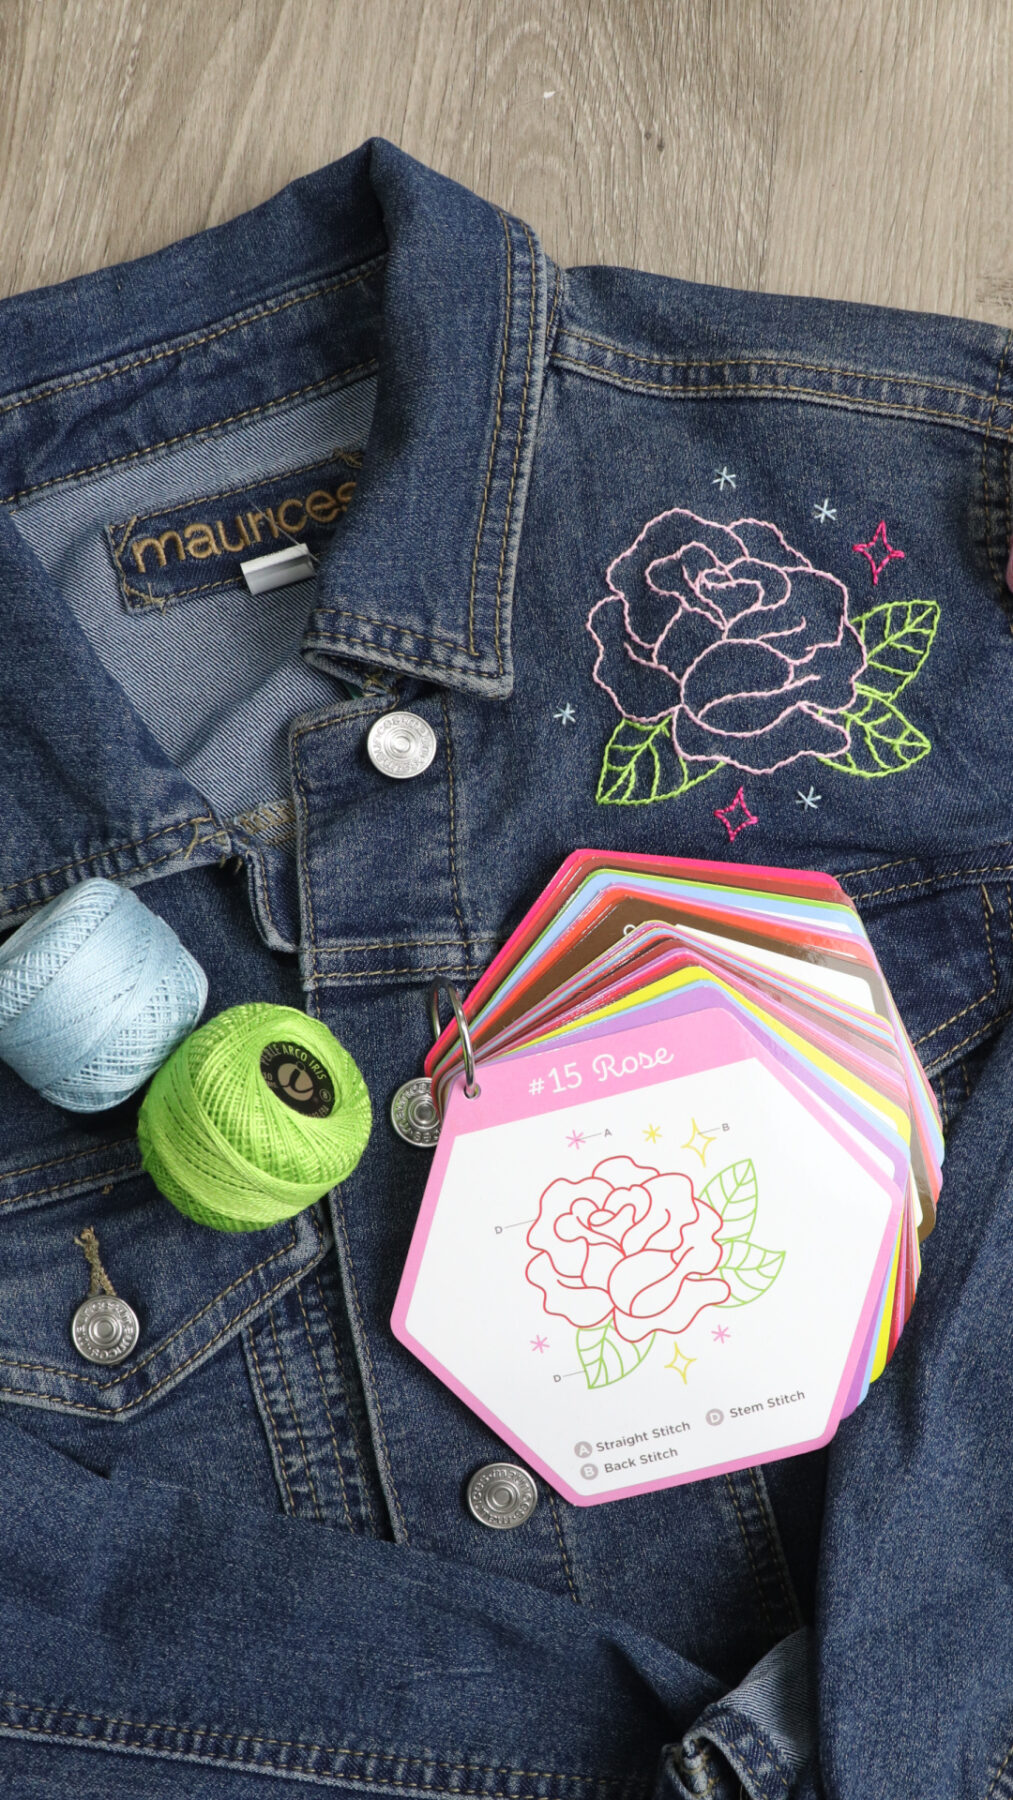
It’s easy to embellish any denim jacket using the new Missouri Star Sew in Love Peel and Stitch Pack! It comes with basic stitch instructions plus guides for 25 different designs, as well as 25 pre-printed adhesive wash-away embroidery sheets. All you have to do is peel off the backing and press the design onto your fabric. Then follow the stitch guide and embroider the design using perle cotton floss. When you’re finished, submerge the stitched area in water and the embroidery sheet will completely dissolve, leaving just your stitches!
Materials
- denim jacket (mine is the Dark Denim Jacket from Maurices)
- Missouri Star Sew in Love Peel and Stitch Pack
- Missouri Star Sew in Love Perle Cotton Floss Pack
- Embroidery needle
- Scissors
Instructions
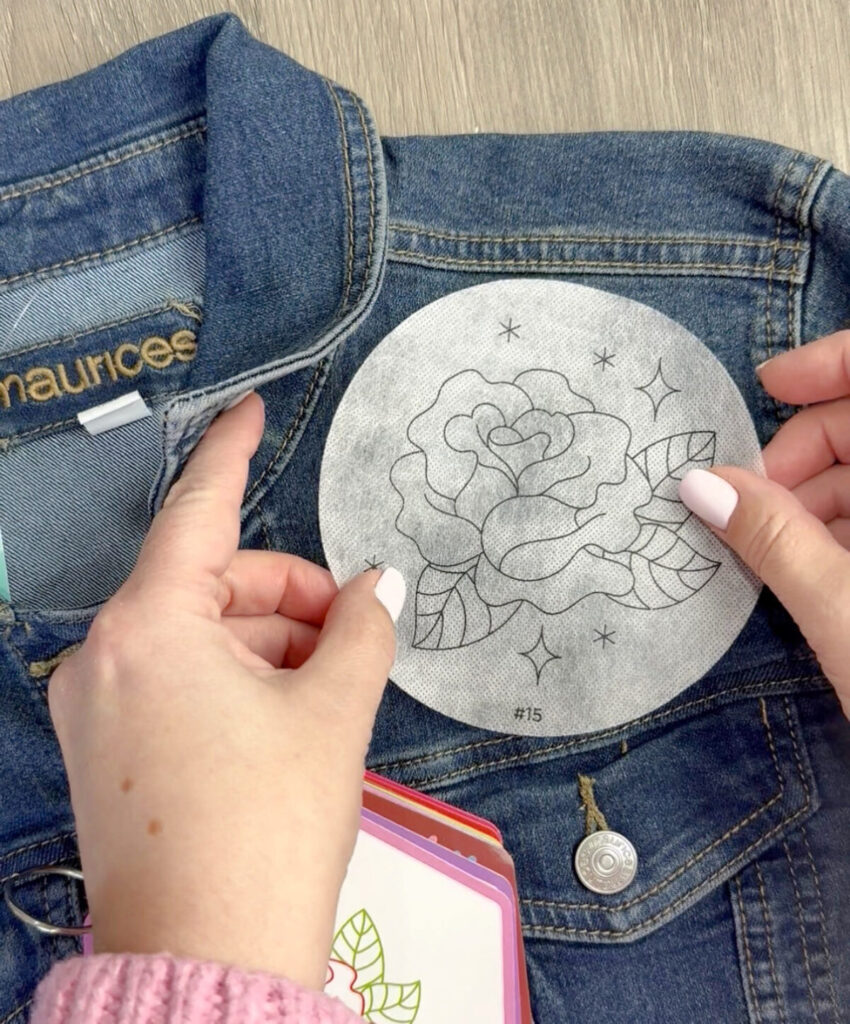
Choose your favorite of the 25 designs. Peel and stick the circle to your jacket.
If you’d like to secure the area inside an embroidery hoop, feel free to do so. I found that I didn’t need one because the denim fabric is sturdy and easy to work with, but it’s totally up to you.
Use the stitch guide as a reference for what type of stitch to use in each part of the design.
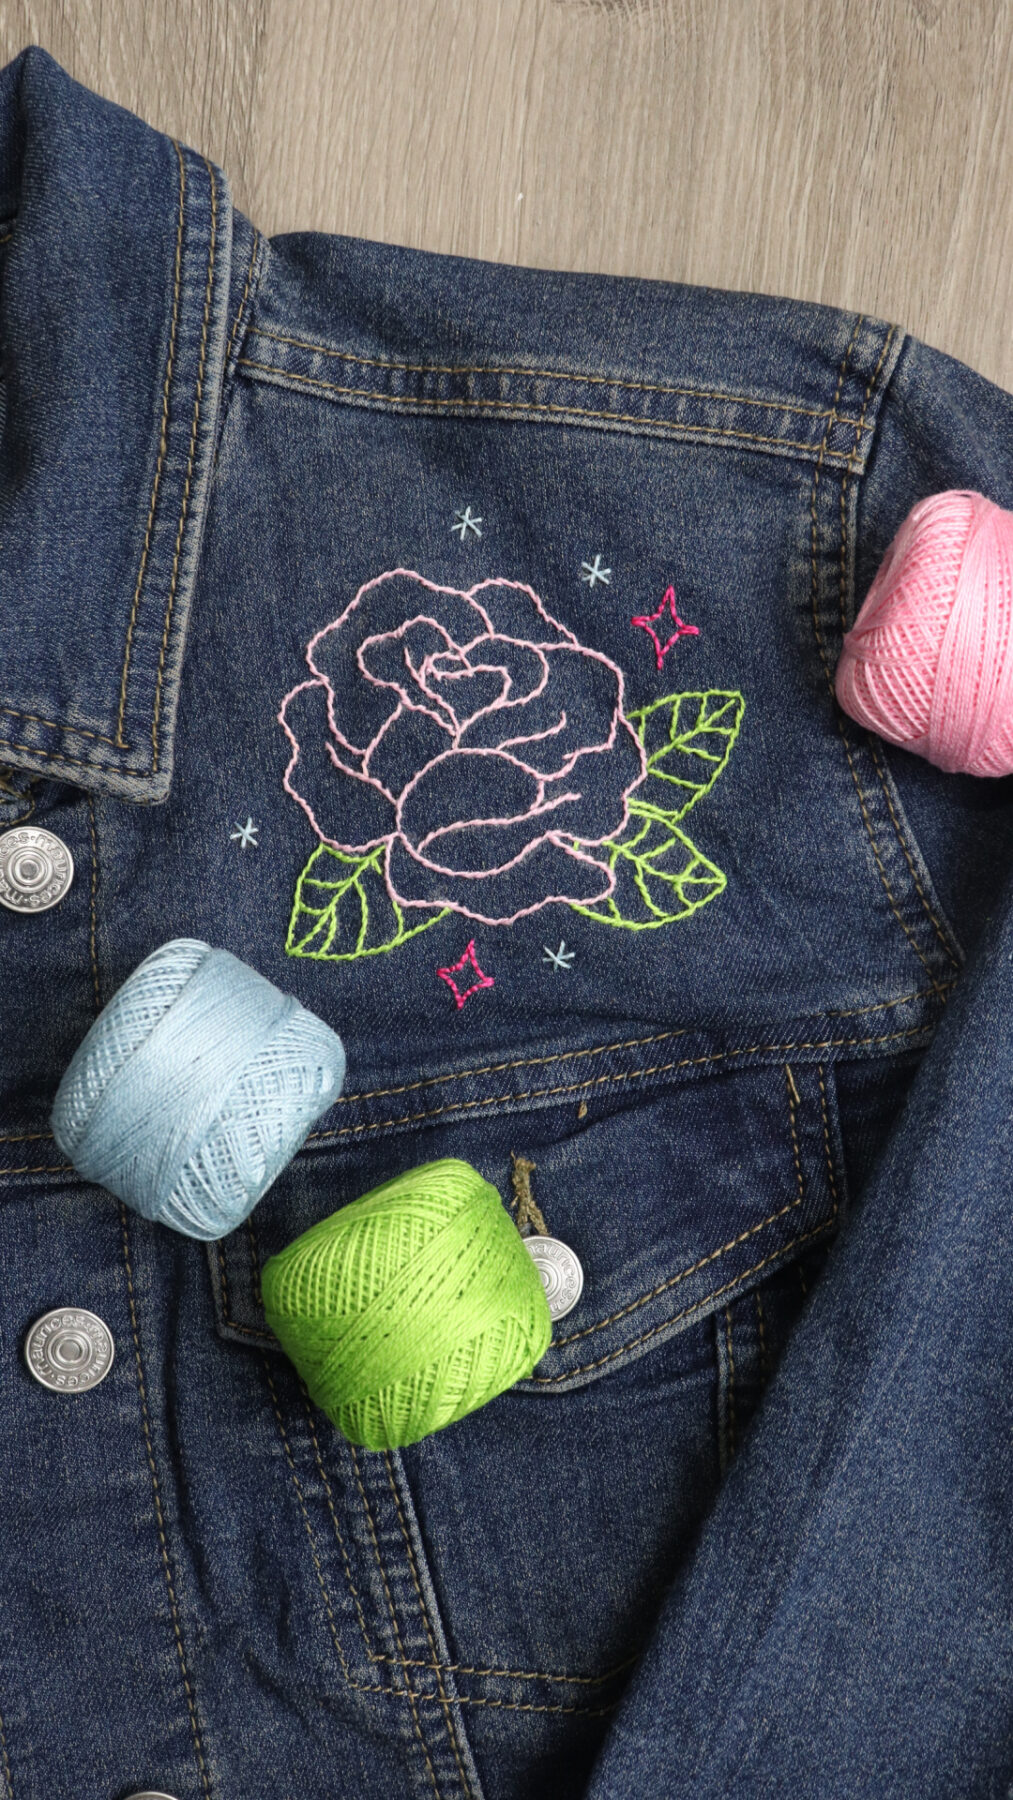
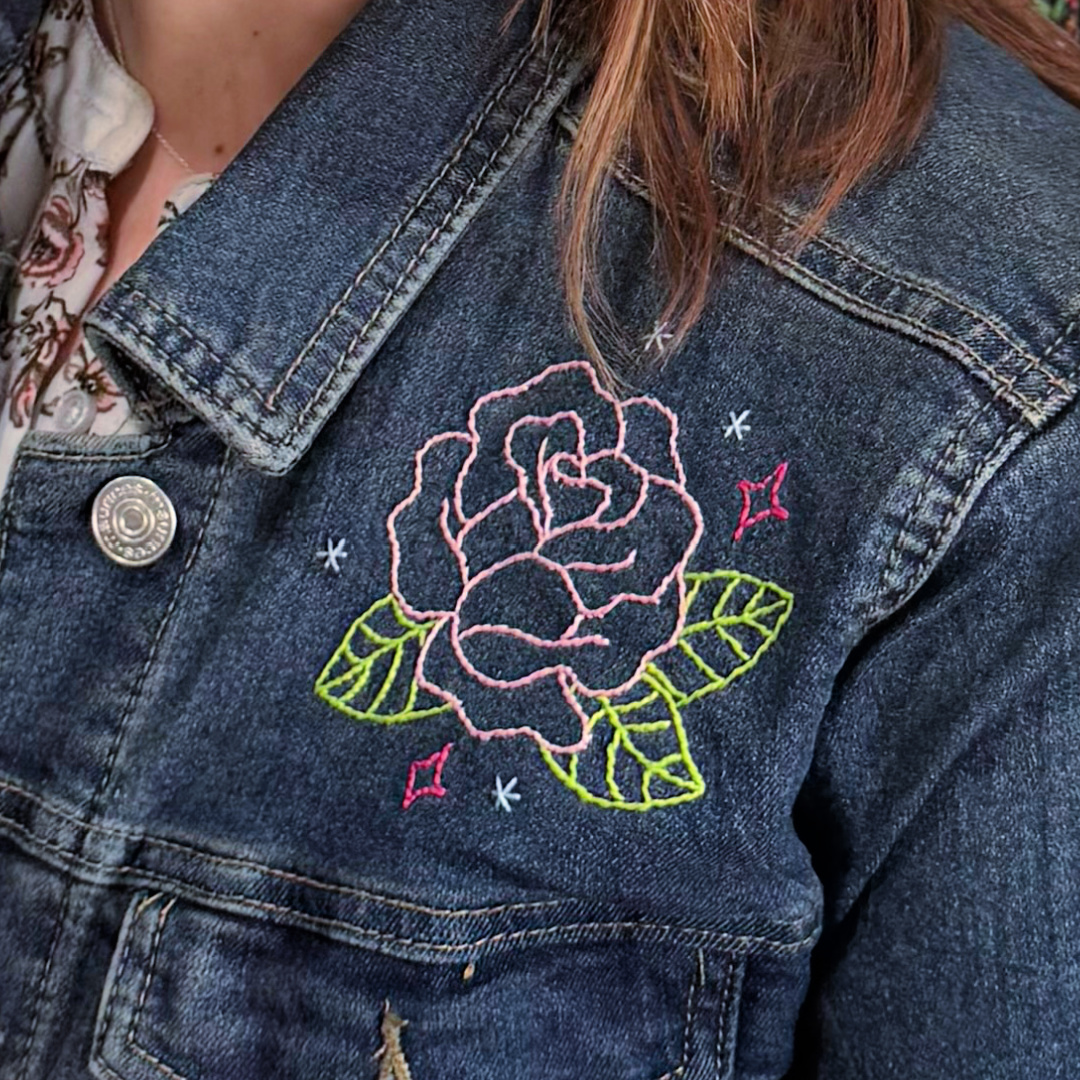
The guide also contains step-by-step instructions for each stitch to help you learn if you’re new to embroidery, or refresh your memory if it’s been a while. Each design card has suggested colors of floss to use, however, feel free to use whatever colors you like. Mine were all from the Sew in Love floss pack, I just chose to substitute light pink for the red and made my little stars blue and dark pink.
Continue stitching until your design is complete.

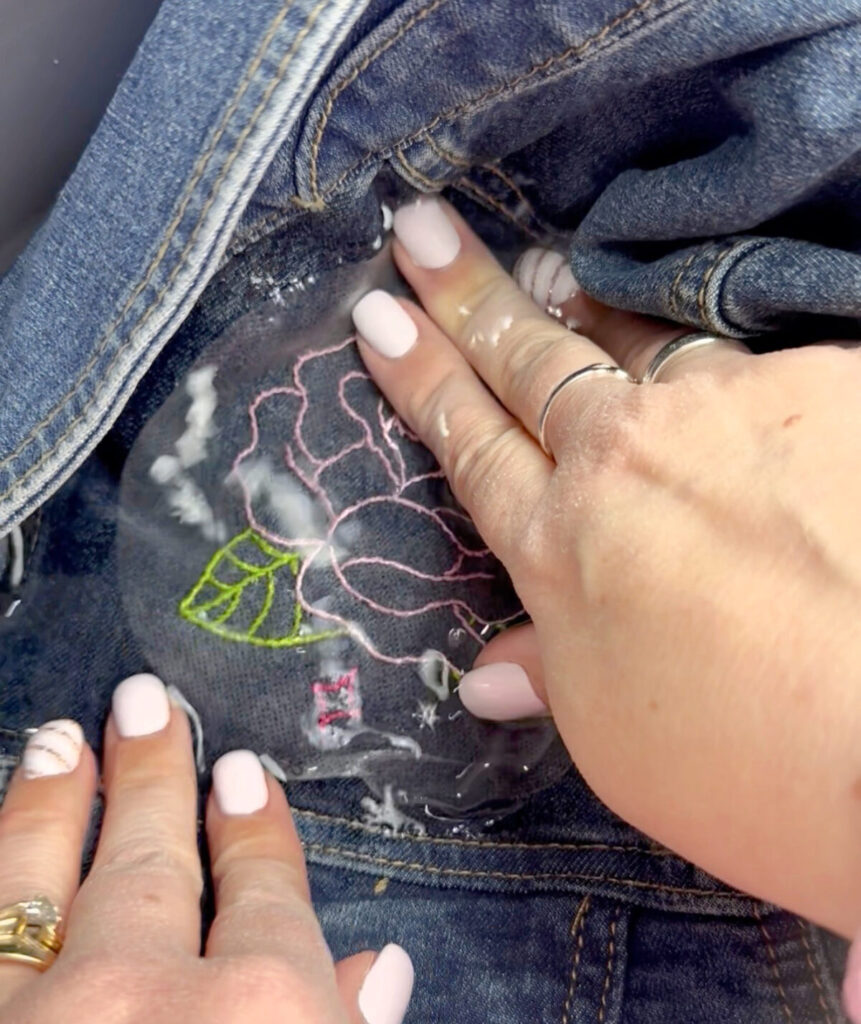
Submerge the area in water until the guide dissolves completely.
Once the jacket is dry, it’s ready to wear!
Crafting Tips
- Unlike other types of embroidery floss, perle cotton is not meant to be separated into smaller strands. Just use it as is for a bold and beautiful design.
- Embroidery needles are slightly different from other hand sewing needles. They have a larger eye, because embroidery floss is thicker than standard cotton thread. Make sure you have the right tool for the project so you can easily thread your needle.
- Although it’s not necessary, a needle minder is a handy tool to have when you’re completing this type of project. It will keep you from misplacing your needle when cutting and changing the floss, or taking a break.
- Try this project on other base materials, like jeans, a tote bag, or a small pillow.
Frequently Asked Questions
Yes! The kit includes step-by-step instructions for all of the basic stitch types, so you can easily learn and replicate them.
You can find it exclusively at Missouri Star Quilt Company!
It depends on which design you choose and how much stitching it requires. Mine took several hours. I started after lunch, and was finished by dinner time. Of course, you may want to do it in smaller sittings, taking breaks and coming back to it when you have the time.
More Project Ideas
If you enjoyed this project, here are some other embroidery and hand sewing ideas that might inspire you!


If you embellish your own jacket, or try any of these other projects, I would love to see what you create! Make sure you’ve joined the Amy Latta & Friends Facebook Group so you can share your project photos and we can all inspire one another. I hope to see you there.