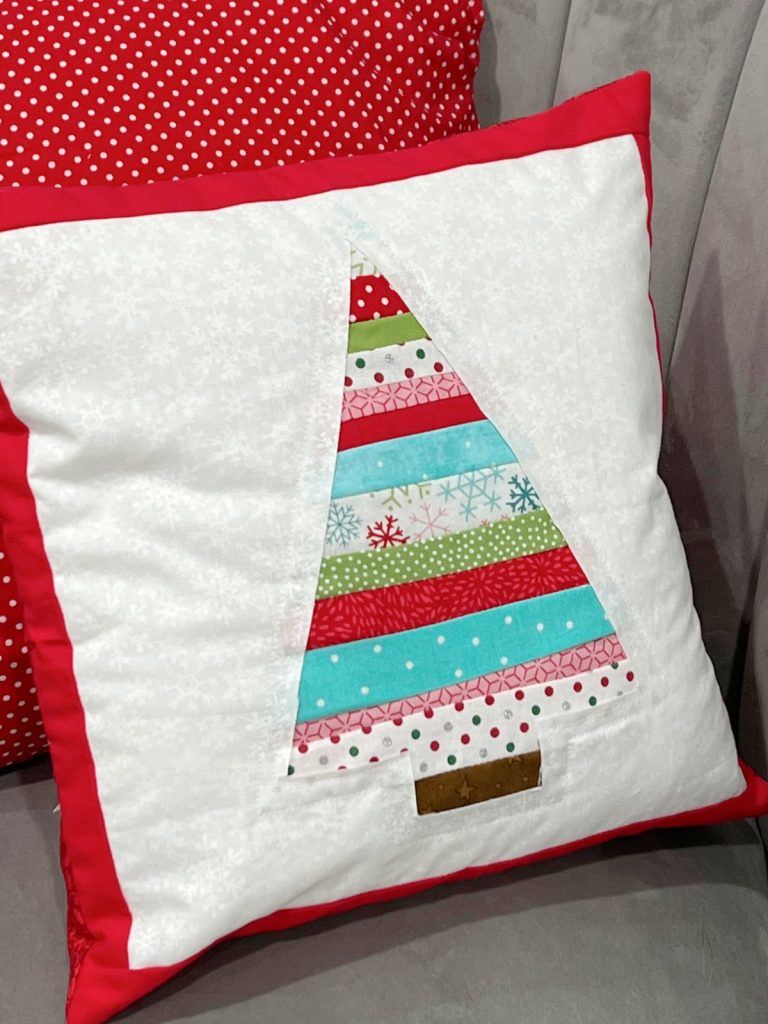
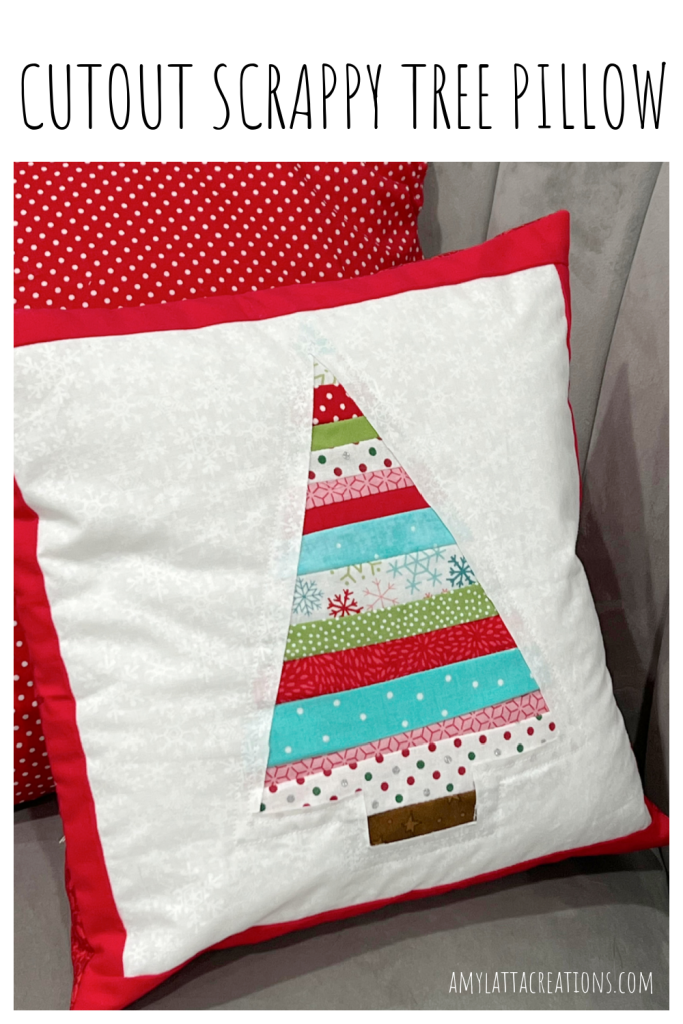
Cutout Scrappy Tree Pillow – Free Pattern
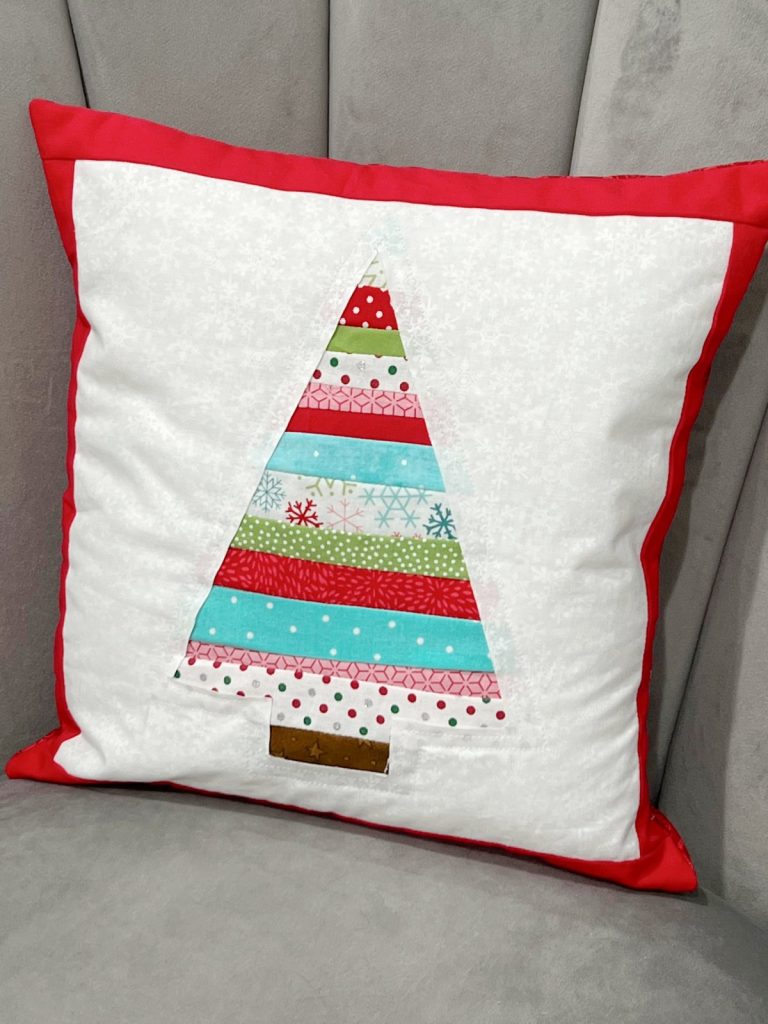
Finished size: Fits a 14″ pillow form
Materials:
Assorted fabric scraps
1/3 yard background fabric (Mine is white)
1/8 yard border fabric (Mine is solid red)
1/2 yard backing fabric (Mine is patterned red)
Cutting:
Fabric scraps: thin strips approximately 7″ long
Background fabric: 12″ square
Border fabric: (2) 1.5″ x 12″ strips, (2) 1.5″ x 14″
Backing fabric: (2) 14″ x 9″
Batting: 15″ square
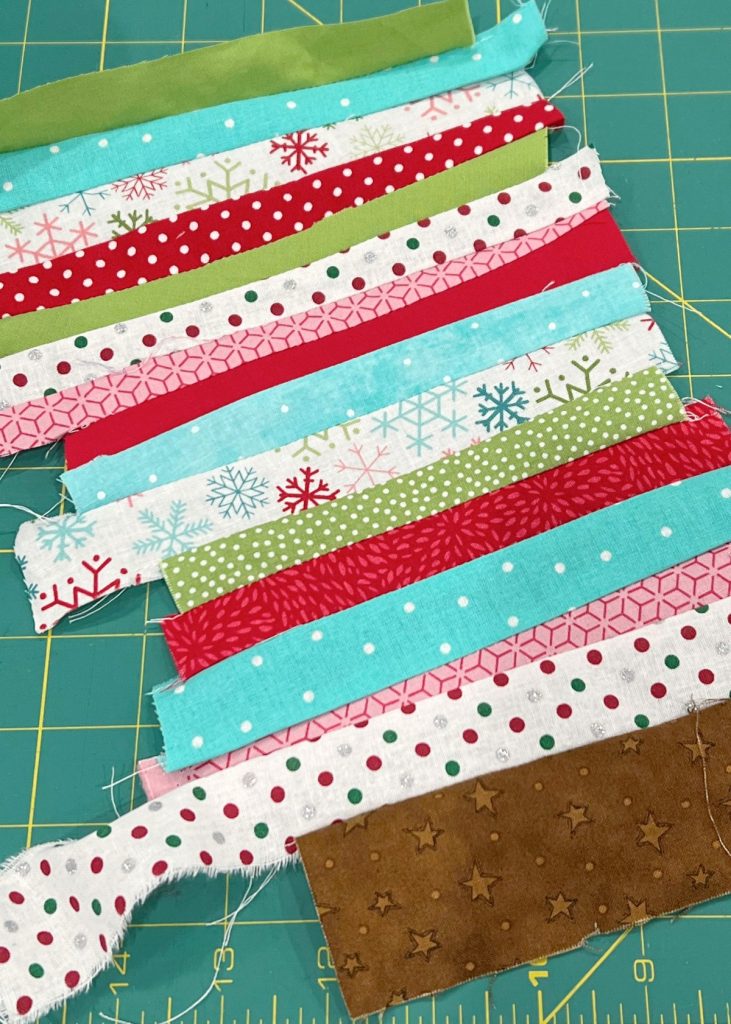
Step 1: Sew your scraps together.
This project is a wonderful scrap buster! Grab whatever scraps you have on hand and trim them into thin strips that are about 7″ long. To sew them together, place one strip on top of another with right sides together, and sew a 1/4″ seam along one of the long edges. Open them up, place another strip face down on top of the others, lining up the long edge, and sew. Continue until you have a piece that’s approximately 7″ x 10″. They can be different lengths and widths (just make sure the longer ones are toward the bottom), and should be a variety of colors and patterns, too! I made sure to sew a brown scrap on the bottom, since I knew that would be the trunk of my tree. Once your pieces are sewn, iron the piece to press the seams and make your fabric lay flat.
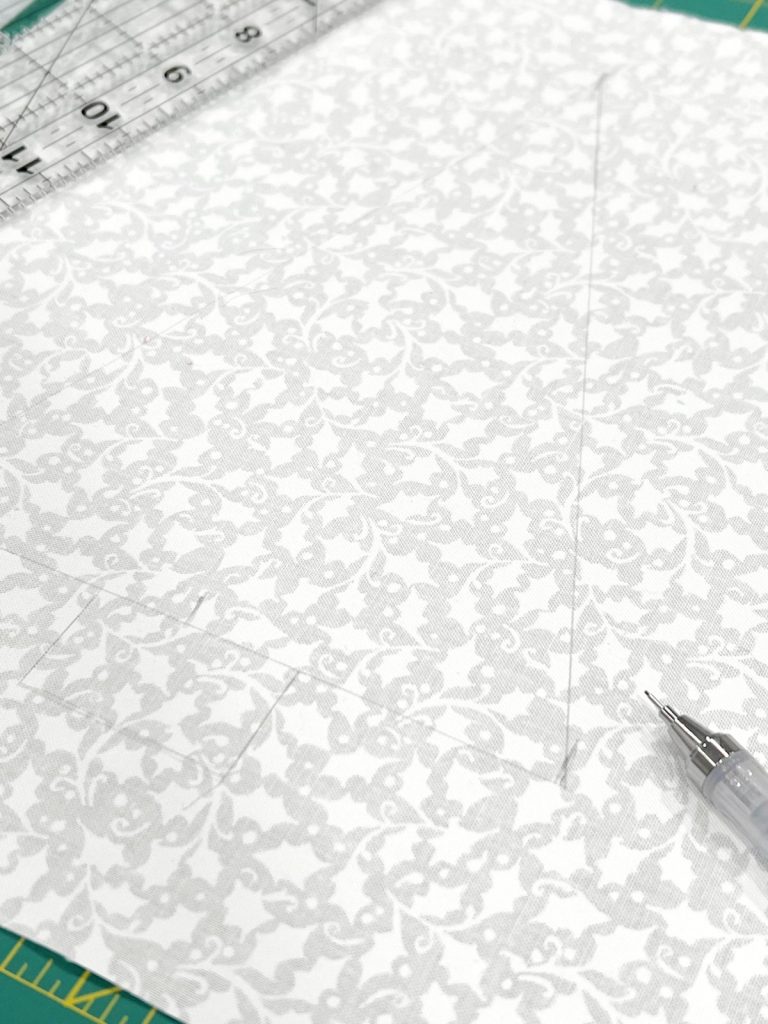
Step 2: Trace/draw a tree shape in the center of your 12″ fabric square.
I flipped my fabric over and used a pencil to draw on the back side. First, I marked the off where the 6″ point was near the top and bottom of the square. For the bottom of the tree, I measured out and marked three inches on each side of that center mark and used a ruler to connect them. Then, I used the ruler to draw straight lines from each end of the base of the tree to the top center mark. This gave me a triangle that was 6″ wide at the bottom and ” tall. Then, I drew a trunk that was 1″ x 2.” You can create your tree using whatever measurements you like, or you can even create a totally different shape, like a gift box, a circle ornament, a candy cane, a heart, and more. There are triangle and other shaped cutting rulers/templates too, so you can trace instead of drawing if you prefer.
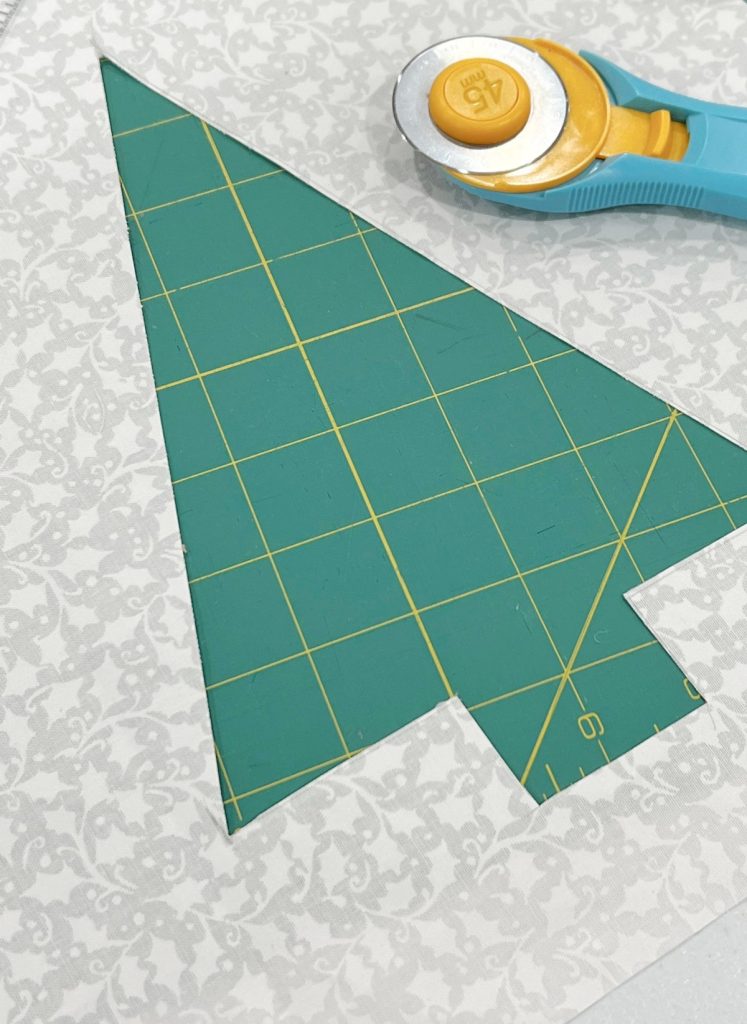
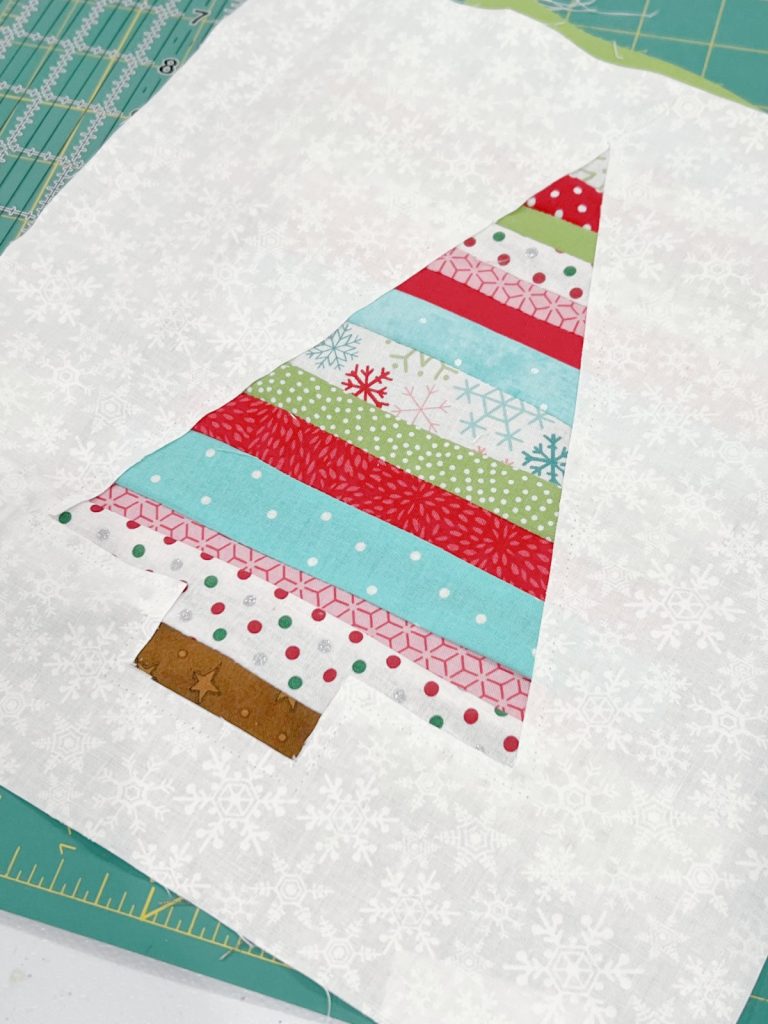
Step 3: Cut out the shape.
Make sure not to cut any other part of the fabric that’s outside of your pencil lines.
Step 4: Position and pin your fabric scrap piece behind the opening.
Make sure to turn your background fabric right side up before pinning your scrap piece behind it.

Step 5: With the right side facing up, sew a 1/4″ seam around the edges of the cutout shape.
Then, flip the fabric over and trim the excess scrap piece, leaving about 1/4″ of fabric.
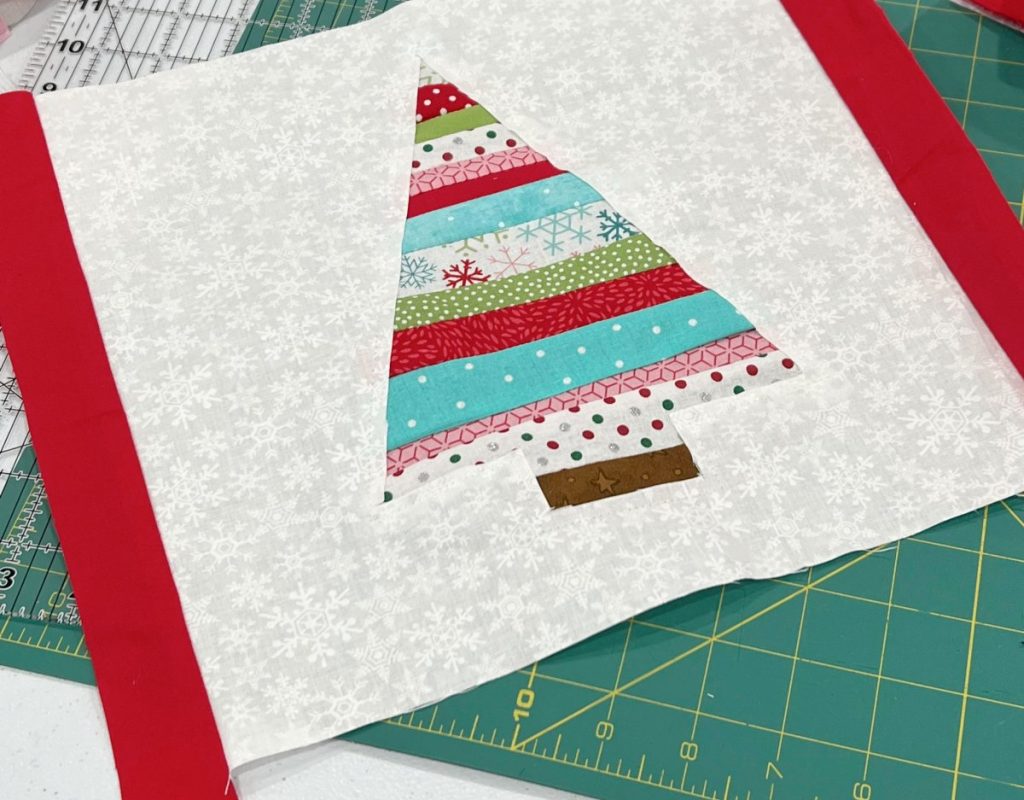
Step 6: Sew the two 1.5″ x 12″ strips on the sides of the square with 1/4″ seams.
Open and press the seams so you have something that looks like the image below.
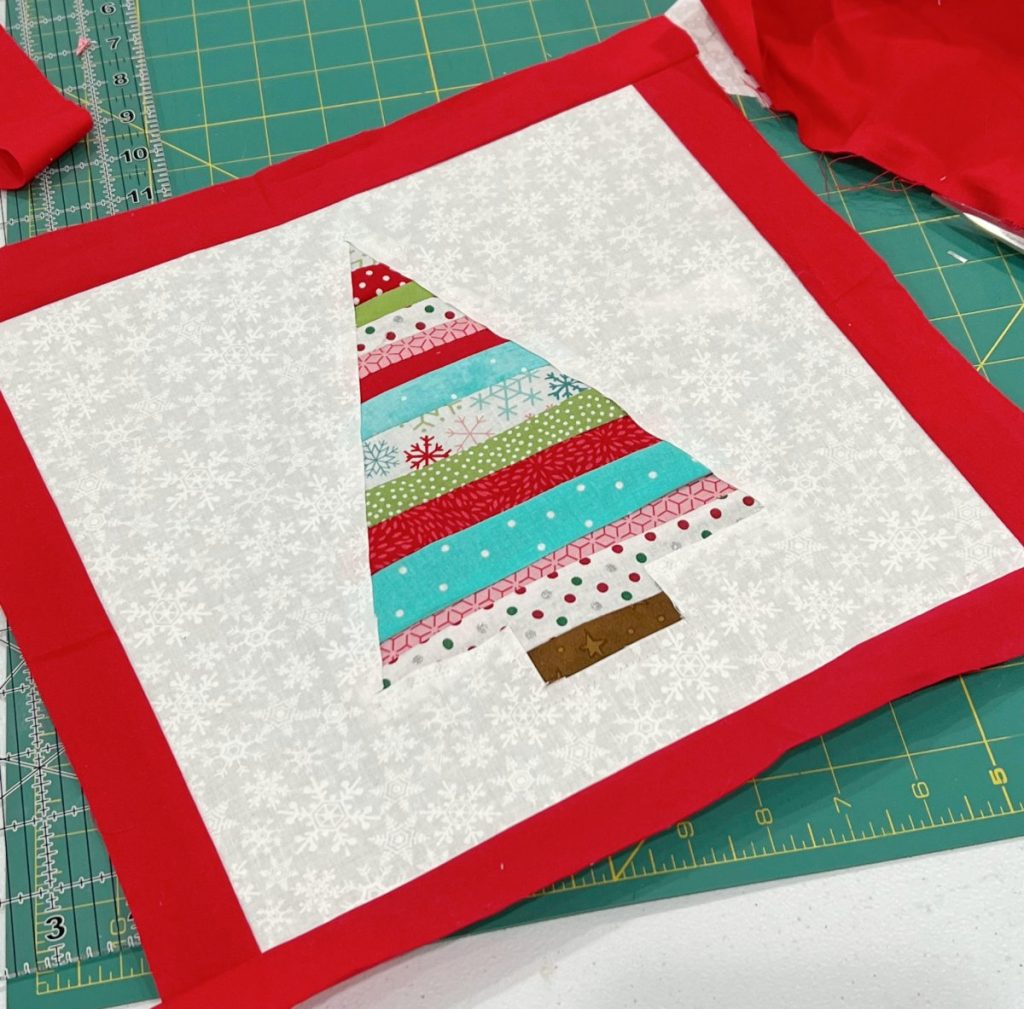
Step 7: Sew the two 1.5″ x 14″ strips to the top and bottom.
This will give your square a border. This process is called sashing, and is an easy way to frame a quilt square.
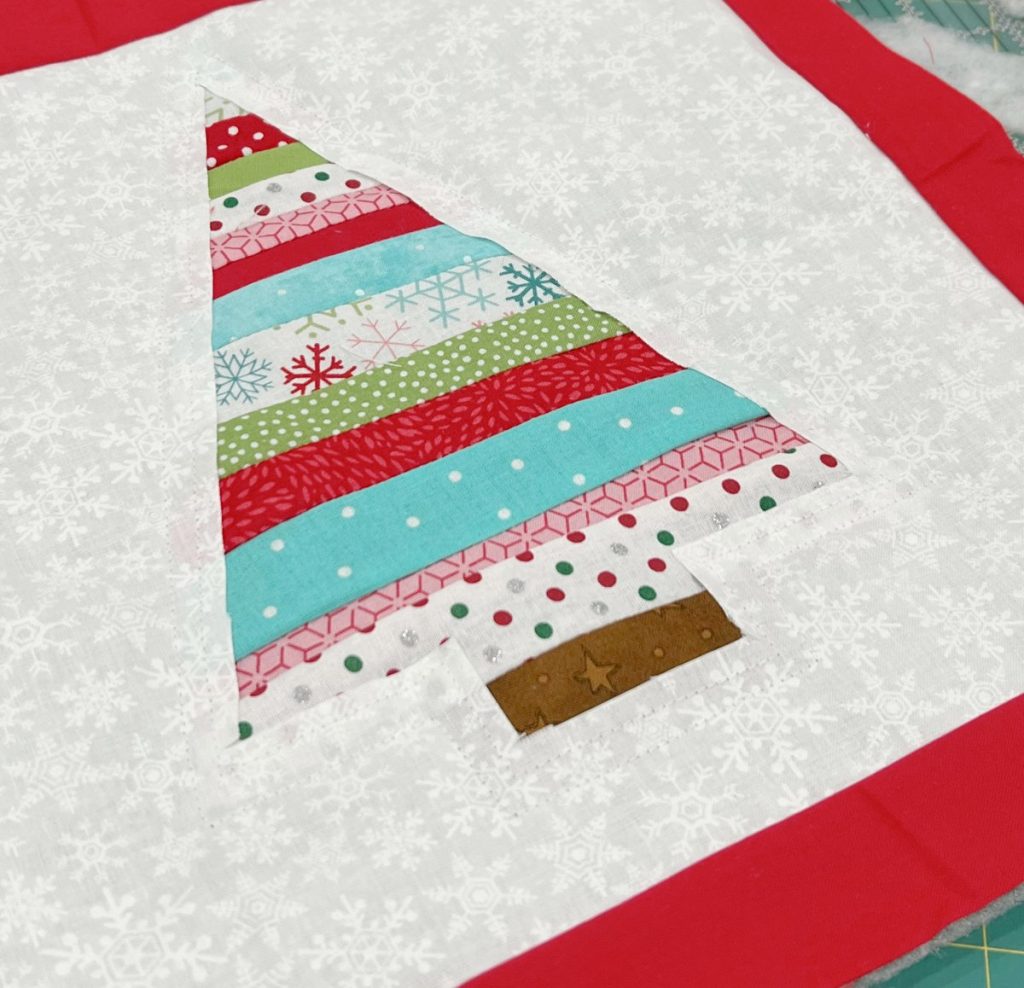
Step 8: (optional) Place a 15″ square of batting behind this panel and quilt as desired.
If you prefer not to do any quilting, you can just use the square as is and hop down to step 9. I like adding the extra fluffiness, so I chose to quilt mine, but I kept the quilting very minimal. All I did was sew around the tree shape 1/2″ from my previous seam. You can quilt as much or as little as you like. When you’re finished, trim the extra batting to the same size as the fabric.
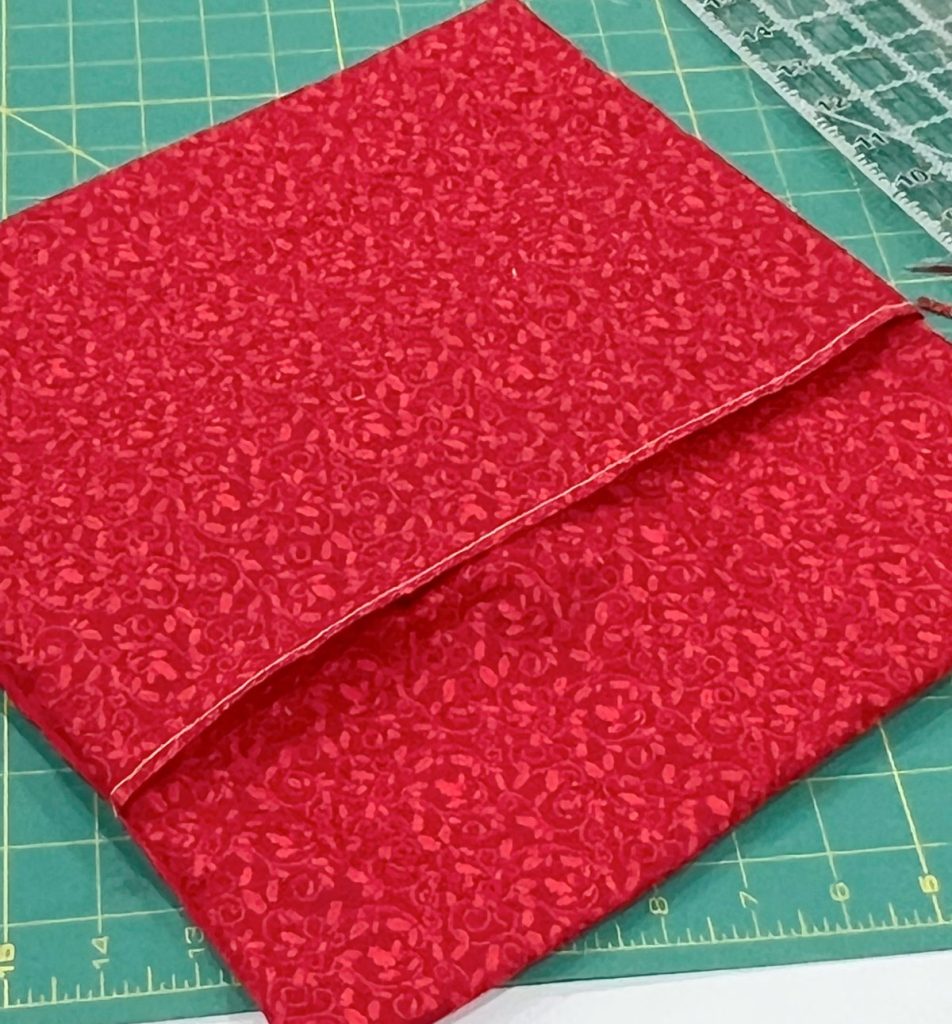
Step 9: Create an envelope pillow back.
To do this, fold one edge of each 14″ x 9″ piece about 1/2″ and sew a 1/4″ seam so it has a finished edge. With the pillow front face up, place these two pieces face down on top of it. Line them up with the raw edges matching the edges of the pillow front. The seamed edge of the bottom piece should overlap the seamed edge of the top piece in the center of the pillow. Sew around all four sides of the square with 1/4″ seam.
Once you sew, turn the pillow cover right side out. The back should look like the image below.
All that’s left to do is slide your 14″ pillow form inside the cover!
This is such a fun project to do, and it’s relatively quick, too. It’s a great way to use up your fabric scraps, and every time you do it, your project will look a little bit different, because you’ll be using different combinations and patterns of fabric. If you try this, I’d love to see how yours turns out; make sure you’re part of the Amy Latta & Friends Facebook Group so you can share your project photos and we can all be inspired! See you there!
Also, make sure to check out these other Christmas projects and quilting projects. Happy creating!


2 Comments