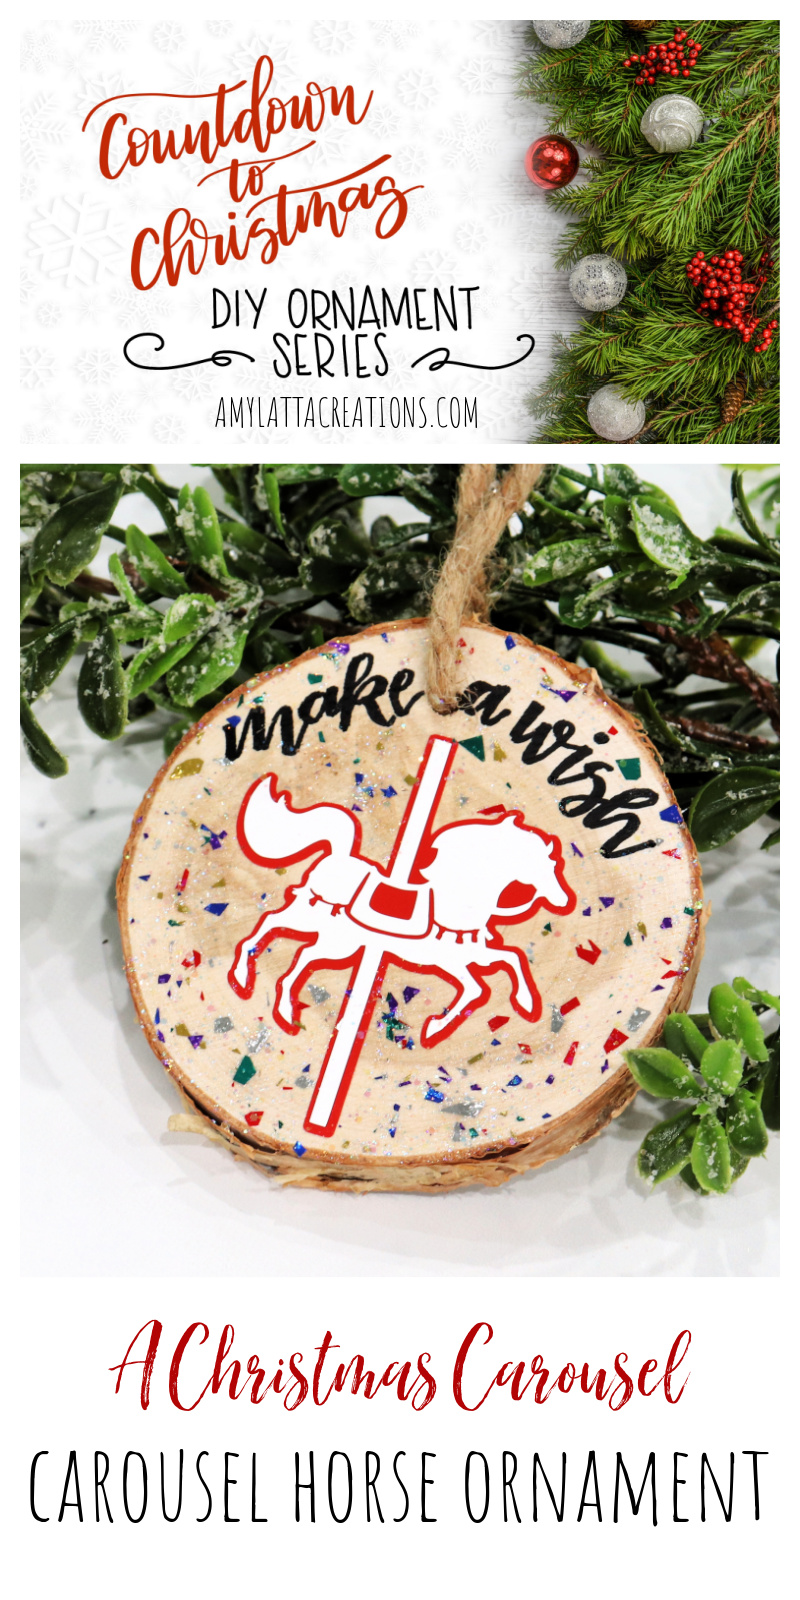
Countdown to Christmas Ornament: A Christmas Carousel
The next-to-last movie premiere of Hallmark Channel’s 2020 Countdown to Christmas is A Christmas Carousel starring Rachel Boston and Neal Bledsoe. If you enjoy feel-good stories with plenty of Christmas cheer plus a royal family, you’re in for a treat. Lila (Boston) and her dad are restoration professionals who receive an invitation to the nation of Ancadia in order to restore the carousel her great-grandfather built for the king years before. Lila, who is also an art teacher, finds a kindred spirit in the Prince, who is an artist himself and works alongside her to restore the carousel’s murals. As they plan an art-themed Christmas celebration, they find themselves falling in love, despite the wishes of the king, who has other plans for his son. Find out more and see the movie here!
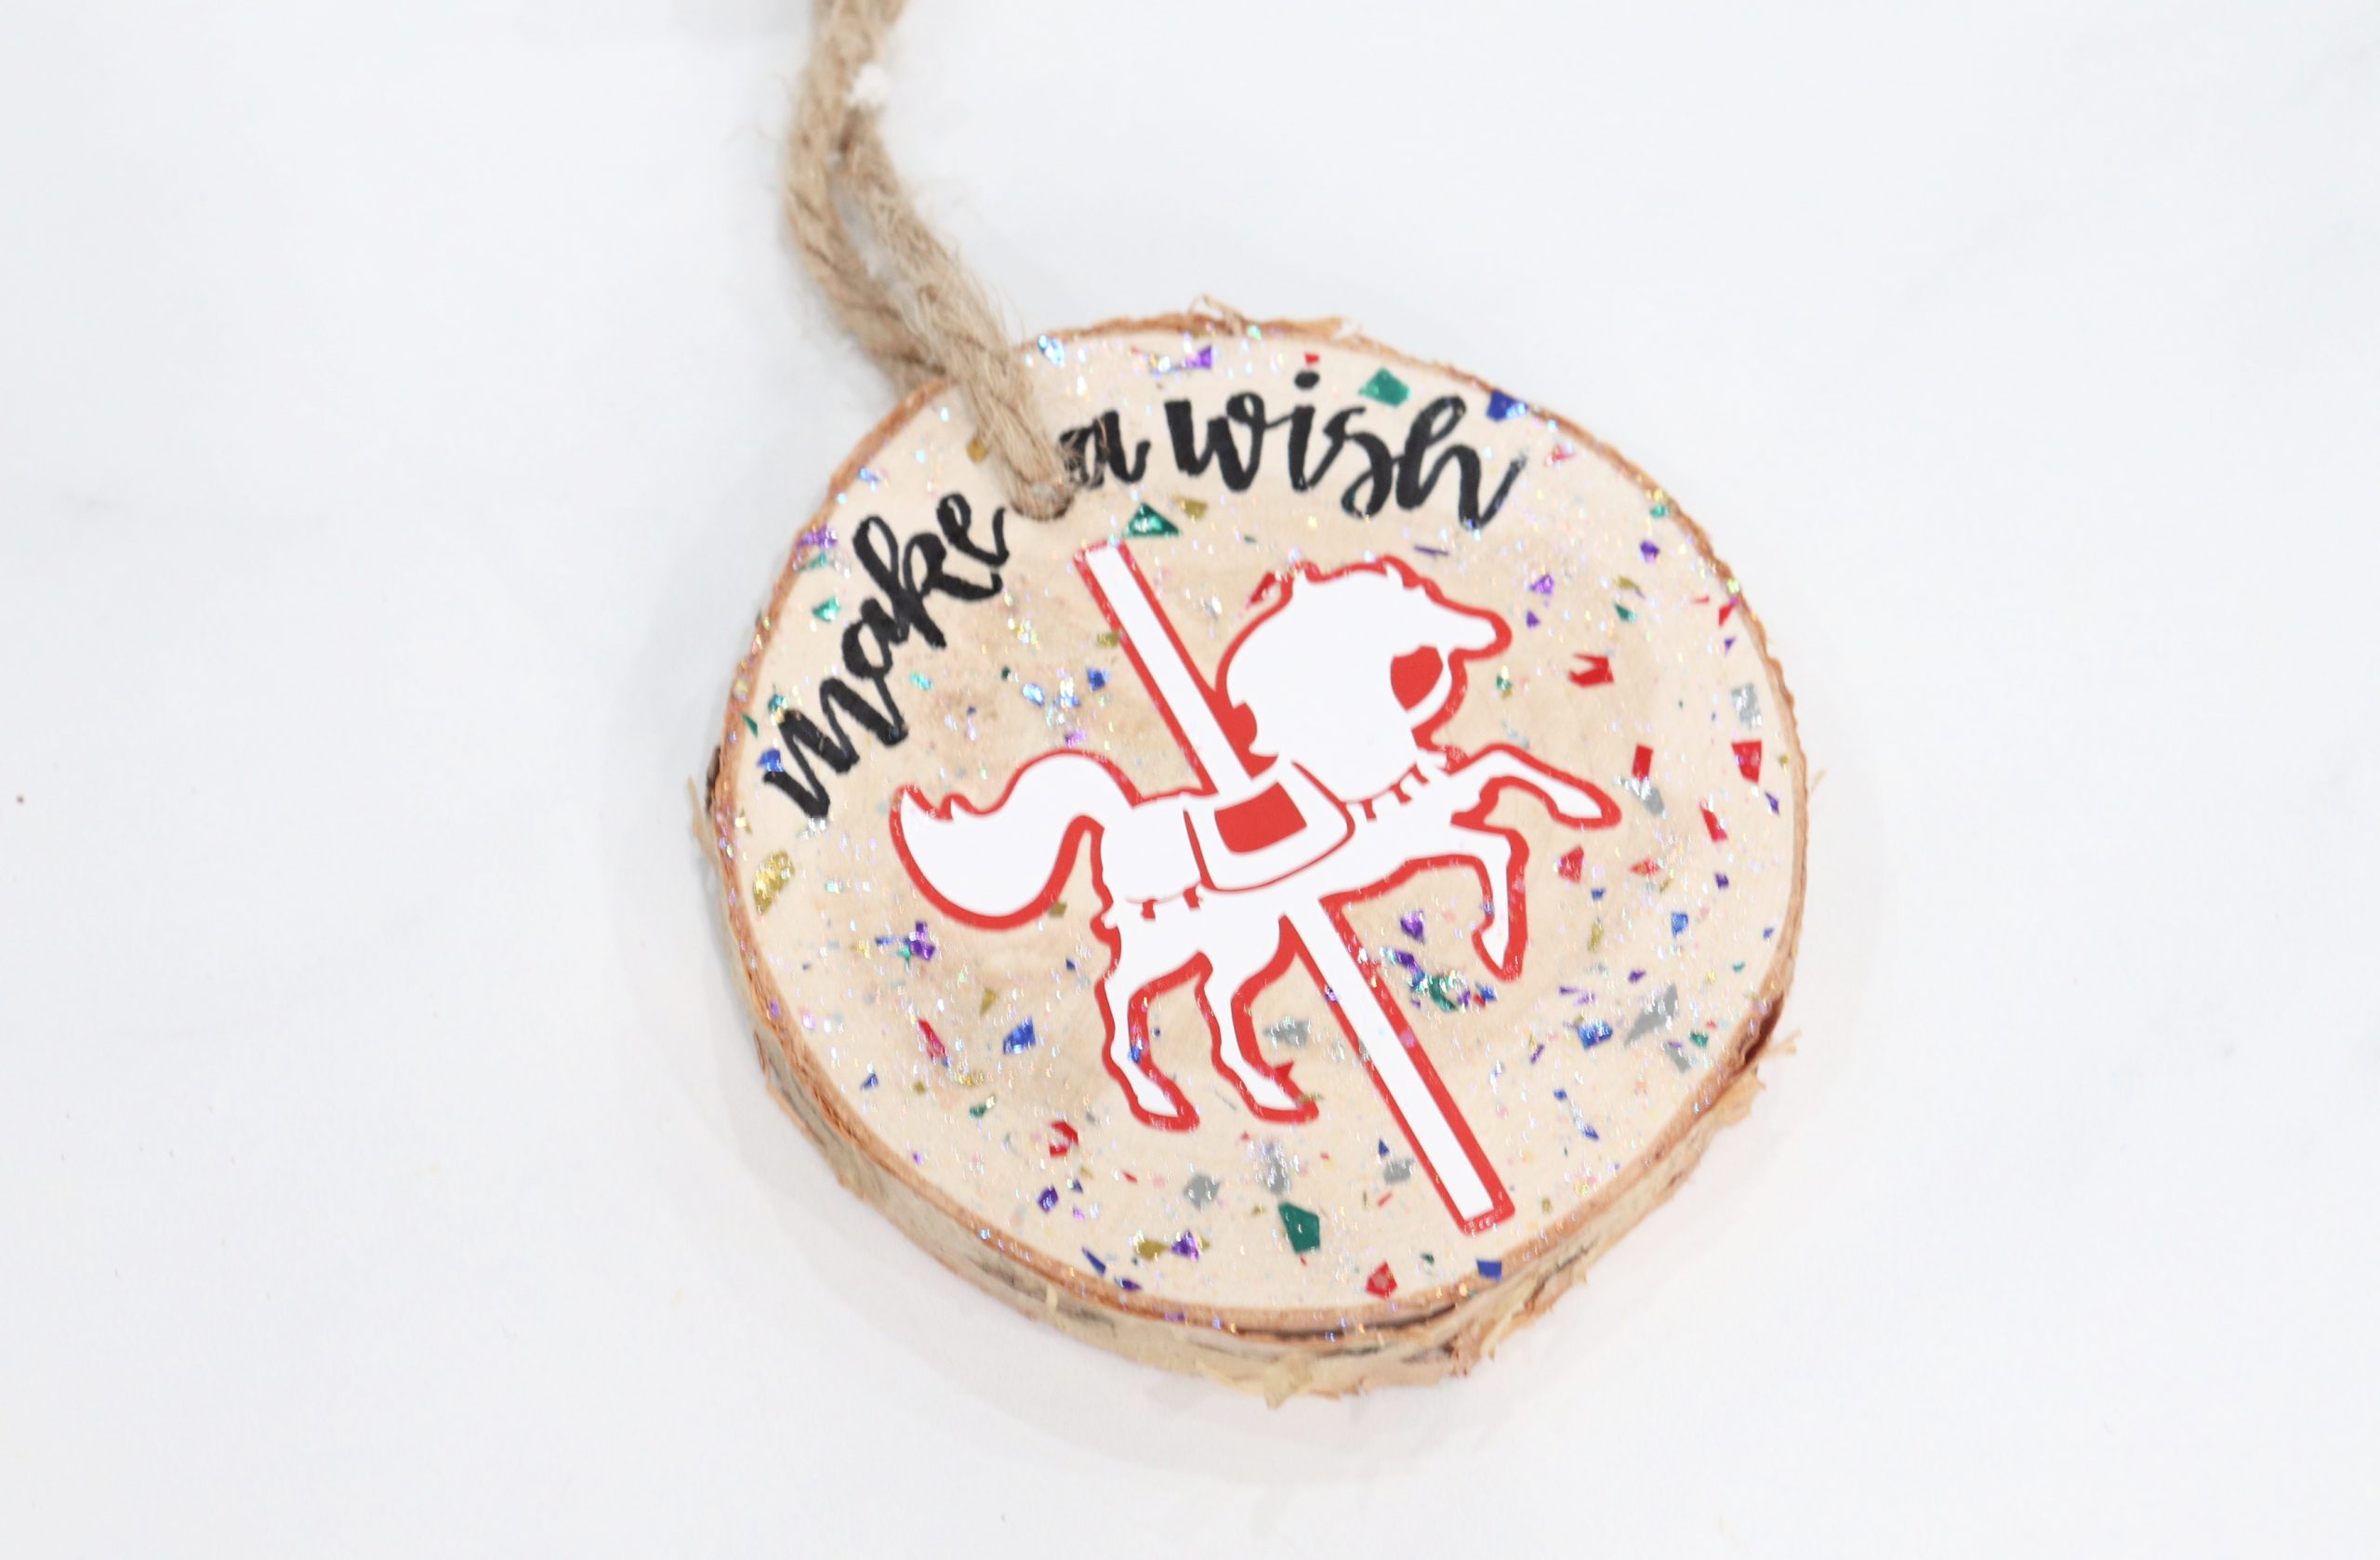
As I brainstormed what ornament to create for this movie, it was obvious that a carousel horse had to be the main focus. Not just any horse, but the special white “wishing horse” the characters reference several times in the movie. As the story goes, if you make a wish while riding this horse on the third rotation of the carousel, your wish will come true. Here’s the ornament I came up with as a nod to this piece of the movie:
CAROUSEL HORSE ORNAMENT

You’ll Need:
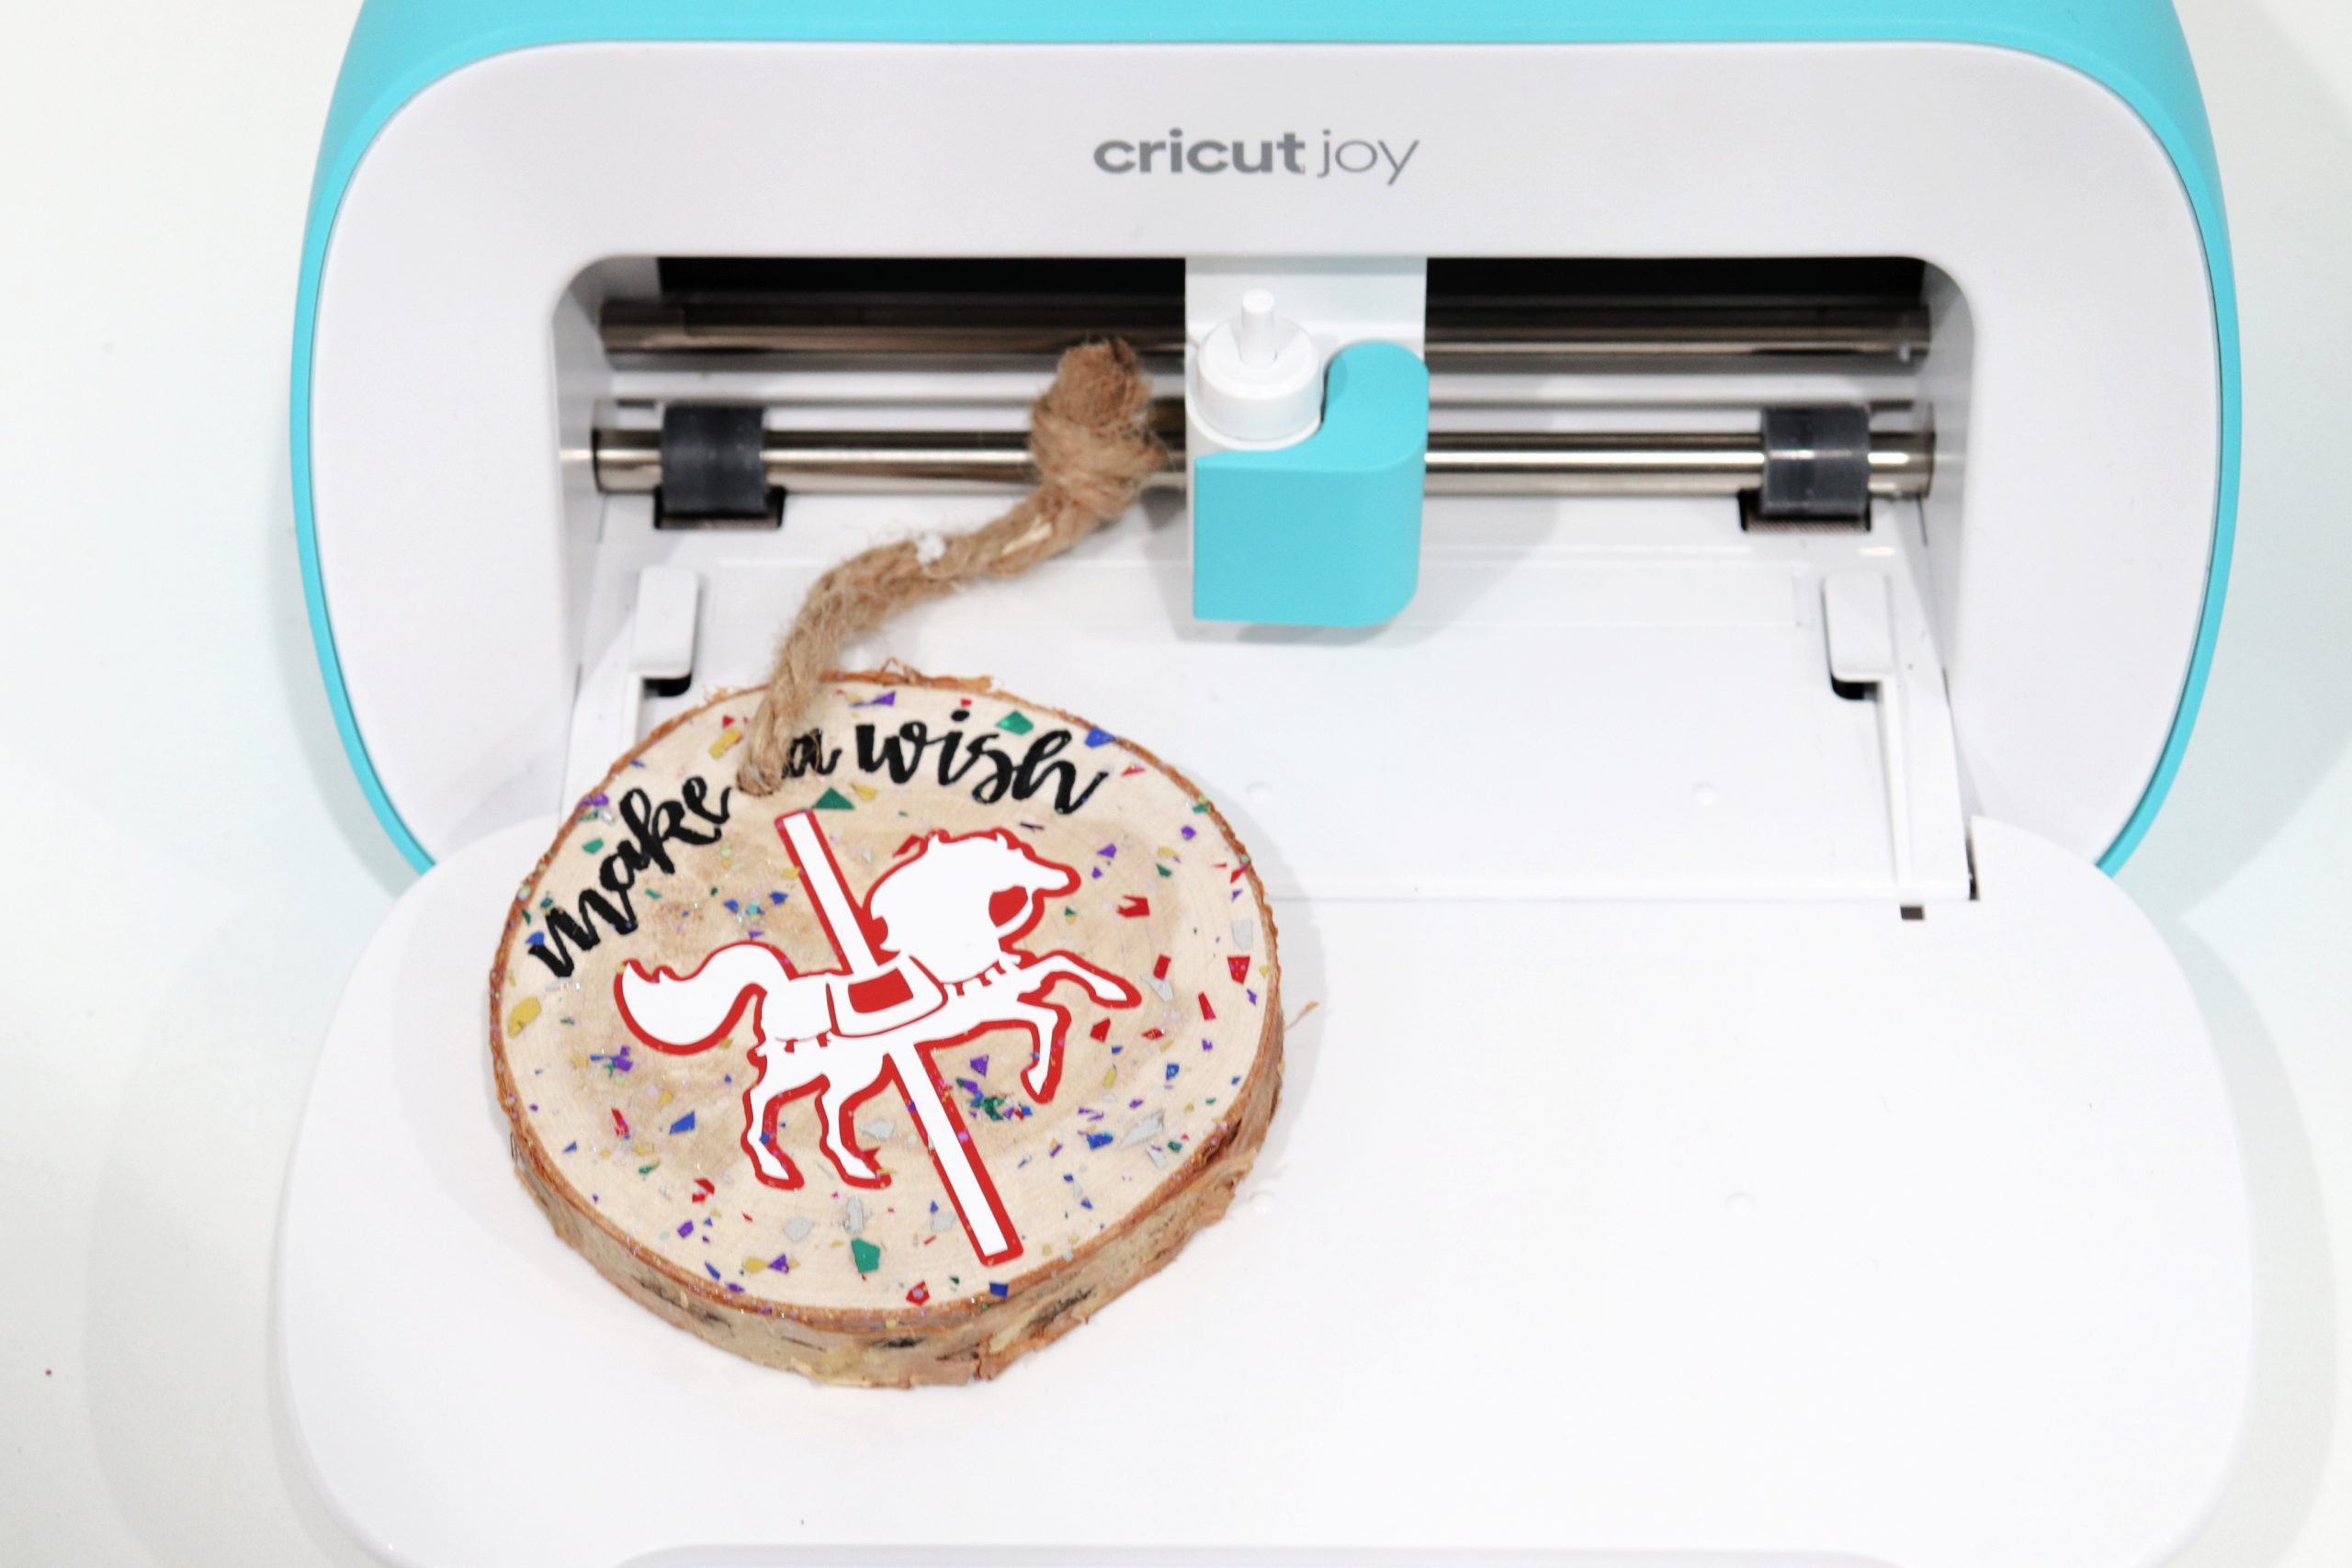
Cricut Joy or other Cricut machine
Smart Vinyl, Permanent (red & white)
black permanent or paint marker
FolkArt Glitterific (or glue and confetti glitter)
scissors
paintbrush
Step 1: Use your Cricut machine to cut the horse image from red and white vinyl.
I used an image from the Design Space app called Horse #M3B6F1. First, you’ll need to size your image to fit your wood slice. Then, the app will walk you through loading the vinyl into the machine one color at a time, and the Cricut will work its cutting magic!
Step 2: Weed the vinyl.
This means peeling away all the vinyl that isn’t part of your design. Make sure to get all the little cut-out pieces from the top horse.
Step 3: Apply transfer tape.
Place a piece of the transfer tape on top of the red (bottom) horse, and rub it with a burnishing tool or something like a plastic credit card to help it adhere.
Step 4: Adhere the image to the wood slice.
Place the vinyl image/transfer tape in the center of the ornament and rub to adhere, then peel the tape away. The vinyl should be attached to the wood.
Step 5: Repeat with the top horse image.
This one goes on top of the previous layer.
Step 6: Write “make a wish” or any message you like on the ornament using permanent or paint marker.
I used Faux Calligraphy, which you can learn about in this post! Another option is to use the Cricut to cut out your text from vinyl and apply it just like you did the main image.
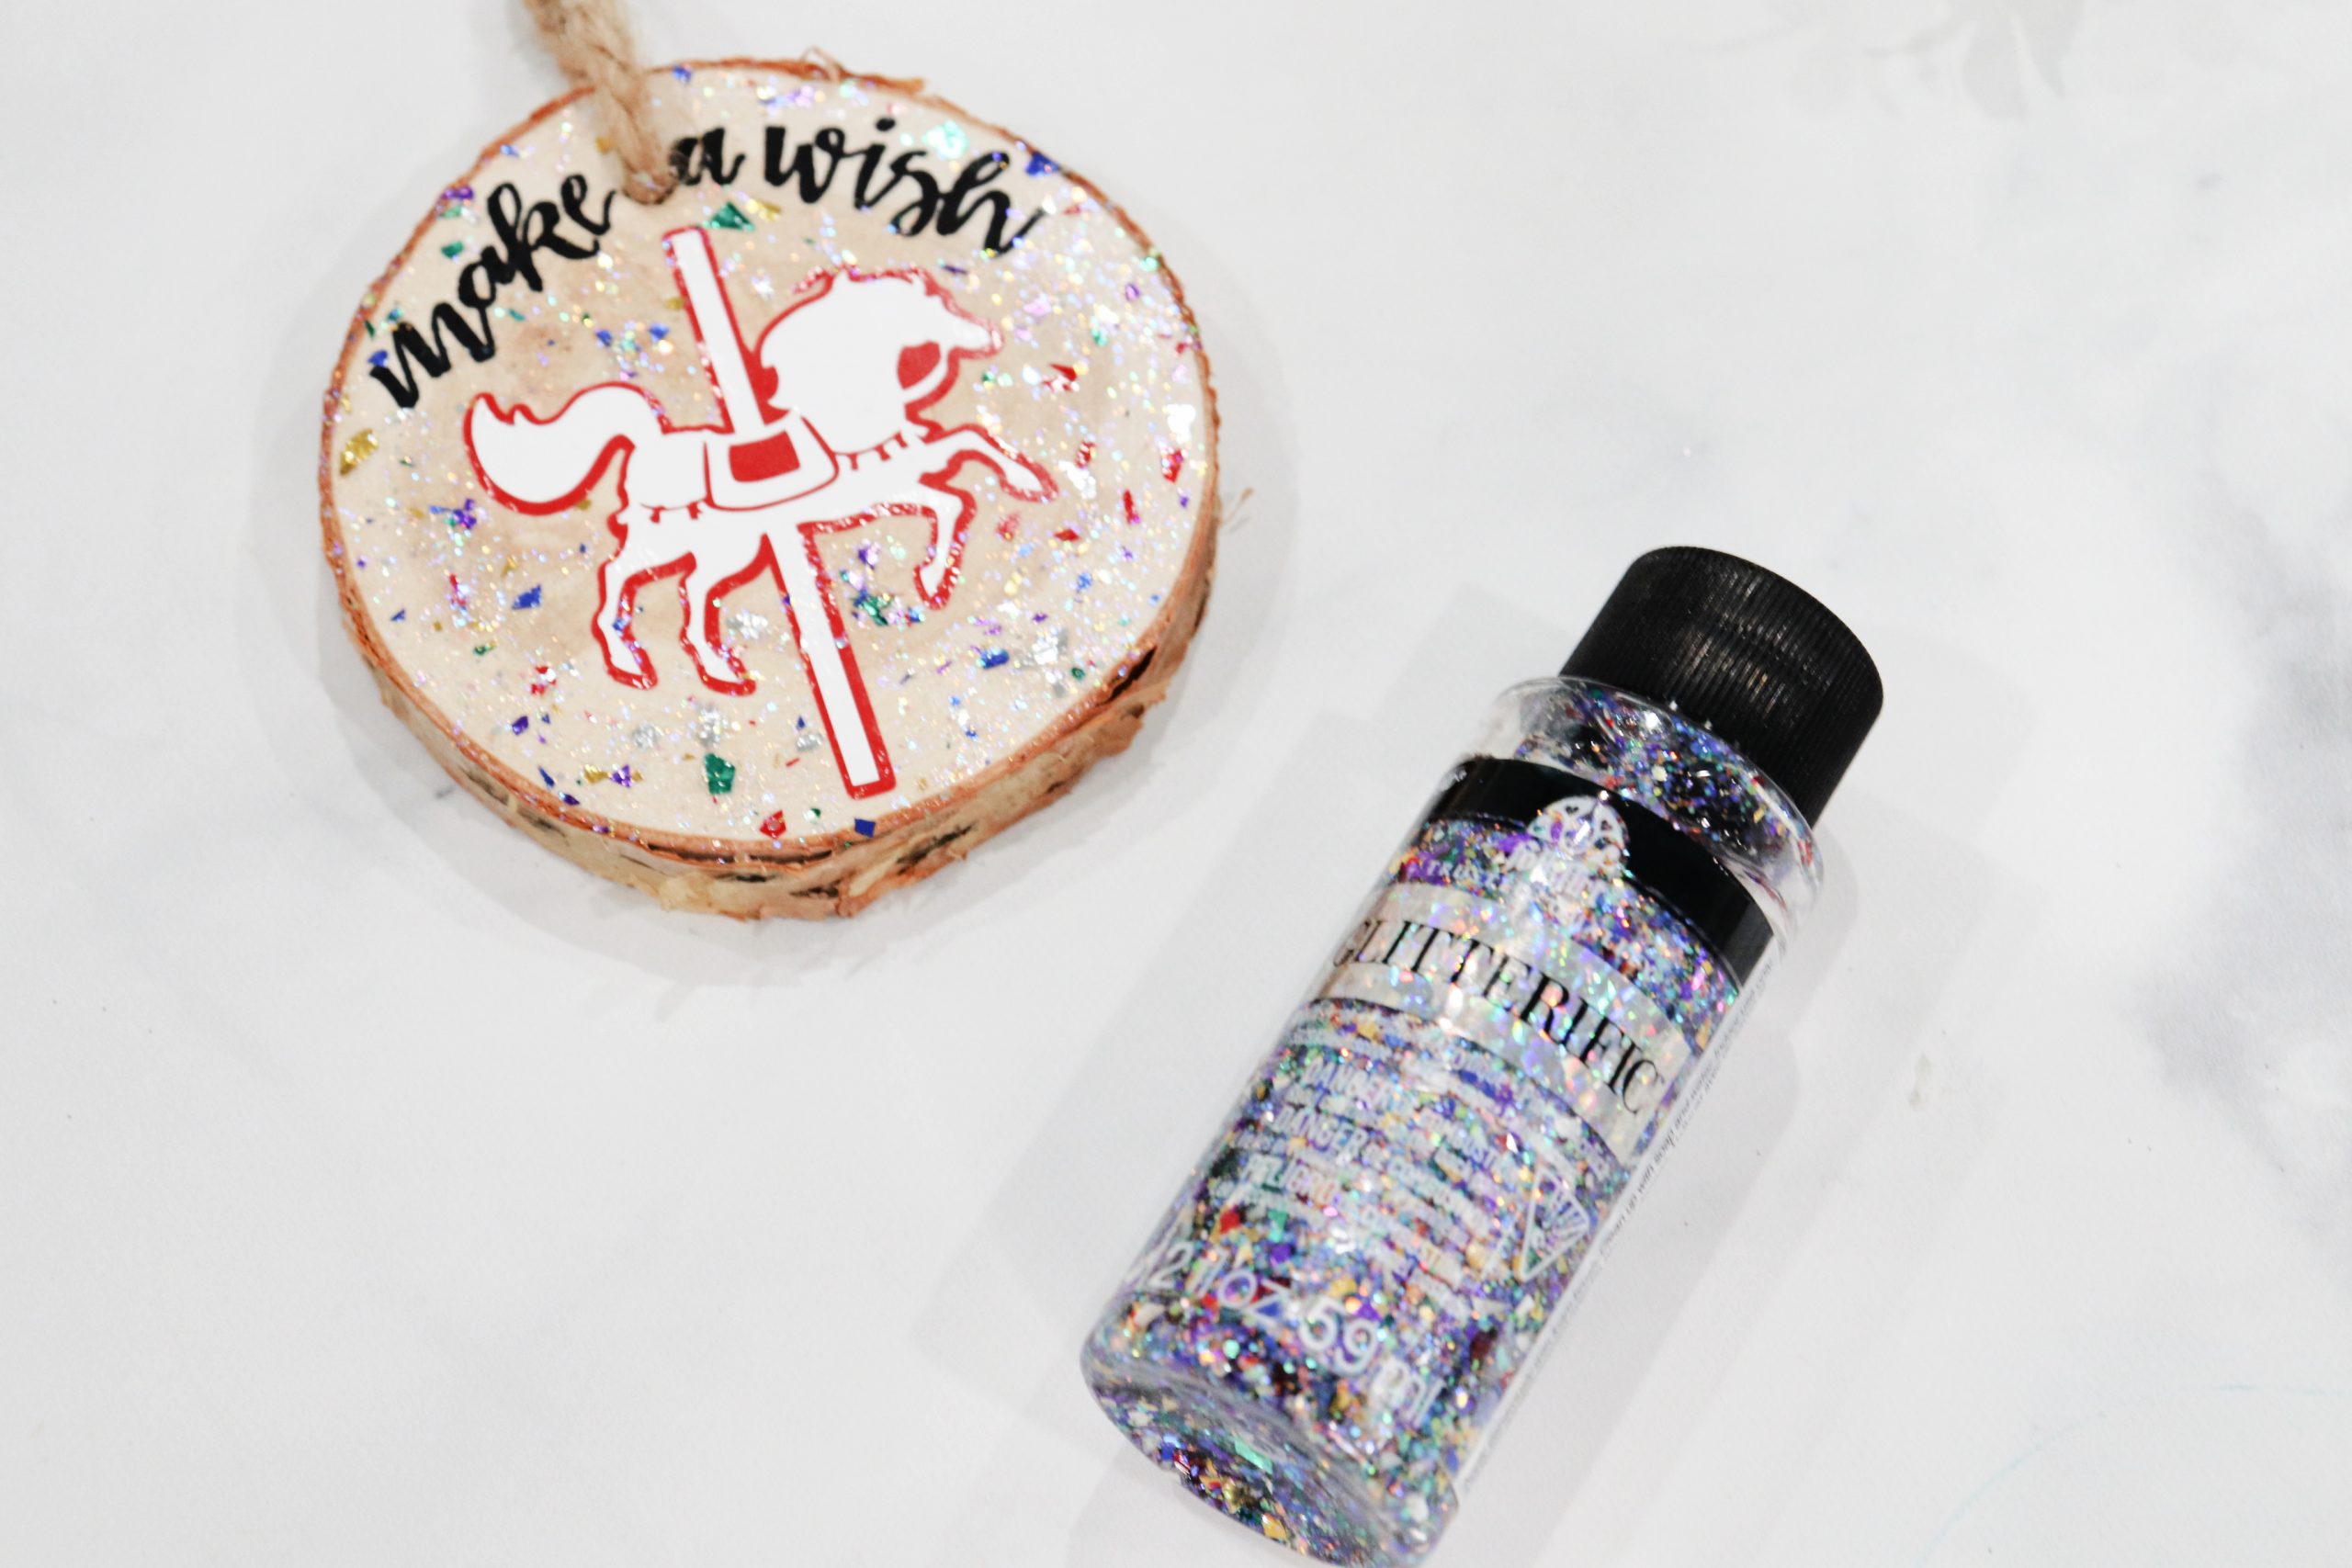
Step 7: Apply glitter.
Use a brush to paint Glitterific (or glue and Confetti Glitter) onto the blank spots of the ornament.
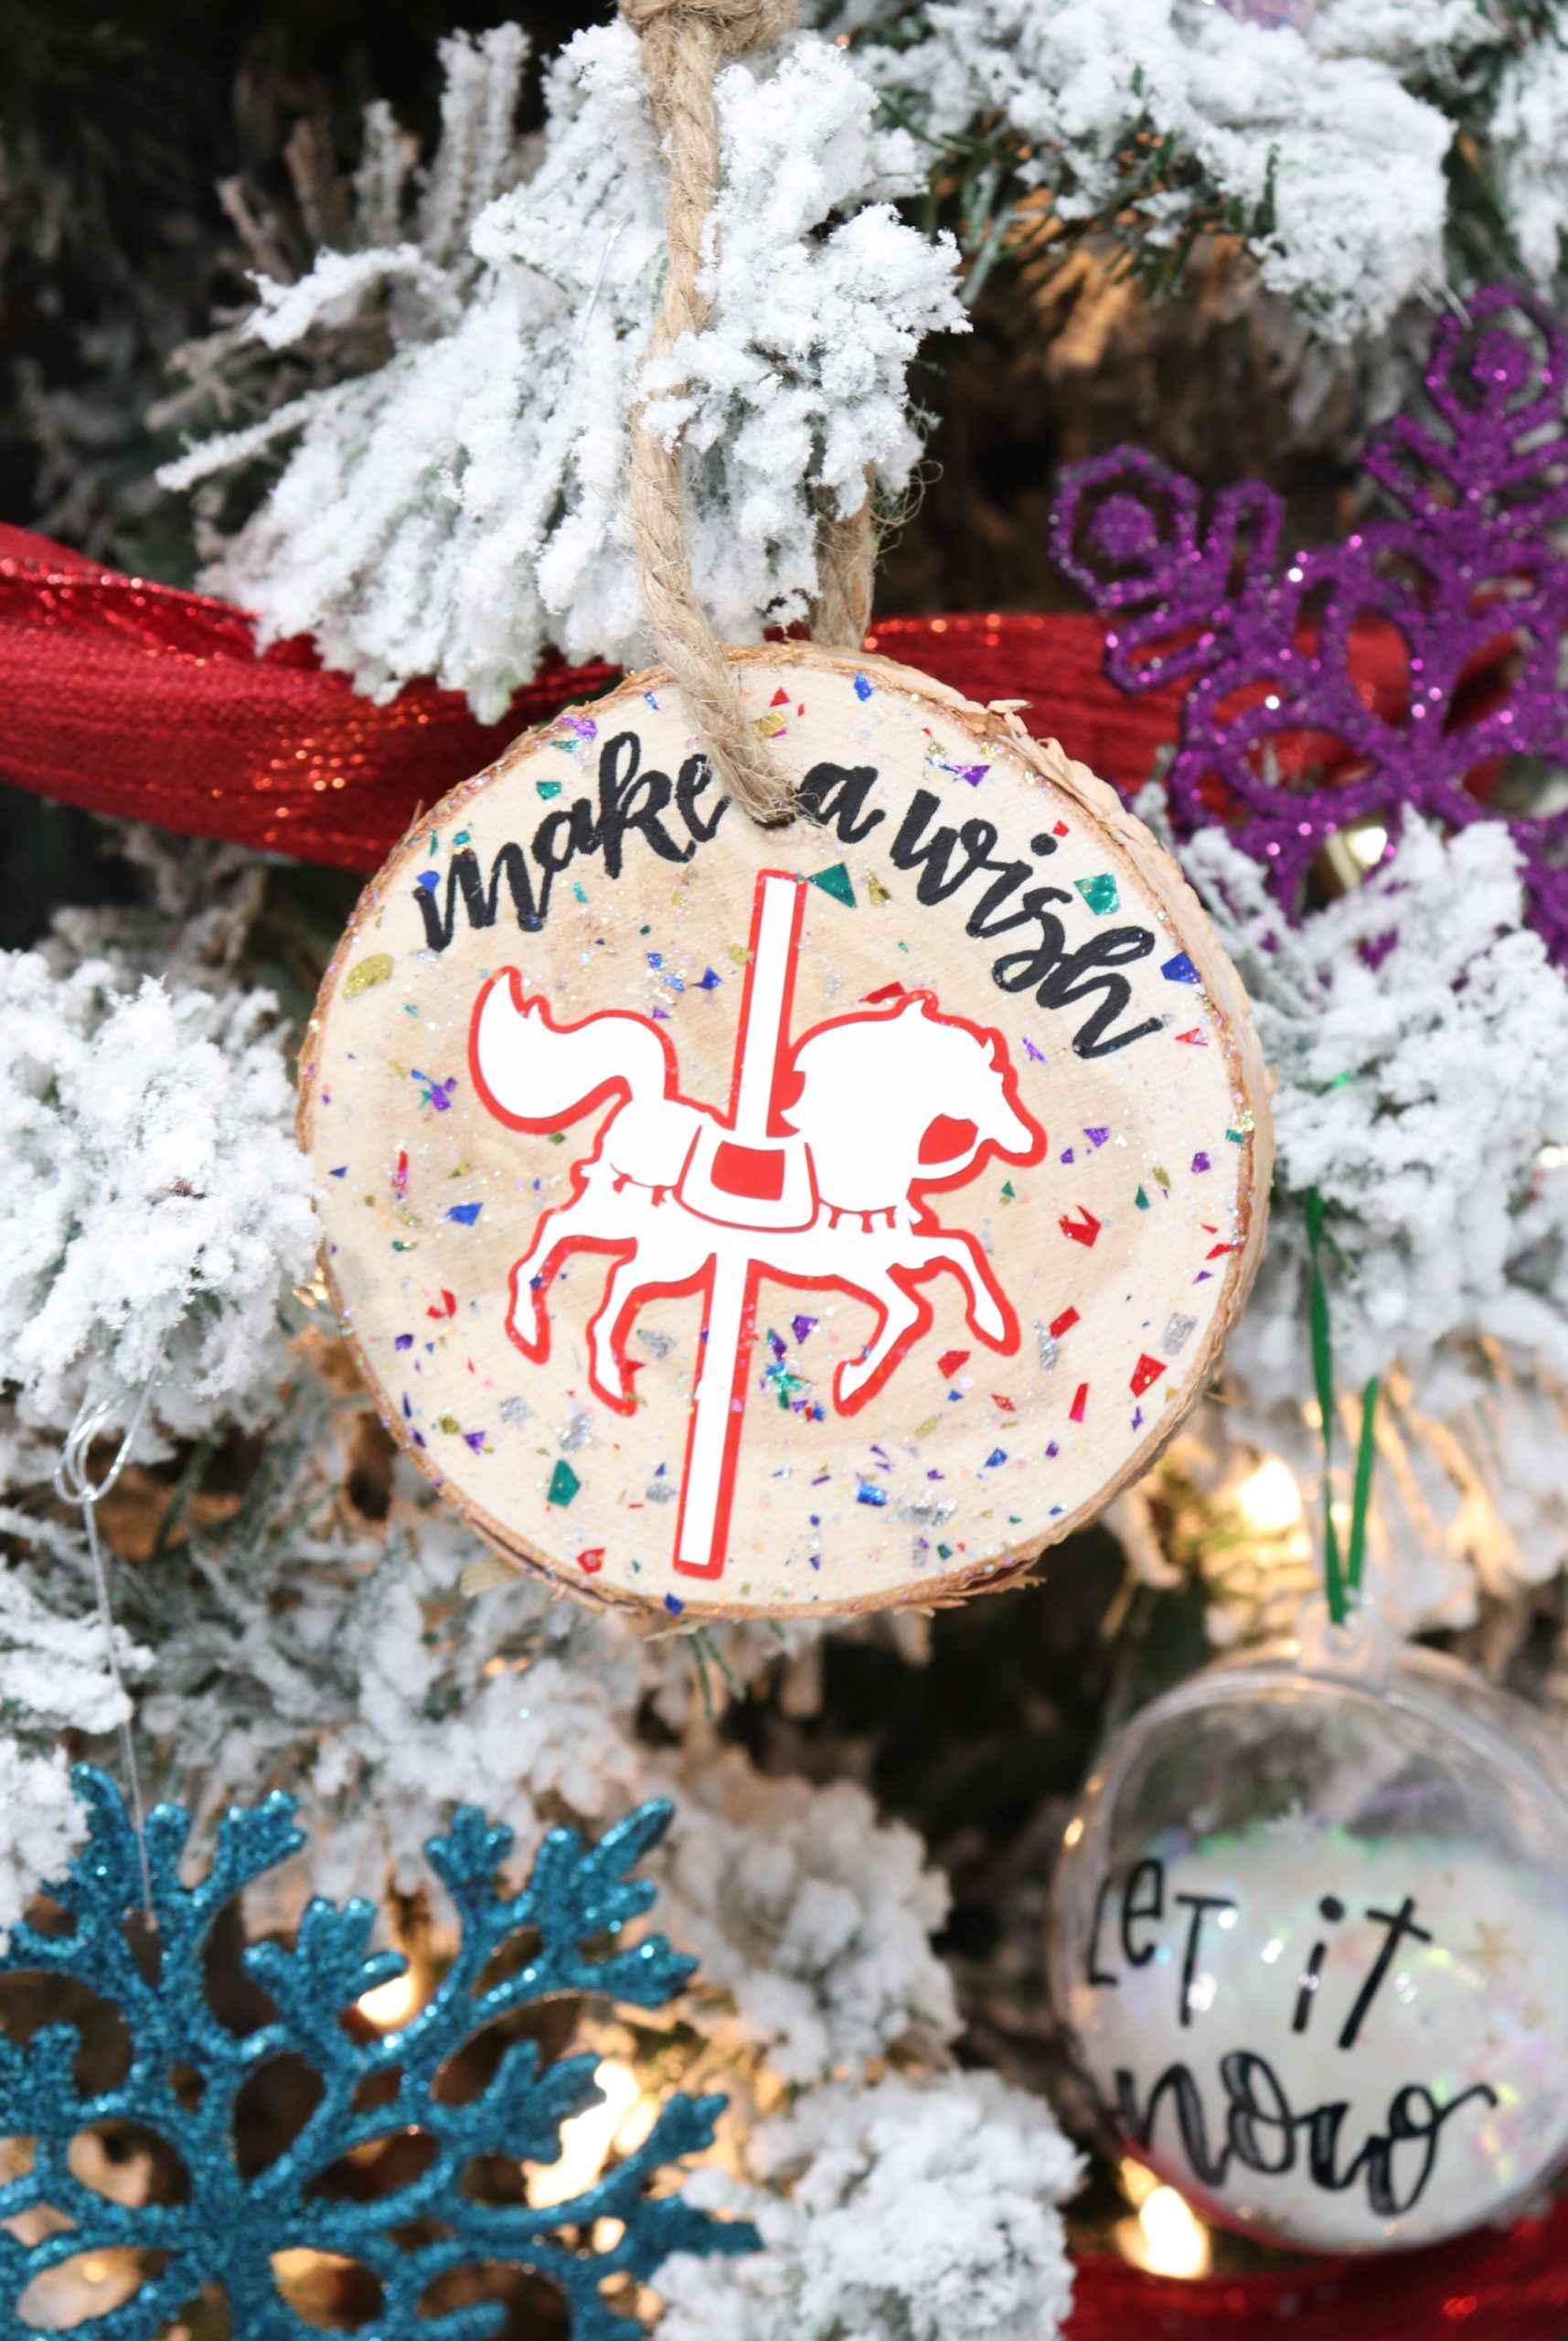
Once the ornament is dry, it’s ready to display on your tree! If you try this one, I’d love to see how it turns out. Make sure to share your photos of all your favorite holiday projects in the Amy Latta & Friends Facebook group so we can all be inspired.
Don’t miss all of the other DIY Ornament Tutorials for the Hallmark Channel Countdown to Christmas Series! There’s one for each original movie premiere this year:

JINGLE BELL BRIDE CHATEAU CHRISTMAS
ONE ROYAL HOLIDAY ON THE 12TH DATE OF CHRISTMAS
NEVER KISS A MAN IN A CHRISTMAS SWEATER
CHRISTMAS WITH THE DARLINGS CHRISTMAS IN VIENNA
A TIMELESS CHRISTMAS A NASHVILLE CHRISTMAS CAROL
THE CHRISTMAS HOUSE HEART OF THE HOLIDAYS
A CHRISTMAS TREE GROWS IN COLORADO
GOOD MORNING, CHRISTMAS CHRISTMAS BY STARLIGHT
FIVE STAR CHRISTMAS CHRISTMAS WALTZ IF I ONLY HAD CHRISTMAS
CHRISTMAS IN EVERGREEN: BELLS ARE RINGING
CHRISTMAS SHE WROTE LOVE, LIGHTS, HANUKKAH
CHRISTMAS COMES TWICE CROSS COUNTRY CHRISTMAS