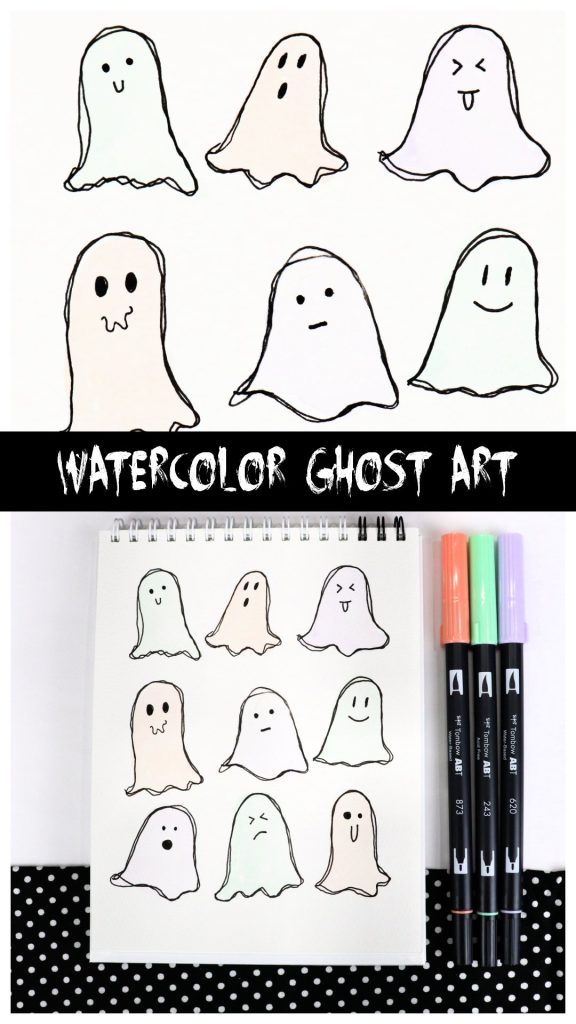
Watercolor Ghost Art with Markers
Make a simple piece of not-so-spooky artwork by using markers to create a watercolor effect. It’s easy to do and you’ll love giving each ghost its own unique facial expression. Let’s get started.
How to Make Watercolor Ghost Art
This project only requires a few basic materials. I recommend the Tombow products listed below for best results, but in a pinch, you can use any water-based markers for the watercolor effect.
Materials:
Tombow Dual Brush Pens (I used 243, 620, and 873)
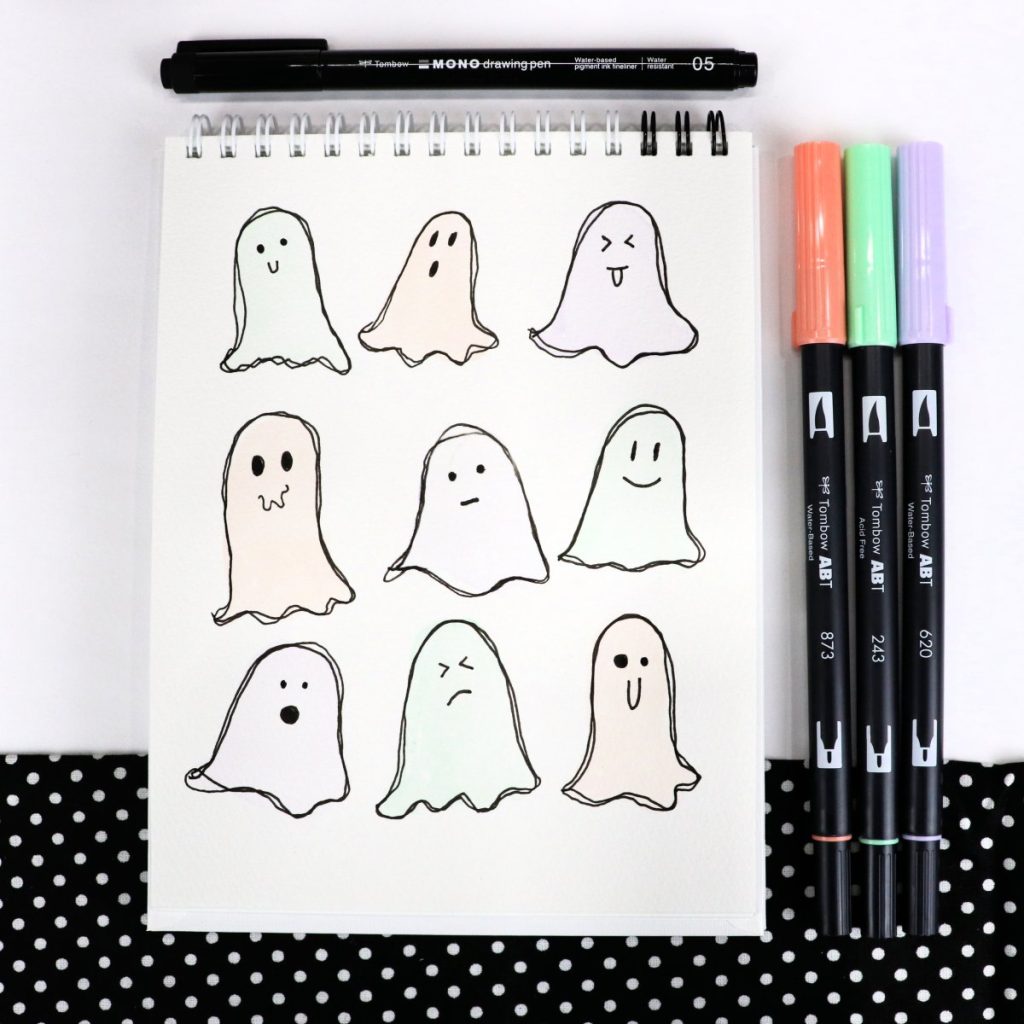
Tombow MONO Drawing Pen 05
Tombow Water Brush
Bristol Board or Hot Press Watercolor Paper
Plastic baggie or other non-absorbent surface
Instructions
Scribble one of your Dual Brush Pens onto the non-absorbent surface.
This will cause the ink to form into droplets/small puddles.
Pick up ink with the tip of your filled water brush.

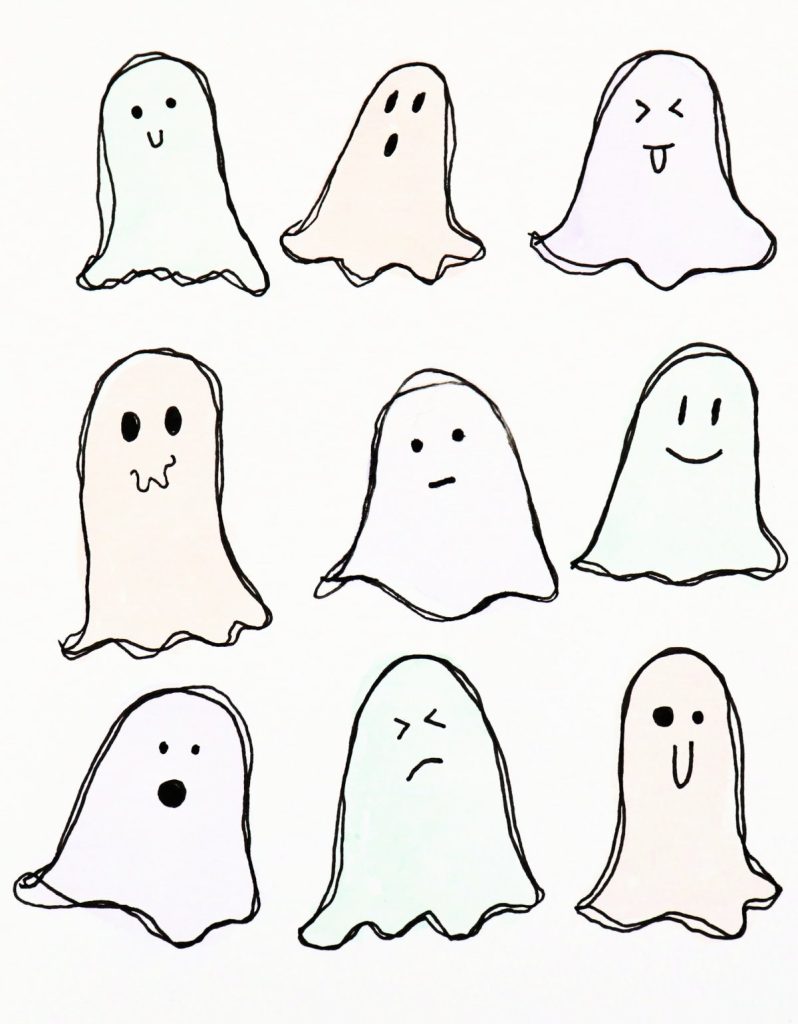
Paint a variety of ghost bodies.
These are just upside down “u” shapes with a wavy bottom. You can experiment with making them tall, short, wide, thin, etc. for variety.
Repeat with your other colors.
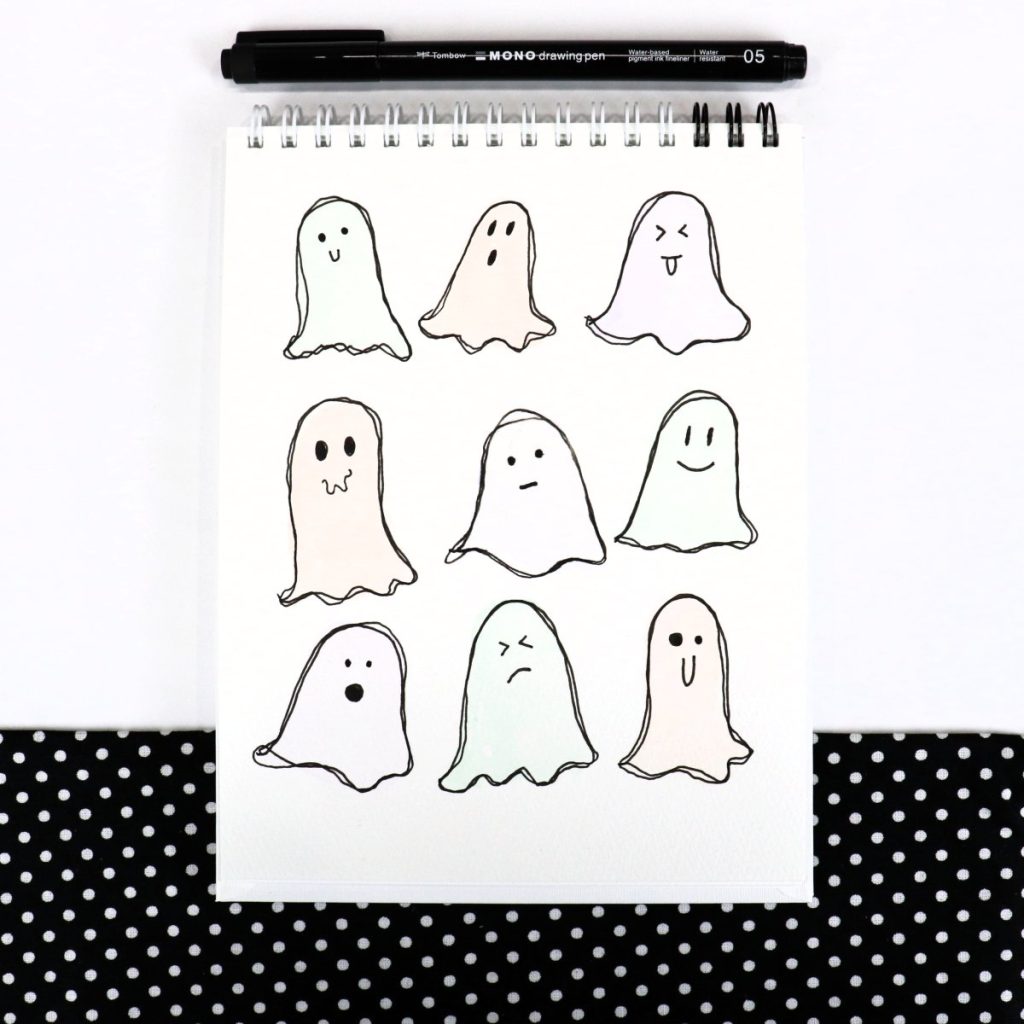
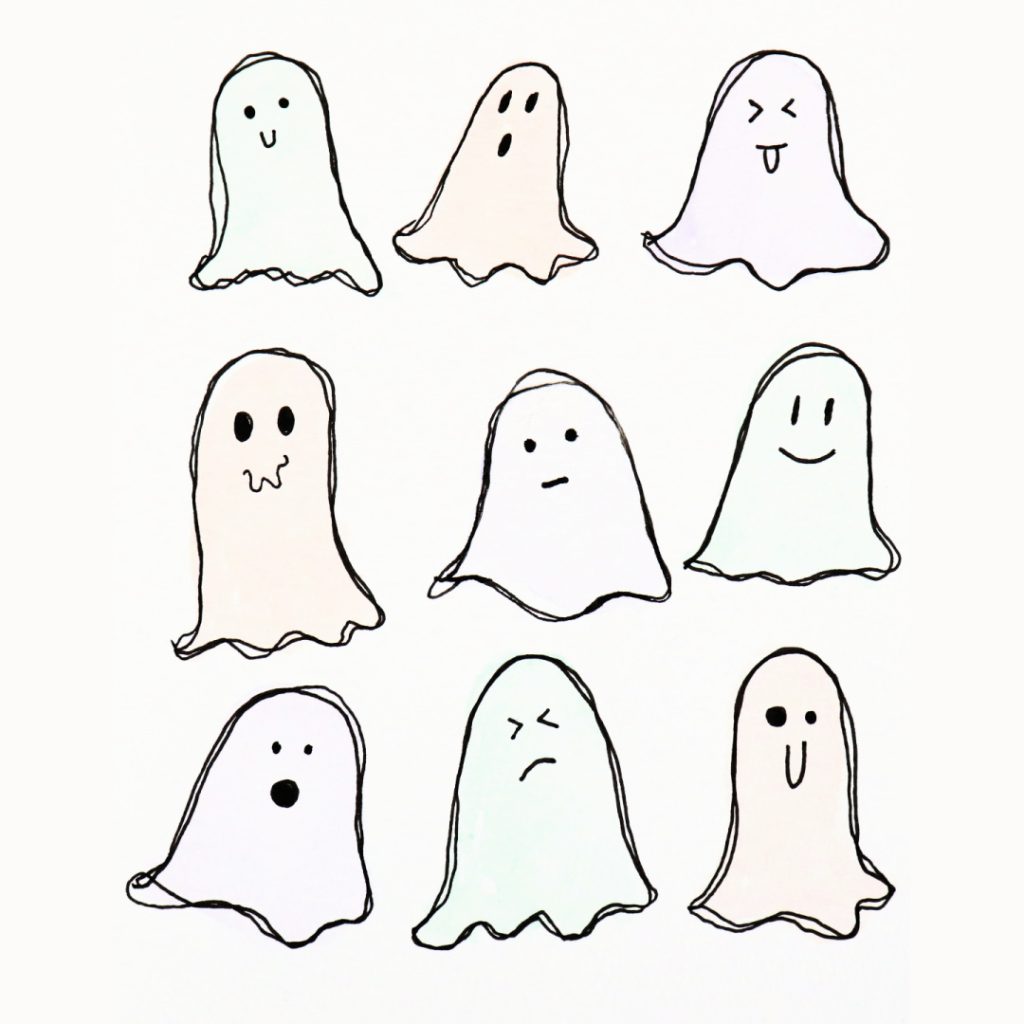
I did three rows of three ghosts each, with one of each color ghost per row. Let them dry completely before moving on to the next step.
Use the MONO Drawing Pen to trace the outlines and add faces.
Play around with different facial expressions to make each one unique. Try large eyes, small eyes, and all kinds of mouths.
That’s all there is to it! Your painting is finished and ready to frame.
Art Tips
- The darker the marker you choose, the darker and more colorful your ghosts will be. I chose pastel colors so mine were light and almost transparent, but you can also use darker colors if you prefer.
- Try this project on a canvas instead of Bristol Board for a project that’s immediately ready to hang and display.
- For a 3-D piece of artwork, add googly eyes to your ghosts instead of just drawing the faces!
Frequently Asked Questions
Just run the brush tip over a piece of scrap paper until the water runs clear instead of colored. Even if there is a bit of staining left on the tip, if the water is clear, you can switch to the next color.
I often just use a plastic sandwich baggie. You can also use things like a laminated piece of card stock, the plastic packaging that your markers came in, or a plastic paint palette.
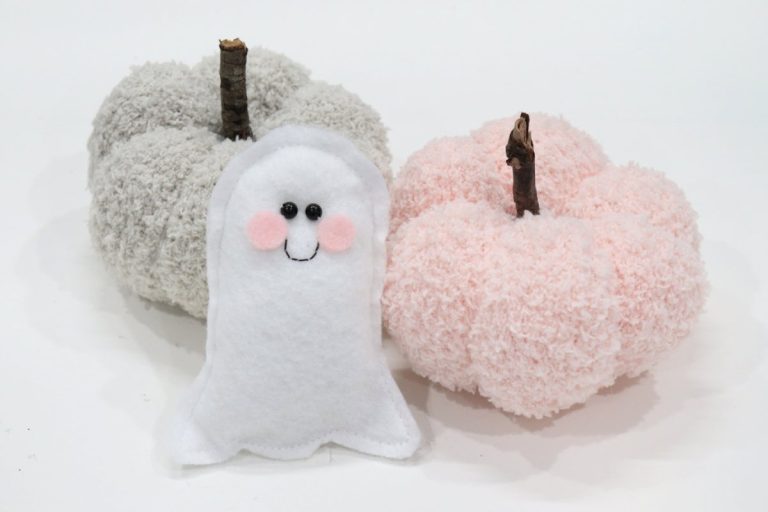
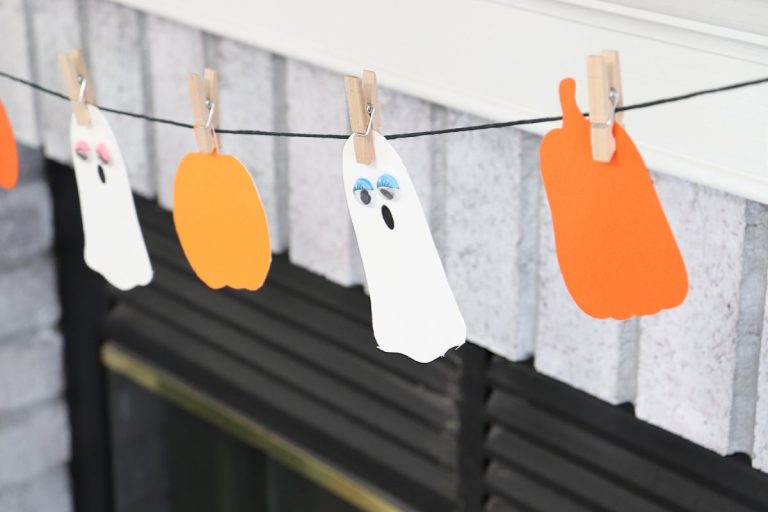
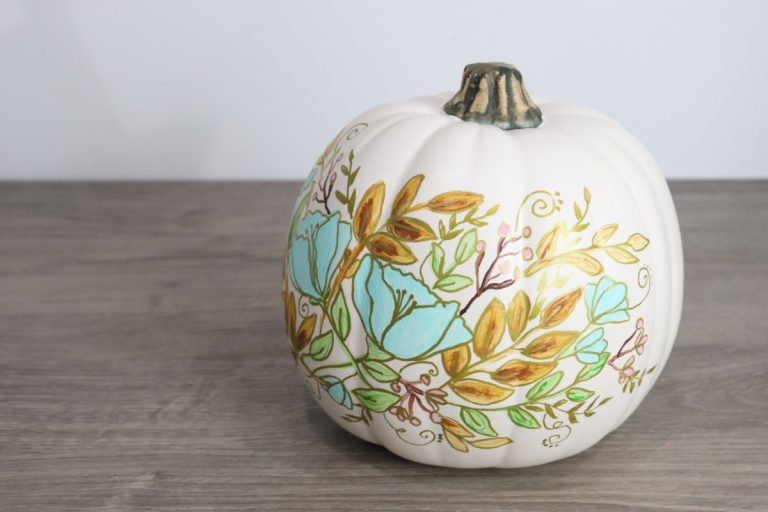
More Halloween Projects
If you enjoyed this tutorial, check out these other fun and easy Halloween craft ideas.

If you try any of these festive projects, I’d love for you to share your photos in the Amy Latta & Friends Facebook Group! Hop in our weekly show and tell thread, or just create a new post to show off what you made. See you there!