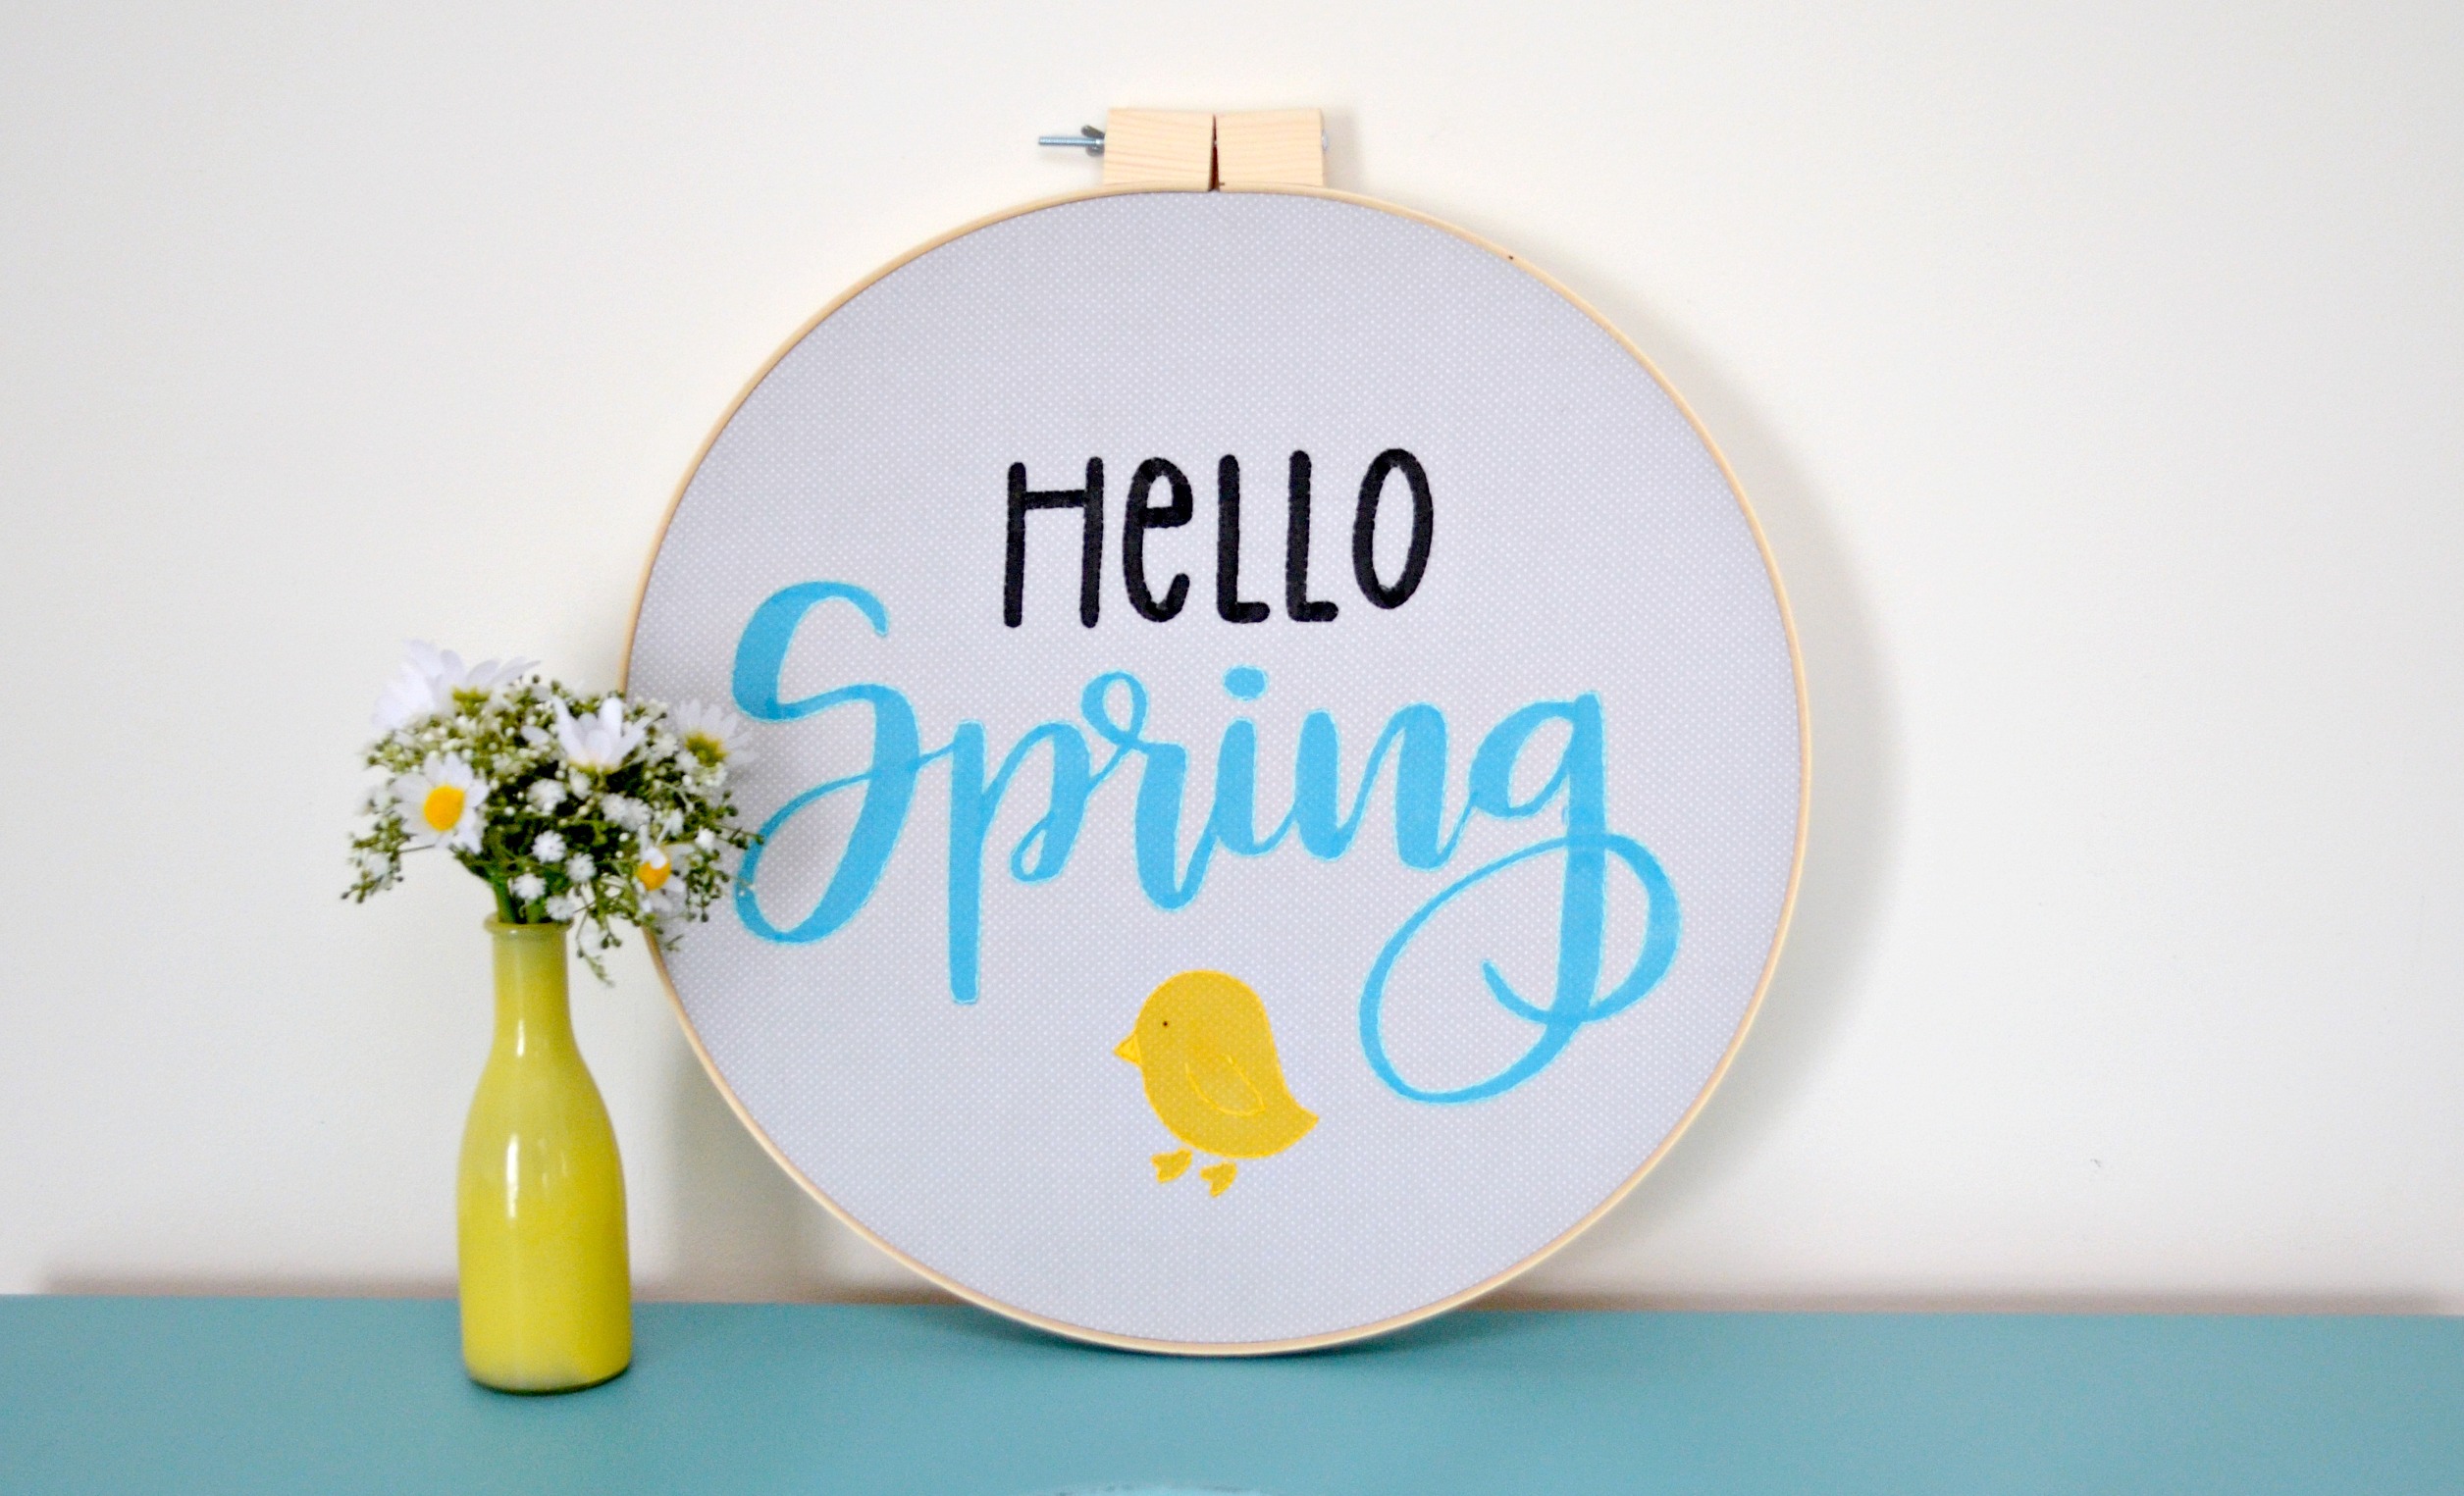
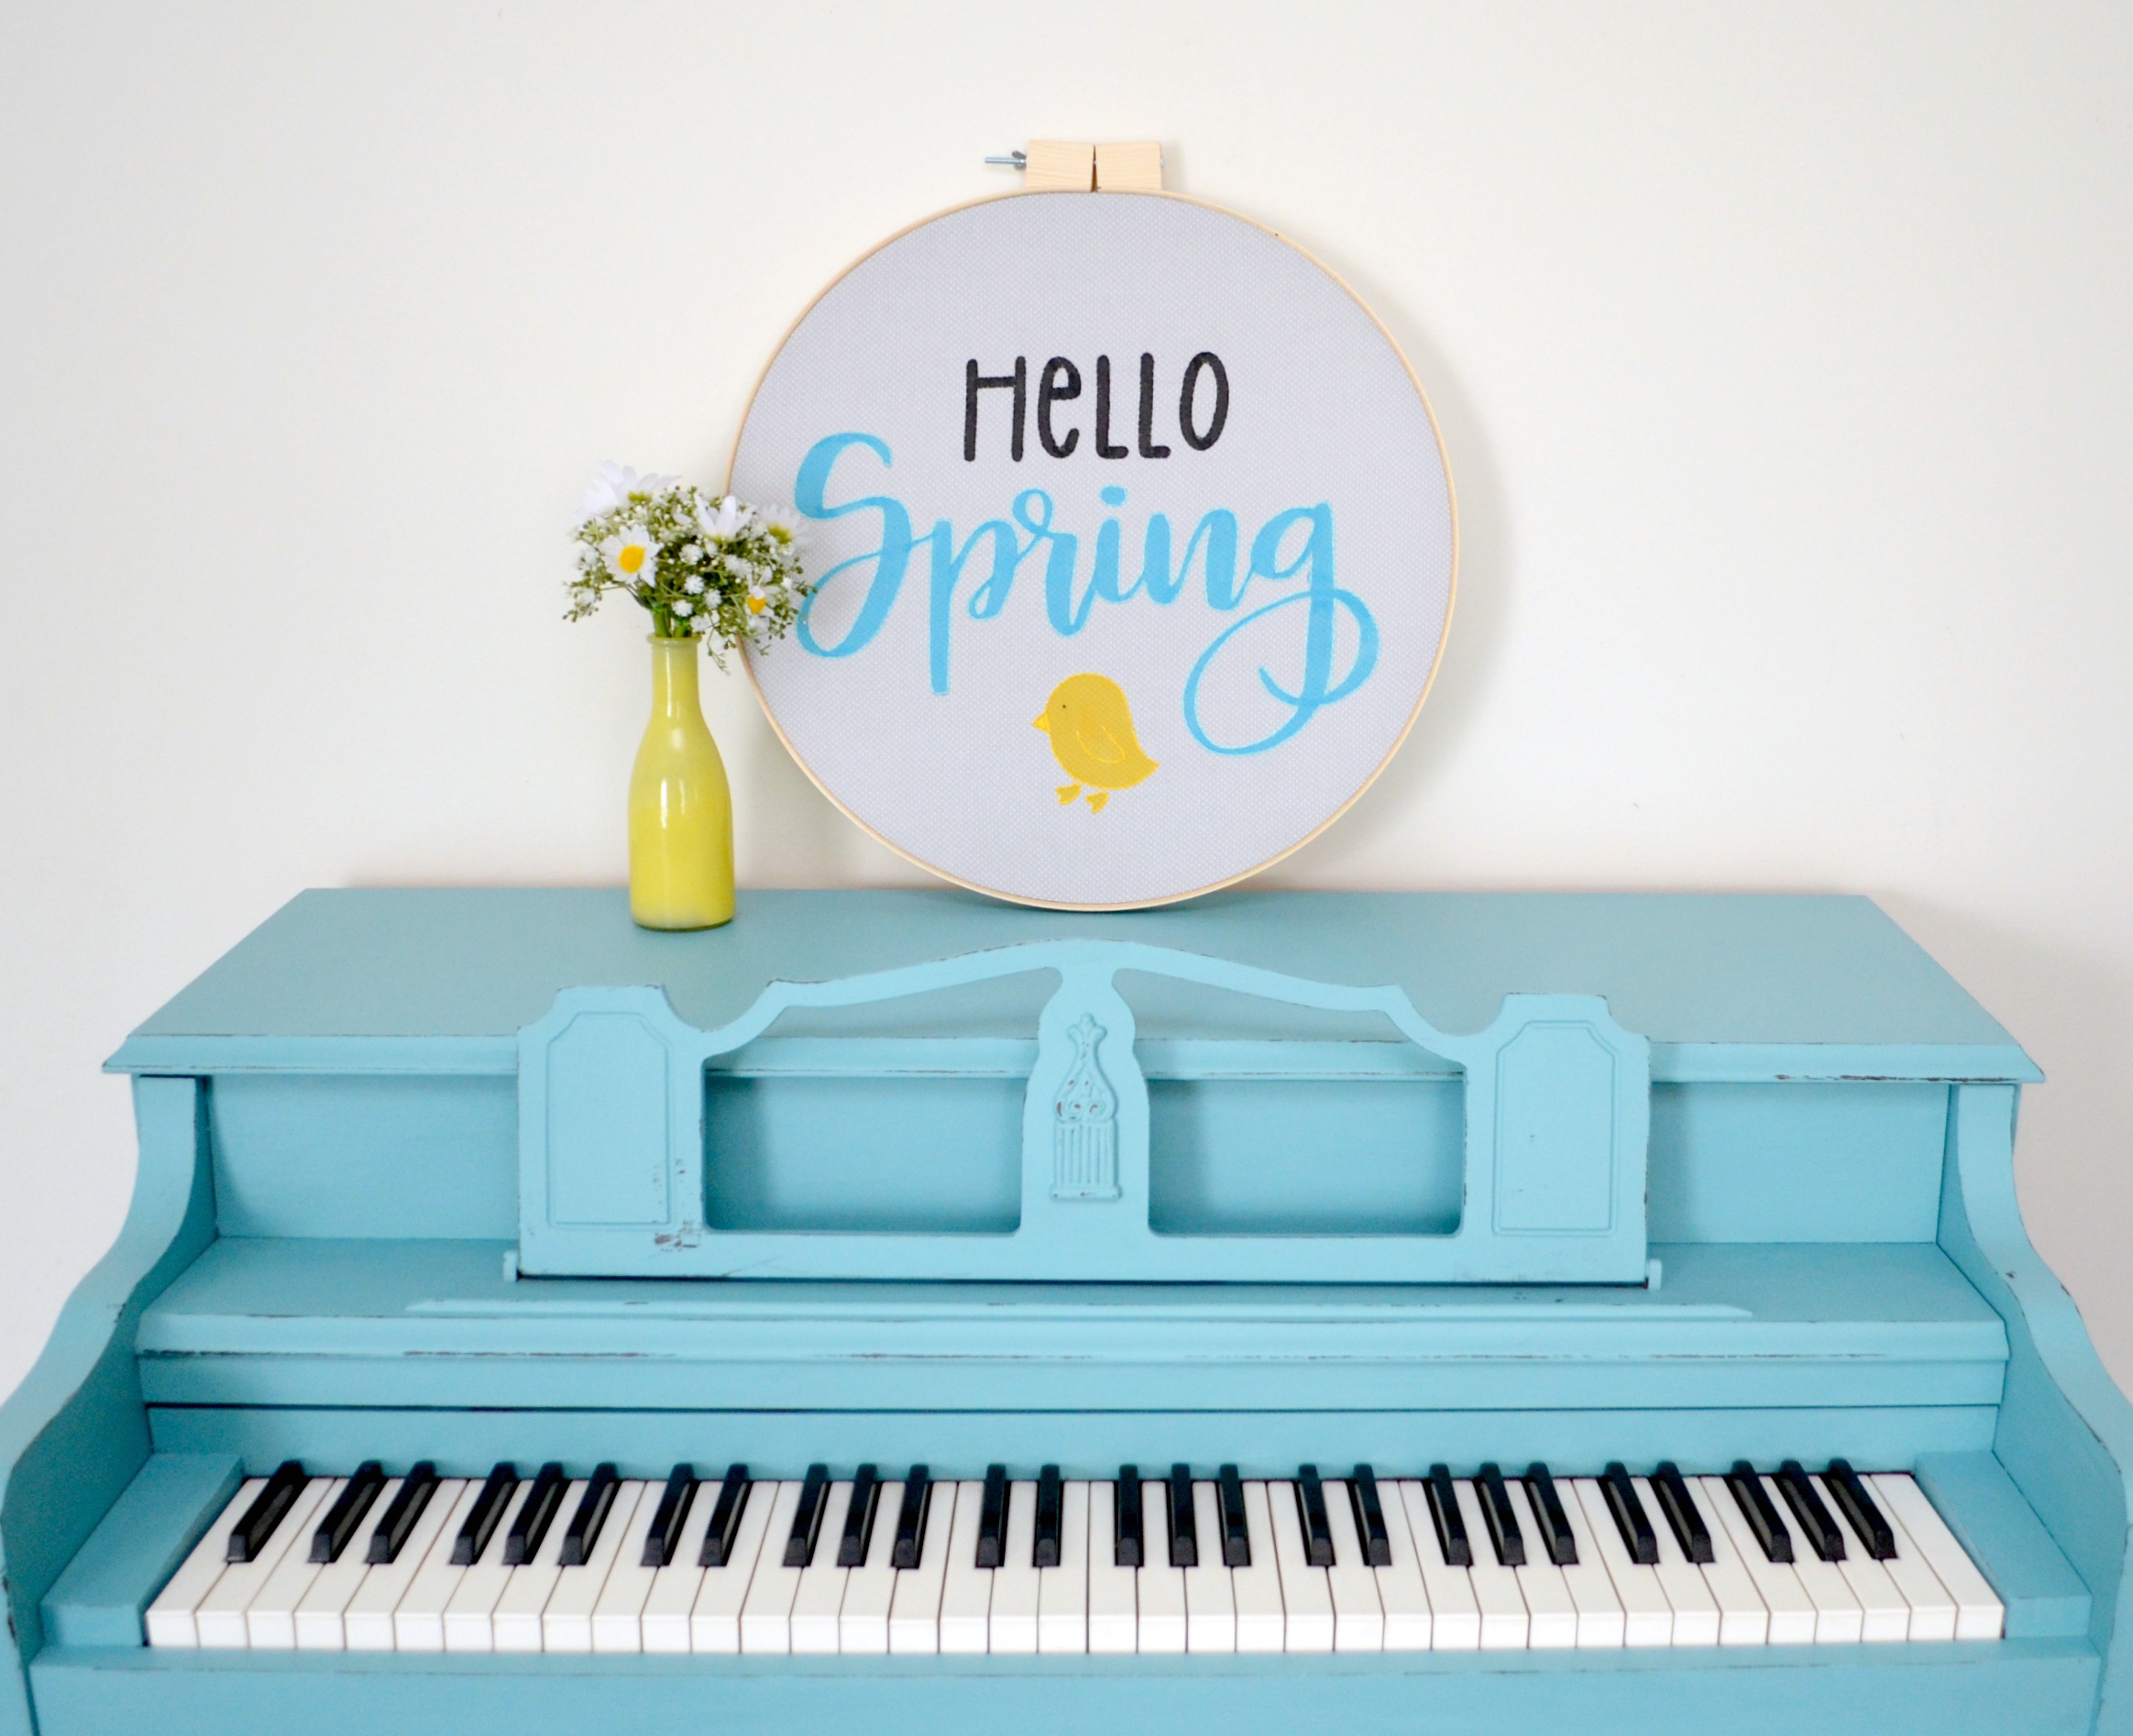
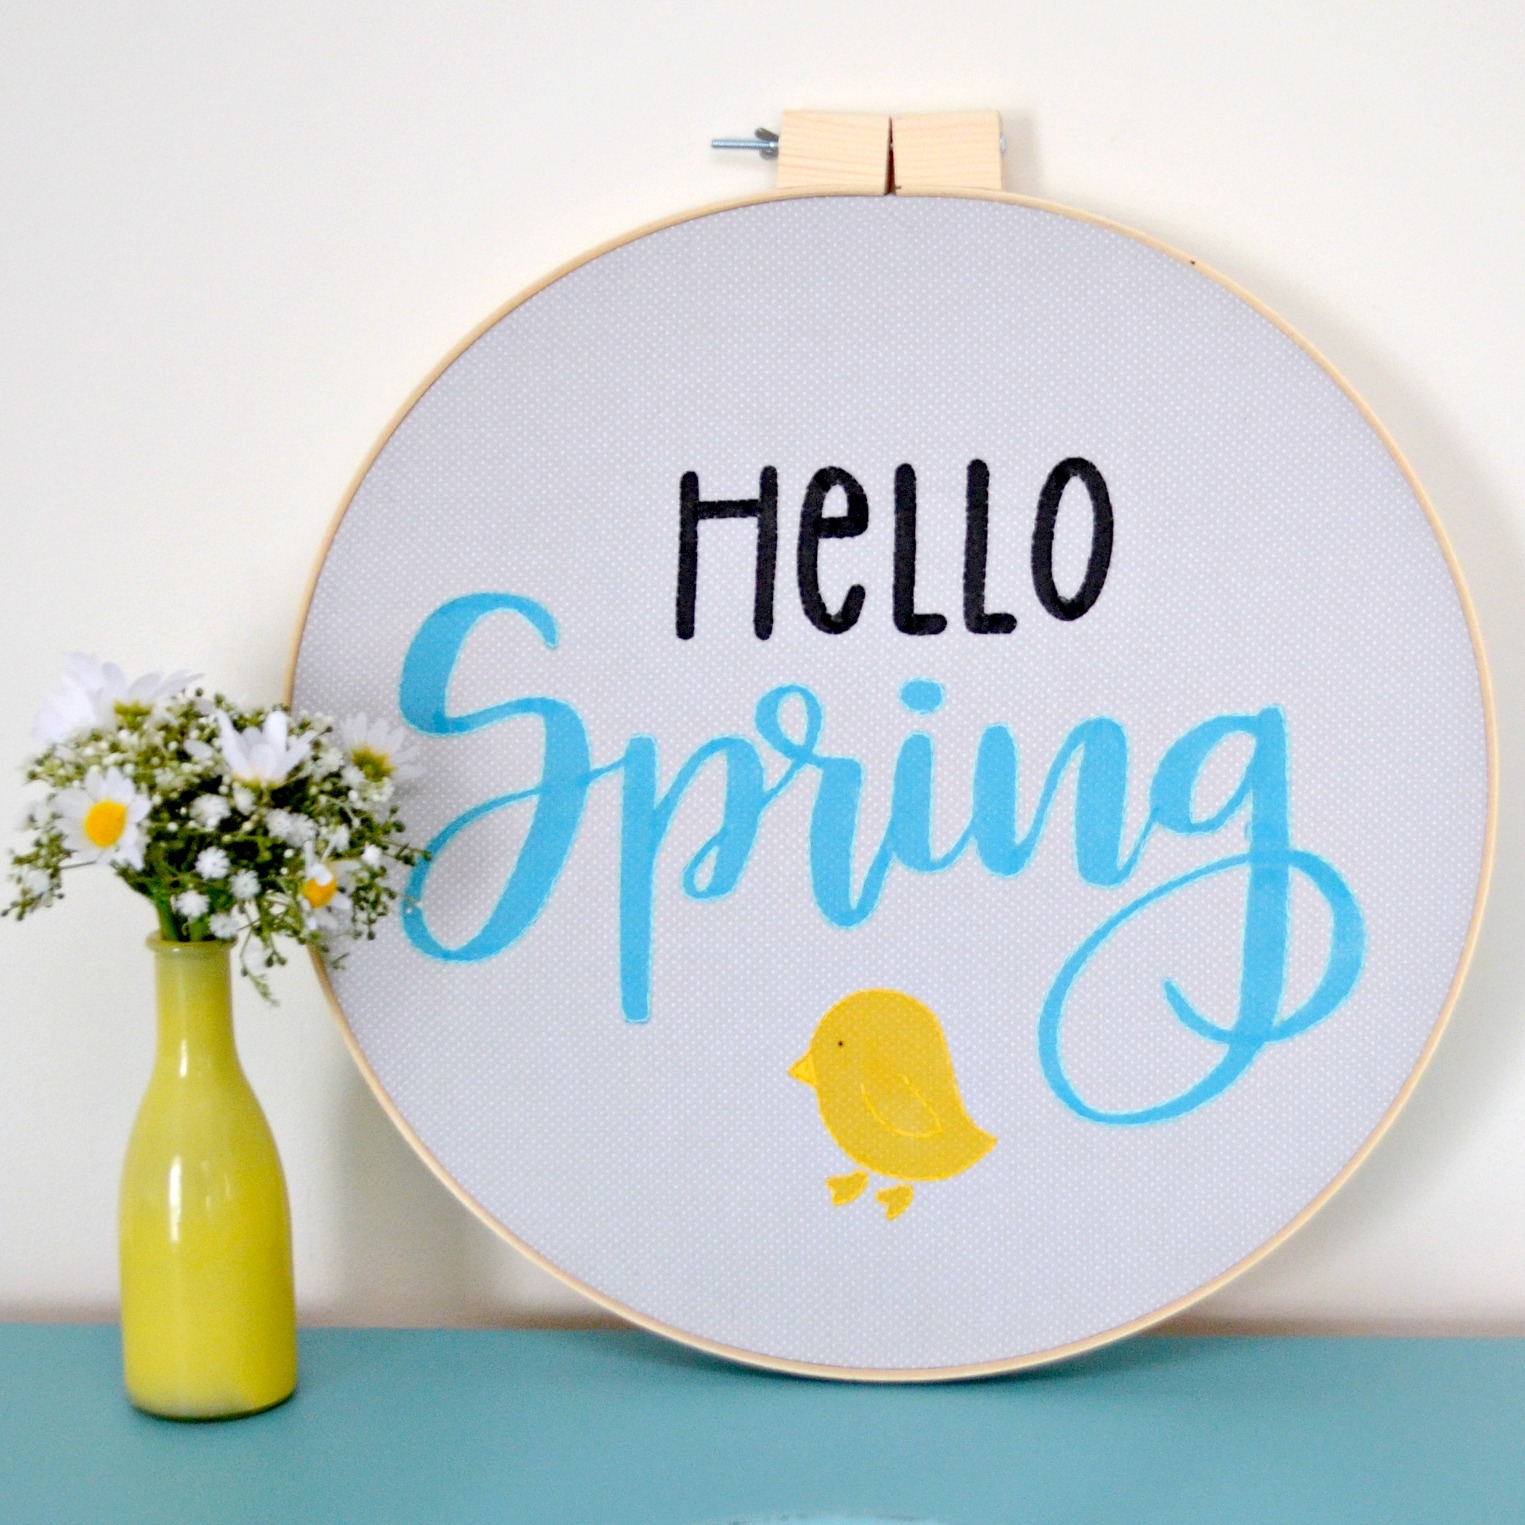
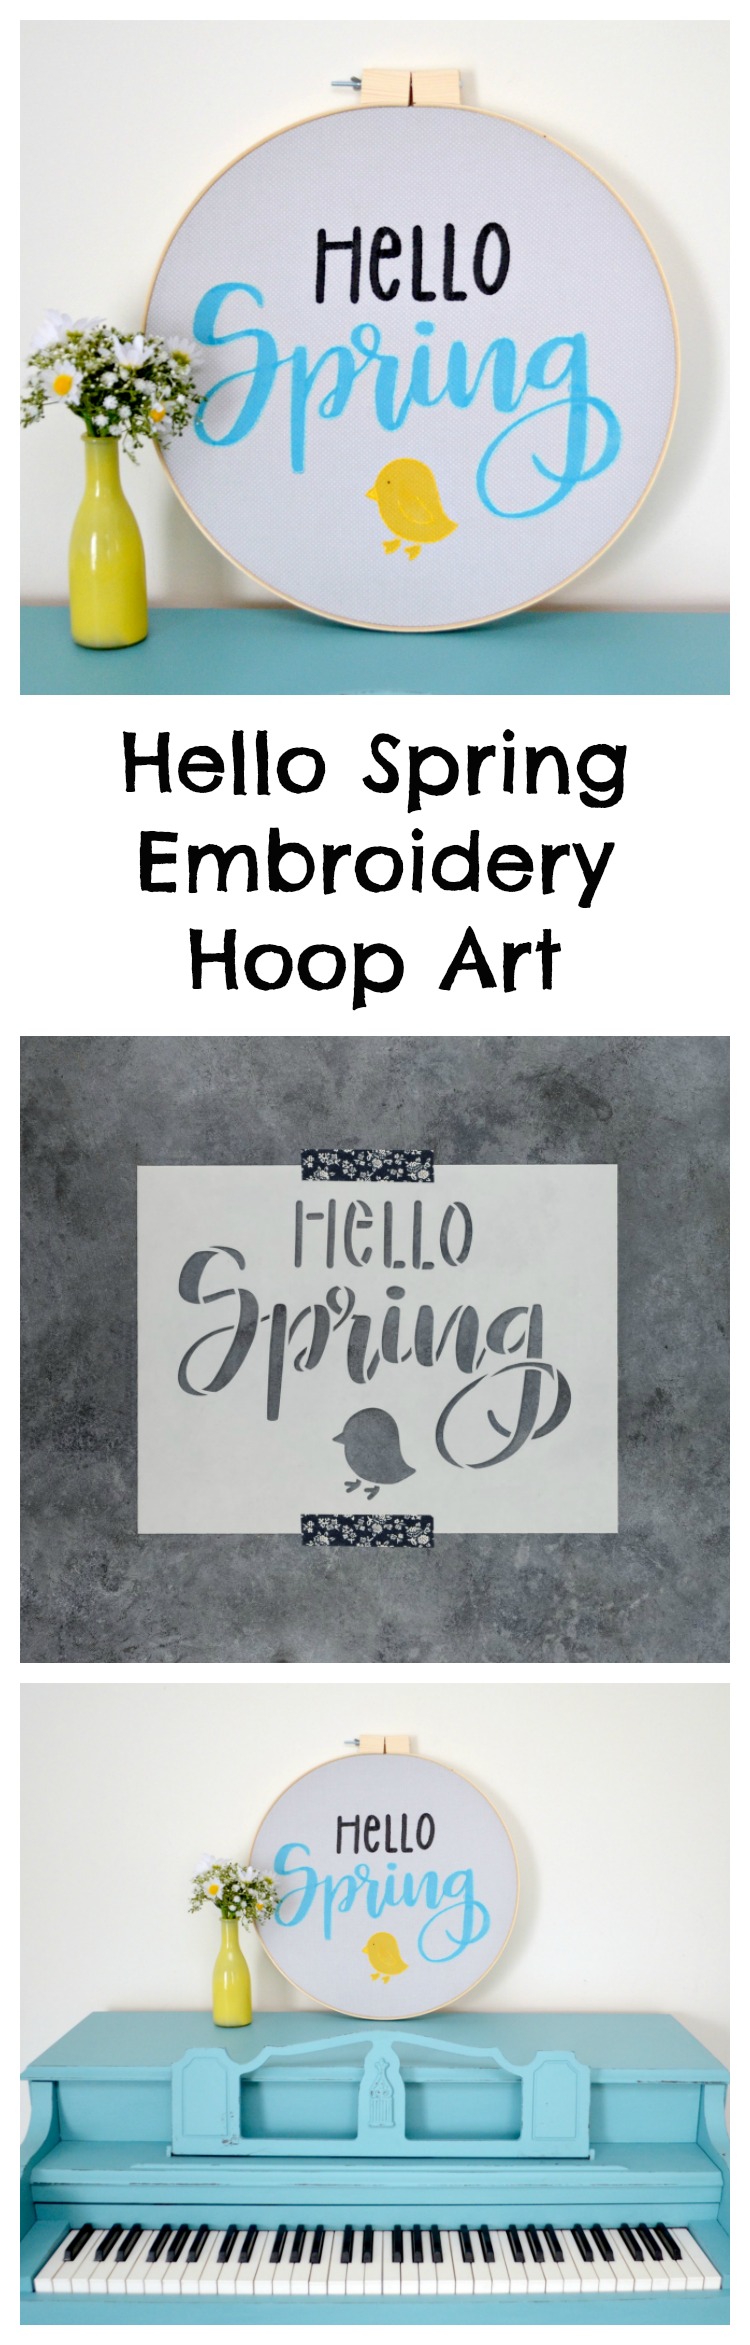
Hello Spring Stenciled Embroidery Hoop Art
Who else is so ready for Spring?! I can’t wait for flowers and warmer weather. This week, I used one of my new stencils from Stencil Revolution to create this bright and cheery “Hello Spring” embroidery hoop wall art. Here’s how I did it, and you can too…
Hello Spring Embroidery Hoop Wall Art

You’ll need:
Embroidery Hoop {mine is 18″}
3/4 yard cotton fabric
Fabric Creations Soft Fabric Ink: I used Black, Marigold, and Aqua
Painter’s Tape
Scissors
Embroidery Thread and Needle: I used Black, Yellow, and Teal
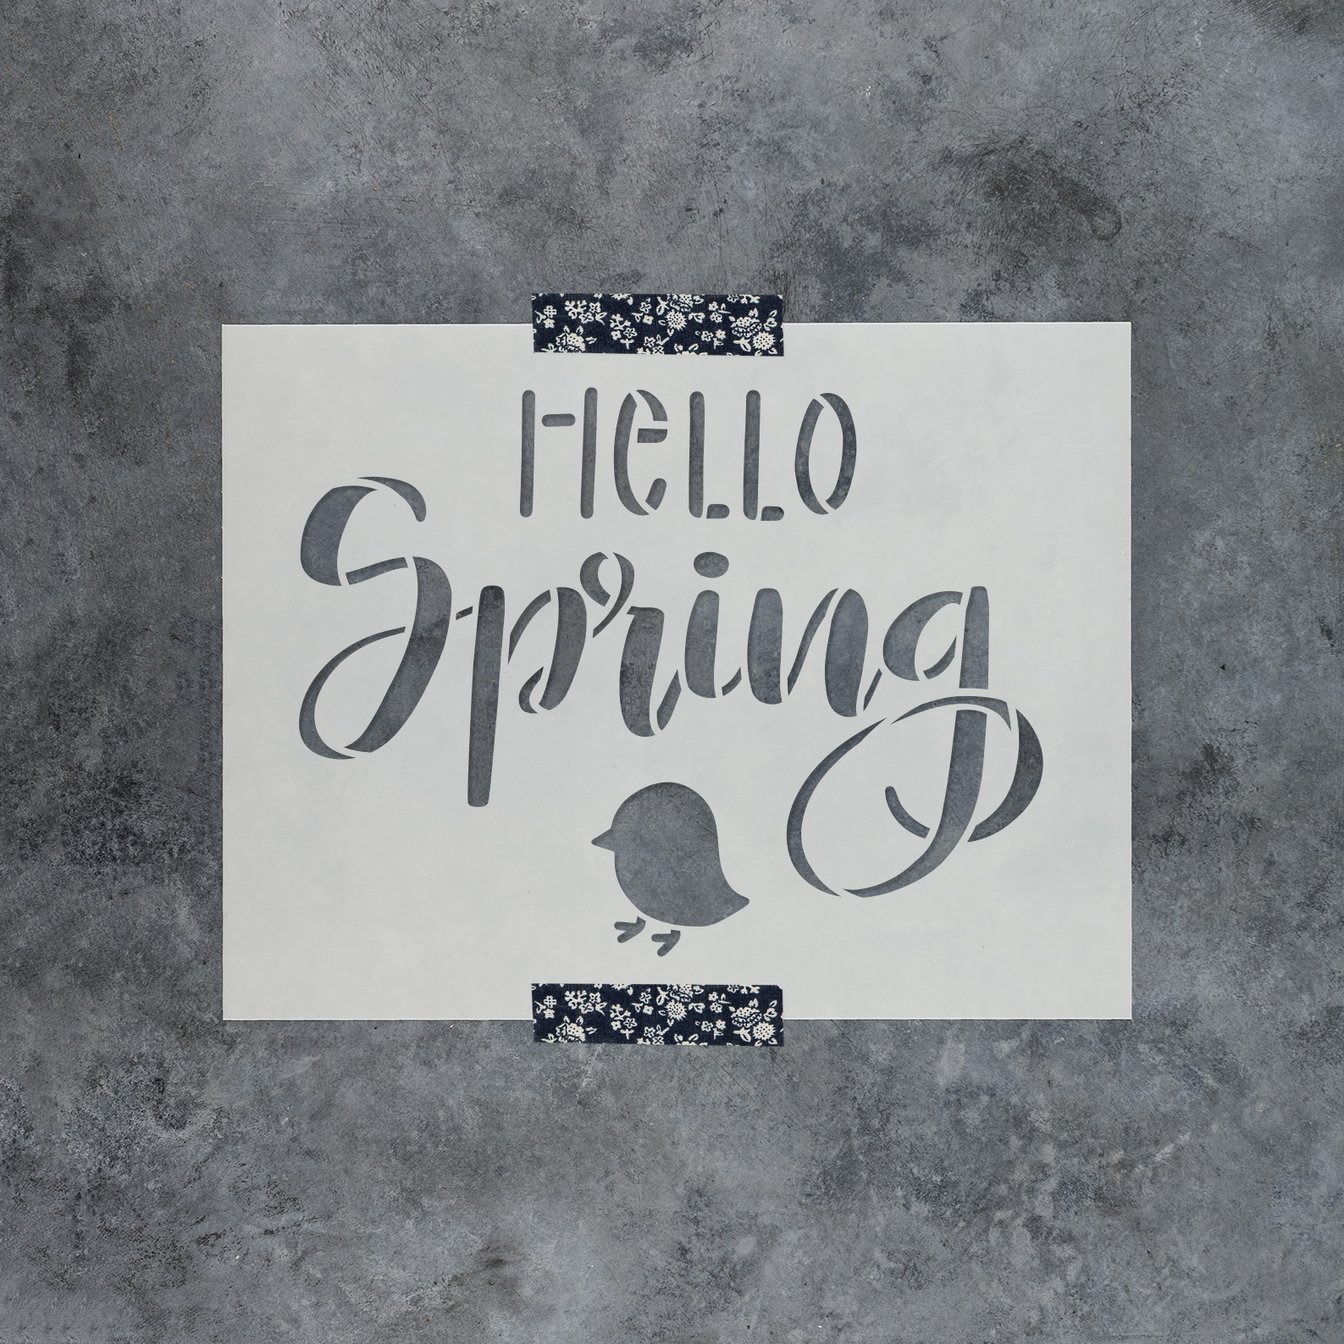
Step 1: Tape your stencil in the center of the fabric and use a stencil brush to apply fabric paint in the open spaces.
I used a light gray fabric with tiny white polka dots because it had enough of a pattern to be interesting but not distracting. Feel free to choose any color and style of fabric you like best. Whenever you stencil, remember that less is more…the more paint you have on your brush, the more likely it is to bleed under the stencil and give you an unclear design. Using a stencil brush will also give you the best possible results. You’ll want to tap the brush up and down rather than moving it back and forth like you would in traditional painting. For more stenciling tips, check out this post.
Step 2: Center the design in the hoop and secure the fabric.
Make sure to pull your fabric taut so there are no visible wrinkles.
Step 3: Embroider around the outside edges of each letter and image.
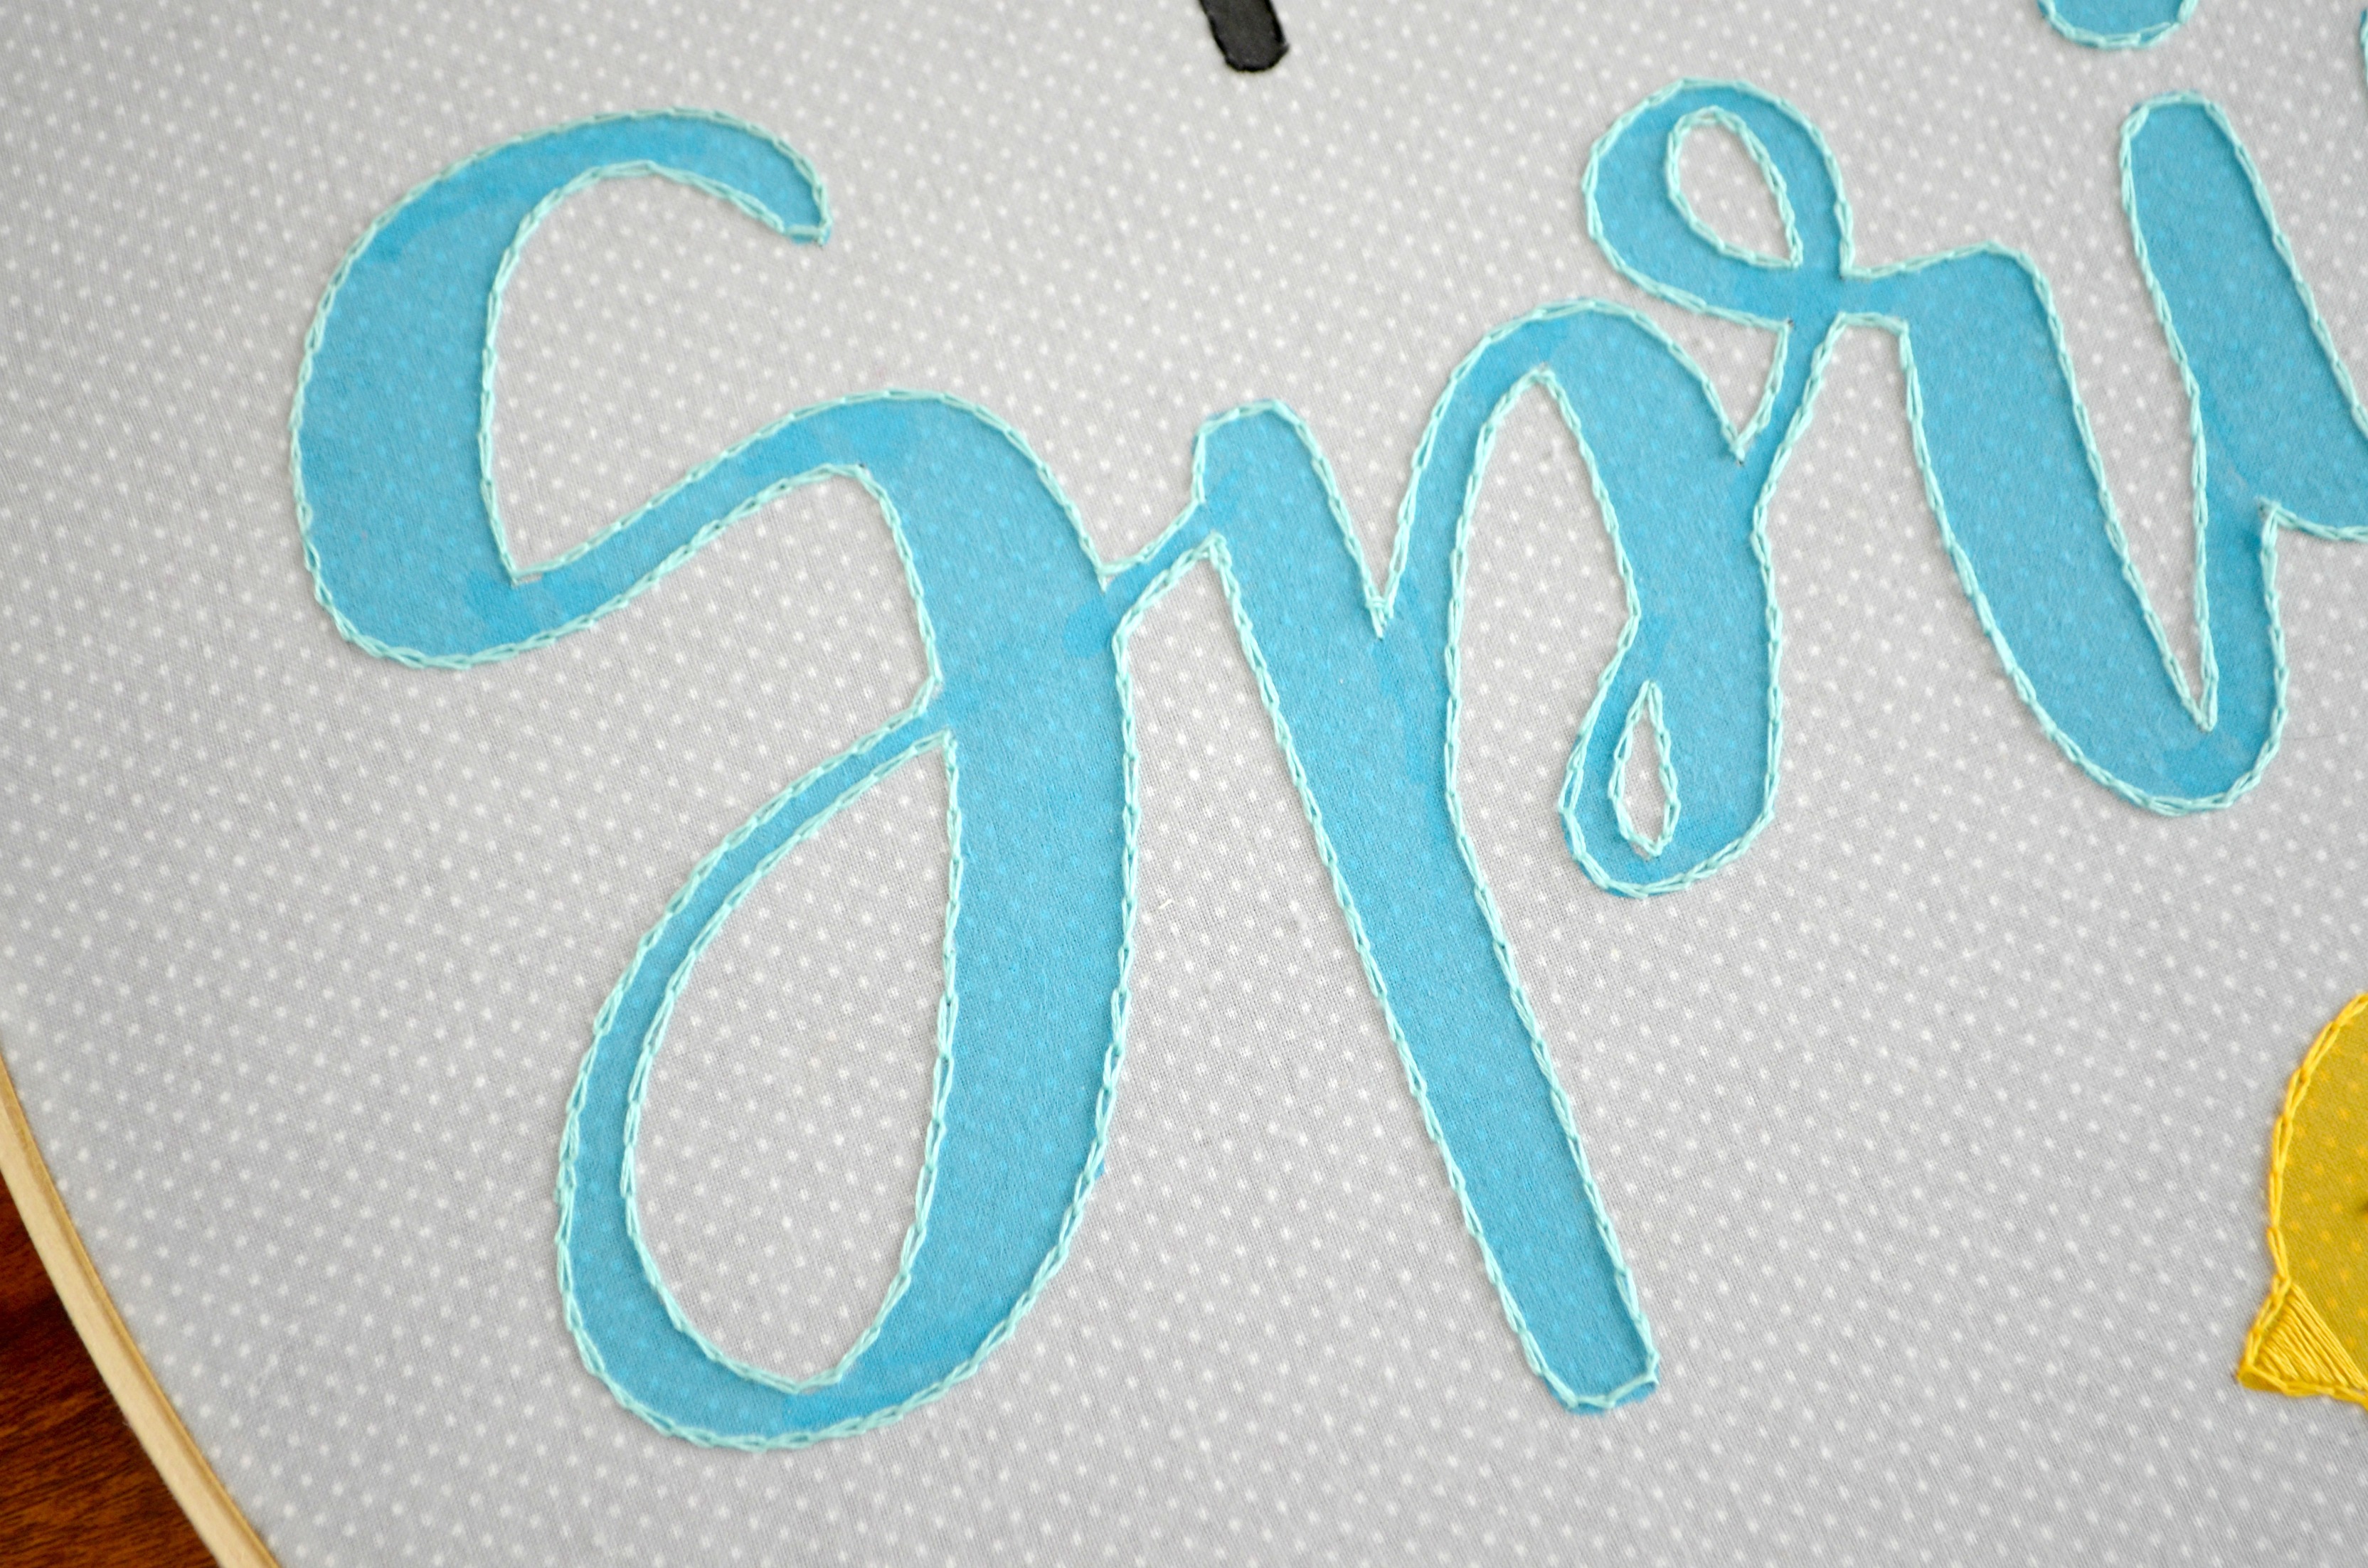
I am not an expert at embroidery, so I just used some basic stitches. I did a simple back stitch around the letters in “hello,” and a chain stitch around “Spring” and the bird image. I filled in the beak area with a satin stitch and the eye is a french knot. You can, of course, use any colors of thread you like and any combination of stitches to create your own masterpiece. Because of the size of my hoop, this took me a while, but the end result is totally worth it!
The great thing about my line of stencils at Stencil Revolution is that each design is available in multiple sizes, so you can choose the one that best fits your project. I used a 12″ x 18″ because it was just right for my 18″ hoop, but you can also use a smaller stencil and hoop if you prefer to make a smaller version of the project.
What do you think? Is this something you’d love to make and display in your home this spring? I’d love to see what you do with the Hello Spring stencil, or anything else from my line at Stencil Revolution! Be sure to share your latest projects with us in the Amy Latta & Friends Facebook group.
Don’t forget, if you like it, then you oughta put a Pin on it!
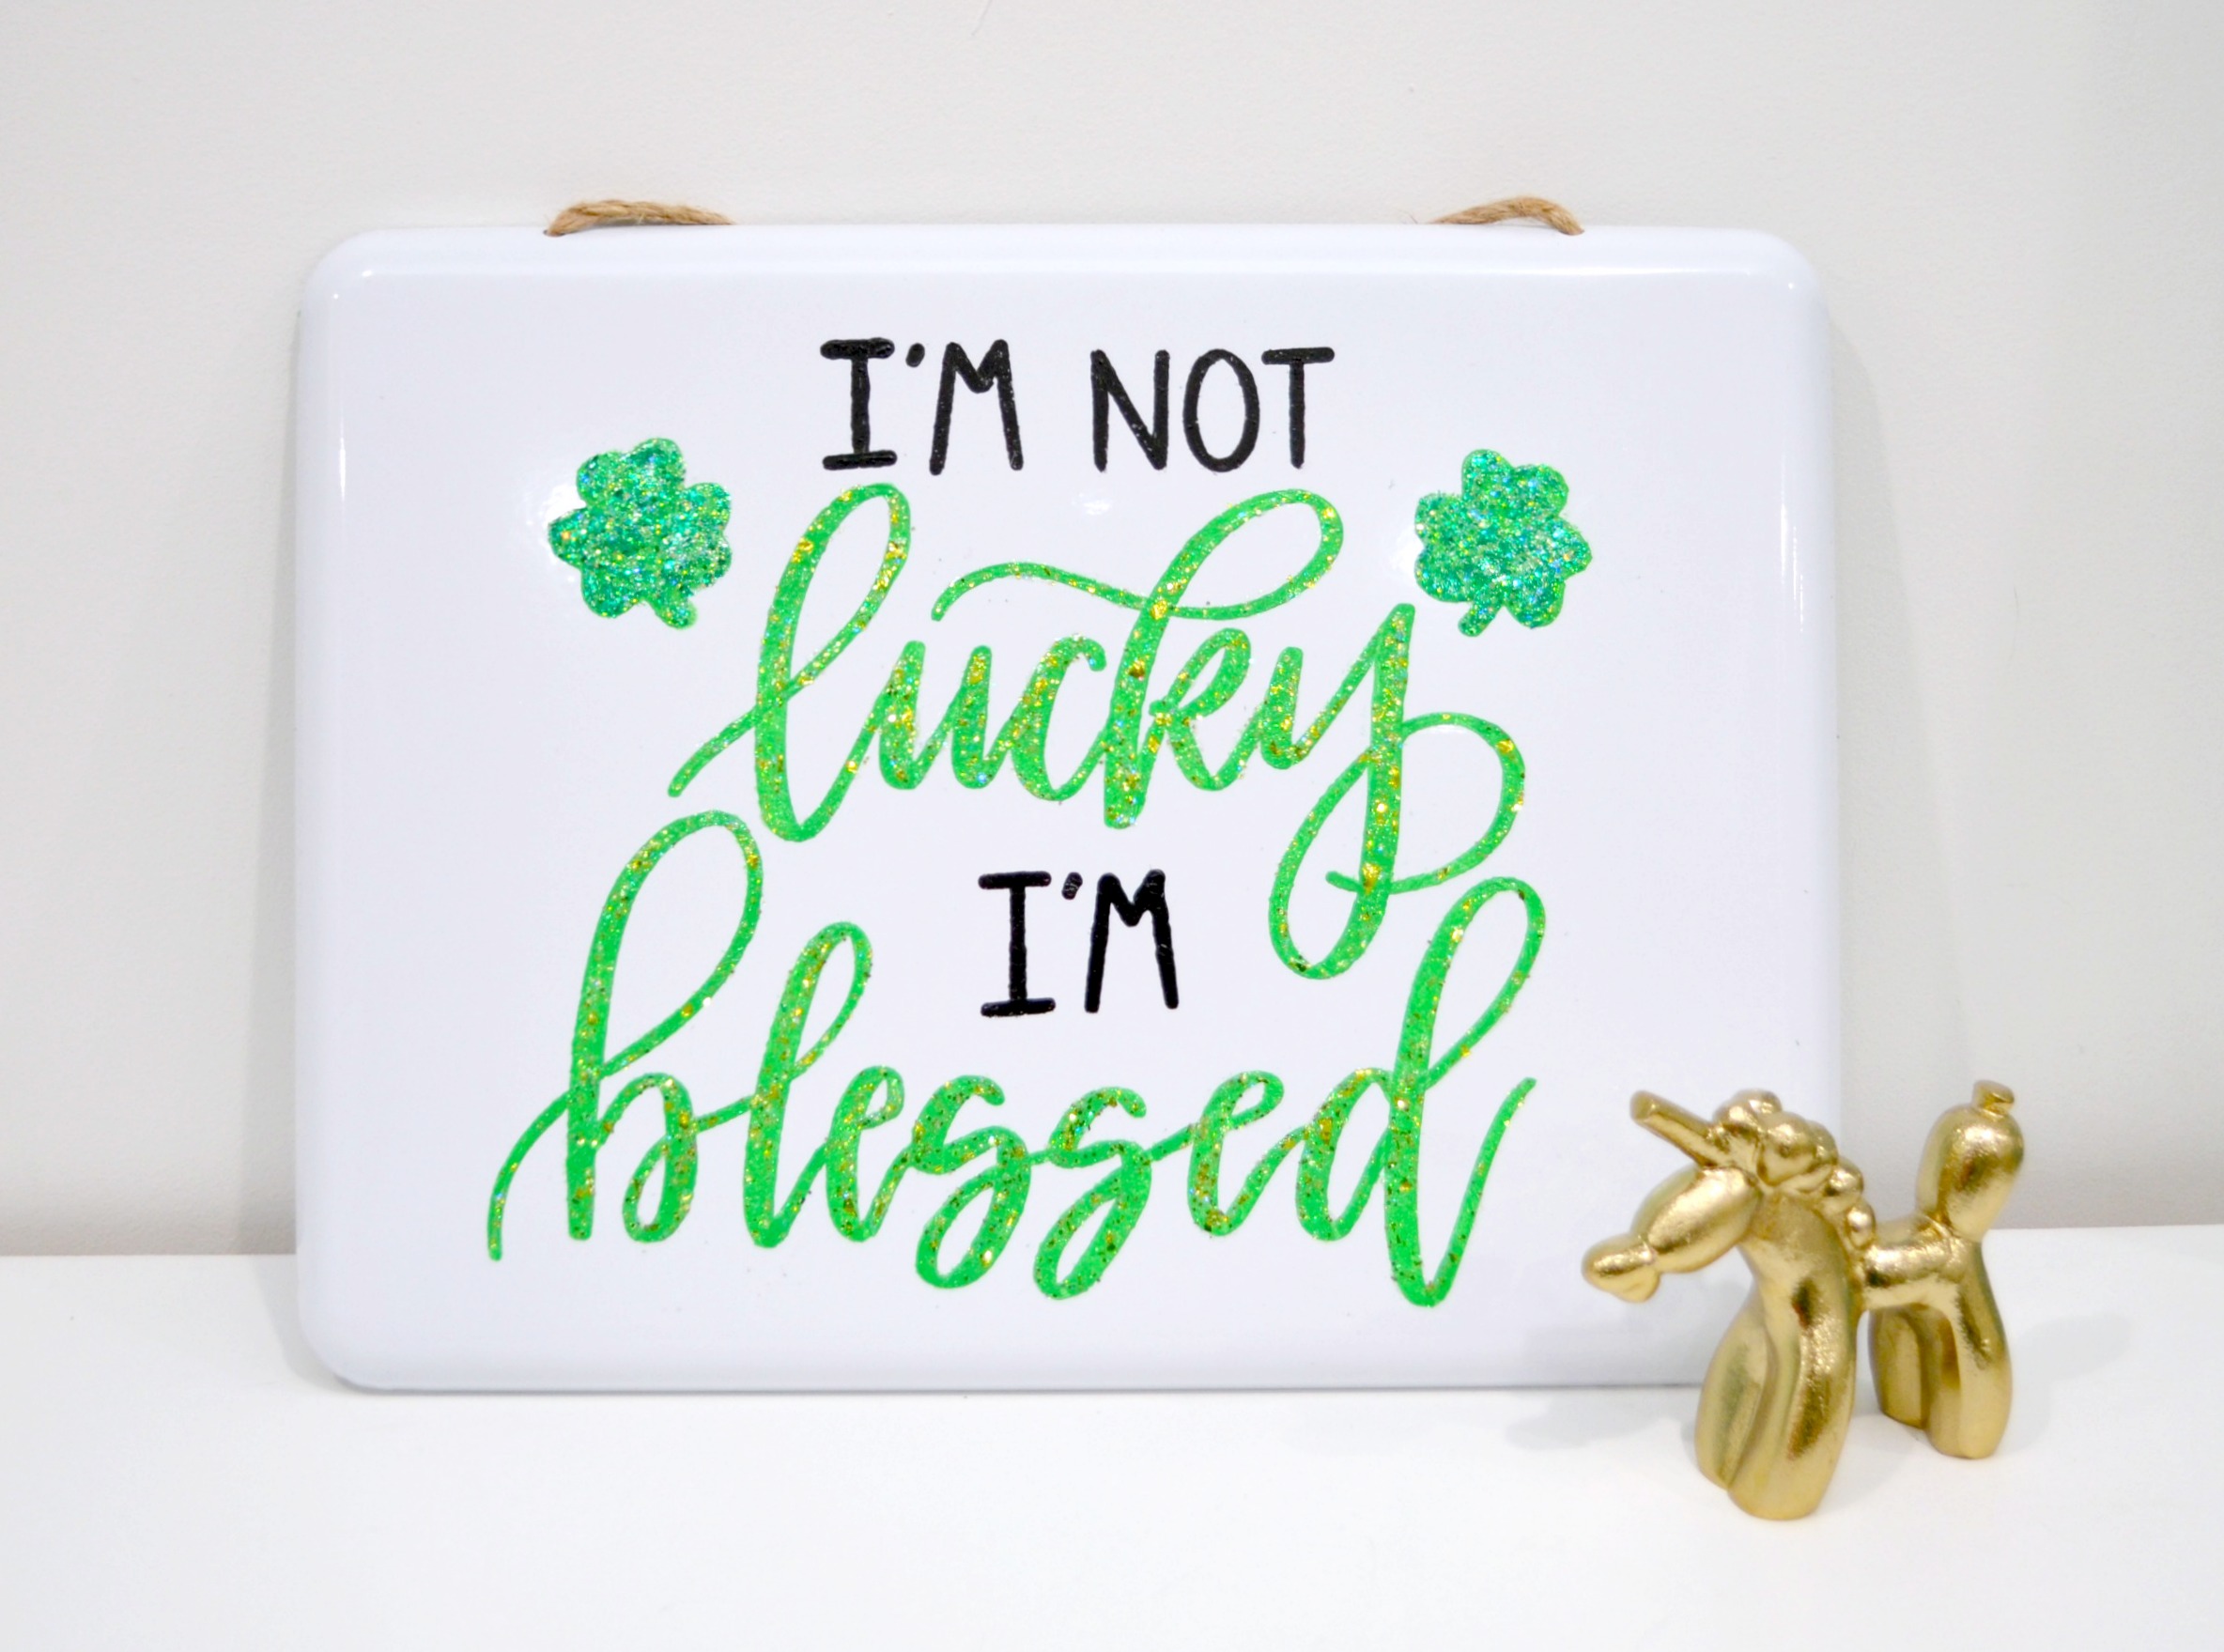
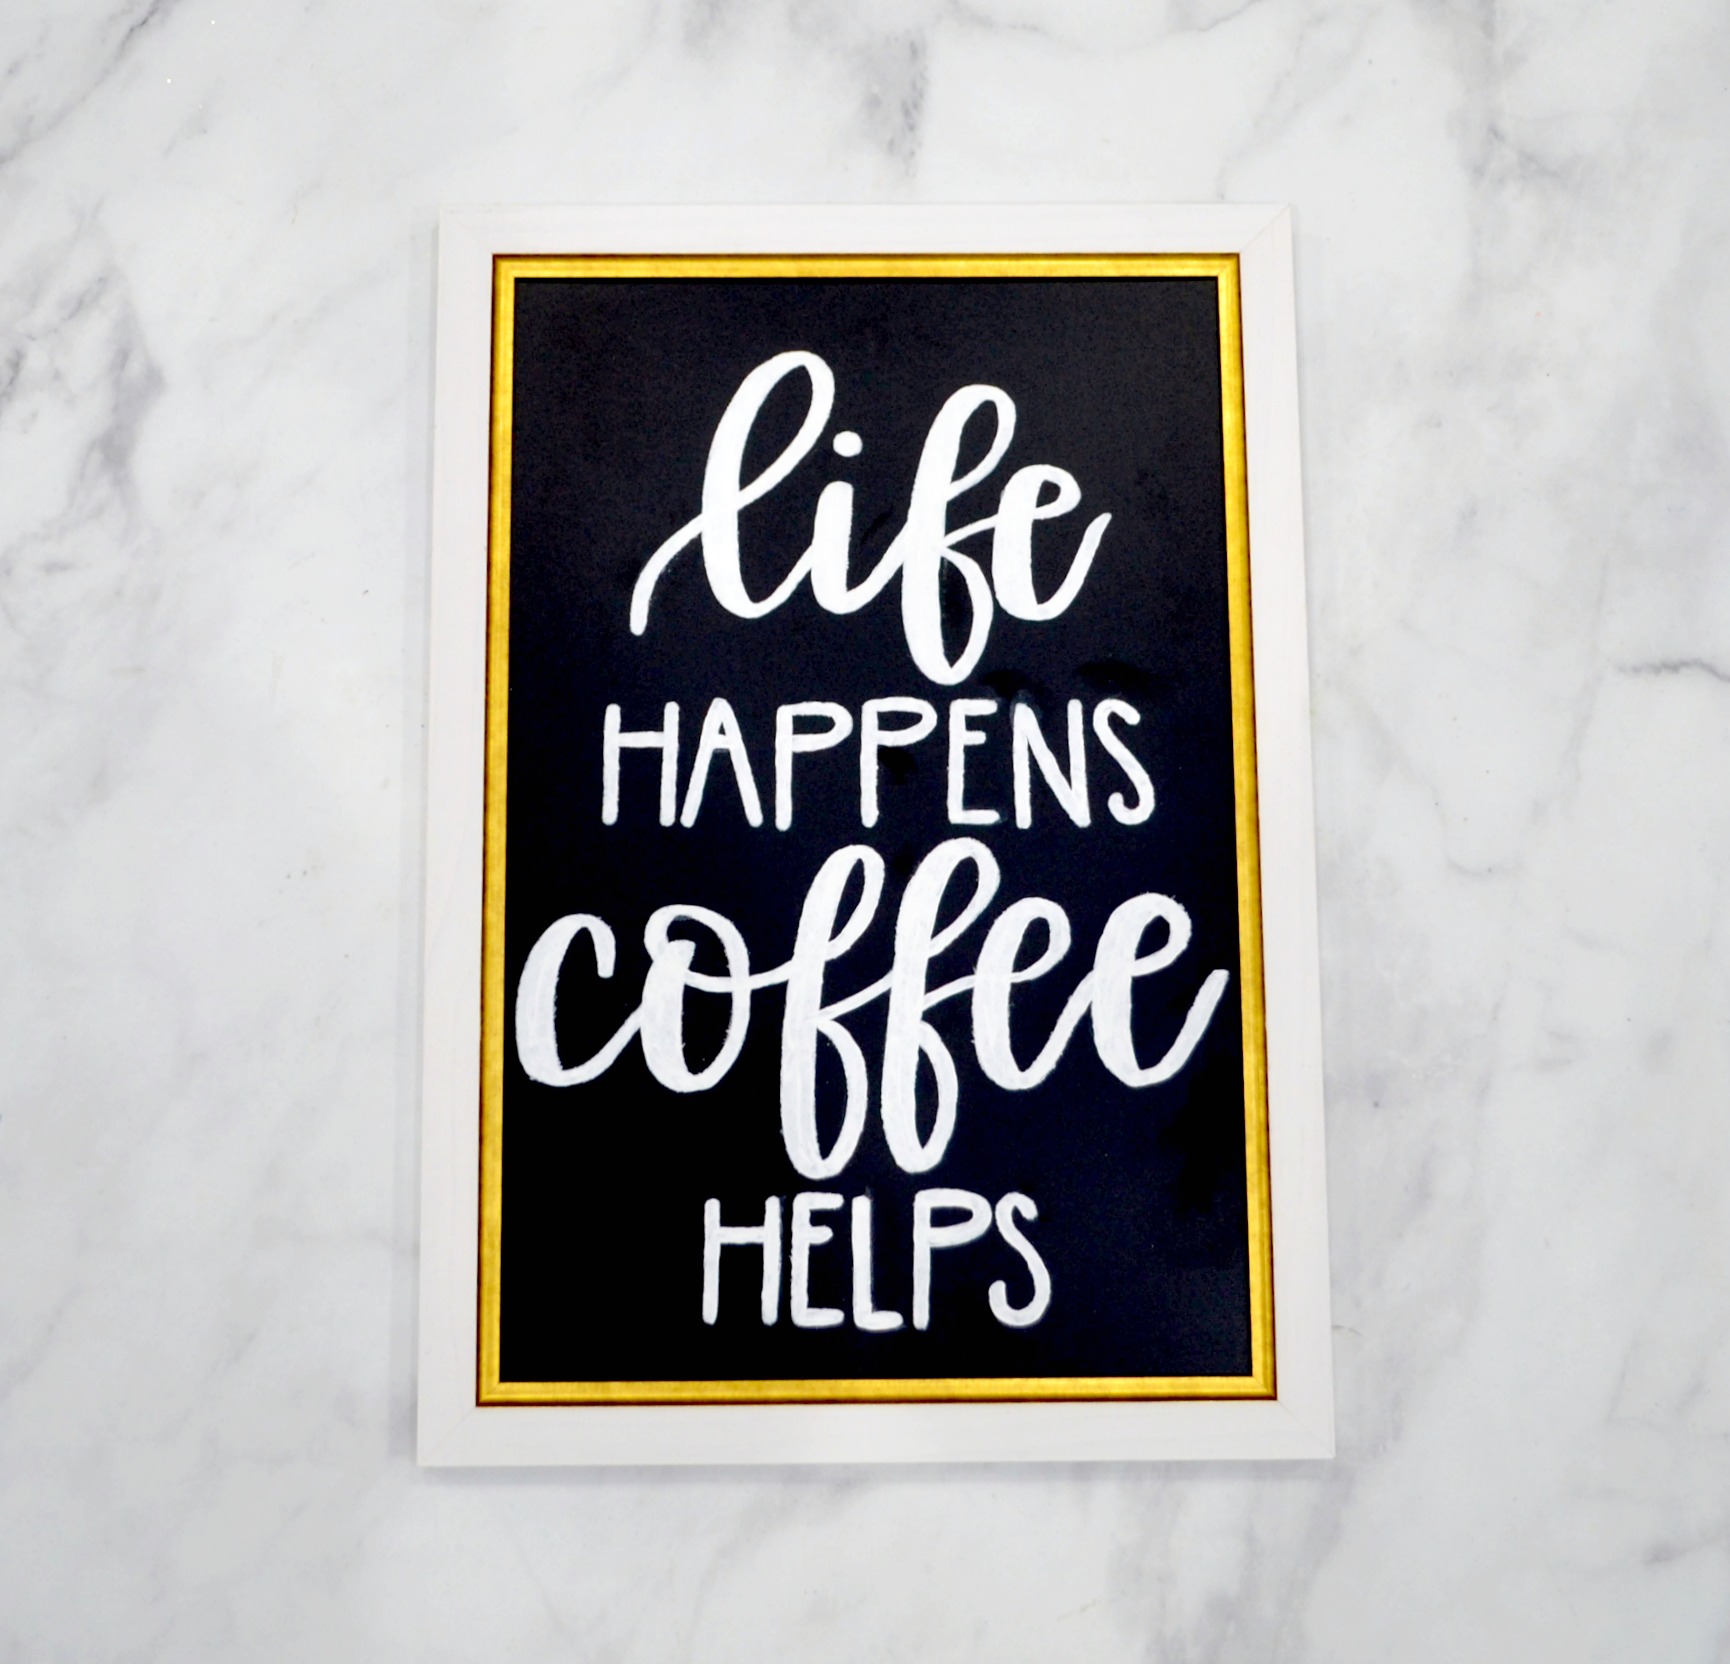
Be sure to check out these other easy home decor projects featuring some of the stencils in my Stencil Revolution collection!
Sparkly St. Paddy’s Day Sign
Life Happens Wall Art
Coffee Time Embroidery Hoop Art


love this!
the fonts and colors you used at perfect!
Thank you!