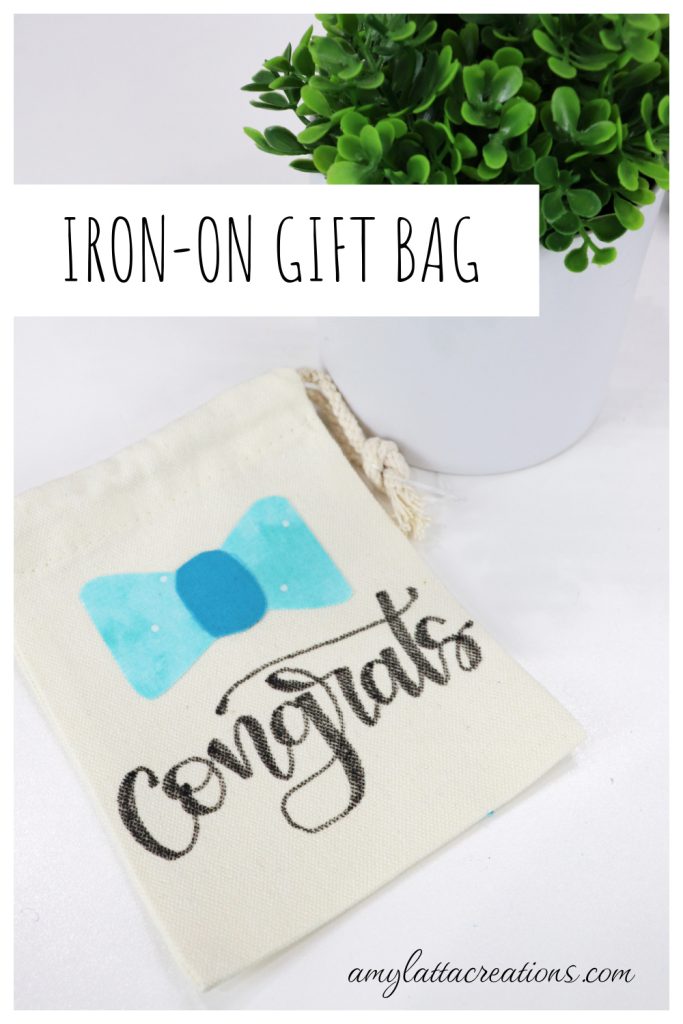
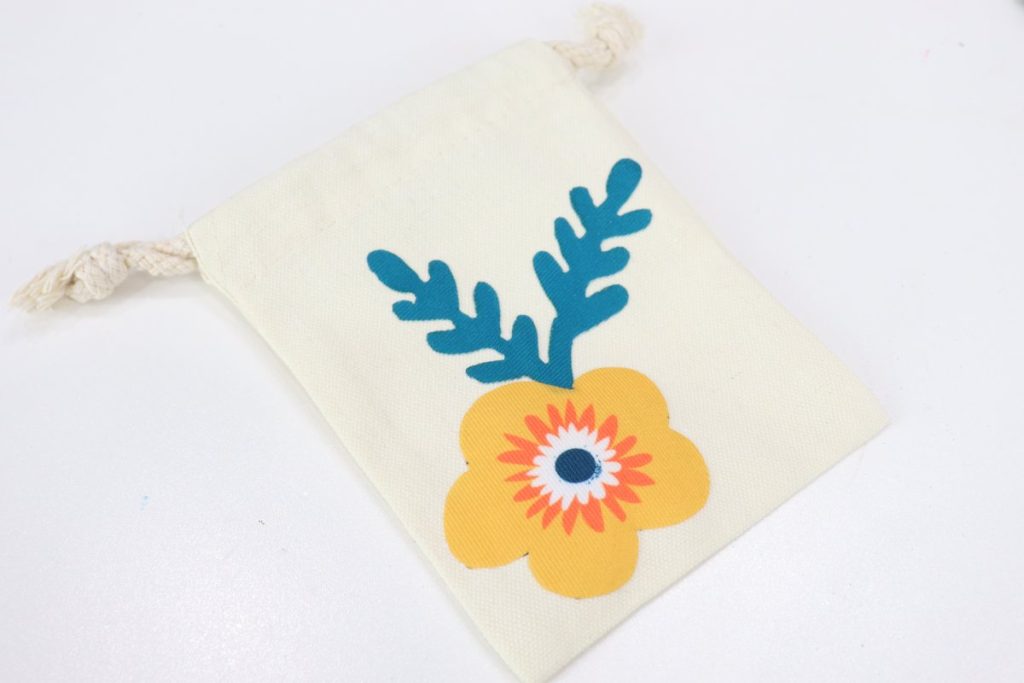
Iron-On Gift Bags
Sometimes, the way we wrap a present can be an extra gift! I love to create personalized iron-on gift bags that the recipient can keep and reuse for holding other things. Here’s how you can make your own iron-on fabric patches and combine them with hand lettering to make a one of a kind gift.
How to Make Iron-On Gift Bags
This project is easy to create, and the best part is that the only limit is your imagination. You can make your iron-on patches in any shape you like. I’m demonstrating with a bow tie, but you can use a monogram, a heart, or literally anything else you want to create. You can also customize your bag with whatever message or name best fits the occasion. Ready to get started? Let’s grab some supplies.
Materials
small canvas bag
scrap fabric
double sided fusible interfacing
iron
pencil or heat-erase pen
fabric marker (mine is the MSQC fine-tipped black)
Instructions
Iron a piece of double sided fusible interfacing onto the back of your fabric.
Follow the manufacturer’s instructions for the best heat setting and time.
Sketch your shape onto the interfacing.
If you’re not confident free-handing your design, you can trace a shape or use a stencil.
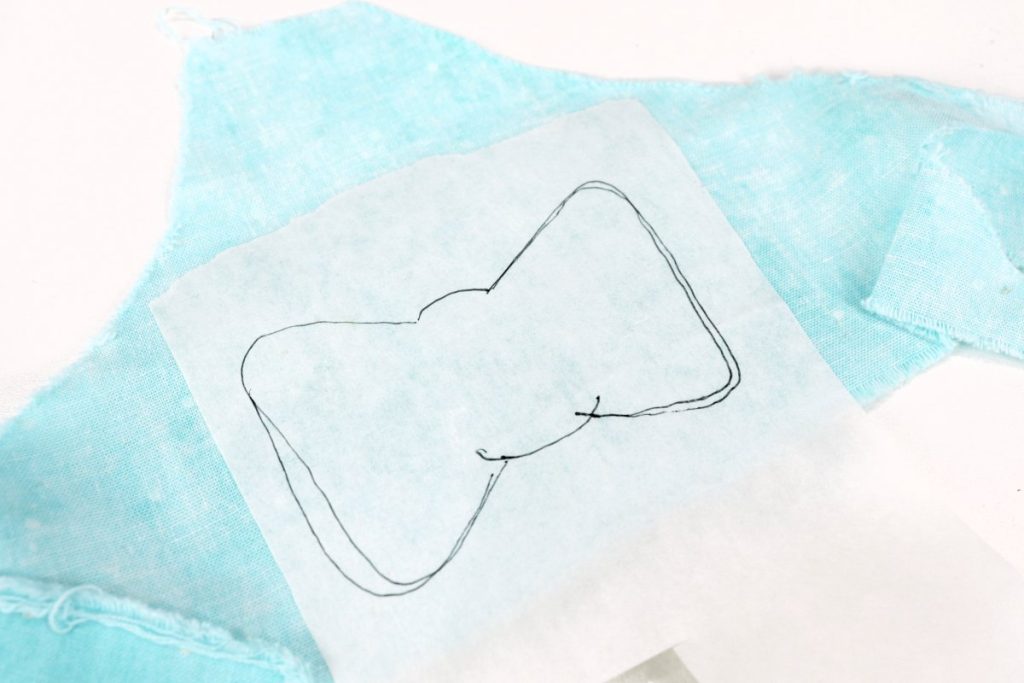
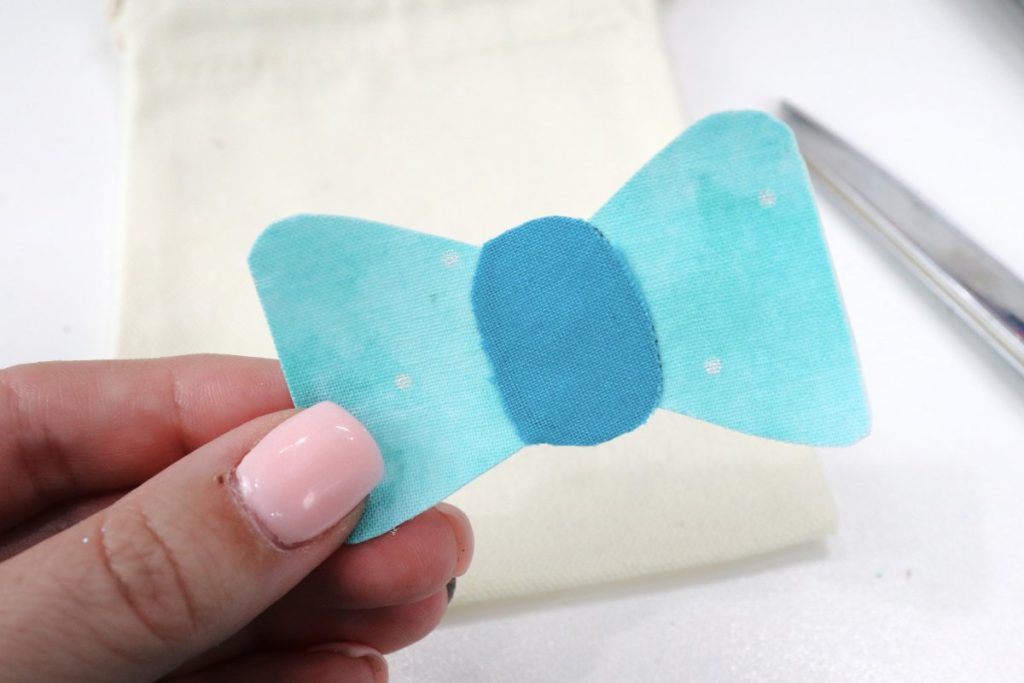
Cut out your shape.
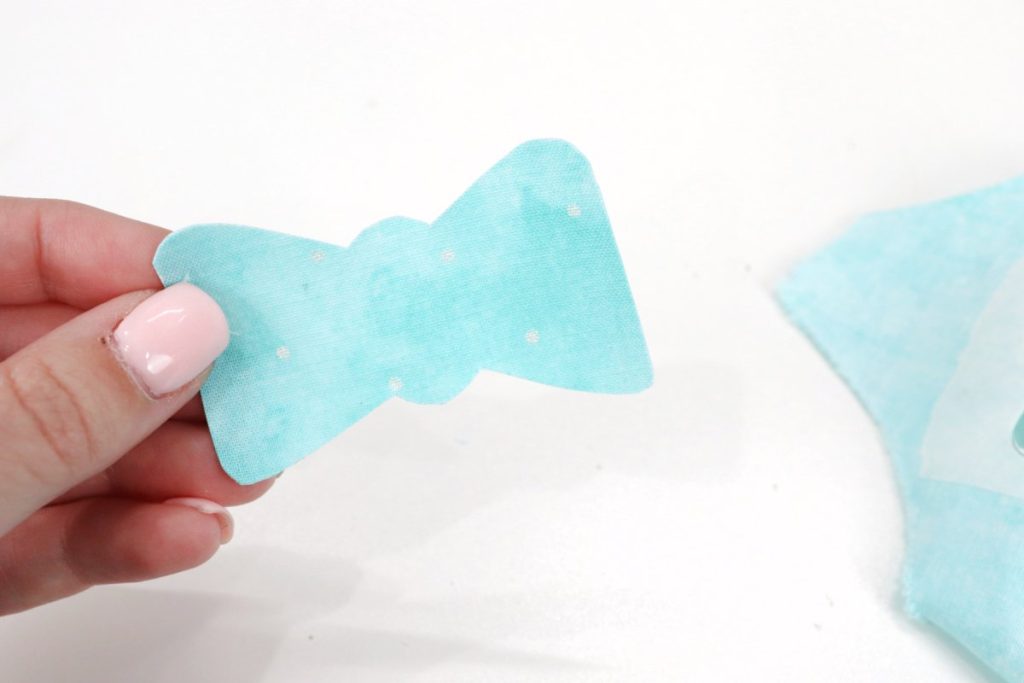
I wanted to add a second color of fabric for the center of my bow, so I repeated the same process to cut out an oval from a piece of darker teal. Repeat these steps until all the pieces you want are cut out and backed with the fusible interfacing.
Iron your fabric pieces together (optional).
If you have one simple shape, skip this step. Otherwise, peel the backing from the fabric that goes on top, and place it where you want it on the other piece of fabric. Iron to adhere.
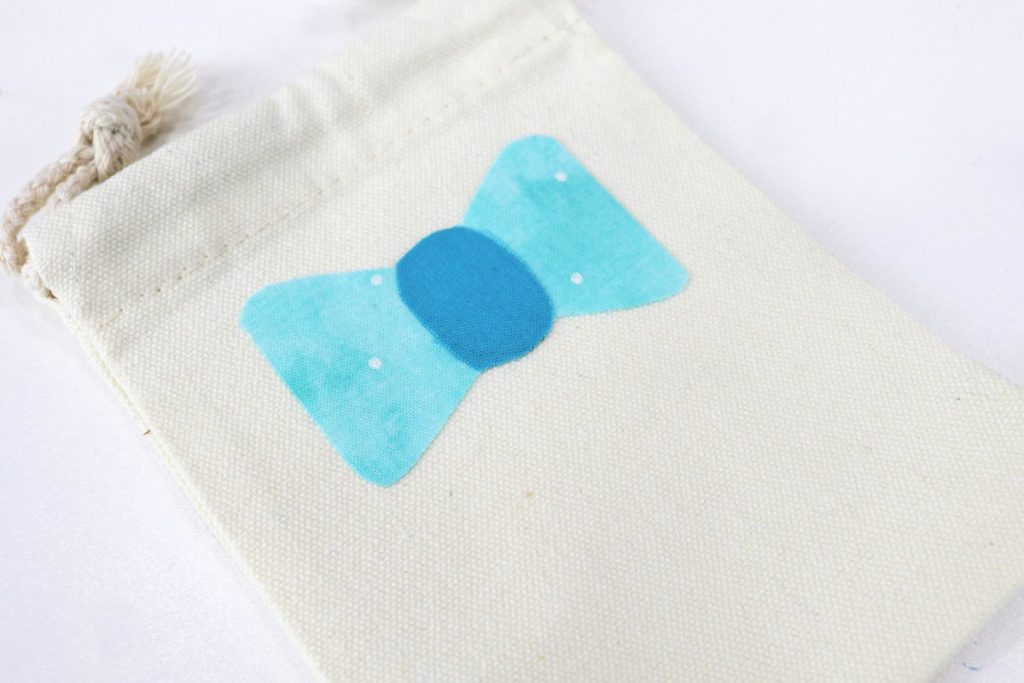
Iron your fabric patch to the bag.
Peel off the paper backing from the interfacing, and place your image on the bag. Iron according to the manufacturer’s instructions to adhere it in place.
Use a heat-erase pen to sketch your message.
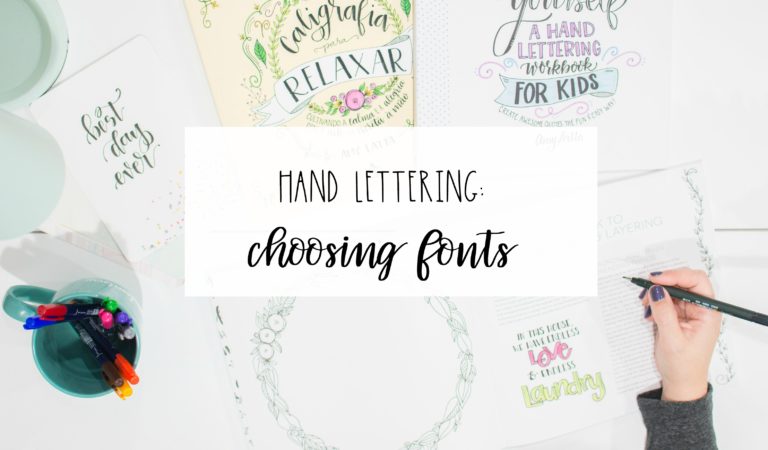
You can use any style of writing you like. I used faux calligraphy, which is a really easy way to make your handwriting look like brush script. Check out the tutorial here, or any of my books, to learn how!
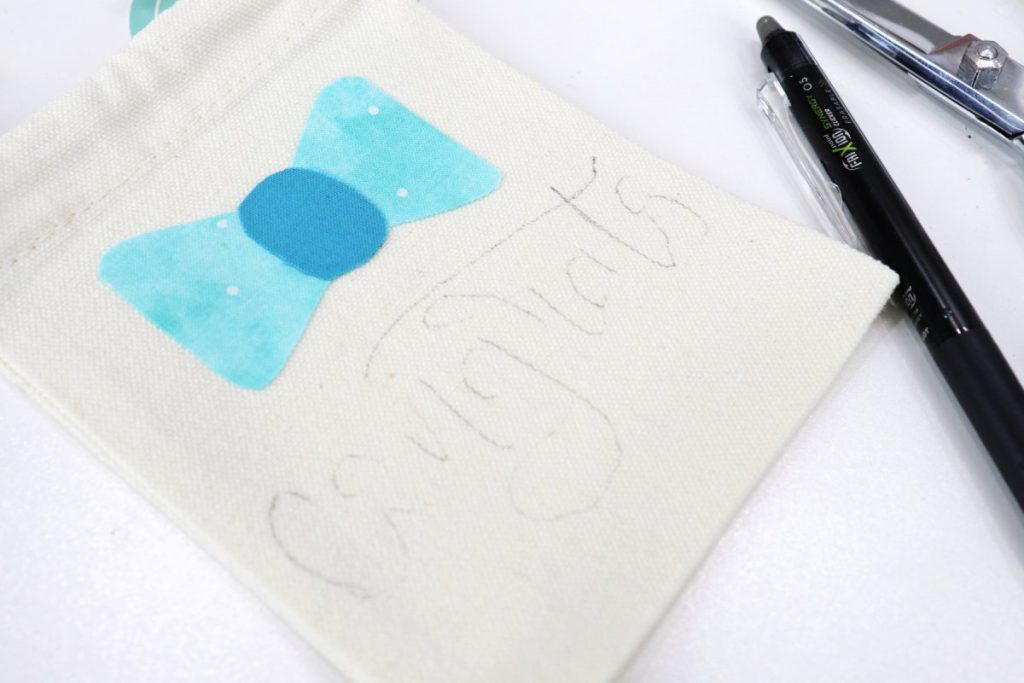
Trace over your message with permanent fabric marker.
I love the MSQC fabric markers, because they don’t require any heat setting, don’t bleed, and don’t erase in the wash.

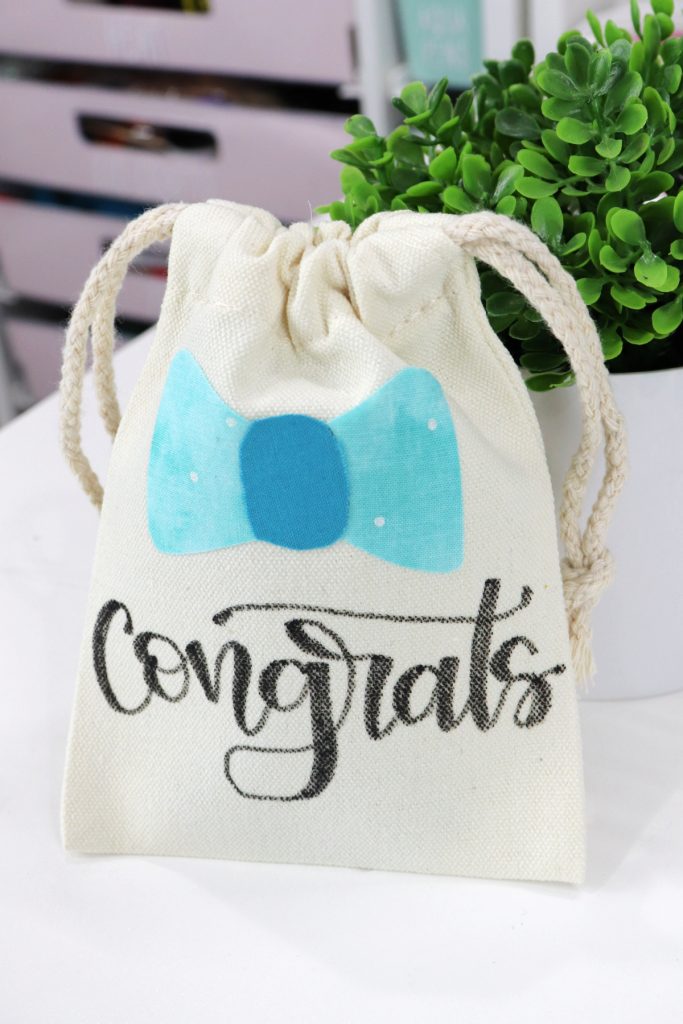
The only thing left to do is run an iron over your project to erase any pen marks that are still visible from your sketch. Then, your bag is ready to gift! Fill it, and give it away to share some joy.
Project Tips
- Check out this post to learn some basic faux calligraphy skills for writing your message!
- Don’t limit yourself to decorating just the front side of the bag; you can personalize the other side too.
- For an even easier version of this project, you can use pre-made iron-on patches. MSQC has flowers, gnomes, and other fabric shapes that are already cut and backed with iron-on adhesive.
Frequently Asked Questions
Another option is to use a Cricut or other electronic cutting machine to cut a message from iron-on vinyl. Then, just iron it onto the bag with your fabric design. Or, you can skip the message part and just let your fabric iron-on stand alone.
My bags are 4×6” natural canvas drawstring bags from Missouri Star Quilt Company. However, you can do this same type of project on any size canvas bag you have.
This is a craft tool with iron-on adhesive on both sides. One side will be covered with a paper backing. You can find it at craft stores, fabric stores, and online.

More Gift Ideas
If you enjoyed this project, check out these other DIY gift ideas that are sure to bring a smile to the people in your life.


If you try this project, I’d love to see how it turns out. Make sure you’re part of the Amy Latta & Friends Facebook Group so you can share your project photos and we can all inspire each other. Hope to see you there!

Iron-On Gift Bags
Equipment
- iron
- scissors
Materials
- fabric scraps
- double-sided fusible interfacing
- pencil or heat-erase pen
- permanent fabric marker
- small canvas bag
Instructions
- Iron fusible interfacing onto the back of your fabric scrap.
- Sketch your shape on the interfacing.
- Cut out the fabric shape.
- If you want to layer fabric, repeat until you have all the pieces.
- Remove the paper backing and iron the fabric onto the bag.
- Use a pencil or heat-erase pen to sketch your message onto the bag.
- Trace the message with a fabric marker.
- Fill your bag with a gift!