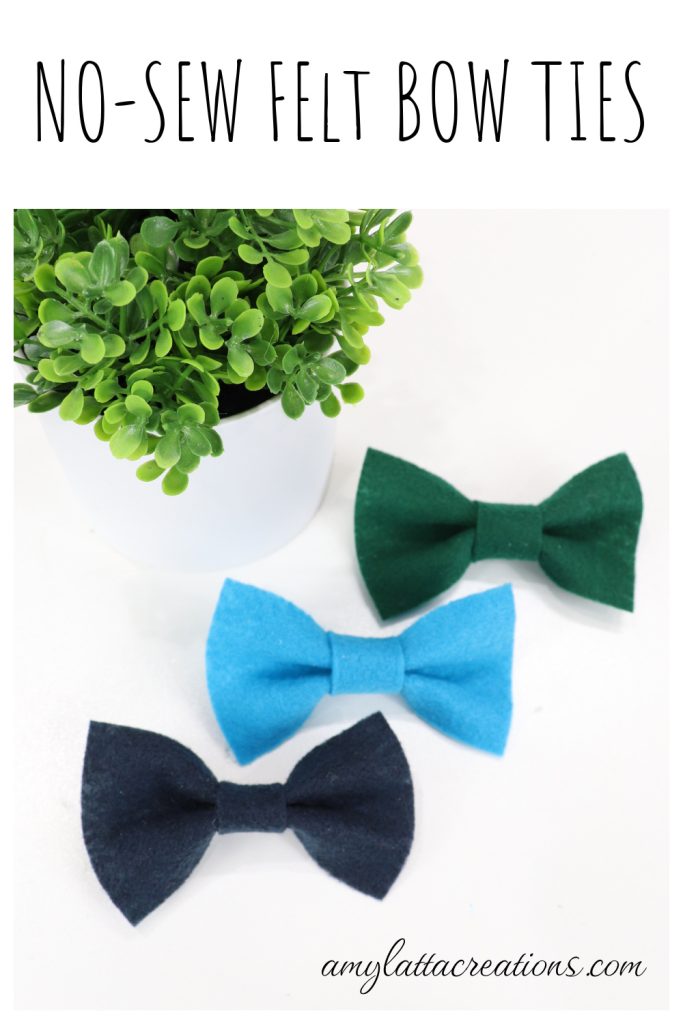
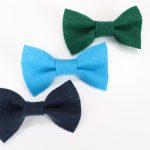
No-Sew Felt Bow Ties
A bow tie adds a classy touch to every occasion! Whether it’s a wedding, school picture day, or National Bow Tie Day (August 28), here’s a quick and easy project to help you always be prepared. These No-Sew Felt Bow Ties take less than 5 minutes to make and only require a few very basic supplies.
How to Make No-Sew Felt Bow Ties
The great news is that there are no special skills needed to make these bow ties. Just grab some felt, scissors, and glue, and you’re ready to get started. You can wear these bows with any kind of shirt, as well as on pet collars or even as hair accessories.
Materials
Felt
Scissors
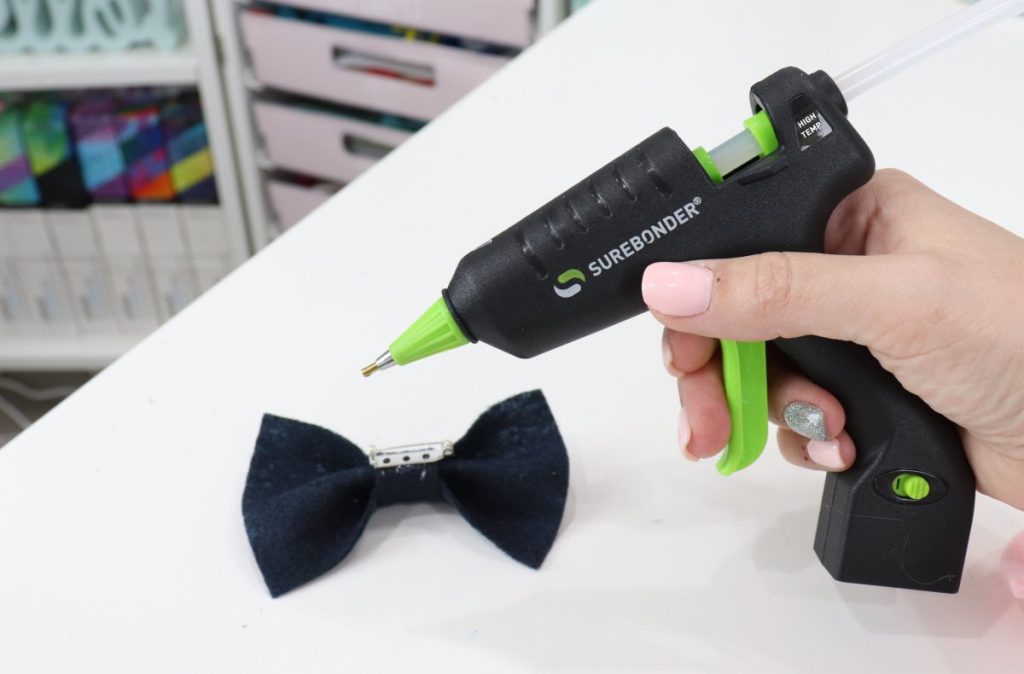
Hot glue gun and glue sticks (I love my Surebonder!)
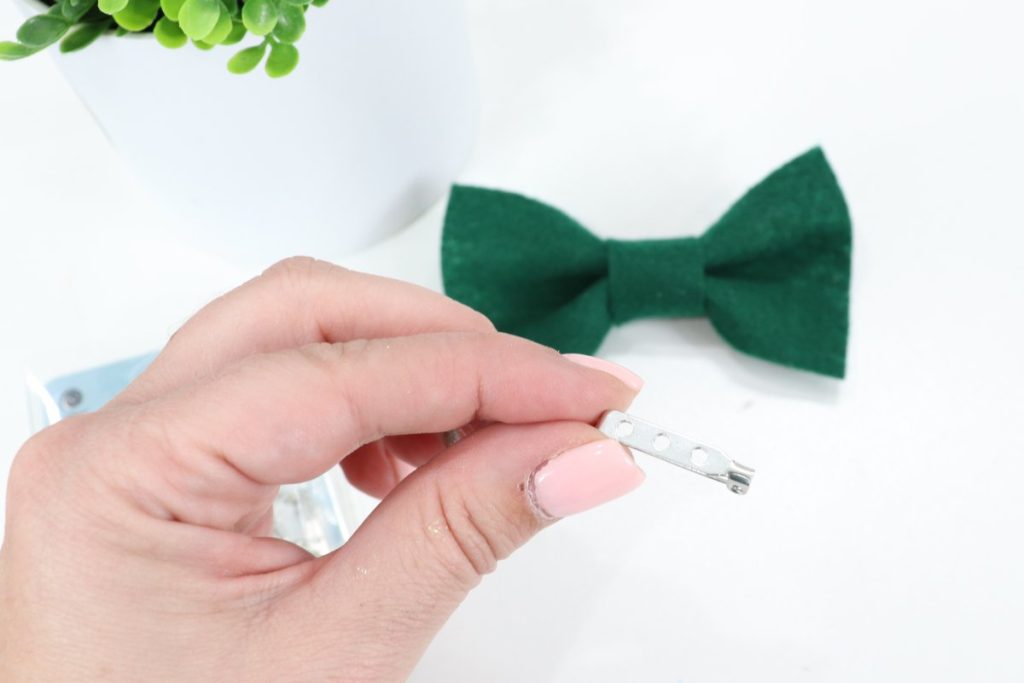
Bar pin or clip
Instructions
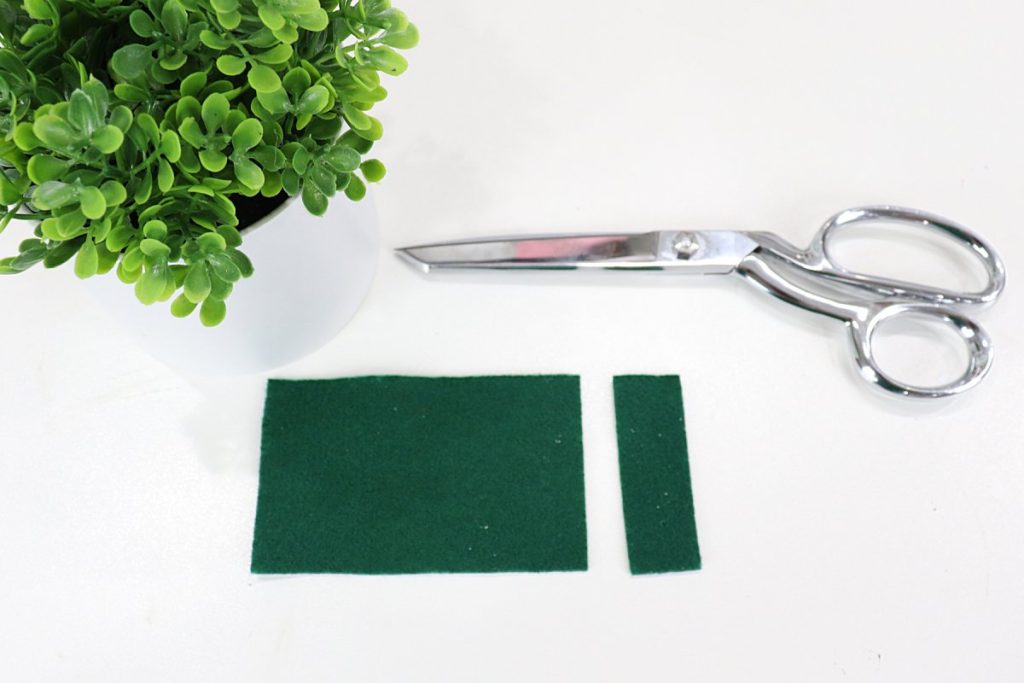
Cut your felt into one 4” x 2 1/2” rectangle and one 7/8” x 2 1/2” rectangle.
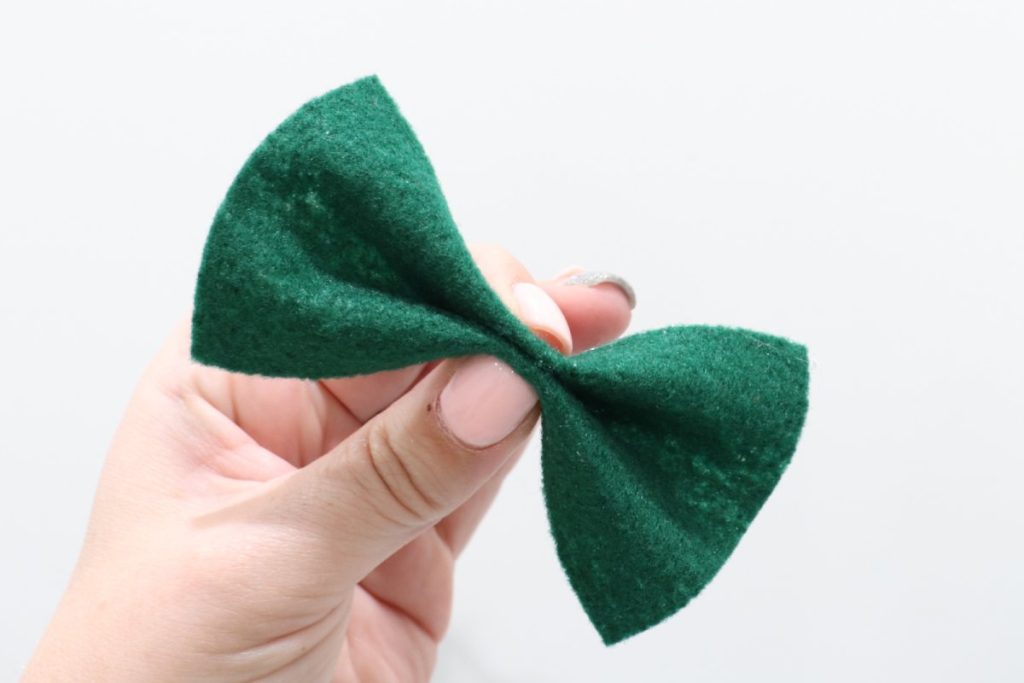
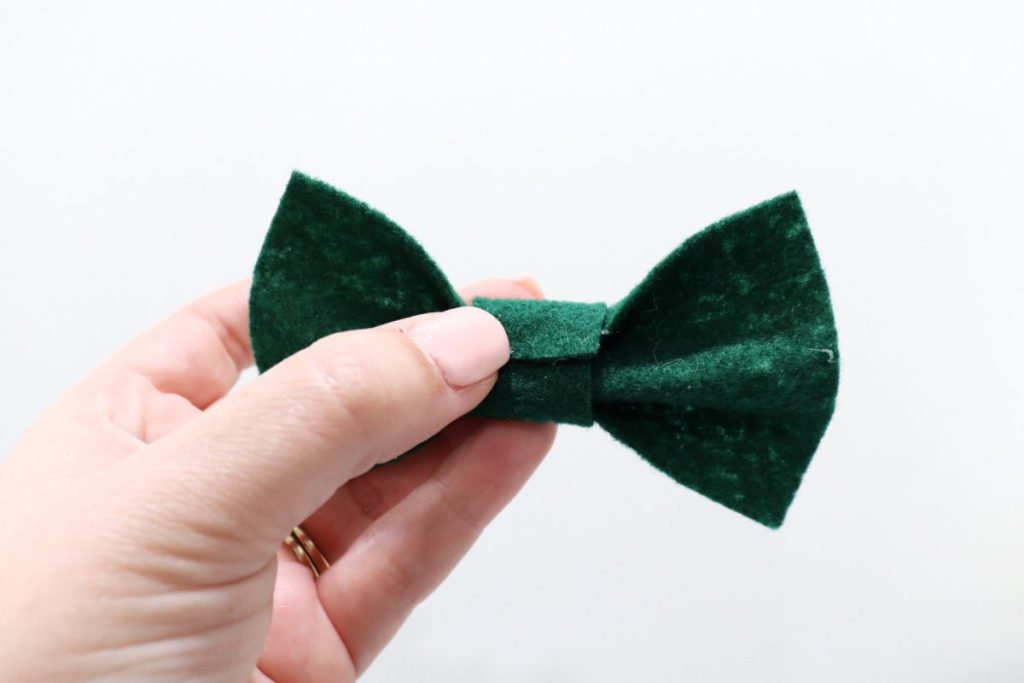
Pinch the larger rectangle in the center and glue inside the folds.
Wrap the smaller rectangle around the center and glue in place.
Glue a pin or clip to the back of the bow.
I love using my Cordless/Corded Mini Hot Glue Gun with a detail tip from Surebonder. It’s perfect for getting just a small amount of glue into tiny spaces, and I love the freedom to create that comes with not being attached to a cord.
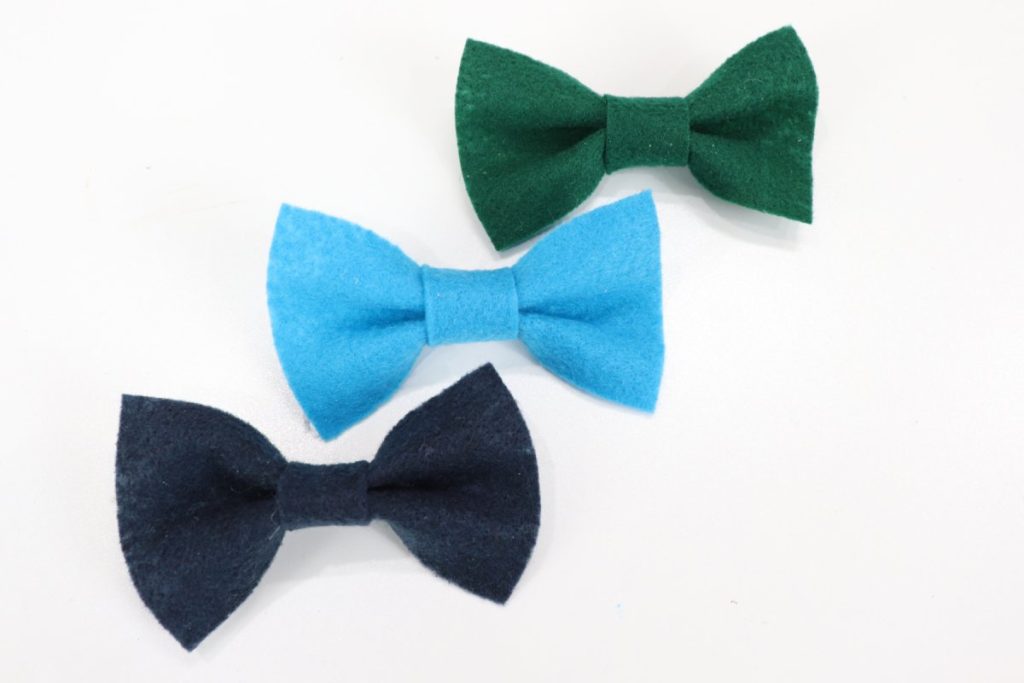
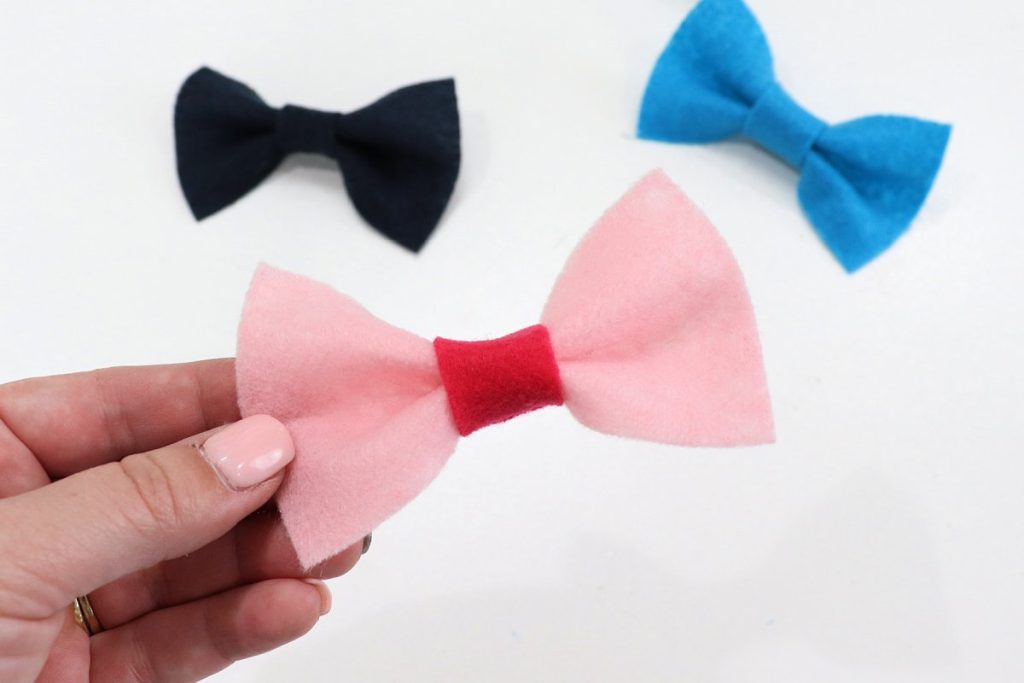
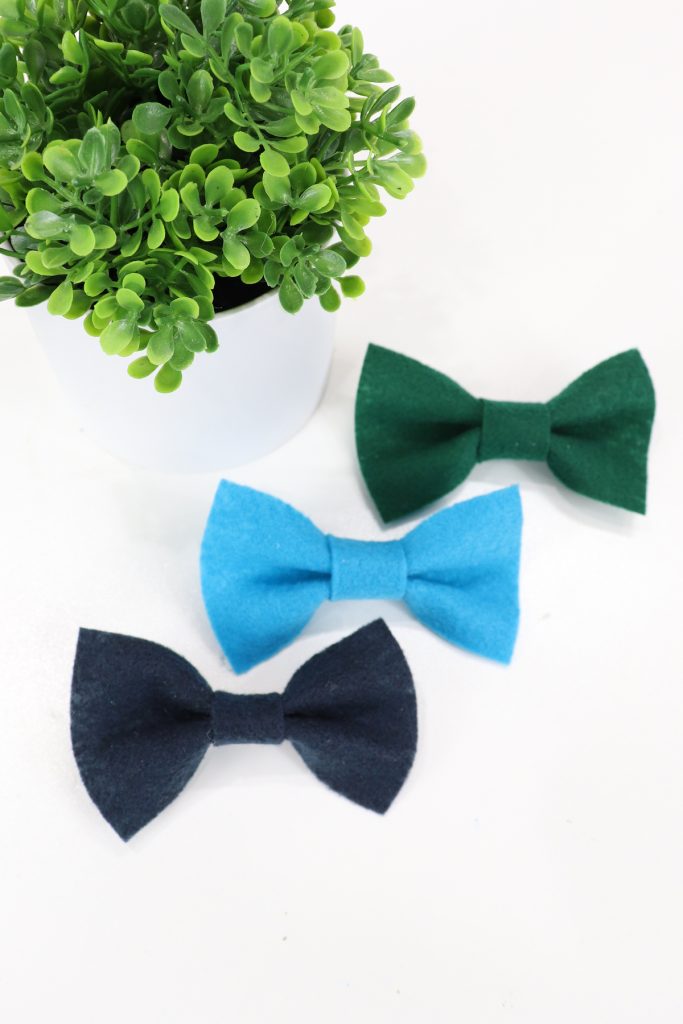
That’s all there is to it! This project is so quick and easy that you can create a bow in less than five minutes. Try experimenting with different colors of felt so you have one for every occasion.
Project Tips
- If you use a clip on the back instead of a pin, this same project can also be used as a hair bow!
- Instead of felt, try this with fabric. Just iron two pieces of fabric together with a piece of double-sided fusible interfacing in between. Then, follow the same steps.
- Try cutting the smaller rectangle from a different color felt than the larger one to create a multi-colored effect.
- Protect your hands from hot glue by using a wooden craft stick to press down on the felt instead of your fingers.
Frequently Asked Questions
No worries, just adjust the size of the original rectangles until it’s a perfect fit.
Sure! The only thing to note is that hot glue can be very, very hot. So, you’ll want to make sure an adult is on hand to do or supervise the steps involving glue.
You can find it here, or explore all the other options at surebonder.com!
More Felt Projects
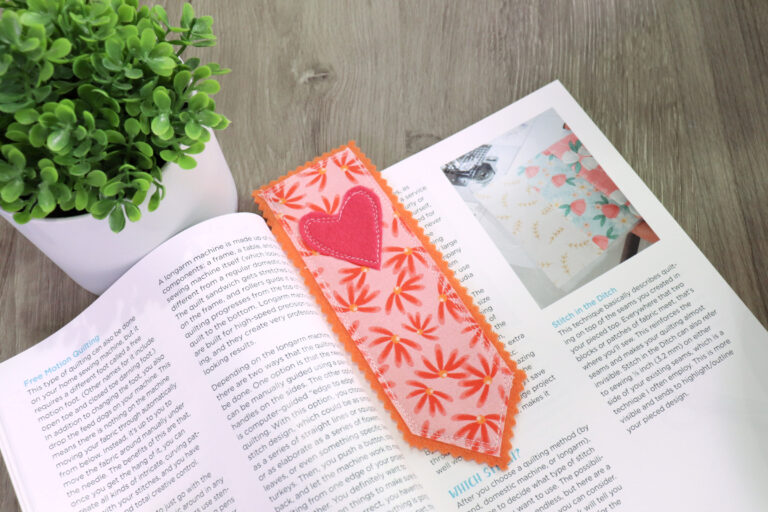
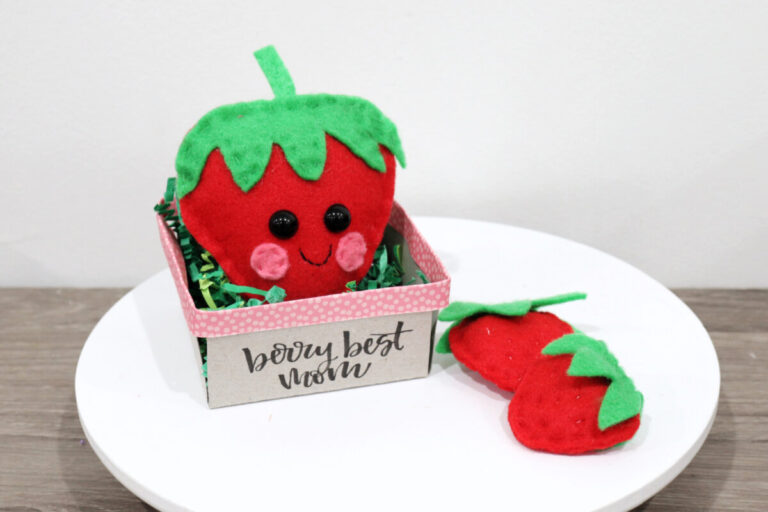
Like this project? Check out these other fun things you can create with felt!

If you try making your own no-sew felt bow ties or any of these projects, I’d love to see how they turn out. Make sure you’re part of the Amy Latta & Friends Facebook Group so you can share your photos and we can all inspire each other. See you there!
No-Sew Felt Bow Ties
Equipment
- scissors
- hot glue gun and glue sticks
Materials
- felt
- bar pin or clip
Instructions
- Cut your felt into one 4” x 2 1/2” piece and one 7/8” x 2 1/2” piece.
- Pinch the large rectangle to form a bow and secure with glue.
- Wrap the small rectangle around the center and glue.
- Glue a pin or clip to the back.